Easy DIY Joy Signs For Christmas
My original plan was to share our Christmas card and wish you all a very Merry Christmas, well…I didn’t get around to our card this year. So instead I thought it might be fun to do a last-minute Christmas craft. Enjoy! I hope you and yours have a very Merry Christmas!
Take your Christmas decor to a whole new level of amazing this season by adding a hand-painted Christmas sign. Learn how to make this fun joy sign for some extra holiday spirit!
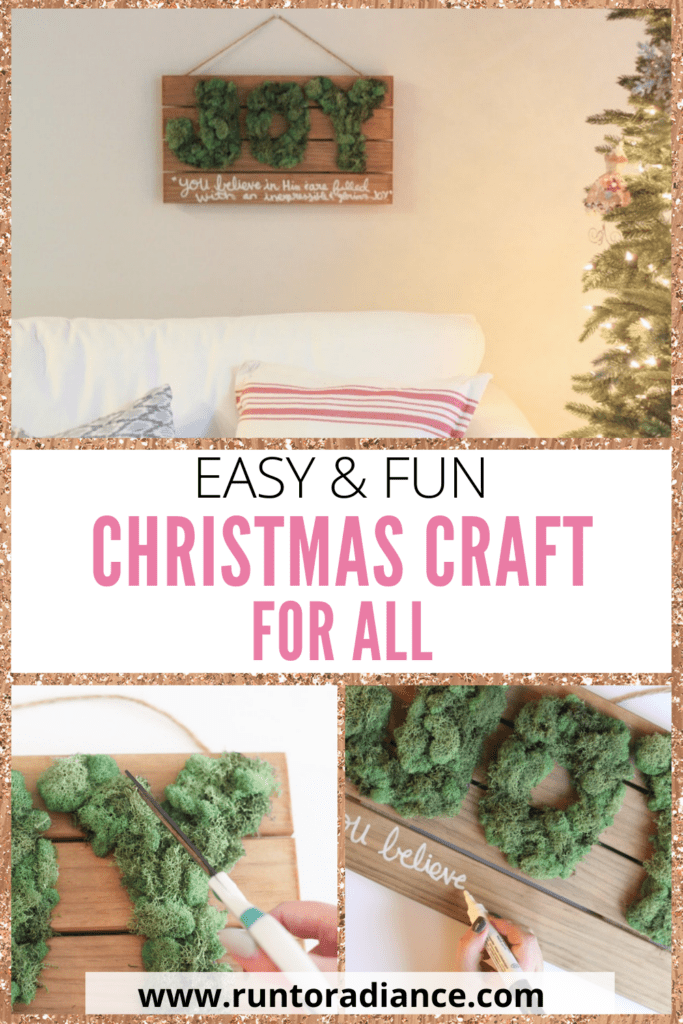
Christmas is the most joyful holiday around, in my humble opinion. I love the lights, music, decorations, food, and precious time with family.
After I decorate my mantel and hang the ornaments and lights on the Christmas tree, I start turning my focus toward creating unique holiday decor ideas such as ornaments and items to hang around the house.
I really get into Christmas crafting. 🙂
Whether I’m making ornaments, wreaths, or a mini Christmas tree, creating adorable Christmas decorations really helps get me into the holiday spirit!
What better way to celebrate the upcoming season than with an easy Christmas sign that (silently) screams joy? This particular sign project can be finished in less than an hour, but it will look like it took much longer.

Joy Signs For Christmas
We don’t typically get snow for Christmas in Texas, so I tend to skip using snowflakes as inspiration in my holiday craft ideas.
However, I’m all about anything Christmas tree-related or making a sign that brings a little of the outdoors inside. I love the touch of rustic that signs like this one layer into our indoor holiday decor!
If you’ve never made DIY holiday signs before, you’ve been missing out. Like wreaths, they make a great addition to Christmas decor.
And (also like a wreath) when you make a handmade sign, you’ll spend a small fraction of the price that you would have spent to buy one at the store.
One of my favorite parts of strolling the craft store aisles is finding new and unique craft supplies that I can use in a variety of ways.
Over the past year or two, I’ve been really into moss. I know that sounds super random, but I love that moss is moldable and adds a touch of greenery that I don’t have to water (thus, kill).
So, moss is the star of this DIY joy sign project!
This post contains affiliate links.
How To Make A DIY Joy Signs Yourself
The process is super easy, and believe it or not, it won’t take as long as you may think! First, you’ll need to gather a few supplies.
Supplies Needed To Make Joy Signs
To make this easy Christmas joy sign craft, all you need is a few simple craft supplies. Gather together:
- small wooden pallet
- bagged moss
- hot glue gun with hot glue sticks
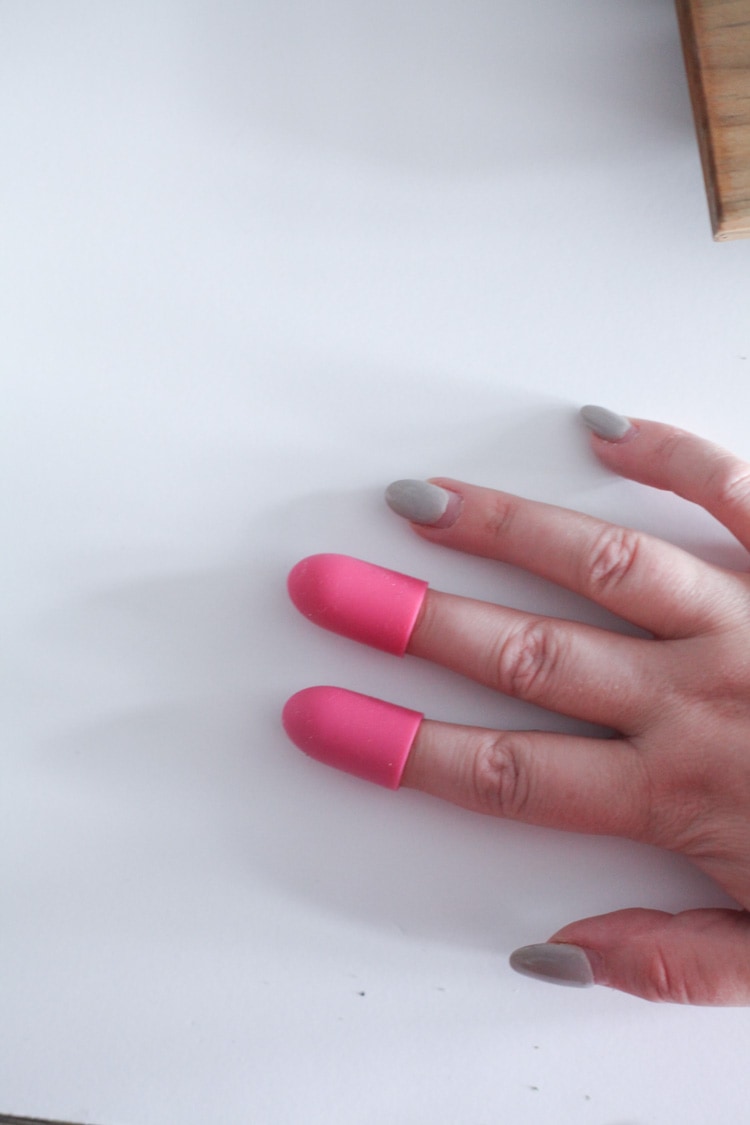
- finger caps (trust me)
- white marker or paint pen
NOTE: the white marker pen takes the place of paint. If you are really good with using (and writing with) paint, you could use that instead. However, I find the marker pen easier to work with when making crafts that involve writing.
However, if you want to decorate your porch or front door with this sign, I would go with paint instead of a marker. That will hold up better for outdoor decorations.
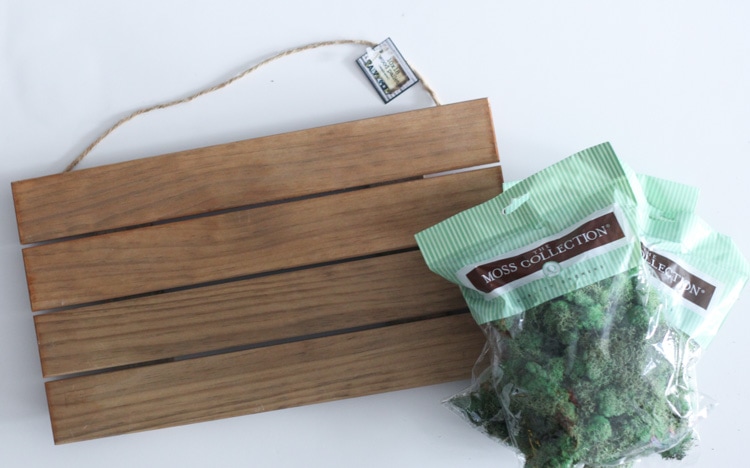
Instructions To Create Your DIY Joy Signs
One of my favorite things about this DIY sign project is that you can easily customize the letters to say any word you want. I’d simply recommend picking a short one unless you have a bigger piece of wood or you’re super patient (bless you).
Follow this process to create your own DIY joy sign to enjoy for many years to come!
Step 1
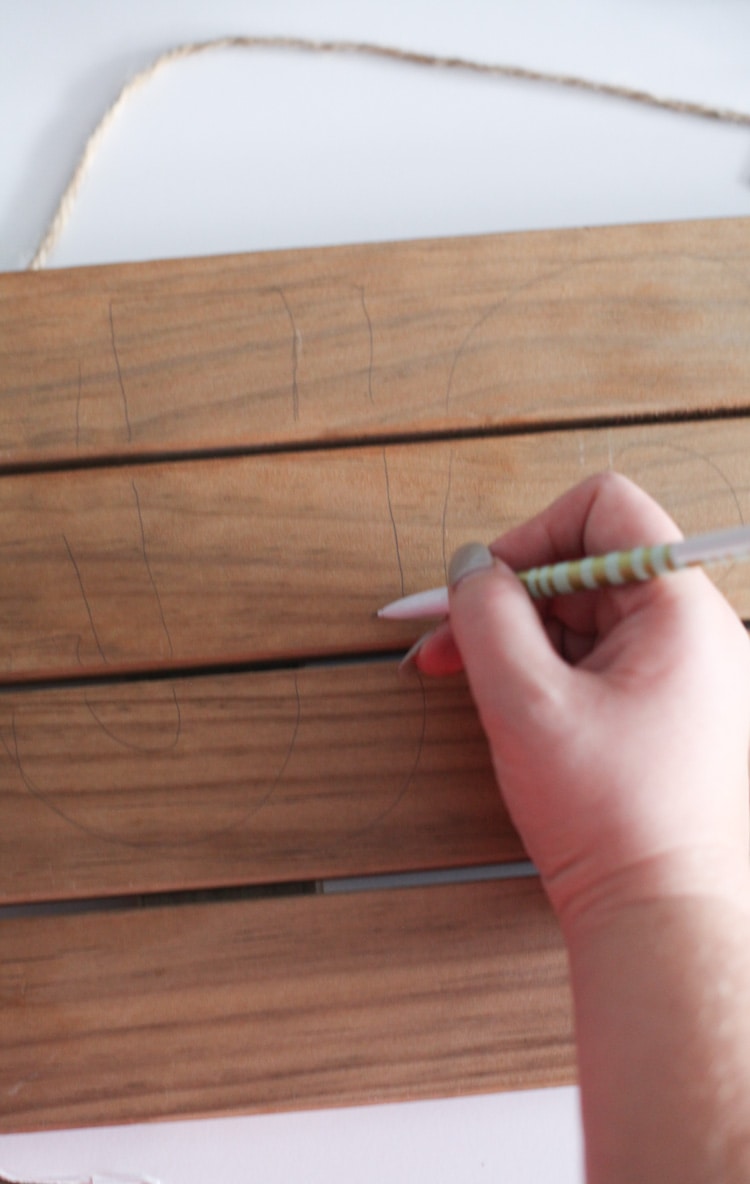
Outline your individual letters lightly in pencil. I freehanded mine, but you could use a stencil if you desire. Just try to make them all the same length so that no single letter takes more space than other letters.
Step 2
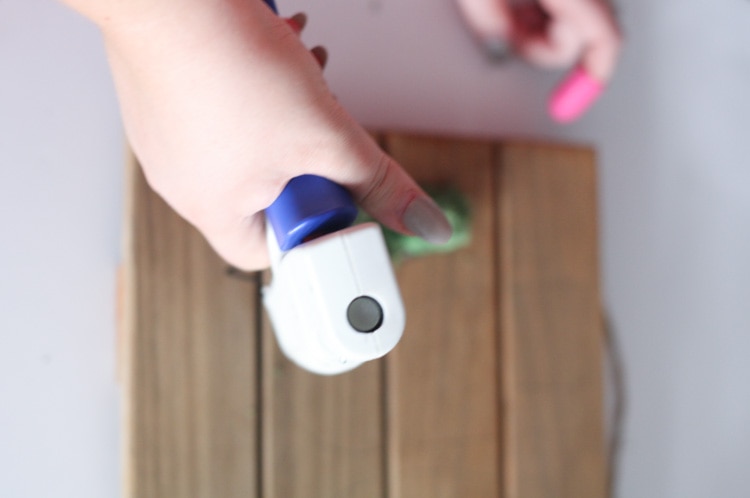
Next, fill in part of the letter with hot glue. Make sure you don’t go outside the lines. You can always add more glue later, but it’s much harder to remove excess glue.
Step 3
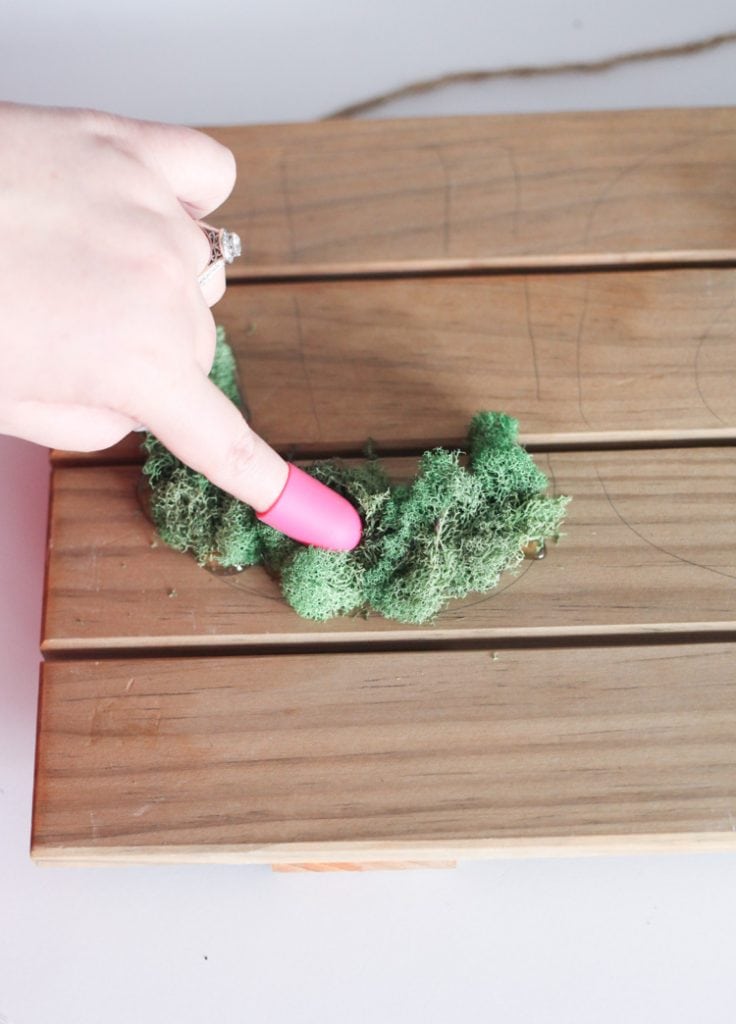
Take some moss and press it into the hot glue to fill in your letters.
This is where those finger caps come into play. Without these, I am confident you will burn yourself. Trust me, it hurts!
Step 4
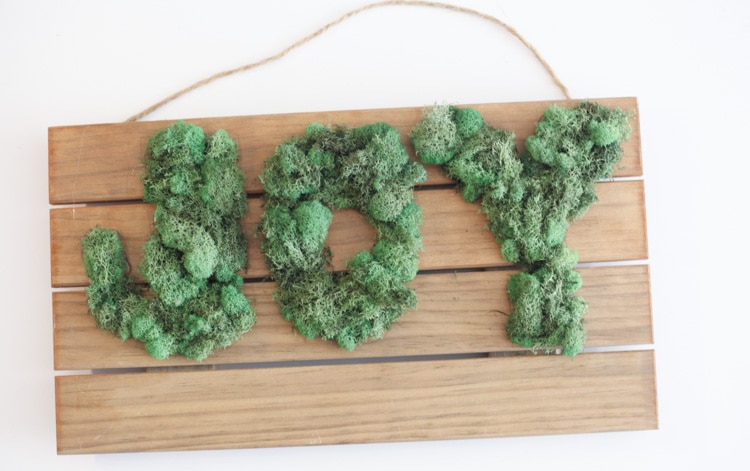
Keep working in small sections until your JOY is complete (hah!). I used about five glue sticks total.
Step 5
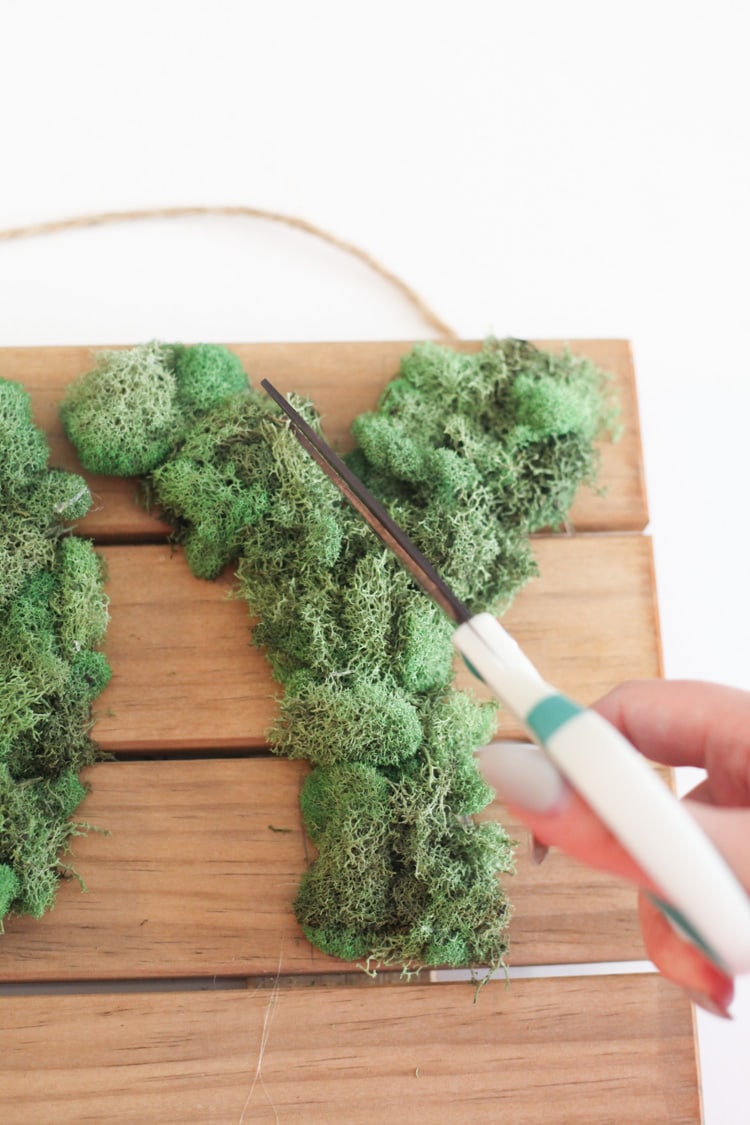
At this point, you can see if you have any holes that need more moss or any pieces that need to be trimmed shorter. If you find any, fix accordingly.
Step 6
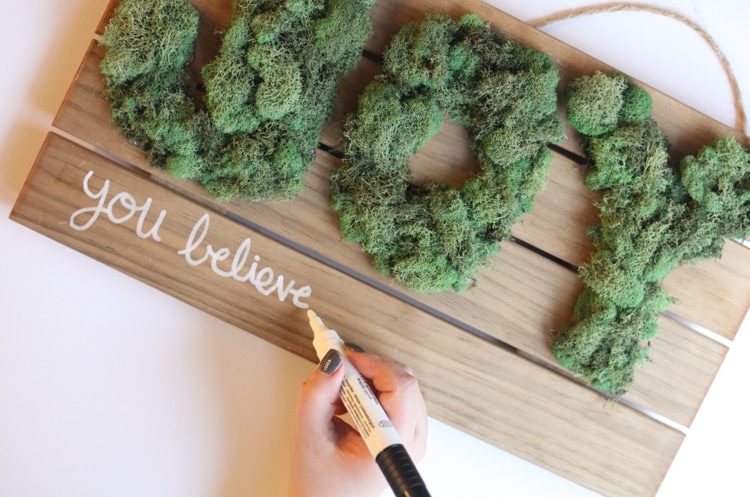
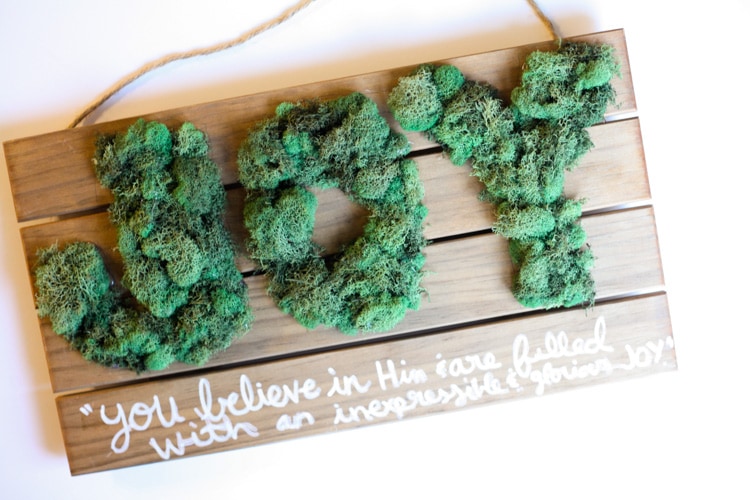
I used a white Pitt Big Brush Marker to freehand a Bible verse on the bottom. It says, “you believe in Him & are filled with an inexpressible & glorious joy.” Isn’t that beautiful?
You could also do a family last name or any other phrase of your choice.
Hang your cute joy sign, and you’re done. This easy Christmas craft will look stunning hung on your wall (or door)!
Have leftover moss? Try this easy-framed faux succulent planter.
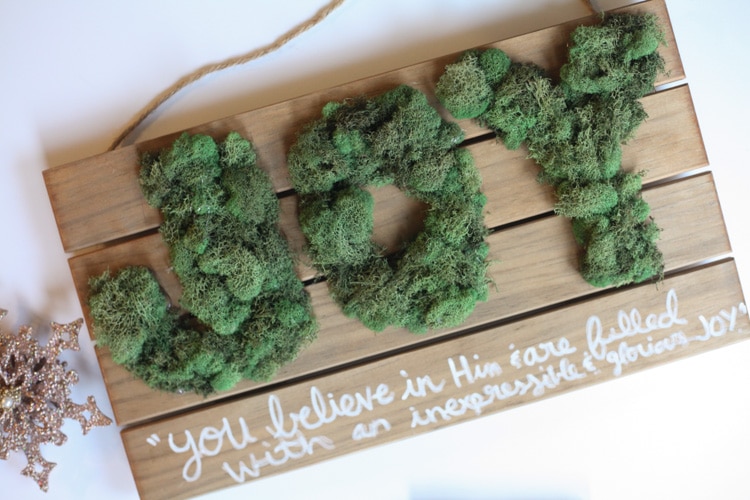
Did I mention that I love fun holiday crafts? This particular joy sign idea would make a cute gift for friends and family.
Need more holiday gift ideas you can make? Check out my extensive list of DIY Christmas gift ideas – there’s something for everyone!

Christmas Joy Signs FAQs
Do you have a question or two about this project? Check below to see if I’ve answered it. If you don’t see it below, please leave it in the comments so I can answer it!
How long does craft moss last?
Good question! Although craft moss isn’t high-quality, it’s not quite as delicate as it looks. At the same time, it won’t last forever.
If you are careful about the way you pack your sign away until the following season, you could expect to enjoy the beauty of this sign for 3-4 years.
Can I use a different kind of glue?
With many projects (like a wreath, etc.), I would say yes. However, hot glue is your best adhesive option for this project due to its quick dry time and secure hold.
More Christmas Craft Ideas
If you love this joy sign craft and want more Christmas crafting inspiration, check out these ideas:
- Kids Popsicle Stick Christmas Tree Ornament
- Free Printable Christmas Cards To Send To Everyone You Know
- Let It Snow: DIY Christmas Shadow Box
- 20 DIY Christmas Ornaments For Kids
Merry Christmas from my house to yours!

Supplies
- pallet sign
- bagged moss
- Hot glue gun and glue sticks
- Finger Caps
- white marker
Instructions
- Use a pencil to outline the letters of your word. I freehanded my letters, but you could also use a stencil.
- Staying within the lines, fill in part of your letters with hot glue.
- Wearing your finger caps to prevent burns, press clumps of moss onto the hot glue.
- Continue working in small sections until you have filled in all your letters.
- Check your word for any missing sections or holes that you can fill in with moss. Fill in as needed and trim any long pieces.
- Take your marker and write the phrase of your choice below your word.
Tania Griffis is an accomplished writer, blogger, and interior designer with a Journalism degree from the University of Oklahoma. She started her popular blog, Run to Radiance, in 2011, demonstrating her design expertise through the personal remodeling of six houses to millions of readers across the globe.
Tania also owns The Creative Wheelhouse, a respected ghostwriting agency for bloggers, further showcasing her talent for creating engaging and informative content.






How fun is this idea?!?!?!
My bible study group is called JOY – this would be so cute to make for the girls!!!
This is so cute and creative!!! It sounds like something I could totally handle doing. Thanks for sharing.
Super cute project, i never thought of putting on a finger for the glue gun…great idea
I see you don’t monetize your website, don’t waste
your traffic, you can earn additional cash every
month. You can use the best adsense alternative for any type of website (they approve all websites), for
more details simply search in gooogle: boorfe’s tips monetize your website