How to Make a DIY Custom Address Stamp That is Self Inking
‘Tis the season of tons of happy mail! There is simply no other month out there when we open our mailbox and get so many cards and letters (as opposed to just bills!). Between Christmas cards, new address mailings, baby shower thank you cards and our upcoming birth announcements, we are sending things out like crazy over here! I got really tired of writing our address over and over so I decided to make a DIY custom address stamp to save my hand the trouble.
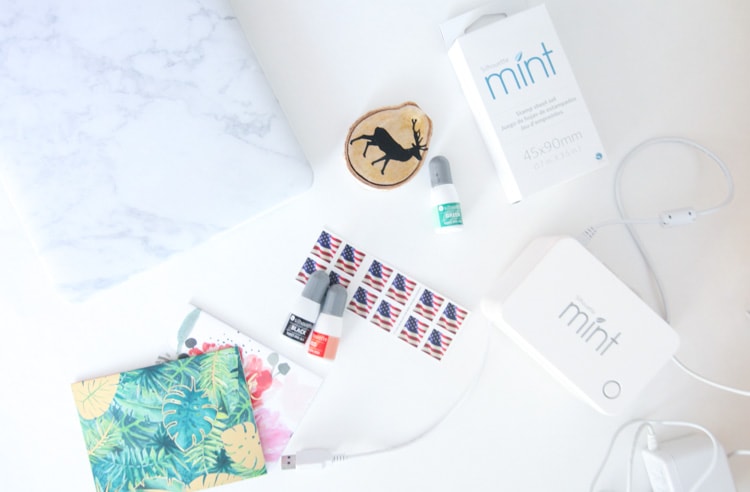
I thought about ordering one, but I didn’t really want to wait the time it would take to ship, plus, for a little more money I could order a machine that could make me unlimited custom stamps. Done and done. I have had my Silhouette Mint for several months and made a lot of fun stamps, but this was the first time I made anything custom. It was SO EASY. In less than 20 minutes, I had a self-inking DIY custom address stamp that I have already used about 50 times.
How to make a DIY custom address stamp
*This post contains affiliate links at no extra charge to you—thank you for your support!
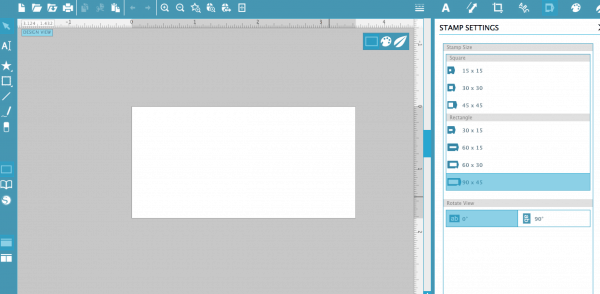
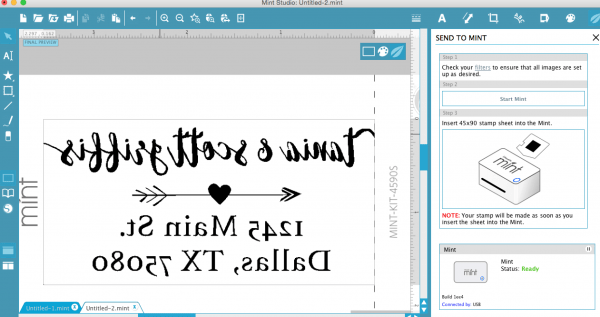
Using the Silhouette Mint design software (free with purchase), set up a new design with a stamp size setting of your choice (I used the size 90 x 45).
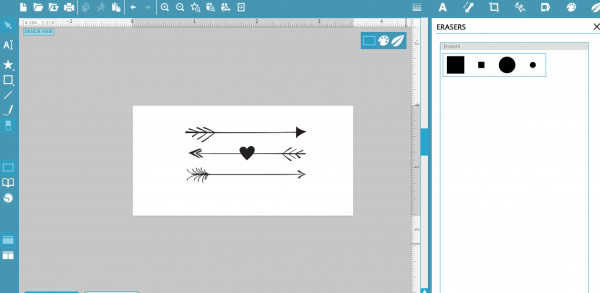
I knew I wanted to add a little embellishment, so I used this set of arrows from the design shop and simply erased the top and bottom one.
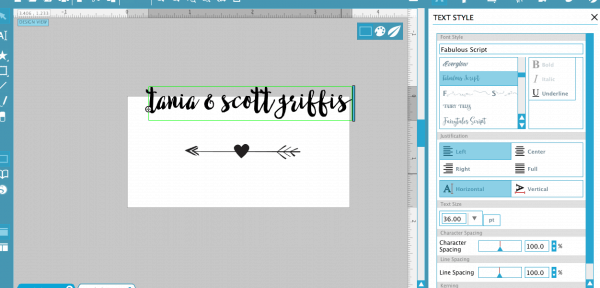
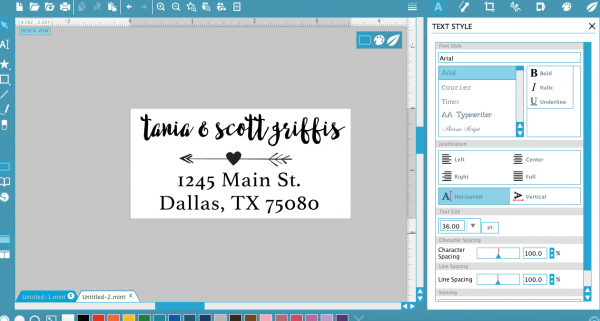
I added our names using the font “Fabulous” (isn’t it great?!) above the arrow, then used a basic Arial font to type out our address. Note, this isn’t our real address as fun as living in downtown Dallas would be! 🙂
Once your fonts are sized and lined up to your liking, it’s time to make your stamp. Hit the leaf button at the top right, which pulls up the “send to Mint” screen. Don’t be freaked out that your entire design looks mirrored—it’s supposed to!
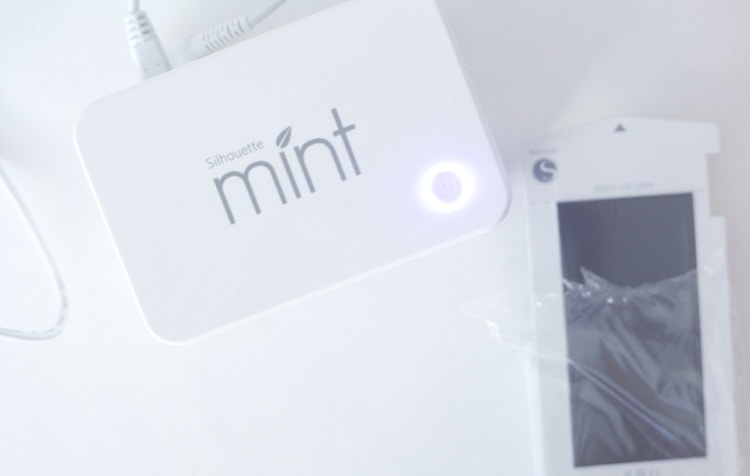
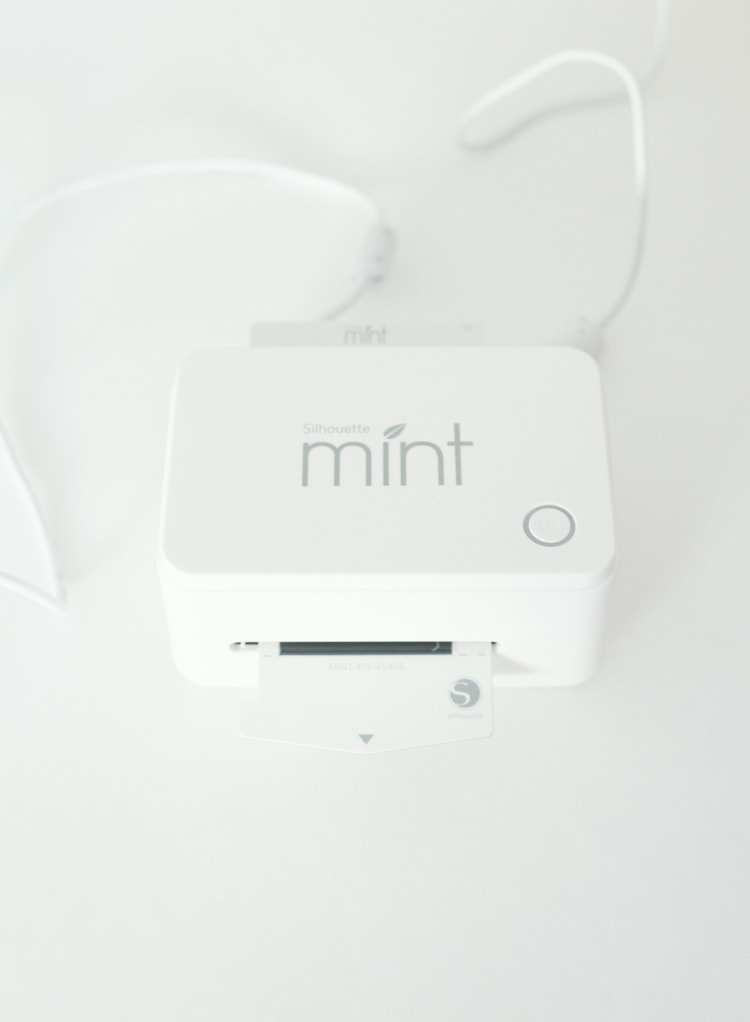
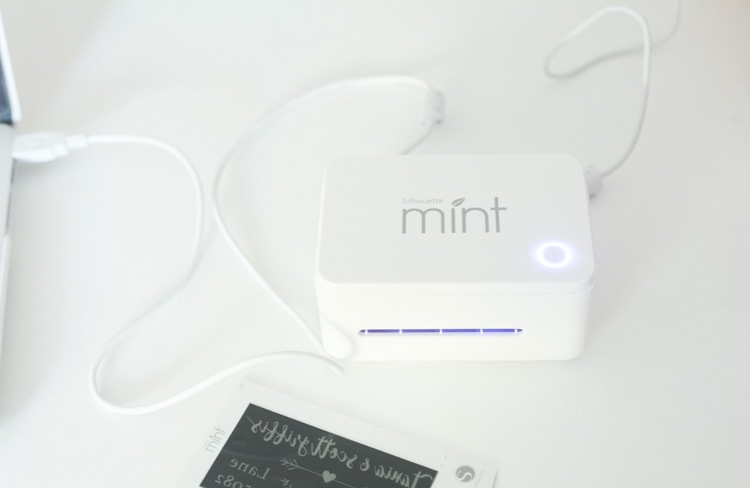
From here, simply follow the directions on your screen and insert the stamp blank into the machine. It takes about 15 seconds for your stamp to print!
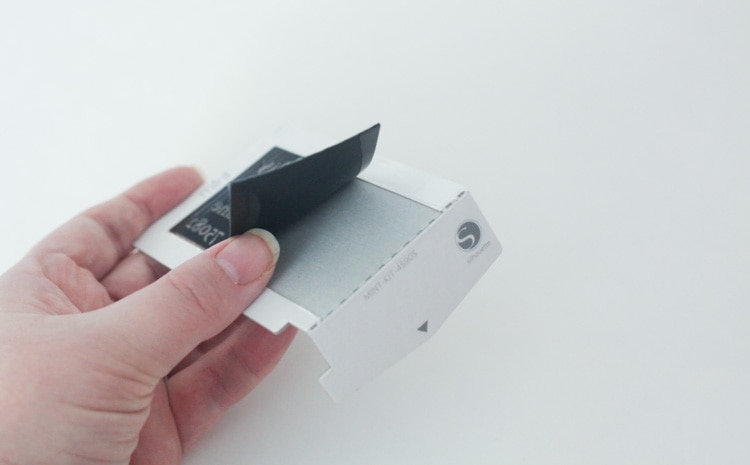
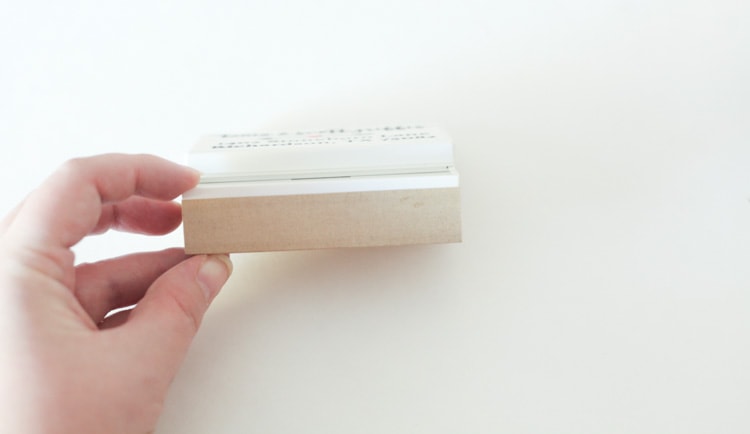
Once the stamp is finished, open the blank at the perforated edge and peel the plastic lining off. Peel off the adhesive backing and add to the stamp block—now it’s time to ink it up!
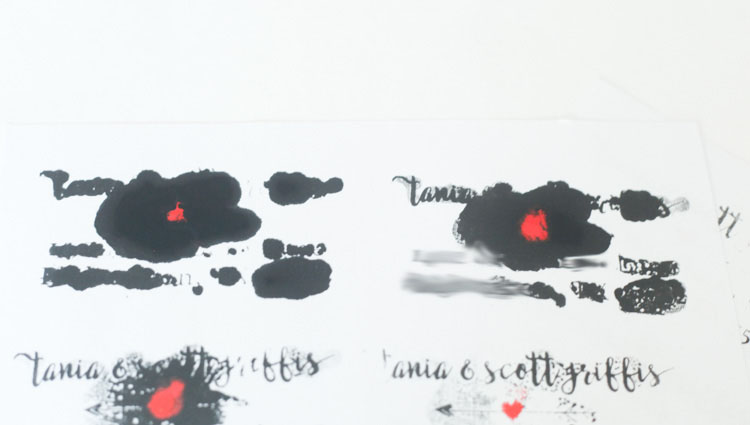
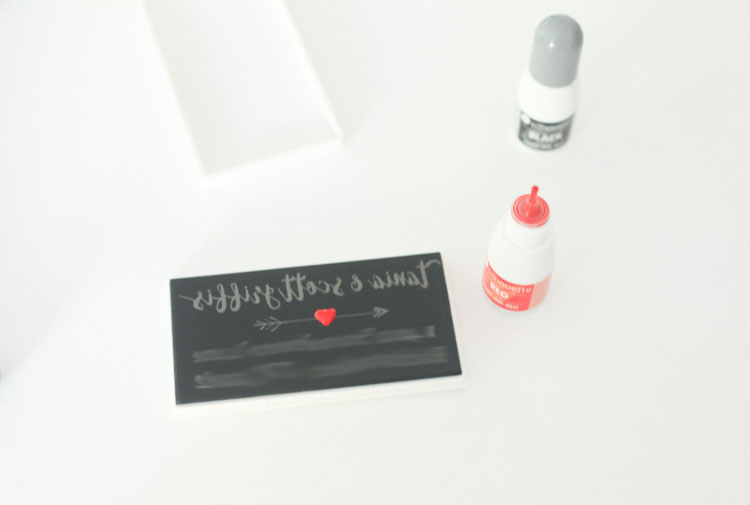
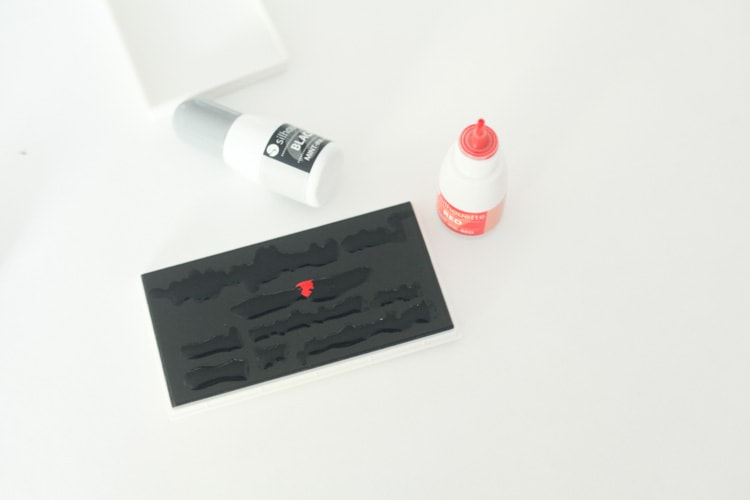
You can use one color or multiple. I went for a basic black but wanted the heart red to stand out a little bit more. Squeeze the included ink onto the stamp—it will pool on top. Add your second color if using one. It’ll look like this.
Let the ink sit and soak in for about 10 minutes. Then, get a scrap piece of paper and start stamping—it will look totally crazy at the beginning! Just keep going until you get a clean, crisp stamp—it took me about 10 stamps total.
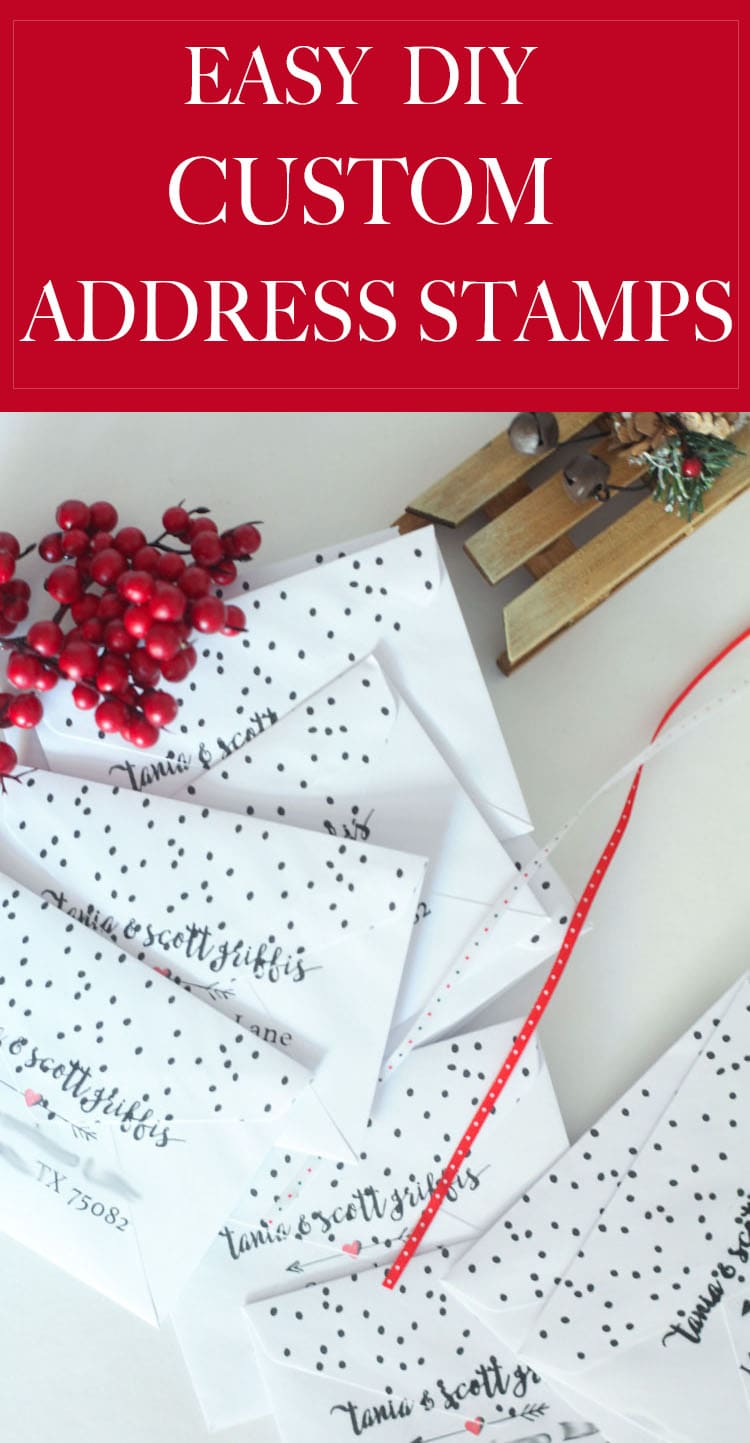
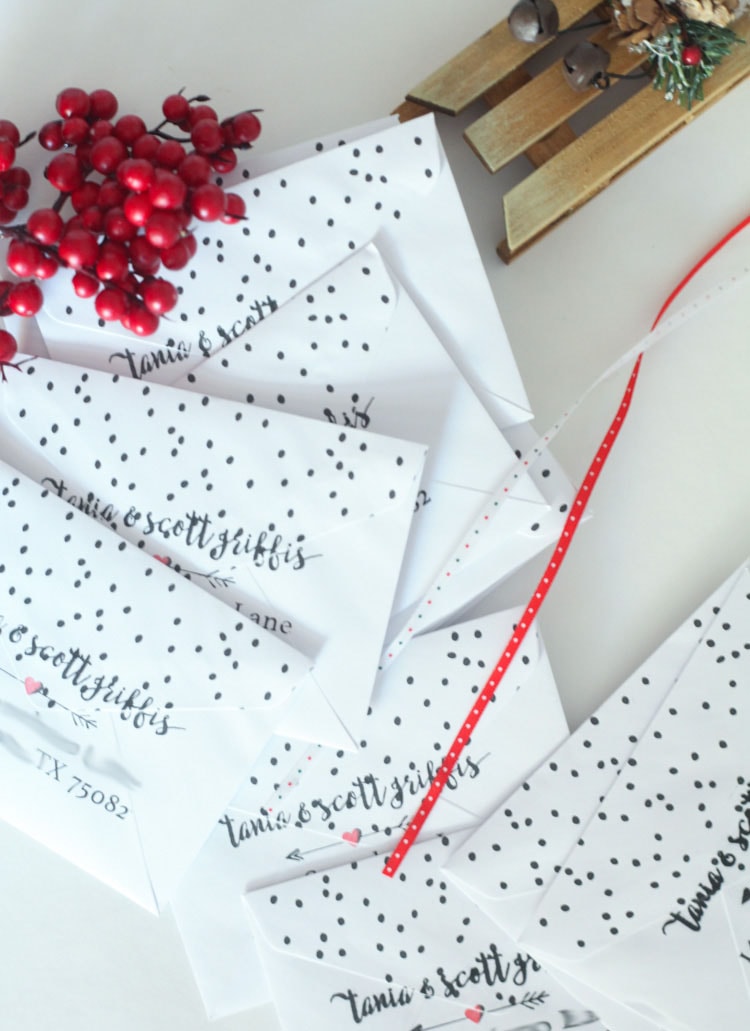
That’s it! Now you have a self-inking DIY custom address stamp! It should last about 50 stamps or so until it needs a re-inking, but the stamp itself will last forever. So fun! I have so many other fun stamp ideas to make, like a custom Christmas stamp to use on gifts.
Do you like stamping? I find it so therapeutic (and pretty!).
Tania Griffis is an accomplished writer, blogger, and interior designer with a Journalism degree from the University of Oklahoma. She started her popular blog, Run to Radiance, in 2011, demonstrating her design expertise through the personal remodeling of six houses to millions of readers across the globe.
Tania also owns The Creative Wheelhouse, a respected ghostwriting agency for bloggers, further showcasing her talent for creating engaging and informative content.




OMG How freaking cute is that?! Love love love this idea!! Thanks for another great DIY tutorial! you rock!!
Thank you! It really does come in handy during this season! 🙂
Awesome idea! About to be doing wedding invitations and I know my hand will love me if I get this!