Dollar Tree Halloween Decorations
This post may contain affiliate links. As an Amazon Associate I earn from qualifying purchases.
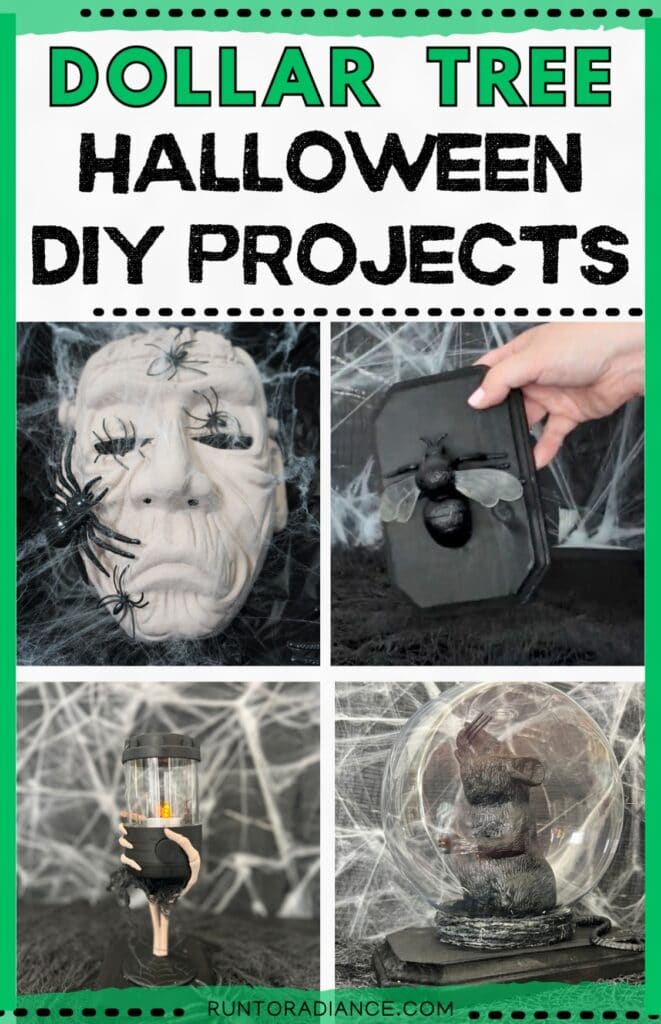
Despite the low price tag, these Dollar Tree Halloween decorations look anything but cheap! And, one of these ideas even went viral with over 1 million views on TikTok!
Set aside a couple of dollars and a few hours and whip up one of these Dollar Tree Halloween projects—I’ve got six options for you so pick for favorite (or do them all!).
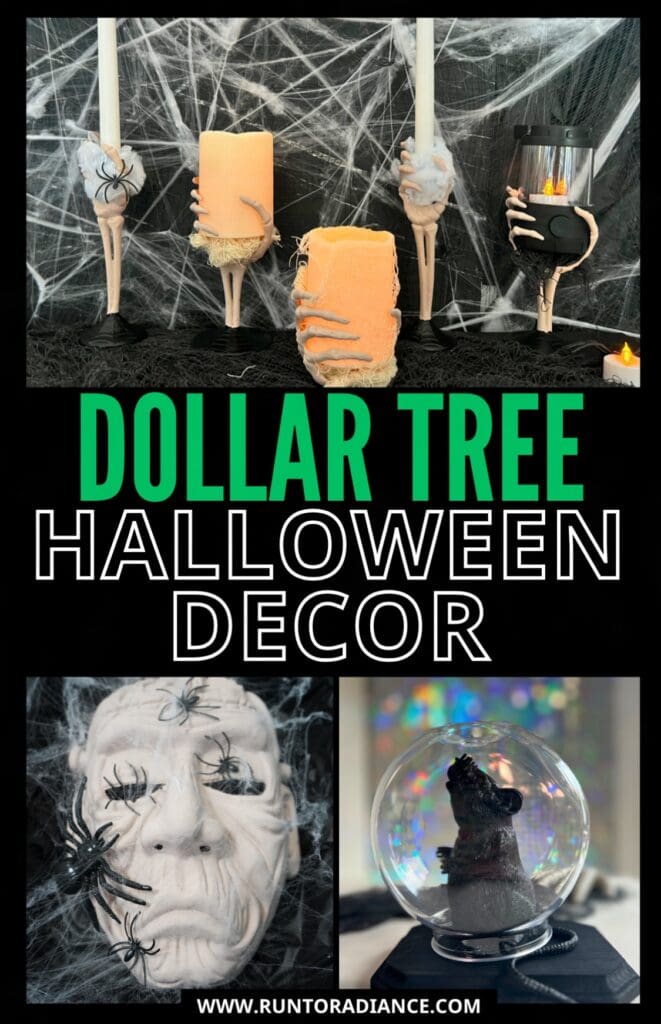
Dollar Tree Halloween Decorations at a Glance 👀
- The vibe: Eerie-but-elegant, display worthy Halloween decor that does NOT look like you grabbed it from a dollar store (no offense!)
- The budget: Mostly $5-10 per project depending on what supplies you already own.
- Skill level: Beginner-friendly — no special tools required for most.
- Age level: This DIY decor is for adults or teens—lots of hot glue involved so not necessarily great for kids. But, I do have an entire post of cute Halloween crafts for kids and even Halloween crafts for toddlers, so check those out!
- What you’ll need: Basic craft supplies (hot glue, paint) plus a trip to Dollar Tree
- Perfect if you love: A great transformation, decorating on a budget, and spooky-but-not-scary vibes (the mask project aside — that one’s genuinely creepy!)
Psst…We have a lot to cover, so feel free to jump ahead or hang with me the whole time!
Tips Before You Start
Here’s a couple things I learned the hard way—learn from my mistakes so you don’t have to suffer, hah!
- Inspect your items at the dollar store carefully before you purchase. There were a good amount of cracked, broken, and damaged things on the shelf.
- Buy a few extra items—better to have an extra in case of a mistake than to have to run back to the store!
- Give the paint PLENTY of time to dry in between coats
- Store your finished pieces somewhere temperature-controlled. I stored mine in my garage, and Texas summer heat did NOT agree with several of them — some pieces didn’t survive storage until the next year. Wah!
Make sure to check out each tutorial for more specific instructions, tips, and tricks!
1. Skeleton Hand Lanterns + Candleholders
Okay, I have to lead with this one because it genuinely went viral — over 1 million views on TikTok! Skeleton hands “holding” little lanterns and candleholders, styled together for the creepiest, coziest Halloween glow.
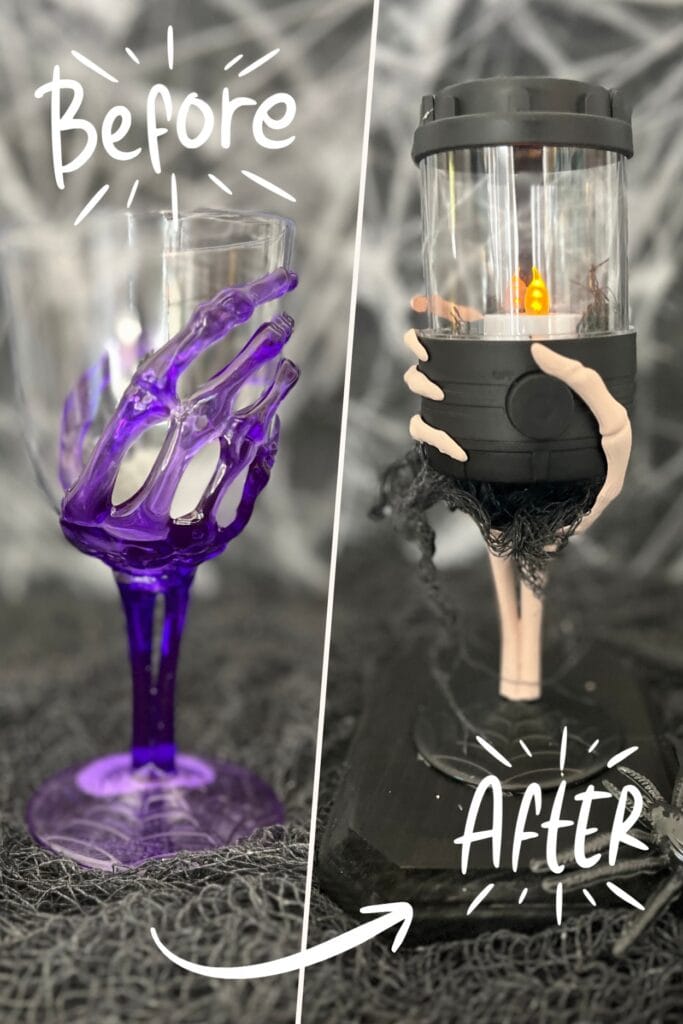
I’ve already written up the complete step-by-step for this one — get the full skeleton hand candle tutorial here!
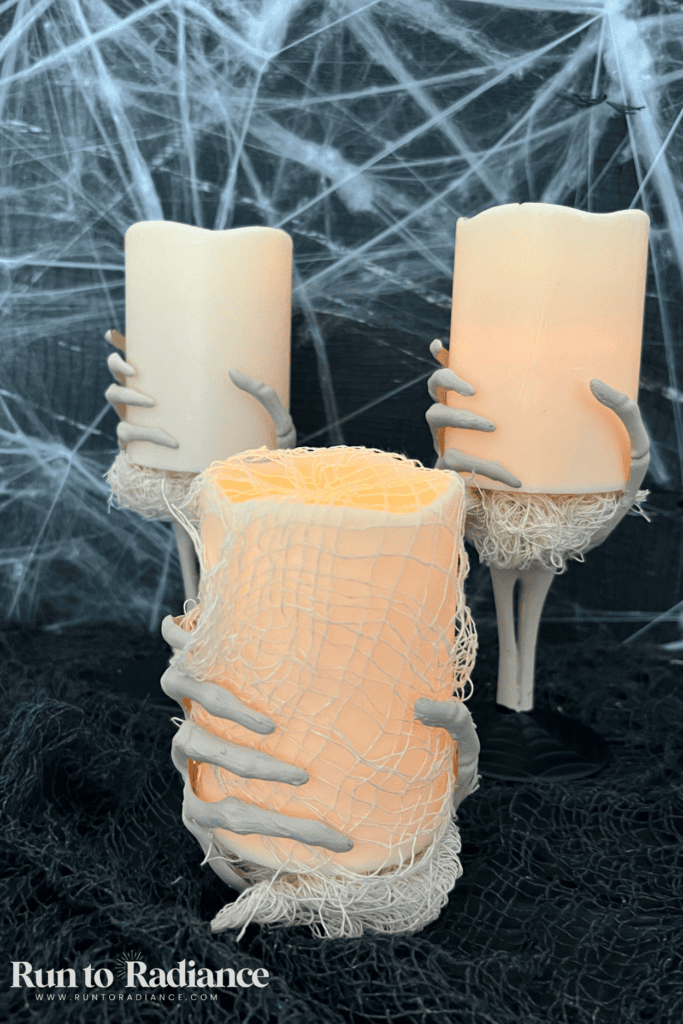
TIP: before you grab that dollar tree candle: skip it if you can! Mine came in a 4-pack and 2 didn’t even work, the other 2 were weak.
If you’re styling this somewhere visible like a mantle, a remote-control candle is worth the extra couple dollars — you’ll appreciate being able to turn them on without reaching behind everything.
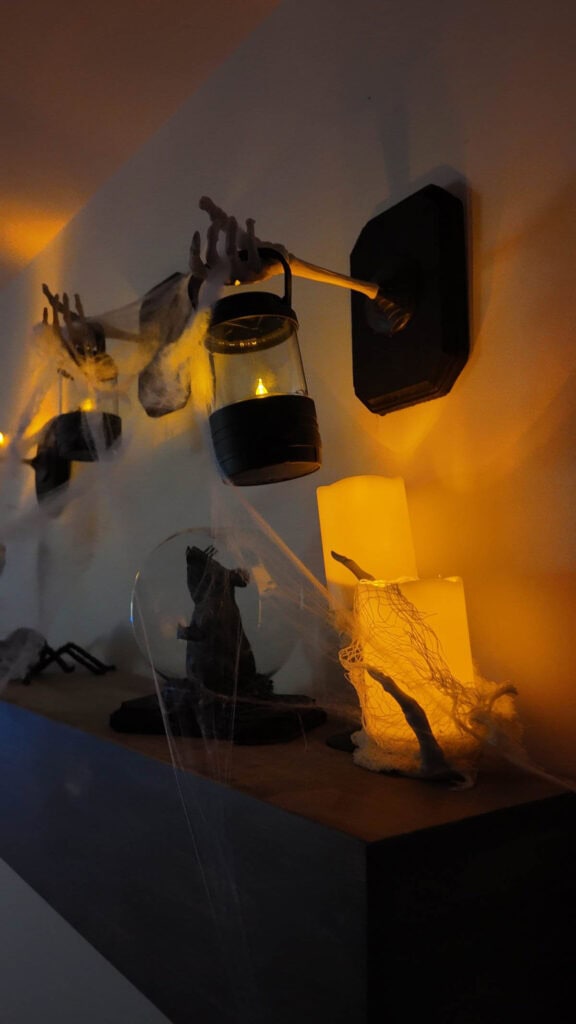
2. Spooky Face Centerpiece
This one came out genuinely creepy — so much so that I didn’t even display it, because it freaked my daughter out!
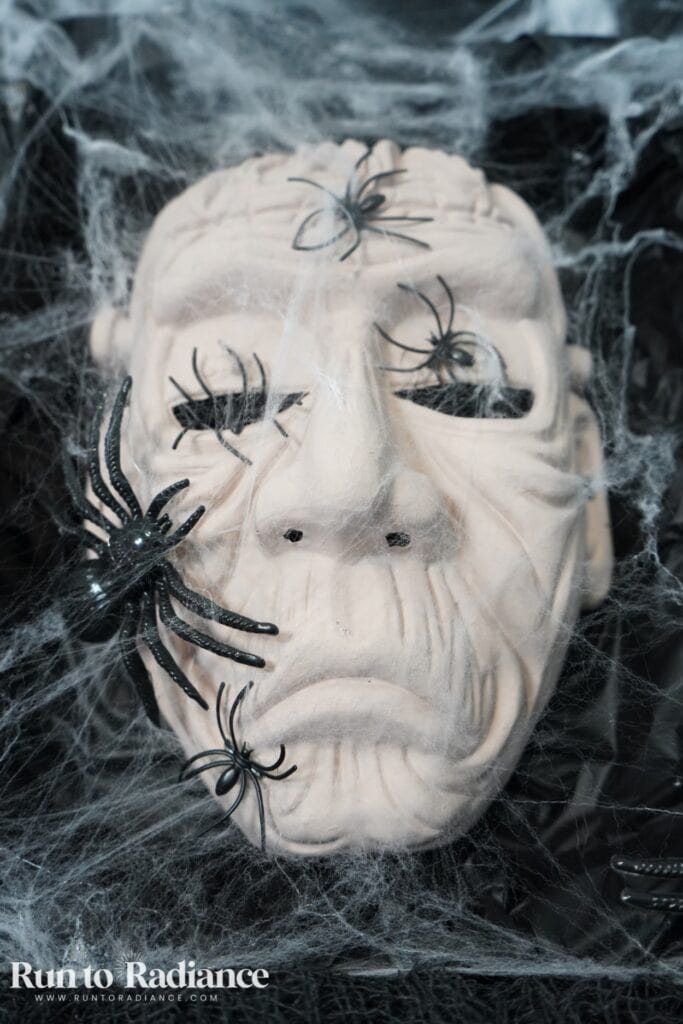
If you want a Dollar Tree Halloween decoration idea with real spooky presence (not just cute-spooky), this is it.
Supplies
Note: everything here came from a dollar store, but I’ll go ahead and link to some online options too! You’ll save money if you grab items in person, however.
- Plastic face mask
- Skin-colored chalk paint or acrylic paint
- Foam paintbrush
- Aluminum pan
- Black plastic tablecloth or even a black trash bag
- Creepy cloth
- Spiderwebs + faux spiders
Instructions
- Prep your mask – give it a good wipe down before you start painting.
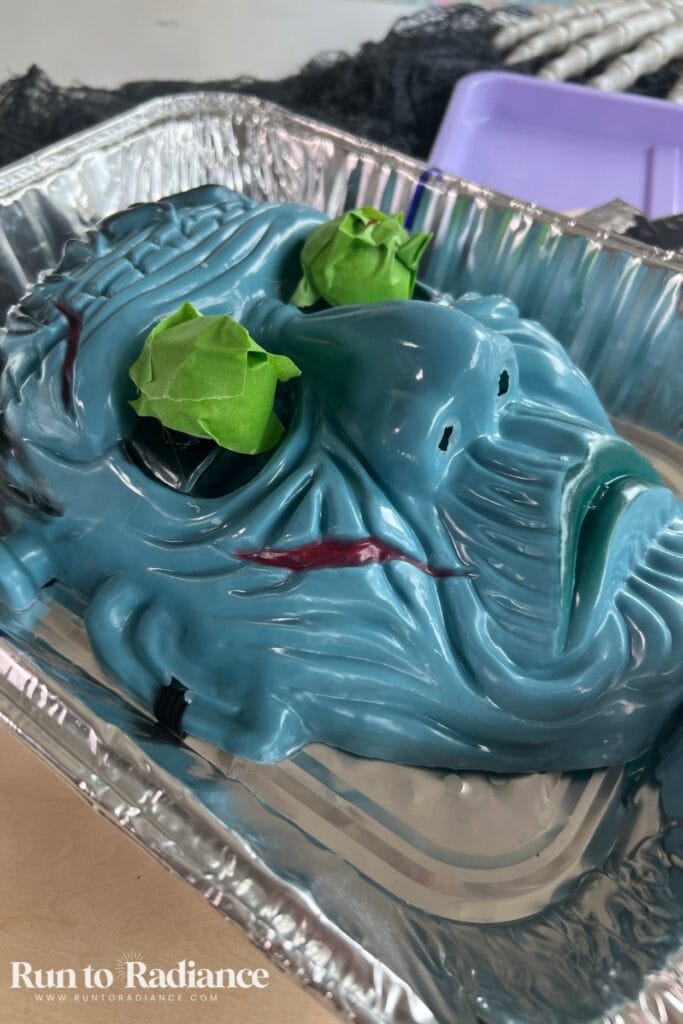
- Apply a coat of chalk paint over the mask. Allow it to dry fully before layering on a second coat. Since my mask started bright BLUE, it took me like 6 layers of paint to cover!
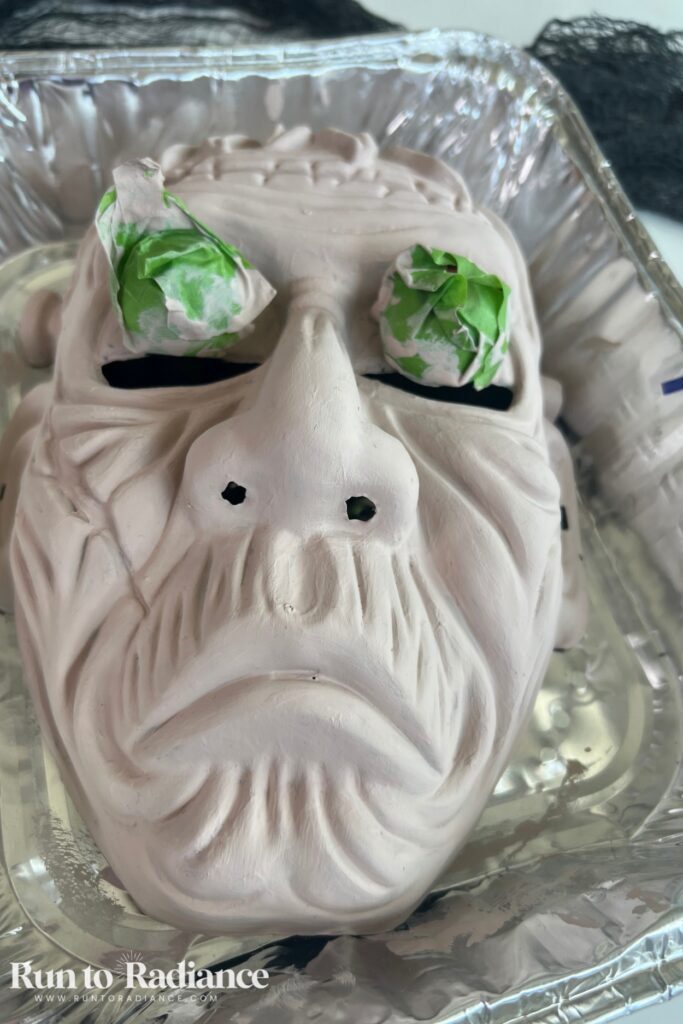
- Use the black tablecloth to cover the aluminum pan fully – you want it to be totally black.
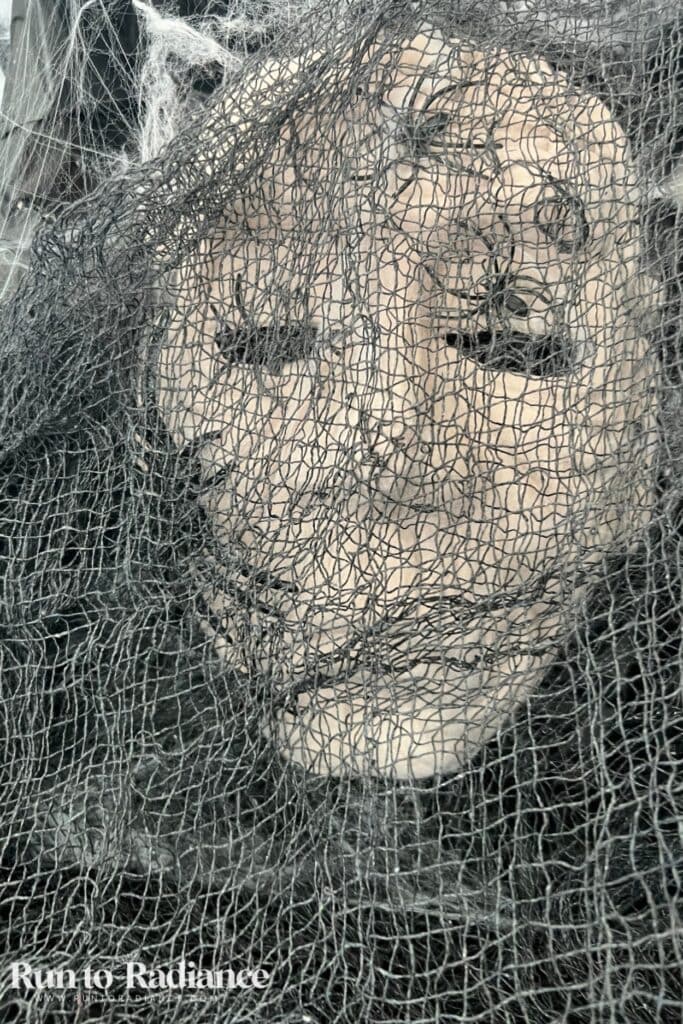
- Add the floating head (aka painted mask) to the pan, then style it with creepy cloth, spiderwebs, and spiders.
Tips: I highly recommend starting with a mask that is already skin-colored or at least light colored. That bright blue took me soooo long to cover in paint!
3. Twine-Wrapped Spider
This is such a satisfying upgrade — taking a cheap twine-wrapped spider decoration and turning it into something that looks genuinely upscale.
Supplies
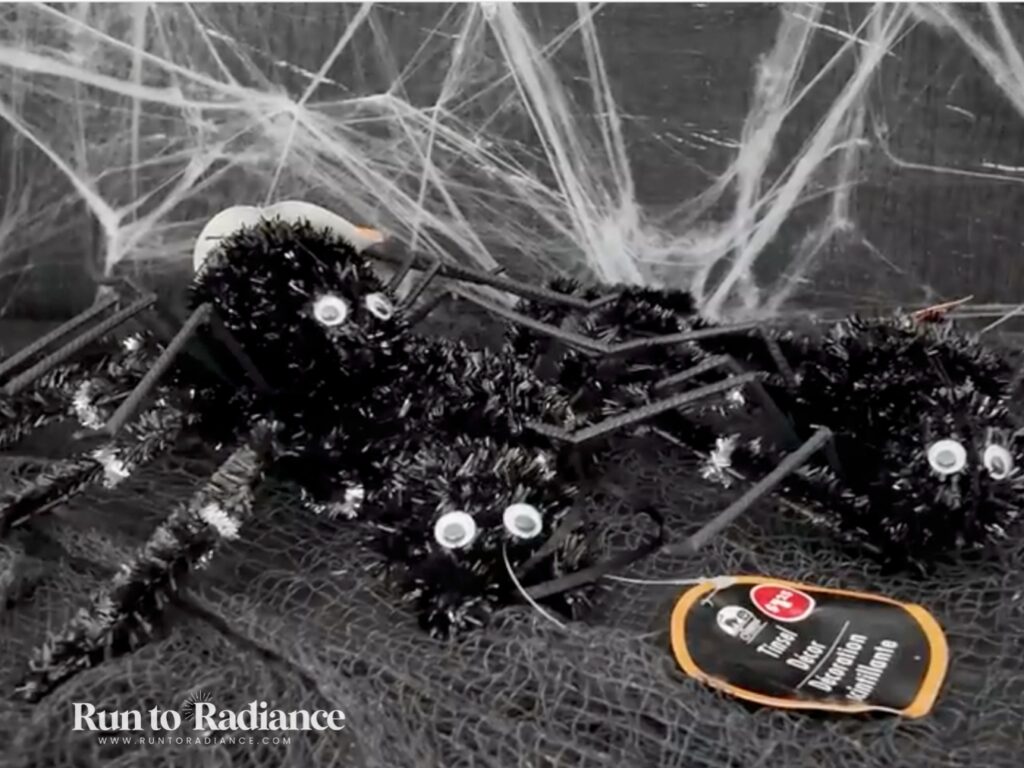
- Cheap tinsel-covered spider
- Black twine or yarn
- Hot glue gun and glue sticks
Instructions
- Remove the tinsel from the spider’s body.
- Add a dab of hot glue to the spider body, then wrap it with twine. Work in small sections so you can wrap the twine before the hot glue dries!
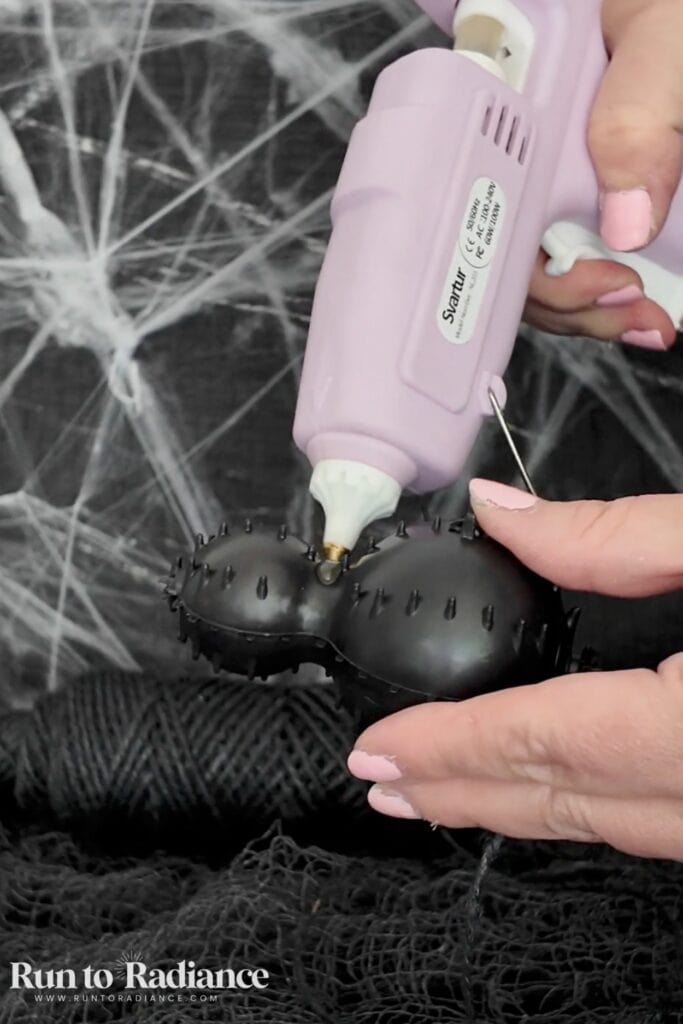
- Continue working until the entire body is covered in twine. Trim and glue down any loose ends.
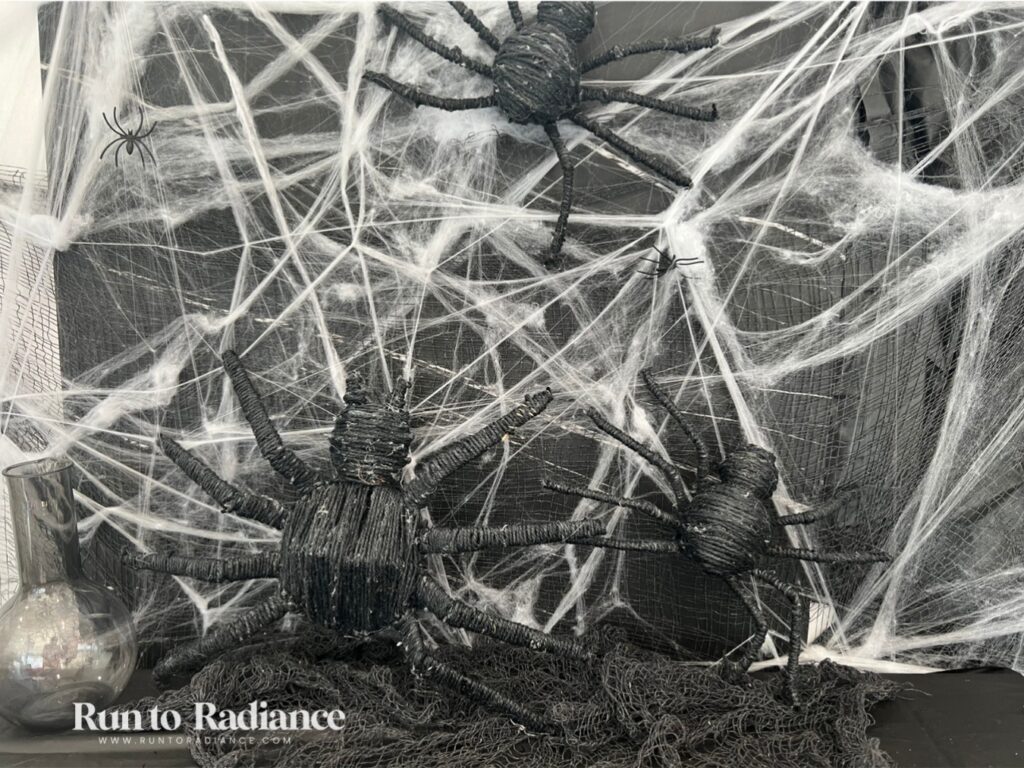
Tip: removing the tinsel is the quick part—you’re going to need some focus and patience when adding that twine back on. But, it’s sooo worth it!
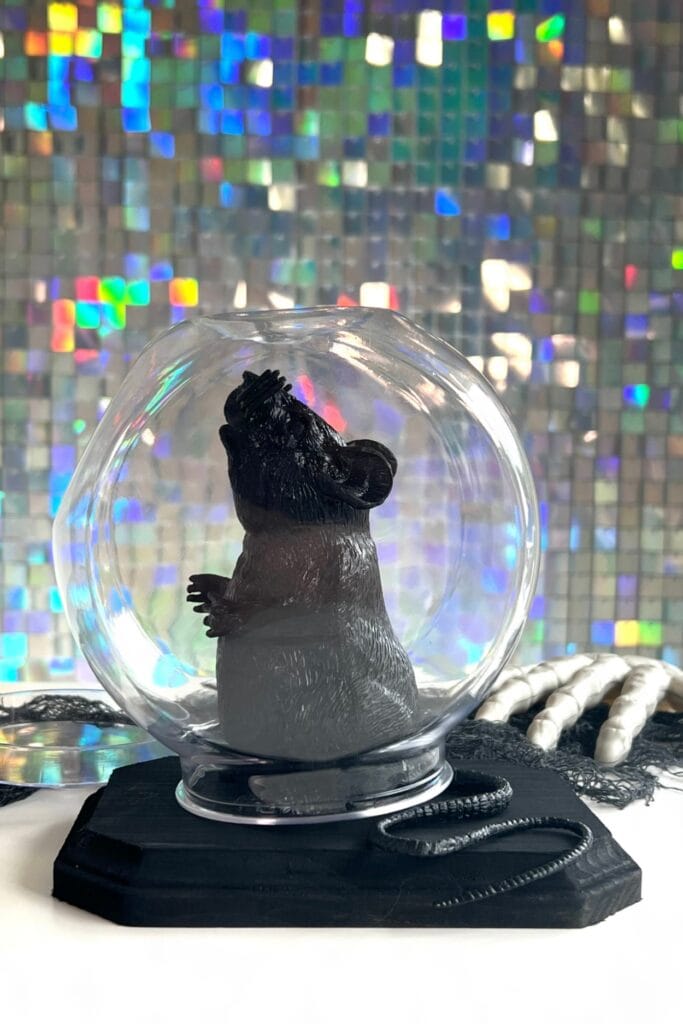
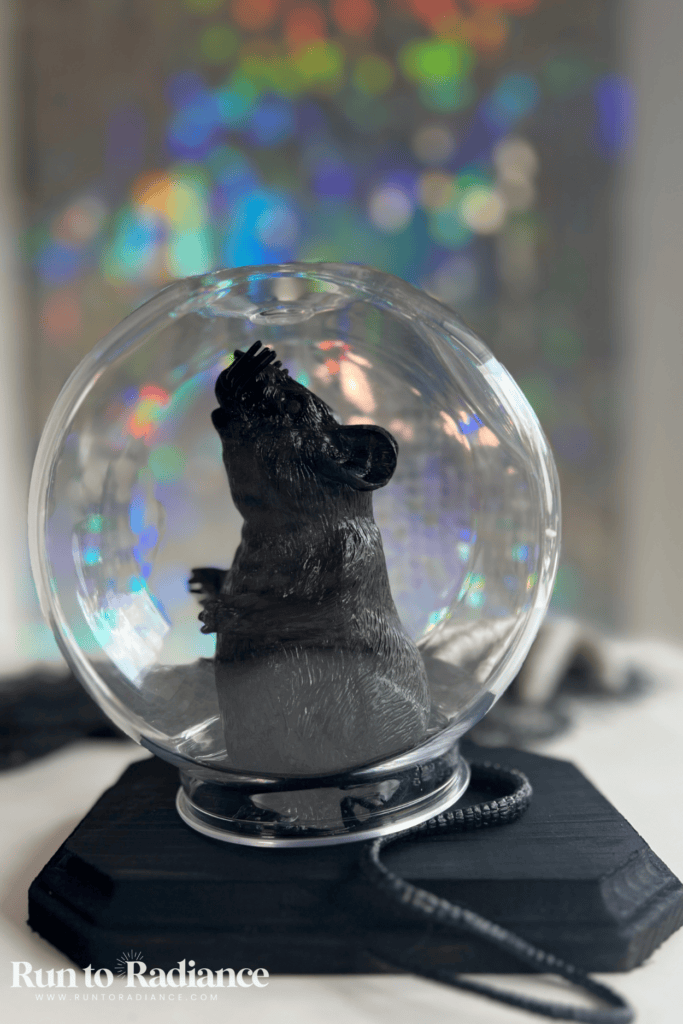
4. Faux Rat Specimen
This little guy is super cute and versatile. Style it on your coffee table with a creepy Halloween book, or place it on your fireplace mantle.
Supplies
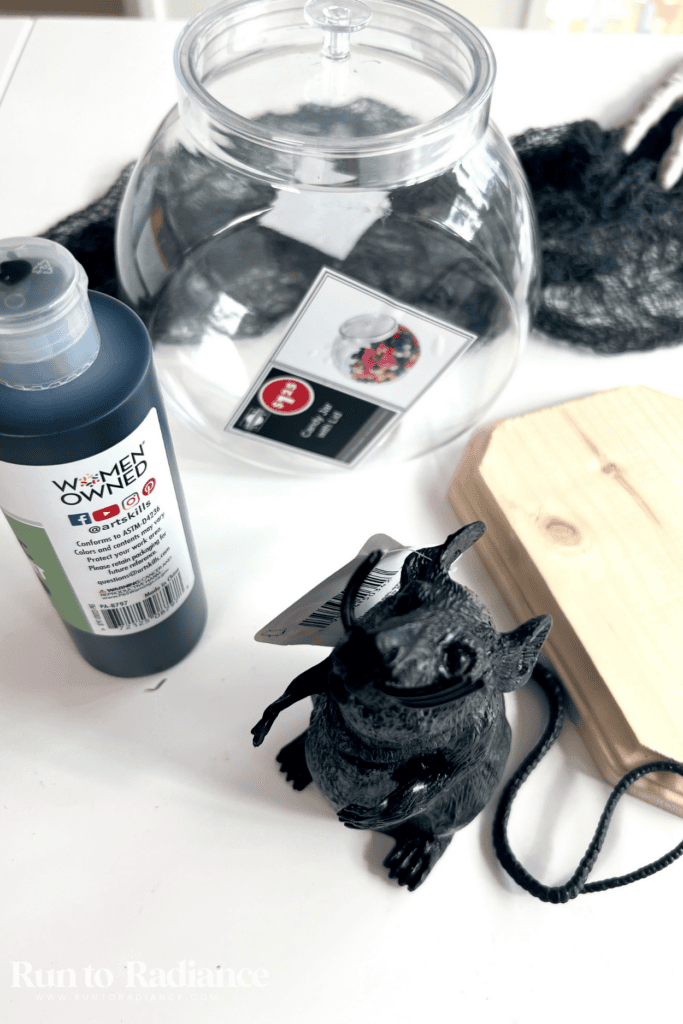
- Plastic rat, mouse, or other interesting “specimen”
- Clear plastic fishbowl or bowl that your specimen can fit inside of
- Wooden plaque
- Black craft paint
- Hot glue gun and glue sticks
Instructions
- Paint the wooden plaque black, then allow it to dry fully.
- Do a quick dry fit by placing your rat on the plaque, and adding the plastic jar over it. When you are happy with the placement, use hot glue to secure the rat and then jar in place.
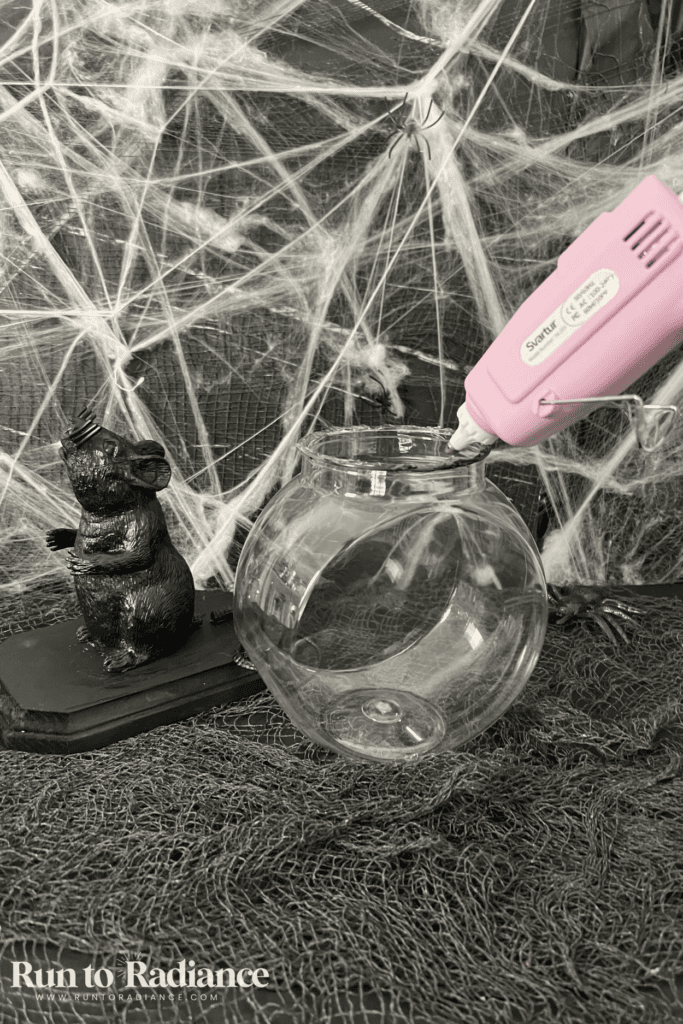
- Style with spiderwebs or other creepy details.
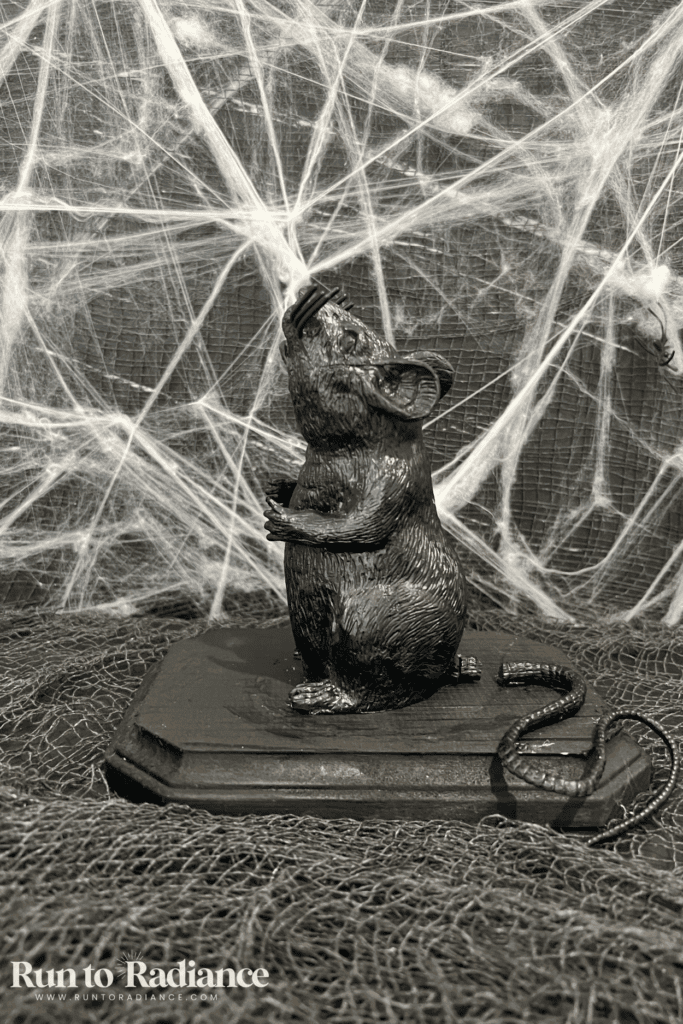
TIP: I thought it would look cool if the rat’s tail was outside the jar, almost like it was chopped off while being trapped. I cut the tail off and glued it on the outside of the jar on the wooden board. It looked cool but I’m not sure if it was worth the extra effort!
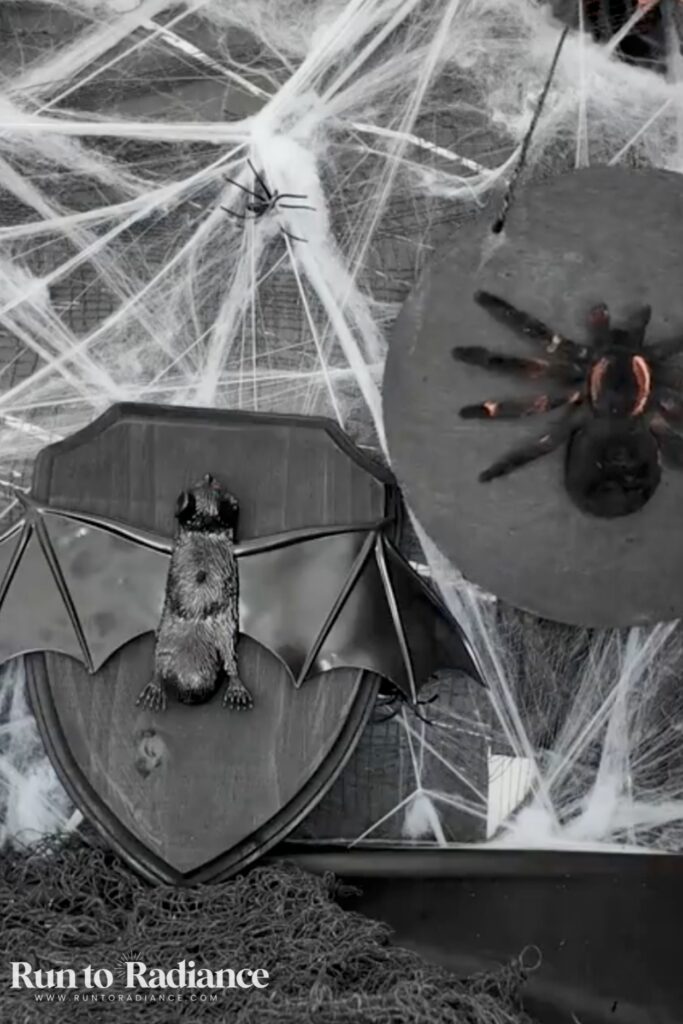
5. Faux Taxidermy
This Dollar Tree Halloween decoration project is probably the easiest on the list and looks super cool! Highly recommend you give this one a try.
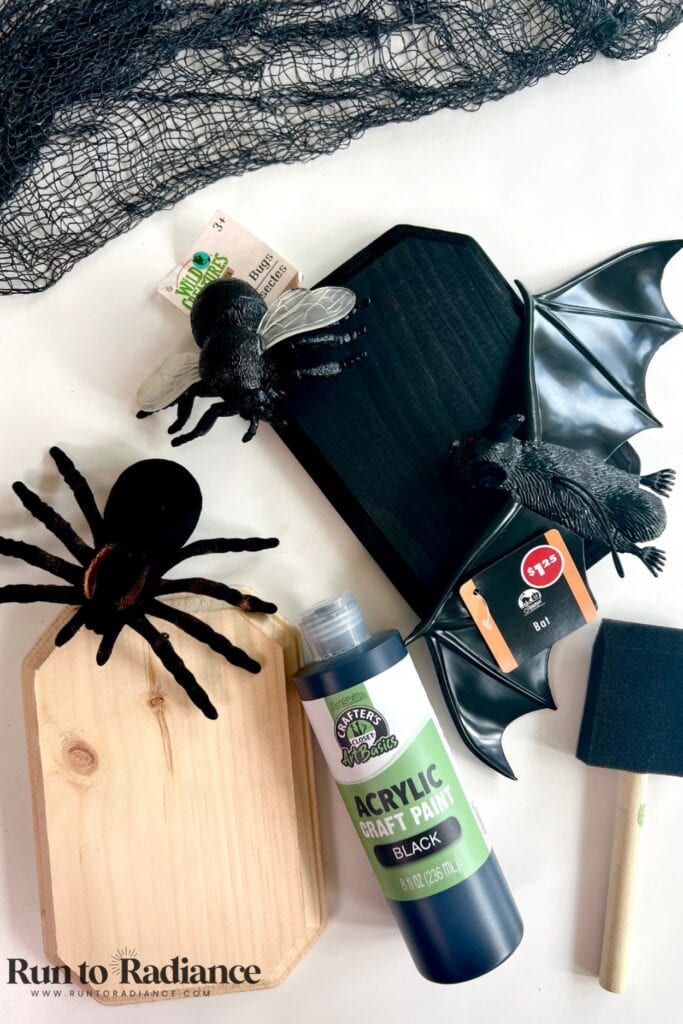
Supplies
- 3 wooden plaques or boards (or however many you want to make)
- Lightweight plastic flies, bugs, animal figures, or toys. Pick creepy ones!
- Black paint
- Foam paintbrush
- Hot glue gun and glue sticks
Instructions
- Paint the wooden plaques with black paint. Allow them to dry fully.
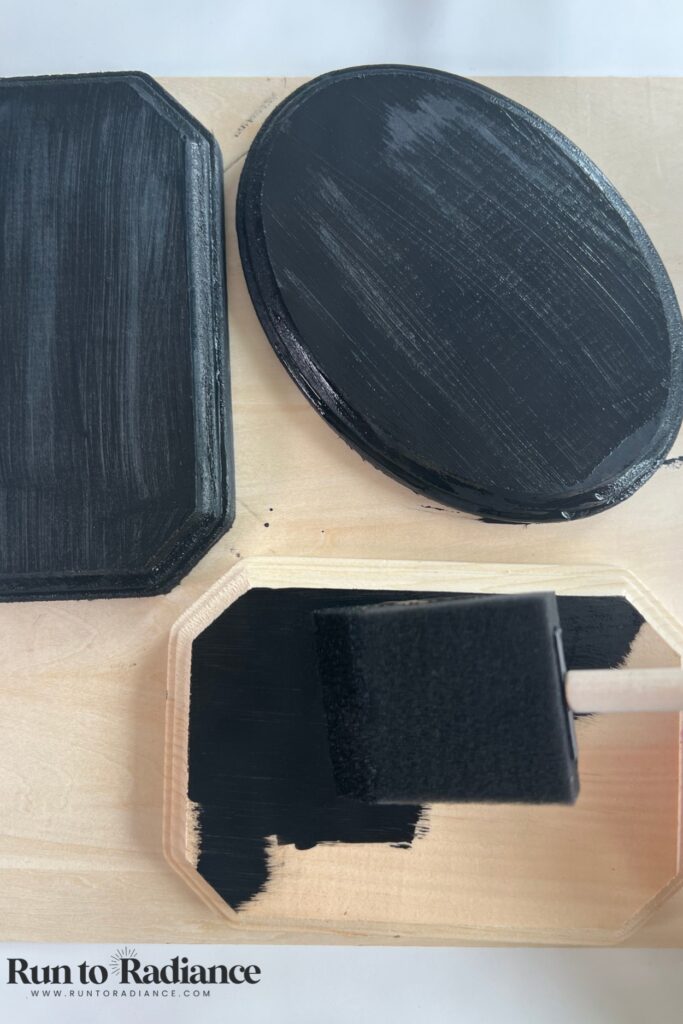
- Arrange your specimens on the plaques, then use hot glue to secure them in place.
- Hang to display! I used command strips for the ones that didn’t have a rope.
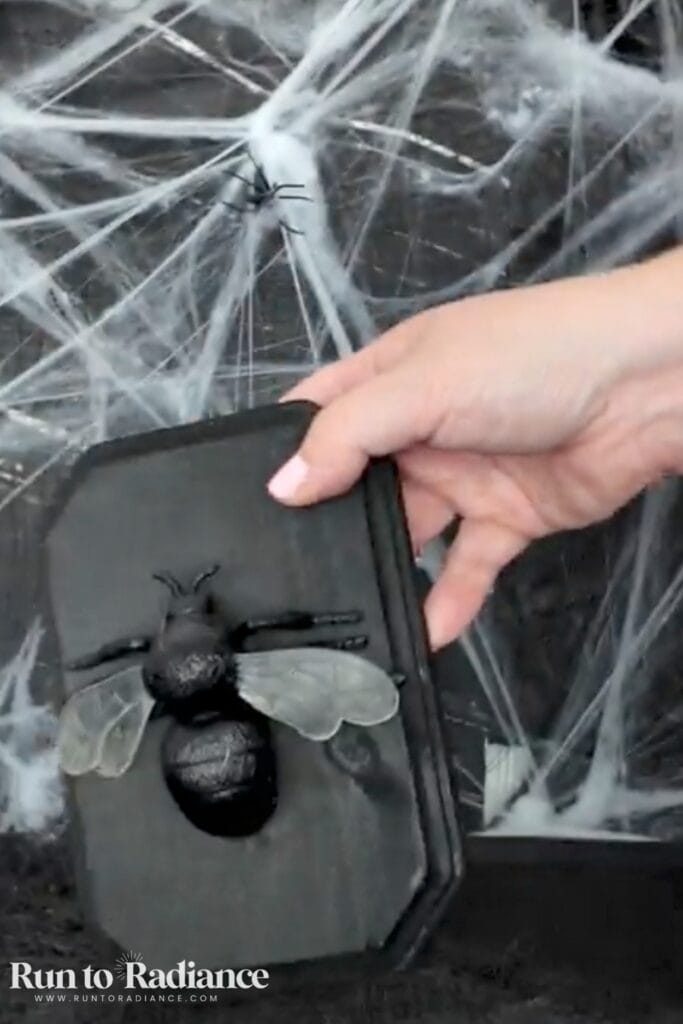
TIP: If you can’t find a suitable “specimen” in the Halloween section, check the toy aisle! That’s where I found the big creepy fly!
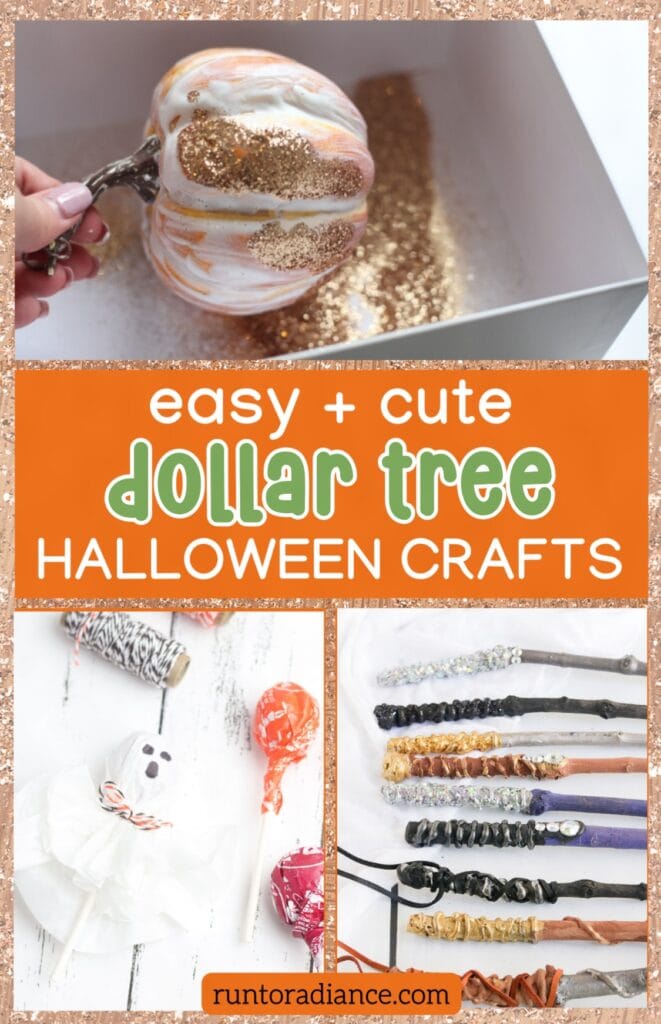
6. Glitter Pumpkins
This one wasn’t originally a dollar tree haul for me — but here’s the thing: plastic pumpkins, glitter, and glue are all things you can grab there…I literally verified it yesterday!
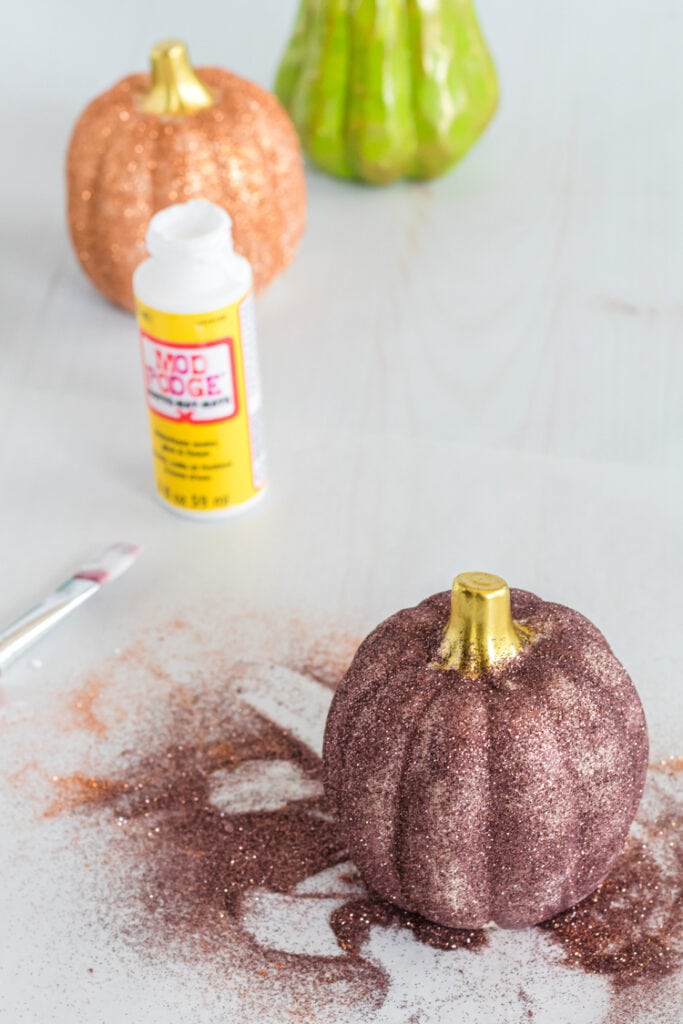
You can easily recreate this exact project on a dollar-tree budget, and it will make a fun addition to your Halloween decor.

Get the full instructions for how to make glitter pumpkins here!
7. Ghost Lollipops
These ghost lollipops are the EASIEST diy ever, and affordable too, thanks to the Dollar Tree!
Simple, sweet, and always a hit, this edible decor takes like a minute to make (literally). I like to use them in my kids’ boo baskets, but also Halloween decor!

Here are a few ways to style them:
- pile a bunch into a big glass bowl for an easy tablescape centerpiece
- stick the sticks into the top of a foam pumpkin for a super fun Halloween party centerpiece.
- use command hooks and clear string to hang these from the ceiling (you use styrofoam balls instead of lollipops to make them uptra light!)
- tie several together into a simple ghost garland to drape along a mantle

Did I convince you to give these a try? Get the full tutorial for DIY ghost lollipops here!
8. DIY Harry Potter Wands
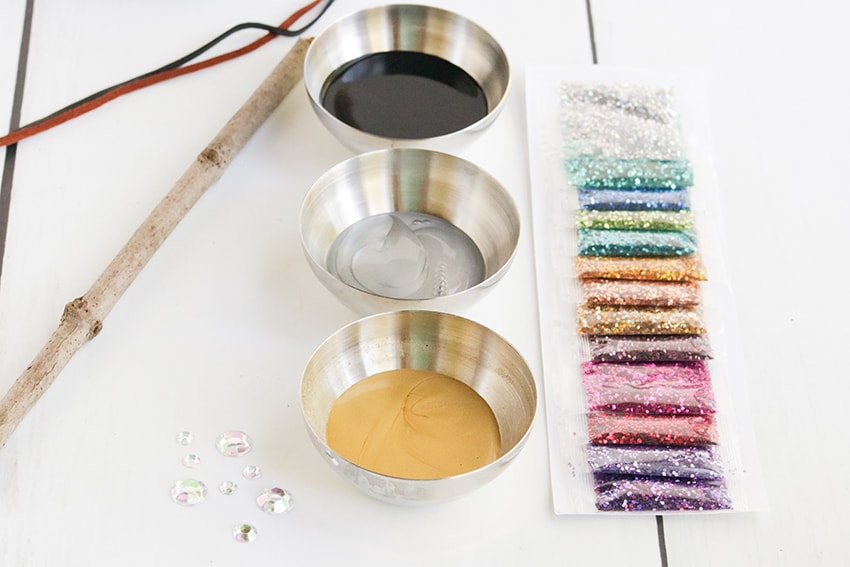
Another great decor project you can absolutely pull together on a Dollar Tree budget: these DIY wands are always a hit, wizarding-world fans or not!
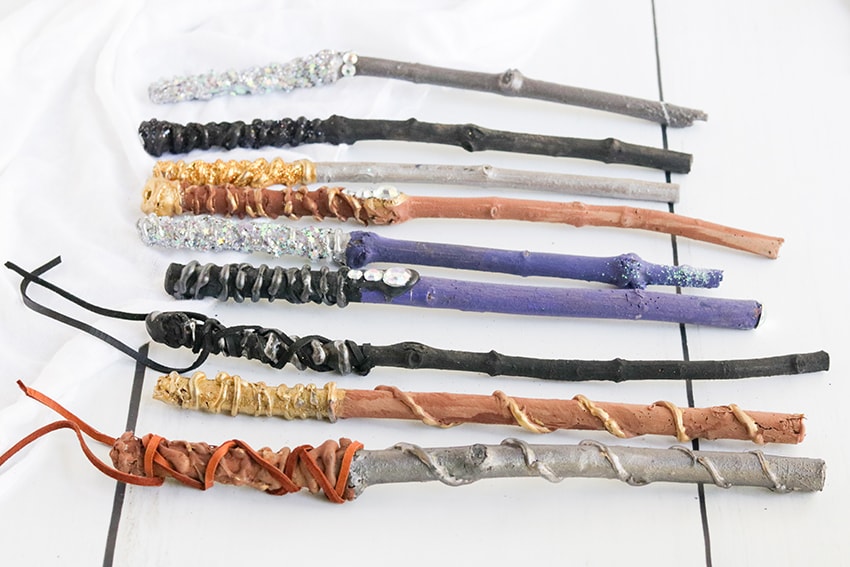
Everything you need to make these is available at the dollar store…except for the branches. You’ll have to hunt outdoors for those! 😉
To turn these into actual decor rather than just a craft project, try displaying a full set fanned out in a tall glass vase or jar (great as a centerpiece or entry table moment). Or, mount a few on the wall in a simple holder for a floating “wand wall” look
You can also bundle them with ribbon or twine and lay them across a mantle or bookshelf for an easy styled vignette, leave one casually on your coffee table, or add a few to your Halloween wreath!
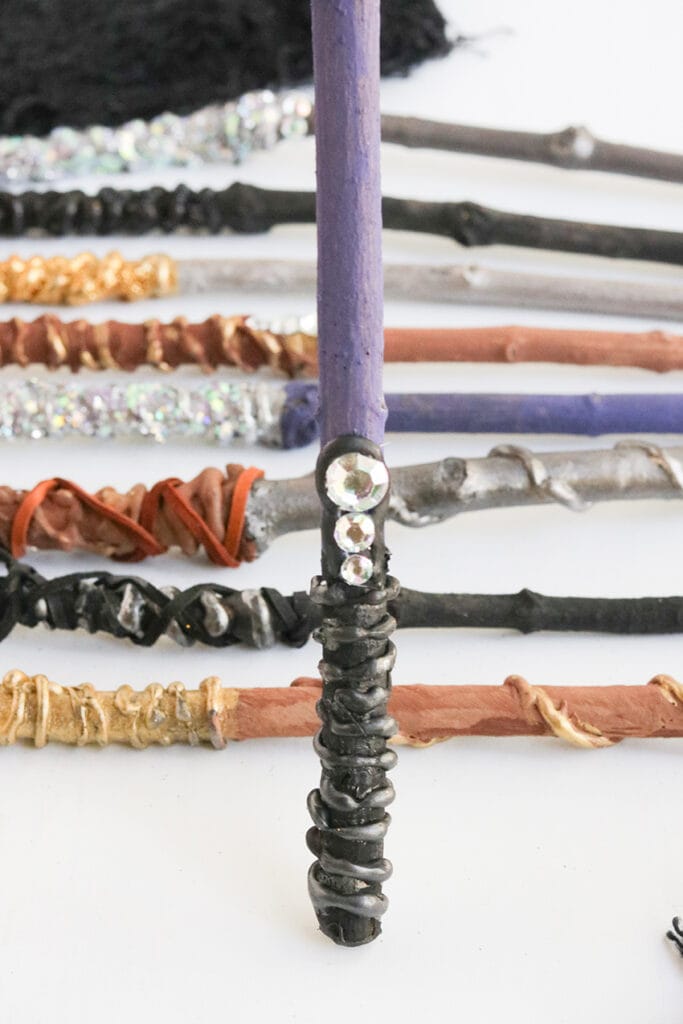
Want the full details on how to whip these up? Here’s the full tutorial for the DIY Harry Potter wands!
Other Ideas for Dollar Tree Halloween Decorations
There are so many ways you can use dollar store items to create a creepy atmosphere! Here are a few more quick ideas to try:
- Dollar Tree sells a variety of plastic potion bottles as well as vases, cups, etc. Mix and match to create a spooky display!
- You can easily find skeleton hands at the dollar store. My favorite ones are labeled as “serving spoons” – but they look like 2 hands! I like to stick them randomly into my utensil crock, potted plants, coming out of drawers, etc.
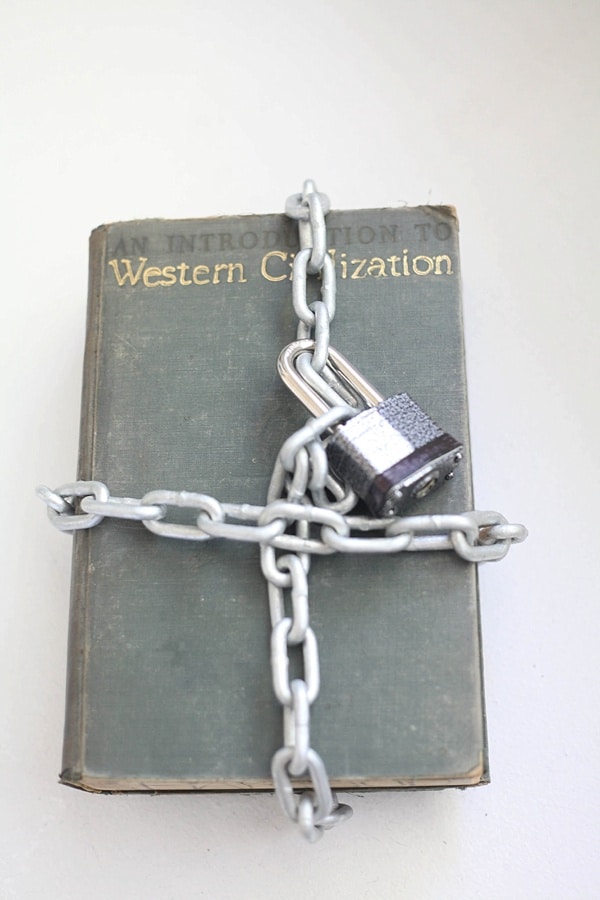
- Grab their plastic oversized chain and tie it around some vintage books to make a creepy display just like I did in my creepy Halloween book post!
- Creepy cloth and spider webs are a must! Use them to create a centerpiece on your dining table, console, drape across your mantle, etc. Don’t forget the little plastic spiders too!
- It’s not just the Halloween aisle that can give some good spooky decor! Think creatively and check the toy section, craft section, and even the home improvement area for more ideas!
Just remember, decorating for holidays is fun and temporary…and thanks to the Dollar Tree, relatively cheap! So, have fun with it!
More Halloween Ideas