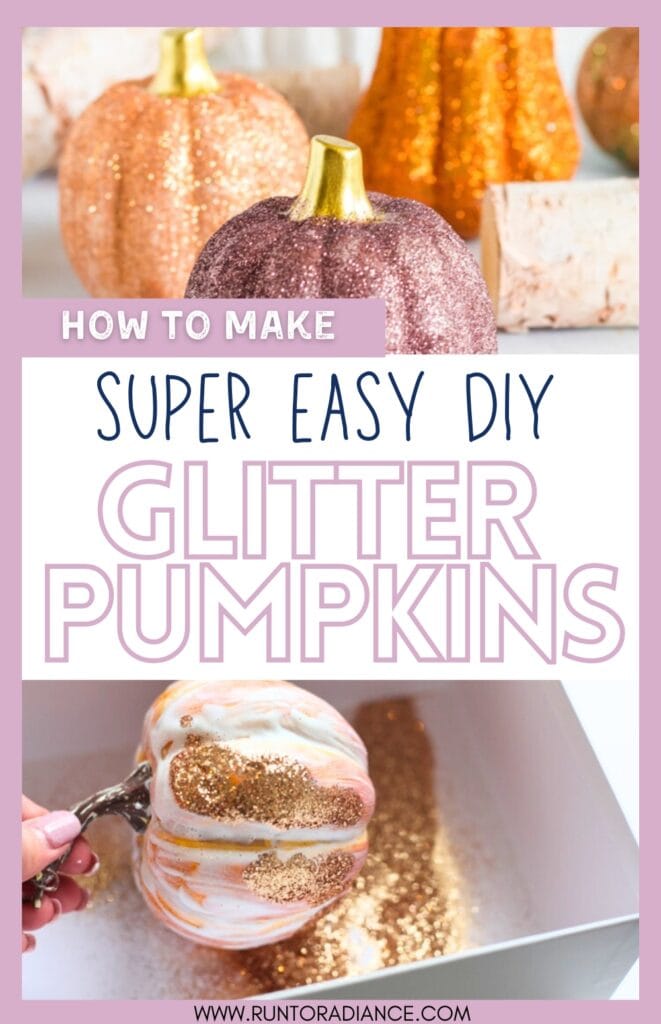
DIY Glitter Pumpkins {Cute Halloween Decor}
This post may contain affiliate links. As an Amazon Associate I earn from qualifying purchases.

Okay, today’s project might be one of my favorites ever…DIY glitter pumpkins! I know, just when you thought pumpkins couldn’t get any more fun, you have been proven wrong. Long live DIY glitter pumpkins!
These pumpkins with glitter are one of the easiest fall craft projects I’ve ever done, and they last forever. I made a batch of glitter pumpkins several years ago and they are still going strong. You’ll want to pull these out year after year and layer them in with your fall decor.
Tips for Working with Glitter ✨
Because I vow to always keep it real with you…I’ll be completely honest here. This project can get very messy.
I have done dozens of projects using glitter over a decade or two, so I consider myself to be a glitter expert, and even I spilled a few particals here and there during this project.
Oops. Now our living room floor has some sparkle too…I’m not mad about it. 🙂
If you have never worked with glitter before, be prepared—it gets pretty much everywhere! If you want pretty glitter pumpkins but don’t want your entire house to be covered with glitter, make sure to follow these tips:
- This might be a great project to do outside rather than inside if you are glitter-adverse, especially if you are making these with kids!
- If you prefer to make these pumpkins with glitter inside, make sure you have a plastic tablecloth or roll of paper on hand so that you can roll it up, capture all the glitter and toss it.
- When making this, keep the pumpkin inside a box, so all the glitter falls within the box rather than your floor. You’ll see what I mean below!
- Seal your pumpkin with a protective coating once it’s done. I recommend using glossy mod podge so you don’t lose any shine! Just keep the brushstrokes thin and even.
Supplies
That being said, if you like sparkle, you’ll LOVE this project.
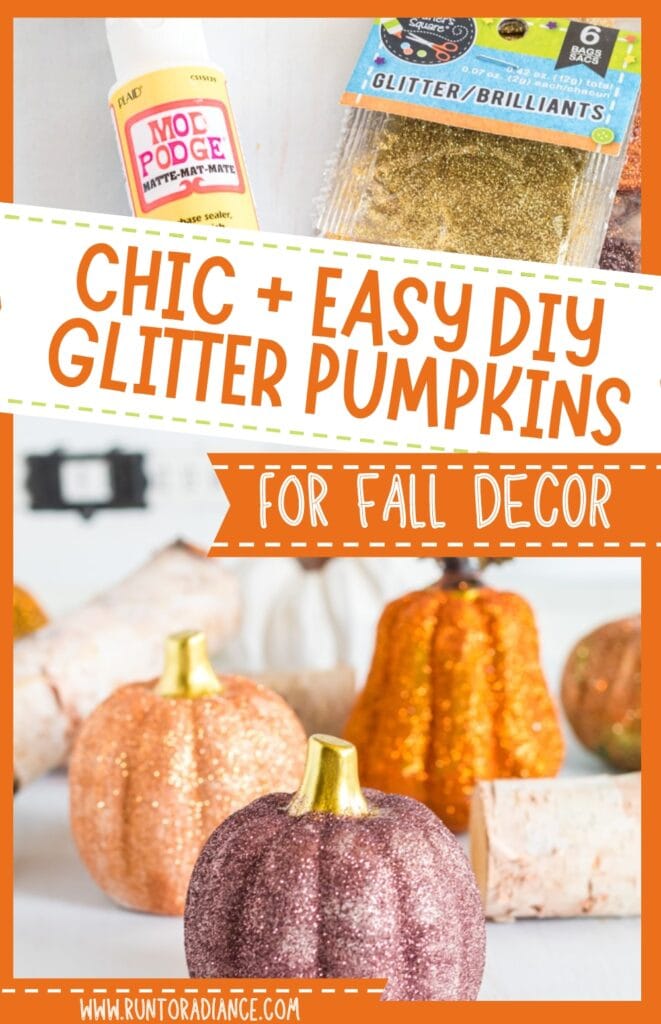
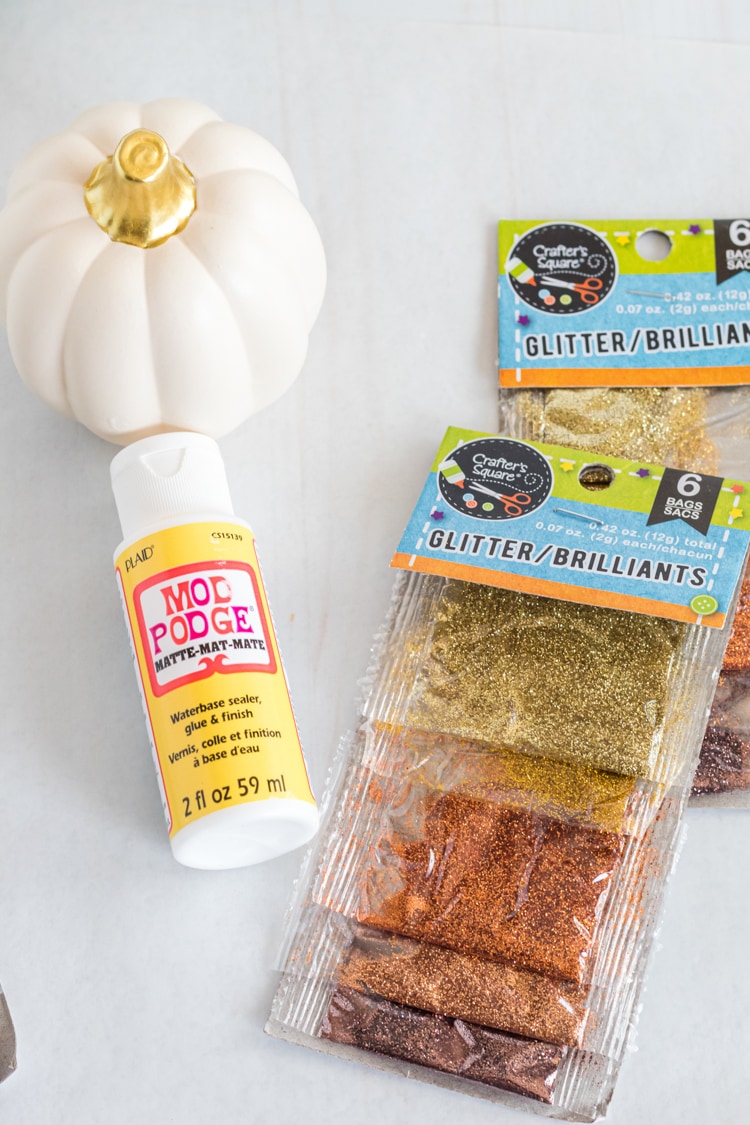
Another fun thing about this project is the limited supplies needed. All you need to make these pumpkins with glitter are:
- Foam craft pumpkins
- Mod Podge
- Foam brush
- Extra fine glitter
- Glossy Mod Podge (for sealing)
One other optional supply that I highly, highly recommend is a box that your pumpkin can fit inside and a shoebox. You’ll see why, but just trust me on that one!
How To Make DIY Glitter Pumpkins
Making these pumpkins with glitter is both quick and easy, especially if you implement the tips I’ll share below.
1. Start with foam craft pumpkins. Any type of foam pumpkin will do, but if you want to make your pumpkins with glitter that is gold or a lighter color, it’s a bit easier to start with a white or light-colored pumpkin.
If you have a dark-colored pumpkin, you could even spray paint it a lighter color first.
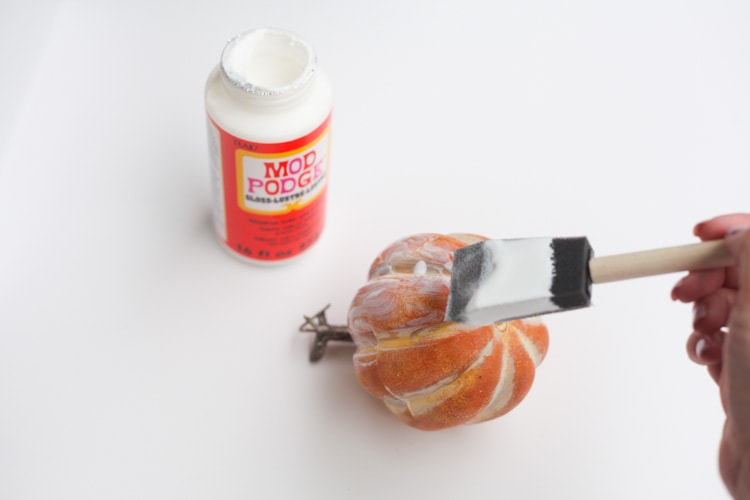
2. Next, use your foam brush to cover your pumpkin in a coat of Mod Podge. You definitely want to lean towards a thicker coat rather than a thin one.

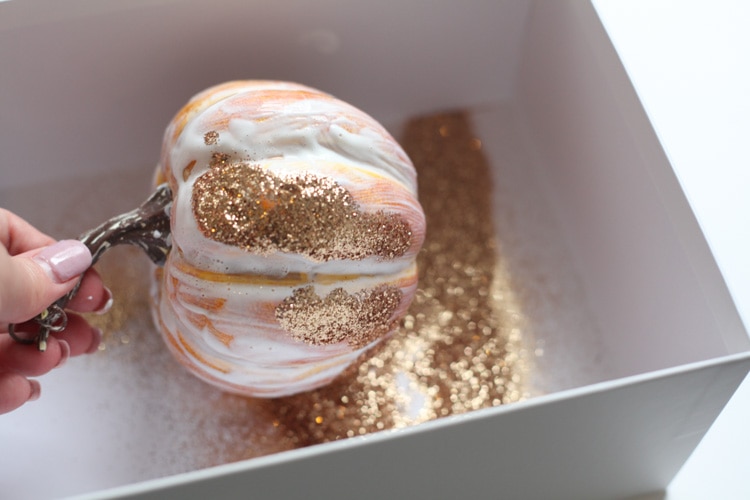
3. Cover the pumpkin in glitter. Make sure to use extra fine glitter to get that pretty sparkle.

Remember above, where I recommended having a couple of small boxes on hand? This is where they will come in handy.
Pour the glitter into the shoe box, hold your pumpkin by the stem over the bigger box, and use the shoe box to pour glitter on your pumpkin as you rotate it.
When the smaller box is empty of glitter, pour the glitter from the big box into the smaller one, then start the process again.
Give it a good shake and set it to dry for 24 hours (I put mine in another box for glitter control).
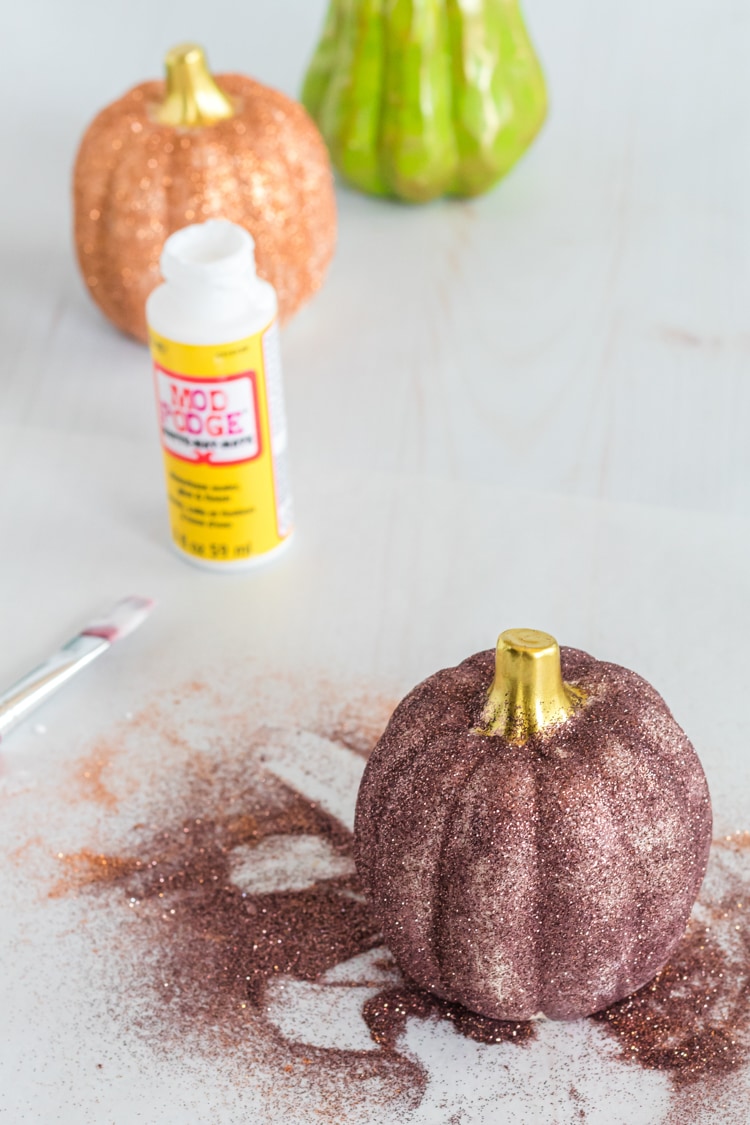
4. Let it dry for 24 hours or so. You can do an additional coat of Mod Podge to seal the glitter in or do a second coat of glitter if needed.
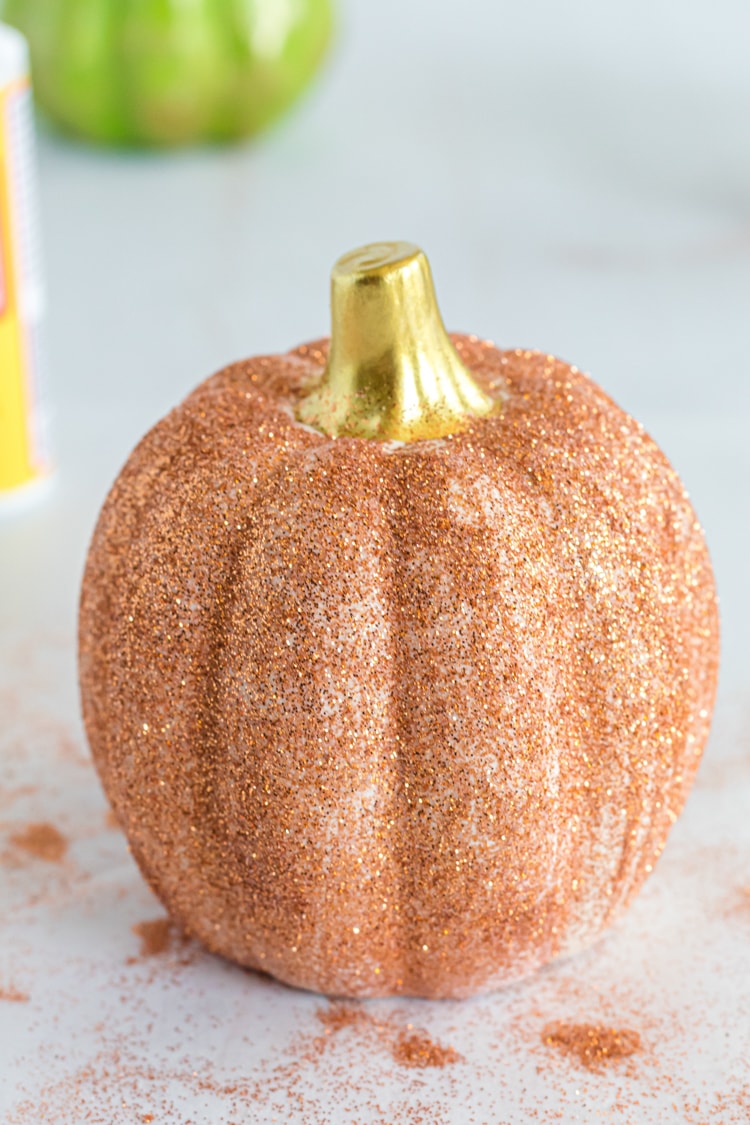
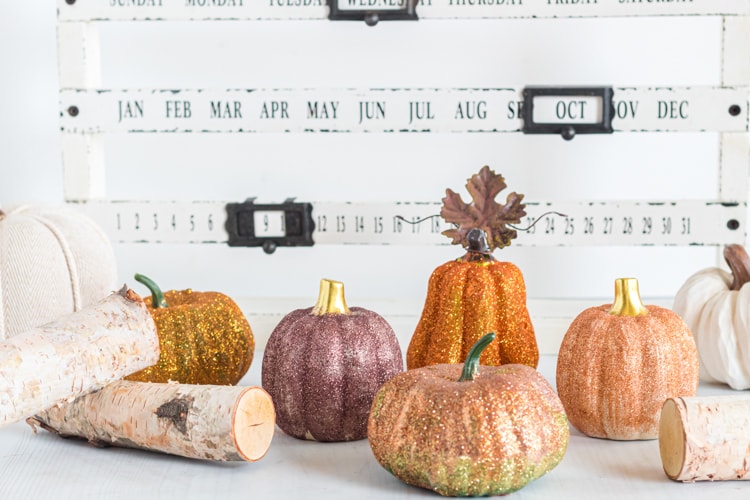
That’s it! Aren’t DIY glitter pumpkins so simple?
The darker colors of glitter tend to work better for coverage, but the white glitter gave my pumpkin a nice, frosted look.

Are you on team glitter or team no way? I feel like people are very black-and-white on this issue—let’s hear it! I think you know where I stand…sparkle, sparkle!
MORE FUN HALLOWEEN CRAFTS TO TRY:
- HOW TO MAKE SPOOKY GHOST LOLLIPOPS
- PERSONALIZED DIY HARRY POTTER WANDS {FUN HALLOWEEN CRAFTS!}
- DIY SPOOKY HALLOWEEN BOOKS
- HALLOWEEN DECOR FOR THE ROMANTIC
Instructions
- Start with foam craft pumpkins. Any type of foam pumpkin will do, but if you want to make your pumpkins with glitter that is gold or a lighter color, it's a bit easier to start with a white or light-colored pumpkin. If you have a dark-colored pumpkin, you could even spray paint it a lighter color first.
- Next, use your foam brush to cover your pumpkin in a coat of Mod Podge. You definitely want to lean towards a thicker coat rather than a thin one.
- Cover the pumpkin in glitter. Make sure to use extra fine glitter to get that pretty sparkle.
- Let it dry for 24 hours or so. You can do an additional coat of Mod Podge to seal the glitter in, or do a second coat of glitter if needed.


Nothing makes me happier in the fall than some glittery pumpkins! LOVE this!
Oh my goodness – so simple but makes it look so elegant!
Oh these are just too perfect. The very next faux pumpkin I see is totally getting the glitter treatment! Sue via #CreateLinkInspire
So simple & pretty! Thanks for sharing at #HomeMattersParty
Pretty and fun idea for pumpkins to add some sparkle to my fall.
I luv your glitter pumpkins and would luv to invite you luv to invite you to share it was over at Wall to Wall DIY Wednesday, which runs thru Mondays. Best, Ann