DIY Spooky Halloween Decorations With Books
Follow this fun tutorial and see how easy it is to make your own DIY spooky Halloween decorations with books for a nerdy holiday!
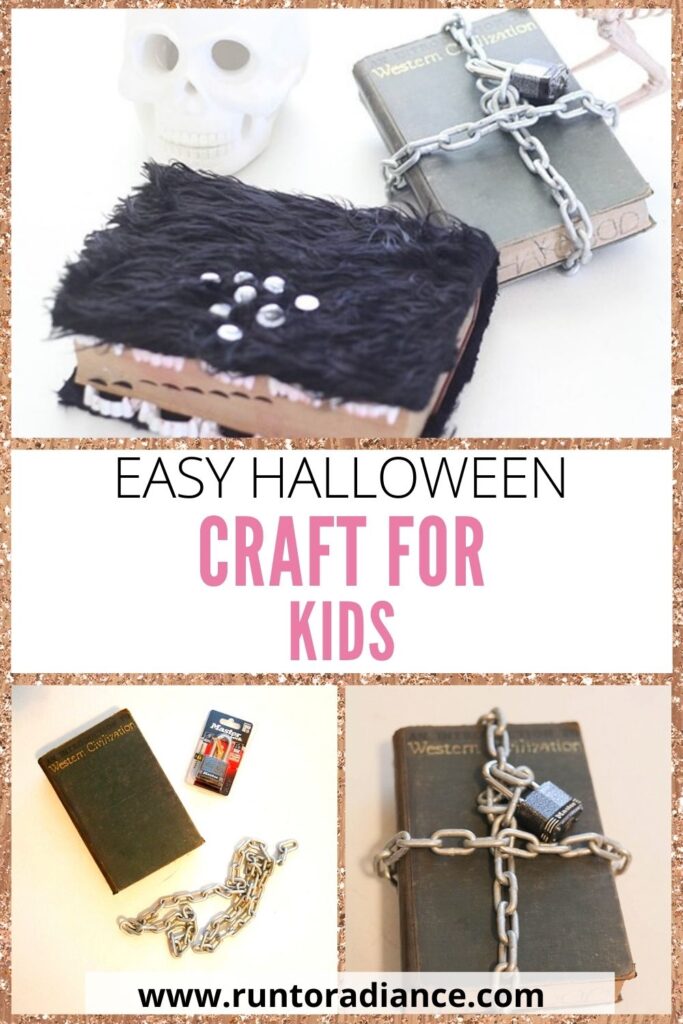
I love a good DIY project – even better if it’s fast, easy, and festive! These spooky Halloween books are so much fun to make and will be something you can stash and pull out year after year. Ready to make a creepy book (or two!) of your own? Here we go!
DIY Spooky Halloween Book Decorations
For this fun yet spooky Halloween book decor, you might just have what you need lying around your house already! If not, a trip to a craft store is easy enough.
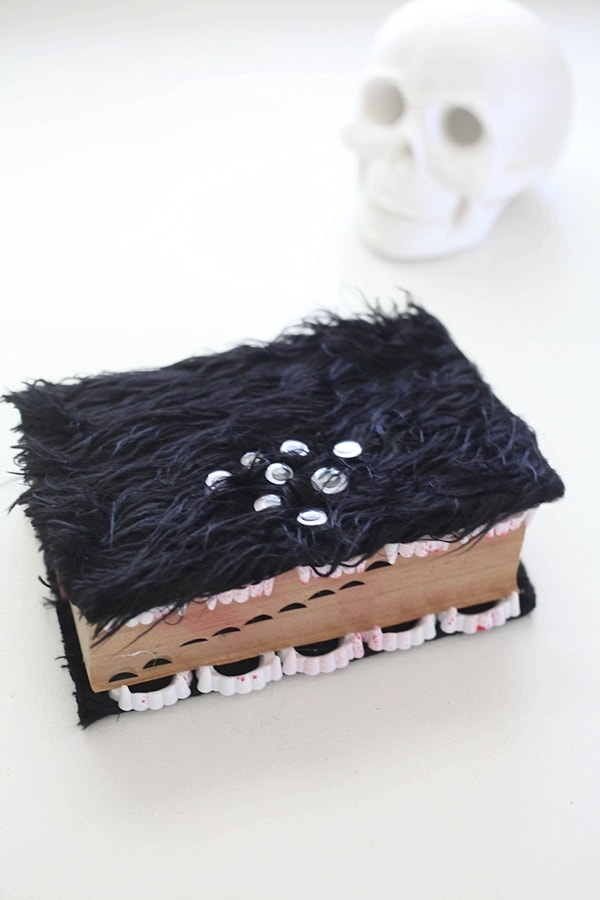
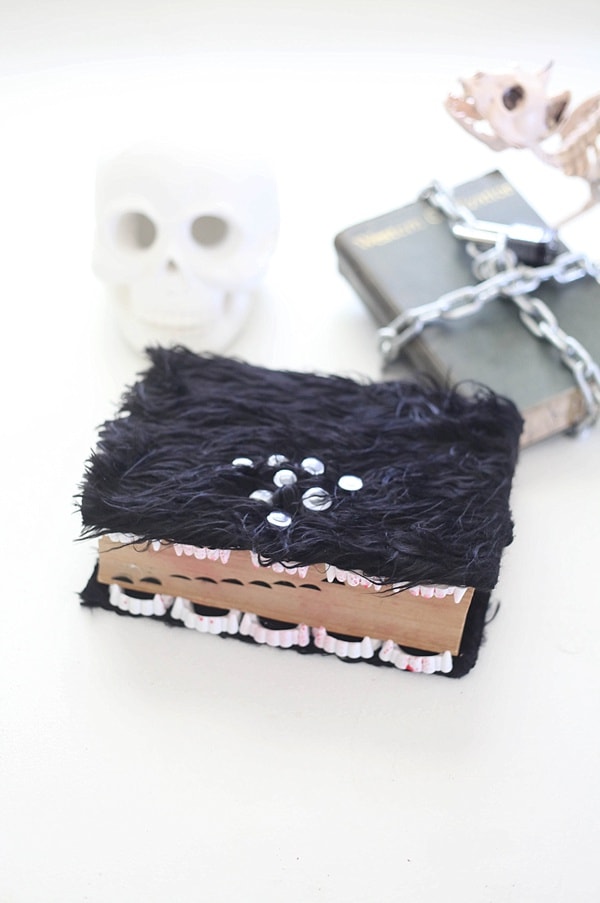
I created two different versions of books – a furry monster and a locked book. They are kinda creepy in their own ways – I love how they turned out.
All the instructions and supplies you will need are in the printable craft card at the bottom of this post. First, I’m going to share the steps for each along with some tips that I learned while I was making my own DIY spooky Halloween decorations.
How To Make A Furry Monster Book
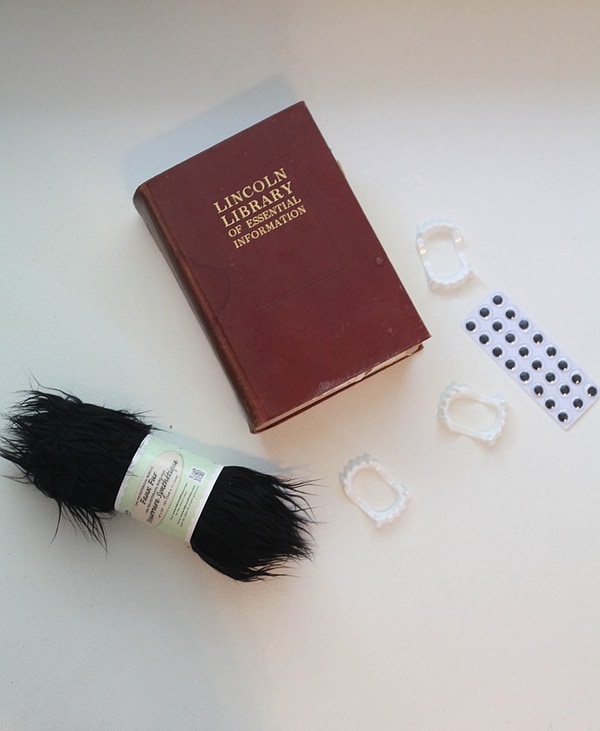
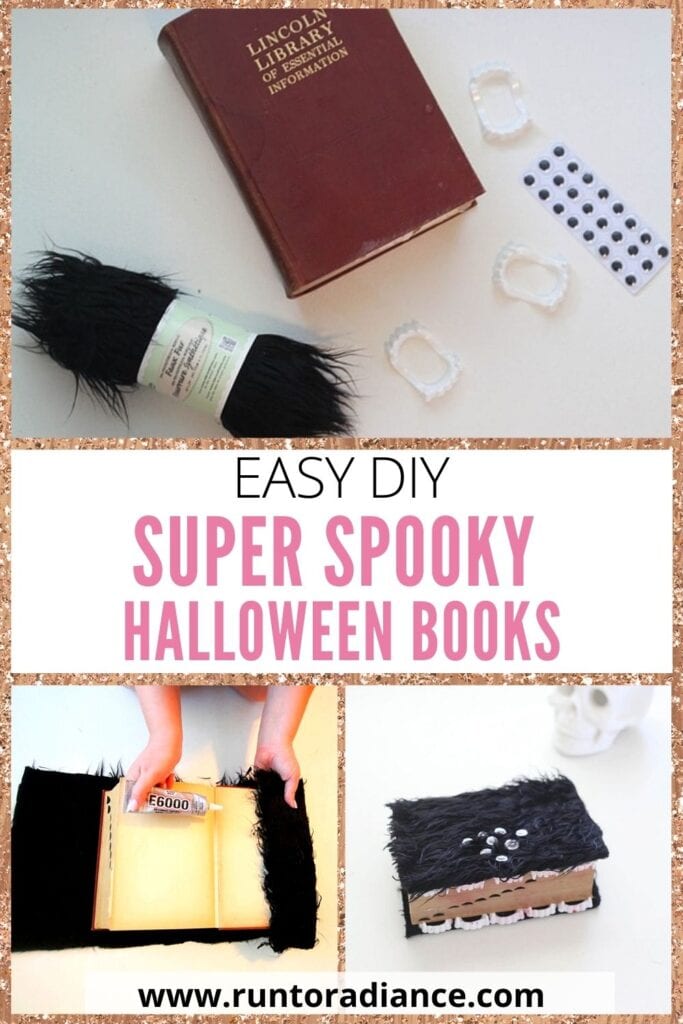
To make the furry monster book pictured above, here’s what you’ll need:
- Book – Any kind of book works as you’ll be covering it. I found mine at a flea market and it’s a dictionary, so I didn’t feel bad messing it up.
- Faux Fur – You need enough to cover your book completely, so make sure to check the dimensions of your book and the fur fabric.
- Vampire Teeth – I got a pack of 12 for incredibly cheap on Amazon.
- Googley Eyes – Grab them online or pick some up in a craft section practically anywhere.
- Glue Or Adhesive – I used E6000, but super glue or hot glue are other options.
1. Cover Books With Fur
Remember covering your textbooks in middle and high school? This is the same idea, but you’re using fur.
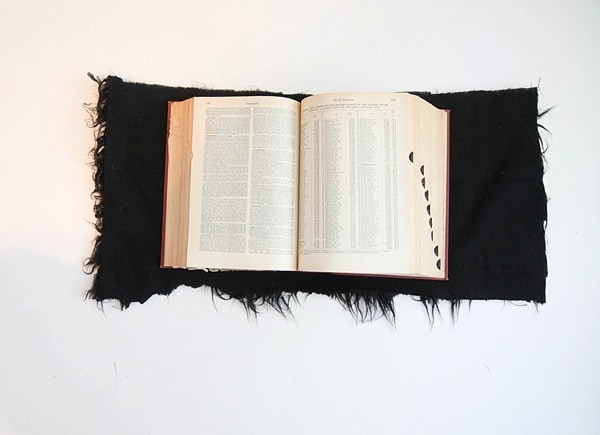
First, I “dry-fit” the fur (meaning I didn’t glue it down yet) to make sure the book could open and close comfortably while wrapped. Then, I trimmed the excess down.
2. Glue It Down
I glued the fur down using a crazy strong adhesive. You could also use a hot glue gun if you prefer!
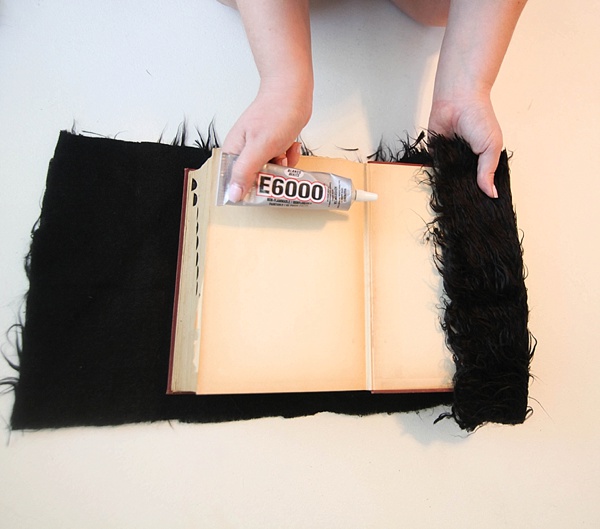
Be sure to add plenty of glue so that the fur doesn’t fall off.
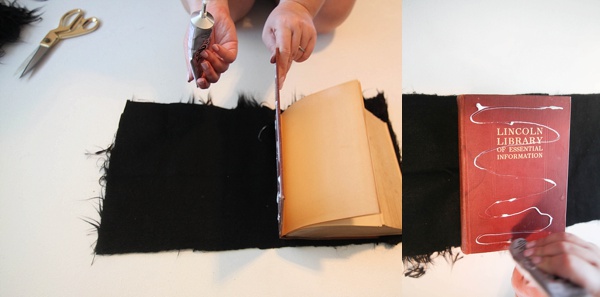
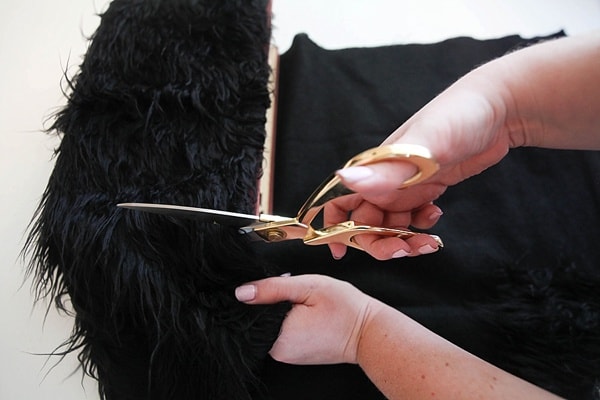
3. Trim Off Excess Faux Fur
Once you’ve given it time to dry, then you can trim the excess off one more time. It felt, in a very weird way, like giving my dogs a hair cut since their fur is so similar looking!
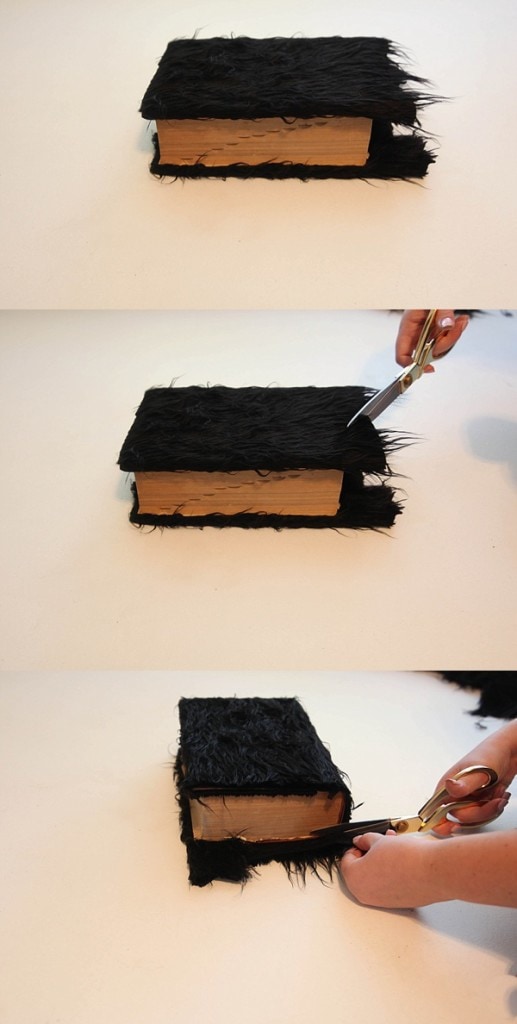
You’ll end up with something like this!
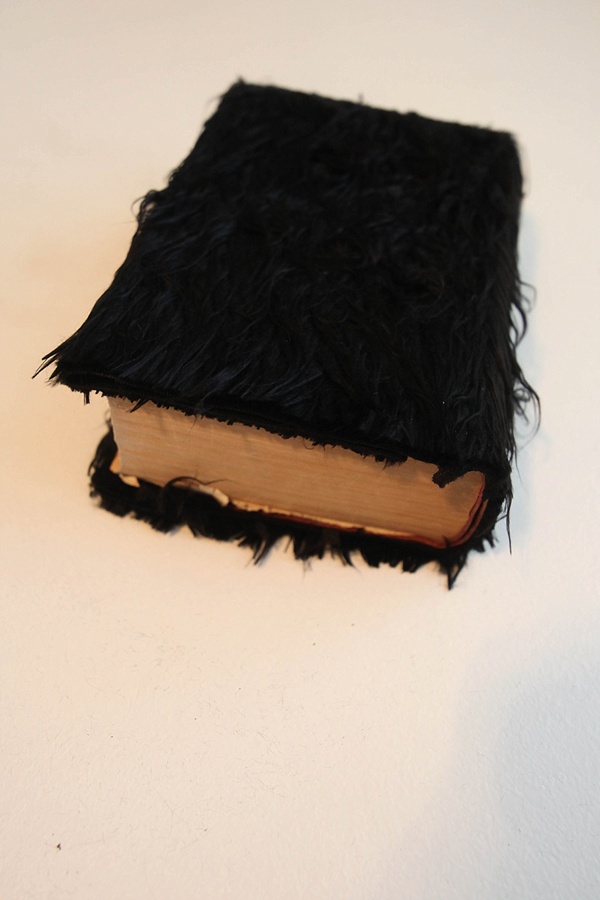
4. Add Vampire Teeth To Your Book
I knew I wanted to add eyes and teeth. I quickly learned that adding just one pair of teeth and a few eyes didn’t exactly look right. Here’s what my first attempt looked like:
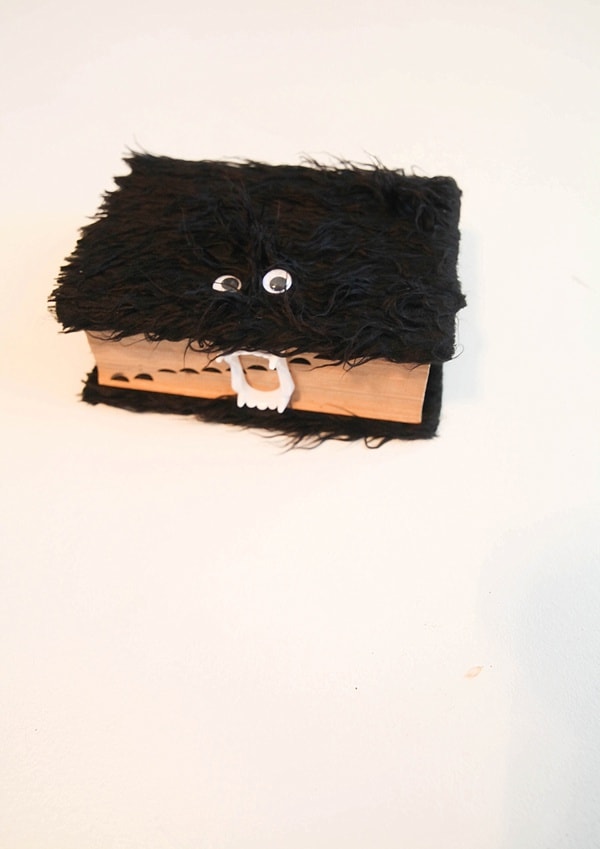
It’s like…kinda goofy, right? This might be a good place to stop if you are doing this with a young child. This isn’t too scary looking… he looks happy!
I knew I wanted scary, not happy, so I decided what I needed was more teeth for my DIY spooky Halloween decorations! The teeth I ordered came in a pack of 12 so I had plenty to play with.
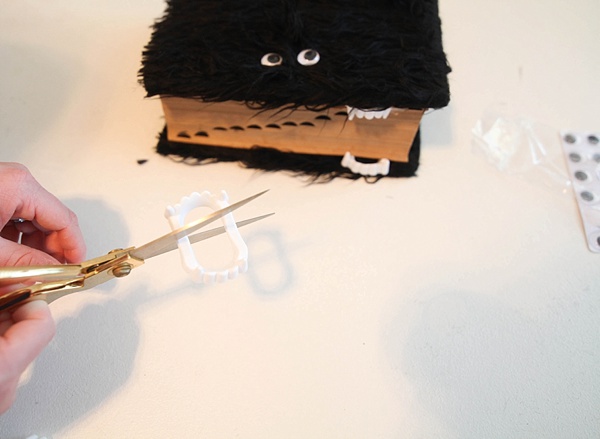
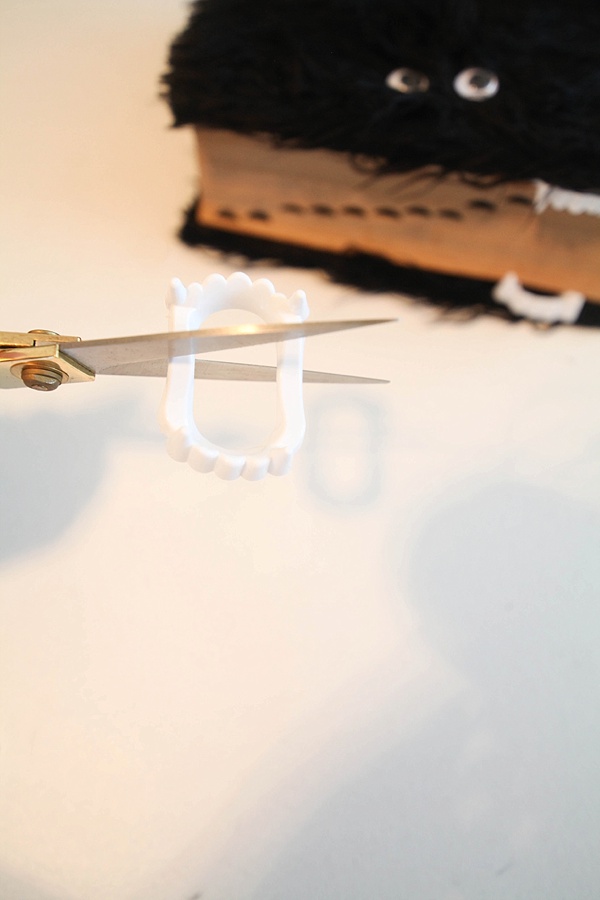
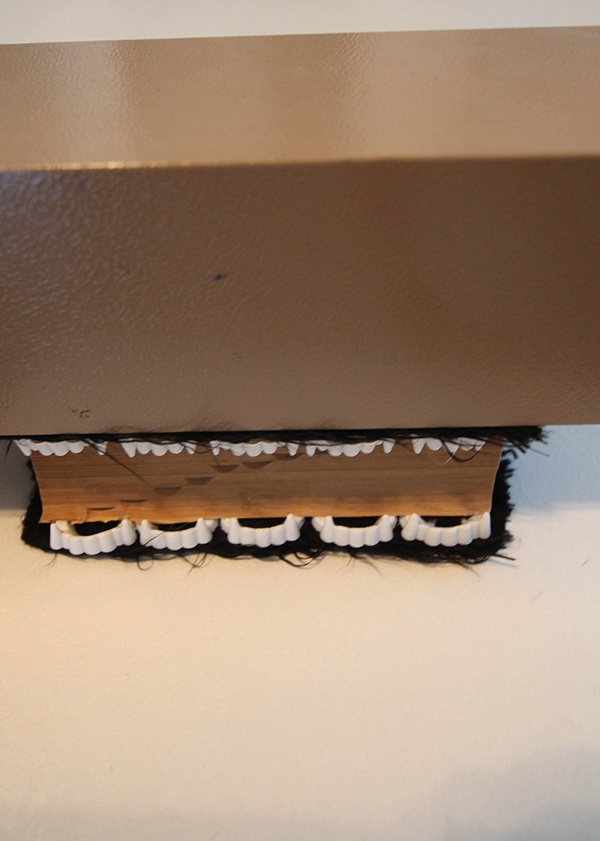
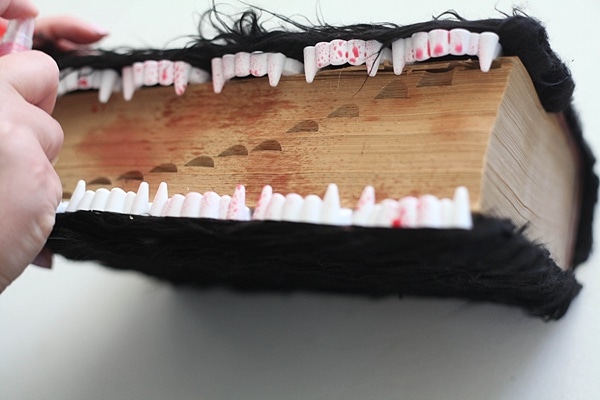
The teeth were made of thin plastic, so I cut each one in half. I glued them into the book’s first and last page, then set a heavy object on top of my book to add weight while it dried.
5. Splatter Paint On Halloween Book
I wanted to add a bit more spook to it, so I made a watercolor spray and sprayed it all over, to give the fuzzy monster some bloody teeth. Eek!
6. Add Lots More Eyes
I also added several more eyes. Much better!
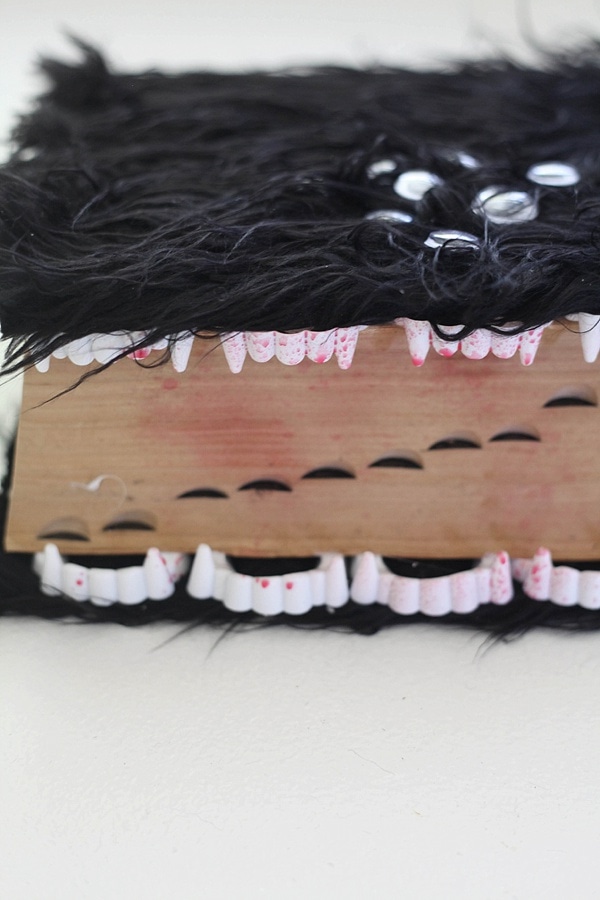
Tada! Spooky, right?
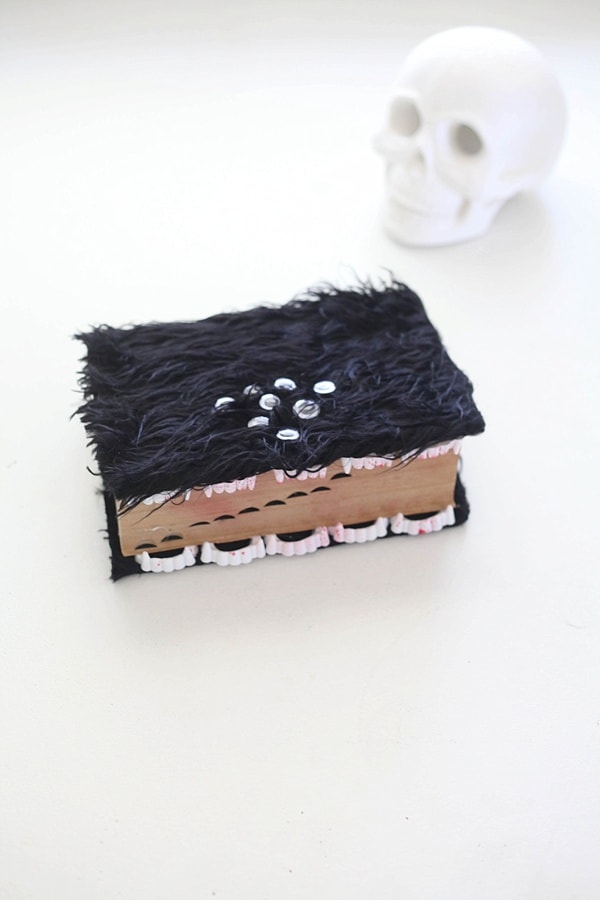
How To Make DIY Spooky Locked Book
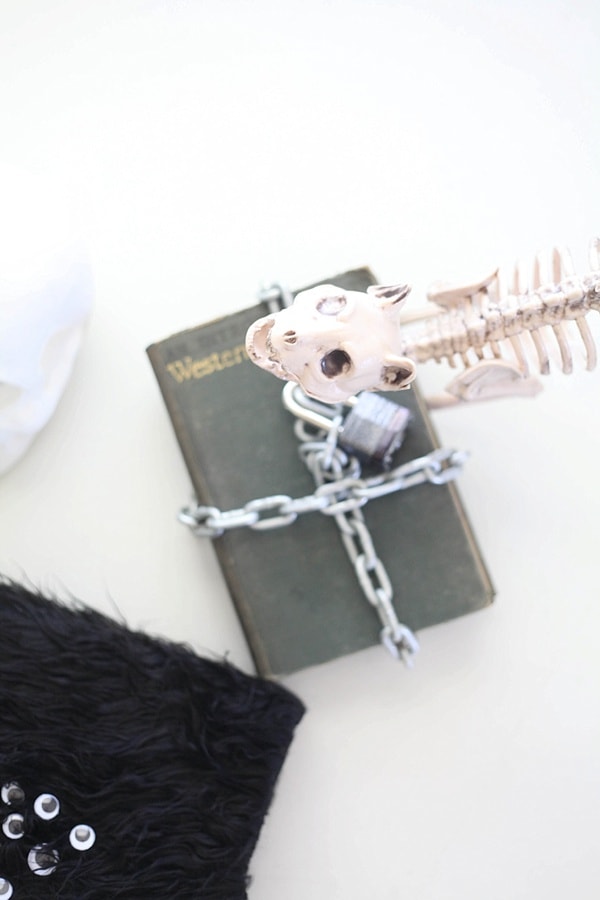
I also made another scary book, which was even easier. It’s a locked book… What is creepier than a book that’s locked with a chain? Not much!
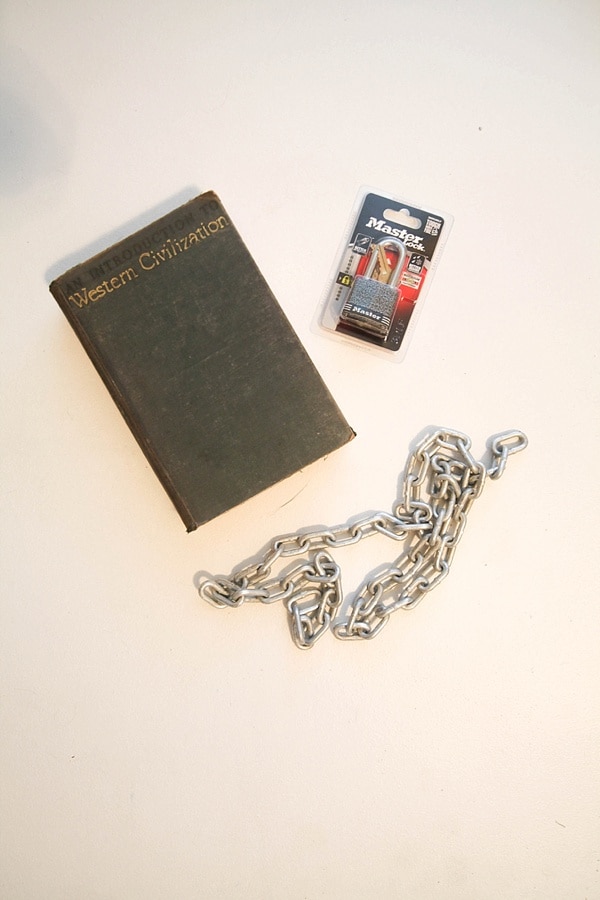
You only need four simple supplies, all of which can be reused for other projects later on:
- Metal Lock – Make sure you get the kind with a key for these DIY spooky halloween books.
- Chain – I recommend at least 2 feet of chain for this project.
- Sharpie – Classic black is what you need.
- Hardback Book – Any will work, but even better if it’s a creepy looking vintage book! Try flea markets, used book stores, or antique stores.
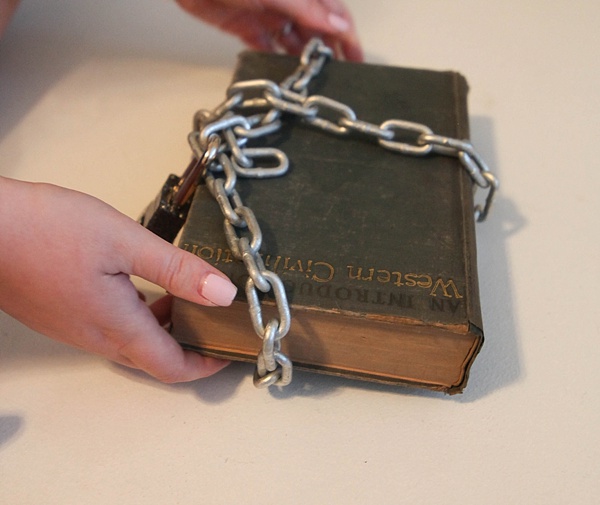
1. Wrap The Chain Around The Book
Wrap a length of chain around the book – the length will depend on the size of your book. Mine was about 2 feet long. Think of it like wrapping a piece of twine or a ribbon on a present.
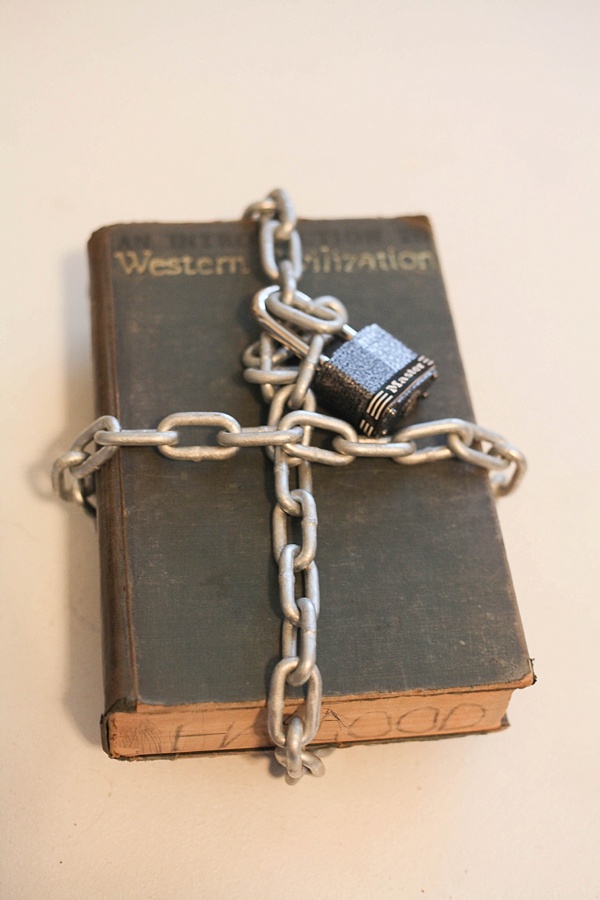
2. Lock The Chain In Place
Use a classic lock and key to secure the chain in place.
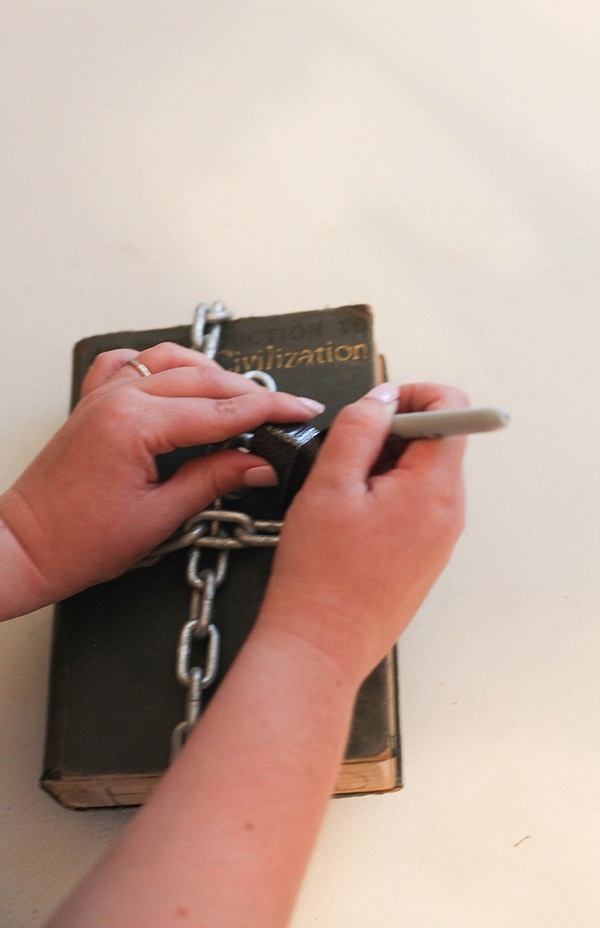
3. Cover Any Branding On The Lock
If your lock has a brand name on it like mine did, use a black sharpie to color over it and create a solid black strip instead.
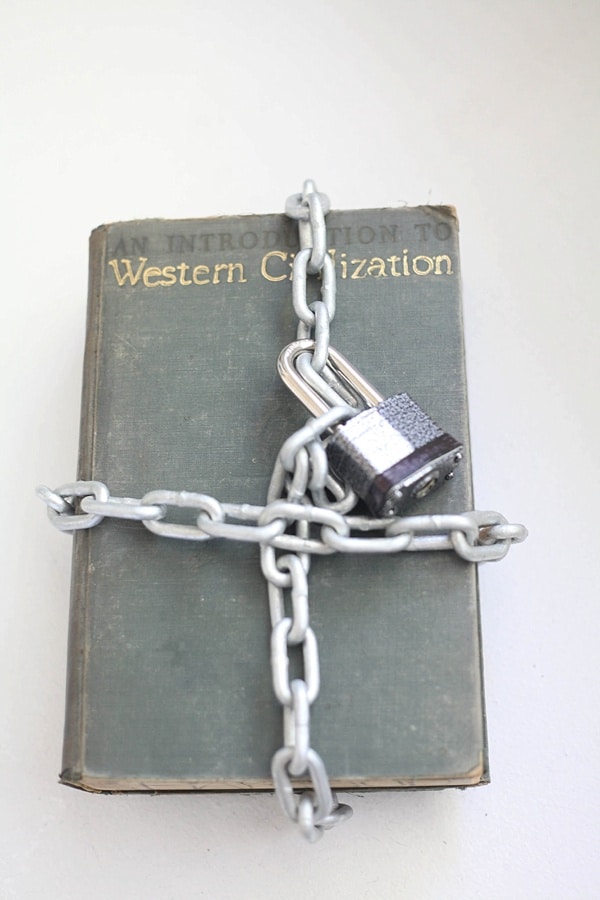
This whole project literally took me five minutes! Super simple and maybe creepier than the furry one! Are you scared? Gotta keep those Western Civilization secrets locked up, right?
Want to see where we placed these DIY spooky Halloween decorations? Check out our Halloween home tour… if you dare!
Other DIY Spooky Halloween Decorations With Books
These are the two easiest ways that I found to make spooky DIY Halloween decor. In fact, this craft is so easy that your kids can do it too. I’m sure they’d have a blast creating their own book monsters.
Want even more ways to make books extra creepy for Halloween? Try these ideas too!
1. Create Spooky Book Titles
This is probably my favorite one because it’s the best for kids and so easy for them to do.
Make your own book covers for the books and create your own extra-creepy titles. Have fun coming up with your own titles, but here are a few examples in case:
- Curses And Potions
- Book Of Shadows
- Monsters
- Book Of Magic
- Spells And Enchantments
2. Add Skeleton Hands
This is a really easy way to enhance the creepy factor! Just find some plastic skeleton hands and glue them around the spine of the book.
If you can’t find skeleton hands, you can make your own – this tutorial is really easy to follow.
3. Stack Books With Spiderwebs
Finally, just wrap your books in your favorite spooky book covers and then cover them in craft spider webs. Set them on your mantel or a decorative tray.
DIY Spooky Halloween Decorations
Doesn’t making DIY spooky Halloween decorations sound like so much fun? Here is the printable craft card, just like I promised! Print it out to get started on your Halloween book decor, but don’t forget to share this with your friends, too!
Equipment
- super glue
- scissors
- black sharpie
Supplies
- 2 hardback books
- 1/2 yard faux fur
- 5 sets vampire teeth
- 1 pair googly eyes
- 1 metal lock
- 2 feet metal chain
Instructions
Furry Vampire Book
- Dry fit the fur to one of your hardback books. Once you know it will fit, trim off the excess fur.
- Glue the fur to the book.
- Let it dry.
- Cut the plastic vampire teeth in half.
- Glue each half of the teeth to the top and bottom of the book.
- Fling some red watercolors on the teeth and book to look like blood. (optional)
- Glue googly eyes to the top of the book.
Locked Book
- Find a creepy, vintage-looking hardback book.
- Wrap a length of chain around the book — the length will depend on the size of your book. Mine was about 2 feet long. Think of it like wrapping a piece of twine or a ribbon on a present.
- Lock it in place with the metal lock.
- If your lock has a brand name on it like mine did, use a black sharpie to color over it and create a solid black strip instead.
MORE FUN FALL CRAFTS TO TRY:
Like this project? Pin it!
Tania Griffis is an accomplished writer, blogger, and interior designer with a Journalism degree from the University of Oklahoma. She started her popular blog, Run to Radiance, in 2011, demonstrating her design expertise through the personal remodeling of six houses to millions of readers across the globe.
Tania also owns The Creative Wheelhouse, a respected ghostwriting agency for bloggers, further showcasing her talent for creating engaging and informative content.


Oh my gosh – that is so adorable!!!
makes me think of Harry Potter!! 🙂
I know, me too!!! We love the Harry Potter series:)
this is fabulous! i love the furry one, and that is such a good idea about using a dictionary instead of a book because i couldn’t do that to a book! lol. the chain one is brilliant!
The furry one was fun, but fair warning, it feels like a furry animal too so it may give you the heebie-jeebies.
Can we please hangout and craft/make food/drink coffee all day!? You are SO creative I just love it. These books are fantastic!!
Yes, yes and yes! Thank you!!!
These are so cute!!! I would have never thought to do something like this, but I love it!!! Totally pinning for later!
Awesome! Thanks Nadine, it was so much fun, one of favorite book crafts for sure
saw this on instagram today and had to come see it on the blog- so creative!
🙂 So glad you liked them! Thank you
These are too cute! I love the furry book – reminds me of the monster book of monsters from Harry Potter!
There was definitely some Harry Potter inspiration happening here 🙂
funny!
Thanks! 😉
These are adorable! It would be fun to make a photo album like this and fill it with pictures from Halloween each year as your family grows
I can’t wait to make the scary teeth book with my tween. It’s a fun afternoon project. Pinning now. Thanks for sharing at the #ThisIsHowWeRoll Link Party
These are such a fun and creative DIY! Pinned! I’d luv to invite you to share it with us at WAll to Wall DIY Wednesdays too! Best, Ann