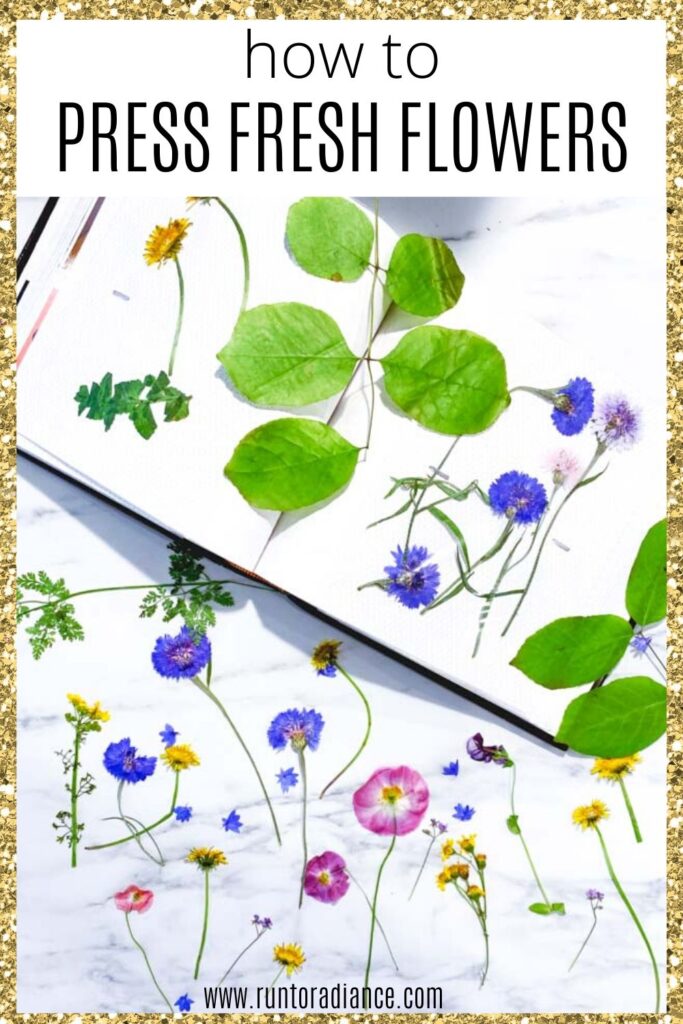
How to Press Flowers Using a Microwave Flower Press
This post may contain affiliate links. As an Amazon Associate I earn from qualifying purchases.
Pressing flowers is a fun craft and a great activity to pass time with your kids this summer. If you’d like to learn how to press flowers using a flower press kit or other methods, I’ve got you covered.
A Sweet-Smelling New Pastime
Scott and I have both been working full-time from home for a few years already, but the weeks of shelter-in-place brought us one major change. We now had a two-year-old with us full-time too!
We quickly realized we’d have to adapt and make some pretty major changes to continue to get work done. In a previous post, I shared seven tips for working from home with a toddler.
All the “normal” ways to entertain her were kind of out the window. Playdates, zoo trips, and even the neighborhood park were no longer viable options. So, I came up with the idea of flower pressing.
Falling for Pressed Flowers
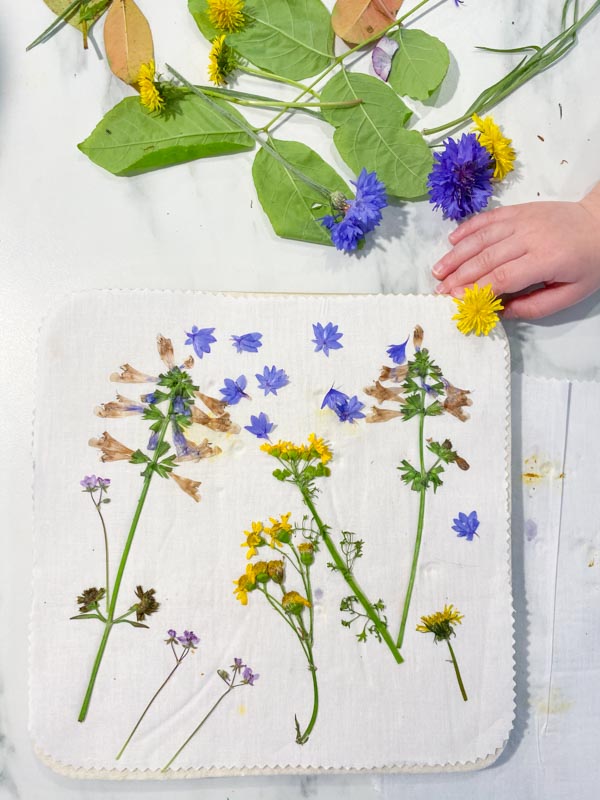
We have a wooded area with lovely walking paths next to our home. On our family walks, Lily and I would hunt for our favorite flowers and leaves to bring home and press. TBH, hers were mostly dandelions, but hey, it worked!
At first, I tried flower pressing the traditional way with heavy books and tissue paper, but that requires waiting 1-2 weeks for the flowers to dry.
Lily kept asking to see the flowers and trying to pull them out. With a toddler, it’s all about instant gratification!
Trying a Microwave Flower Press
So, I took a chance and ordered this microwave flower press from Amazon on a whim. It worked so well! Within 2-3 minutes we had our daily finds pressed and neatly stored in an album.
How To Press Flowers
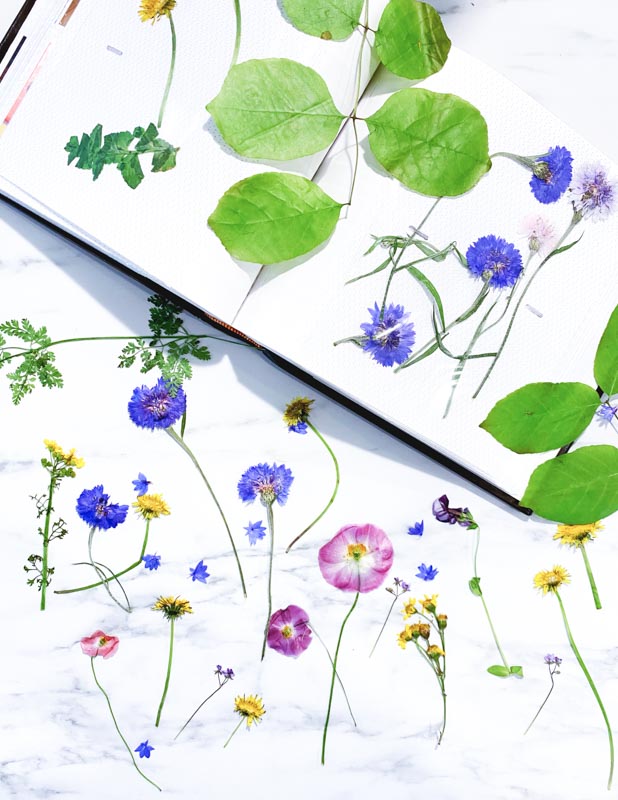
Over the course of the next few weeks, we must have pressed hundreds of flowers and leaves. We both had our favorites (the pink ones, of course).
For now, they are sitting in the album, but I plan to make some sort of framed flower art. I want to be able to point to it on our wall and remind her that even out of the darkest, worst times, the most beautiful things can still happen. 😄
Read on to learn more about how to press flowers.
Choosing Flowers For Successful Pressing
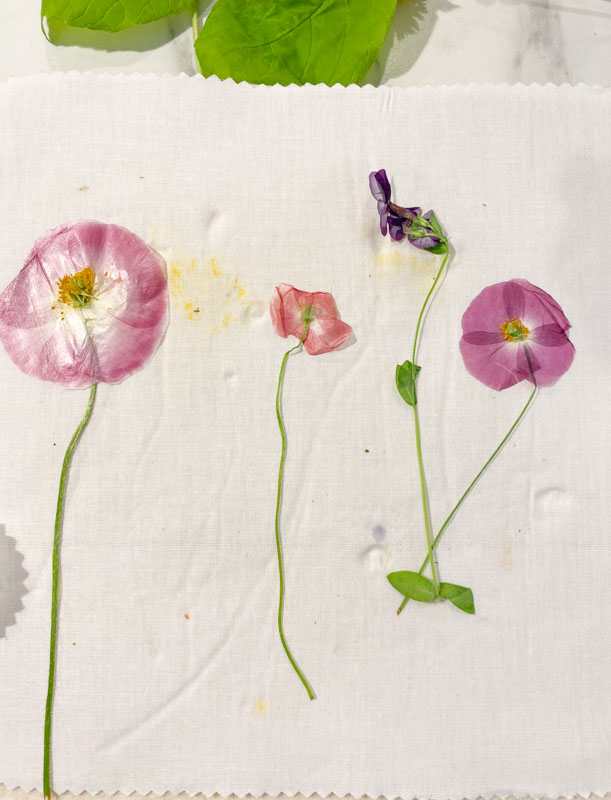
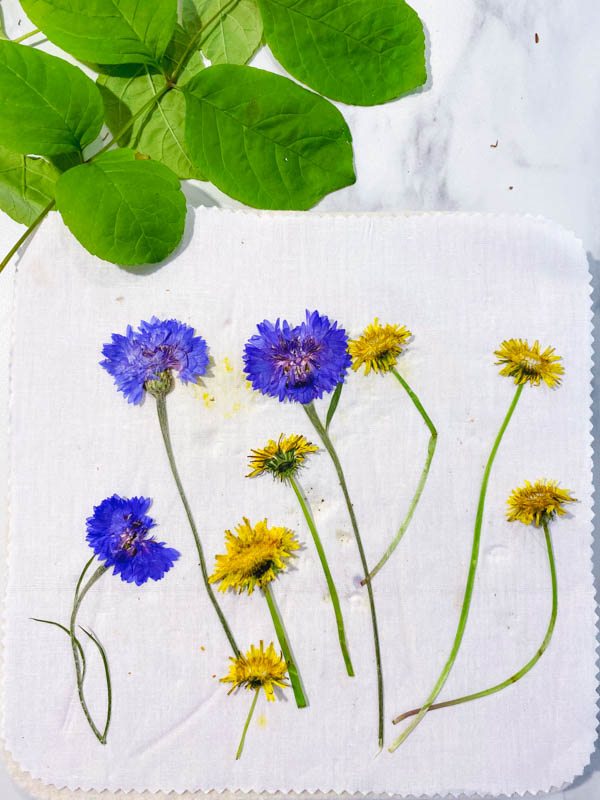
Start with flowers that have a single layer of petals and lay flat. Think: violets, daisies, daffodils and poppies.
Note: some tiny, delicate flowers don’t retain their color well and turn brown during the pressing process. Have fun experimenting and learning which flowers work the best!
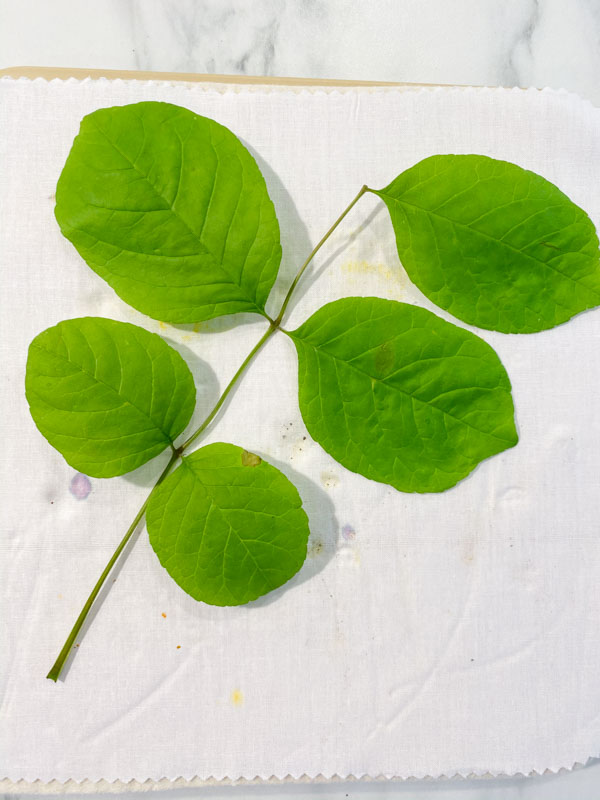
You can also try non-flowering plants, such as ferns, herbs and leaves.
Papery, thin petals with less moisture will also press more successfully. Try the squeeze test: if you squeeze a petal and it produces liquid, it may be difficult to press the flower successfully since it might take many tries to dry out the moisture.
Working With Challenging Flowers
Flowers that have thick buds, such as roses, carnations and magnolias will be more difficult to press. However, with more practice, you can possibly have success with these kinds of flowers.
If you do have thicker flowers you want to press (like chrysanthemums), you can slice the buds in half.
How To Press Flowers Using The Microfleur Flower Press
This flower press kit has the incredible ability to press flowers way faster than book pressing. The company also claims better color retention than the traditional method. The components are washable and reusable, so you don’t have to waste as much paper.
Included With The Microfleur Flower Press Kit
The Microfleur kit comes with the following components:
- Two vented platens (outer tablets)
- Two thick wool pads
- Two cotton fabric liners
- Four clips (these hold everything together)
How To Use The Microfleur Flower Press
Before you start pressing, be sure your flowers are free of any dew or moisture.
Place one platen, grid side down on your work surface, then place one wool pad on top of the tablet, followed by one fabric liner.
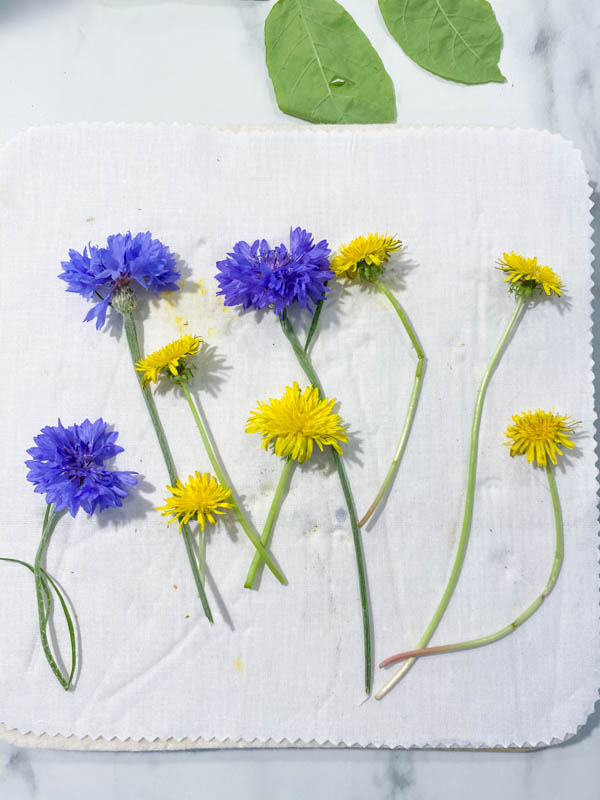
Arrange flowers in desired position (face down, profile, etc.) onto the fabric. Be sure that they sit flat and do not overlap or touch each other. Try to limit to one type of flower in a batch, as different kinds of flowers may dry at different rates.

Using the second fabric liner and wool pad together, carefully roll the layers (fabric side down) over the flowers, taking care not to disturb their placement. Carefully place the second platen, grid side up, on top of the wool pad. Attach a clip onto each length, fastening the layers together.
Microwave on high for about 25-30 seconds.
Wipe moisture off of both platens with a clean, dry cloth. Then open the press and carefully peel back the top fabric and wool layers.
Check flowers for moisture (gently touch with your fingertips).
If the texture is dry and papery, the flowers are done!
If the flowers still feel moist or sticky, reassemble the layers, clip the press back together and microwave again on high for a shorter burst (about 15 seconds).
Continue to microwave with shorter bursts until flowers are dry, being sure to check them in between each burst.
Alternative Ways to Press Flowers
If you want to try out making pressed flowers before you invest in a microwave flower press kit, here are some other methods you can try with materials you might already have.
1. Traditional Book Method
As mentioned before, the traditional way to press flowers is using heavy books. Parchment paper or coffee filters work great in between pages and help to absorb moisture from the specimens.
Once flowers are arranged between two layers of parchment paper, close the book and then pile as many heavy books as you can on top. You can even add bricks for extra weight. Let your flowers press at least 1-2 weeks.
2. DIY Flower Press
You can make your own flower press using two thick slabs of wood (about 1-2 inches thick). As with the book method, sandwich your specimens in between two pieces of parchment paper or coffee filters. Then, add a layer of cardboard on each side. Place the layers in between the two pieces of wood and use a c-clamp to press down.
This method takes about 30 days for the flowers to fully press.
3. Heat Pressing with an Iron
This is a quicker method than the first two, but you’ll still want to flatten the flowers first with a heavy book. The longer you keep it pressed, the better, but if you’re in a hurry, you can try this method after just 10 minutes.
Empty the water from your iron (steam is bad for pressed flowers), then select the lowest and driest possible setting.
Arrange flowers between two pieces of parchment paper. You can also use wax paper, but be sure to put a piece of fabric on top to avoid melting.
Hold the iron still over the flowers for 10 seconds. Lift straight up (do not push back and forth as you would if ironing clothes), and press down again as needed, only letting it set for 10-15 seconds at a time.
Craft Ideas for Pressed Flowers
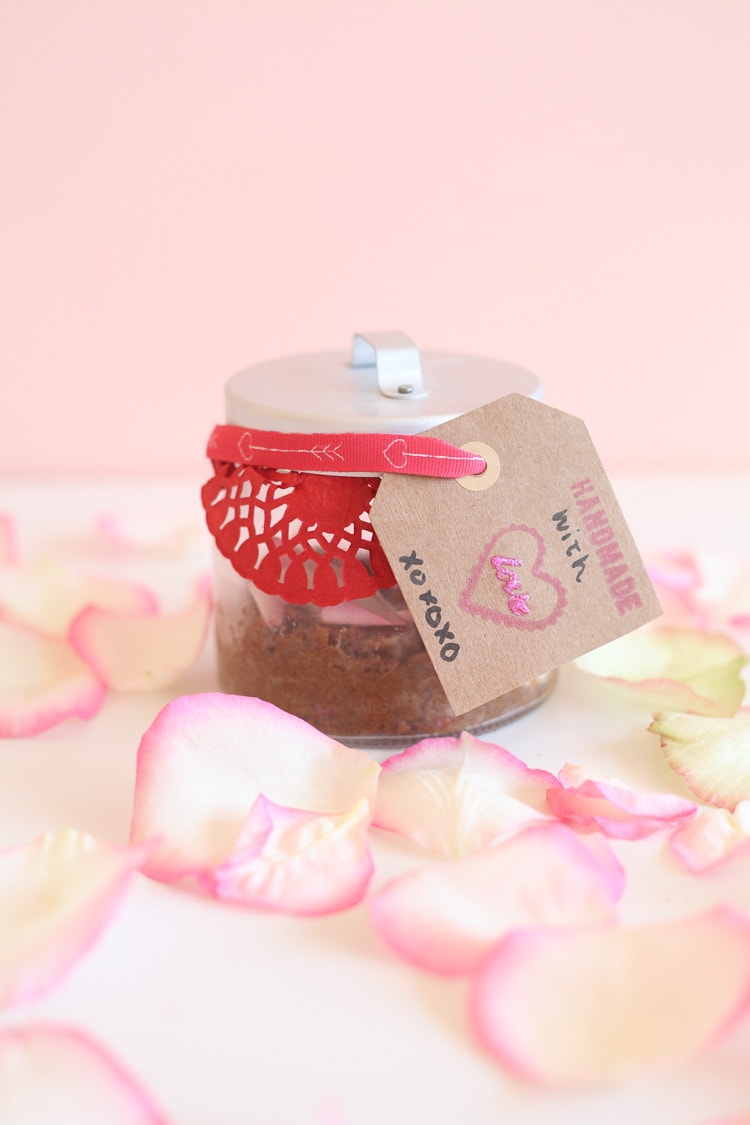
What should you do with all your beautiful pressed flowers? There are endless ways to use pressed flowers in crafting! The following ideas are just a start, and all of them could be used to decorate your home or give as gifts.
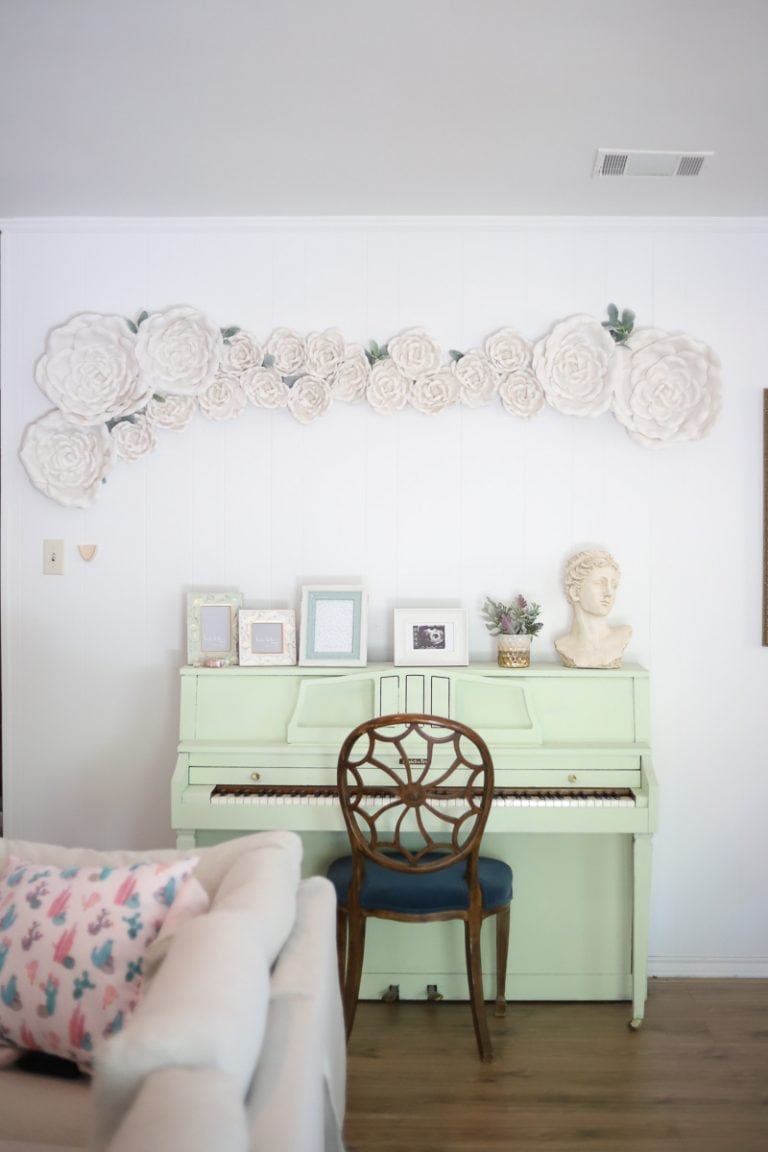
- Put them in a frame for year-round color on your wall
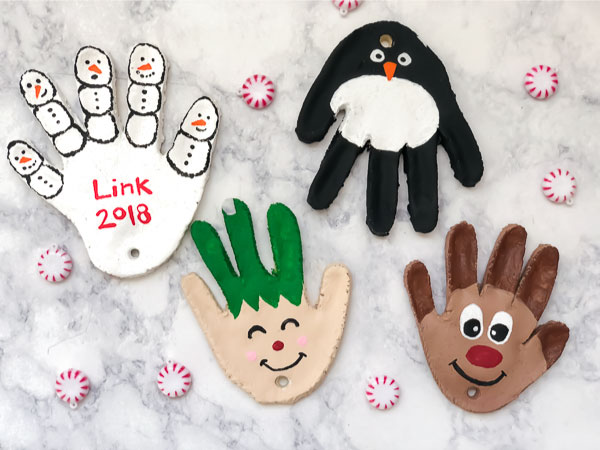
- Make Christmas tree ornaments
- Use them in handmade soaps
- Make bookmarks or greeting cards
- Decoupage them on Easter eggs
I can’t wait to hear about your experience trying this and crafting with pressed flowers. Let me know how it goes!


Thank you for posting this. I bought a generic microwave flower press and of course it doesn’t come with instructions.