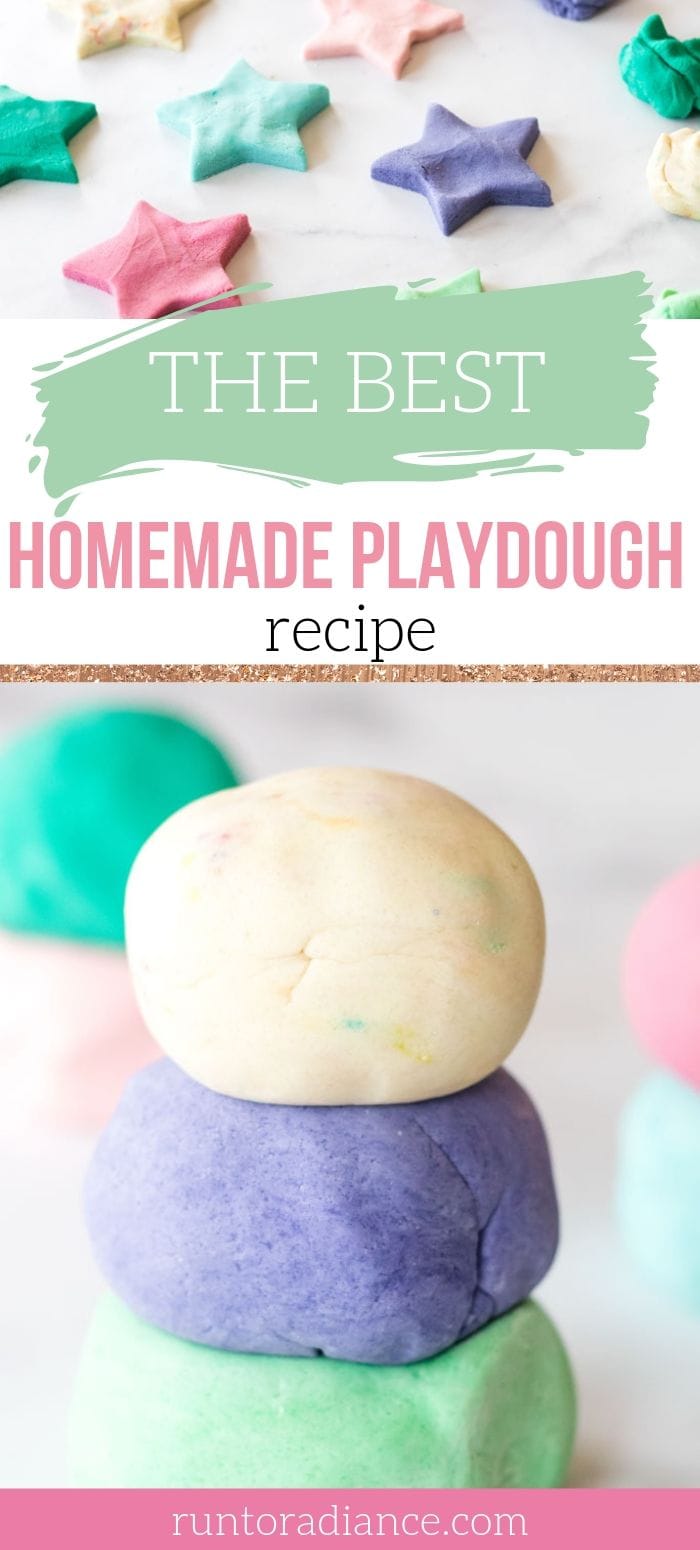
Easy Homemade Playdough Recipe
This post may contain affiliate links. As an Amazon Associate I earn from qualifying purchases.
This easy DIY playdough recipe uses everyday household ingredients to create non-toxic playdough that is 100% edible. Here’s how to make the best homemade playdough recipe ever!
Skip the lines at the store and make your own non-toxic homemade playdough at your house instead! One thing is for sure, this DIY Playdough is super easy, and you don’t have to worry about harmful ingredients.
DIY Edible Playdough
Not to mention, if your kiddo decides to eat a few bites (and they totally will), you can rest assured that it’s completely okay because this homemade playdough is 100% edible. Don’t you just love that?
The best part is that the texture is so soft and can be transformed into all kinds of things. You’re going to get as much enjoyment watching your child’s eyes light up as they are making their creations.
How To Use Homemade Playdough
Once you learn how to make homemade playdough, you will realize how simple it is and that you can use it for so many events or gatherings. Kids (and adults) will go crazy for this playdough recipe, and you can rest assured no one will get bored.
Rather than reach for an iPad, hand your kids a bowl of this edible playdough the next time they need a distraction. Kids can use their imaginations to play with it, and older kids will have a blast making it, too.
Edible playdough is perfect for birthday parties, kid tables at weddings, slumber parties, long car rides, or anything else you can think of.
Homemade Playdough Supplies
You probably have most of the supplies needed in your pantry which makes this playdough recipe even better! Here is a list of the items you will need:
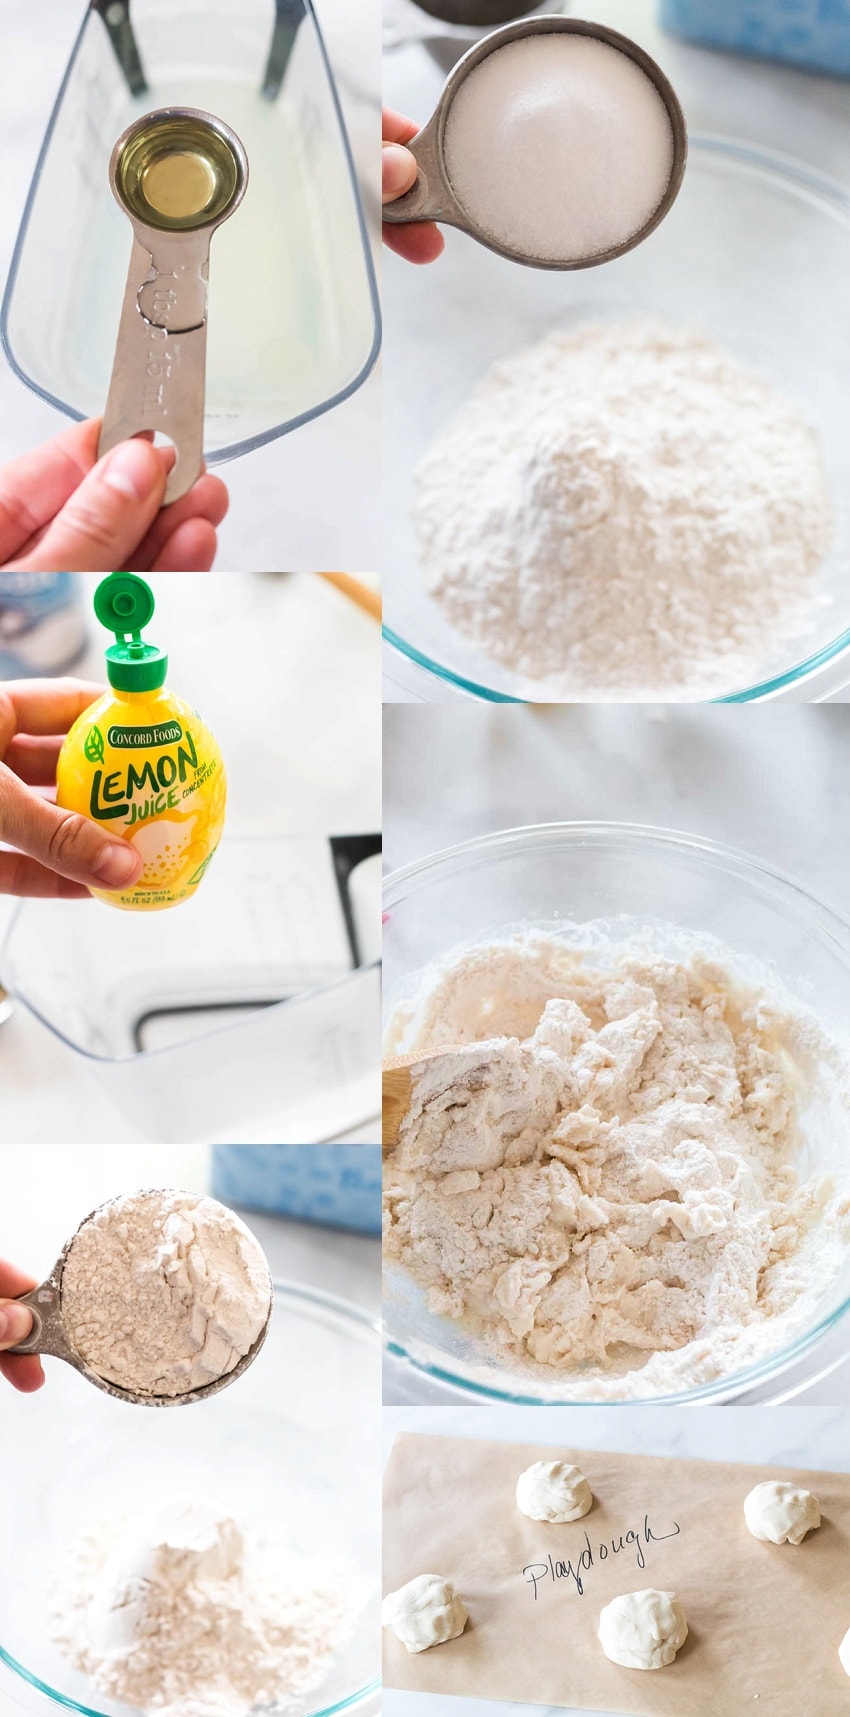
- 2 1/2 cups of all-purpose flour
- 1 cup of salt
- 1 1/2 cups of hot water
- 6 tablespoons lemon juice
- 3 tbsp Vegetable Oil
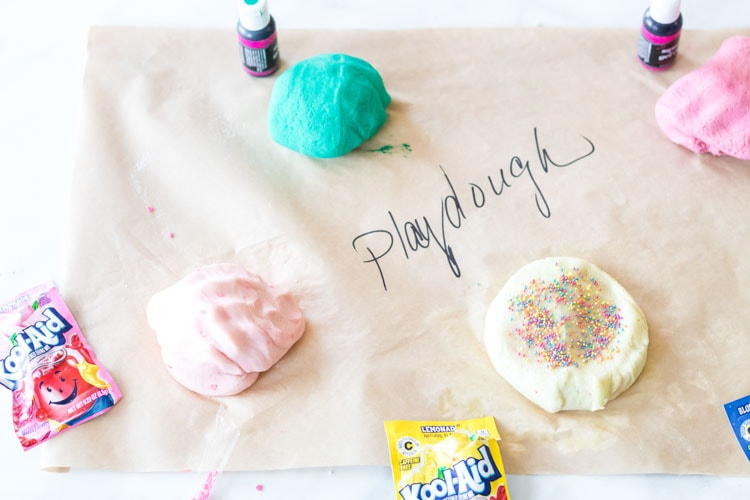
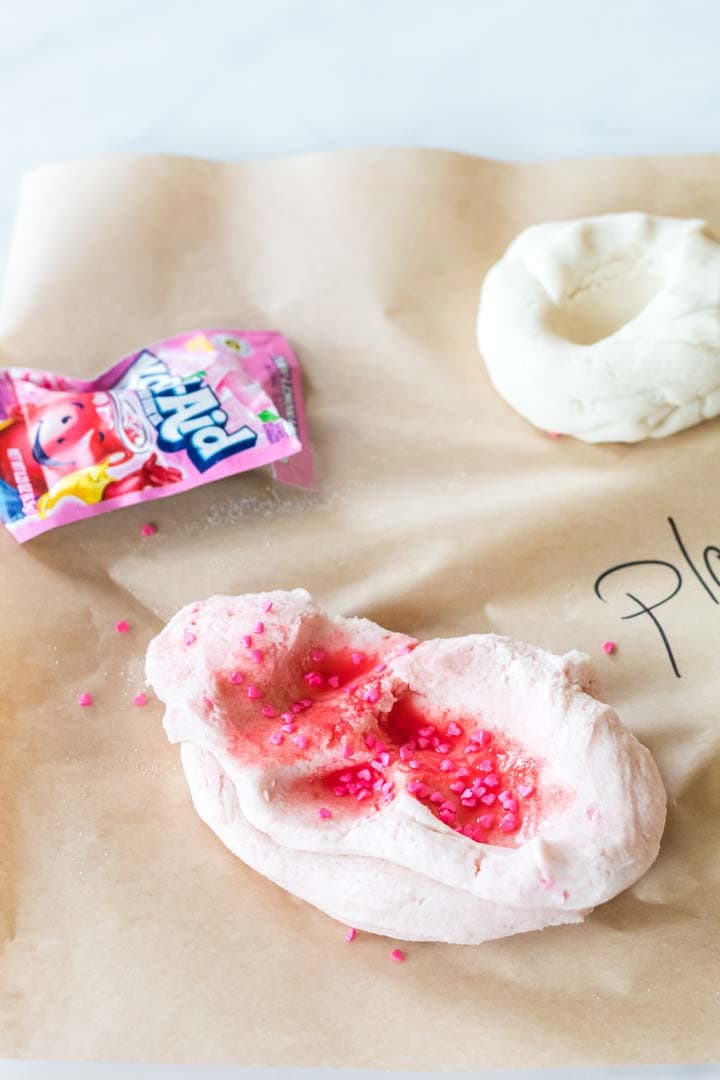
- Kool-Aid Packets *make sure to grab lots of flavors for color variation!
- Wax Paper
Optional:
- Food coloring – if you want a really bright, vivid color of homemade playdough, a few drops will do it.
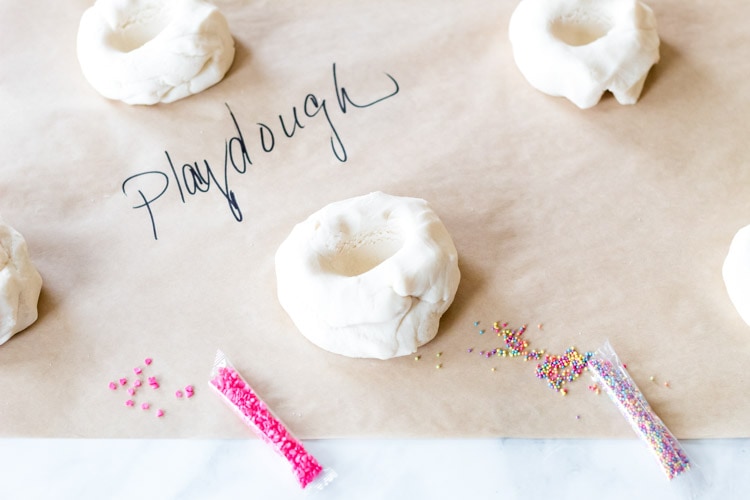
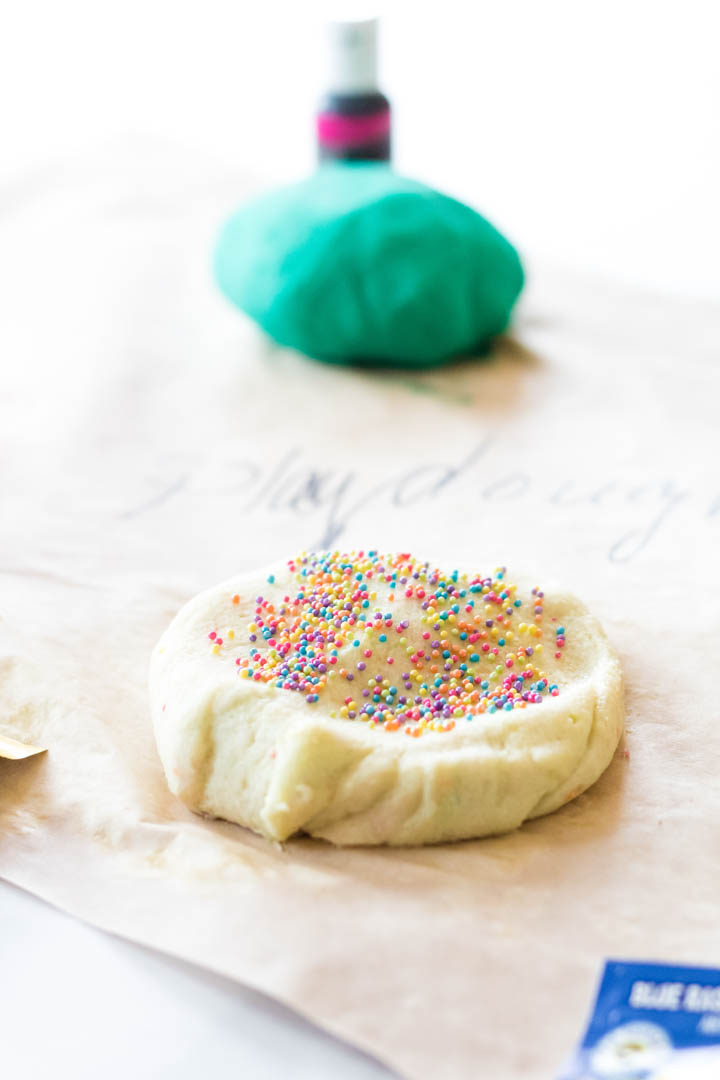
- Sprinkles – there are so many fun kinds of edible sprinkles – I love the edible glitter sprinkles and these cute heart-shaped ones!
How to Make DIY Playdough:
- Add water, oil, lemon juice together. Make sure water is hot, but not boiling.
- Add flour and salt to a large mixing bowl.
- Add liquid slowly to dry ingredients.
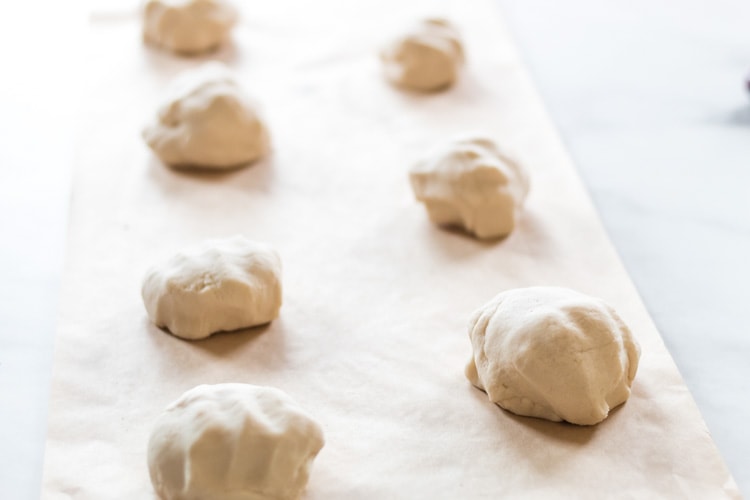
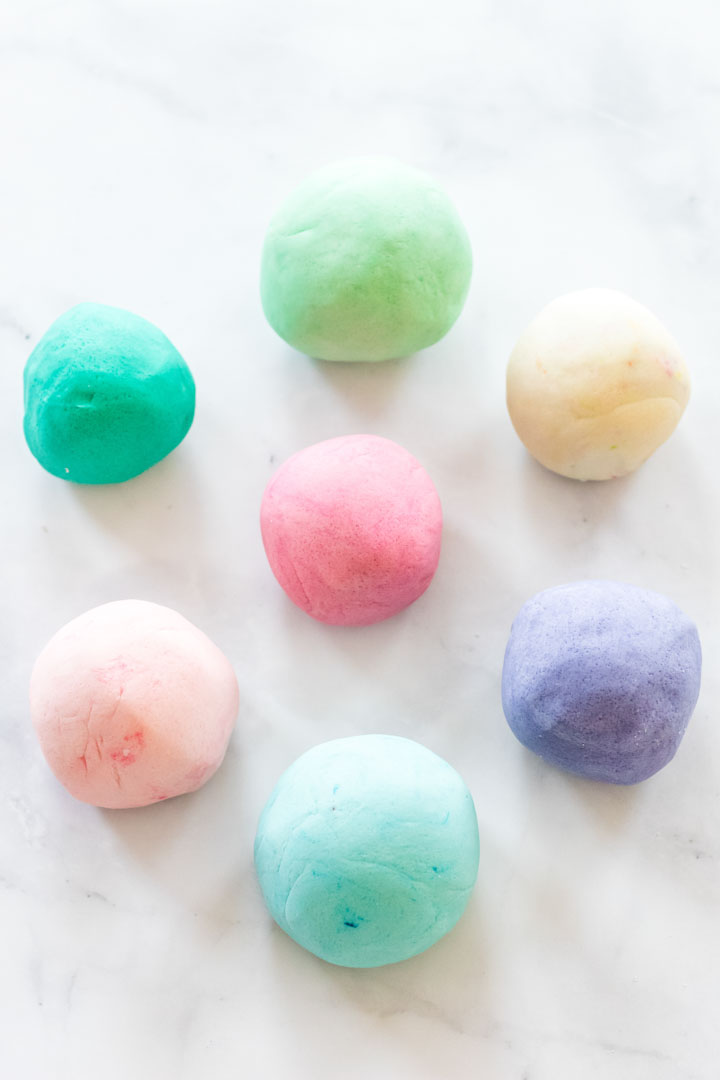
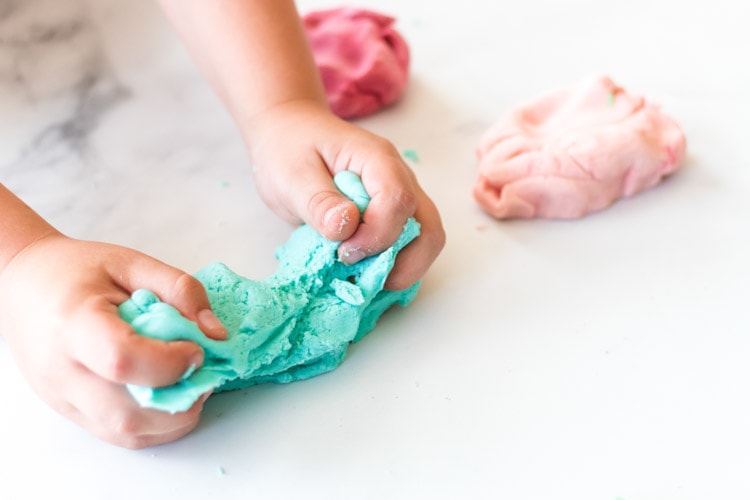
- Divide into balls so you can create different colors. The dough will be a little bit sticky, but if you let it sit out, you will be able to divide it out easily.
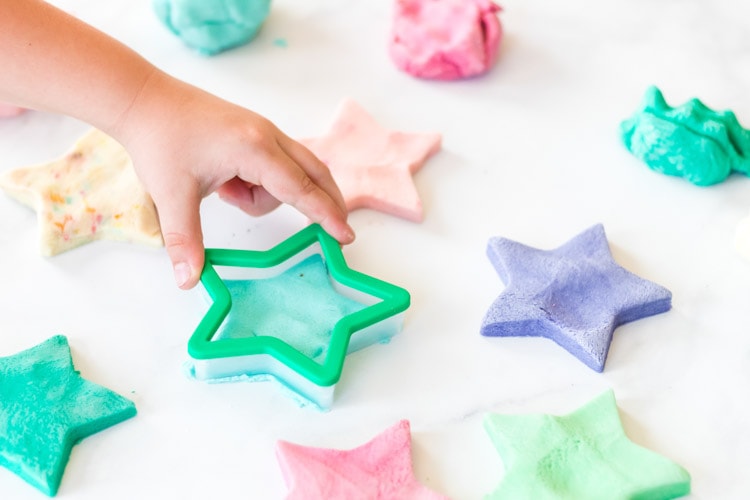
- Optional: add-in sprinkles. Try different kinds for each ball.
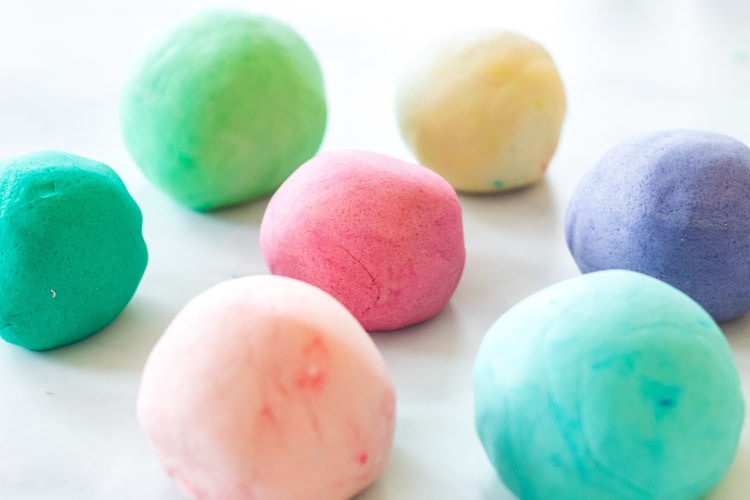
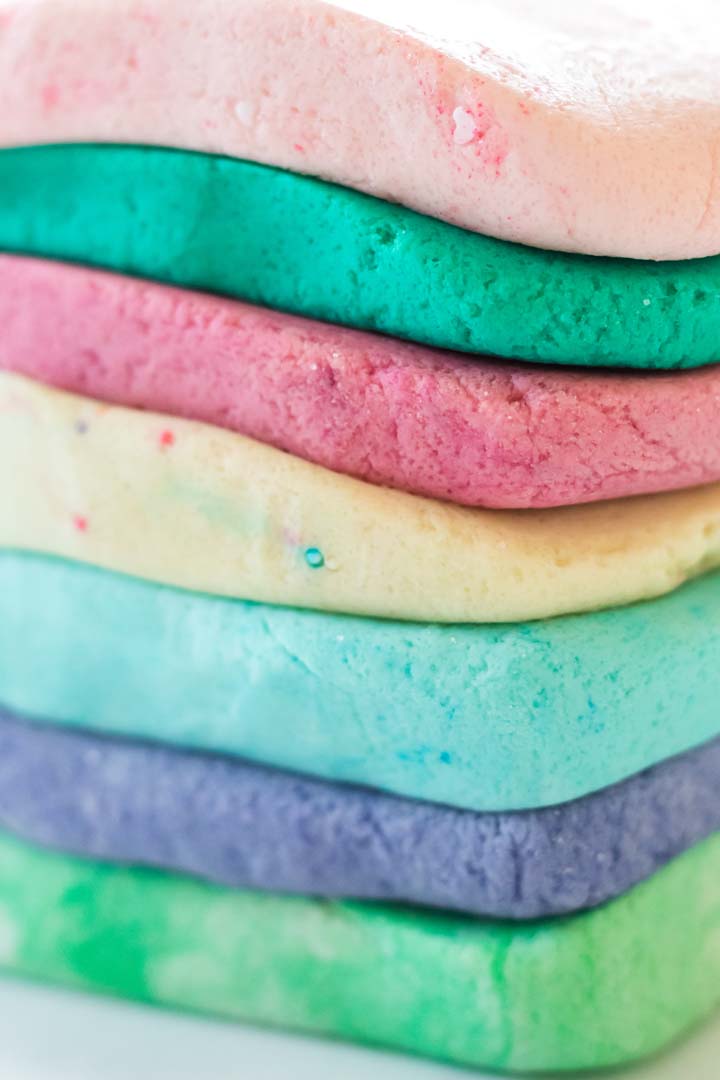
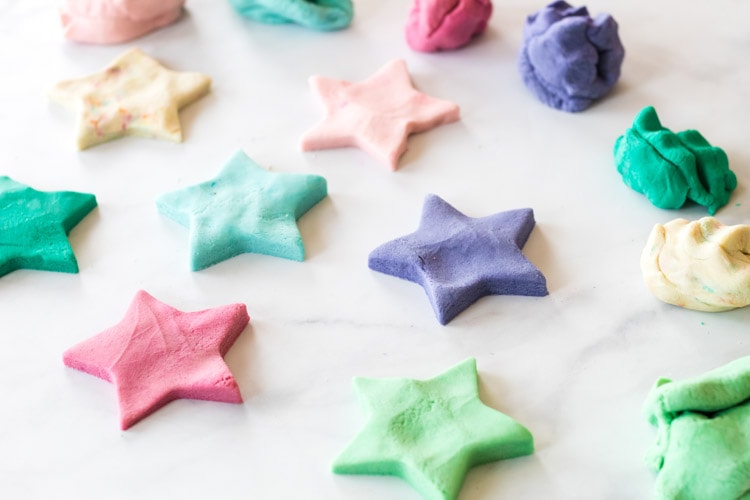
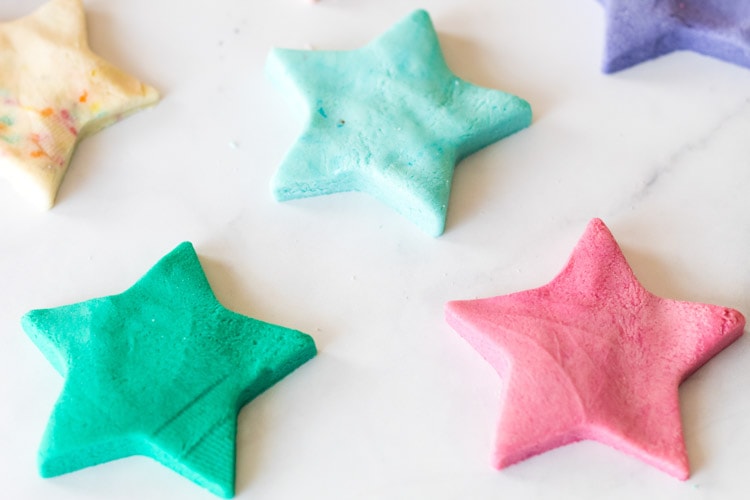
- Add color. For a light, pastel color, use Kool-Aid. For a brighter, more vivid color, use food coloring drops.


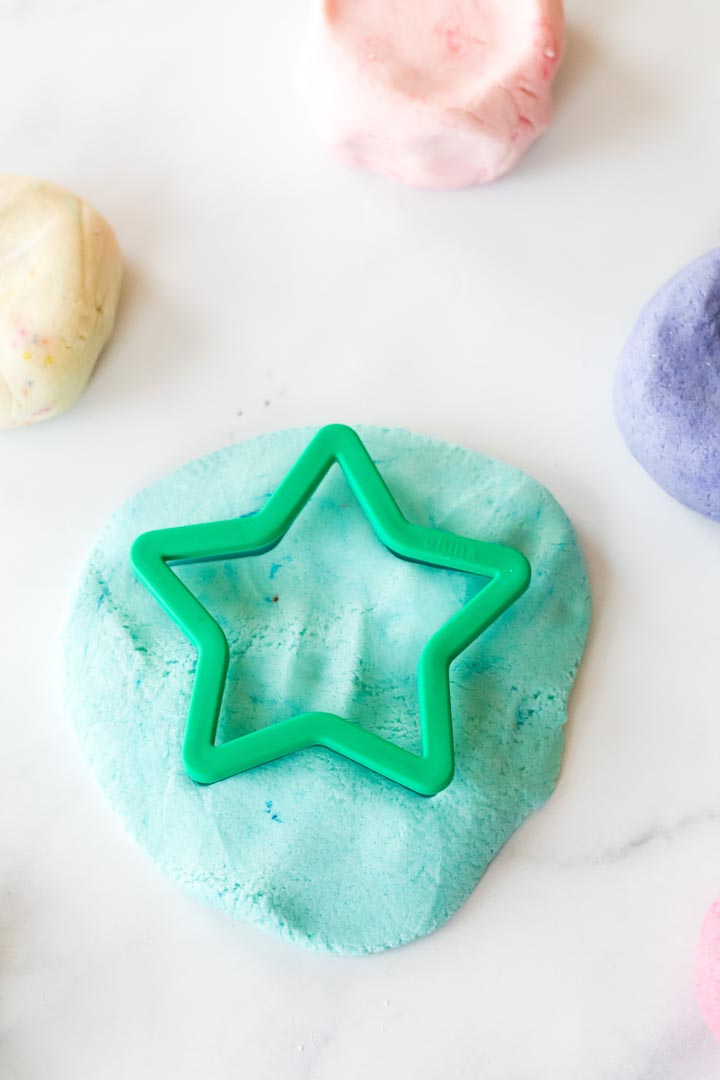
That’s it! Now you and your little ones can play with this fantastic easy DIY playdough for hours! You can make all sorts of colors. Add lots of food coloring for brighter, vibrant colors, or add a little for softer hues and pastels.

FAQ About Making Edible Playdough
If you haven’t made edible playdough before you might have some questions. Here are some questions I have gotten and thought I would share with you the answers. Don’t hesitate to reach out to me if you have other questions, because I am always happy to help. 🙂
How Long Does Homemade Playdough Last?
If you store the homemade playdough in an airtight container or bag, then it will last about 2 months. If you want to keep this edible playdough around for a while, use small storage containers with lids. Otherwise, just use a good old ziplock baggy.
The salt that you put in this playdough recipe is a preservative, so it stays fresh. Also, the oil keeps it smooth and moist.
Do You Keep Playdough In The Fridge?
No, you do not need to keep playdough in the fridge. It will last perfectly in a cabinet, or storage container as long as it’s kept in an airtight container. It will actually age better if it’s room temperature versus being refrigerated.
How Do You Make Playdough Soft Again?
If your DIY playdough ended up drying out, no worries! You can make it soft again by adding a little bit of water. You can do this by adding in a teaspoon at a time until it’s the texture you are looking for. Another option is to place it in a container with a moist washcloth for several hours or overnight.
Most of the time, you can make the playdough soft and comfortable to play with again. If it doesn’t work, then you may have to create a new batch, but at least it’s inexpensive to make.
How Do You Fix Sticky Playdough?
You will be thrilled to know if the edible playdough turns out too sticky you can quickly resolve this issue! Simply sprinkle out a little bit of flour onto the countertop and roll the playdough balls onto the flour. Just make sure to do a little bit at a time, so it doesn’t become too hard or firm.
Will Homemade Playdough Stain?
When you are initially making the playdough and mixing in the food coloring, you may get some staining. So it’s essential to give the DIY playdough to the children after you have already mixed it up if you do not want any coloring to get on them. Otherwise, once the homemade playdough is made and mixed, it will not stain their fingers or hands at all. That is the beauty of this playdough recipe!
I can’t wait to hear about your experiences with this edible playdough recipe. Let me know what you think. 🙂


How much vegetable oil?
The spoon in the pic says 1tbsp
How much vegetable oil? I’ve already started making it grr
I’m trying your recipe and I’m finding that it is still too sticky to handle even after letting it sit out overnight. Any suggestions.?
This recipe can’t be right. It was way too runny and sticky. I had to add a ton more flour to thicken it up, I added powdered sugar too until I finally got a good consistency.