DIY Chalkboard Clipboards
This post may contain affiliate links. As an Amazon Associate I earn from qualifying purchases.
I love hanging art in our home, but sometimes, if I’m being totally honest with you guys, I am too lazy to go find a frame, put nails in the wall, find a spot, etc. First world problems, right? So I’m always interested in ways to have art that is easily changeable, and when I saw a cute little display of clipboards with chalkboard paint on them at our local West Elm, I knew that I wanted to make a set of my own.
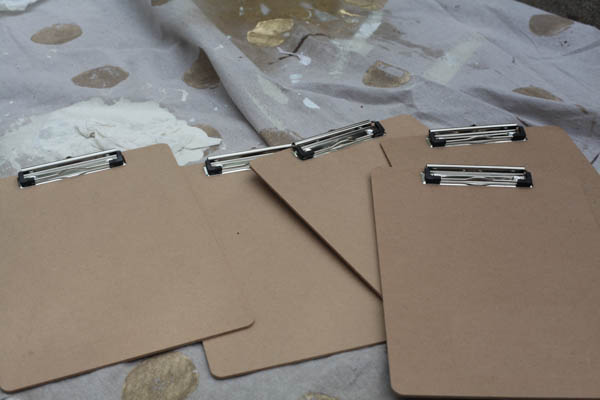
No problem, I thought to myself– I’ll just grab some clipboards, some spray paint, spray them and hang them and look fabulous. Easier said than done of course. Shouldn’t I know this by now? The trouble started in locating my supplies. After going to three dollar stores and two Targets, I was finally able to find clipboards. Apparently they are not a popular item if it’s not back to school season. I bought the entire stock of clipboards our Target had…all five of them. 🙂
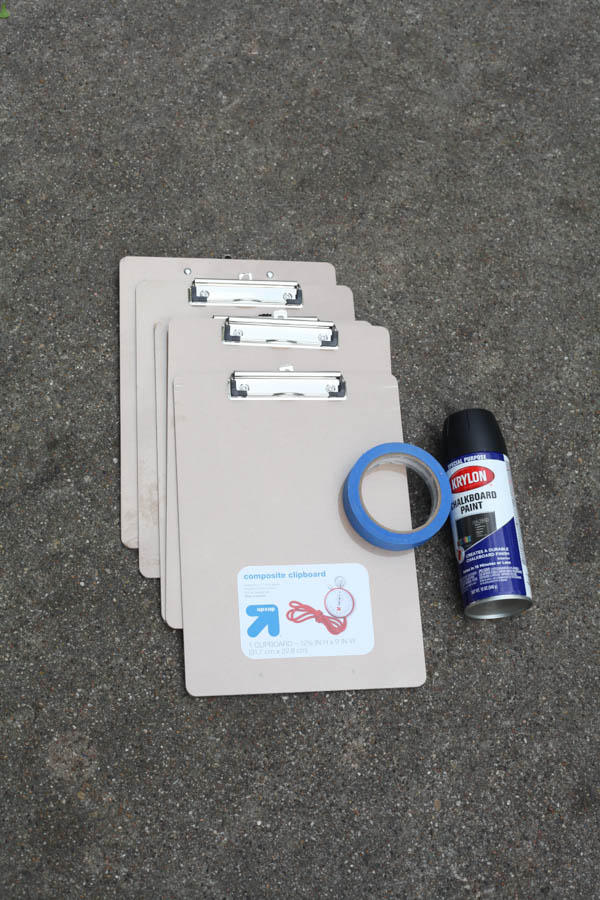
I then had to go to two craft stores to find chalkboard spray paint. What is happening? I guess chalkboard spray paint is popular with the masses now. 🙂 I need to stock up just in case next time. But I bought the one lonely bottle they had, thinking to myself for some unknown reason- that bottle looks suspect to me.
Because it was.
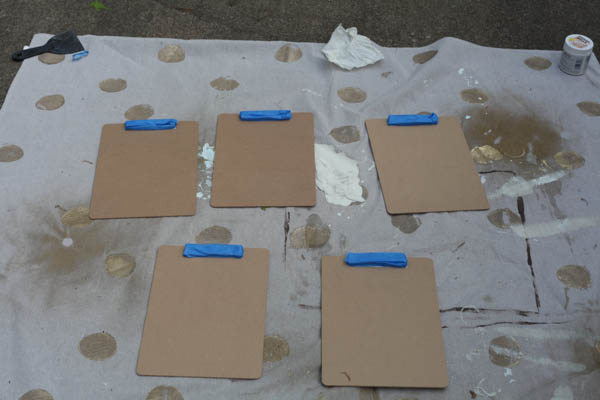
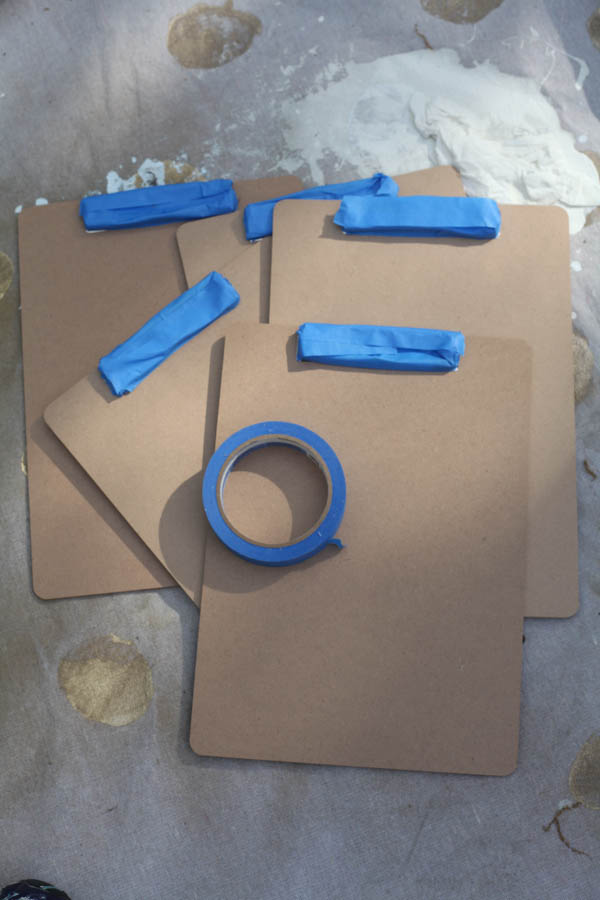
After finally having a day where it wasn’t raining, I was able to spend ONE HOUR taking the plastic off the clipboards and taping the silver clip part off to spray. I was thinking the whole time, this was supposed to be EASY.
But whatever, I was FINALLY ready to spray paint. So I started to spray…and chalkboard paint was dripping and shooting out in streams and puddles…I’ve spray painted dozens (if not hundreds!) of things and this has never happened.
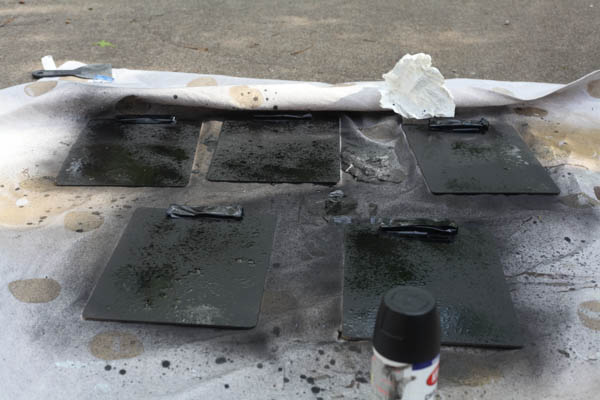
I considered calling it quits and waiting til I could by new spray paint, but I just wanted to be done. I wanted my end result and I wanted it now, you know? So I kept spraying, even as clumps of chalkboard paint were shooting back into my hands (this was a week ago and my fingernails are STILL black on the edges, gross). I am just hardcore like that. Whatevs.
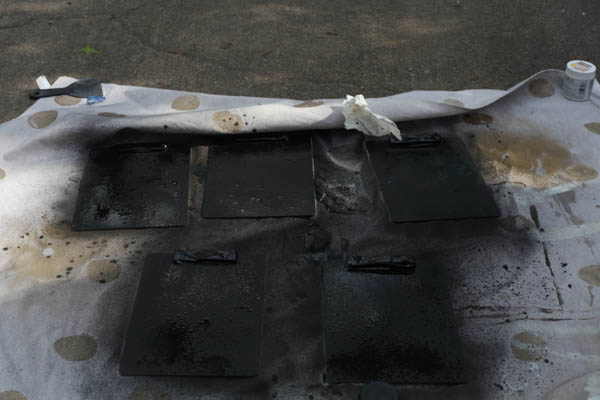
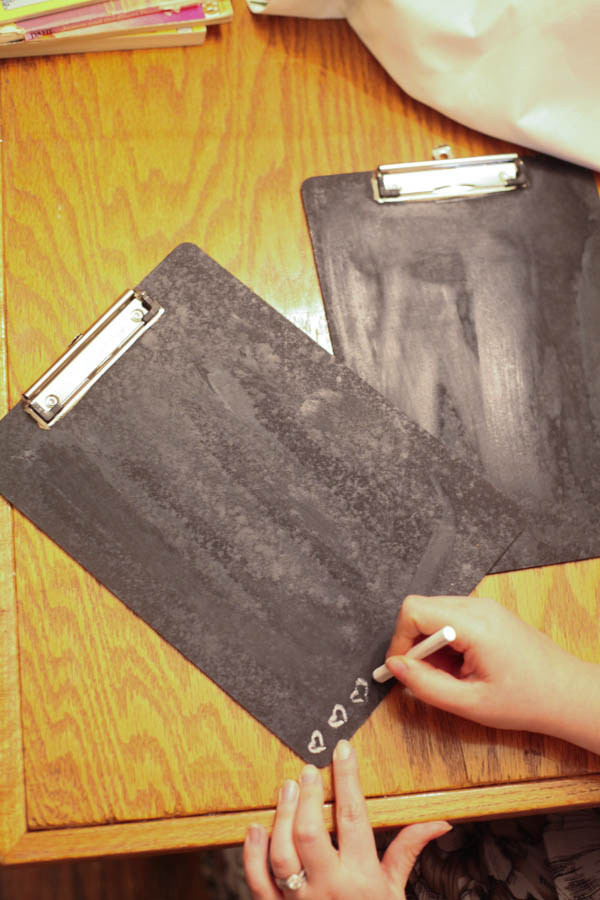
Finally, after drying for 24 hours, I assessed the damage. I was hoping that somehow the paint was self-leveling and the clumps and drips would be gone. Guess what?! They weren’t. BOOOO. So I got some sandpaper and sanded it all down to where it was a flat even surface. It left some scratches, but I kind of like them….rustic-chic or something right? 🙂
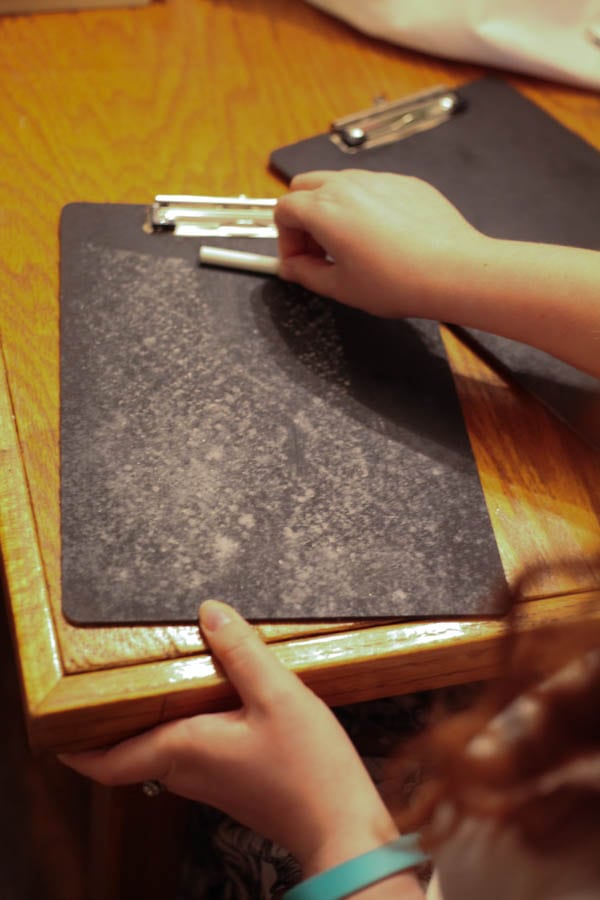
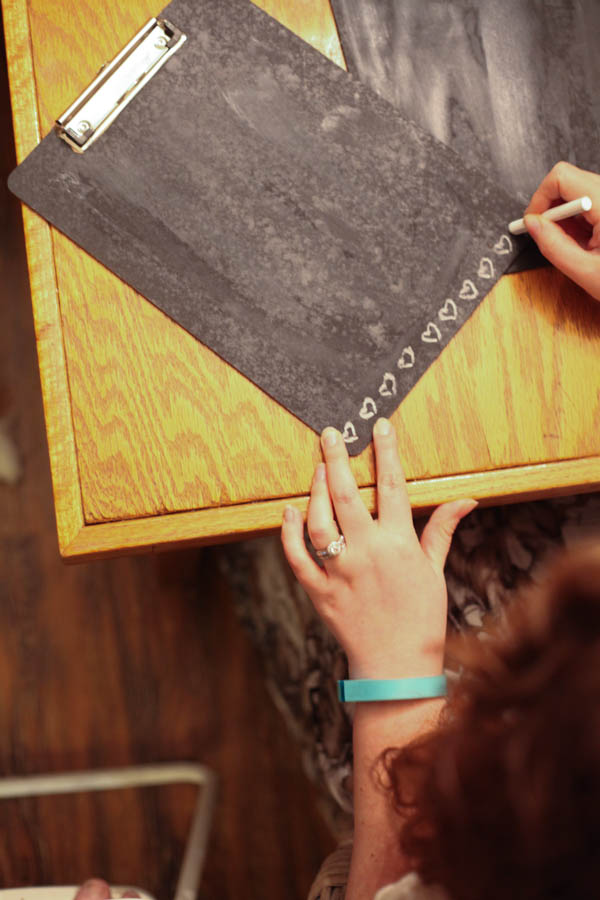
So that was the worst of it. After sanding I wiped them clean, and used a piece of chalk on its side to activate the surface. Then I cleaned it and start doodling on the bottom.


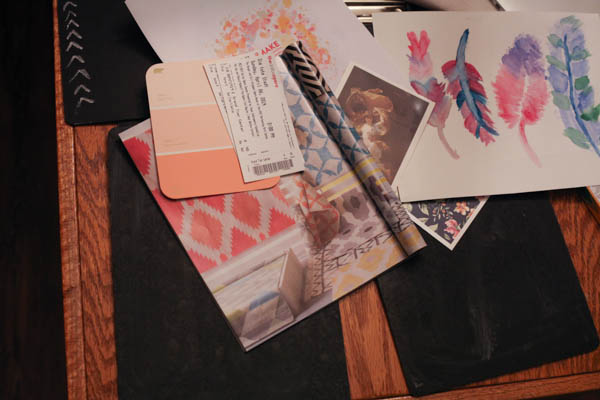
I collected some random images/things I had been collecting to display and started picking my favorites. Meanwhile Scott was hanging my boards for me. Yay teamwork! 🙂
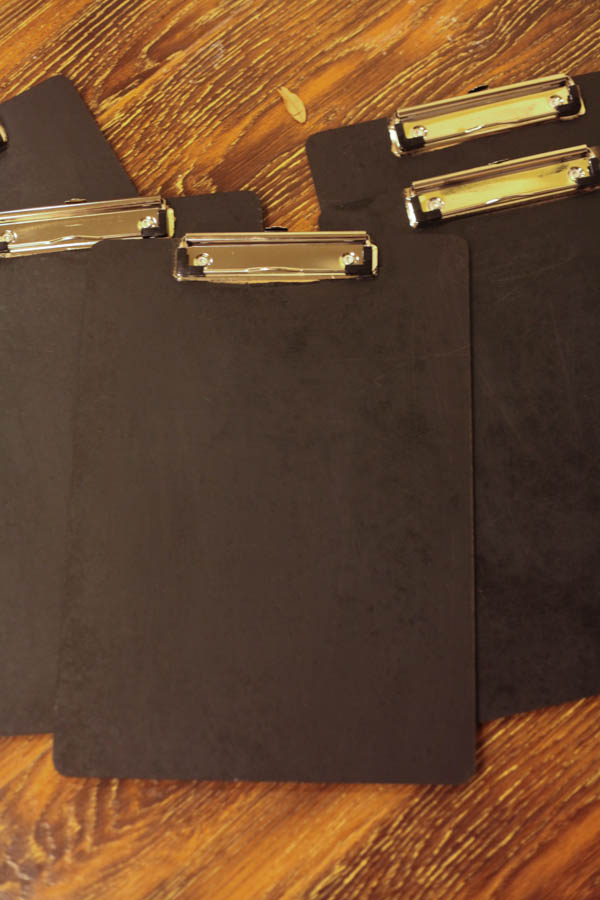
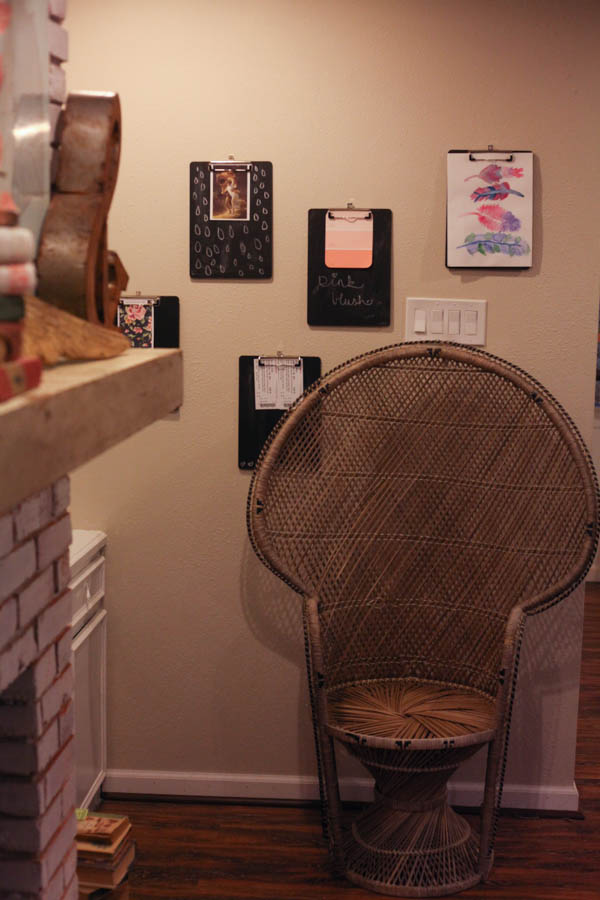
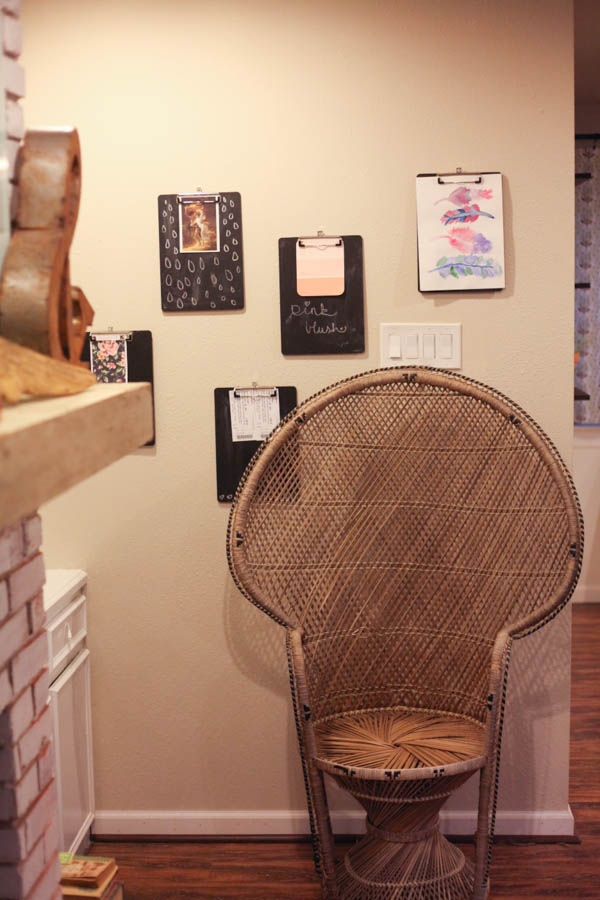
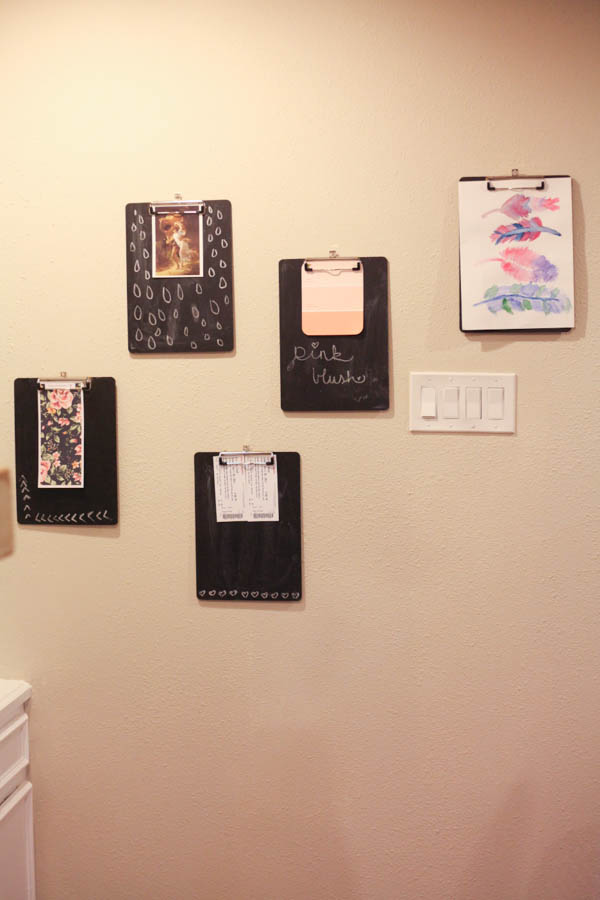
So here they are! We hung them on a lonely looking wall in our living room. Isn’t it cute?
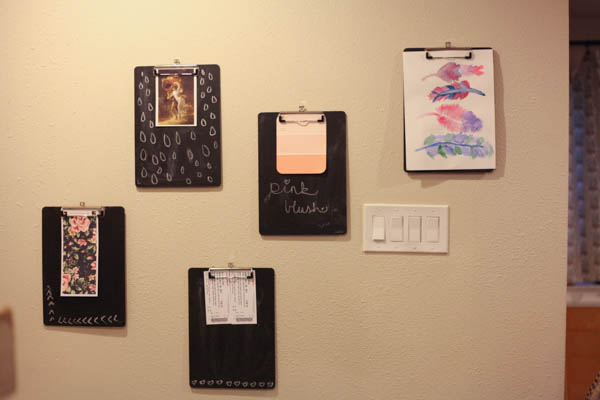
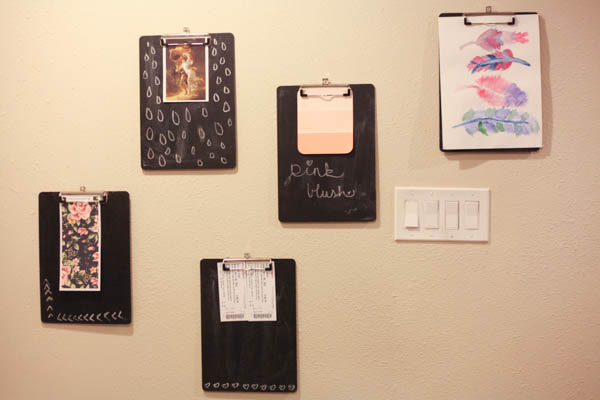
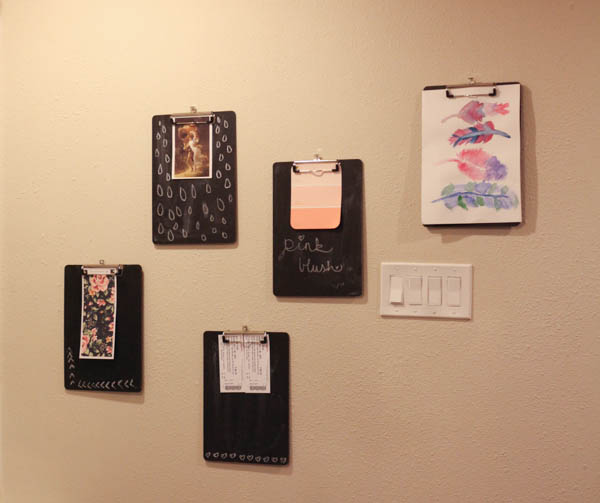
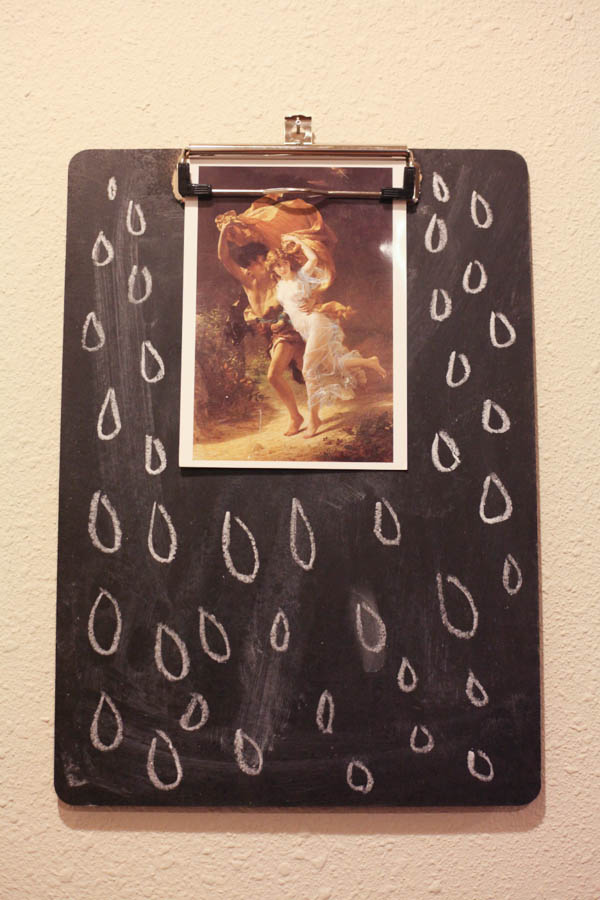
This is one of my favorite pieces of art…it’s called The Storm by Pierre Auguste Cot. When I lived in NYC for a summer I used to spend a lot of time at the Met looking at this one. Hopefully I’ll see it again soon!
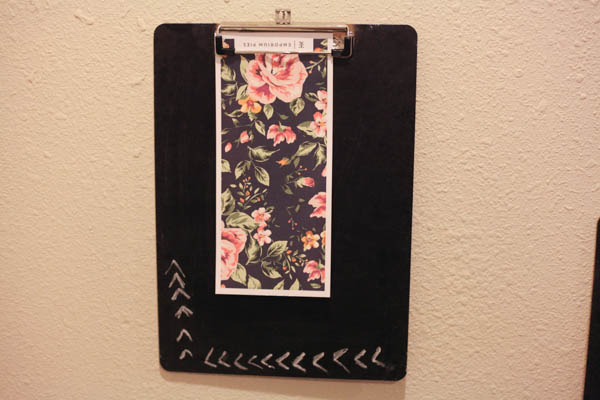
Does this pattern look familiar? It’s the Emporioum Pies menu. I used another copy to make an iPhone case too.
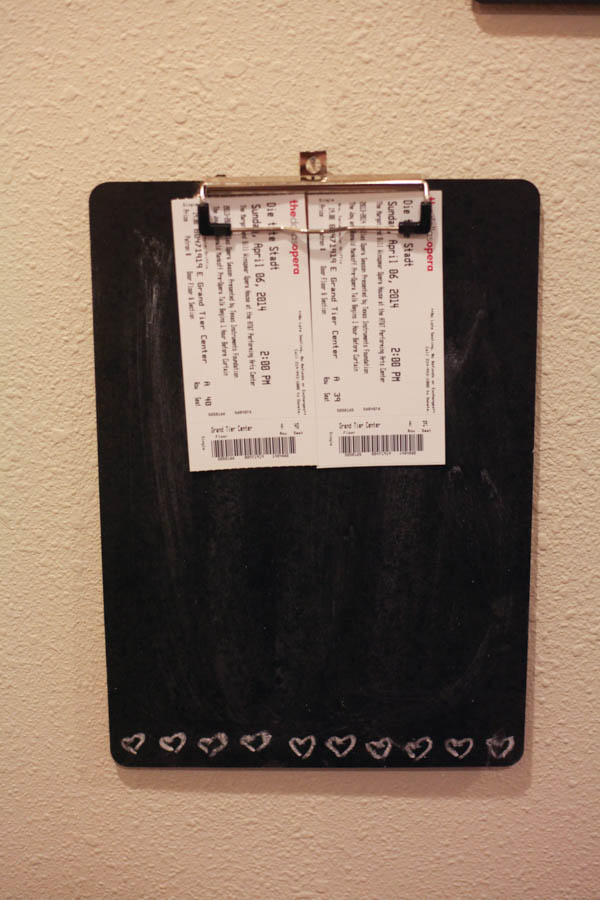
Tickets from our first Opera- we went a few weeks ago! <3 Loved it!
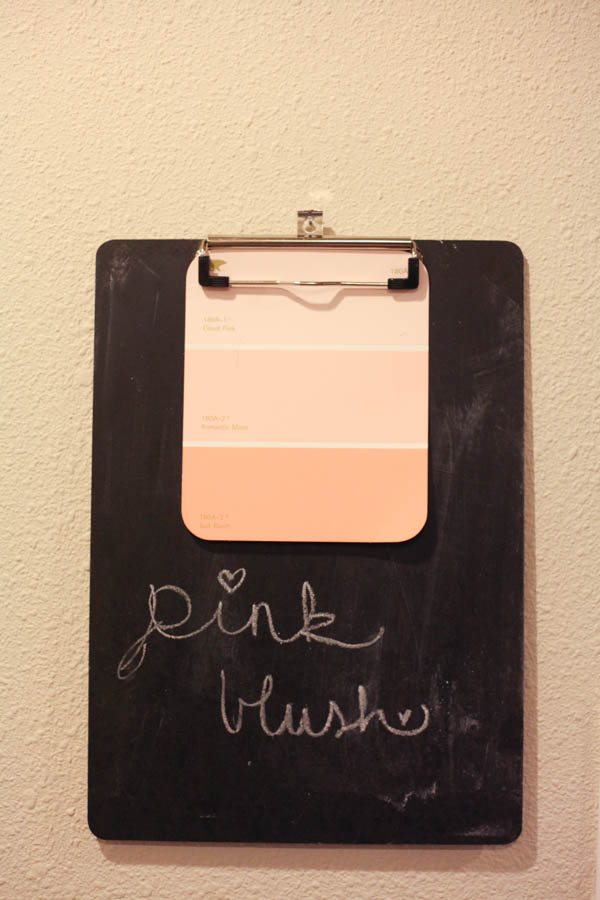
Some current paint chip samples that I’m really digging. 🙂
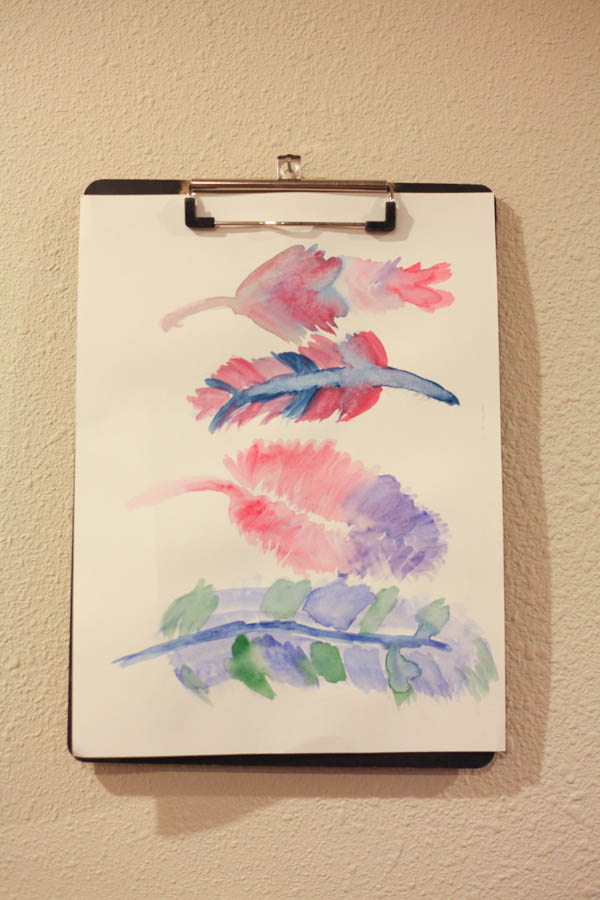
And some brilliant original watercolor painted by…yours truly. 😛 So profesh right?
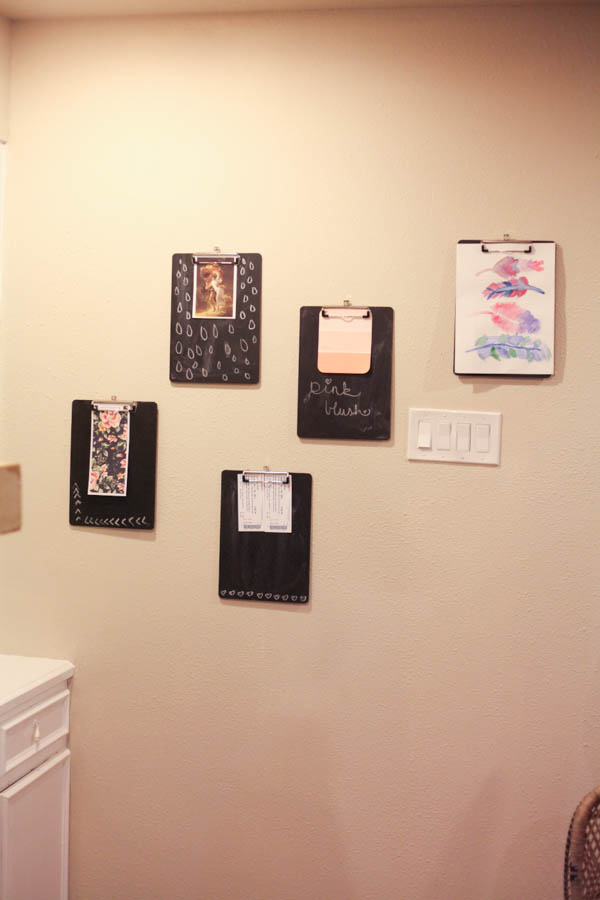
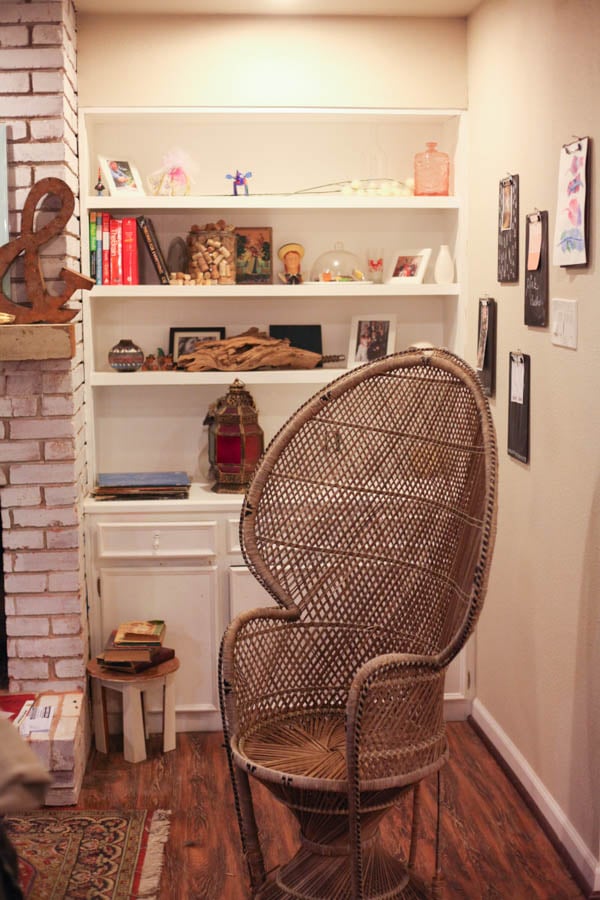
I love how they look on the wall…especially with my new favorite chair! 🙂
I’m so excited to continue to trade them out. Maybe add more? If I can ever track down any more clipboards…hehe.
Hope you all have an amazing Easter weekend…I have enjoyed being even more mindful than usual of Jesus’ sacrifice for us. Take a moment to practice some gratitude this weekend…it’s good for the soul! We all have a lot to be thankful for.


They turned out great!
Do you think it was just a bad can of the chalboard paint? I always see them in stores and think about getting one and finding a little project to do.
Samantha- for sure! I have used chalkboard paint before and it’s worked great…something was just wrong with this one 🙁
They look great! Especially after all that trouble. I’ve had a can of spray paint act up like that on me, too. I wonder what causes it.
Thanks! I am not sure…but I am not a fan! 😛
What a pain! Why is it that sometimes the harder a project becomes, the MORE determined we are to do it? HA! They turned out great, with or without the splotches.
Thanks Rebecca! I know right? I just wouldn’t give up! 🙂 I’m glad though.
They turned out amazing! Very Anthropologie like. And I like how you’ve staggered their placement on the wall too.
Aw Char- best compliment ever. Anthro is my faveeeee.
I absolutely LOVE this idea!! I’m so glad you were more determined than that faulty can of paint because they turned out great. I love how you’ve displayed them. I had a chalkboard wall in our old home and I’m really missing it. I think this might be the perfect remedy! I’ve only ever used chalkboard paint that you roll on so hopefully I’ll have a little more luck with the spray kind. Although, I’m really into more of a rustic look anyway 🙂 Thanks for the inspiration!
Thanks Brooke! The last time I used chalkboard spray paint it turned out awesome…I think this one was just broke, boo. We used to have a giant chalkboard wall in our dining room, but the wall texture made it too hard to write smoothly, and i was tired of chalk getting all over our floor. 🙂
What a great idea! Very cute and easy to do!
http://howtomakehome.blogspot.com
Thanks girl!
This is so clever! I love this idea. It is going in my “ideas I’m stealing from Tania” file!
File away! 🙂 Hehe