Easy (And Super Adorable!) DIY iPhone Cases
This post may contain affiliate links. As an Amazon Associate I earn from qualifying purchases.
I will totally admit it. I am totally an Apple fan. I still remember my first iPhone- I got it when I was still on my parent’s family plan right when they first rolled out. I had just graduated from college and started seeing these “smart phones” pop up all over and I needed one. I added it to my parent’s bill, thinking surely they wouldn’t mind the extra internet charge? I sort of forgot to tell them. Okay, I purposely didn’t tell them. To make it worse, my parent’s worked for Motorola and I was trading in my pretty new pink RAZR (you guys remember those?) in for this weird Apple phone that had a tiny computer in it.
Of course, I got totally busted. My parents are still smarter than me. Duh.
But here I am, seven-ish years later, still rocking the iPhone. Not the one I started out with though of course. Anyways- I remember one of my favorite things when I got my first iPhone was that you could change out the entire look, with just one cover! What kind of magic was this? You couldn’t really do that with the flip phones I was used to….I mean you could go to those cheap mall kiosks and get something plastic to cover it, but this was different.
Does it come as a surprise to anyone I still want pretty cases for my phone? Or that when I was tired of the first case I picked up for my 5S, I decided to try my hand at a DIY?
Of course not. 🙂
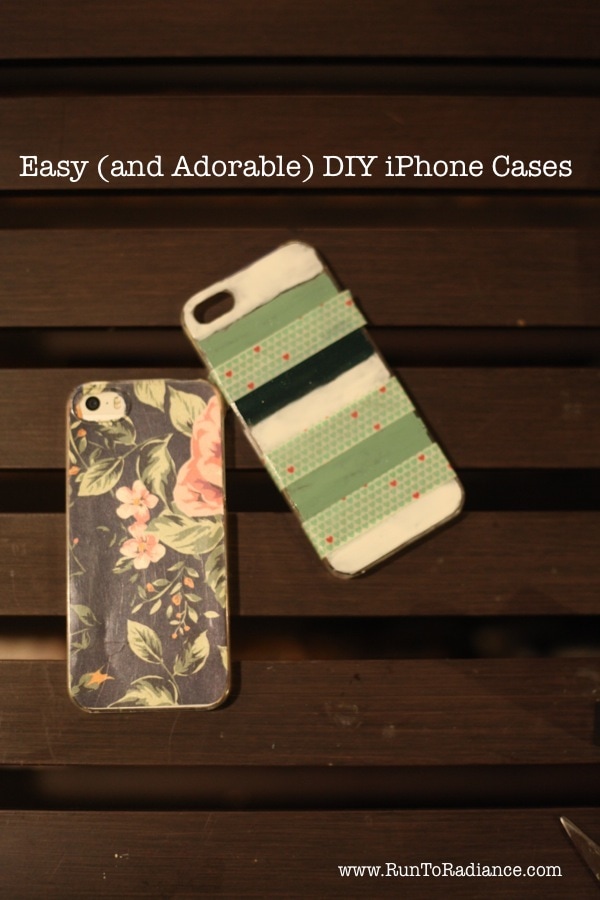
Not only did I DIY one…I made two. I’ll definitely go back and make some more at some point…they were so easy and fun to create that I can’t believe I didn’t do it sooner!
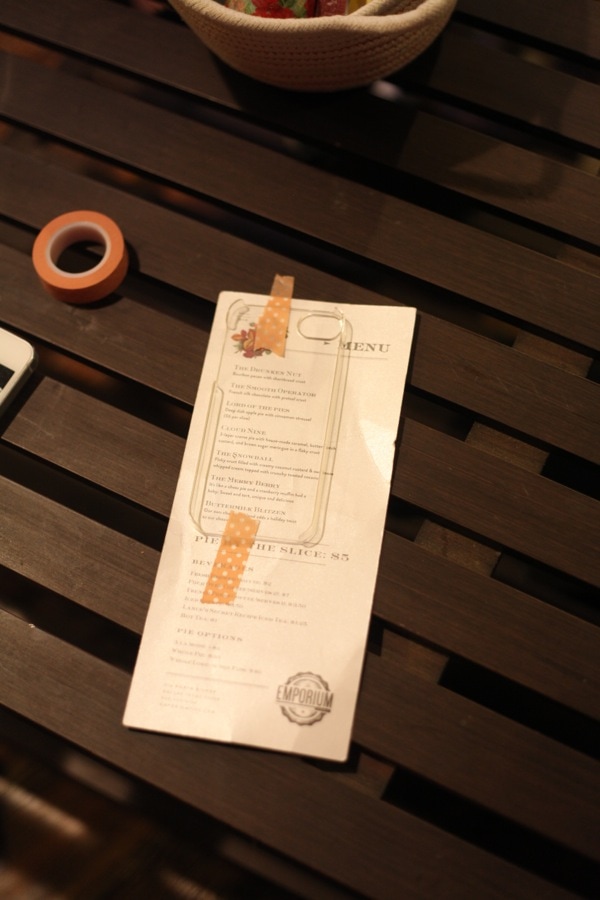
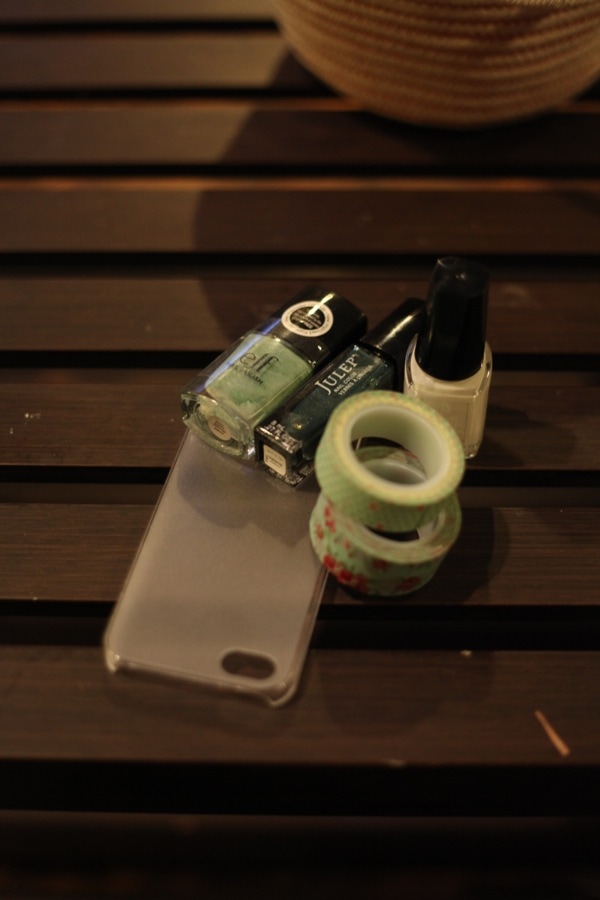
First of all- gather your supplies. I ordered these cases off Amazon- they did take more than 3 weeks to get in so not sure if I would order those again unless I wasn’t in a hurry. Which I always am. 🙂 I also pulled together some nail polish colors I am currently digging, some patterned paper I really love, coordinating washi tape and of course my gilded gold scissors.
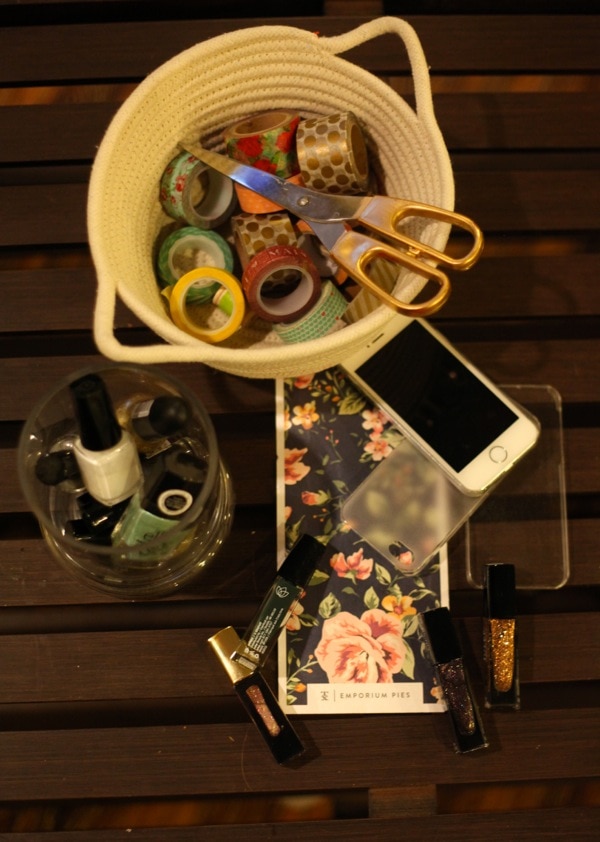
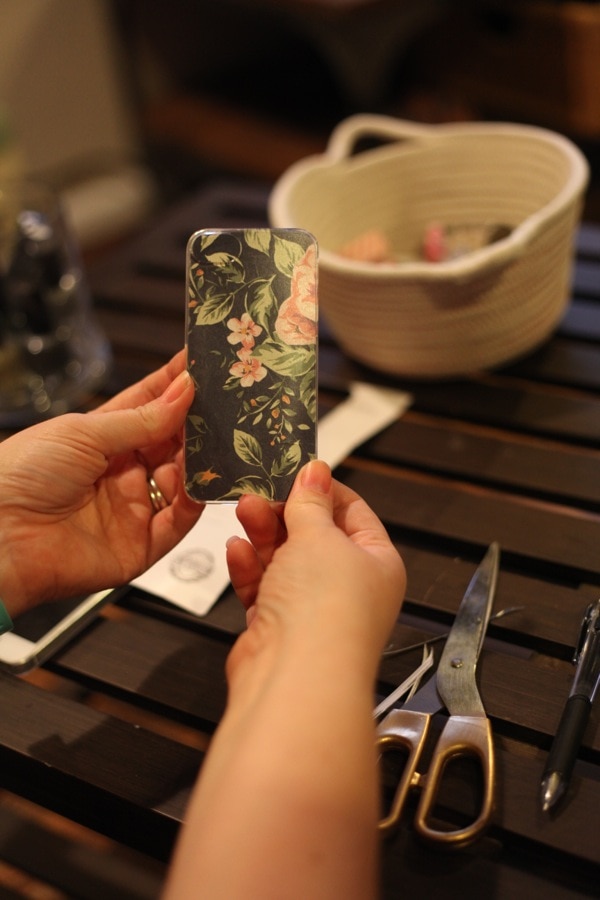
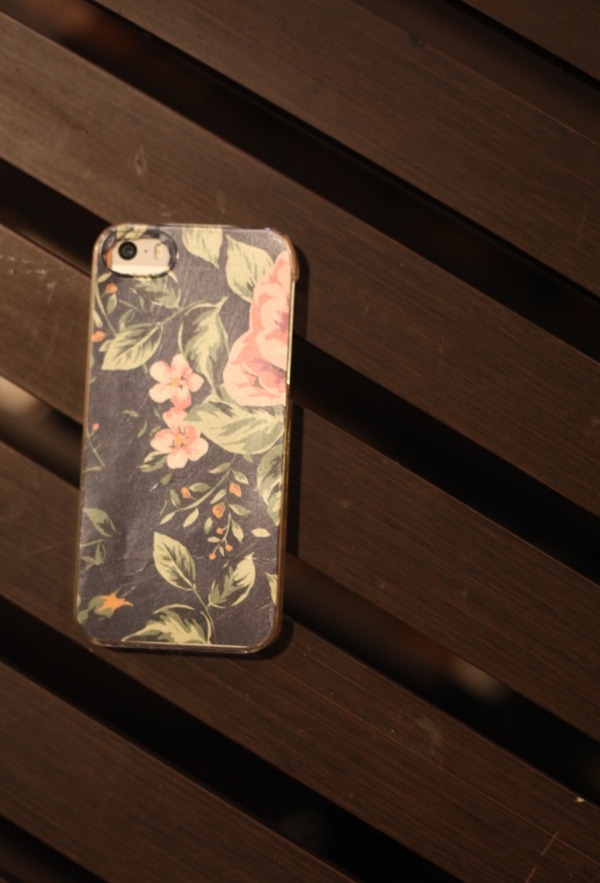
I’ll tell you guys a secret. That paper is actually the back of a menu from Emporium Pies, this AMAZING pie shop in the Bishops Art District in Dallas. I finally got to try their deliciousness last month when I picked up some slices for my sister-in-law’s birthday party. OMG. GOOD. I’m currently on a sugar detox (more on this later maybe?) so I may never get to eat their again, but I will think of it so fondly. 🙂 Anyways, I took one of their flyers and made it into an iPhone case. I would wallpaper my room in their menus if I could- that’s how much I love the design!
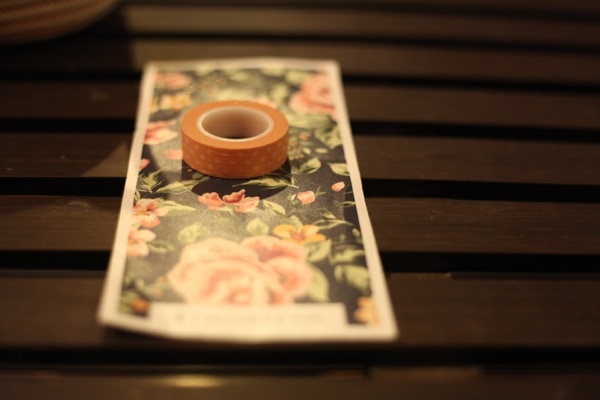
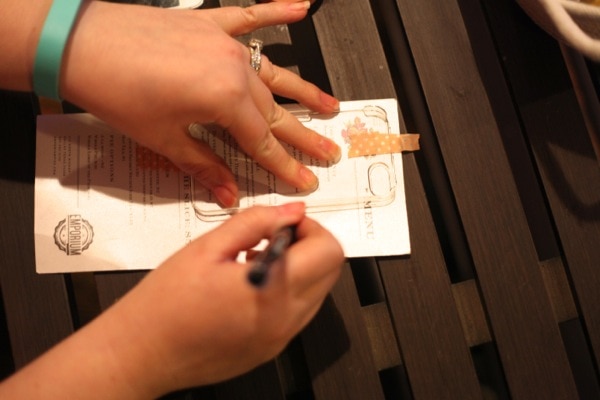
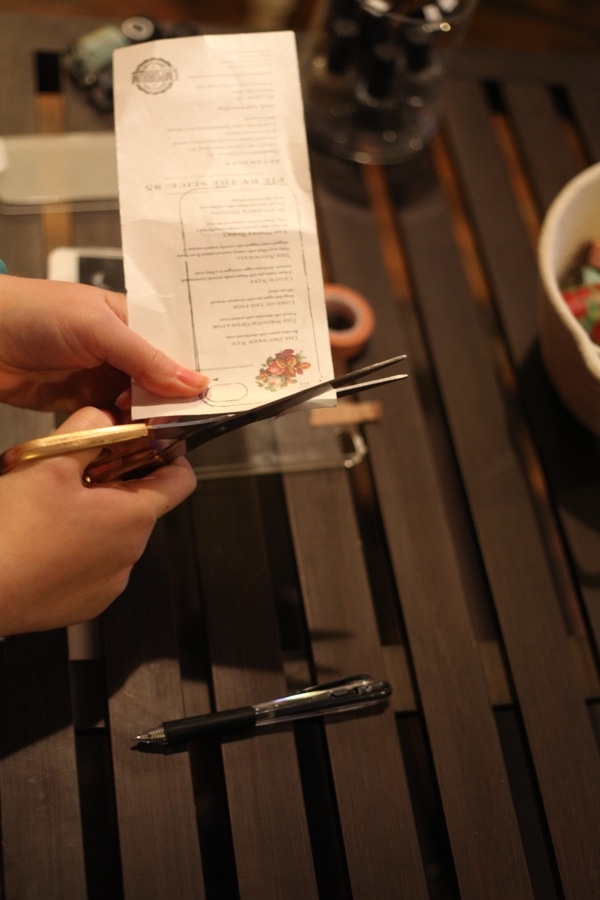
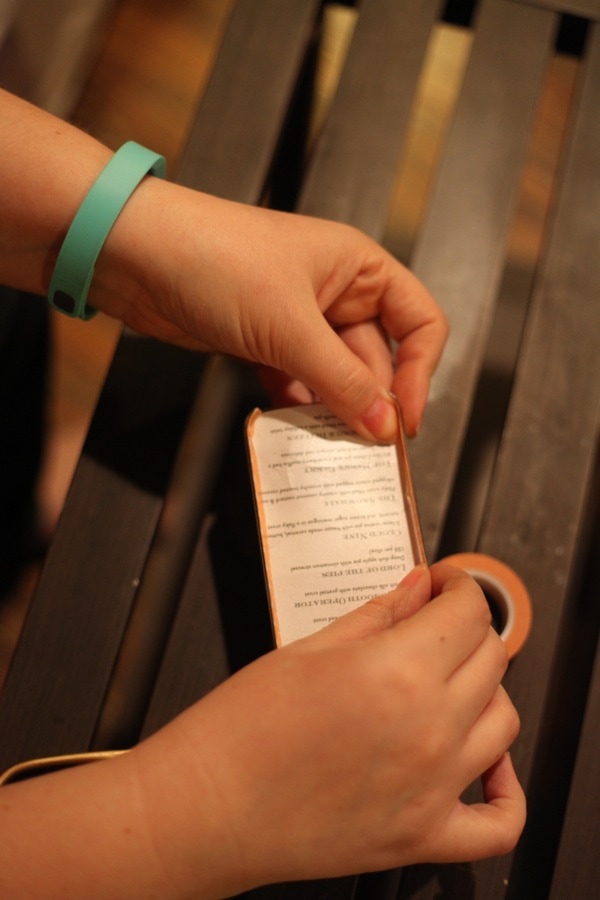
First, turn your paper pretty side down and tape your iPhone case to it lightly so it doesn’t slide around. Trace the shape out (don’t forget the camera hole!) and cut out carefully with scissors.
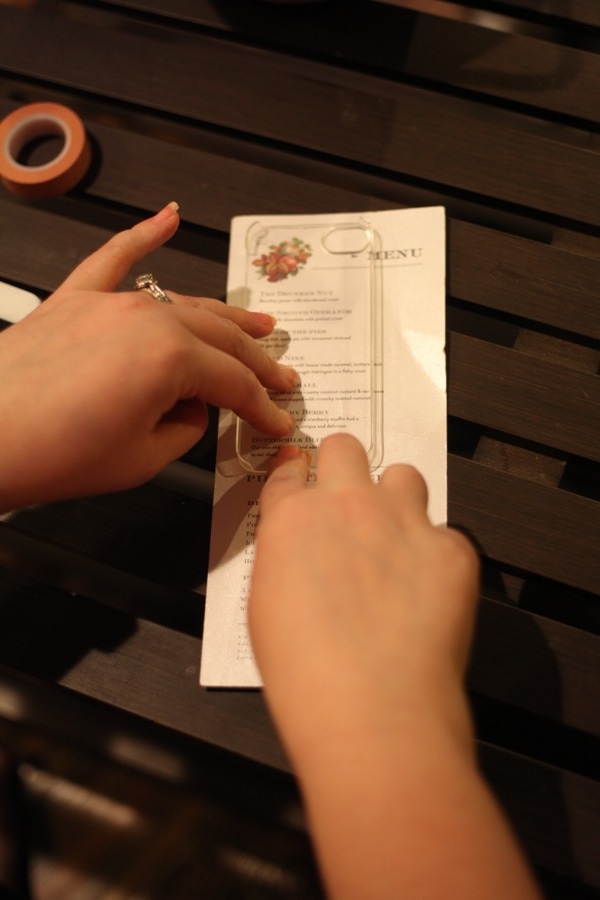
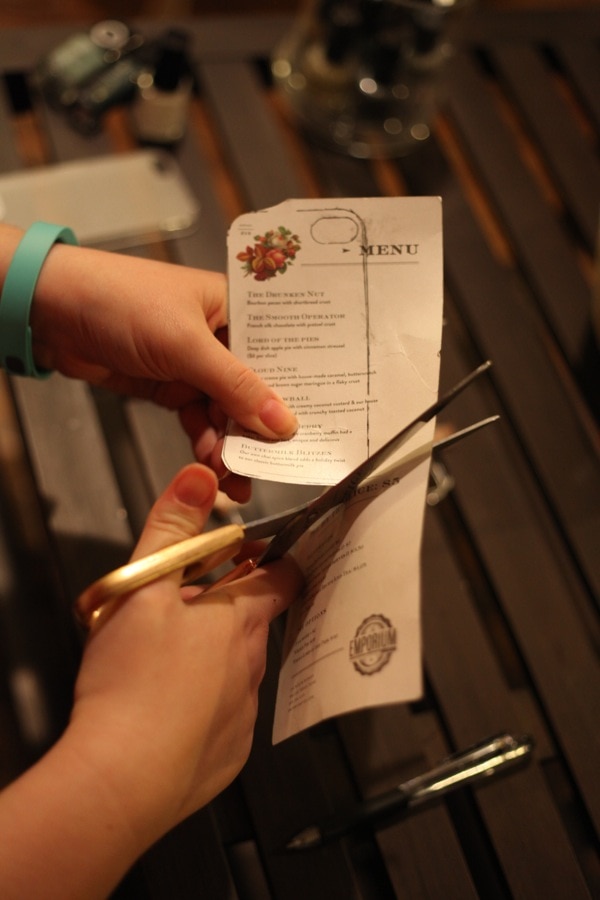
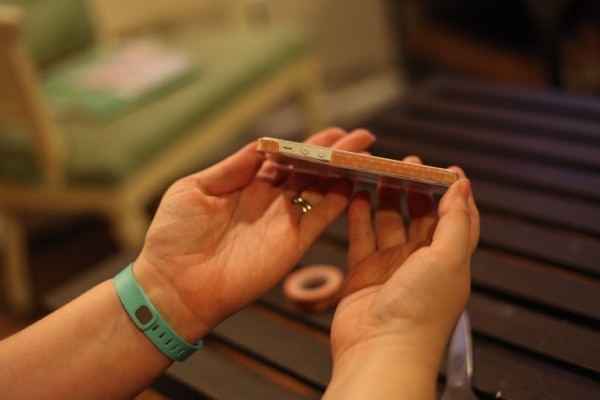
Then press the patterned paper into your case. The paper will be wedged between your phone and the clear case. The shape was so tight that I had to trim a sliver off the end until it fit perfectly. It was tight enough against the plastic that I didn’t have to use tape or anything to hold it down.
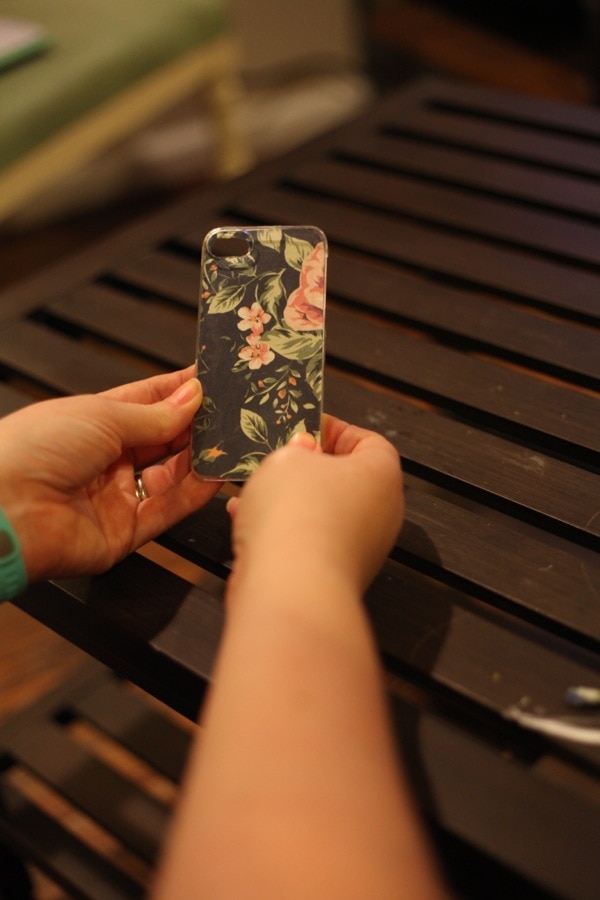
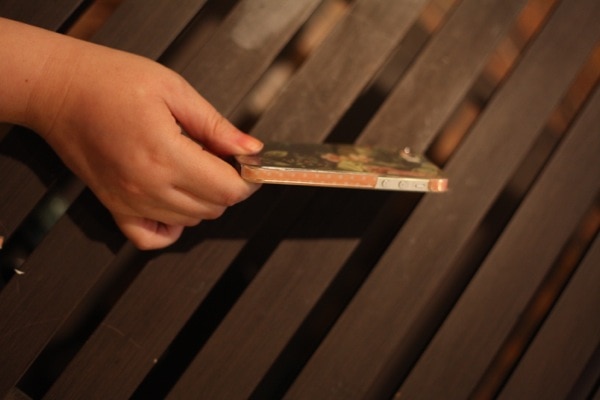
I decided I wanted to have washi taped sides, so I had to do a bit of finagling to get it on there right. I taped it down so when I popped my phone in, it wouldn’t bunch up.
Isn’t it so cute?
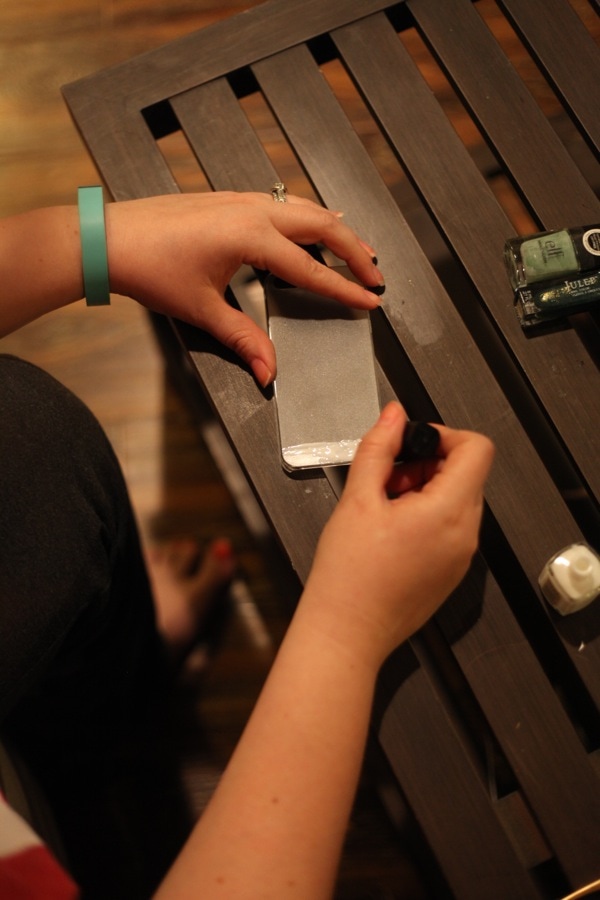
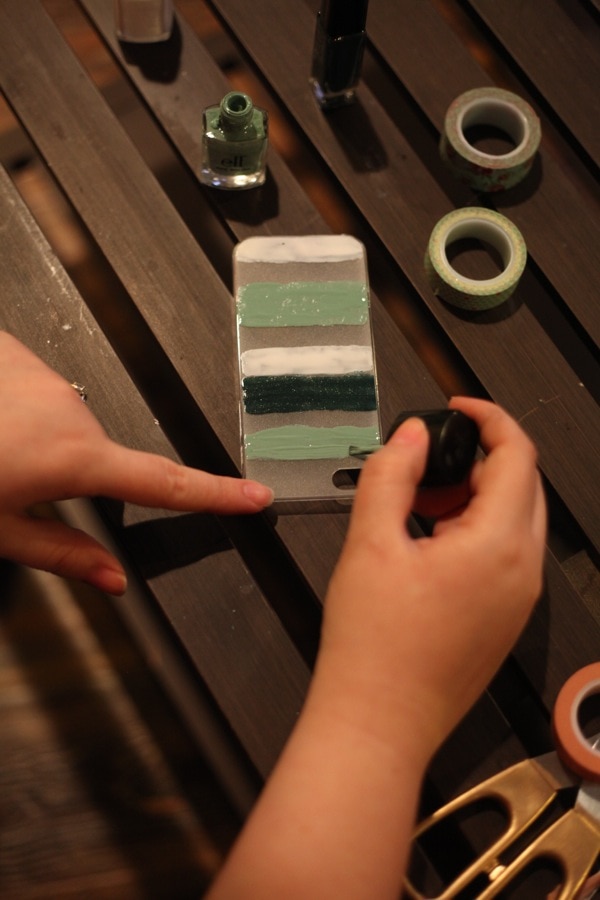
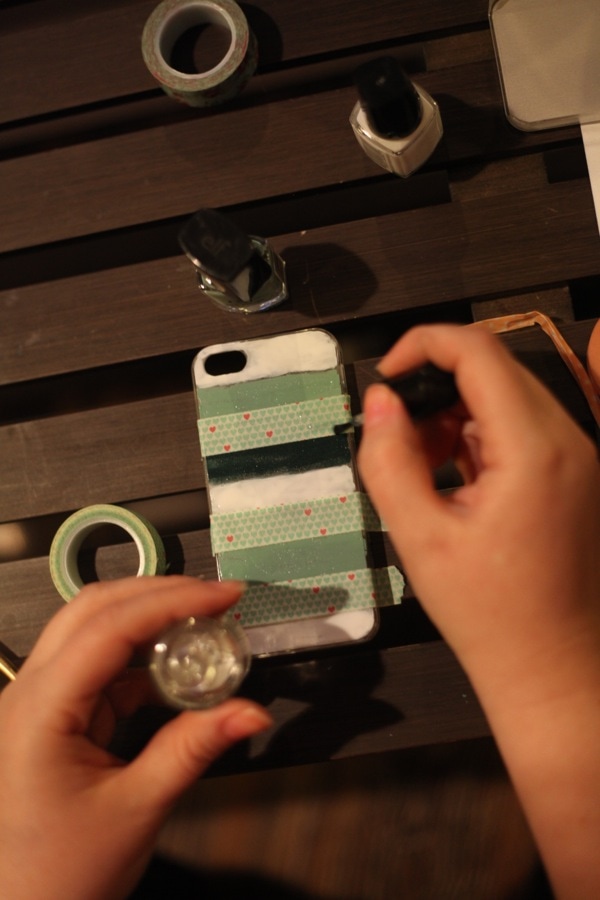
The second one is where the nail polish comes into play. I painted mine on the OUTSIDE of the case- I didn’t want to risk getting any paint on my actual phone! I just did some stripes in varying colors and widths like so:
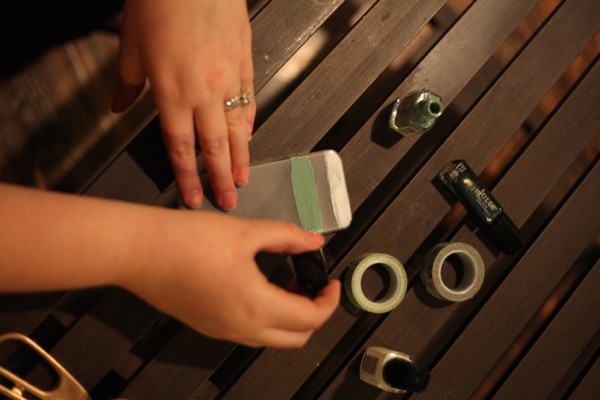
Keep painting, keep painting!
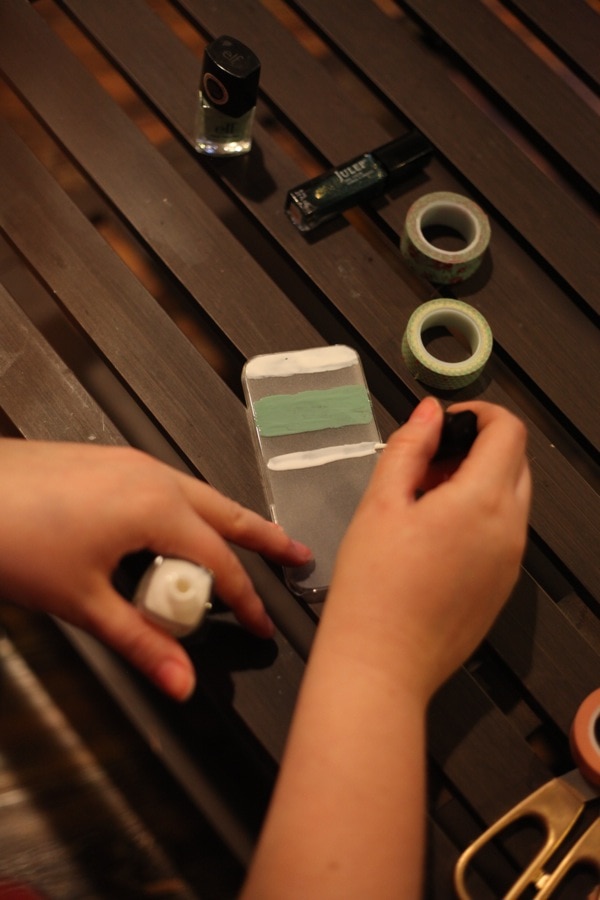
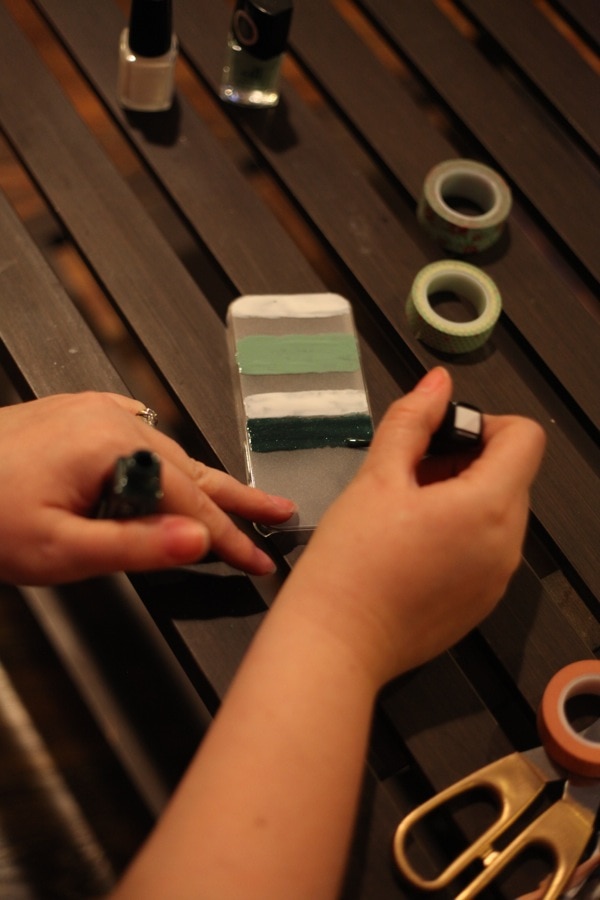
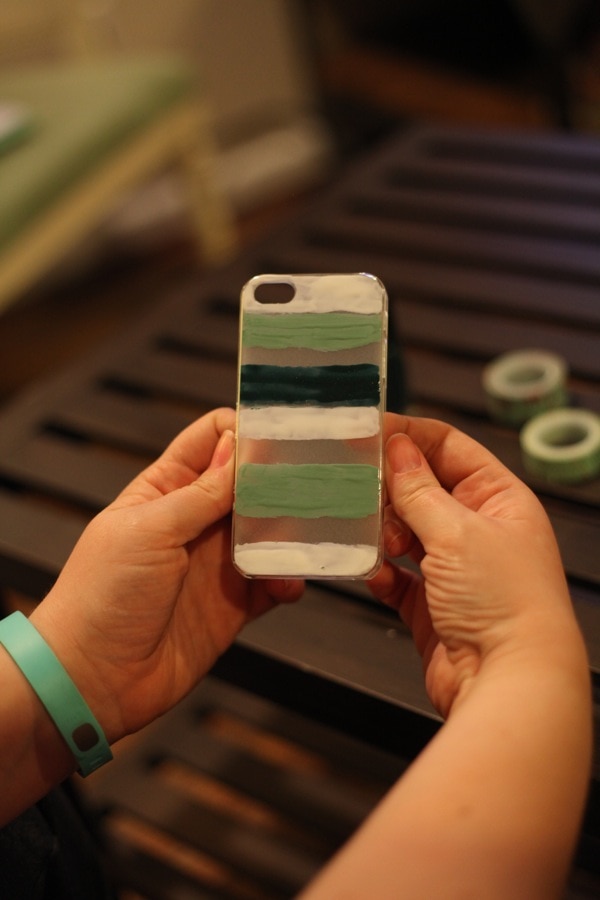
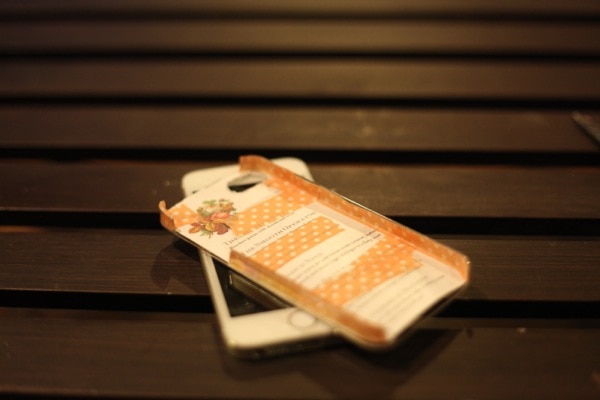
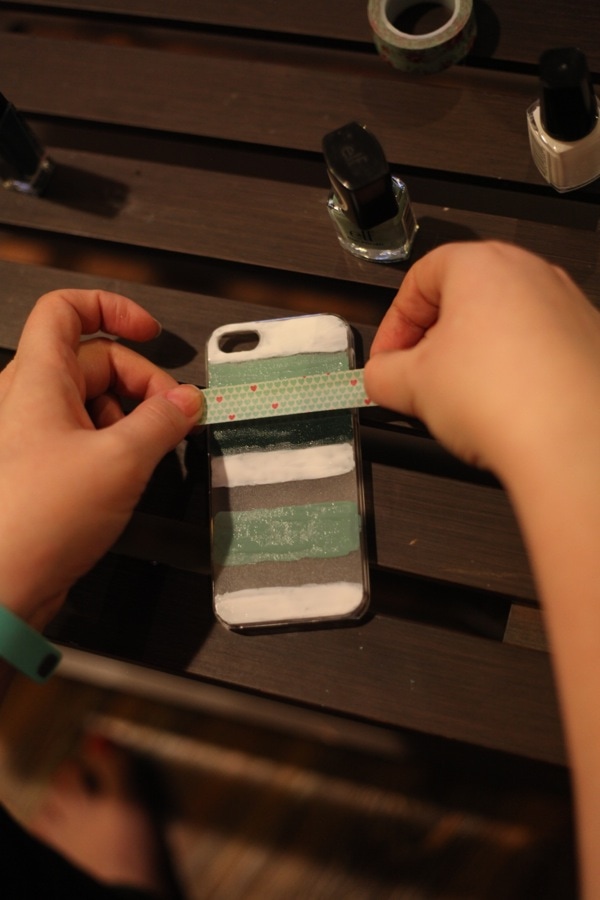
I left a few spots clear- and when the polish was dry, I went back and added washi tape to the case! How cute is that tape btw??
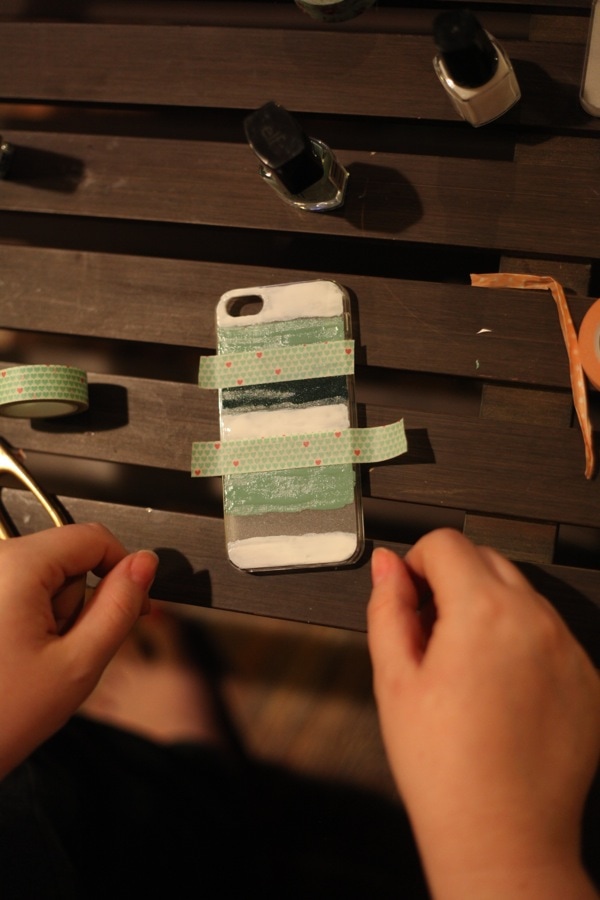
Once I had the tape where I wanted it, I went back with clear top coat to seal the whole thing down. I used this top coat- if you haven’t tried it, you must. For your nails I mean. Also works great on your iPhone case. 🙂
Tada!

After I finished making these, I did the only sensible thing a girl can do. I painted my nails.

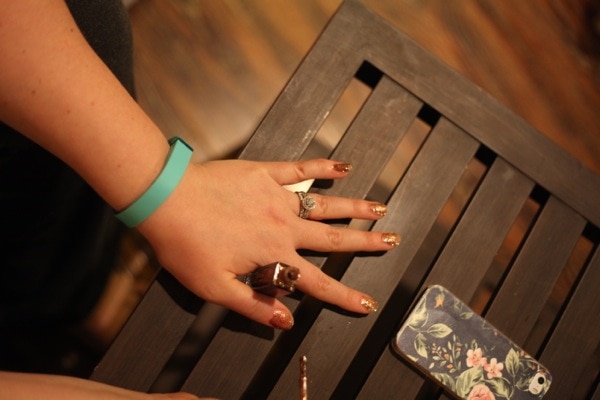
With glittery golden copper. Now I look super cool when I hold my phone, with it’s super cute cover. Take that flip phone! 🙂
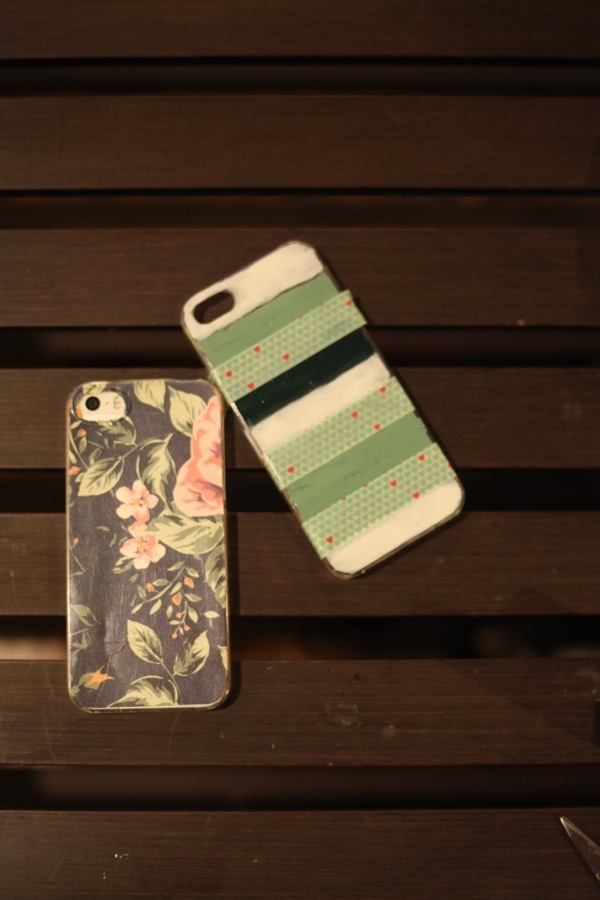


the flowered one is so cute!
Thanks Patricia…that’s the one I’m using now. Totally my favorite too. Don’t tell her sister, shh. 😀
Cute!! I’ve been planning to do this with scrapbook paper when I finally get around to ordering a clear case. I love the idea to use the washi tape on the sides.
Yes! You should- so fun and easy. What can’t you do with scrapbook paper and washi tape!? 🙂
such fun- i love this idea 🙂 i’ve been looking for a case i like for a while, but all the ones that i fancy are out of my budget — this looks like a perfect solution. i might make mine with a favorite photo 🙂
I really look the flower one too, it’s so cute!
*like*
Super cute idea. I am totally doing this 🙂
OMG – I’ve never been to Emporium Pies, but this is the second time I’ve seen that gorgeous menu and I am obsessed with it! I seriously NEED to find that exact black floral pattern as fabric for my dining room chairs! Such a pretty iphone case 🙂
So delish girl! And YES…I have been looking for that pattern. I adore it!
A great idea. I like it. It looks so cute.
I need to to thank you for this wonderful read!!
I certainly loved every little bit of it. I’ve got you saved
as a favorite to check out new stuff you post…