Video: DIY Embroidery Hoop Ornament {Cute Cricut Christmas Idea}
This post may contain affiliate links. As an Amazon Associate I earn from qualifying purchases.
Use your Cricut cutting machine to make this rustic-chic embroidery hoop ornament. You will love how easy it is, and you can even personalize it too. Follow these easy step-by-step directions—don’t forget to watch the video.

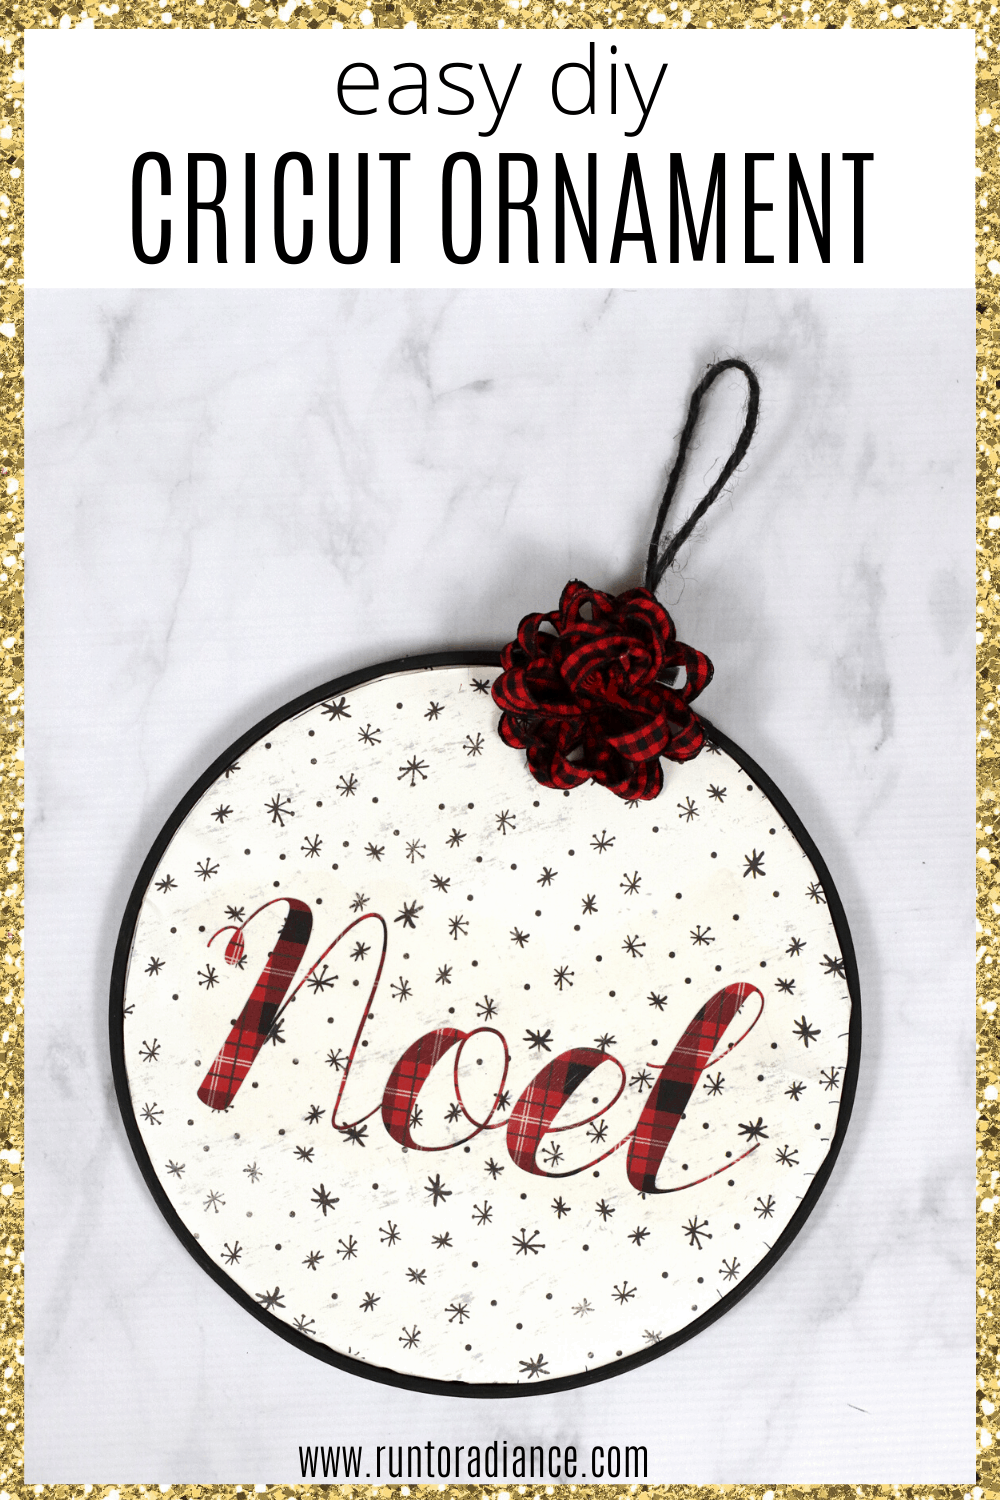
DIY Embroidery Hoop Ornament
From Christmas bulbs to snow globes, circles seem to be the most beautiful shapes that adorn Christmas decorations. I was inspired to create this easy ornament craft after seeing it at a friend’s house.
I love how it looks like I spent all day sewing the word “Noel” on the hoop, but it only took me less than an hour. It’s all made out of pape – no fabric in sight!
I’m not a huge fan of sewing, so this craft made me very happy.
These ornaments make a thoughtful and pretty DIY gift idea, too. I’m sharing the free SVG file that says NOEL. But if you want, you can create your own words.
Just think of the possibilities. You can print out names and create an ornament for each of your kids, or you can make one in honor of your pets. The ideas are truly endless.
My tutorial is really basic, but there are lots of ways that you can personalize it. You could repaint the embroidery hoop to match your home’s decor theme, decorate the outside of the hoop with your favorite Christmas flourishes, or go crazy and add some glitter!
It’s all up to you.
Embroidery Hoop Christmas Ornaments
I have the entire craft in the printable card at the bottom of this post, too. But if you enjoy step-by-step pictures, I have some of those for you, too.
Supplies:
Here is what you will need to make your own ornament.
- 1 Cricut Machine (I have the Cricut Maker)
- Noel Script SVG file (grab it below)
- 2 pieces of complimentary color/pattern holiday scrapbook paper
- 1 bamboo embroidery hoop
- Acrylic paint in a color that matches your paper
- Mod Podge or glue
- 2 foam brushes
- 1 piece of cotton batting (optional)
- Twine or ribbon for hanging and decorative embellishments
Get the Free SVG Download
Grab the free Noel SVG download by adding your email address below. It will be sent automatically to your email, and you can start crafting!
How to Make DIY Embroidery Hoop Ornaments
Here’s how to make the embroidery hoop ornaments. I also included some extra tips to help you out.
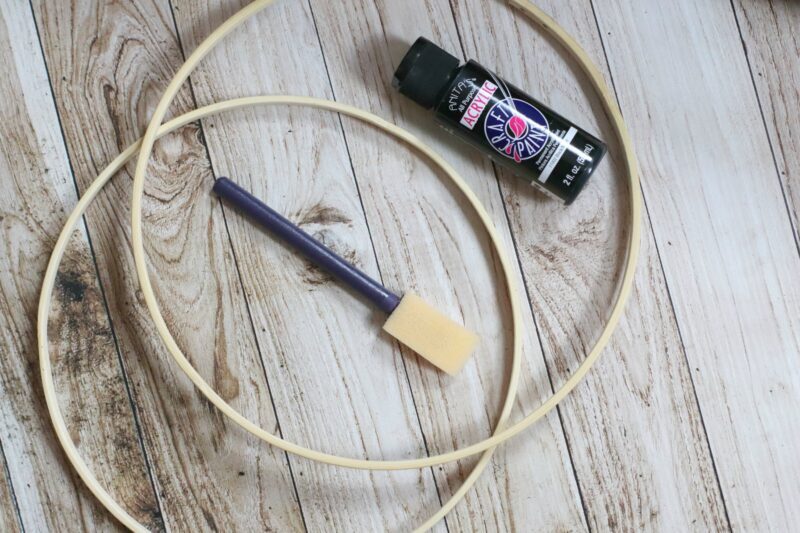
Step 1: Using your foam brush, paint the embroidery hoop. I painted two coats. Be sure to allow it to dry completely before putting the pieces together.
This step is optional. I wanted my hoop to be completely black. I felt like it matched the paper I picked out better. But you can leave it and skip this step, too.
Steps 2-3: Load the SVG file into your Cricut Design Space. Place the scrapbook paper on the Cricut mat and cut the “NOEL.”
Carefully peel the piece from the mat. Glue the “NOEL” to the other piece of scrapbook paper. Trace the hoop around the paper and cut, going an additional ½” outside of the traced circle.
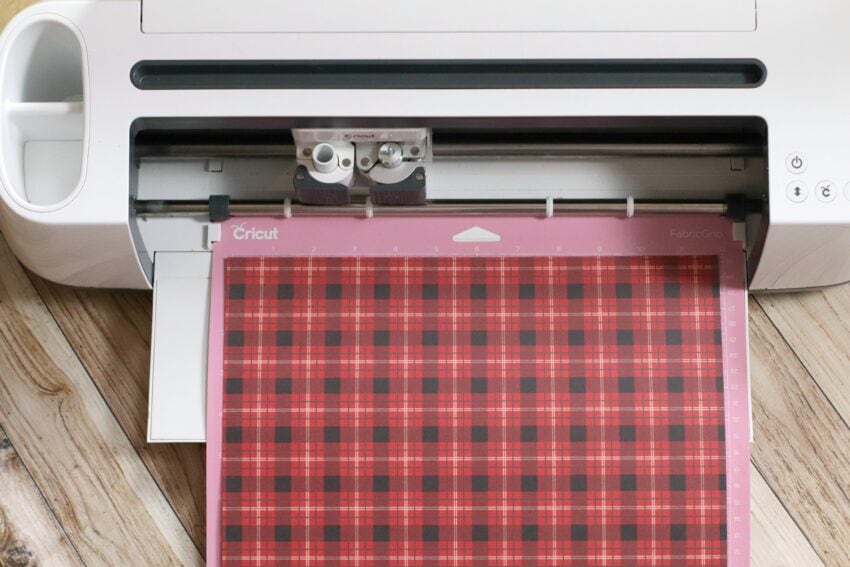
It’s very important that you pick out the colors of your paper carefully. You want NOEL to show up. So make sure the largest paper is either solid-print or has a light color. The word NOEL should be a bolder/darker print or color.
Step 4: Cut the batting the same size circle as the scrapbook paper.
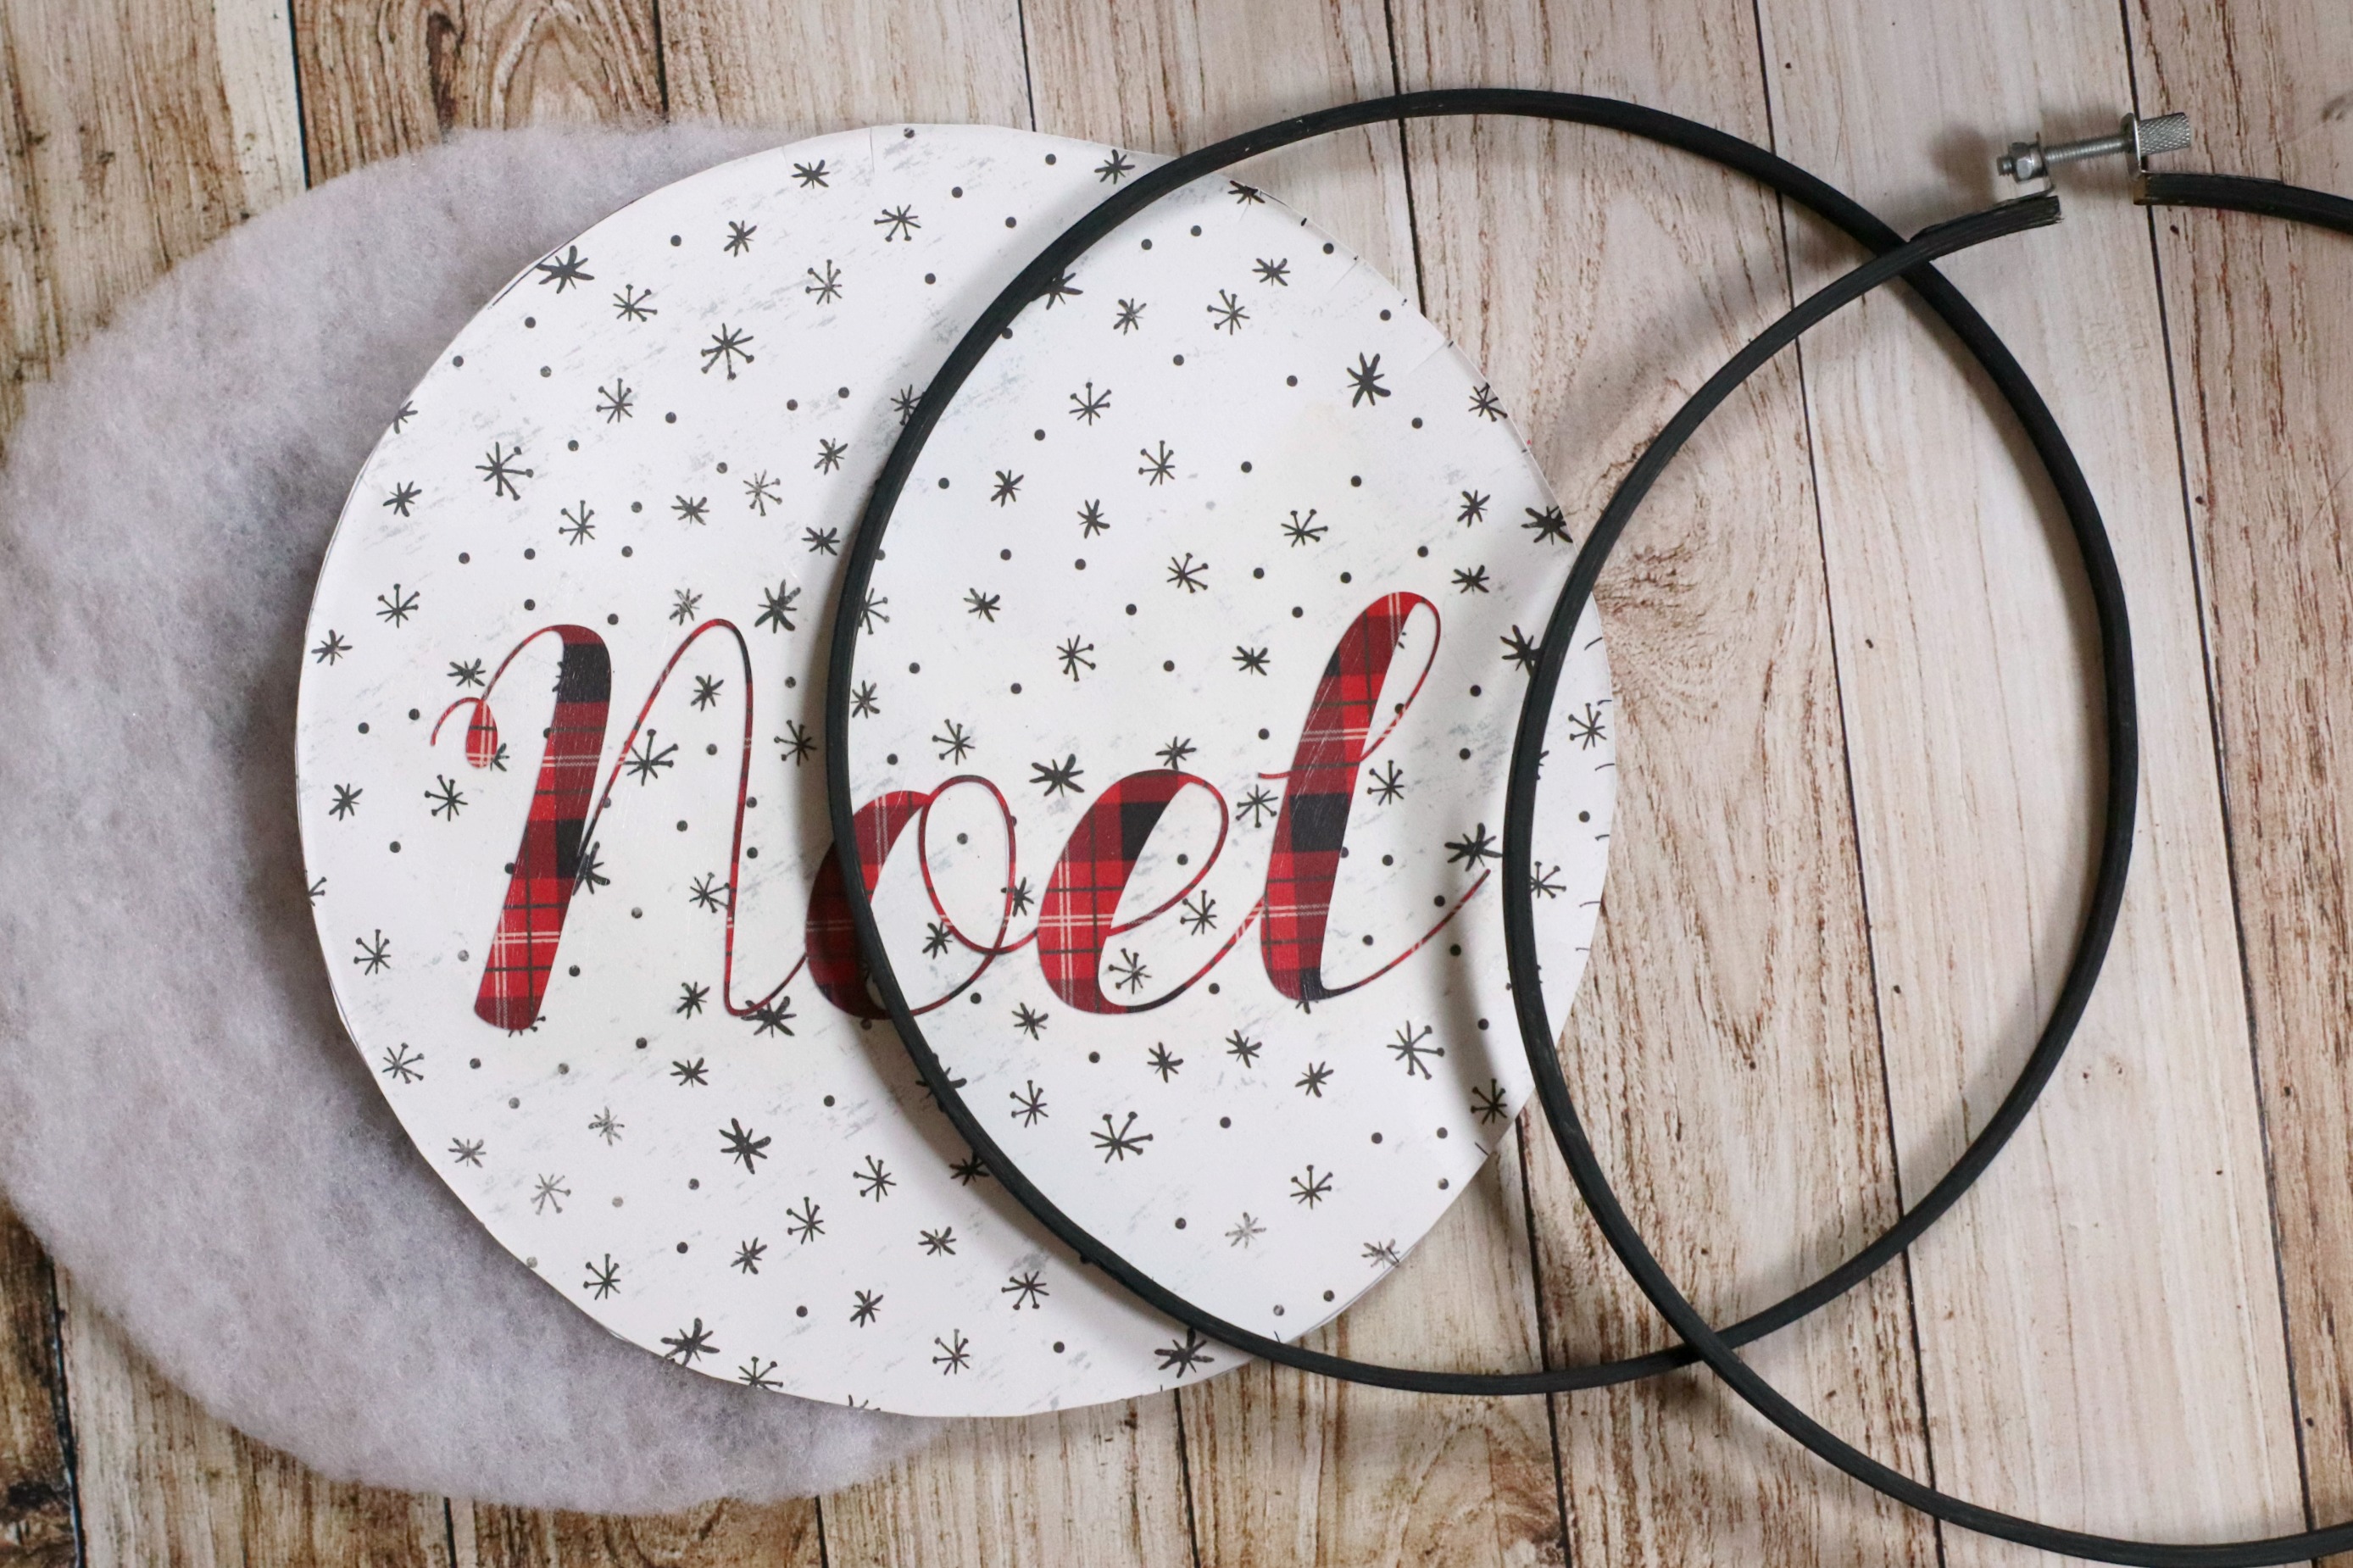
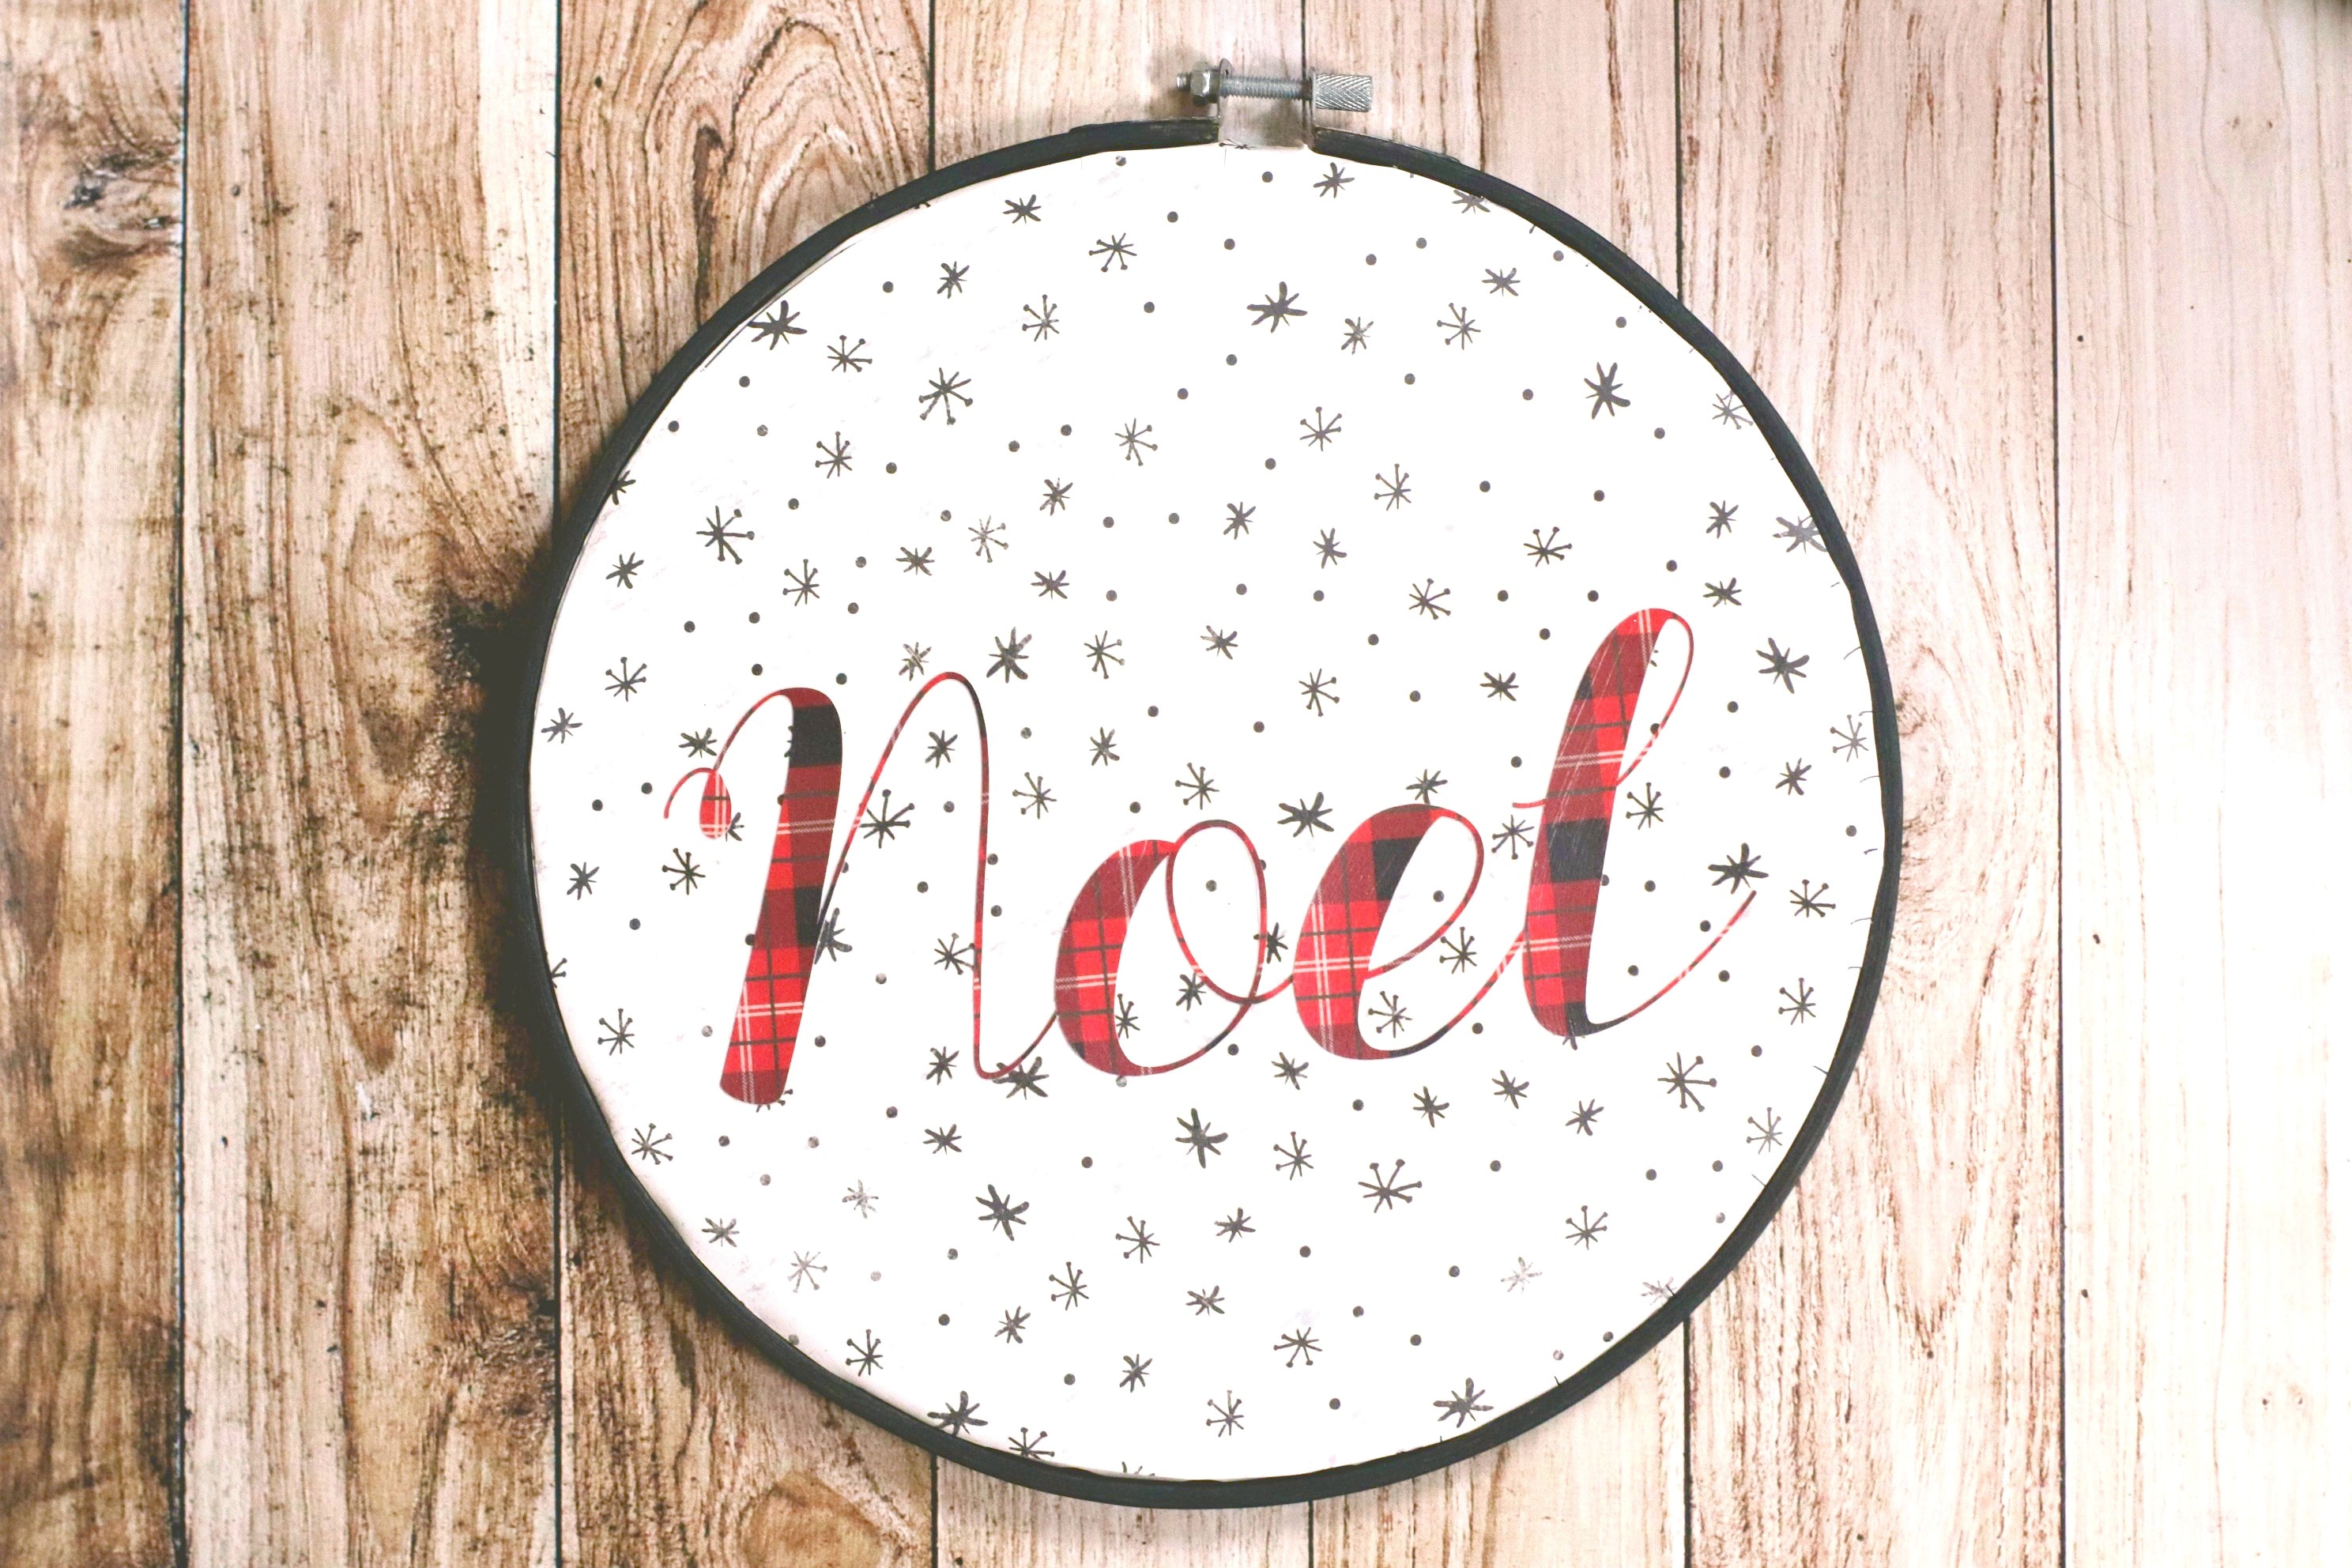
Step 5: Place the scrapbook paper on top of the batting and place it between the hoops. Close the hoops and tighten.
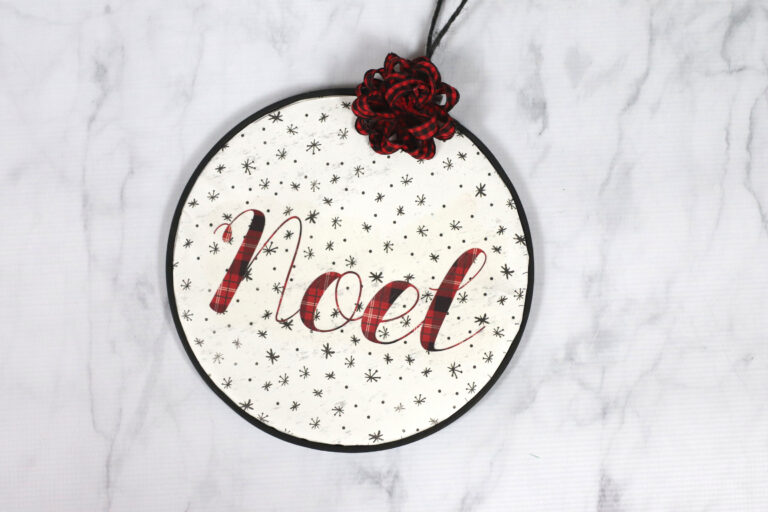
Step 6: Attach twine or ribbon to the top of the hoop. This will be used to hang the ornament. Add decorative embellishments if you want.
Watch the Video
Need a visual to help you understand this project? Watch this quick video!
Frequently Asked Questions
As easy as this craft is, you might still have questions. Leave them in the comments, and they might end up here. If you have a question, chances are someone else has the same one, too.
What can you use instead of an embroidery hoop?
If you don’t have an embroidery hoop, you can glue the words to a round wood slice that you buy at a craft store. Other ideas include:
- Gluing the words to round cardstock
- Turn a plastic lid into an embroidery hoop
How do you create your own SVG files?
The easiest way is to search online for “Free Christmas SVG files.” You’ll find a bunch!
But if you want to make your own, you’ll need Adobe Illustrator. This tutorial takes you through every step. It involves typing your words and then turning them into shapes so the Cricut knows what to cut.
What other ornaments can you make with embroidery hoops?
There are so many ideas; be creative. Even if you don’t have a Cricut, you can still print out different words and pictures and put them in the hoops.
Here are some more ideas I found that use embroidery hoops to make ornaments.
- Pinecone and Bead Ornament – No cutting machine needed. You just glue decorations to the embroidery hoop.
- Fabric and Glue Ornament – This is so easy even kids can make it. No cutting required.
- Vinyl and Fabric Ornament – This one uses a cutting machine like the Cricut.
- Old Rags, Cardstock, and Stamps Ornament – I love that this tutorial uses old rags and stamps. You might already have all you need to make it.
Can you use fabric instead of paper?
Yes, you can use fabric instead of paper. But if you want to use fabric, you’ll have to use heat transfer vinyl to get the NOEL to stick to the fabric.
How do you decorate the top of the ornament?
There are lots of ways to decorate the top of the ornament. If you want, you can even leave it undecorated. But I love adding a bit of flair to my crafts.
Some people glue some greenery to the top for a little fun. Others add some red berries and snowflakes.
Have fun with it…I sure did!

More Christmas Crafts
When the weather is cold and cloudy, crafts are a really fun way to pass the time. These are some of my favorite Christmas crafts. They are still simple, but they certainly aren’t kids’ crafts. Try them out next.
Equipment
- 1 Cricut Machine (I have the Cricut Maker)
Supplies
- 2 pieces holiday scrapbook paper in a complementary or contrasting pattern
- 1 bamboo embroidery hoop
- Acrylic paint in a color that matches your paper
- Mod Podge or glue
- 2 foam brushes
- 1 piece cotton batting (optional)
- ribbon for hanging (or twine)
Instructions
- Using your foam brush, paint the embroidery hoop in the color of your choice.
- Load the SVG file into your Cricut Design Space. Place the scrapbook paper on the Cricut mat and cut the “NOEL”.
- Carefully peel the piece from the mat. Glue the “NOEL” to the other piece of scrapbook paper.
- Trace the hoop around the paper and cut, going an additional ½” out the traced circle.
- Cut the batting the same size circle as the scrapbook paper.
- Place the scrapbook paper on top of the batting and place between the hoops. Close the hoops and tighten.
- Attach twine or ribbon to the top of the hoop. This will be used to hang the ornament. Add decorative embellishments if you want.