A Furniture Makeover Unlike Any Other
Some links in this post are affiliate links, which means I receive a commission if you make a purchase (at no additional cost to you). Thank you for your support!
If you enjoy giving old furniture new life, check out what we did to this workbench. This is a furniture makeover for the ages, and here’s how we did it!

There are so many titles I could’ve given this post like, “How To Clean Old Furniture” or, “How To Sand Vintage Wood.” Or even, “A Guide For Husbands: How To Deal With A Thrift-Crazed Wife.” 😂
But those just didn’t convey my delight with this project!
If you love furniture makeovers, check out my Plant Stand Makeover and Chalk Paint Dresser Makeover projects.
Furniture Makeover Ideas Can Come At Random Times
There’s a local thrift store in Dallas that I love. They post their new items on their Facebook page so you can glance through them. Then if you see something you love, drop everything and run to the store before someone else grabs it.
Not long ago, Scott and I were in the car leaving Home Depot (where else?) and I happened to be doing a search through the thrift shop’s album on Facebook.
At first, I was half paying attention to Facebook and talking to Scott when all of a sudden, my eyes focused and widened and I stopped mid-sentence. “TURN RIGHT! TURN RIGHT!” I shrieked.
Poor Scott. Thank goodness he’s so patient and always up for going along with my wild whims.
As we headed to the thrift store, I explained that I had found a vintage workbench for sale in their album for a steal. Scott, being the practical one asked, “What will you do with it?”
“Scott,” I said, staring at him in disbelief. “What wouldn’t you do with a vintage workbench? We could put it in the pantry or in the kitchen in the empty corner, or in the guest room, or if nothing else, it can be a workbench in the garage, duh!”
When we arrived, the sweet-looking teenager working the counter probably thought I was crazy when I burst in and said between gasps, “Workbench?!” She directed me to the back of the store.
There it was.
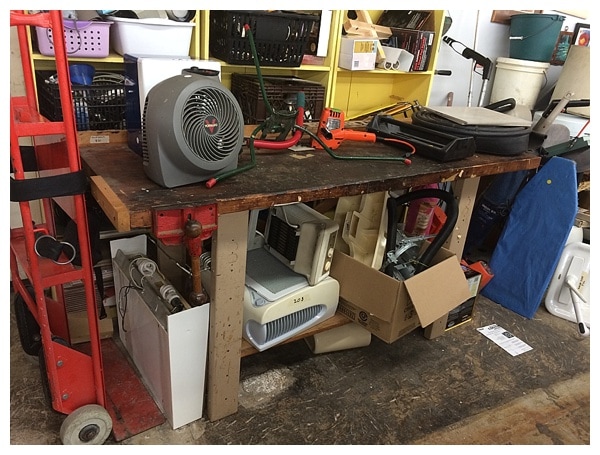
Sold.
Scott wasn’t as sure, but he was willing. We paid for it and made arrangements to pick it up later in the week. I remembered to take measurements so I could start planning where to put the new star of our house. I believed in that bench.
A few days later, we went back to pick up the bench, took it home, and carried it up the driveway (no easy feat!).
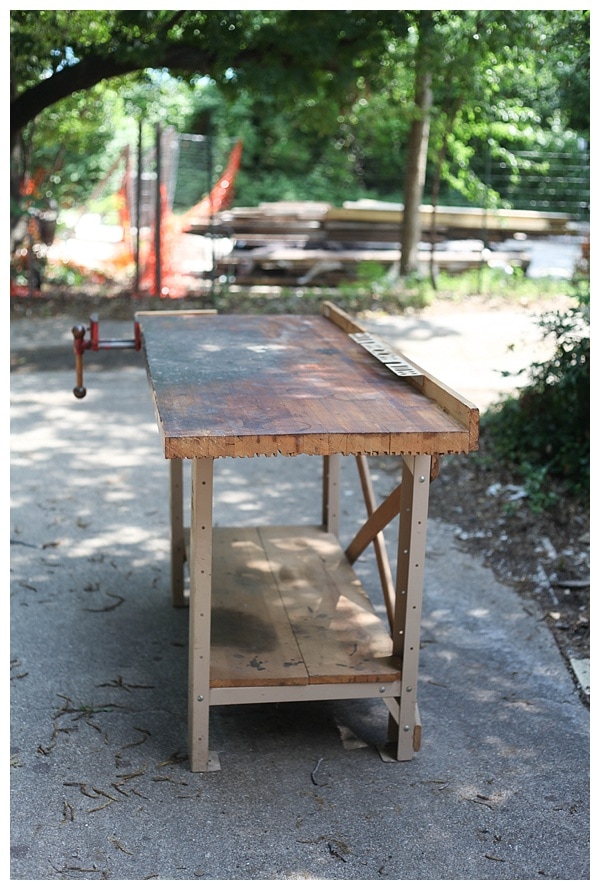
The Greatest Of All Our Furniture Makeovers Begins
Have you ever started a project and thought, “OMG I’m a genius,” and then about halfway through you’re thinking, “Why why why?!”
I have. And this project is just one example.
Here’s how we did it.
Step 1
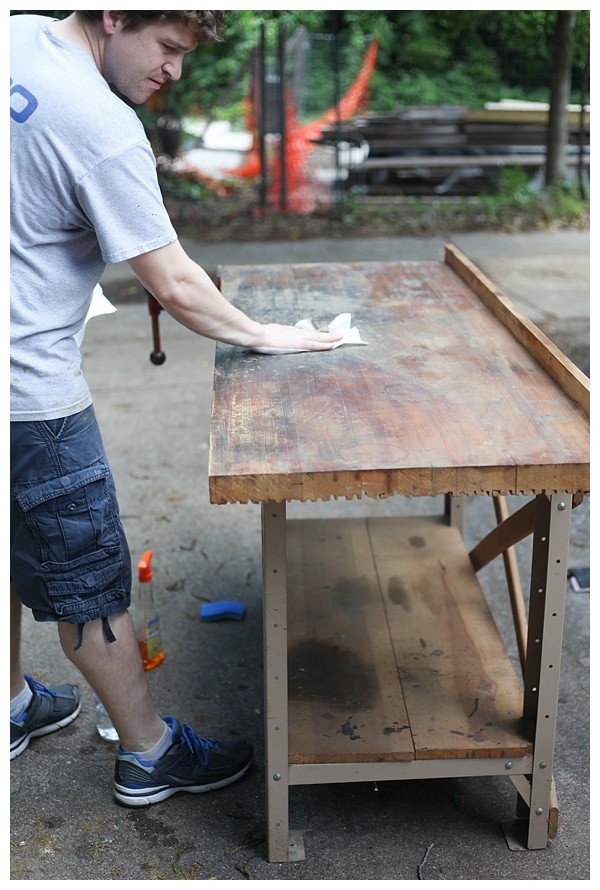
This thing was really vintage with tons of spider webs, dirt, and dust. It took us a good hour of cleaning to get it cleaned off.
Step 2
Then, we used sandpaper to smooth out the top and bottom surfaces.
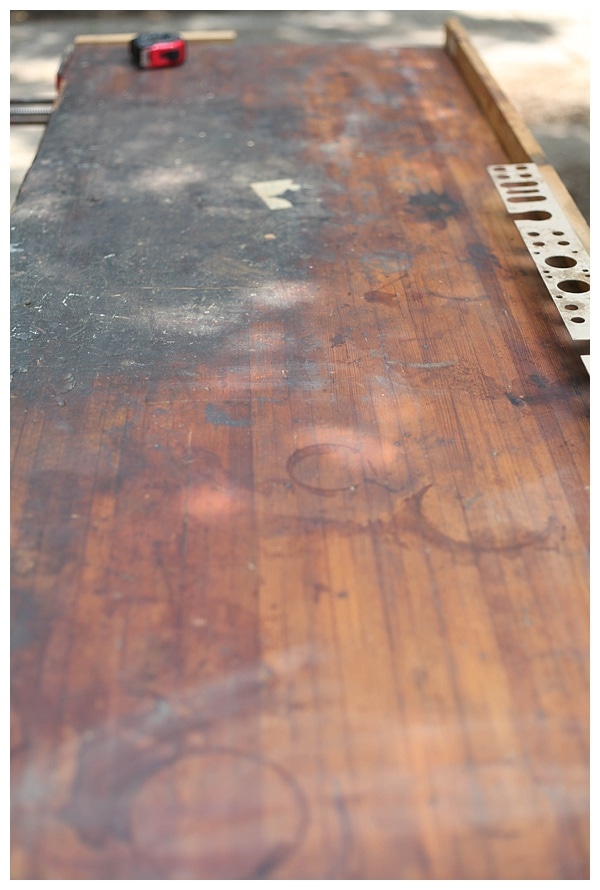
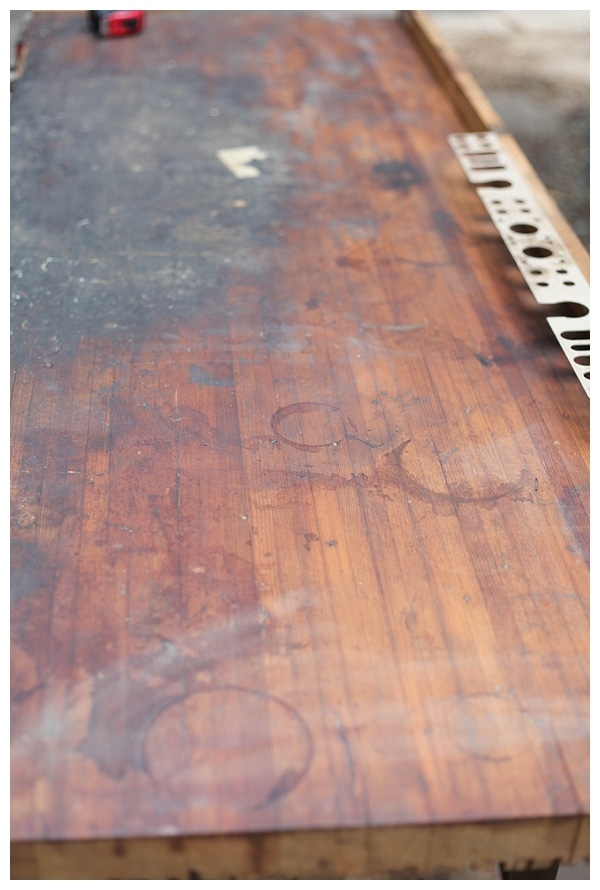
While I did the sanding, Scott was busy removing all the random pieces attached to it that we didn’t want. Then we had to clean it off (again.)
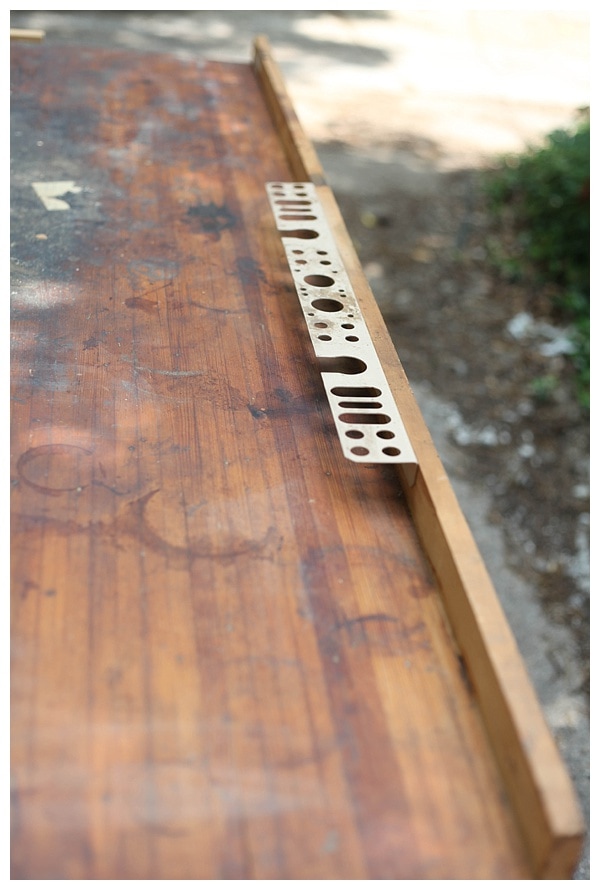
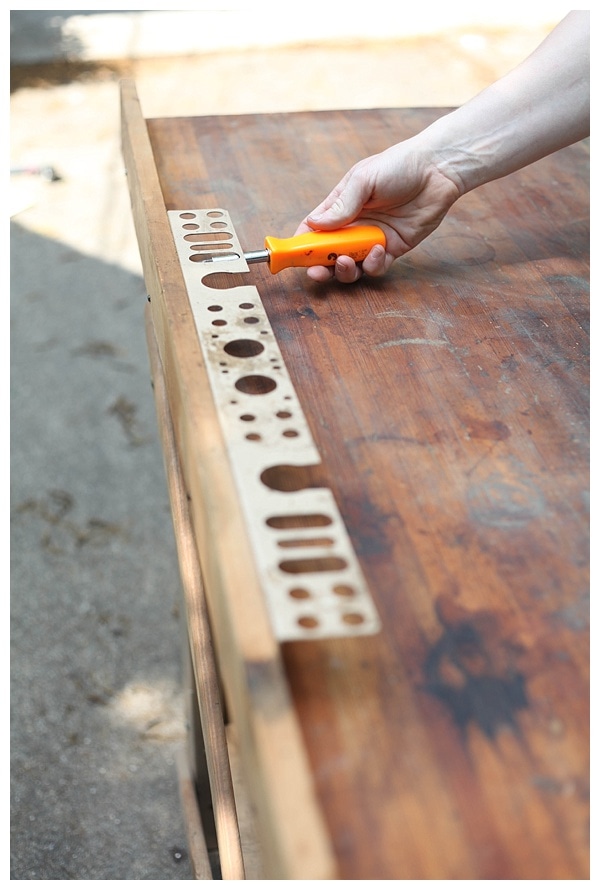
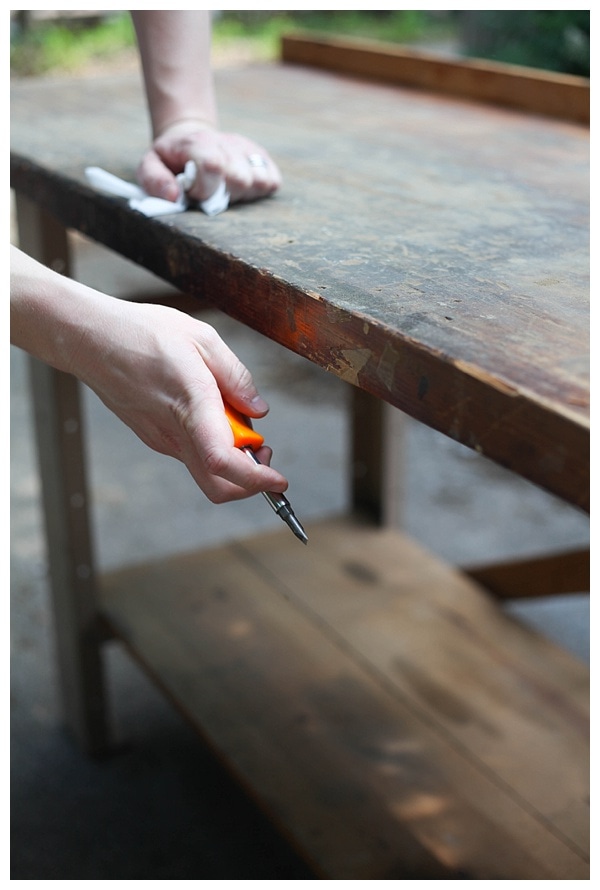
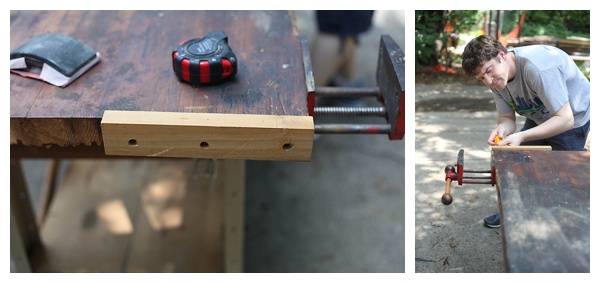
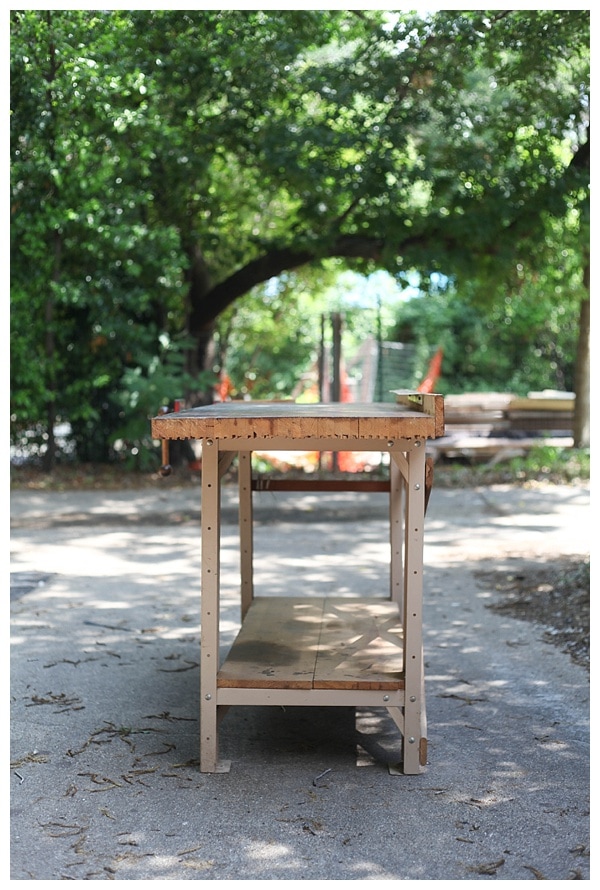
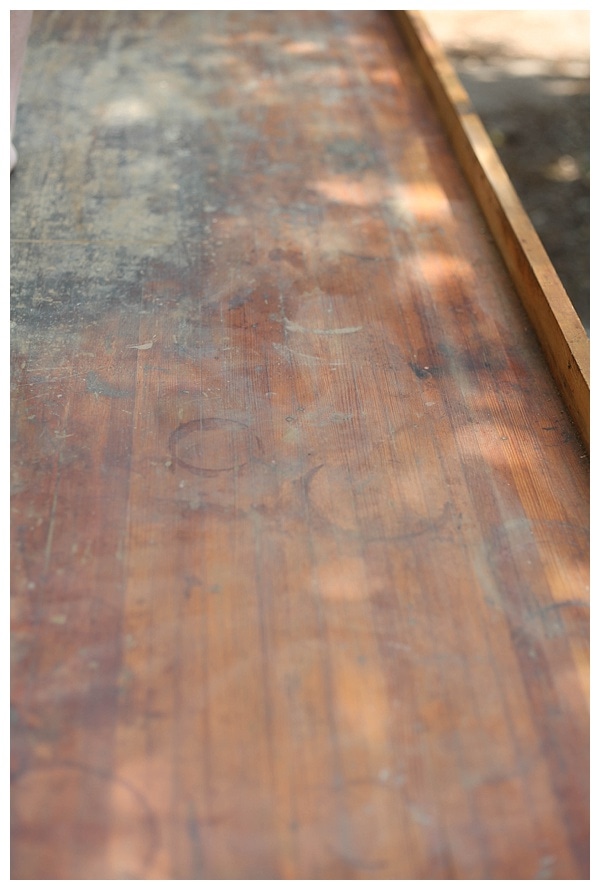
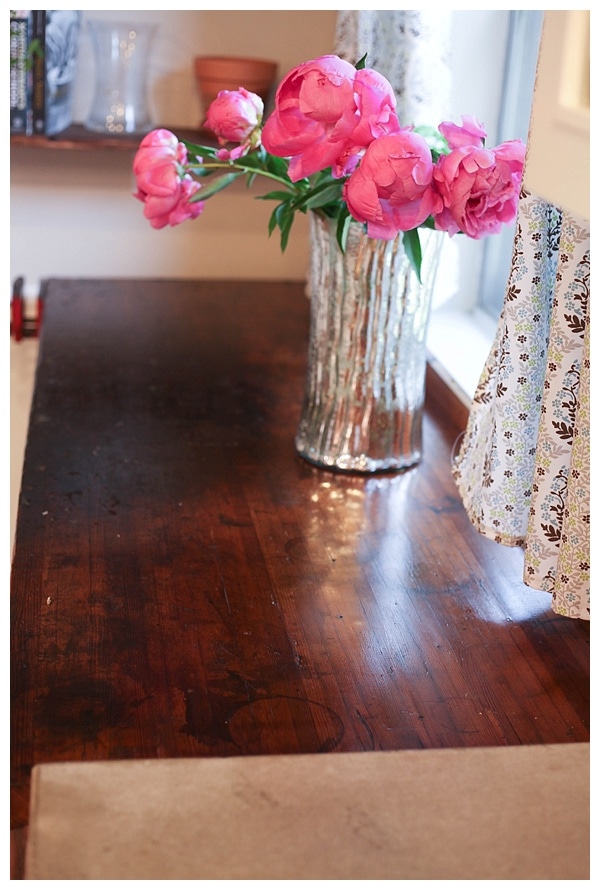
But check out this gorgeous distressed wood… it got prettier and prettier as we worked!
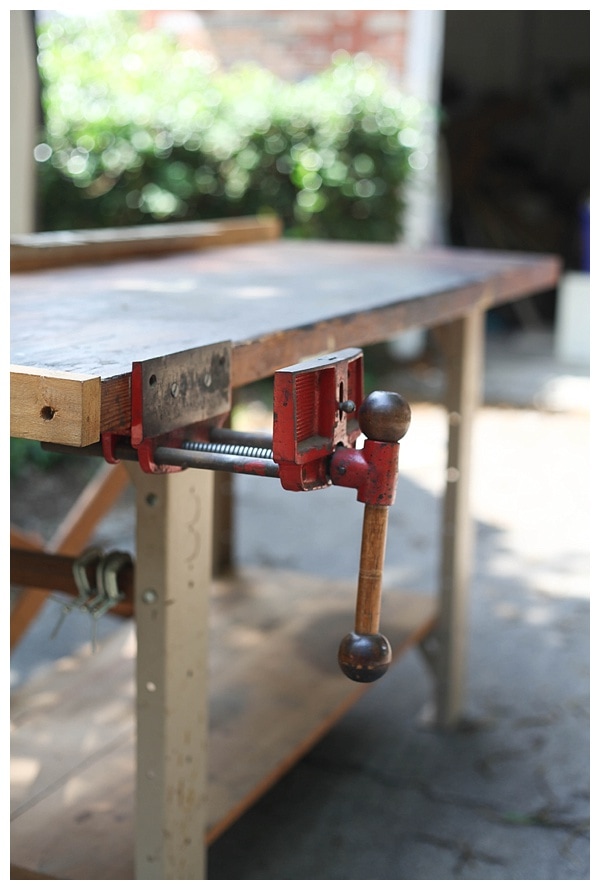
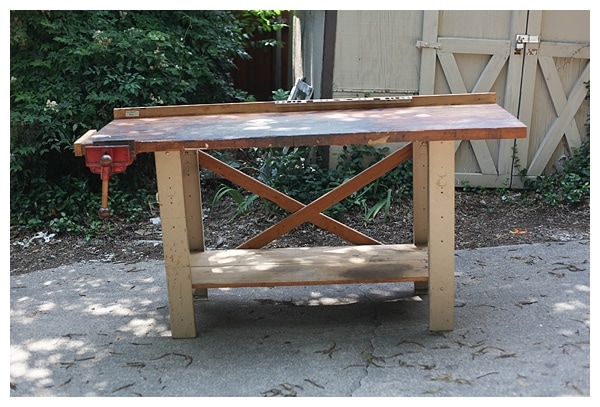
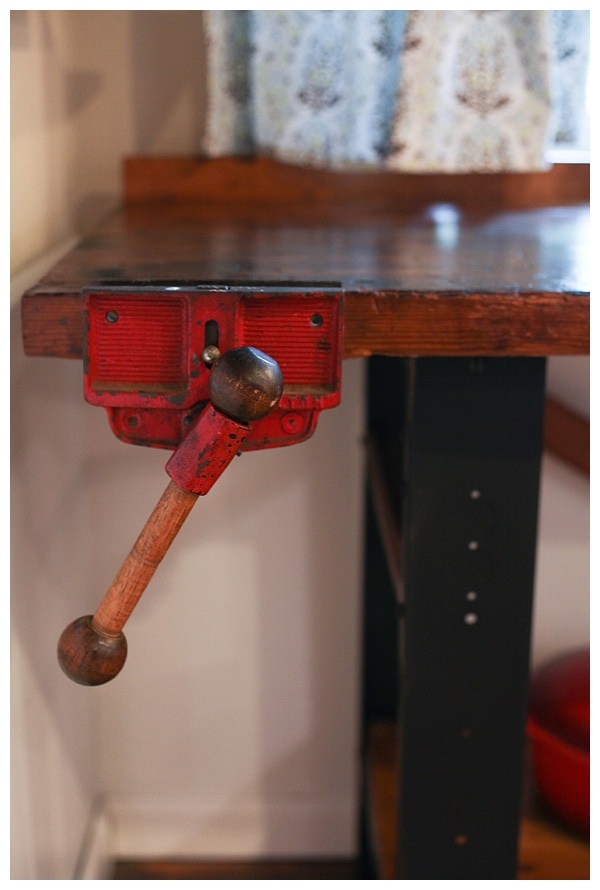
We’re both totally smitten with the awesome vintage clamp, so we decided to keep that on.
Step 4
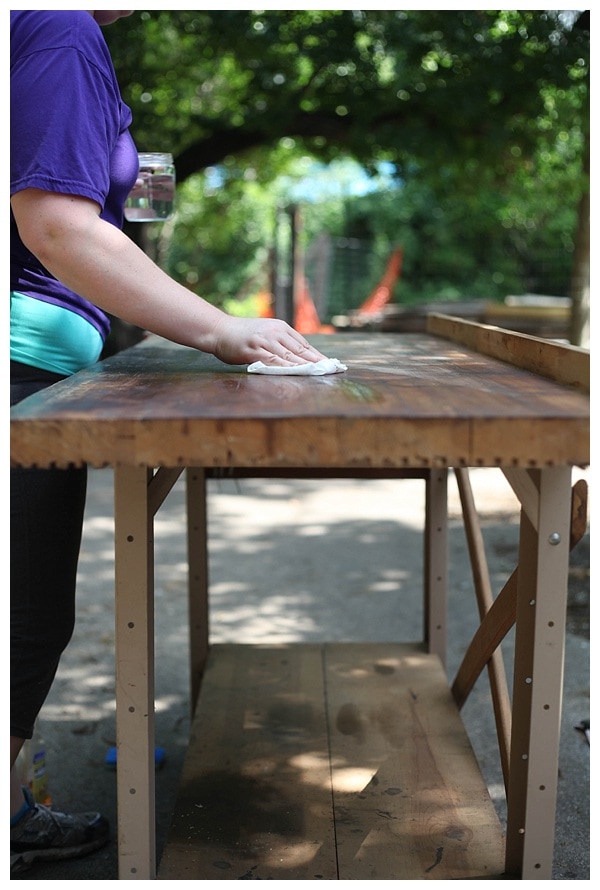
Next, just to be sure, we sanded the workbench even more. Just keep on sanding, even when it feels like your arms are falling off.
Yep, furniture makeover projects like this one require elbow grease. 😉
Step 5
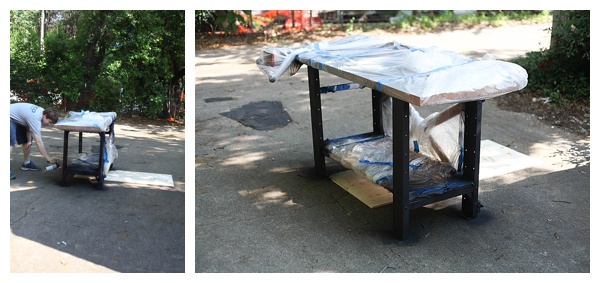
The top and bottom were too beautiful and rustic for that ugly tan color of the metal legs, so I wanted to spray paint them to give our furniture makeover a very clean and finished look.
Luckily, I had a can of matte black spray paint from Rust-Oleum handy and decided to use that for the table legs.
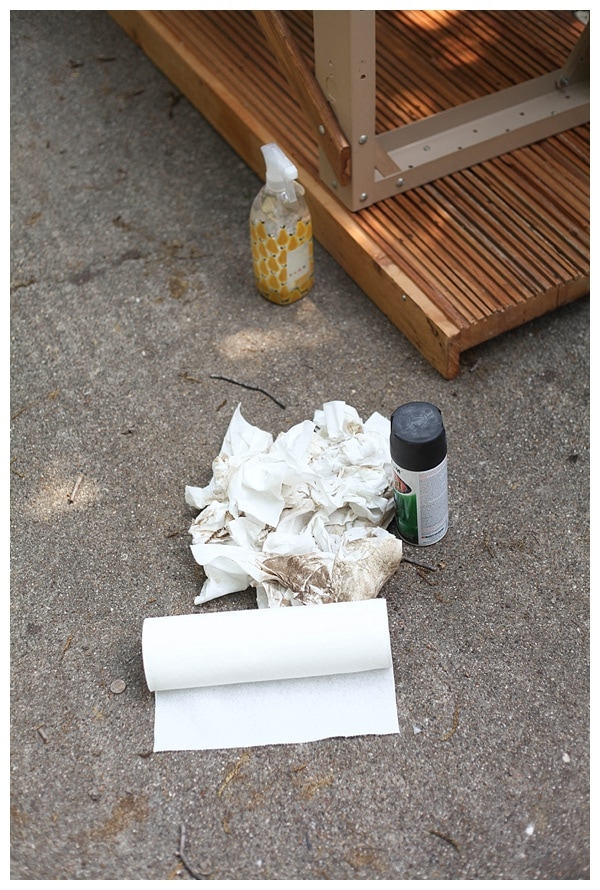
Funny enough, spider webs were nothing compared to the planning, time, and effort it took us to figure out how to protect all the wood pieces from spray paint. 😂
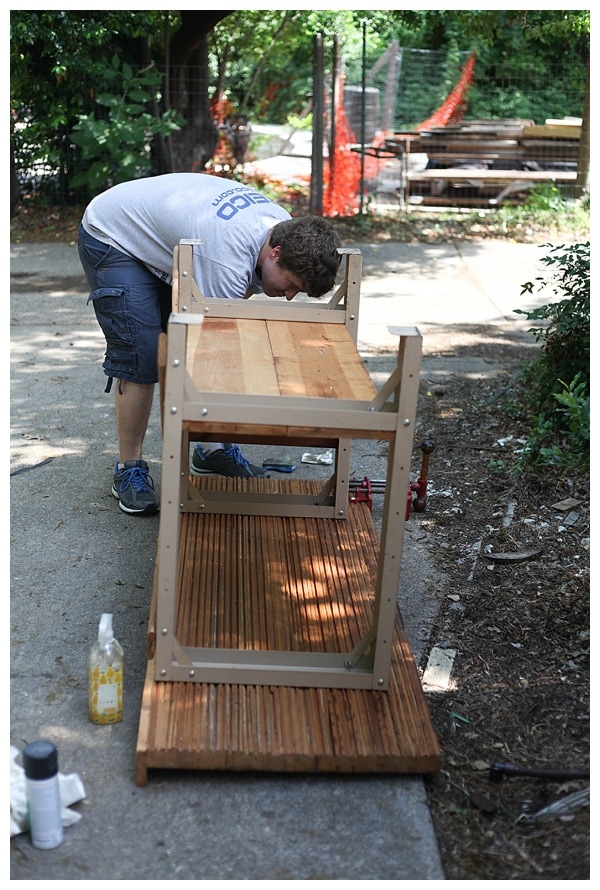
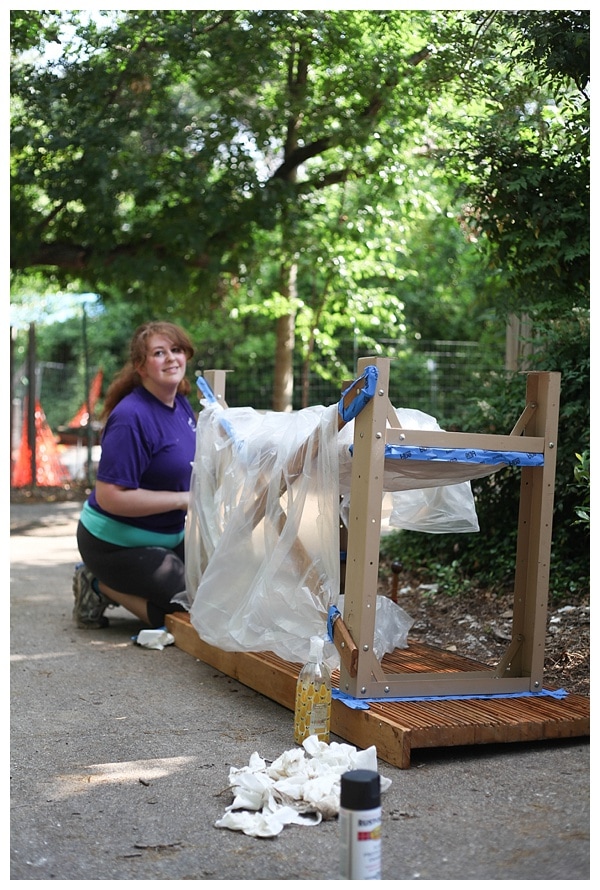
That took about two hours of work. After wrapping, taping, and flipping the piece upside down and right-side up, it was spray-painting time!
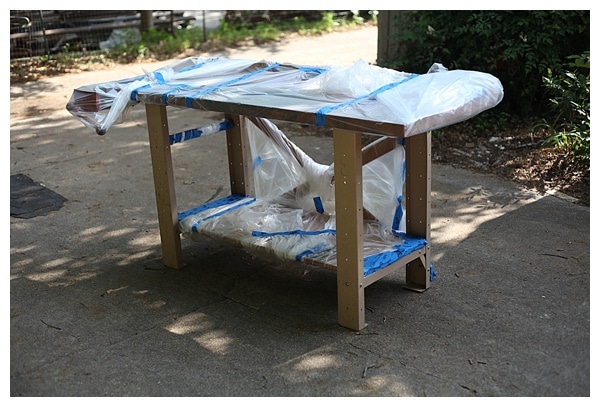
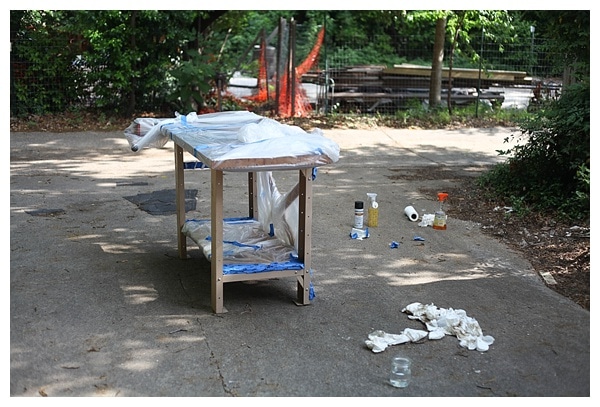
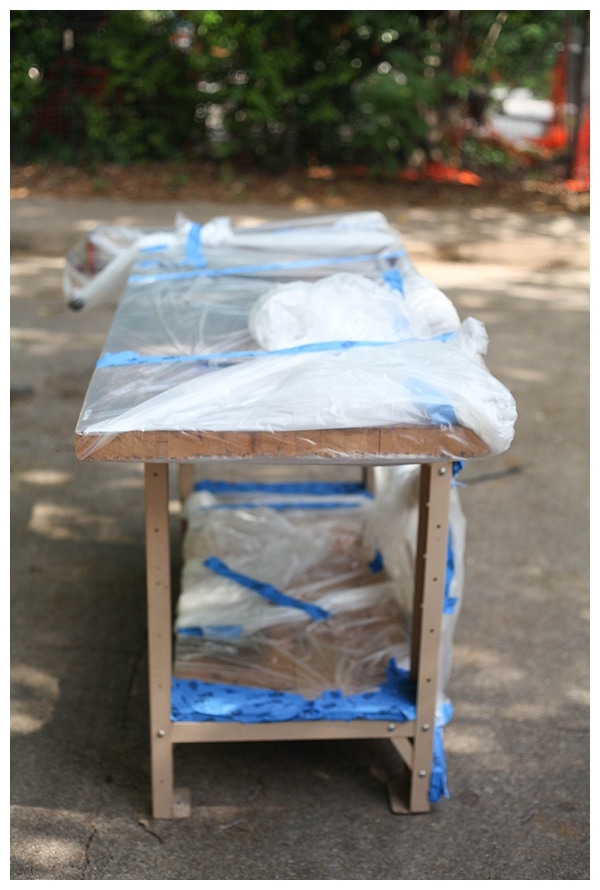
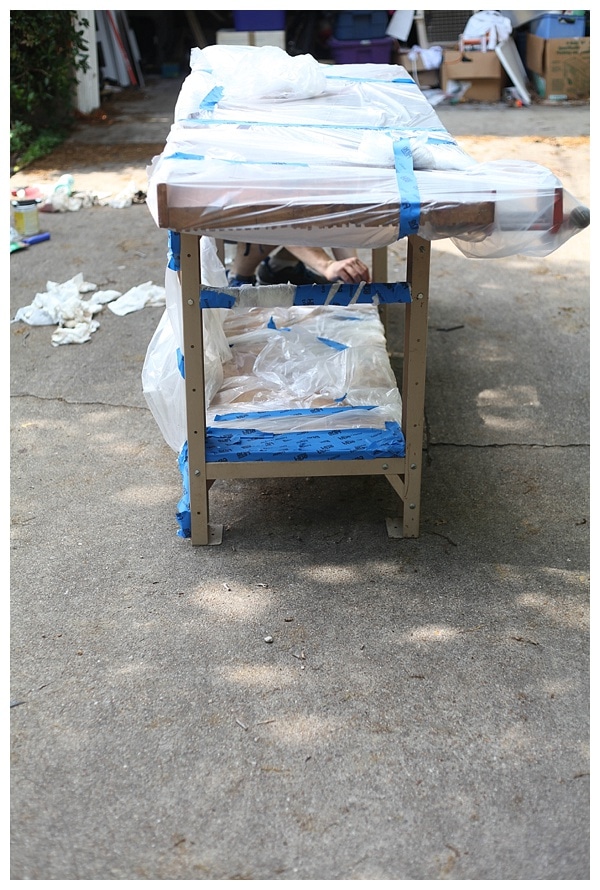
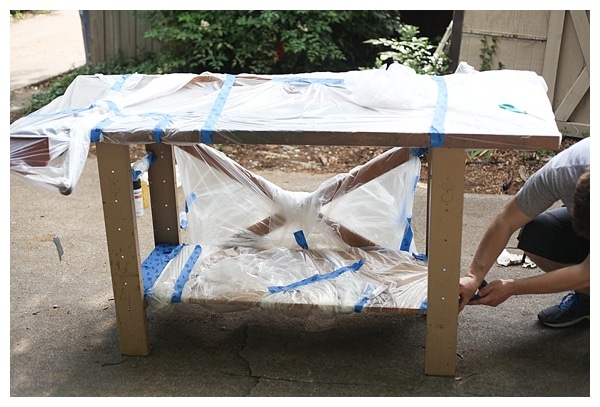
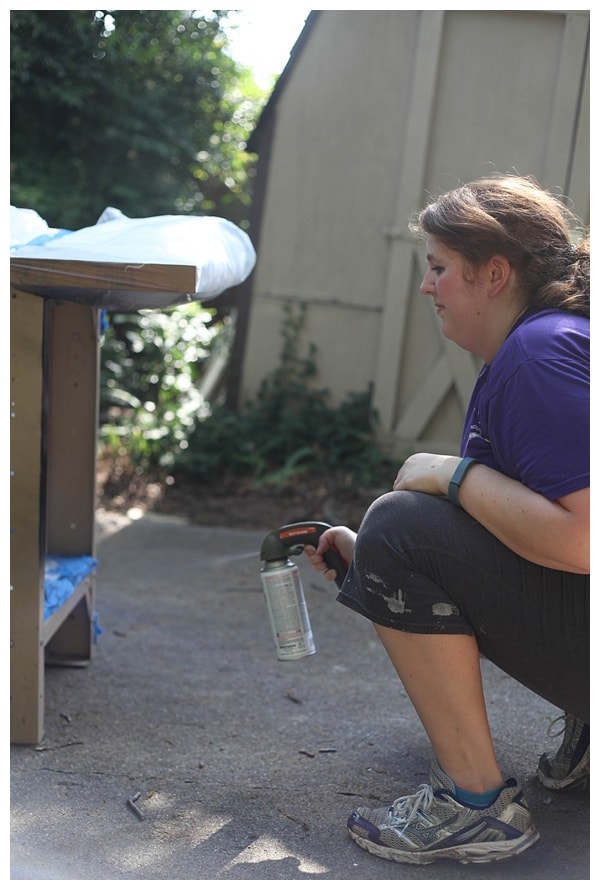
Luckily, the actual spray painting part itself wasn’t so bad.
I highly recommend grabbing one of these comfort grips for your spray can like we used. It makes big spray paint jobs less stressful on your hands and fingers!
After about 3 coats of coverage, I called it quits.
Then I waited about 30 minutes before very carefully pulling off all the tape and plastic wrap so I could work on the top and bottom wooden shelf.
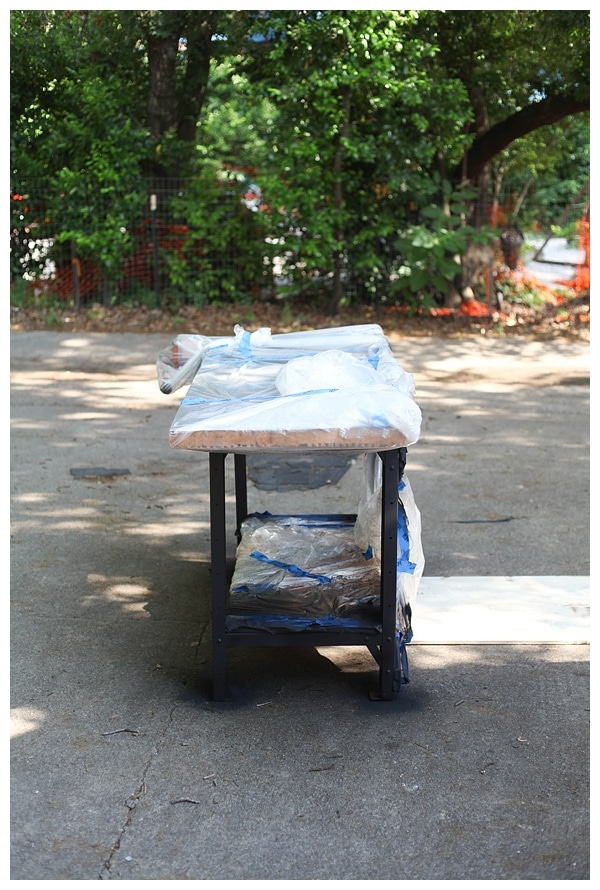
Don’t those legs look amazing?
Step 6
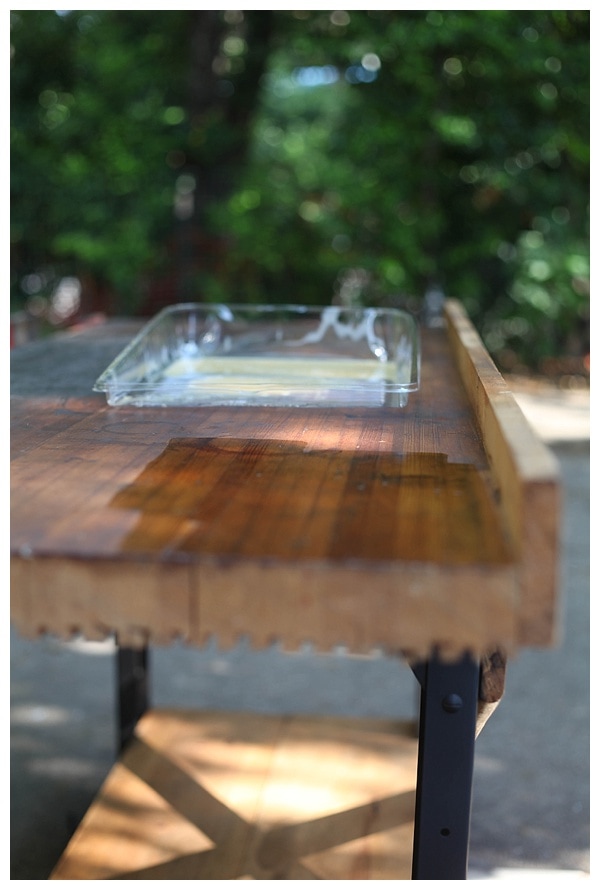
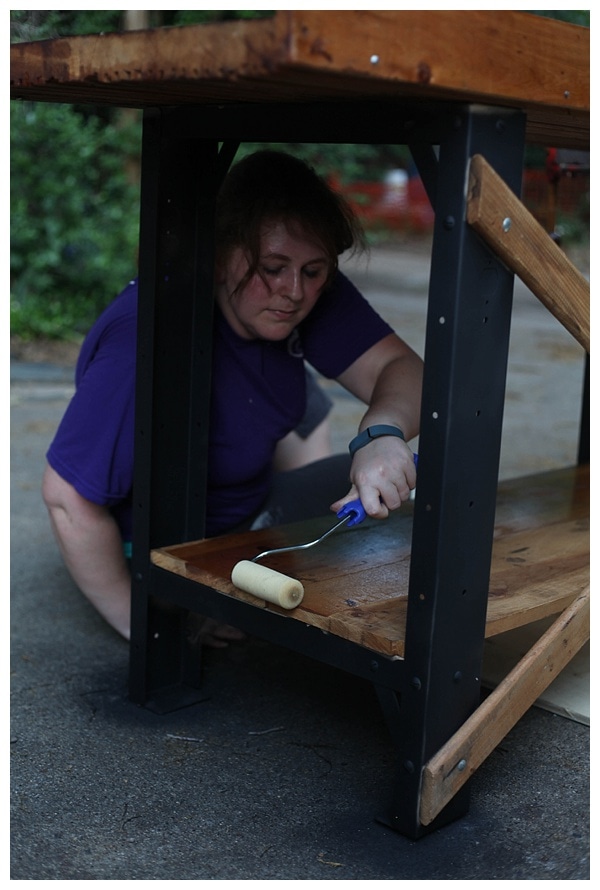
We chose to use shellac to coat the top and bottom to finish our furniture makeover. It took three thin layers on each, with about 30 minutes to dry in between coats.
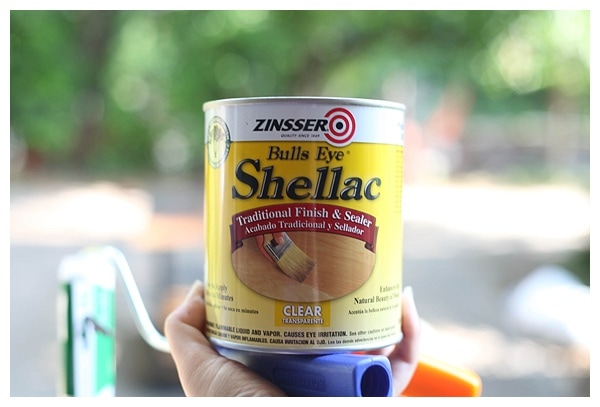
Shellac is non-toxic when it’s dry. I love using it on our furniture because I feel much better about having a food-safe top in our home.

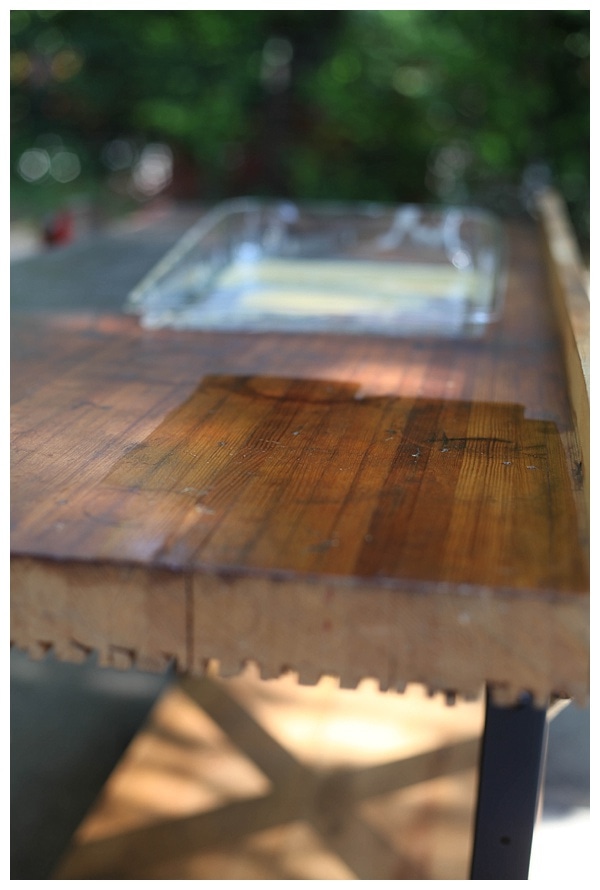
We let the shellac dry another couple of hours, and then I couldn’t wait any longer!
It gave our workbench a gorgeous, rich, slightly glossy finish that I absolutely love!
Finding The Perfect Spot For Our Furniture Makeover Final Product
Initially, I wanted to put the workbench in the butler’s pantry, but it was far too big for that space.
Plan B was to put it in the random empty corner in our kitchen that I can never figure out what to do with.
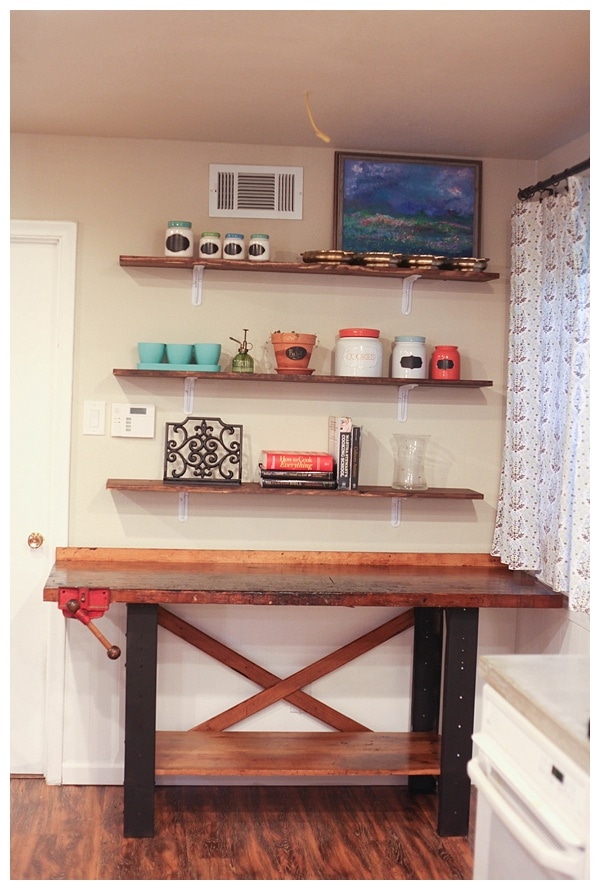
First, we tried it under the shelves we had added a few months ago.
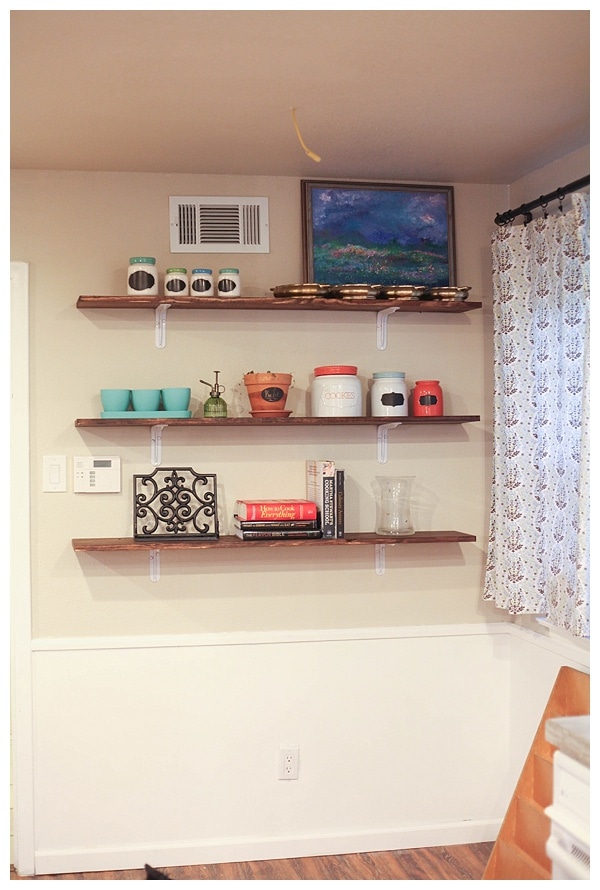
It looked good, but I was worried it obstructed the walking path too much.
And, I love how we left the clamp on for this furniture makeover, but I didn’t like how it was something I would most likely run into a few times a day in this spot. 😉
So, I crossed my fingers real tight and told Scott I wanted to try it under the window—just to see. And what do you know?

It fit like a glove.
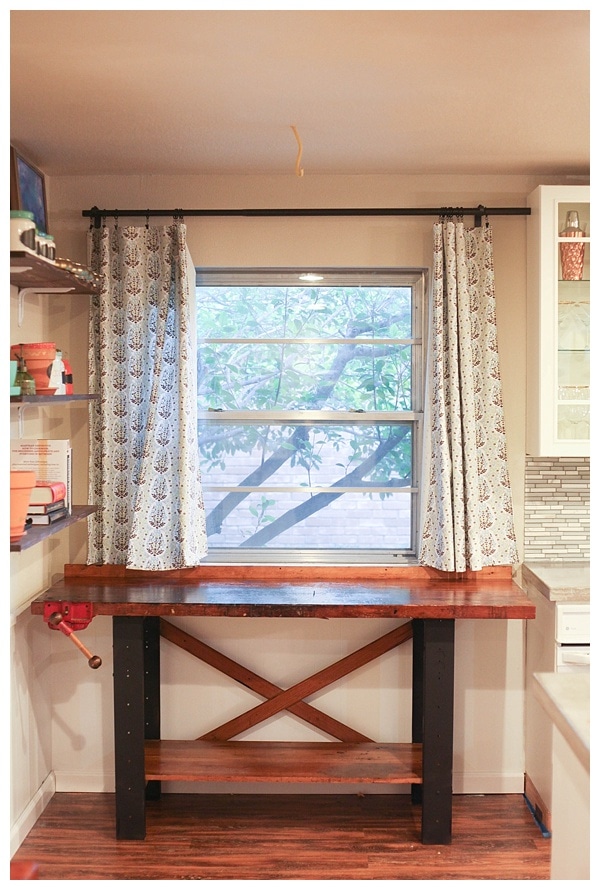
I am SO HAPPY with this furniture makeover project.
This is now our new favorite piece of furniture in the house. The wood is so gorgeously distressed and we have a new functional piece for our kitchen!
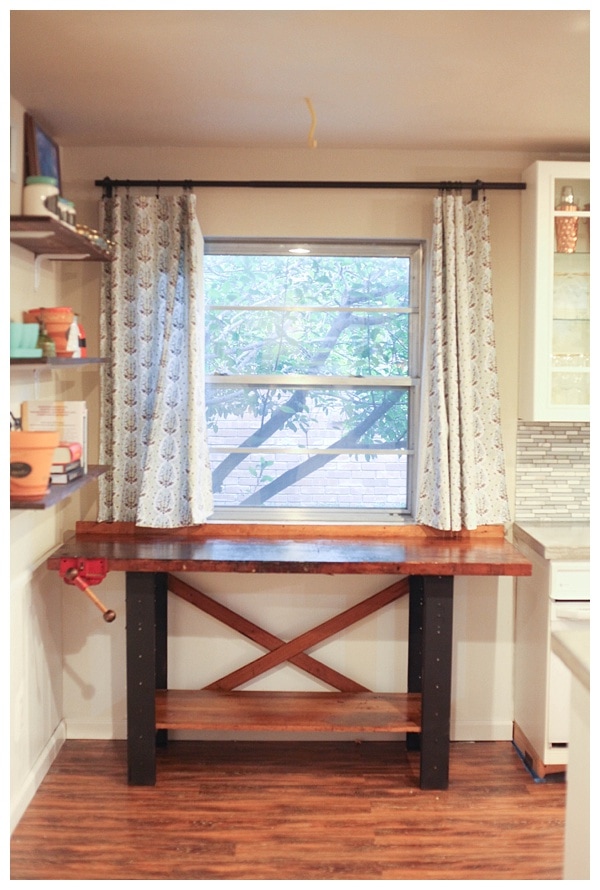
We have already used it a ton: for cutting veggies (we still use a cutting board, of course!), folding laundry, unloading groceries, and as a backdrop for photos.
It could even function as a desk if we need it to!
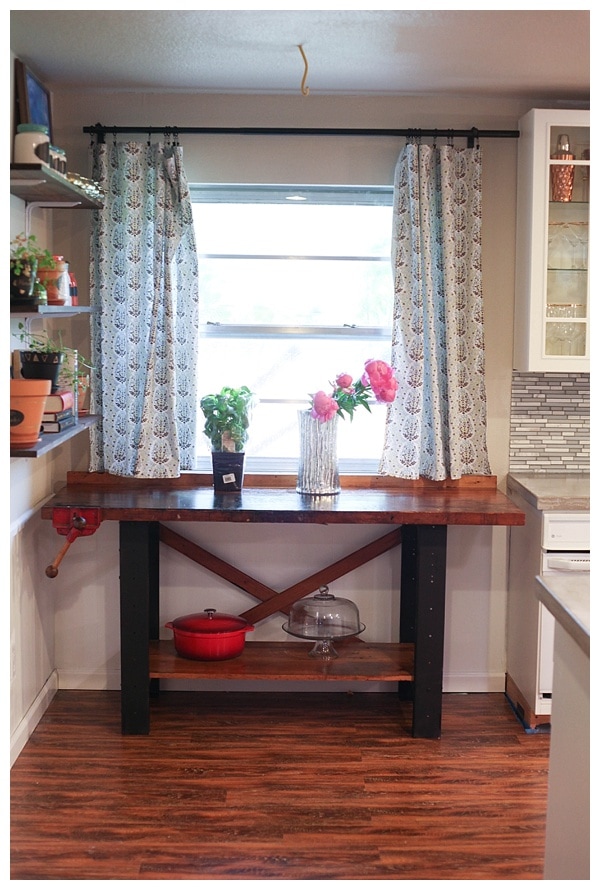
I’ve even had a few smart Instagram followers notice the wood and wonder what it was. Now you all know.
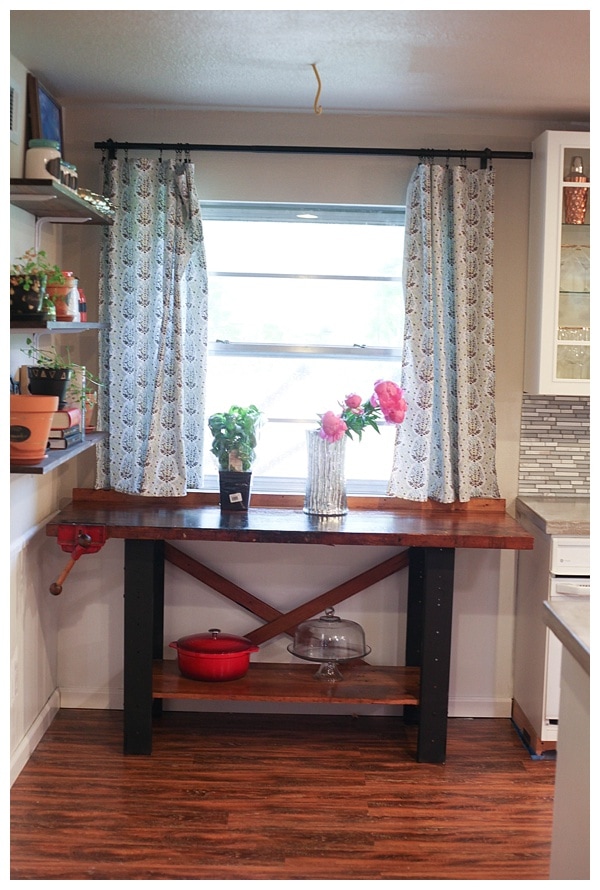
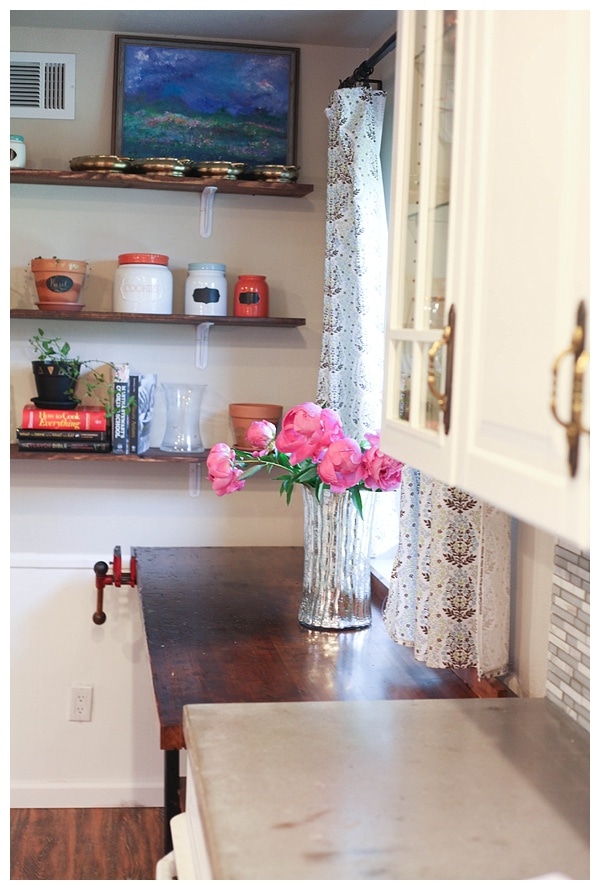
I love how the wood and concrete countertops look together. I also love how perfectly the floors go with the workbench.
This was the best DIY furniture makeover project ever! There was definitely a point in the middle where I thought I was out of my mind, but in the end, it was 100% worth it.
Let’s look at one more before-and-after just for fun!

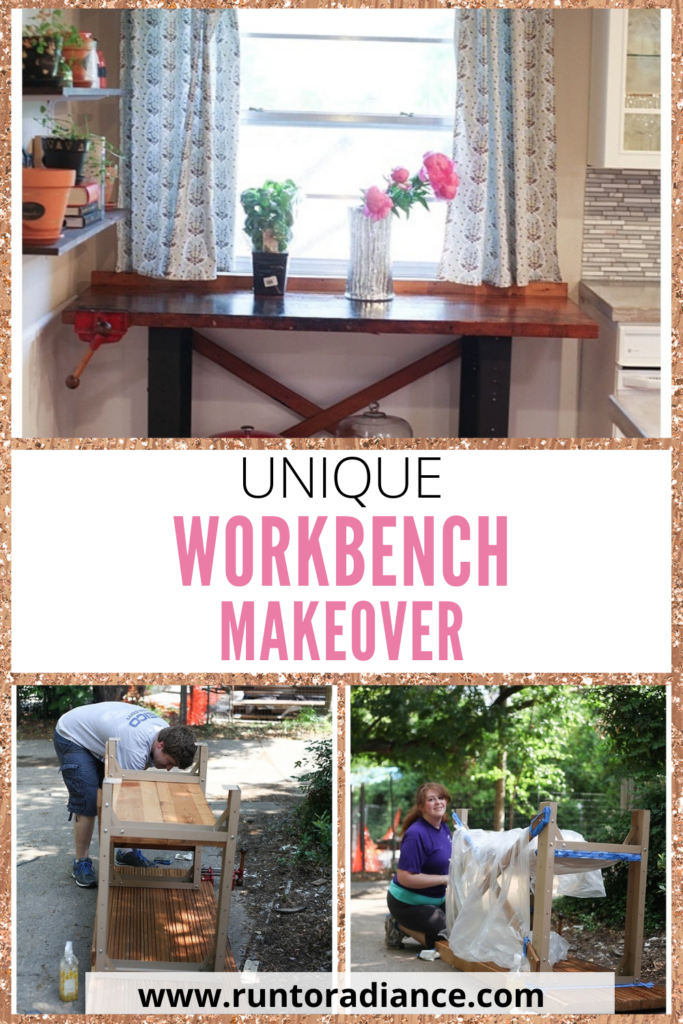
Isn’t it pretty? I could stare at it all day.
Have you all ever started a project and wanted to quit? Did you? I certainly have. But I’m glad I didn’t on this one!
Furniture Makeover FAQs
Here are a few questions that I’ve seen readers frequently ask about a furniture makeover project like this one. If you have a question and don’t see it answered below, please leave it in the comments!
If you don’t have shellac or don’t intend to use your furniture makeover final product in your kitchen, a water-based polyurethane could be a great alternative.
We always start with coarse sandpaper, such as a 60 grit, with an item as rough as this was.
After going over it and stripping off the old finish, we used 120 grit to remove small imperfections and begin smoothing it out.
Finally, we finished our sanding job with 400 grit to give our workbench a beautifully smooth finish.
More Wood Furniture Makeover DIYs
Tania Griffis is an accomplished writer, blogger, and interior designer with a Journalism degree from the University of Oklahoma. She started her popular blog, Run to Radiance, in 2011, demonstrating her design expertise through the personal remodeling of six houses to millions of readers across the globe.
Tania also owns The Creative Wheelhouse, a respected ghostwriting agency for bloggers, further showcasing her talent for creating engaging and informative content.


Gorgeous! It looks like it was made for that spot under the window.
Thanks so much Barcy! I was so pleased when I saw it fit!!
Y’all are ridiculous – I wish i had 1% of your craftiness/creativity!!!
You are so sweet! It’s so much fun for me—I guess I’ve found my “thing”.
Oh my goodness! That is perfect! I love how it looks with the concrete countertops, too. And I LOVE that you left the clamp on. It definitely adds a tough of character to your kitchen. Props to your husband for heading straight to the thrift store. For some reason, mine doesn’t hear me when I yell to stop for junk on the side of the road. It’s weird. 😉
Thanks Rachel! I want to do something cool with the clamp—I’ve already used it several times as a cookbook stand and a towel holder. 🙂 Husbands are funny like that right? Selective hearing. Hehe.
Great job. I’m loving it. The gloss is perfect.
Thank you so much! The gloss is my favorite part I think…besides the clamp. 🙂
Wow! This is fabulous! I love that your husband just went with it. Mine is always “UGH, you want to go to a garage sale, what are you looking for?” umm… it’s not that I’m looking for something particular, something is looking for me. Men.
Haha. I think sometimes guys don’t understand that you don’t have to be looking for something…you just see something amazing and GET IT. 🙂
Love it!
Thank you so much!
Love it! Very industrial chic
Thanks Char…that’s one of my favorite styles. 🙂
oh goodness, this makes me impossibly jealous – it looks like some gorgeous find at restoration hardware or pottery barn 🙂
Thank you so much Jennifer! 🙂 Scott and I were saying it looks very Anthro….maybe we should try to sell it for $1000. Just kidding, I love it too much. 🙂
Wow…What a transformation!
Thank you so much! 🙂
You did such a great job of this, it looks so prefect for that spot 🙂
Thank you Sarah! I am so happy we waited a year to fill that corner…it was meant to be. 🙂
You guys did such a great job with it…it looks amazing! I love that whole area of your house. Those shelves and everything on them are lovely!
Thank you Jayda! Ironically it used to be my least favorite but slowly we have added items and infused it with character that have made it one of my favorite areas in our home!
Everyone needs to take a break sometimes it’s nice to know that with a reliable property manager you can actually sit
back and relax while taking those breaks without
worrying about all the particulars of the properties
you own so far away. Owners of the condos only posses the space outlined by outer walls.
A right to manage provides conscientious tenants the opportunity
to manage their own living environment.
You need to get your boxes early but be aware that even flat they take up a lot
of space. One of the most important items to have for those
who regularly maintain their grass is a lawnmower. Because
you have to set up your new house at new location.
Techniques and trends like branding, managed care contracts, practice ownership,
and sales have not been as affective (Beckman). If you are interested in Lonex you can get more details at.
Generally speaking, if a website’s goal is to monetize
content that is not original or high quality, then it is likely that the site has
been targeted by Google.
Still, you can get all of the things you need for doing the h – CG
weight loss protocol for around $100 or less. There are a few things that must
be identified about the HCG diet plan and consequently a single really should not start off using them without having any assistance of the homeopathic
medical doctor. B vitamins include B-1, B-2, B-6, B-12, pantothenic acid, niacin, biotin and folic
acid.
Additionally, although a full recovery can be expected in a few
days, the results of the RFF take a bit of time to show
fully though. Delaware, Pennsylvania has many experienced
plastic surgeons. Lack of hospital privileges really should
sound alarm bells within your thoughts.
Finally, something which works as well as the “FDA” want people to not do it.
The firm bases any discount about the cost of paying for several plastic bottles of the 15-day give.
This will be accomplished while the egg cells are
stored.
Link exchange is nothing else except it is just placing the other person’s webpage link on your page at suitable place and other person will also do same in support of you.
Wow, that looks great! And it fits so perfectly under the window, like it was always meant to go there!
Great find! I love it.
🙂 gwingal
I love the way your workbench turned out. Thanks for sharing at the Inspiration Spotlight party. Pinned & shared. See you again soon.
Love it. By the way, the “vintage clamp” is a woodworking vise.
Tania, this bench is GORGEOUS. Leaving the vice was so smart!! I will be featuring it all tomorrow at Inspiration Monday Party! Thanks for linking up XOXO ~ Julie
Oh dear, this is stunning. I love old work benches used as decor pieces! Leaving the vice on it was great! The colors totally work with the vice and in your home. Just adore it!
Jess