DIY Ghost Pillow: Easy Halloween Decor (2 Ways!)
This post may contain affiliate links. As an Amazon Associate I earn from qualifying purchases.
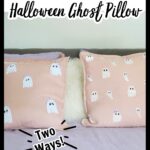
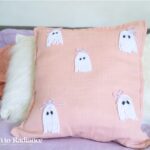


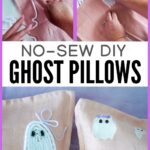


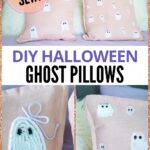

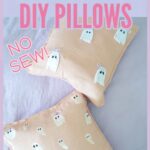
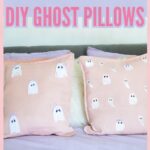
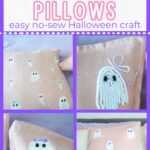
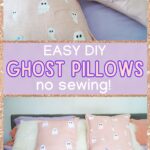
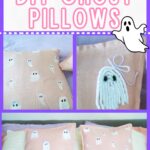
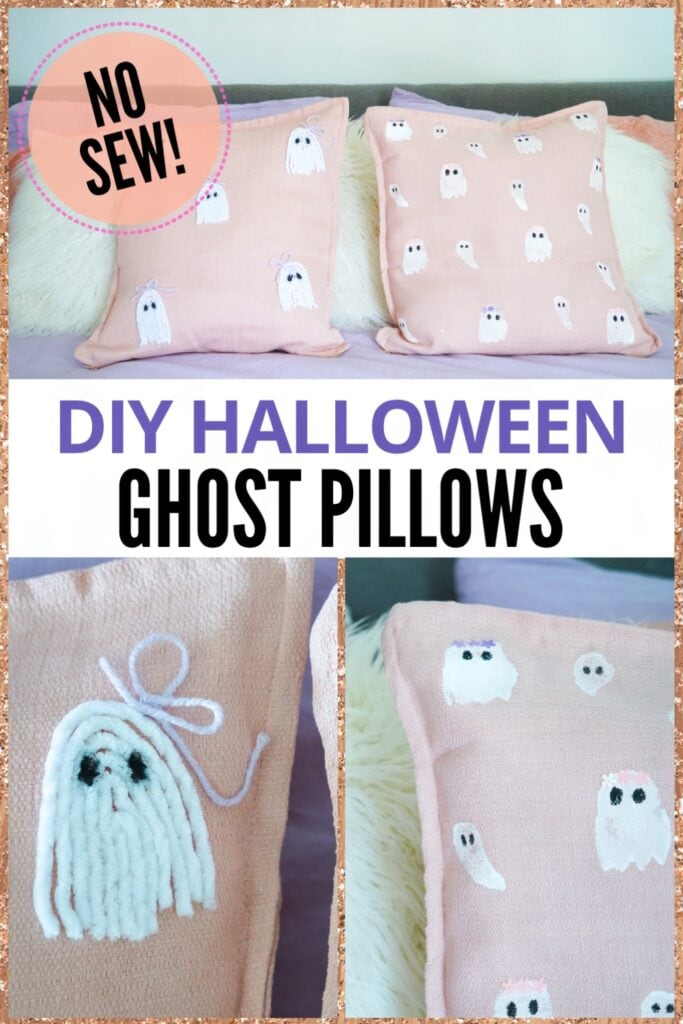
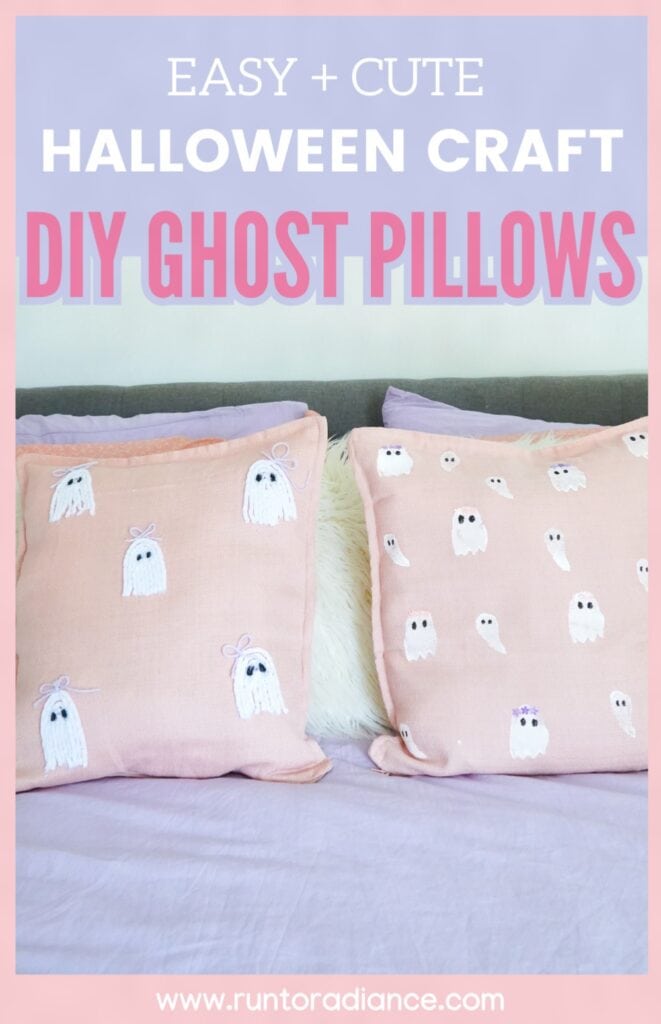
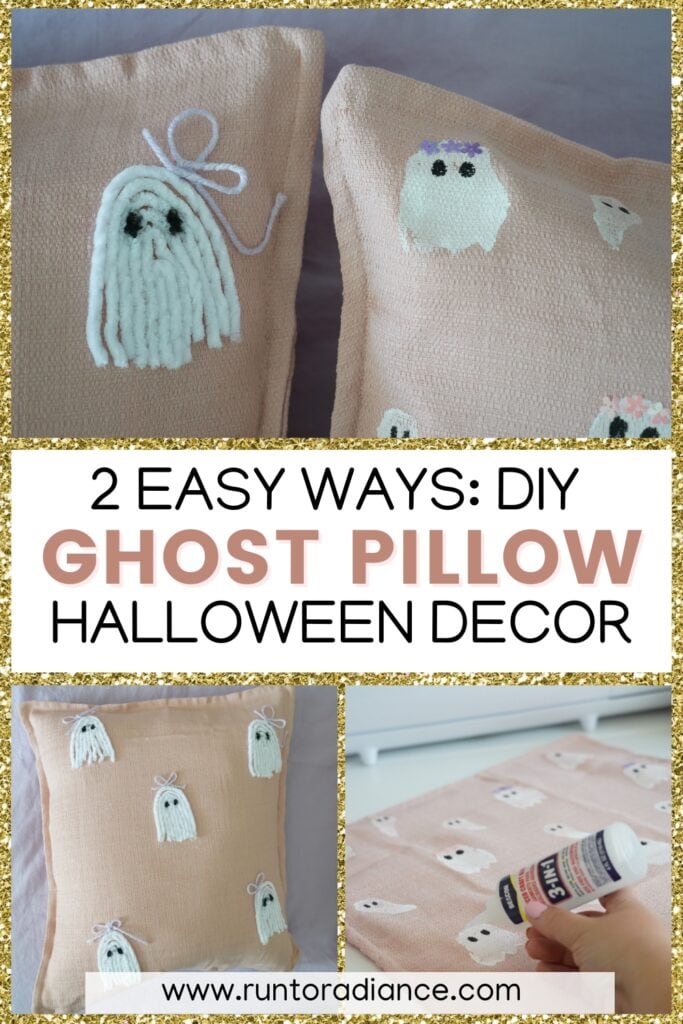
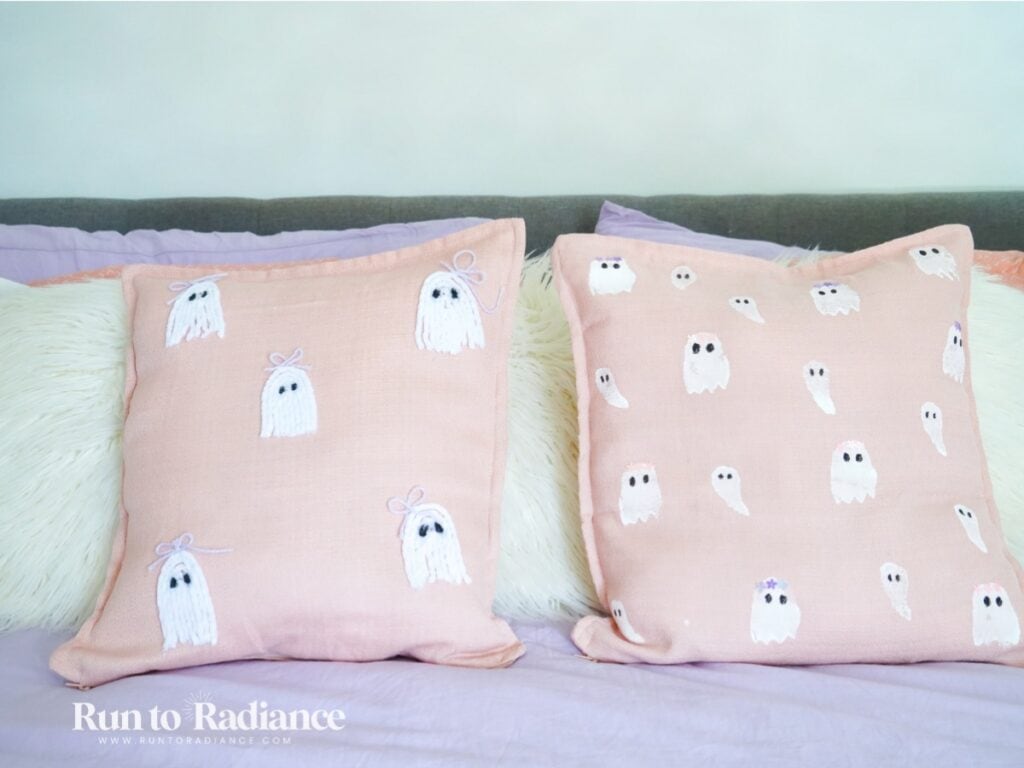
Make an easy DIY ghost pillow – perfect for not-so-spooky Halloween decorations, especially if you love pink Halloween decor like I do!
I’ve got not one but two super cute ways to jazz up a plain pillow for Halloween. And—even better!—both are no-sew!
Why You’ll Love This DIY Ghost Pillow
I have this tutorial split into sections for each pillow, so use the table of contents to jump ahead, or stick with me the whole time. 🙂
Okay, ready to get started and make the cutest pink Halloween decor? Let’s do it!
DIY Yarn Ghost Pillow
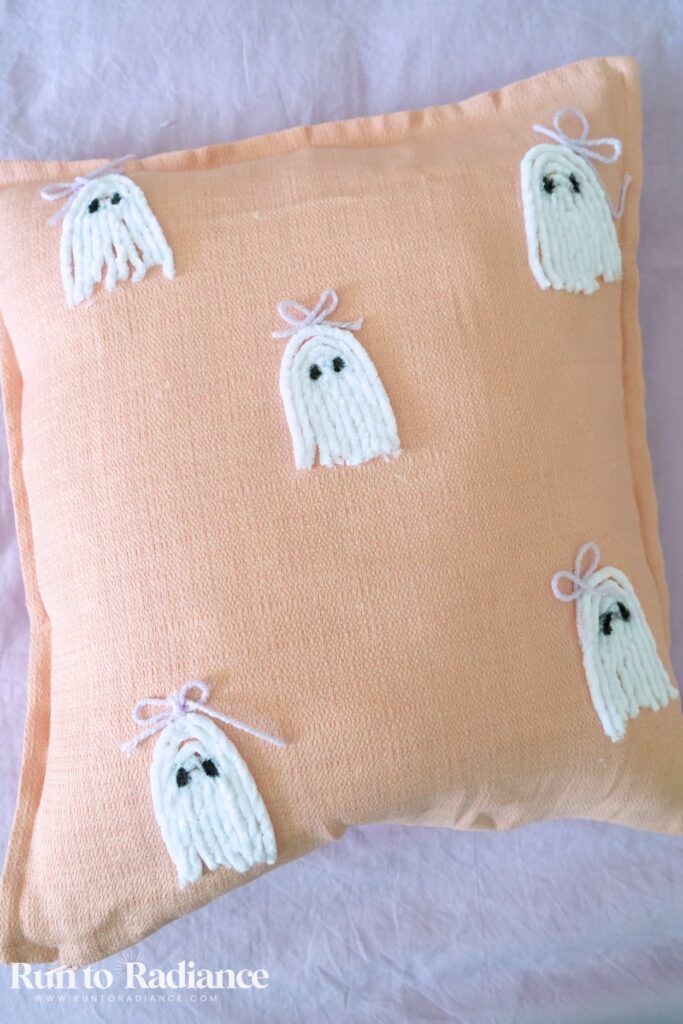
I think this pink pillow is my favorite, although it’s hard to choose! I love the texture and fun playfulness of these little ghosties.
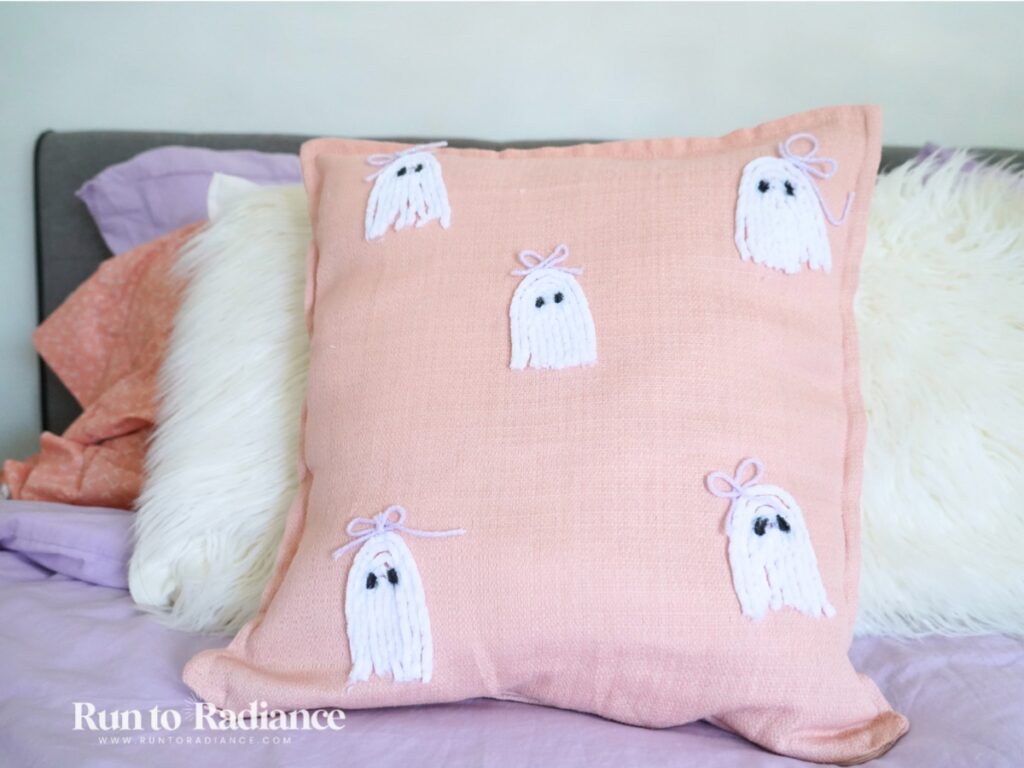
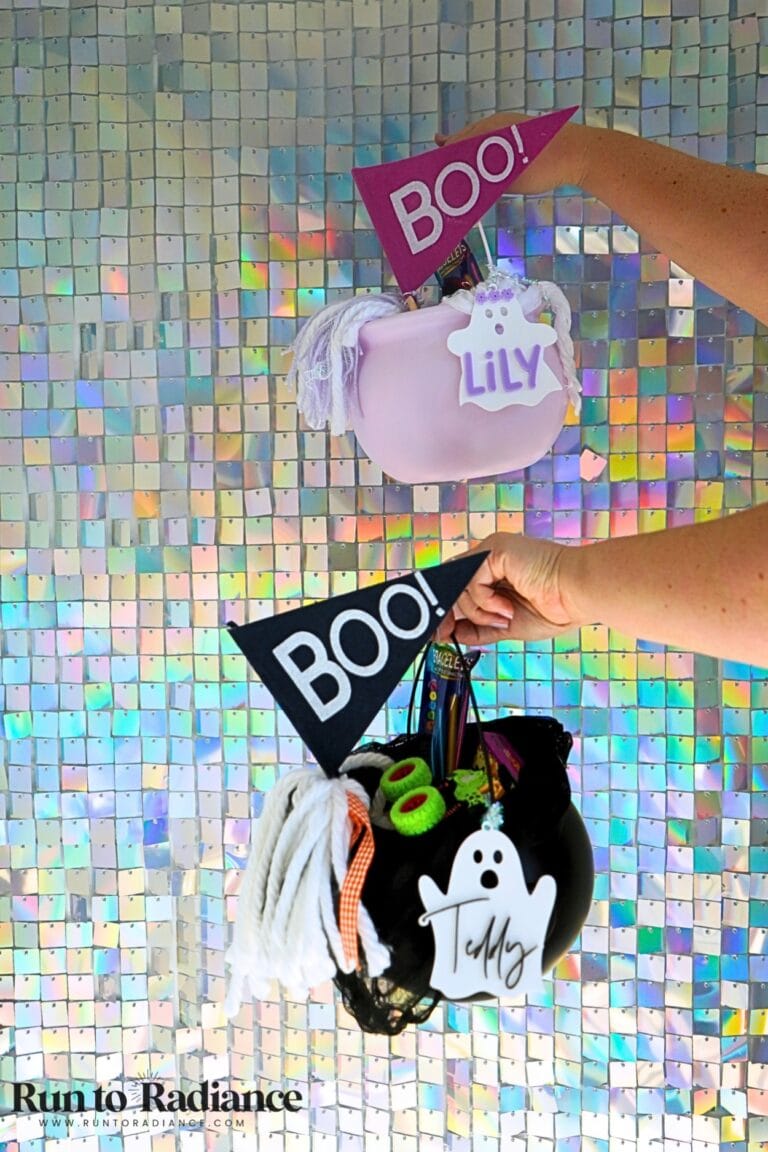
By the way, if you like this look, you will LOVE this DIY Halloween tote bag! It uses the same yarn technique as this pillow and it’s super cute to carry around this season.
Supplies:
Here’s everything you’ll wanna grab for this yarn ghost pillow design!
Note: I have linked all the supplies in my Amazon storefront, or you can find links to individual items below!
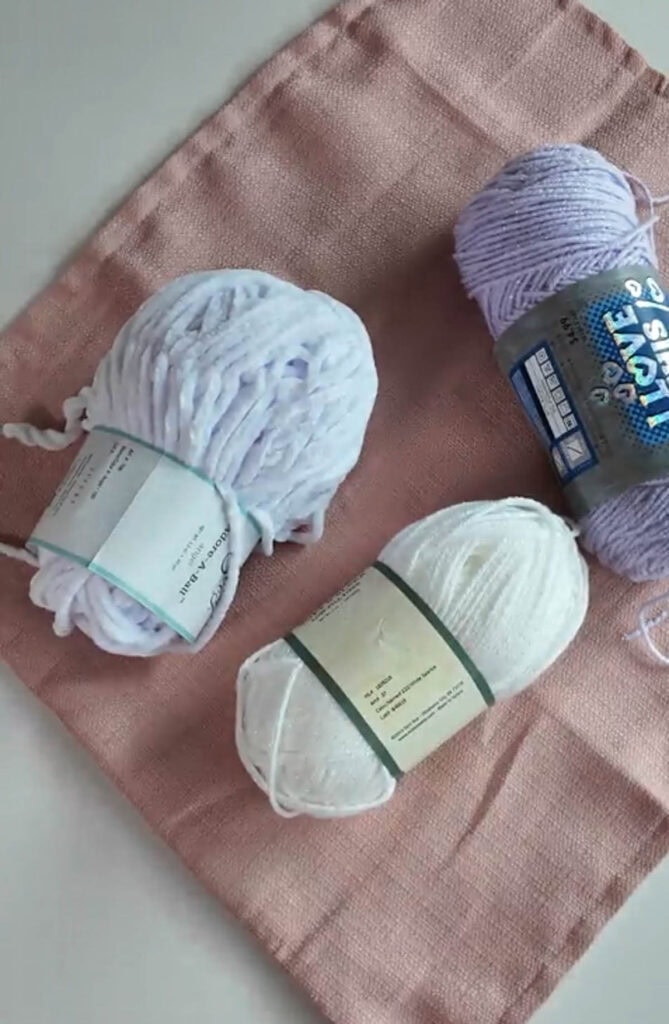
- Pillow cover in your choice of color – the pink one pictured is a $5 pillow cover from Ikea; however, if you aren’t near an Ikea, this one on Amazon is very similar.
- Yarn – I like the thicker white yarn for the ghost bodies, but you can also use standard white yarn too. You’ll also need thin purple yarn for the bow, or choose a different color.
- Black felt or black acrylic marker – you’ll use one of these to create the eyes for the ghosts
- Craft glue – highly recommend this brand! It holds up so well!
- Scissors
- Lay your pillow case flat, and iron if needed. Place a cardboard piece inside the pillow cover so the glue doesn’t bleed through to the other side.
- Cut a piece of yarn to the size you would like for the ghost—this will be the largest piece that goes on the outer edge of the ghost.
- Then, cut a piece of yarn to a slightly smaller size and put it inside the larger yarn to see how it fits. Trim the smaller piece as needed. Then do the same for a 3rd piece – the inside (smallest) piece.
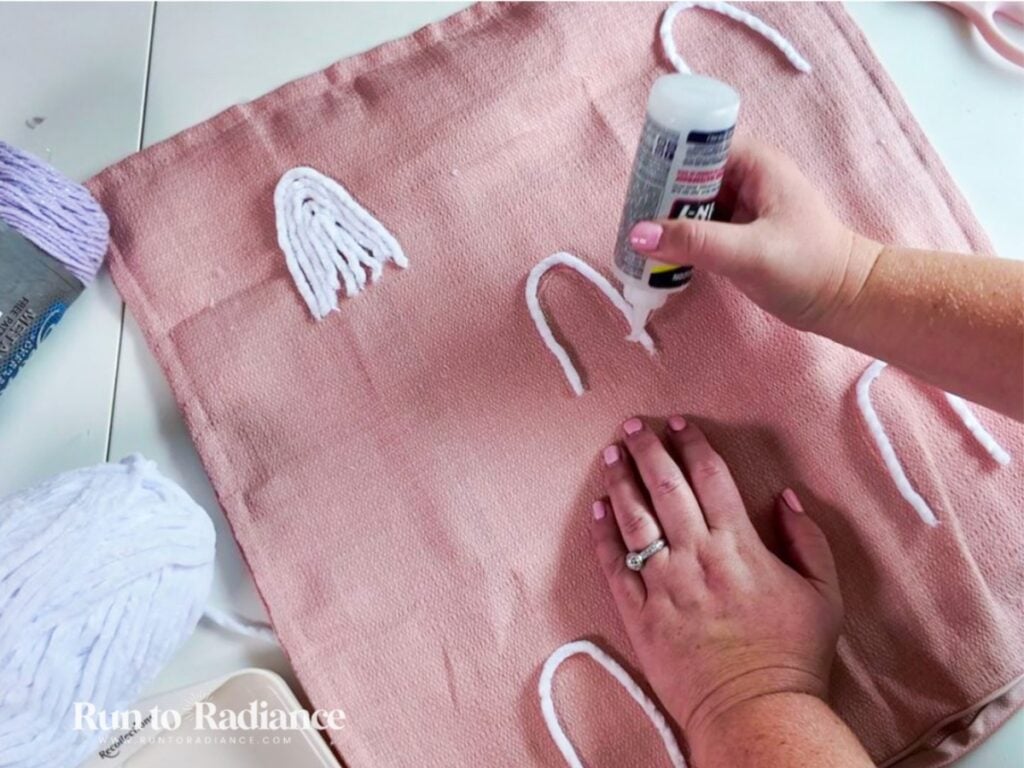
- Once you are happy with the length, use that as a template to cut more yarn pieces for however many ghosts you want!
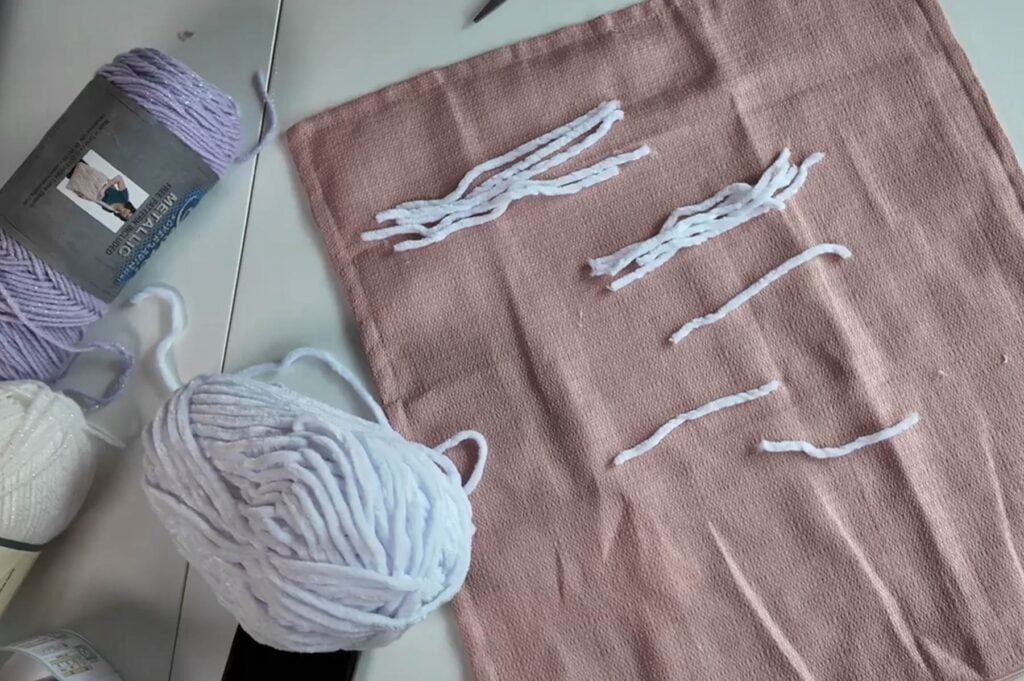
- Next, you’ll want to glue the strands down, starting with the exterior piece and then the interior ones. Trim any excess at the bottom edge if needed.
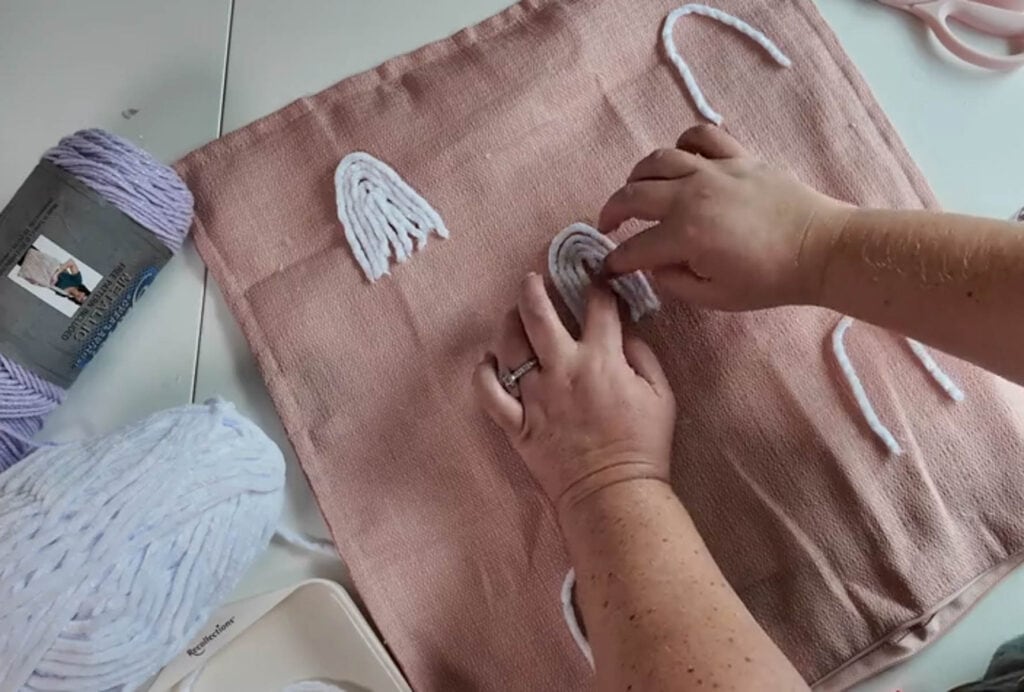
- Now that your ghosts are formed and glued down, we’re going to add cute little bows!
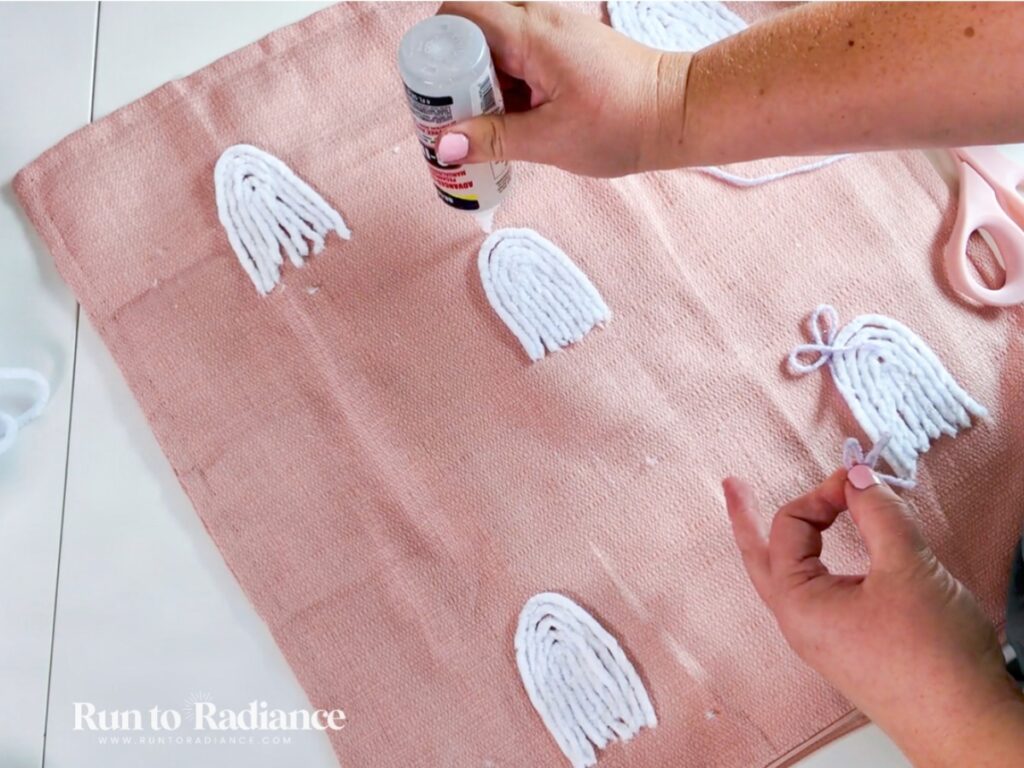
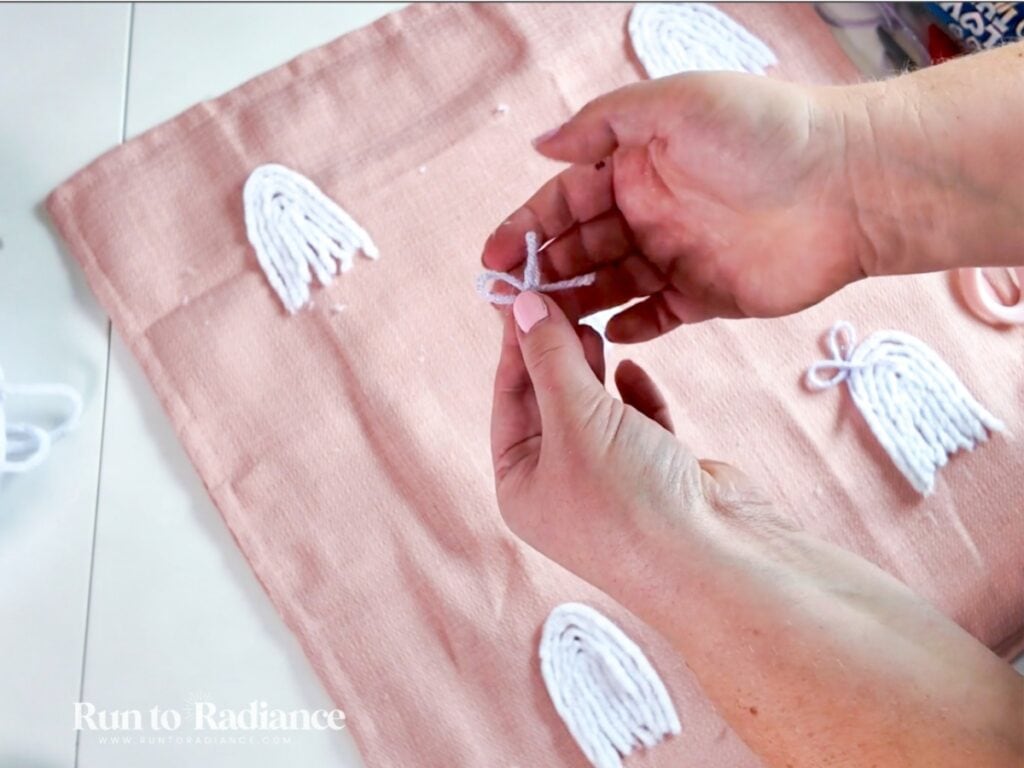
- Cut a small piece of purple yarn and form a bow. Once you’re happy with the shape, add a drop of glue atop your little yarn ghosts, and add your bow! Do as many as you’d like!
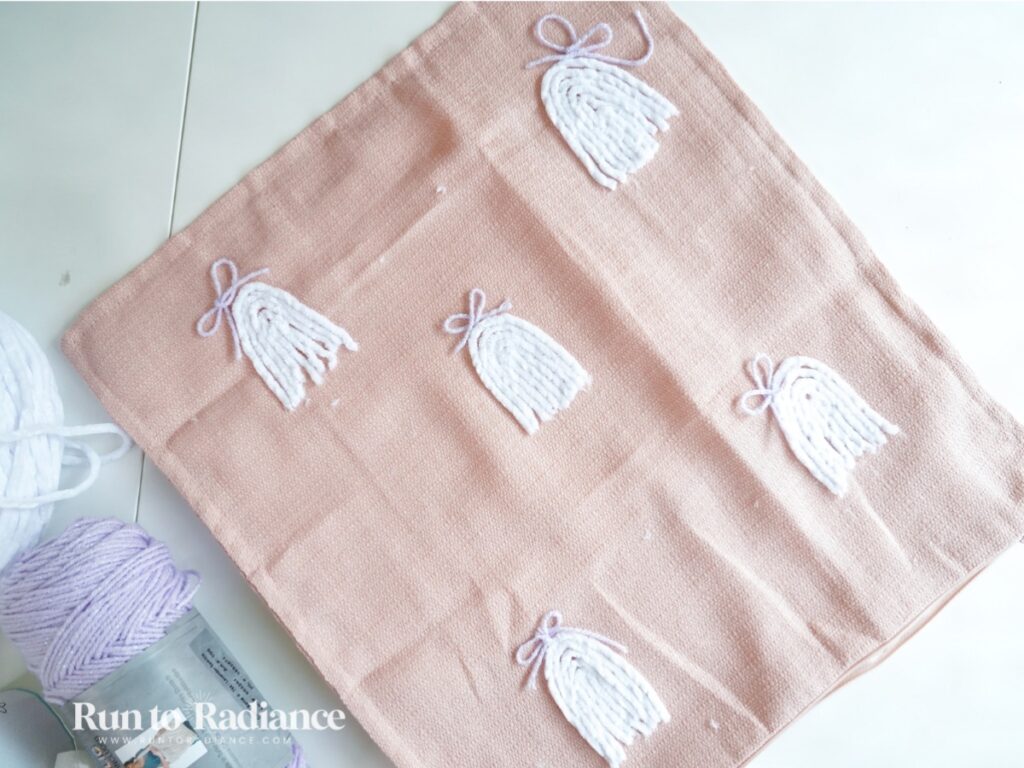
- The last step is adding some eyes! On this craft, I used an acrylic paint pen to add little black eyes to each ghost. But you could also cut out eyes with black felt and glue them on.
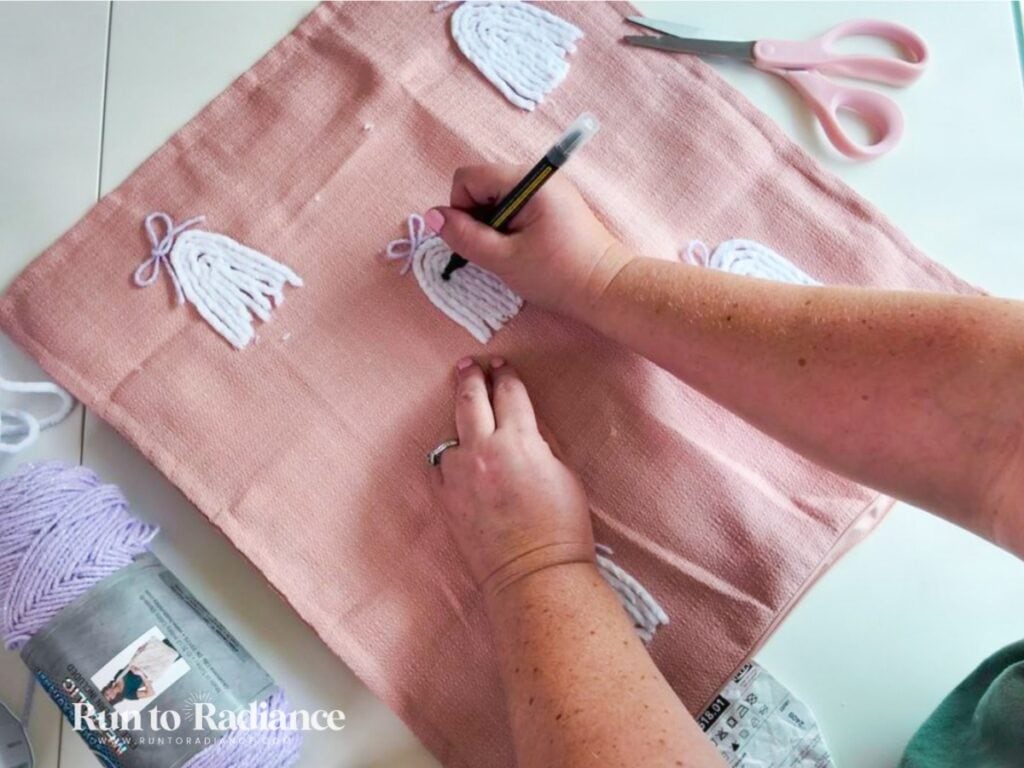
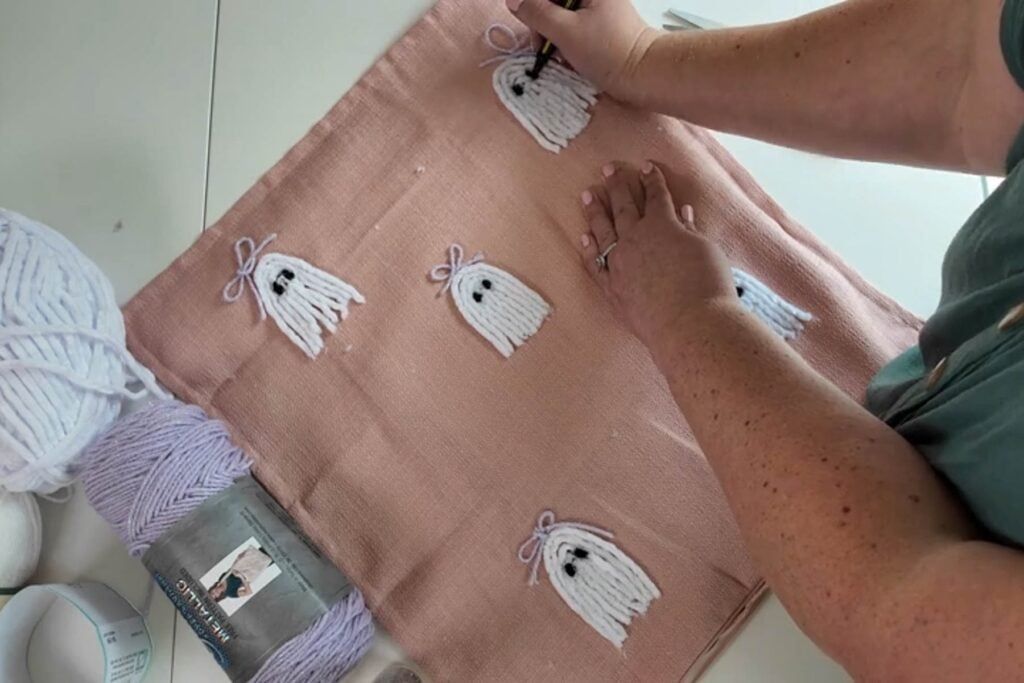
- Now, just let the pillow dry according to the craft glue instructions, and your new DIY Halloween decor is ready for use!
Painted Ghost Pillow
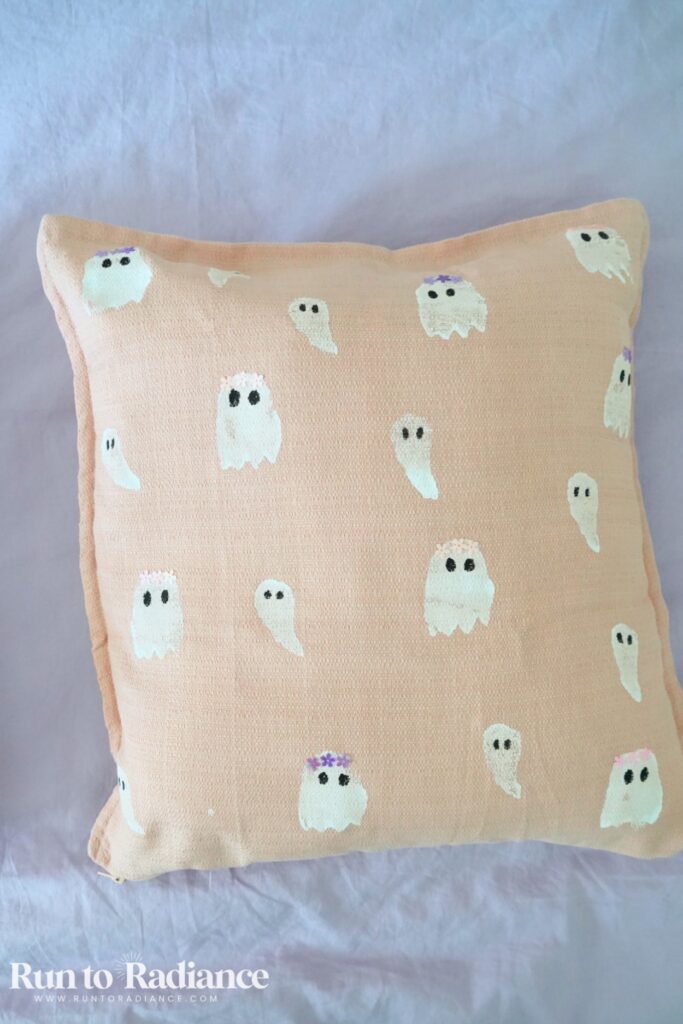
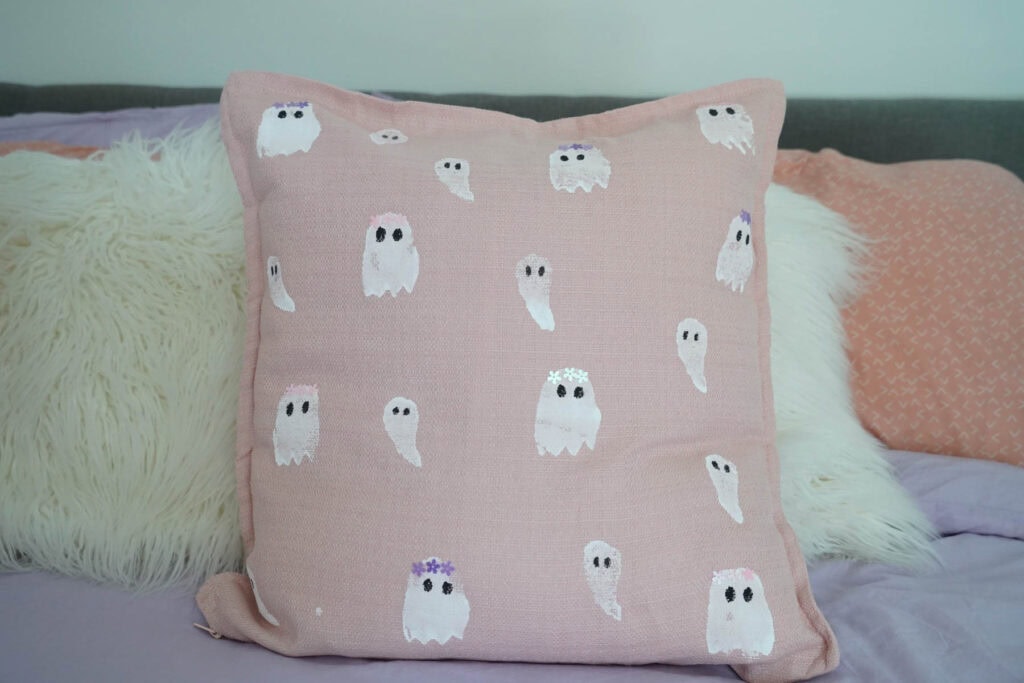
This pillow turned out super cute. And, if you can let go of perfectionism, this is also a great one to do with an elementary-aged child too!
My favorite part is the sequined flower crowns for these ghosties…they are a total vibe!
Supplies:
Here’s all you’ll need to make your very own sequin ghostie pillow!
Note: I have linked all the supplies in my Amazon storefront, or you can find links to individual items below!
- Pillow cover – the one pictured is a $5 pillow cover from Ikea; however, if you aren’t near an Ikea, this one on Amazon is very similar.
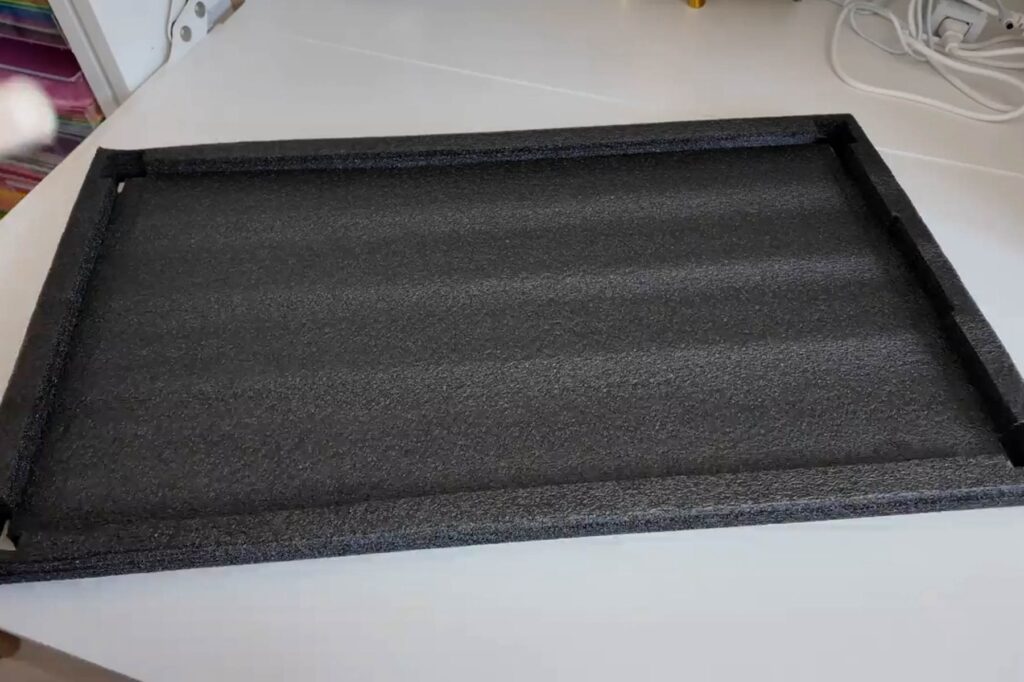
- Foam sheet – you can purchase or do what I did and use a sheet of foam that came in a delivery (free!). Just make sure it’s the kind you can cut with scissors.
- White acrylic paint
- Acrylic pens – white and black
- Flower sequins – optional but highly recommend!
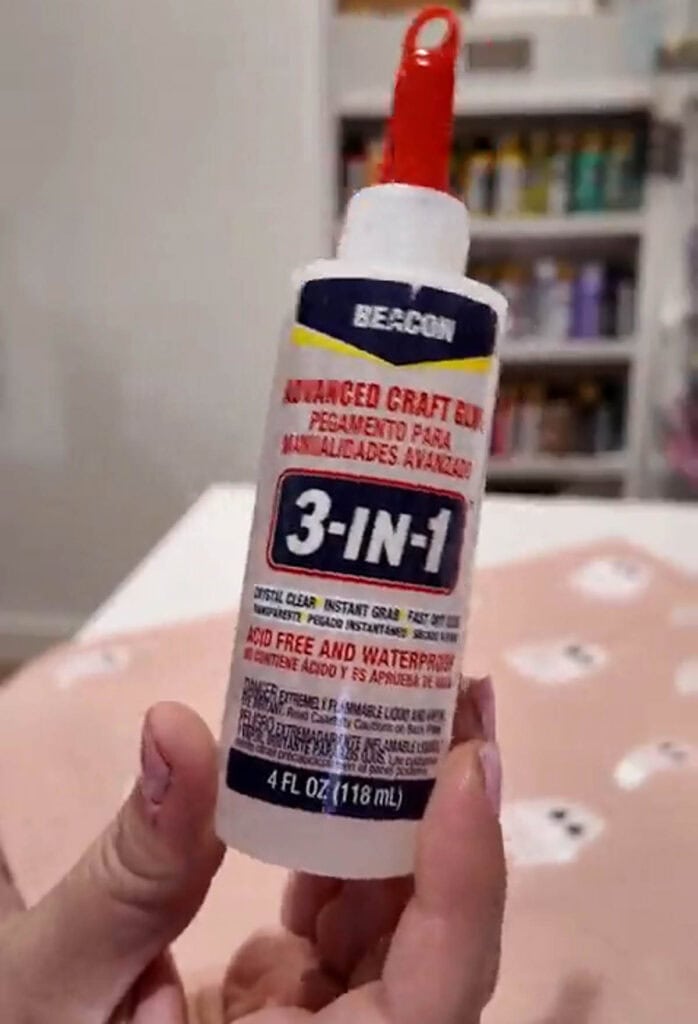
- Advanced craft glue – I HIGHLY recommend you use this glue for the sequins! It has held up beautifully and only needed a few dots of glue to hold. In a pinch, you can use a low temp hot glue gun and glue sticks too.
- Scissors – to cut the foam sheet
Directions:
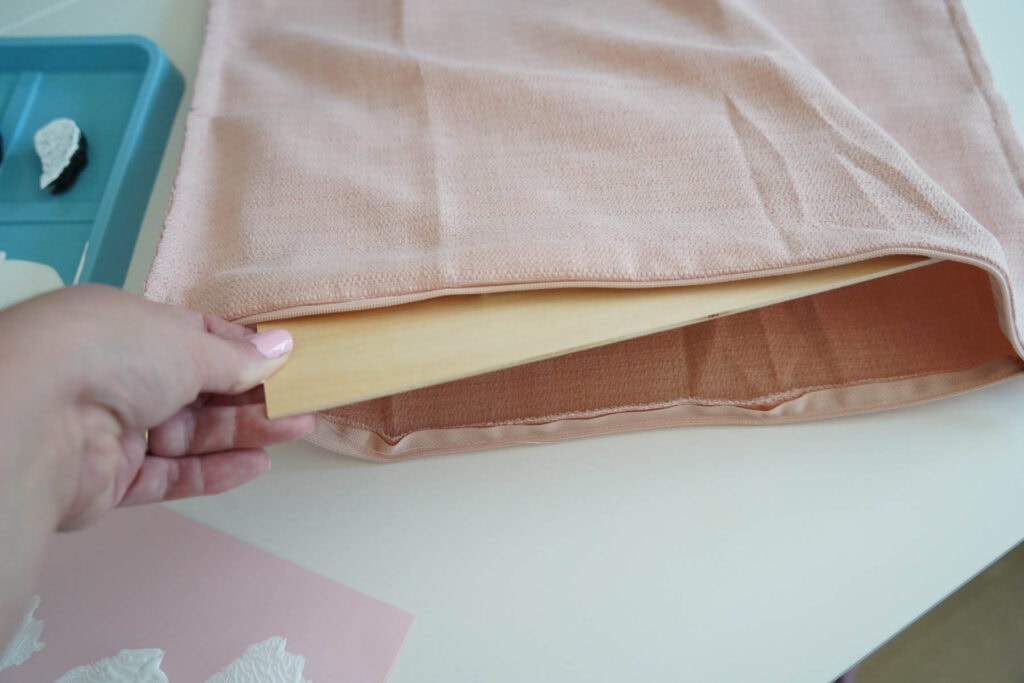
- Lay your pillowcase flat, and iron if needed. Then, put a piece of cardboard inside so that your paint doesn’t bleed through!
- Take a piece of foam and draw some ghost outlines with an acrylic paint pen or pencil. You can do a couple of different variations like I did, or just do one.
- Cut the ghosts out, and voila – this will be your “stamps.”
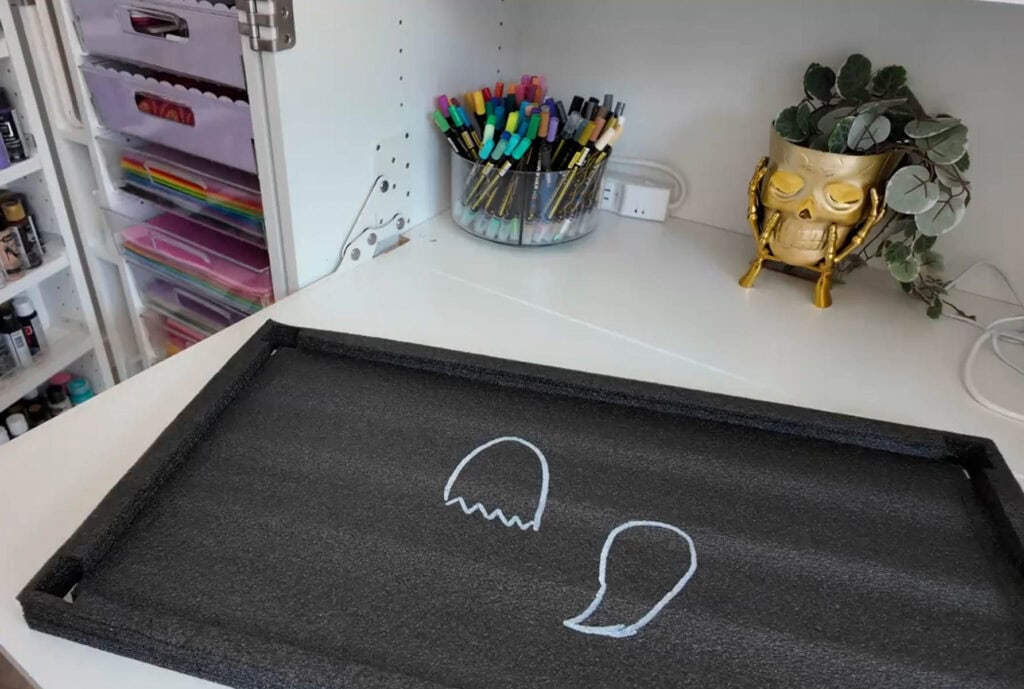
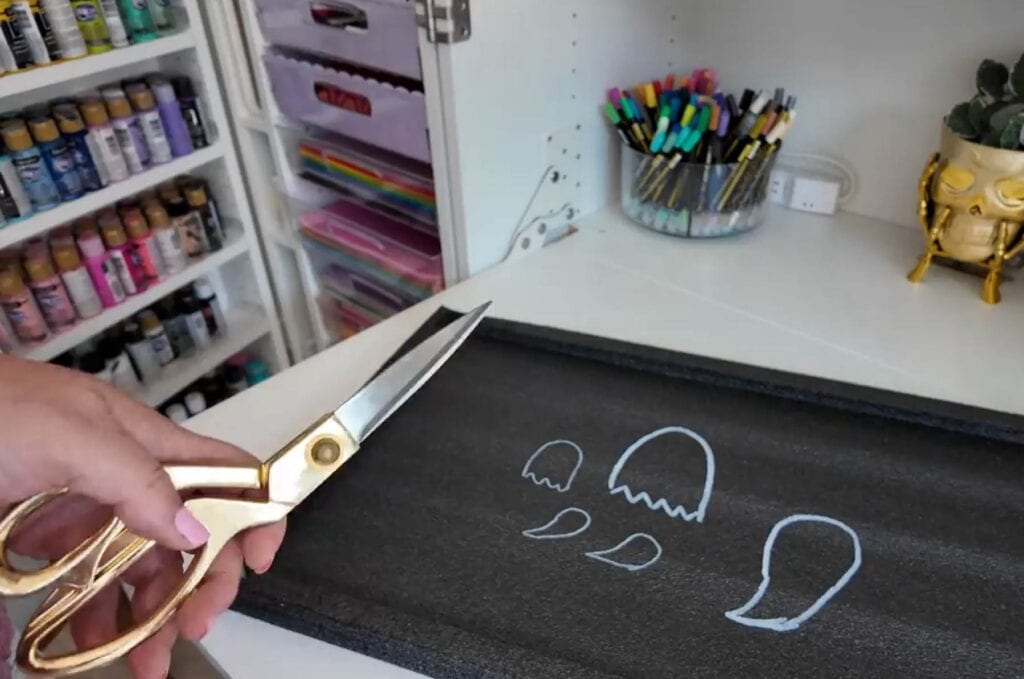
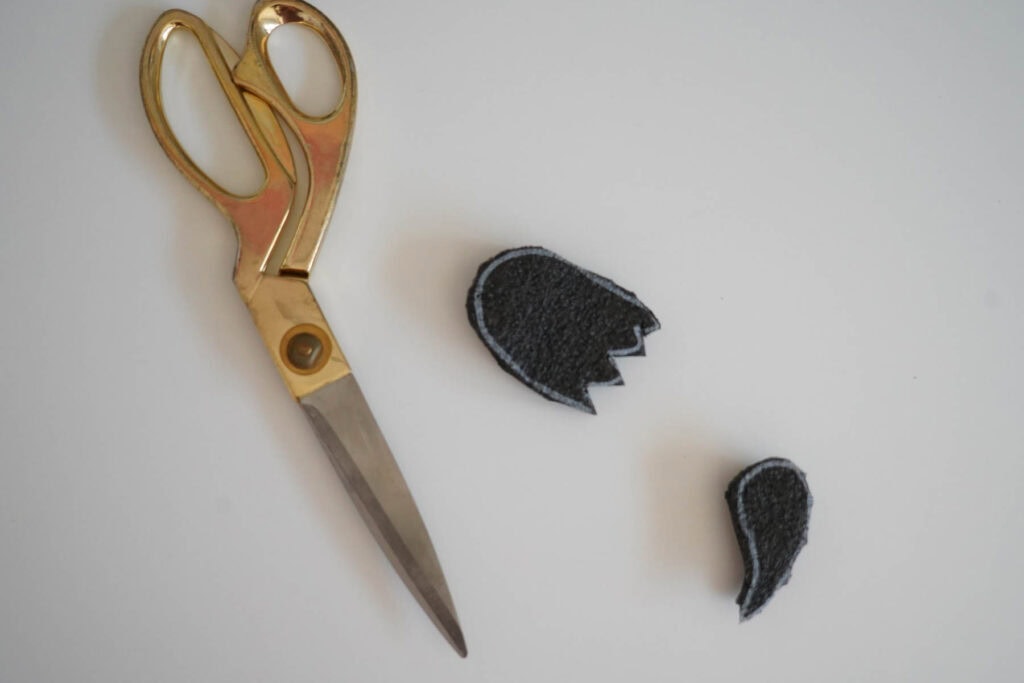
- Pour some white acrylic paint onto a paint tray or paper plate, and dip one of the ghost stamps into it.
Note: Use a piece of paper to test out your stamp before printing on the pillowcase!
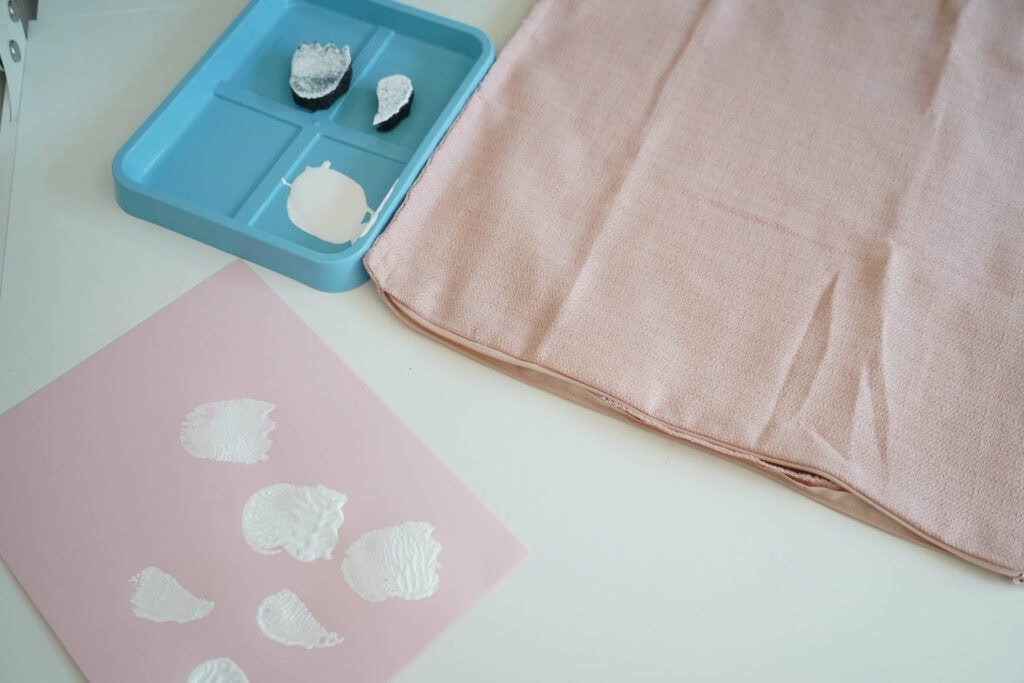
- Next, stamp your ghosts onto the pillow case, spacing them out as you see fit & alternating ghost designs too!
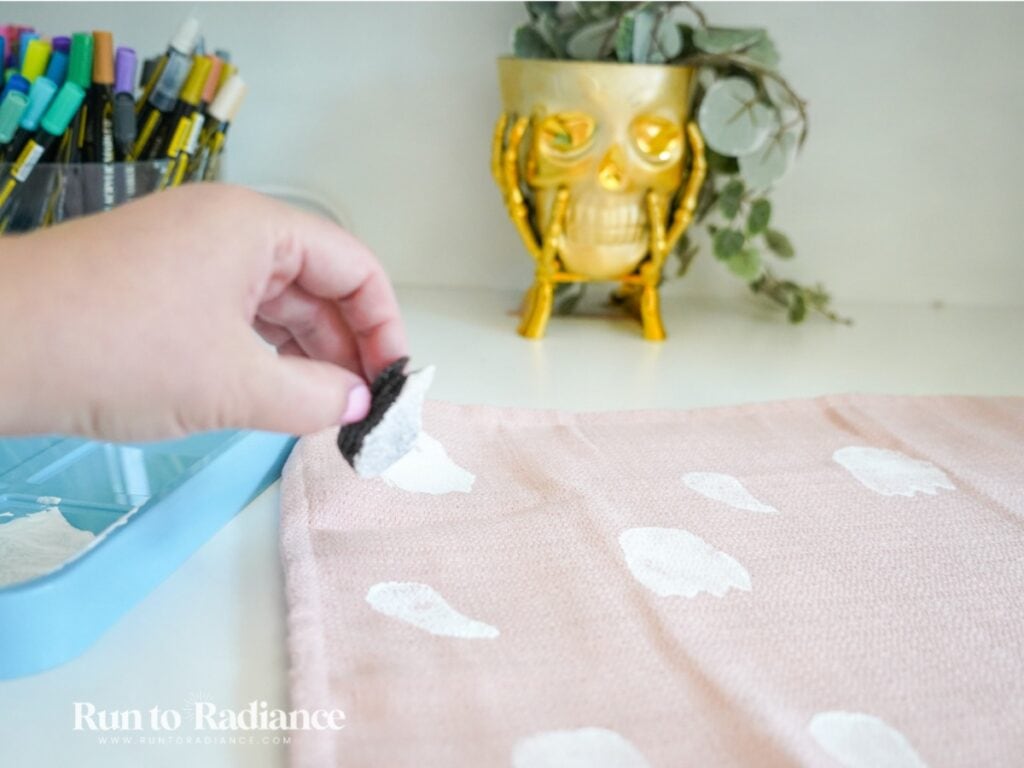
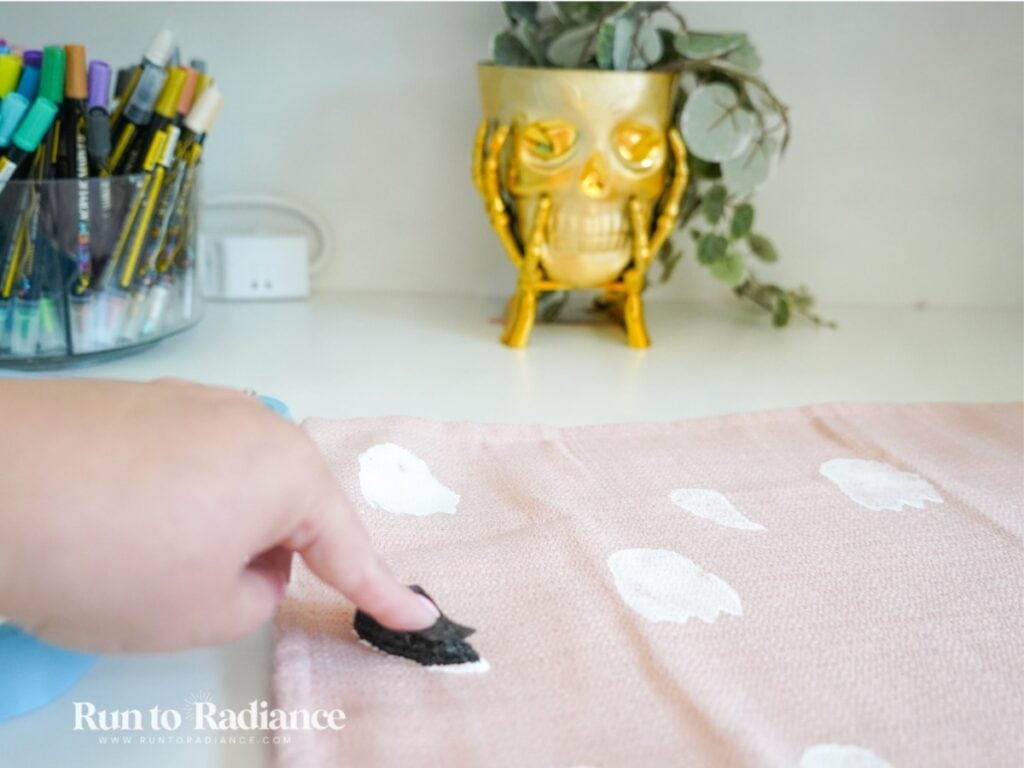
- Once your ghost prints are complete and the paint is dry, take a black acrylic pen and draw littles eyes on your ghosts!
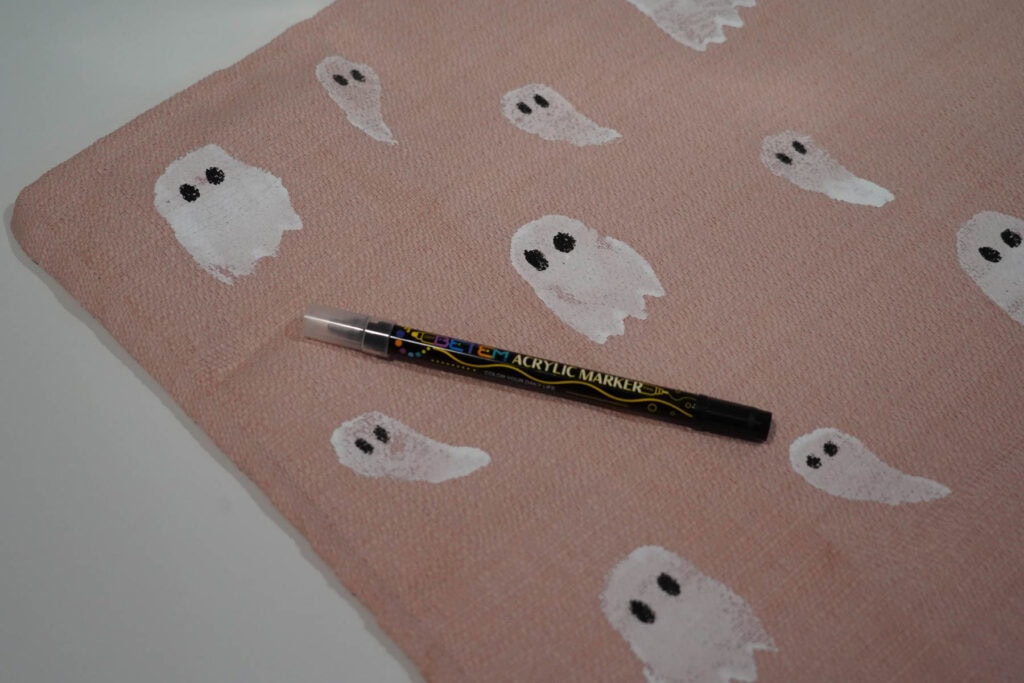
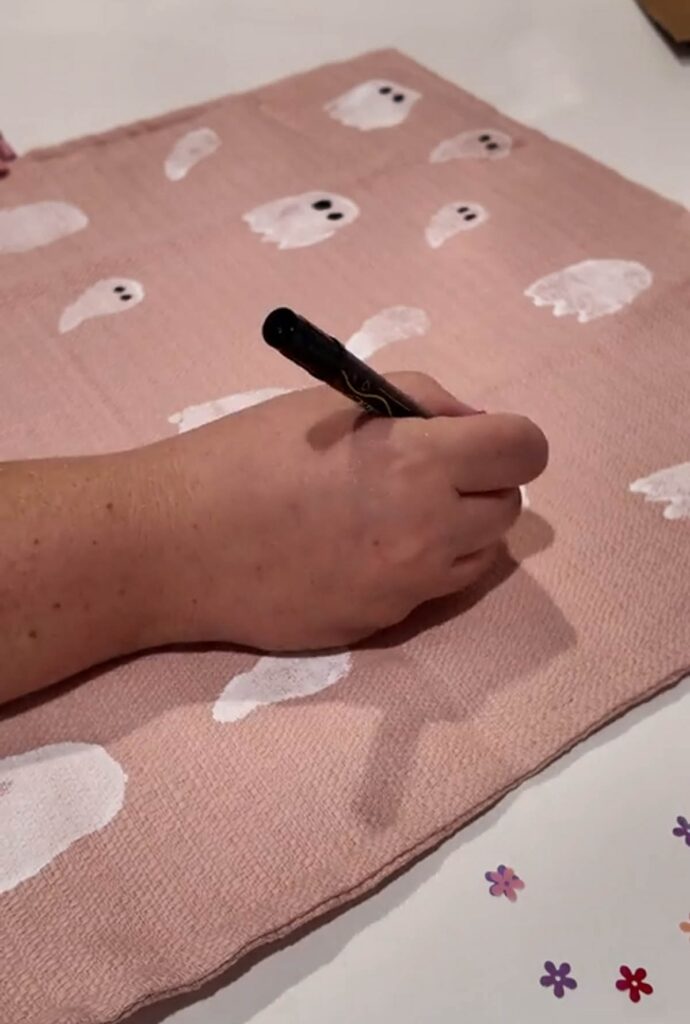
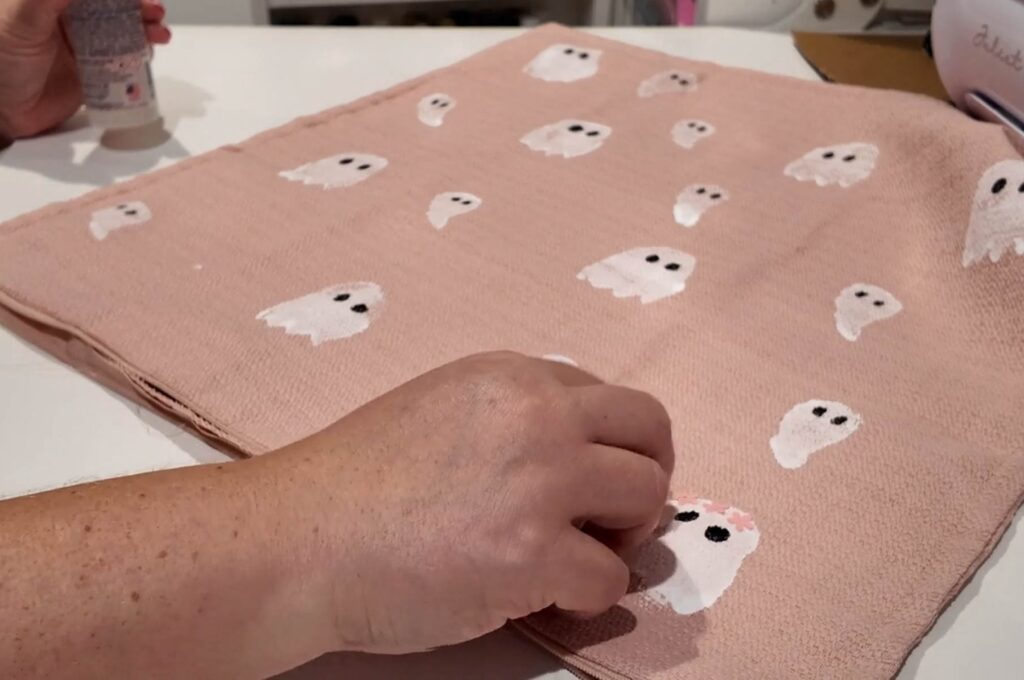
- Now, it’s time to add sequins! To do this, simply add some drops of craft glue on the heads of a few of your ghosts.
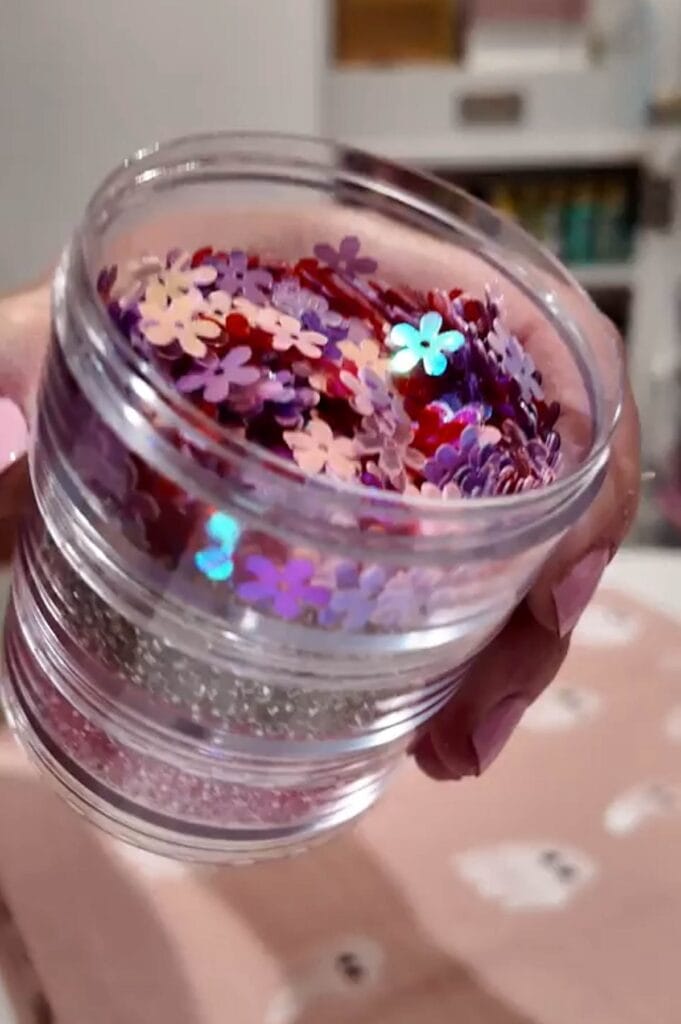
- Then, apply flower sequins to make a little crown.
I didn’t do all the ghosts – I think a handful of them with crowns is perfect!
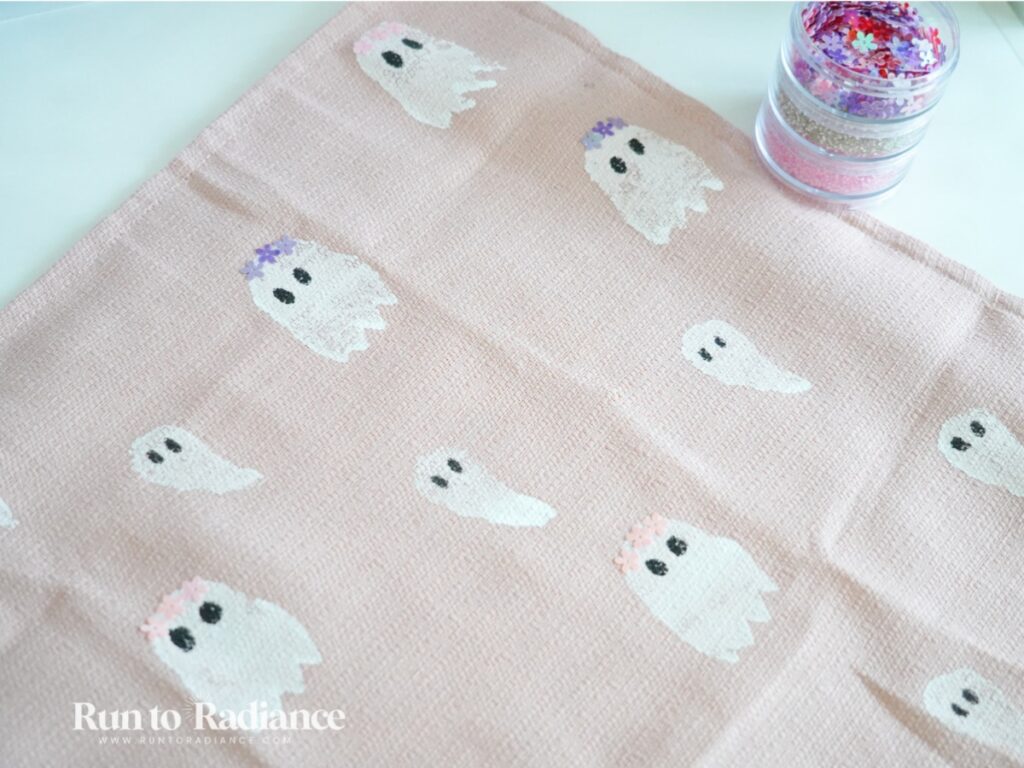
- Allow your pillow to dry, and then it’s ready for display! Put it on a bed, sofa, or accent chair to amp up your Halloween decor!
More Halloween Crafts You Can Make
- DIY Skeleton Lantern (VIRAL Dollar Tree Hack!)
- DIY Ghost Tote Bag (super easy to make)
- Make This Cute Halloween Pennant Flag