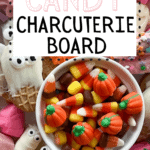
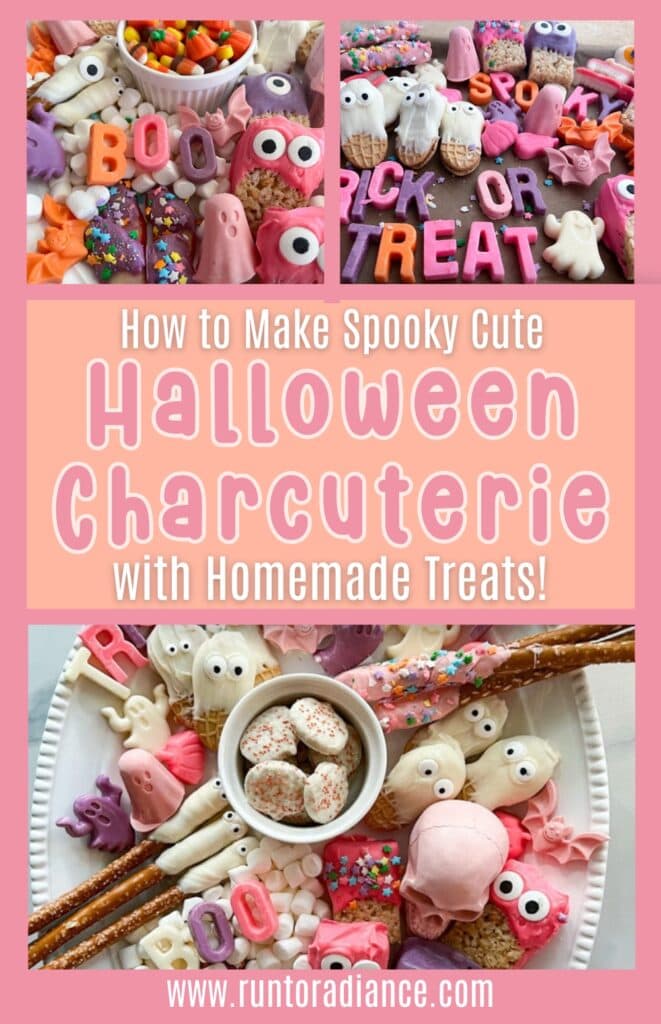
Candy Charcuterie Board
This post may contain affiliate links. As an Amazon Associate I earn from qualifying purchases.


Looking for the perfect party snack without all the fuss? If you are in the mood for a serious sugar rush, look no further—I’ve got just the thing! This easy candy charcuterie board will not only satisfy your sweet tooth cravings, but it looks gorgeous too!
In case you didn’t know, I am a HUGE charcuterie board fan. I love creating beautiful and delicious spreads for any occasion. And it’s not just about the meat and cheese boards…there are endless possibilities when it comes to charcuterie board ideas!
Case in point? I give you the candy charcuterie board. Perfect for a Halloween party, birthdays, a fun movie night at home, or to take over to a friend’s house. This candy charcuterie board is the perfect addition to your table spread.
This candy board is all treats, no tricks (see what I did there?)!
Here’s why you’ll love making this candy charcuterie board
Watch the video
Want to see how easy it is to assemble a candy charcuterie board of your own? Watch this quick video where I will show you three different options for assembling candy boards!
Easy peasy, right?
Ingredients
Believe it or not, there are SO many different types of candies out there. Here is a list of options you can use to create your delicious candy charcuterie board. Remember, you don’t need to include all of these, but pick a nice mix for the best-tasting board.
- Assorted Chocolates: Think miniature chocolate bars, chocolate-covered nuts, or chocolate truffles. Kit Kats, Twix, peanut butter cups, and Snickers are some of my personal favorites!
- Colorful Candy: Skittles, M&M’s, Swedish Fish, or gummy bears offer a burst of color and sweetness. I also love jelly beans too.
- Licorice: Red or black, licorice can add different shapes to your board. Pull-apart Twizzlers are always a win with my group.
- Marshmallows: Regular or mini, these soft goodies are always a hit.
- Taffy or Chewy Candy: Salt water taffy, caramels, or Starbursts can add a variety of flavors.
- Hard Candies: Peppermints, Jawbreakers, or lollipops for long-lasting savoring.
- Sour Candies: Sour patch kids or sour gummy worms are great for a tangy touch.
- Fruit: For a bit of a healthier touch, consider adding fresh fruit (aka nature’s candy!) like apple slices or grapes.
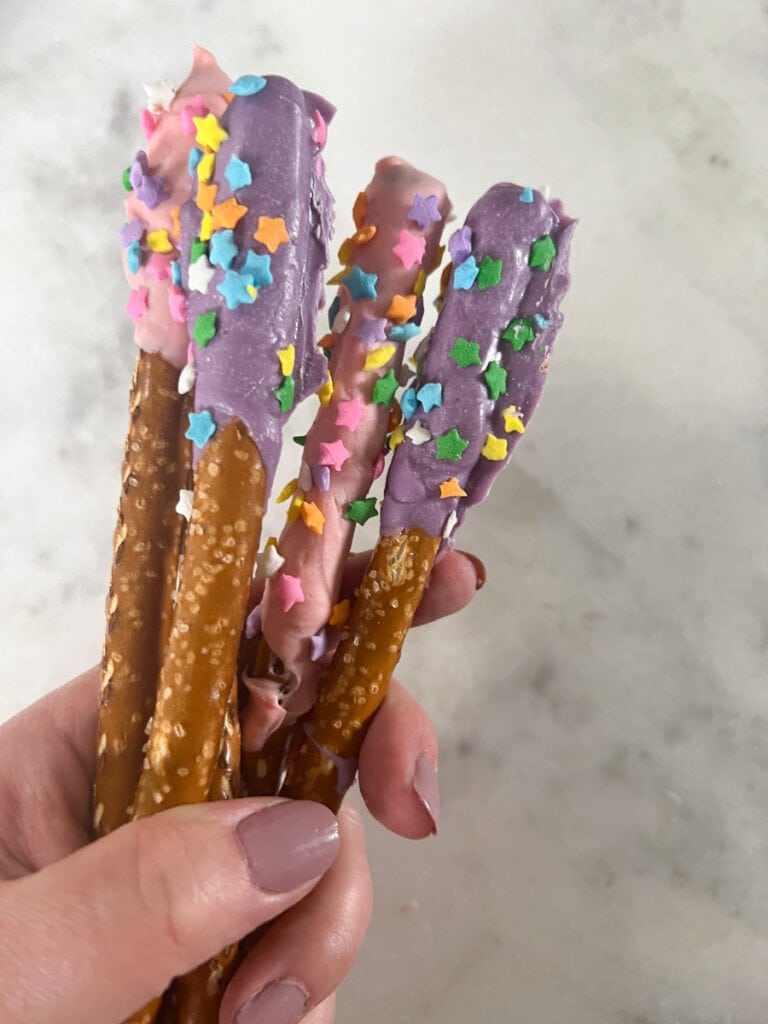
- Dipped pretzel rods: I have to give a special shout-out to these dipped pretzel rods. They are so easy to make and look awesome on your board. Plus, it adds a bit of salty flavor to complement all the sweets!
- More savory add-ons: Depending on how much room you have, adding some roasted almonds, a few crackers, or a bit of popcorn can be a nice addition to a sugar-sweet plate!

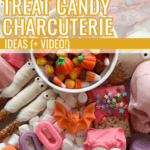
Candy charcuterie board add-ons for Halloween
Because this board, in particular, is a Halloween candy charcuterie board, I also added some spooky items too!
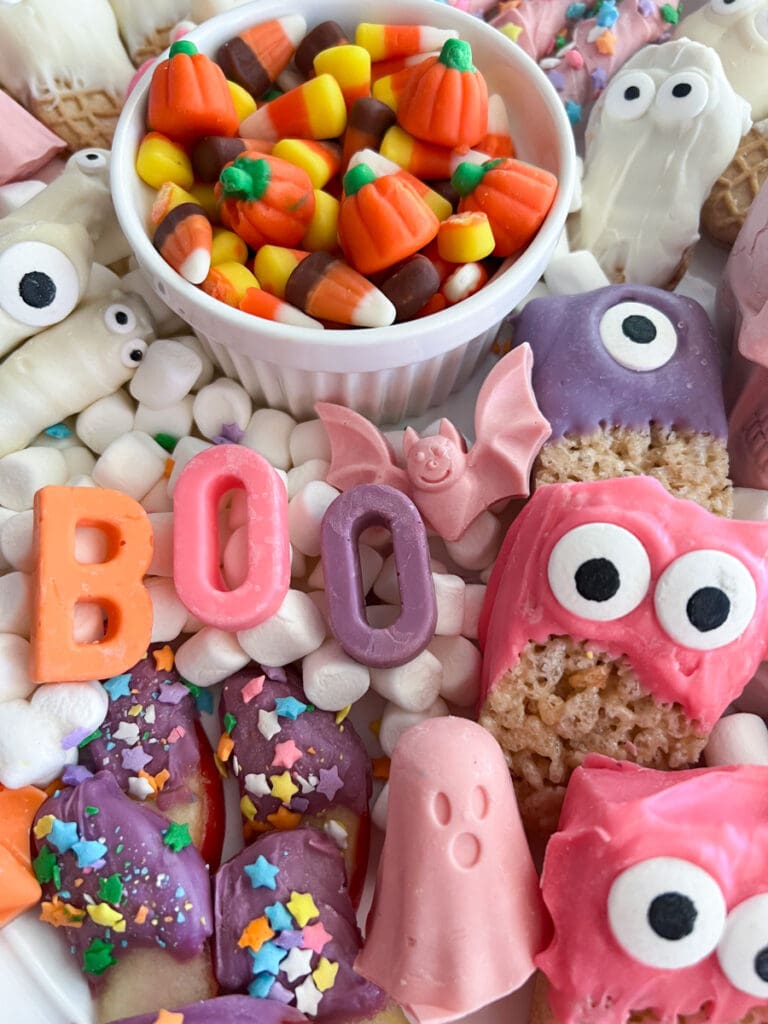
- Candy Eyes: These little edible eyes are perfect for adding a fun and spooky touch to your board.
- Halloween Rice Krispie Treats: I made these in minutes using store-bought rice krispies as a base. Super easy and so much visual impact! They taste really yummy, too. 😉
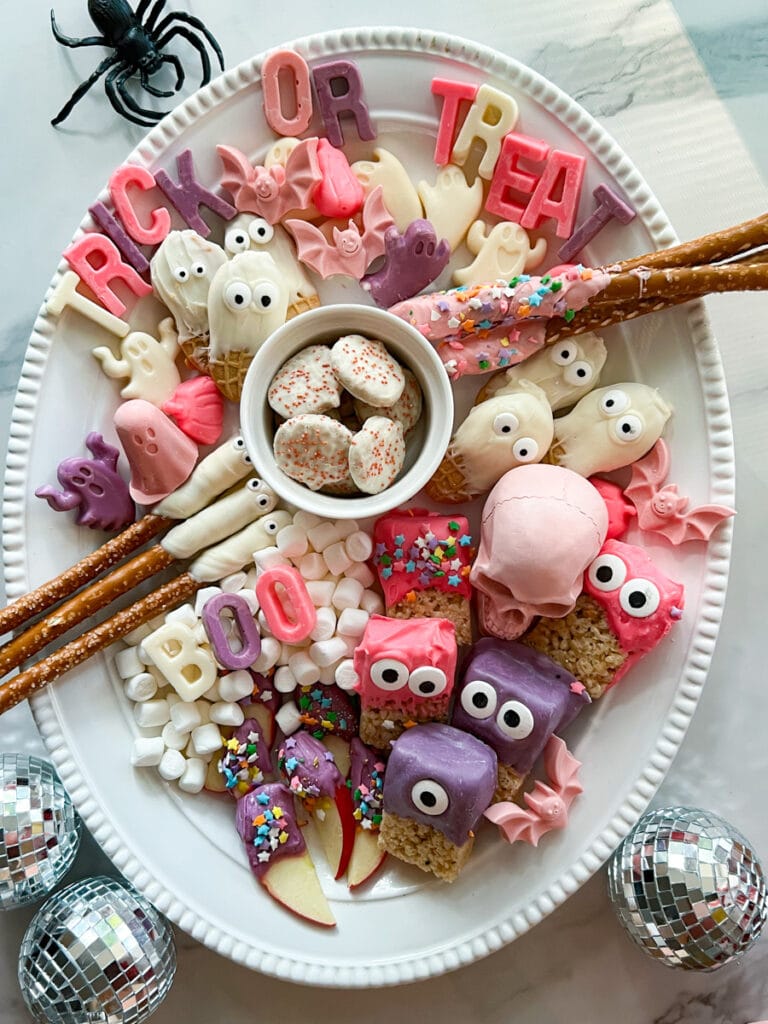
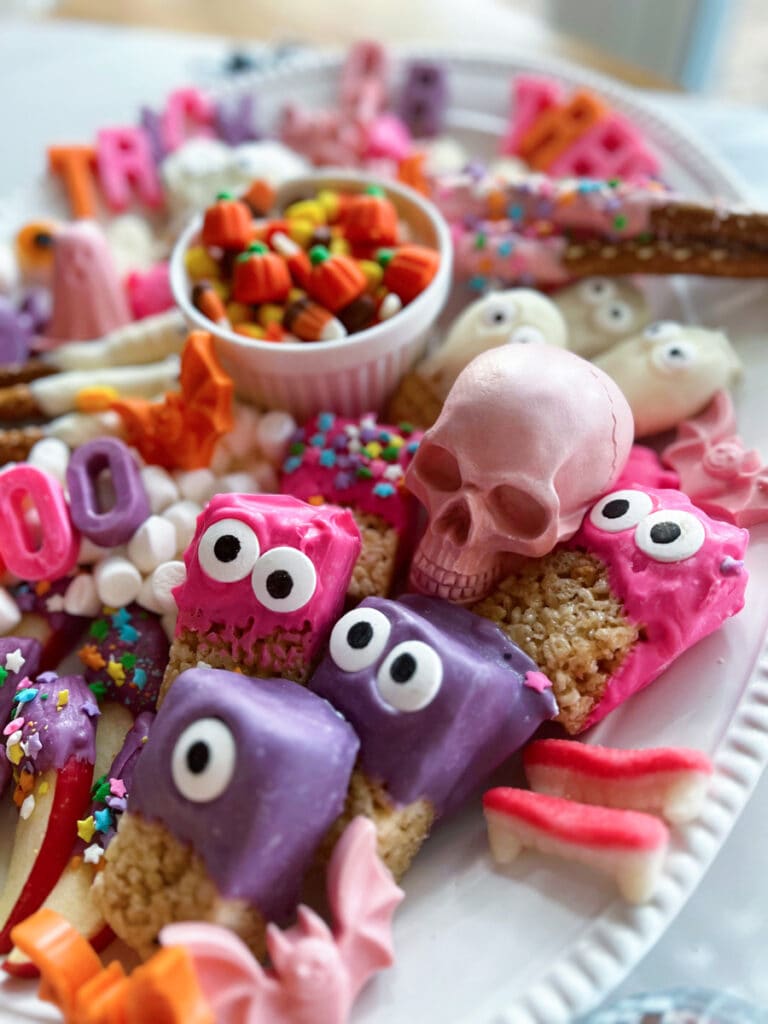
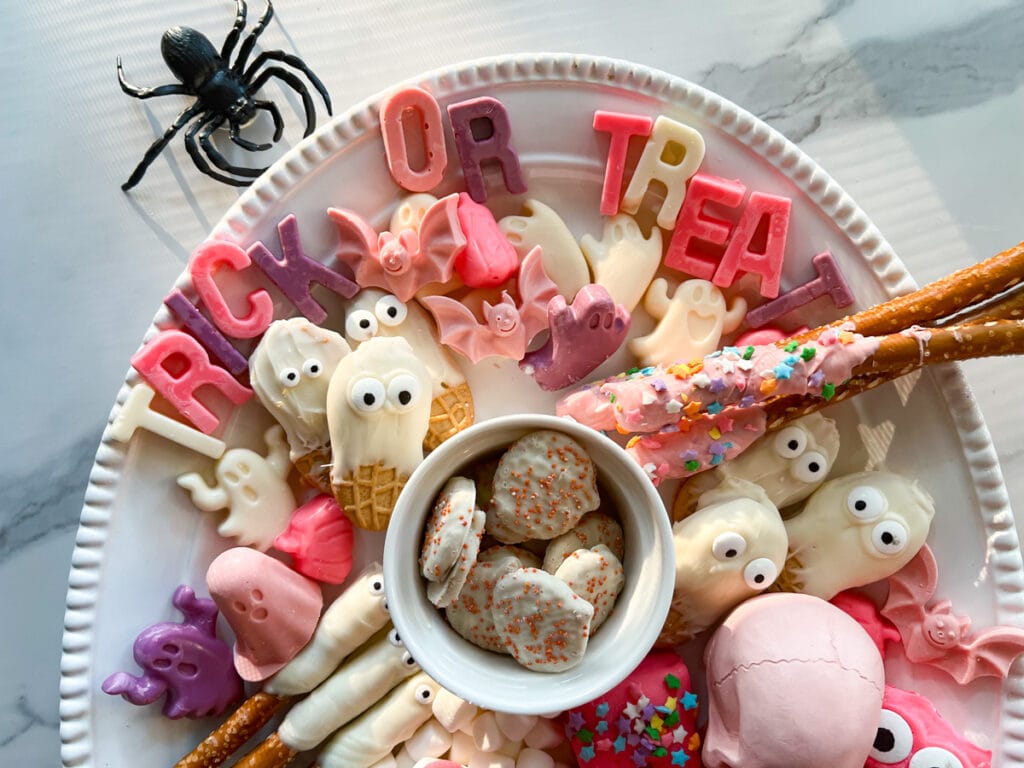
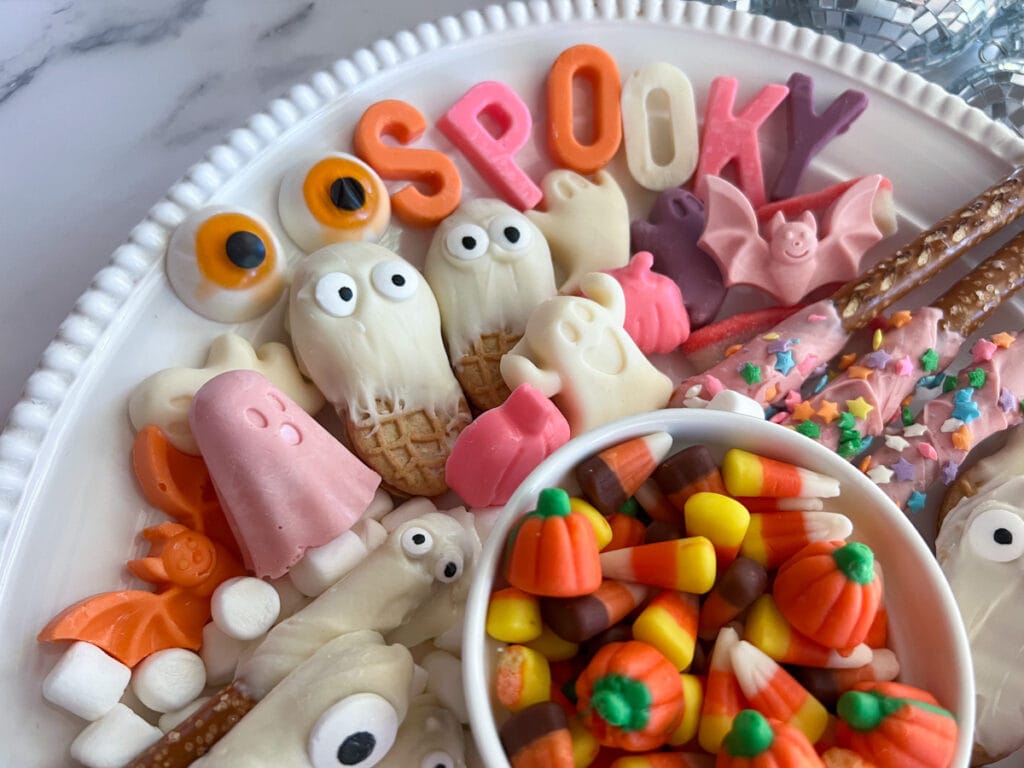
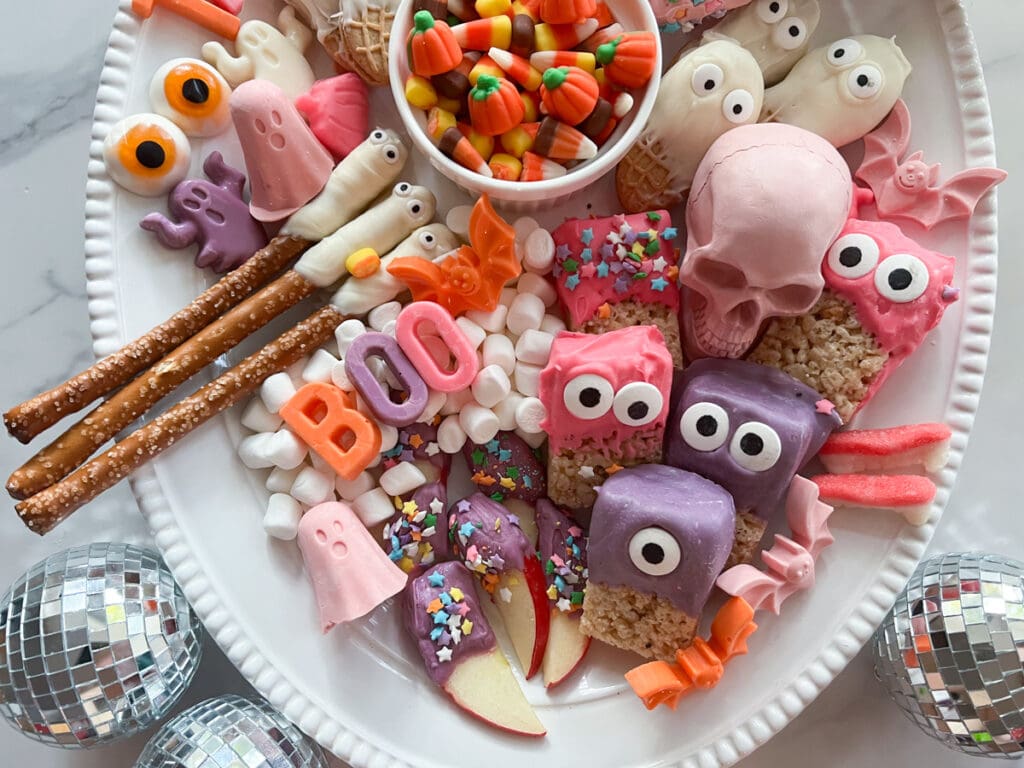
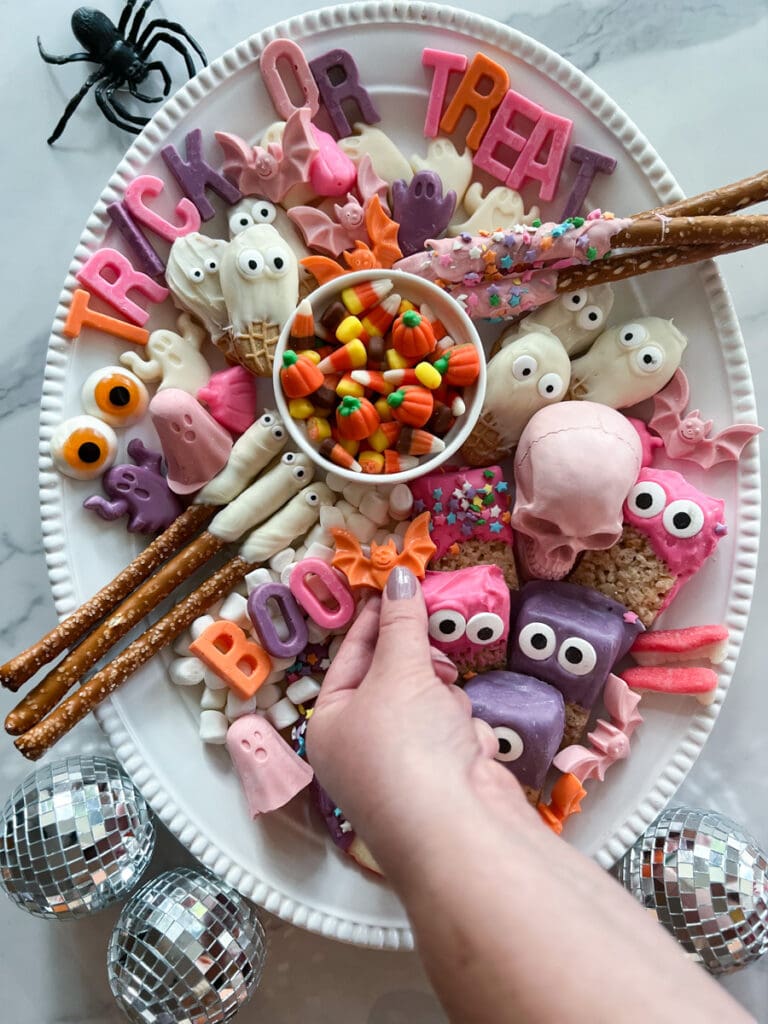
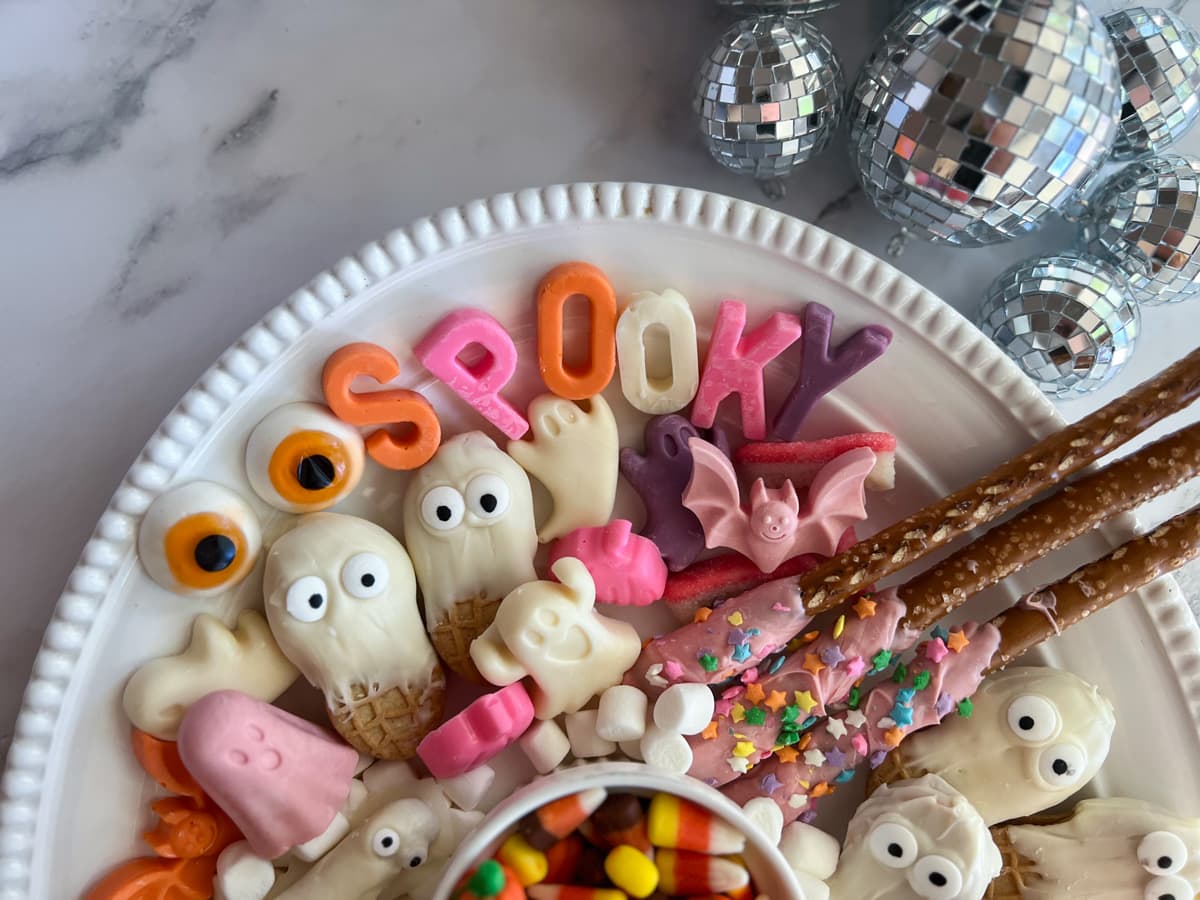
- Halloween-themed Candy: Think candy corn or pumpkin-shaped chocolates. I made my own colorful chocolate letters, bats, and ghosts with candy molds to add some wow factor.
- Candy Fangs: Gummy candy fangs are super cute and make a big visual impact.
- Nutter Butter Ghosts: These are SO easy to make. Just grab a Nutter Butter cookie, dip it into white candy melts, add candy eyes, and let them dry on parchment paper.
- Pumpkin Cookies: Trader Joe’s has an awesome selection of fall-themed treats every year. I grabbed a box of pumpkin-shaped cookies to add to the board, and they were a huge hit.
- Creepy accessories – You can make your Halloween candy board extra special by using plastic spiders or mini skulls for a bit more spook factor!
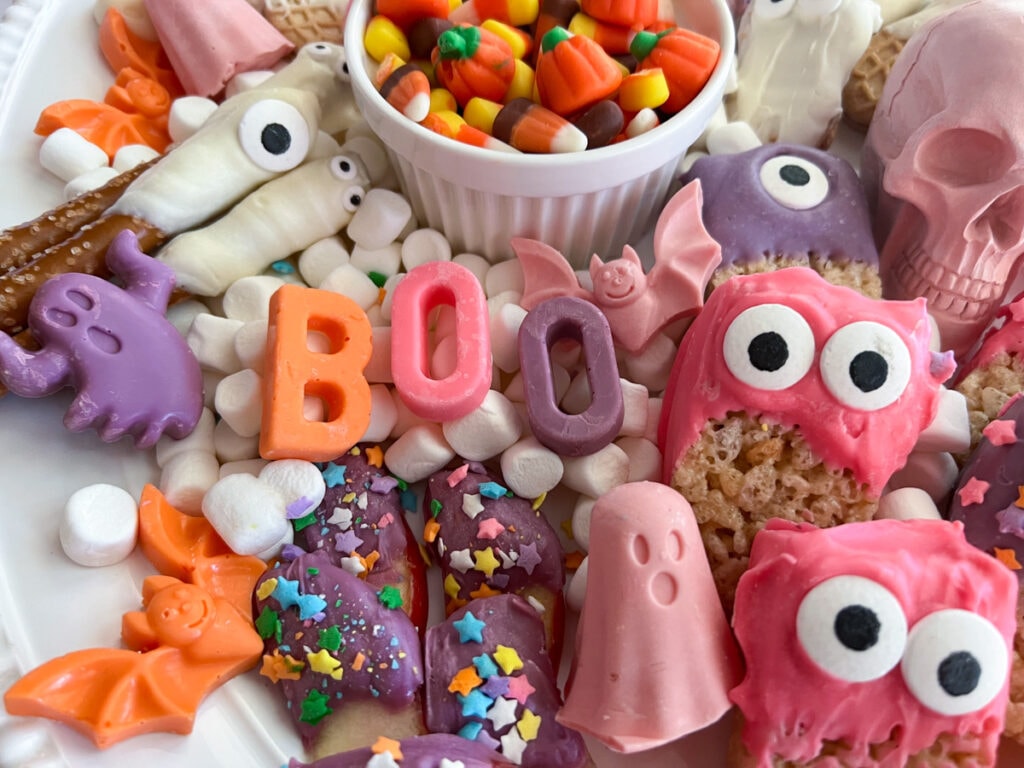
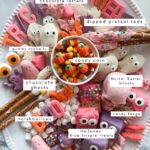
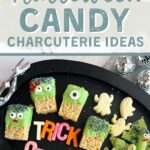
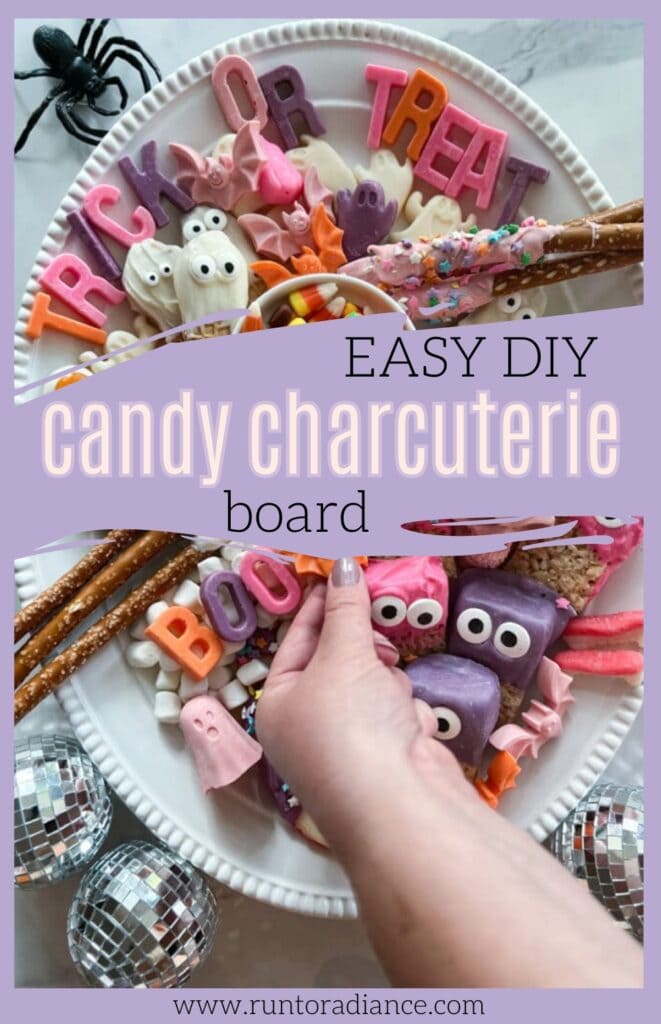
Tip: Choose a color pallet before you begin purchasing and building your board. I find it helps your board to look so much nicer! Below, you can see my pink, purple, and orange board. If you keep scrolling, you’ll see the green one too.
Instructions
- Start with a large platter or board. I used various boards here, including a large white serving platter, a black tray, and a baking sheet covered in parchment paper. Use what you have and get creative!
- Choose a variety of candies in different shapes, sizes, and colors. I like choosing a color pallet and going from there for a cohesive look. Whatever colors you choose, I recommend you include both chocolates and non-chocolate options for a well-rounded selection.
- Arrange the candies on the platter, starting with larger items in the center and filling in gaps with smaller candies. To balance out the sweet factor, I recommend adding in some other snacks like popcorn, dipped pretzel rods, or even nuts.
- Eat and enjoy!
Tips + Tricks
- Start with a large board or platter to give yourself plenty of space to arrange all your treats.
- Stick with 2-3 colors, but vary the shapes, sizes, and textures of your candies to make the display more visually appealing.
- Don’t be afraid to mix sweet and savory items for a well-rounded board.
- Overlap everything – more is better here!
- Arrange your candies in groups or sections for a more organized look.
- Have fun with it! The best part about a charcuterie board is that there are no rules, so get creative and make it your own.

FAQs about candy charcuterie boards
Final Thoughts
A candy charcuterie board is the perfect addition to any party or gathering. Not only is it visually stunning, but it’s also customizable and easy to put together.
So, the next time you’re in need of a sweet treat, skip the traditional candy bowl and opt for a candy charcuterie board instead!
Happy snacking!
More Easy Halloween Recipes
👉🏻 SEE THEM ALL
Ready to add even more spooky recipes to your table this year? Here are a few of my favorite super easy things to make!


Equipment
- 1 Serving platter or board
- Halloween accessories plastic spiders or mini skulls
Ingredients
Sweet Items
- Assorted chocolates miniature chocolate bars, chocolate-covered nuts, or chocolate truffles
- Colorful candies Skittles, M&M's, Swedish Fish, gummy bears, or jelly beans
- Licorice Red, black, or Pull-apart Twizzlers
- Marshmallows mini or regular
- Chewy candies Salt water taffy, caramels, or Starbursts
- Hard candies peppermints, jawbreakers, or lollipops for long-lasting savoring.
- Sour candies Sour patch kids or sour gummy worms
- Fruit Fresh fruit like apple slices or grapes
Savory Add Ons
- Dipped pretzels
- Nuts roasted almonds or any variety of nut
- Popcorn
- Crackers
Halloween Specialty Items
- Candy eyes
- Halloween Rice Krispie treats
- Candy fangs
- Nutter Butter ghosts
- Pumpkin cookies
Instructions
- Start with a large platter or board like a large white serving platter, a black tray, or a baking sheet covered in parchment paper to arrange all your treats.
- Choose a variety of candies in different shapes, sizes, and colors. Use both chocolates and non-chocolate options for a well-rounded selection.
- Place some smaller, loose candies in a small bowl to add to center of platter for visual interest and to break up space.
- Arrange other candies on the platter, starting with larger items in the center and filling in gaps with smaller candies.
- To balance out the sweet factor, add in some other snacks like popcorn, dipped pretzel rods, or even nuts.
- Fill in any gaps with fruit, marshmallows or popcorn.
- Add creepy touches like plastic spiders or mini skulls. Serve and enjoy!