Halloween Rice Krispie Treats in 10 Minutes (With Video!)
This post may contain affiliate links. As an Amazon Associate I earn from qualifying purchases.


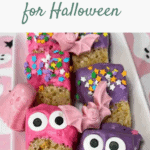


Looking for a sweet treat that’s not overly spooky? These Halloween rice krispie treats are so easy and SO cute—and you can make them in so many different ways.

This “recipe” is also barely a recipe—start with premade rice krispies as a base, then enjoy the fun part…decorating!
These Halloween treats are not only easy and fun to make, but they also provide an opportunity for creativity and fun with the kids (if you want).
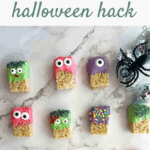
In this blog post, learn how to be a Halloween hero and transform plain Rice Krispie treats into festive Halloween treats that will be the hit of any gathering.
Let’s get started!
✨ Watch the video ✨
Want to see just how easy it is to make these Halloween rice krispie treats? Check out this quick 90-second video and see for yourself!
Equipment
You don’t need much to whip up these Halloween rice krispie treats! In fact, you likely already have most of these items at home.
Ingredients
Like most good things, the ingredient list here is short and simple.
- Rice Krispie treats – I used the classic Kellogg’s Rice Krispie Treats straight off the grocery shelf, but you can also choose to make your own if you feel so inclined.
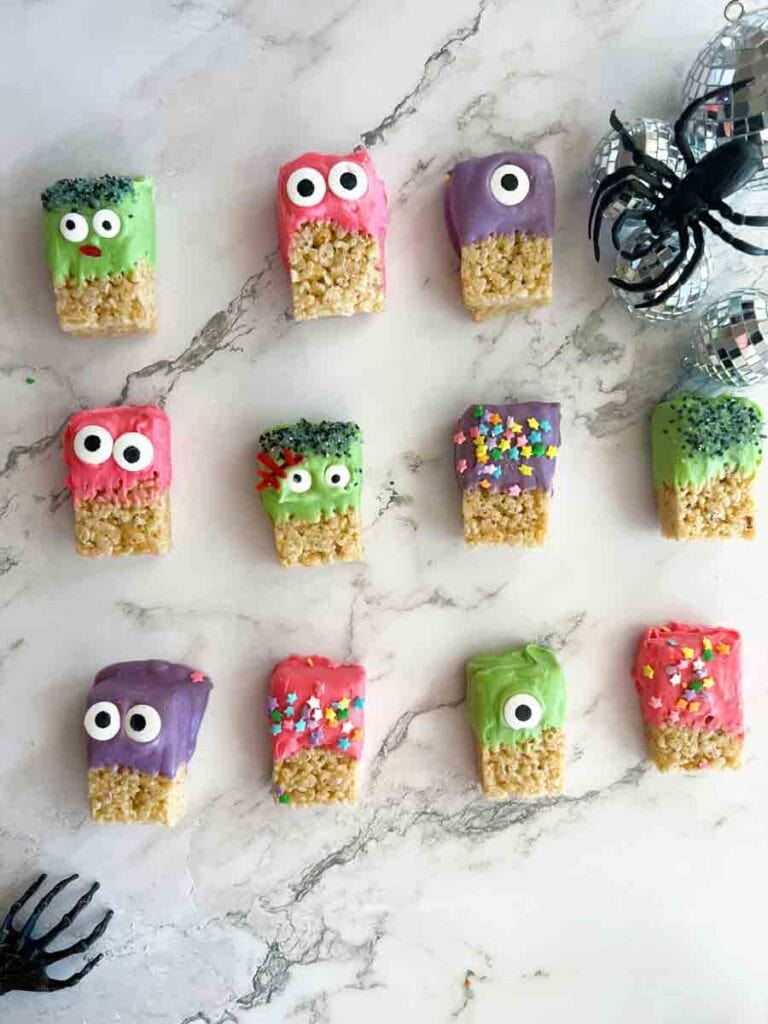
- Candy melts – For these treats, I used purple, pink, and green melts. But, depending on what you want to make (see lots of ideas below!), you may want other colors.
- Decorations – This is where the fun really begins! You can use anything from candy eyes to sprinkles (like these pretty pastel star sprinkles or these creepy Halloween sprinkles), shaved chocolate, decorative sugar crystals, or bits of other candy. Let your imagination run wild!
✨Click to Buy Everything You Need to Make These Halloween Rice Krispie Treats✨

Instructions
Okay, let’s get started on whipping up these super cute Halloween rice krispies.
Step 1: Preparing the Rice Krispie treats
To keep things simple and stress-free, start with pre-made Rice Krispie treats from the store.
Simply unwrap each and -BAM- you are good to start decorating.
Of course, you could also make your own homemade rice krispie treats. They’d probably taste better than the store-bought, but the beauty of this recipe is you only need 10 minutes of hands-on time.
But choose whatever works for you!
Step 2: Melting the candy melts
Next, melt the candy melts according to the package’s instructions. I got mine at Michaels, and they were totally easy to work with.
While you can melt these on the stovetop with a double boiler, easy + quick is the name of the game here, so I opted to use the microwave.
I simply tossed mine into a microwave safe glass measuring cup (which I also used to dip the rice krispies into—saving dishes, yay!). Just make sure you melt the candy for short intervals (I did 15 seconds at a time), stirring in between, until they are fully melted.
Important: you will need to reduce your microwave’s power to avoid scalding the melts!
If you accidentally overheat them, the texture will be super thick, and it will not stick properly. The package said you can add 1-2 tablespoons of Crisco if this happens—but I tested it out to see, and it was still not the same texture.
So, be super careful when melting!
Step 3: Dip the Rice Krispie treats
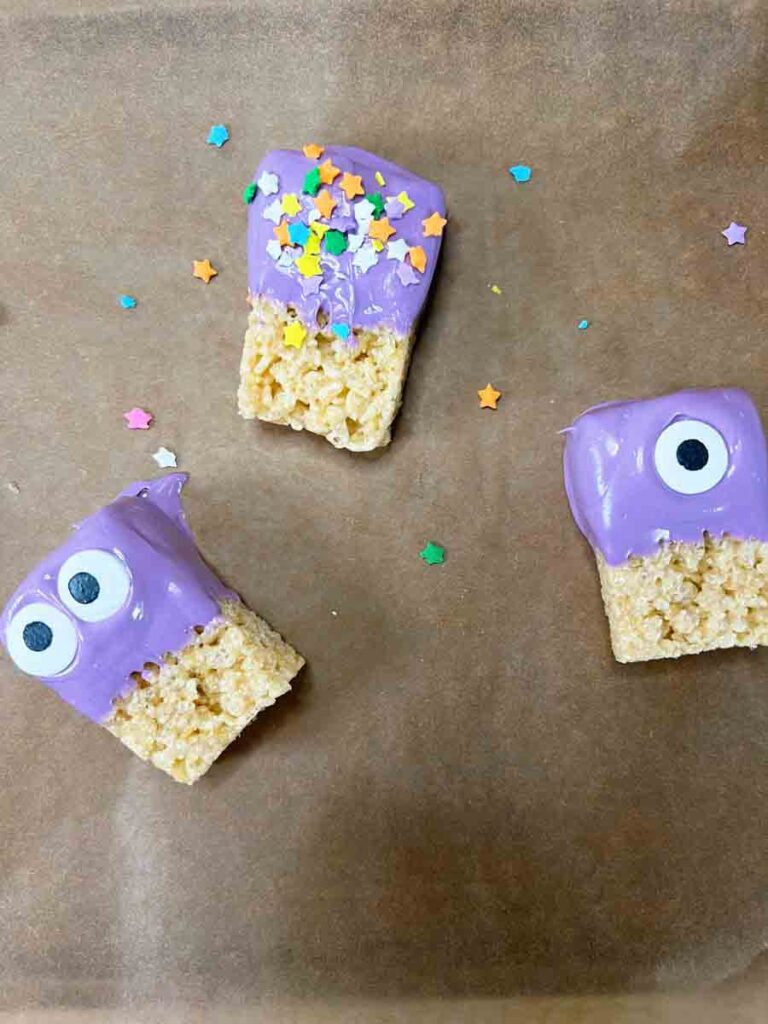
Once the candy melts have melted, it’s time to dip the Rice Krispie treats and give them a colorful candy coating. Dip the treats into the melted chocolate.
To cover them halfway in the coated candy, you can hold it with your fingers or tongs and slowly dip. If you prefer to entirely coat the rice krispie treat, insert a skewer or stick into the treat so you can easily coat it.
Either way, make sure to give it a gentle shake after coating so that any excess chocolate can drip off.
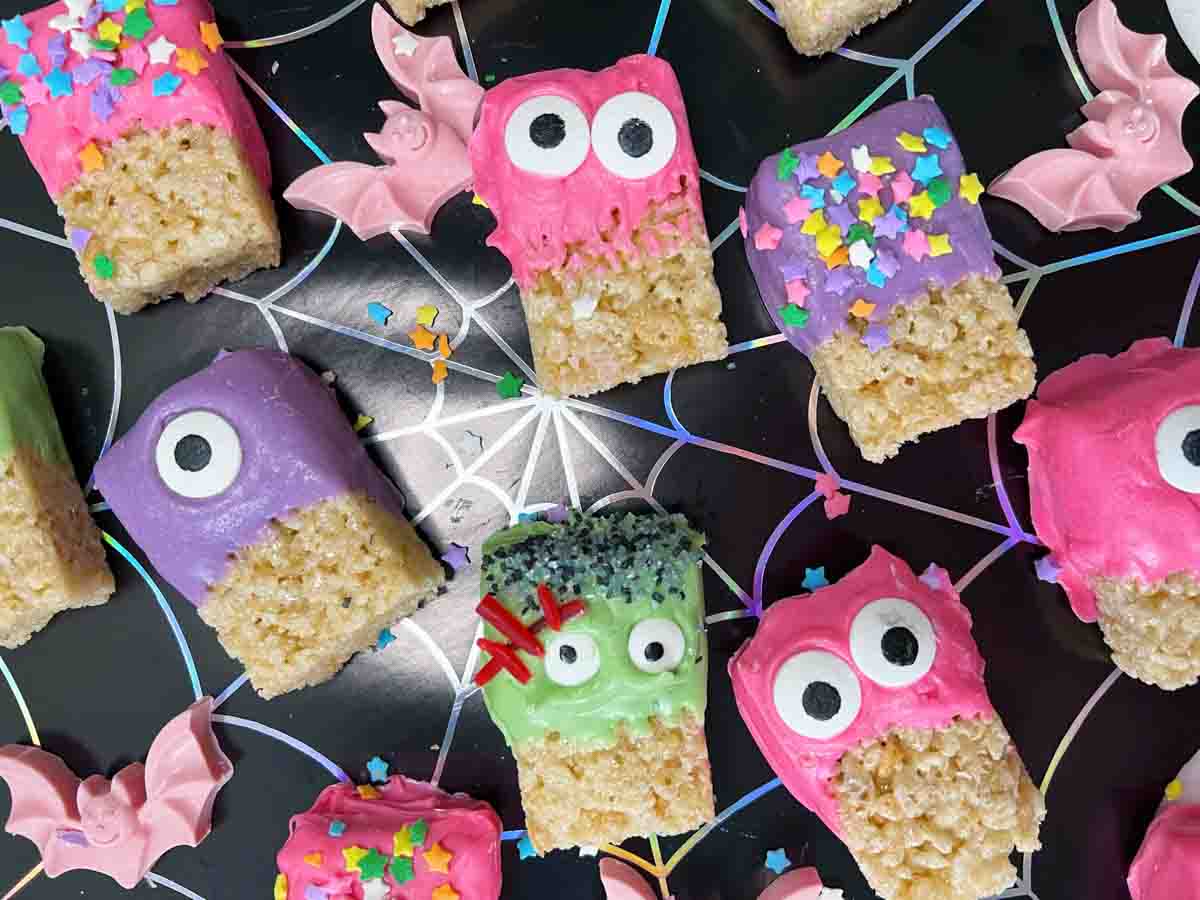
Step 4: Decorate!
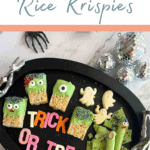
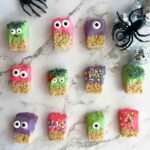
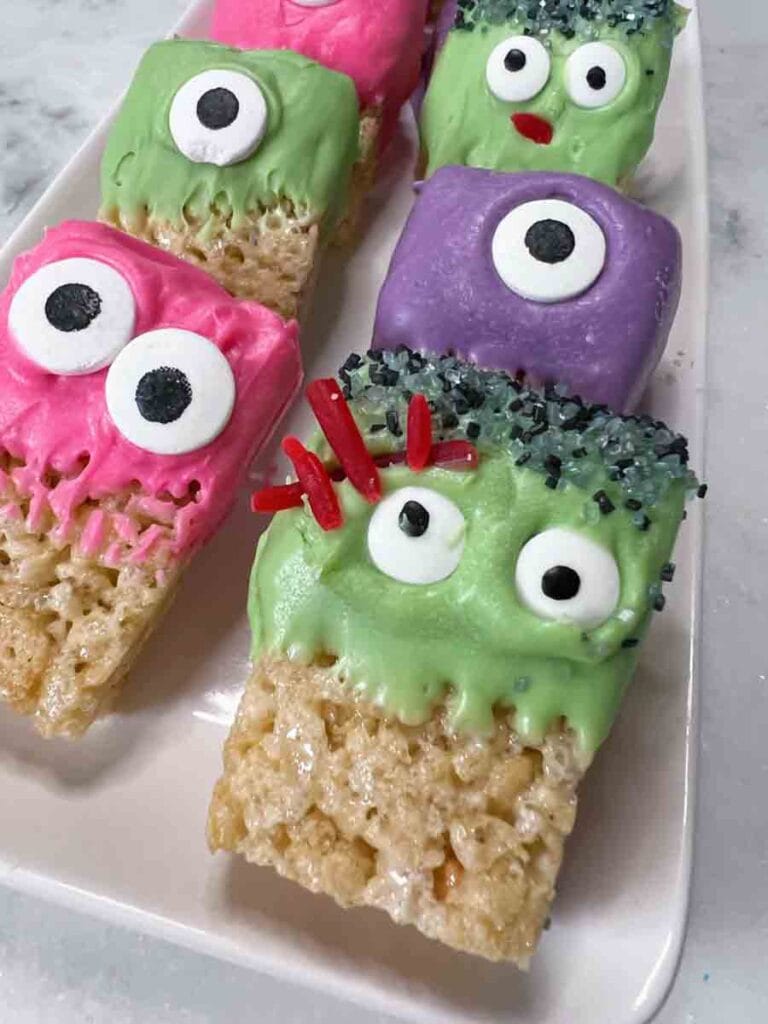
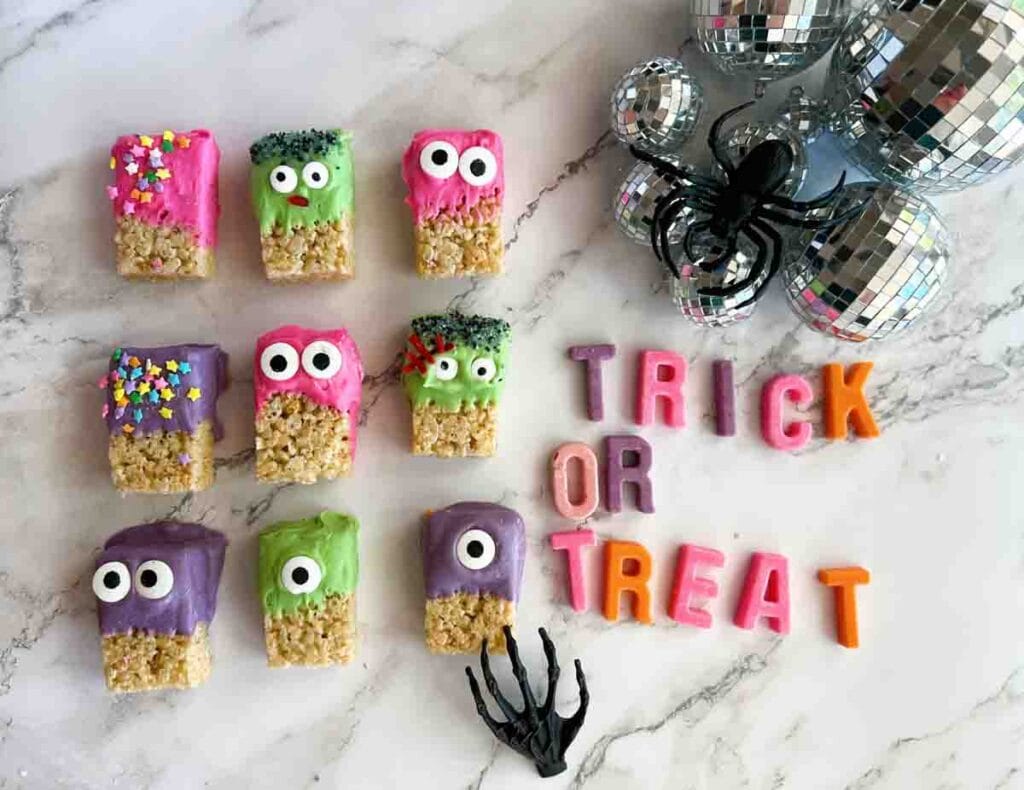
Once coated, use various Halloween-themed toppings such as sprinkles or candy eyes to decorate.
This is the most fun part – and the time when kids are always eager to help. Even young children can assist by shaking sprinkles over the top.
A few more decorating ideas that would be fun for Halloween include:
- Tombstone – Dip the rice krispie treat in black candy melts, then use a white food-safe pen to write out funny (or spooky!) things. You can also use a toothpick to etch in cracks for an aged look.
- Spider web – Use black candy melts to coat the rice krispie treats, then use a toothpick to create a spider web design with white candy melts. Add a plastic spider for an extra spooky touch.
- Mummy – Pipe melted white candy melts onto your krispie in thick ribbons to create “bandages,” then add two candy eyes to complete the look.
- Spellbook – Dip the rice krispie in black or brown candy melts, then use a food-safe pen to etch in the name of each book.
Step 5: Let the treats cool and harden
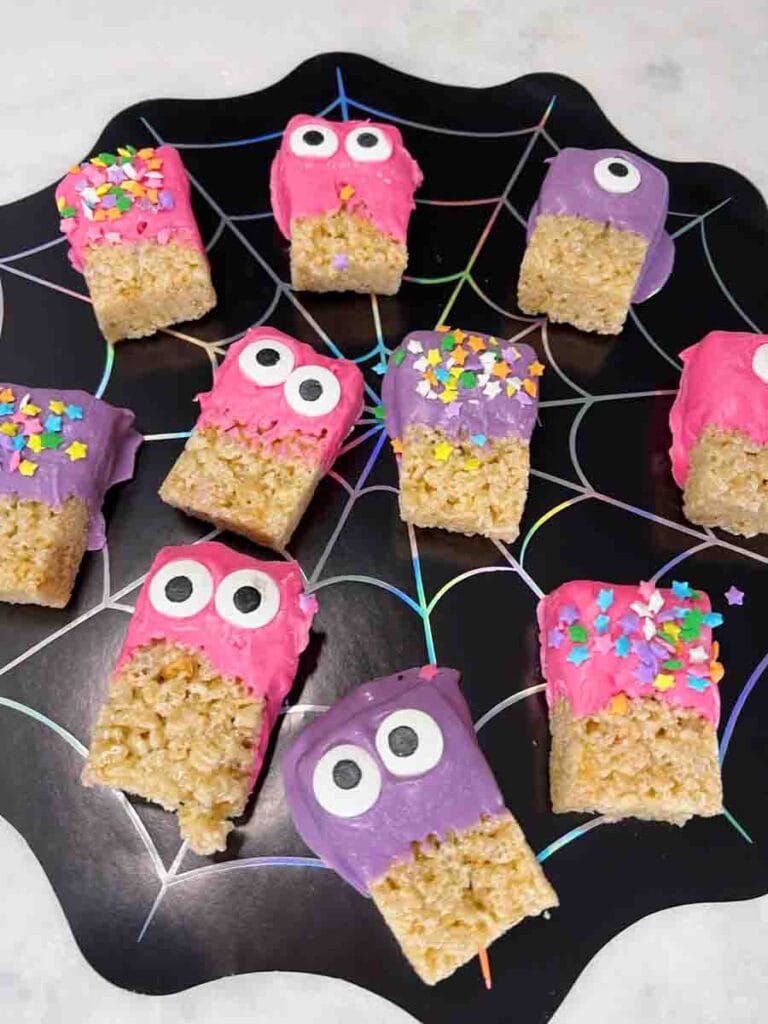
Allow the Krispie treats to cool and harden. You can set them on parchment paper or in a cake pop stand in the fridge or at room temperature (it just takes longer, especially if you live in Texas like I do and have a hot kitchen even in October!).
Step 6: Serve and enjoy the Halloween-themed treats
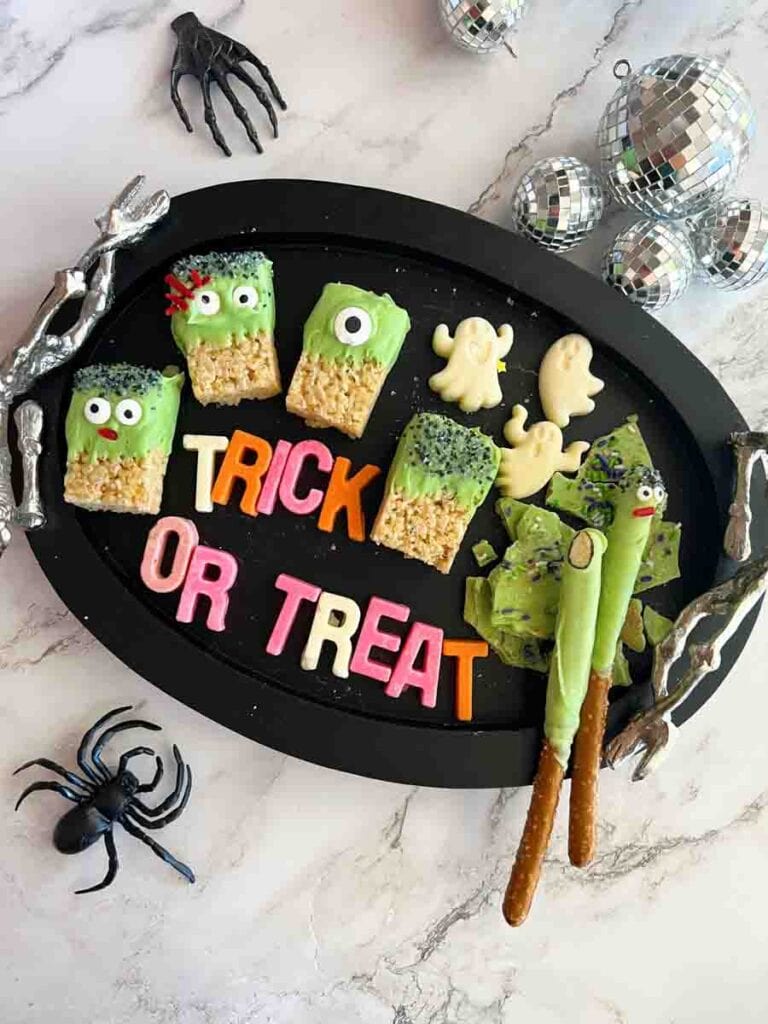
Once the Halloween Krispie treats are fully hardened, they are ready to be served and enjoyed as cute and spooky treats!
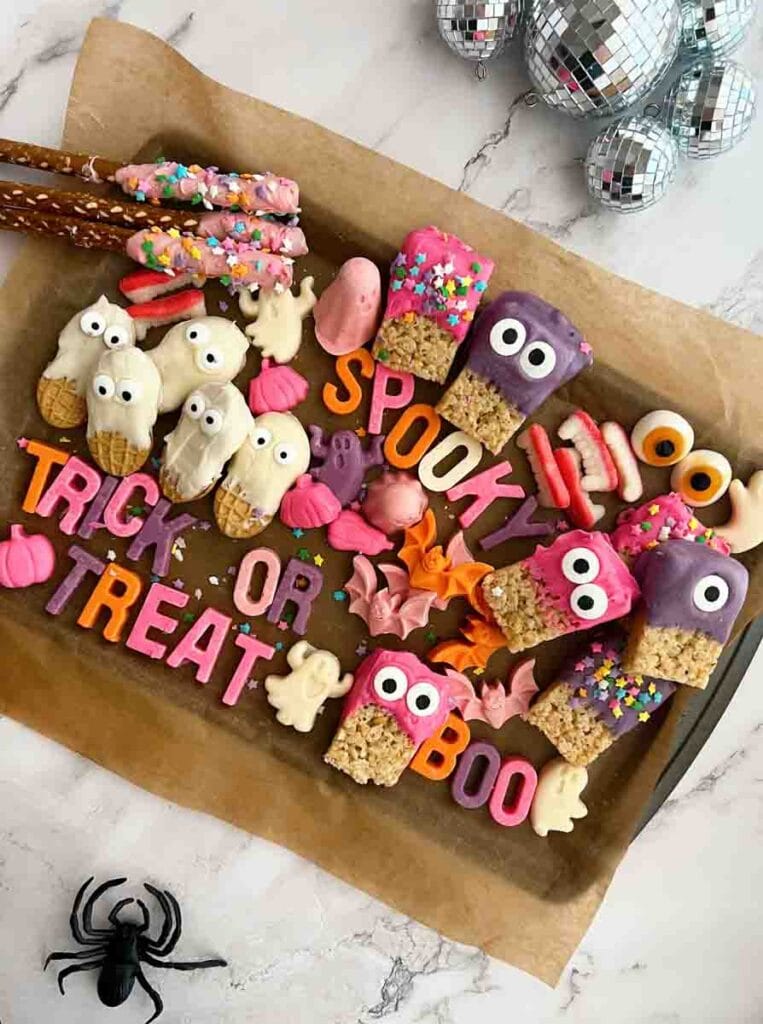
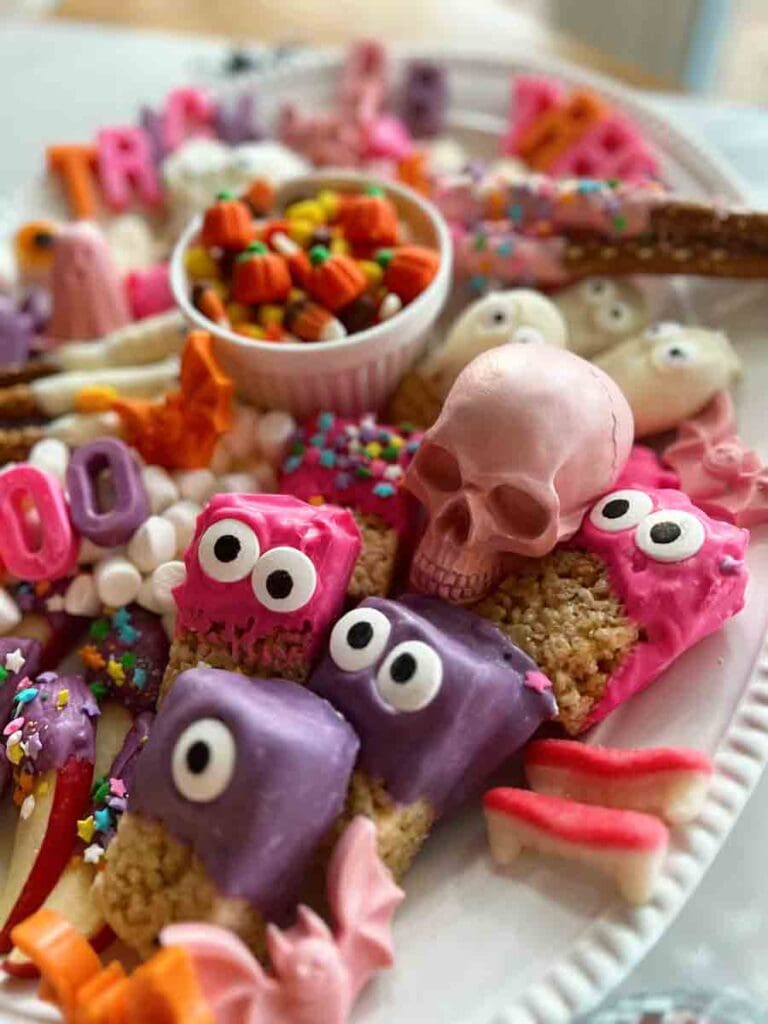
You can display them on a Halloween-themed charcuterie board, pack them for school or office parties, or enjoy them as a movie-night snack at home.
So many options!
Storage
If you have any leftover Halloween rice krispie treats, store them in an airtight container at room temperature for up to 3 days.
You can also freeze the treats for longer storage; just let them thaw before enjoying them.
Tips for success
- Use good quality candy melts for best results. Cheaper brands may have a less smooth texture and be harder to work with.
- If your candy melts start to harden before you are done, pop it back in the microwave at 50% power for 15 seconds. Give it a stir, and you should be ready to jump back in!
- Get creative with your decorating! While they are fun, don’t limit yourself to just sprinkles and candy eyes. You can also use crushed-up cookies, nuts, or even edible glitter for a sparkly touch.
- If you’re making these with kids, let them have their own bowls of melted candy melts to dip and decorate with. This will help prevent any fights over toppings!
FAQs
Absolutely! Making your own Rice Krispie treats is a great option if you have more time and want to add your own twist to the recipe. Just make sure they are fully cooled before dipping them in chocolate.
Yes, you can use any type of chocolate that can be melted, such as white or dark chocolate chips—it just won’t coat the krispie as thickly, so you may need to do several dips.
Make sure to follow the melting instructions carefully to avoid burning the chocolate.
The candy melts should be smooth, thick, and slightly runny. It’s similar to the texture of a thick frosting or peanut butter.
Final thoughts
There you have it! With these easy steps, you can transform ordinary rice krispie treats into spooky and cute Halloween-themed desserts that are sure to impress your family and friends.
Get creative with decorations and flavors and have a fun-filled time making these treats with your loved ones this Halloween season!
And, remember not to stress if they aren’t perfect. Chances are, your kid will think they are super cool and devour them anyway. 😉
More fun Halloween treats
- Candy Charcuterie Board – This is a simple and cute way to satisfy any sweet tooth. I used my rice krispie treats as part of my display and it turned out SO cute!
- Dipped Pretzel Rods – Whip up these adorable pretzel rods in minutes. They are the perfect sweet-salty combo.
- Ghost Lollipops – Here’s a sweet 60-second project anyone can do (kids included!).

Ingredients
- 10 rice krispie squares I used classic Kellogg’s Rice Krispie Treats
- 2 cups candy melts split between various colors if you'd like.I used purple, pink, and green melts.
- items for decorating use anything from candy eyes to sprinkles (like pretty pastel star sprinkles or creepy Halloween sprinkles), shaved chocolate, decorative sugar crystals, or bits of other candy.
Instructions
- Begin with 10 rice krispie squares. You can make them from scratch, or simply purchase them pre-made in stores (which is what I did).
- Select 2 cups candy melts in the color(s) you'd like to use, and melt them according to the manufacturers directions. I recommend heating them in a microwave-safe measuring cup. Be careful to not overheat them, or the candy melts will burn!
- Dip the rice krispie treat carefully about halfway into the measuring cup. Give it a gentle shake to remove the excess.
- Lay the dipped rice krispie on parchment paper, and repeat until they are all coated. If you are using multiple colors, move on to the next step before starting over with melting new colors again.
- Time to decorate! Grab your favorite items for decorating to give your Halloween rice krispie treats the finishing touch.
- Allow the rice krispies to rest on the parchment paper so the candy can harden and the sprinkles can set. Then enjoy!