Easy DIY Sharpie Mug [Last Minute Father’s Day Gift]
This post may contain affiliate links. As an Amazon Associate I earn from qualifying purchases.
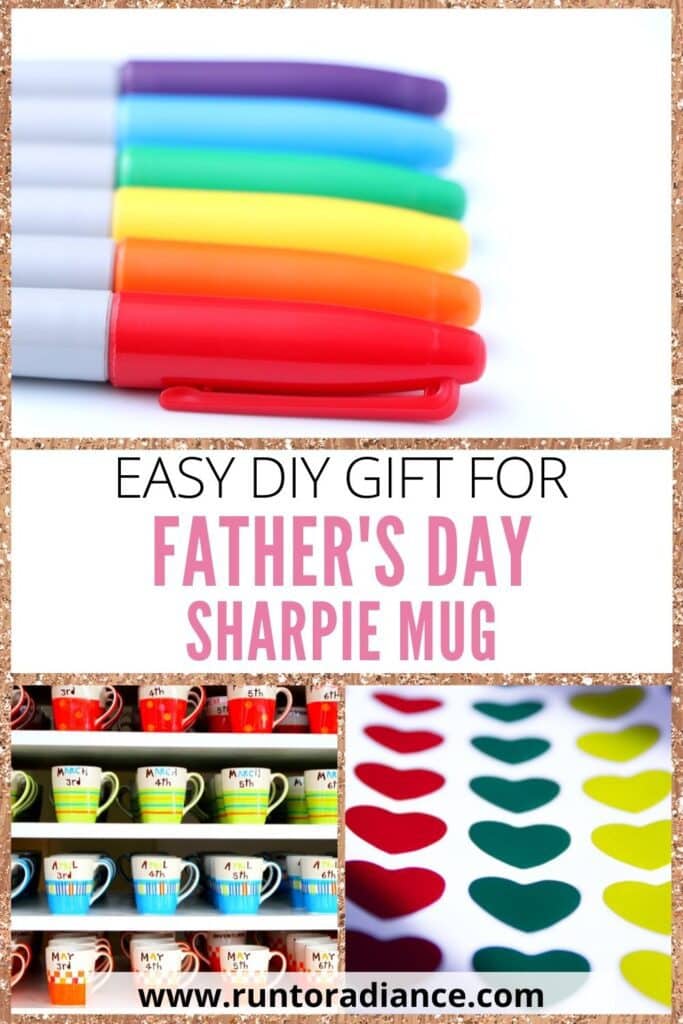
Nothing says ‘I love you’ like a handmade gift, and a DIY Sharpie mug is a perfect thing for your dad this Father’s Day – or any loved one on any day! It’s super easy to make, and you’ll end up with a classy, personalized gift that they’re sure to love.
Easy DIY Sharpie Mug
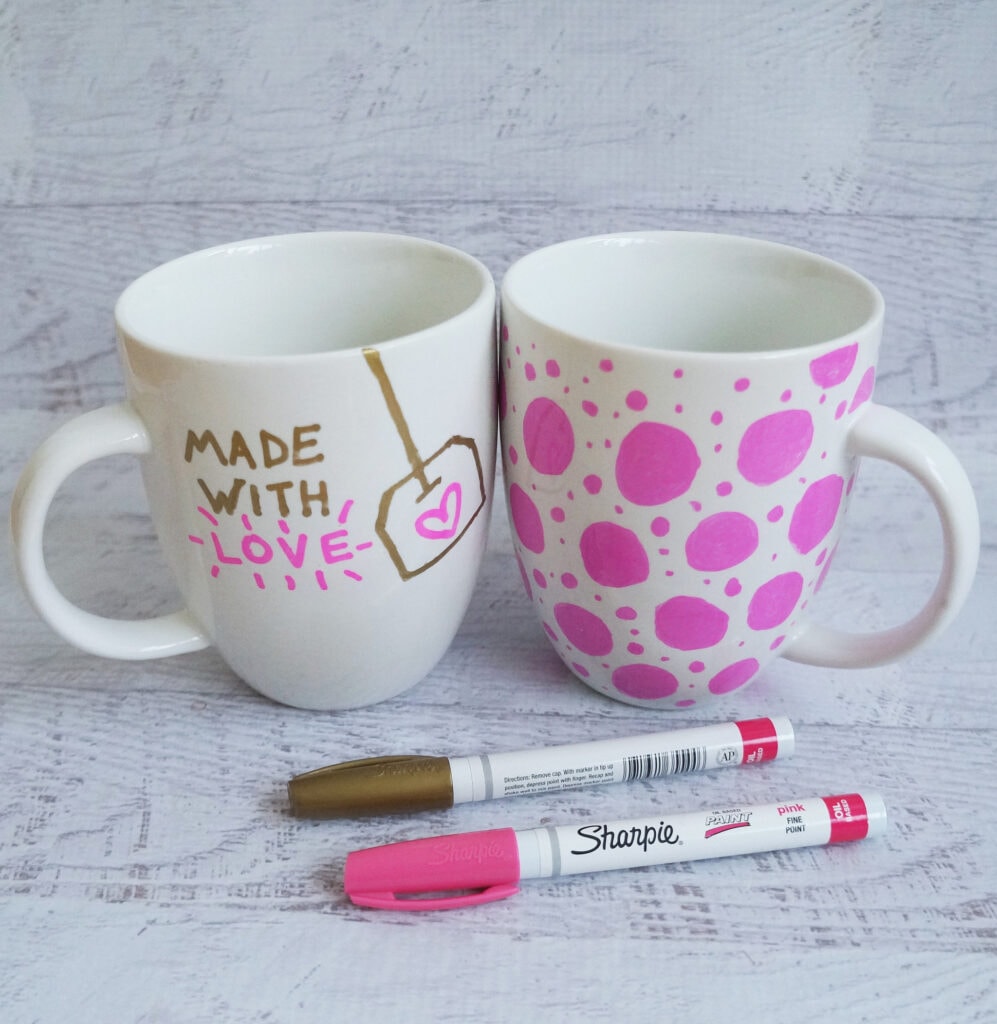
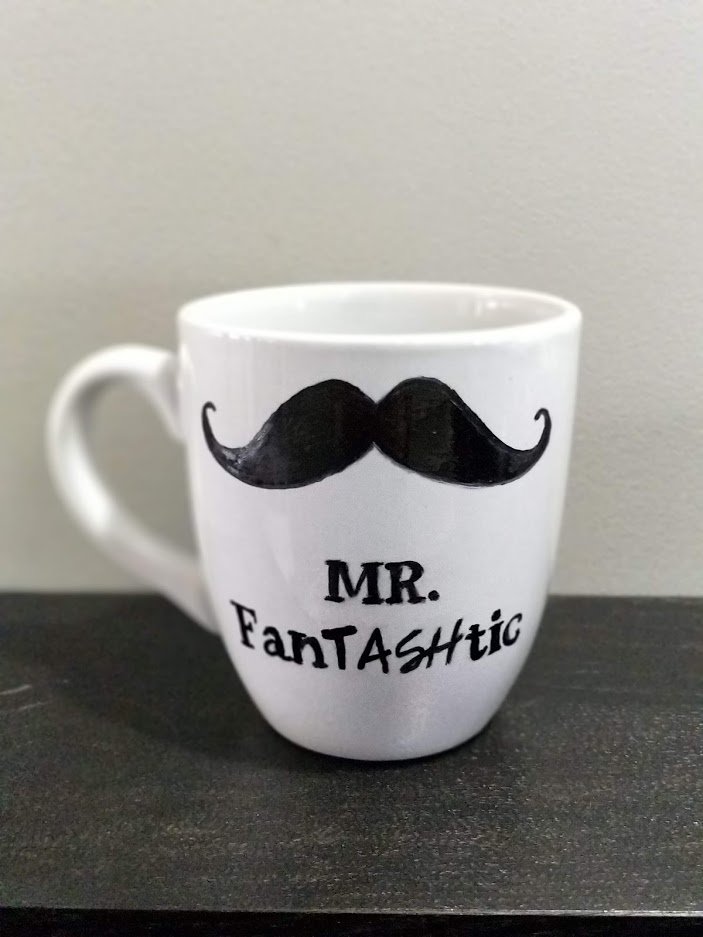
My favorite thing about these mugs is that they can be totally customized—whatever message, color, and style you think dad would like can be done. This is also an easy and cheap Father’s Day gift that anyone from toddlers to grown-ups can make.
Take a few minutes beforehand and think about what design would suit your mug. Maybe you have an inside joke with someone and you’d like to remember it forever on a mug? Maybe your dad is a sports fan and you could create him his very own unique merchandise! Whatever it is, your plain mug is a perfect blank canvas for you to get creative with.
You also don’t need to have major art skills to do this DIY. It’s all about choosing the right stickers, so you’re not really limited to what you can draw.
How To Make A DIY Sharpie Mug
Making this DIY sharpie mug couldn’t be easier! Gather your supplies and get to work. Dad will love this homemade Father’s Day gift idea, but the fun thing about this project is you can customize it for any holiday or need.
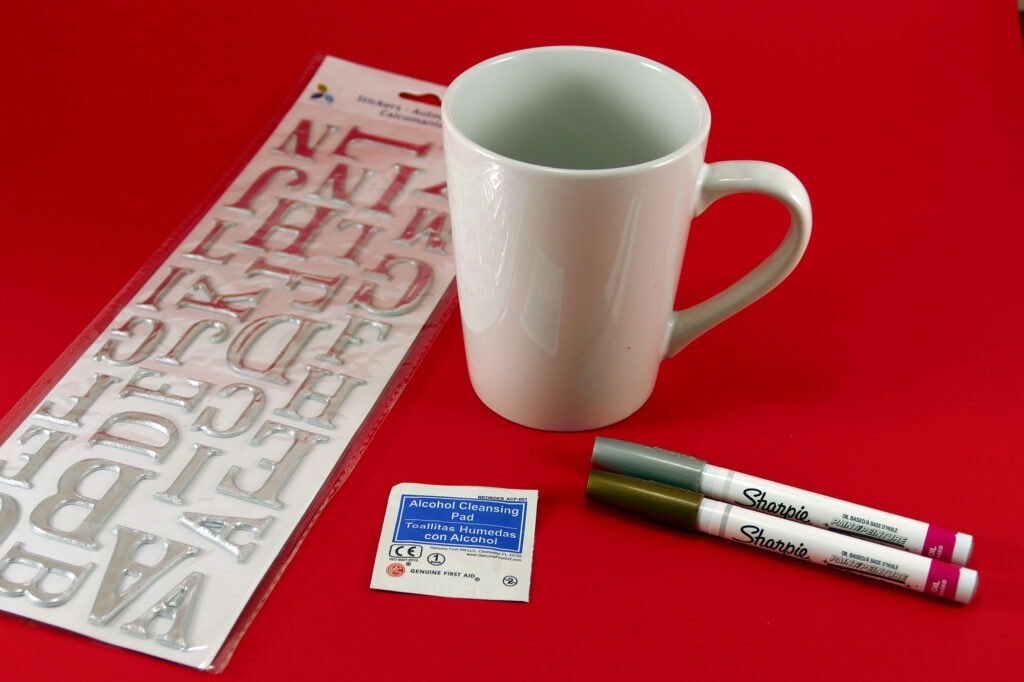
Supplies Needed For A DIY Sharpie Mug
To make DIY painted mugs, there are a few different things you need. These can easily be found in a local craft store or even in the dollar store. To make it simple, I’ve linked the supplies below with affiliate links from Amazon so you have the option to purchase there as well.
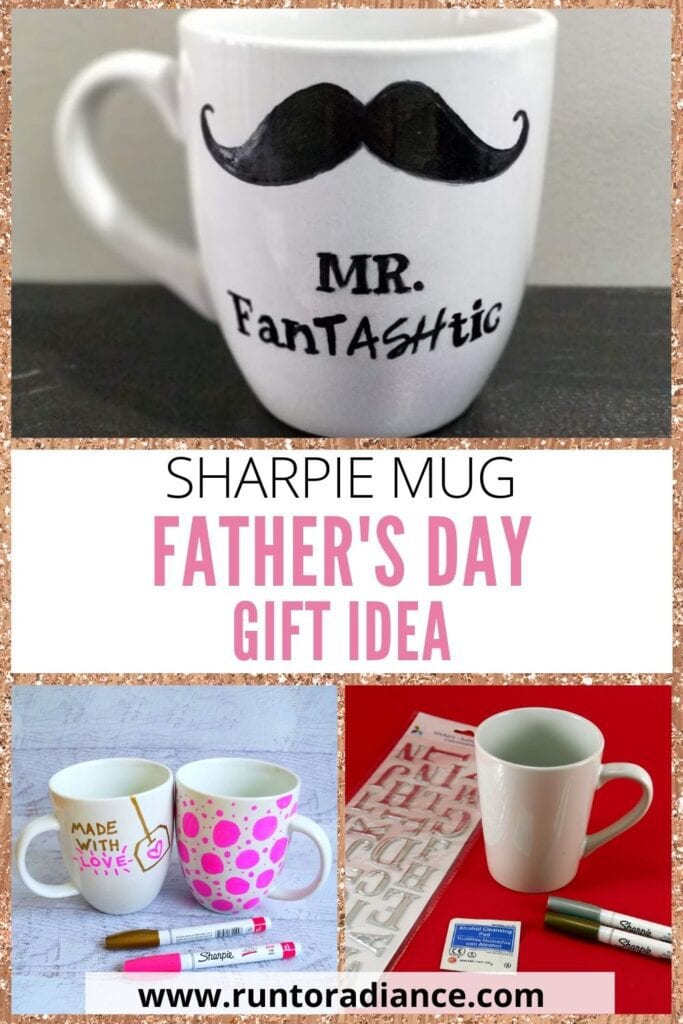
Add your stickers to your coffee mug. For Father’s Day, pick ones saying things like ‘#1 DAD’ or ‘Dad Rocks!’ similar to the ones I’ve linked above. Of course, for other occasions, pick ones customized to the event or person. Make sure that you smooth out the stickers carefully, so there are no wrinkles or air bubbles trapped underneath that could disrupt the pattern.
Color your mug however you would like. Some people prefer to draw geometric patterns, others like a plain white color to draw attention to the stickers. You can do whatever you prefer, but just make sure that you color over the stickers.
Once your mug is decorated, place it in the oven at 350 degrees for 40 mins. Once the time has run out, turn off the oven but keep mugs in the oven until it is completely cooled.
Peel off your stickers and you now have a personalized mug for Father’s Day! Wrap it in a cute gift box or wrap it in tissue paper to complete the gift and make sure it doesn’t get broken before they get to see it.
FAQ
How do I wash the mug?
Remember that the mugs will be hand wash only. They can’t go in a dishwasher, or else the color will start to fade or peel off – and a plain white mug is nowhere near as fun!
Do I have to use stickers?
You can of course simply draw on with Sharpie – the stickers are there as a guideline, and so you can have picture-perfect designs on your mug. But if you’re artistically inclined, then you might want to have a go at drawing your own unique pattern!
Check Out Other DIY Posts
Still feeling crafty? Don’t stop now! Here are some other fun craft ideas for you – maybe they would make good gifts to go alongside your DIY Sharpie mug?
- Pretty DIY Fall Wreath Ideas – 3 Ways To Make Your Own
- How To Make Fun And Sparkly Unicorn Slime
- Mother’s Day Gift For Grandmas: DIY Framed Footprints
- Easy DIY Essential Oil Candles
- What To Do With Leftover Wallpaper: Framed Wallpaper DIY Nursery Project