How to Make Your Own DIY Fall Metal Sign From The Dollar Tree
Experienced crafters probably know: Dollar Tree is a DIY paradise. There are so many amazing materials you can pick up on the cheap for your next DIY fall decor project. This Dollar Tree DIY Fall Metal Sign is so easy to make! You’ll have so much fun shopping for supplies and making this craft all your own.
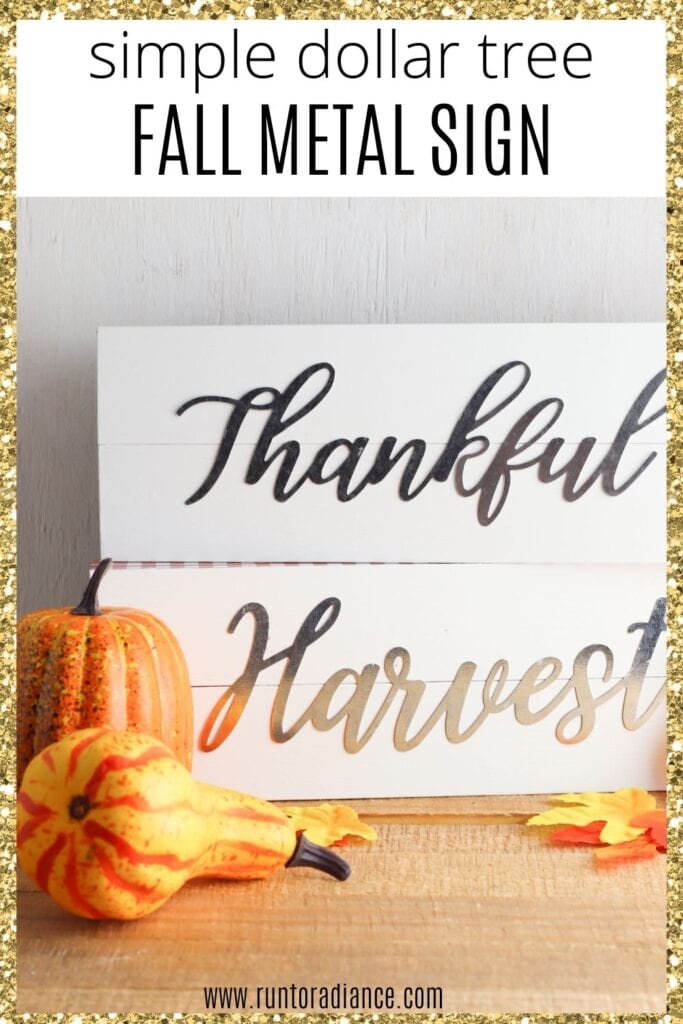
Dollar Tree DIY Metal Word Sign
Fall really is just around the corner, y’all. Hopefully you live in a place in the world where you can feel a chill in the air creeping in.
Here in Texas, it can still hover around 100 degrees in September. The good news is, October really isn’t too far away. That’s celebration enough to get knee-deep into all the DIY fall decor!
What better way to trick your brain into feeling cooler than to start planning your fall gatherings? These Metal Harvest Inspirational Wall Words from the Dollar Tree can be transformed into your own creation.

These fall metal word signs are the perfect DIY fall decor for your Thanksgiving soiree. You can place them in your entryway to warmly welcome your guests, dress up the dinner table or make your mantle cheerful and festive.
Rather than simply slap these inspirational wall words on your wall as-is, you can create an elegant statement piece that’s all your own.
Read on to learn how to make a customized DIY fall metal sign with supplies all from the Dollar Tree!
How to Make Your Own Metal Word Sign
Tip: Wear gloves while gluing to prevent getting super glue on your skin.
DIY Fall Metal Sign: Supplies
Makes 2 signs
- 4 small block signs
- Package of metal inspirational wall words
- White paint
- Superglue
- Multi-purpose clips (for holding together the two signs as they dry)
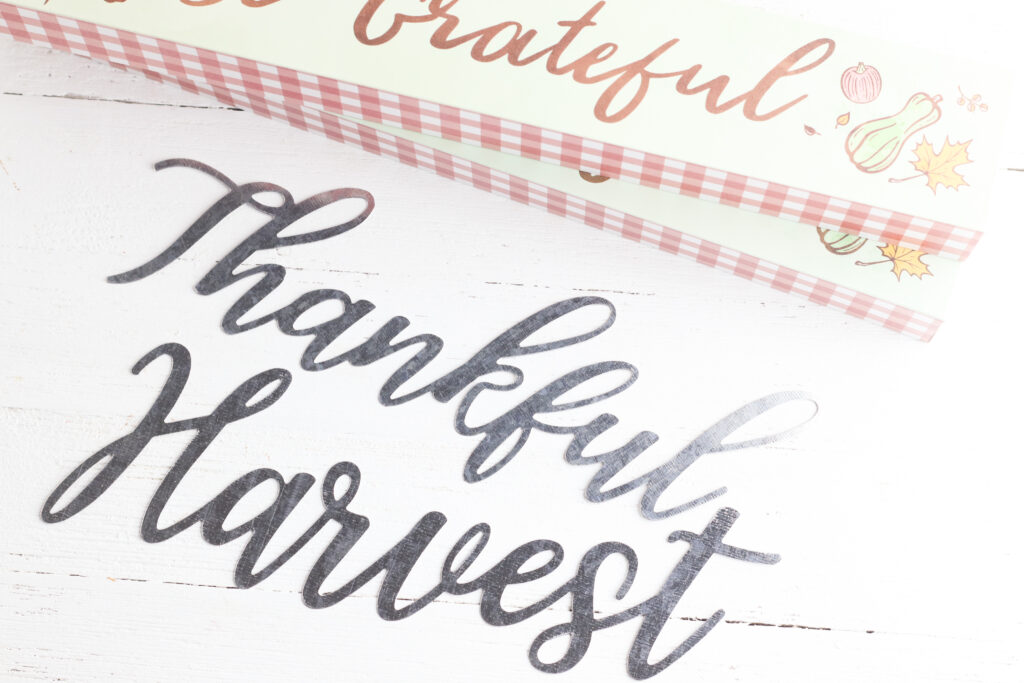
DIY Fall Metal Sign: Instructions
- Paint the front of each of the small block signs white to cover the words on the front. Depending on the opacity of the paint, you may need two coats to fully cover the original printed words. Wait for the first coat of paint to dry, then determine if you’ll need a second coat.
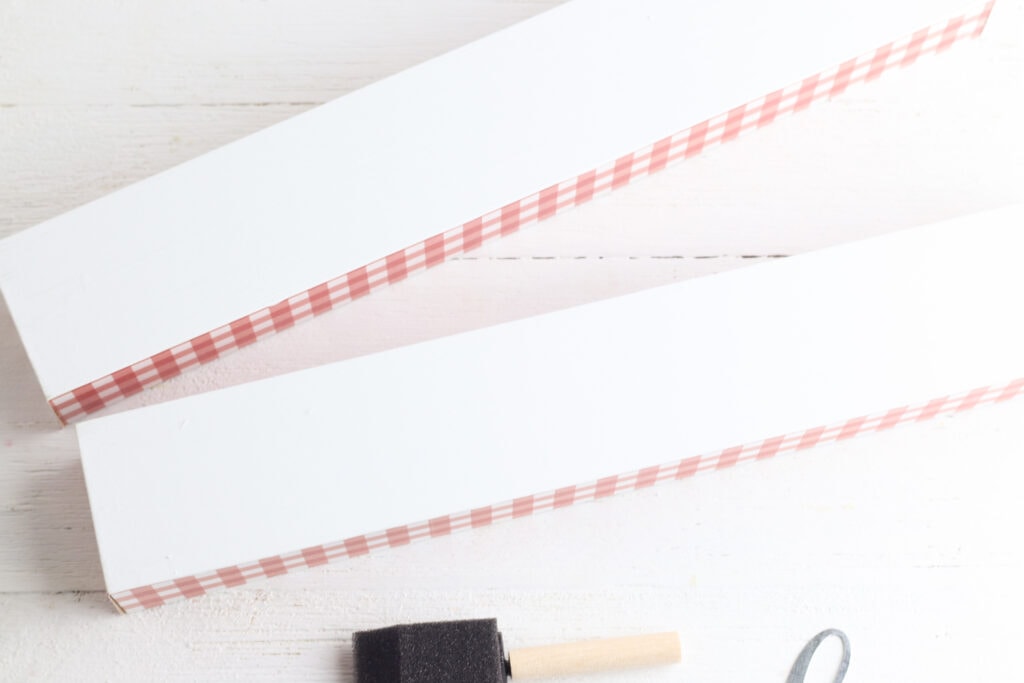
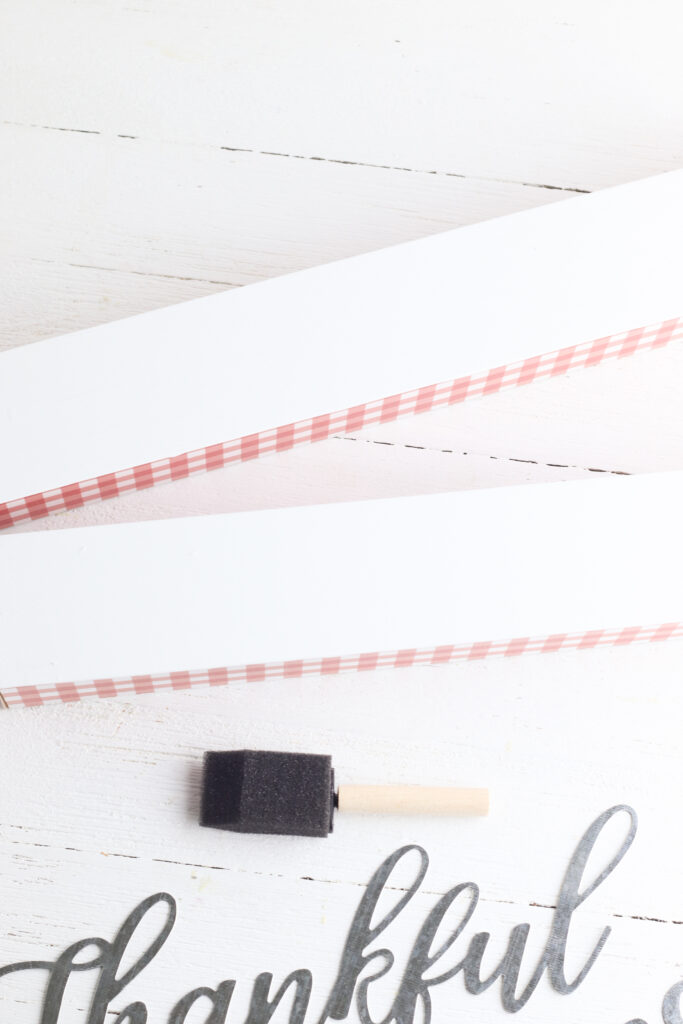
2. When the paint is dry, place a few drops of glue on the top of one of the signs. Place a second sign on top of the glue. Use clips to hold the two signs together until the glue dries. Repeat the process with the second set of signs.
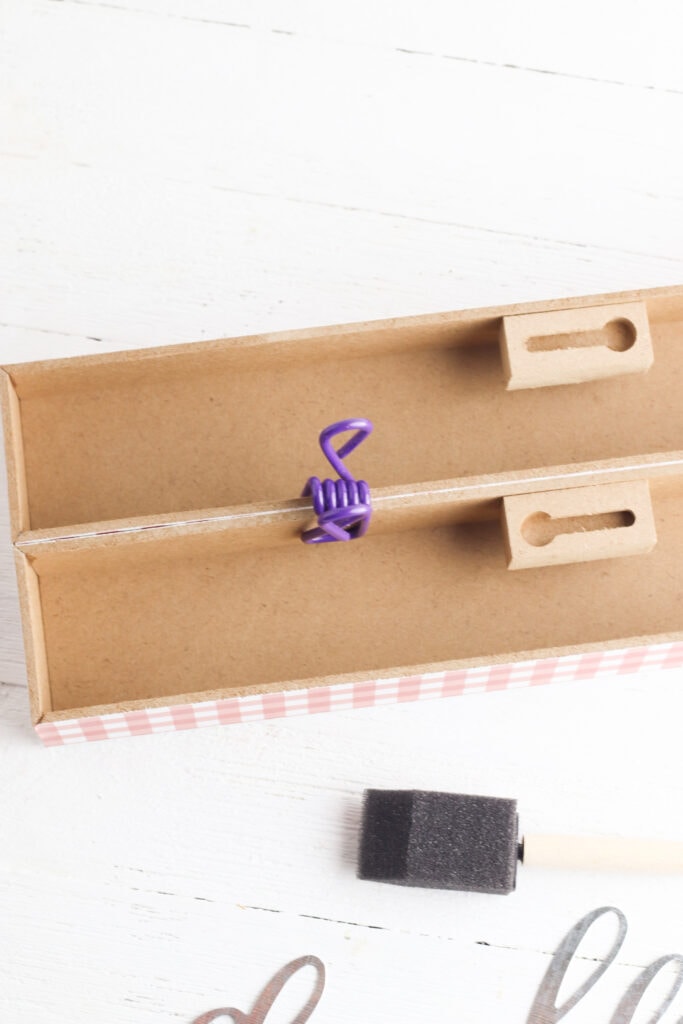
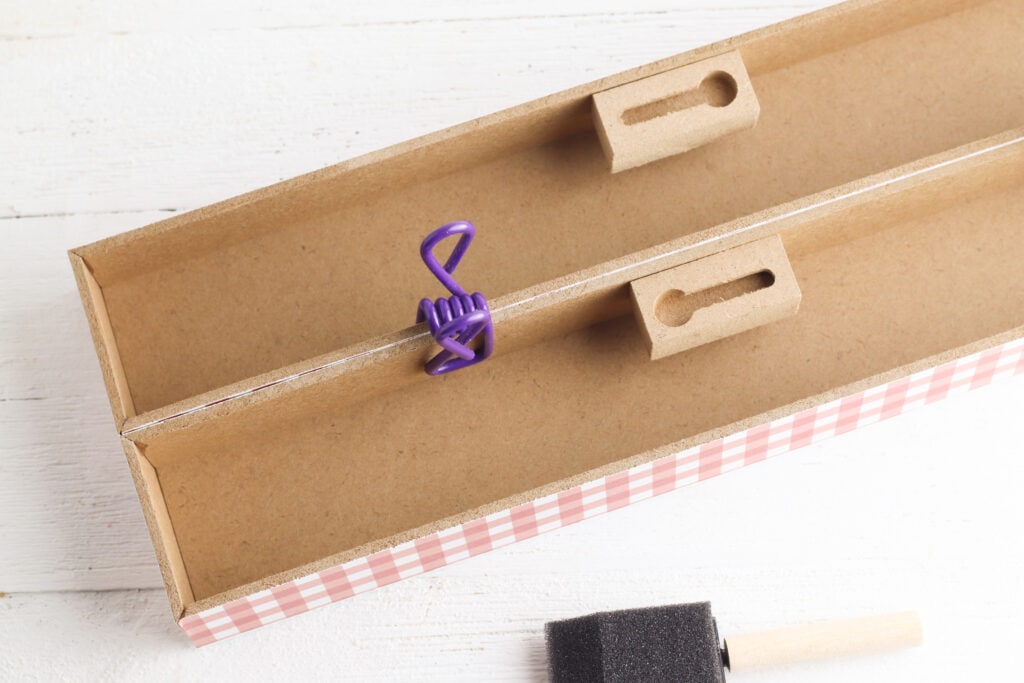
3. When the glue has dried and the signs are stuck together, place a few drops of glue on the back of the metal word. Carefully place the word on the white side of the sign and hold in place until the glue dries.
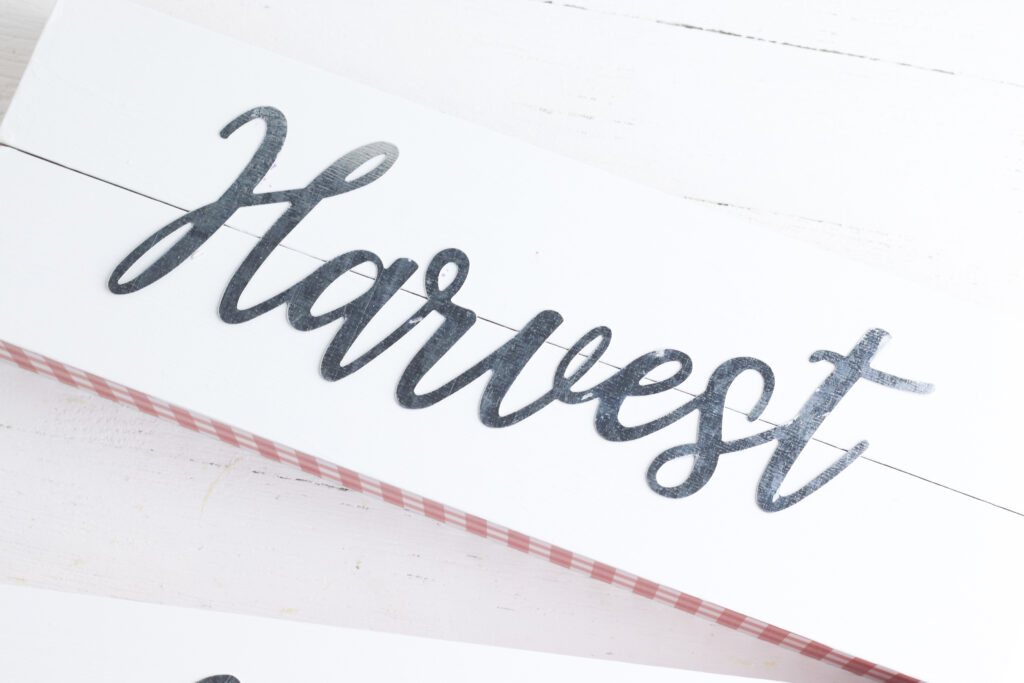
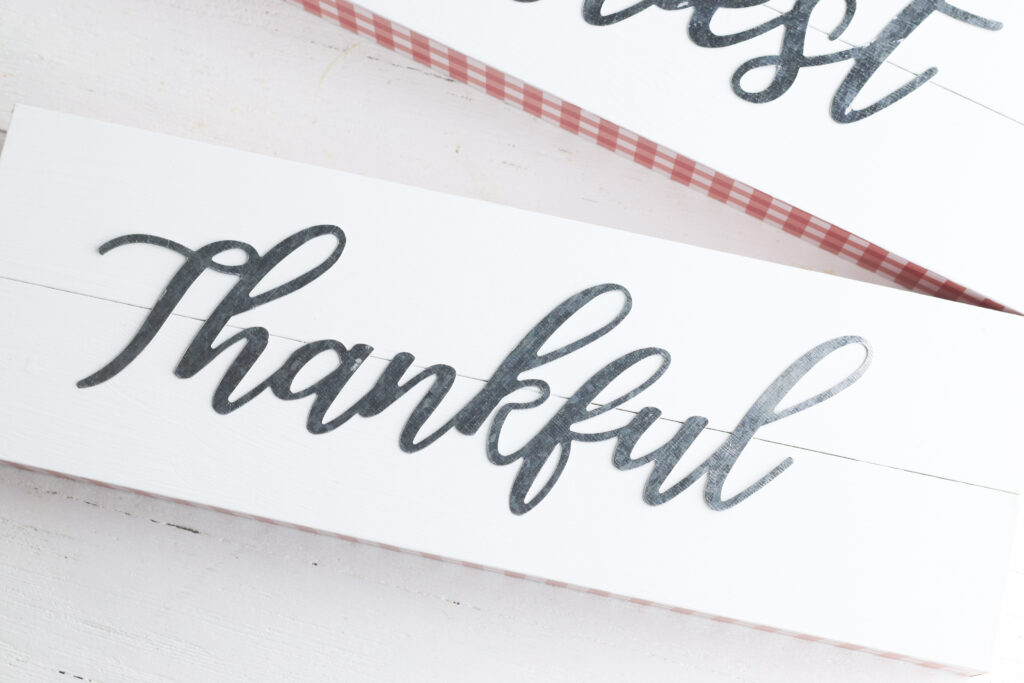
Tip: If you position the sign so that the metal word faces upward, you can carefully place a heavy book on top to hold in place while the glue dries.
Repeat step #3 on the second sign with a different metal word.
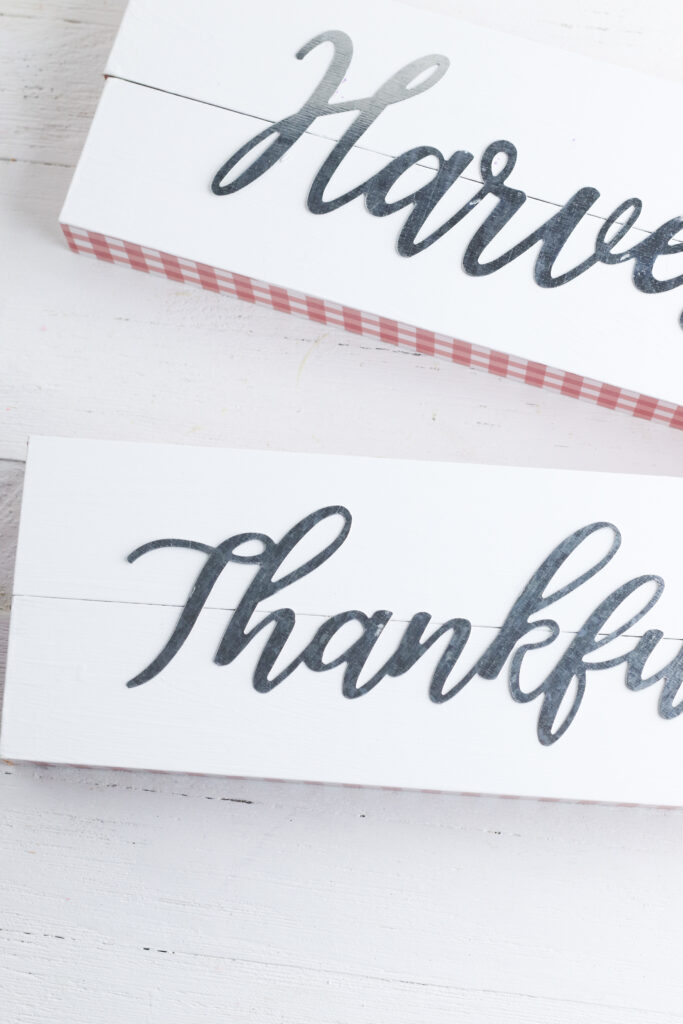
I love the way these look, because they are simple and classic. If you like, they can be dressed up by styling with an endless number of fall materials.
Try some faux or dried foliage, flowers or stems, battery-powered twinkle lights, or, of course, little pumpkins!
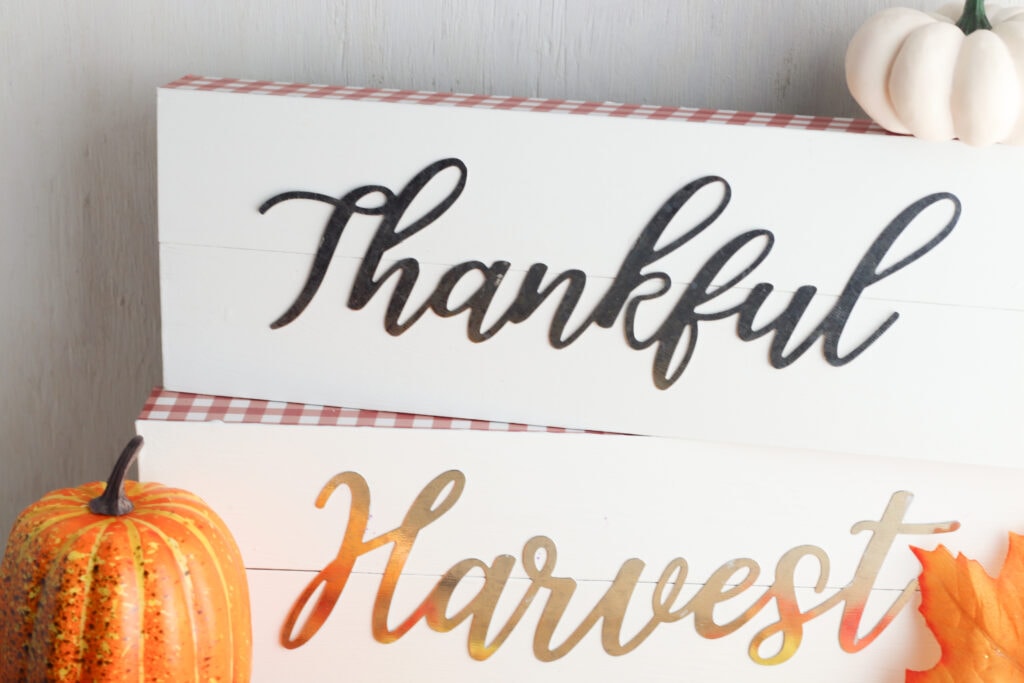
Creatively Customize Your DIY Fall Metal Sign
You can further customize these signs by letting your creativity run wild!
Customize with Paint Colors
If you’re not into the white background, you can experiment with different colors.
For a rustic look, you could paint a darker base color like brown or evergreen, then layer white or light-colored chalk paint on top.
Be sure to paint the top layer with a light touch, leaving some spots and edges of the dark color to peek out.
Customize with Fall Fabric
Instead of painting the block signs, you could glue some fabric such as burlap or an autumn-colored dinner napkin to the front. Just be sure to use sharp fabric scissors and be very precise when cutting, to ensure it doesn’t look sloppy.
Burlap would work great because you can get away with a charming, natural fray around the edges.
Customize with Delicate Fall Touches
You could also glue little fabric leaves or faux berries to the front, to give it some extra fall flair. Or, find some raffia, twine, or burlap ribbon to wrap around the sign, finishing off with a bow.
You can use some super glue to hold it perfectly in place!

How to Decorate with Your DIY Fall Metal Sign
Once you’re finished making your Dollar Tree metal word sign, you’ll need to find the perfect place for it.
Here are a few ideas on how to decorate your home with your sign. This is just to inspire you and get your own creativity flowing. The possibilities are endless – use your imagination and chic decor sense!
- Use the holes in the back to hang on a nail or hook in the wall.
- Position on an entryway console table.
- Place two signs back to back and display as a table centerpiece.
- Dress up a Thanksgiving dinner buffet table.
- Place it on the mantle and surround it with a faux fall leaf garland.
- Stack on top of a milk crate on your doorstep and style with pumpkins and other fall accessories.
- Style on open shelving in your kitchen, living room, or guest bathroom.
- Pair with a scented fall candle to get into the top autumnal spirit.
- Secure on top of a rustic headboard in your bedroom.
- Jazz them up with battery-powered twinkle lights.
- Create festive interest in your home office – and share the holiday spirit by placing in the background for Zoom meetings.
- Give to your friends as a “Hello Fall” gift!
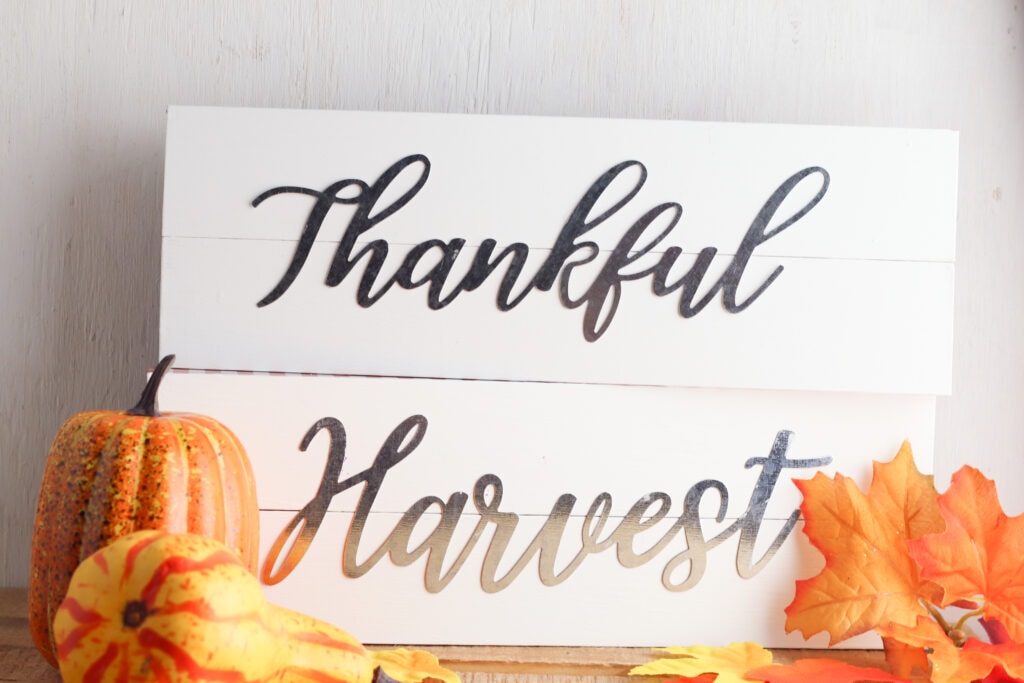
These Dollar Tree DIY fall metal signs are so simple to make and help your home look elegant for fall! There are so many ways to get creative with this craft and really make it your own.
What do you think? How would you style this metal word sign in your home?
More DIY Fall Decor
Here are some additional fall craft and decorating ideas to get your home ready for the season!
- HOW TO MAKE SPOOKY GHOST LOLLIPOPS FOR HALLOWEEN
- PRETTY DIY FALL WREATH IDEAS – 3 WAYS TO MAKE YOUR OWN
- IDEAS FOR CHEAP FALL DECORATIONS
- DIY GLITTER PUMPKINS {CUTE HALLOWEEN DECOR}
Tania Griffis is an accomplished writer, blogger, and interior designer with a Journalism degree from the University of Oklahoma. She started her popular blog, Run to Radiance, in 2011, demonstrating her design expertise through the personal remodeling of six houses to millions of readers across the globe.
Tania also owns The Creative Wheelhouse, a respected ghostwriting agency for bloggers, further showcasing her talent for creating engaging and informative content.


Thanks for this great project idea! I can think of a lot of great things to make with block signs — This will be very handy for Halloween!
Great post! Thank you for sharing your post with us.
I have thought so many times of entering the blogging world as I love reading them. I think I finally have the courage to give it a try. Thank you so much for all of the ideas!