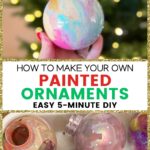
Easy, Gorgeous DIY Painted Ornaments (Perfect to Make with Kids!)
This post may contain affiliate links. As an Amazon Associate I earn from qualifying purchases.
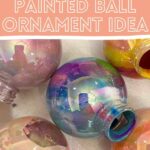
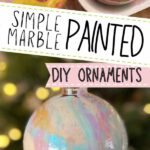


Looking to add a touch of personal creativity and charm to your tree, minus the stress? Well, I have the perfect DIY for you! These painted ornaments are SO easy and SO cute—you’ll be proud to have these hung on your tree year after year.

I made 24 of these using all kinds of different methods to test out which was easiest and made the prettiest ornaments possible. This method is the winner, hands down!
Here’s why you’ll love these DIY painted ornaments 🎄
Watch the video
I’ll have all the supplies and instructions you need below, but this is one of those projects that it’s easier to show than talk about. Take a look at this 60-second video and see just how simple these handpainted ornaments are to make!
Supplies
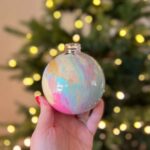
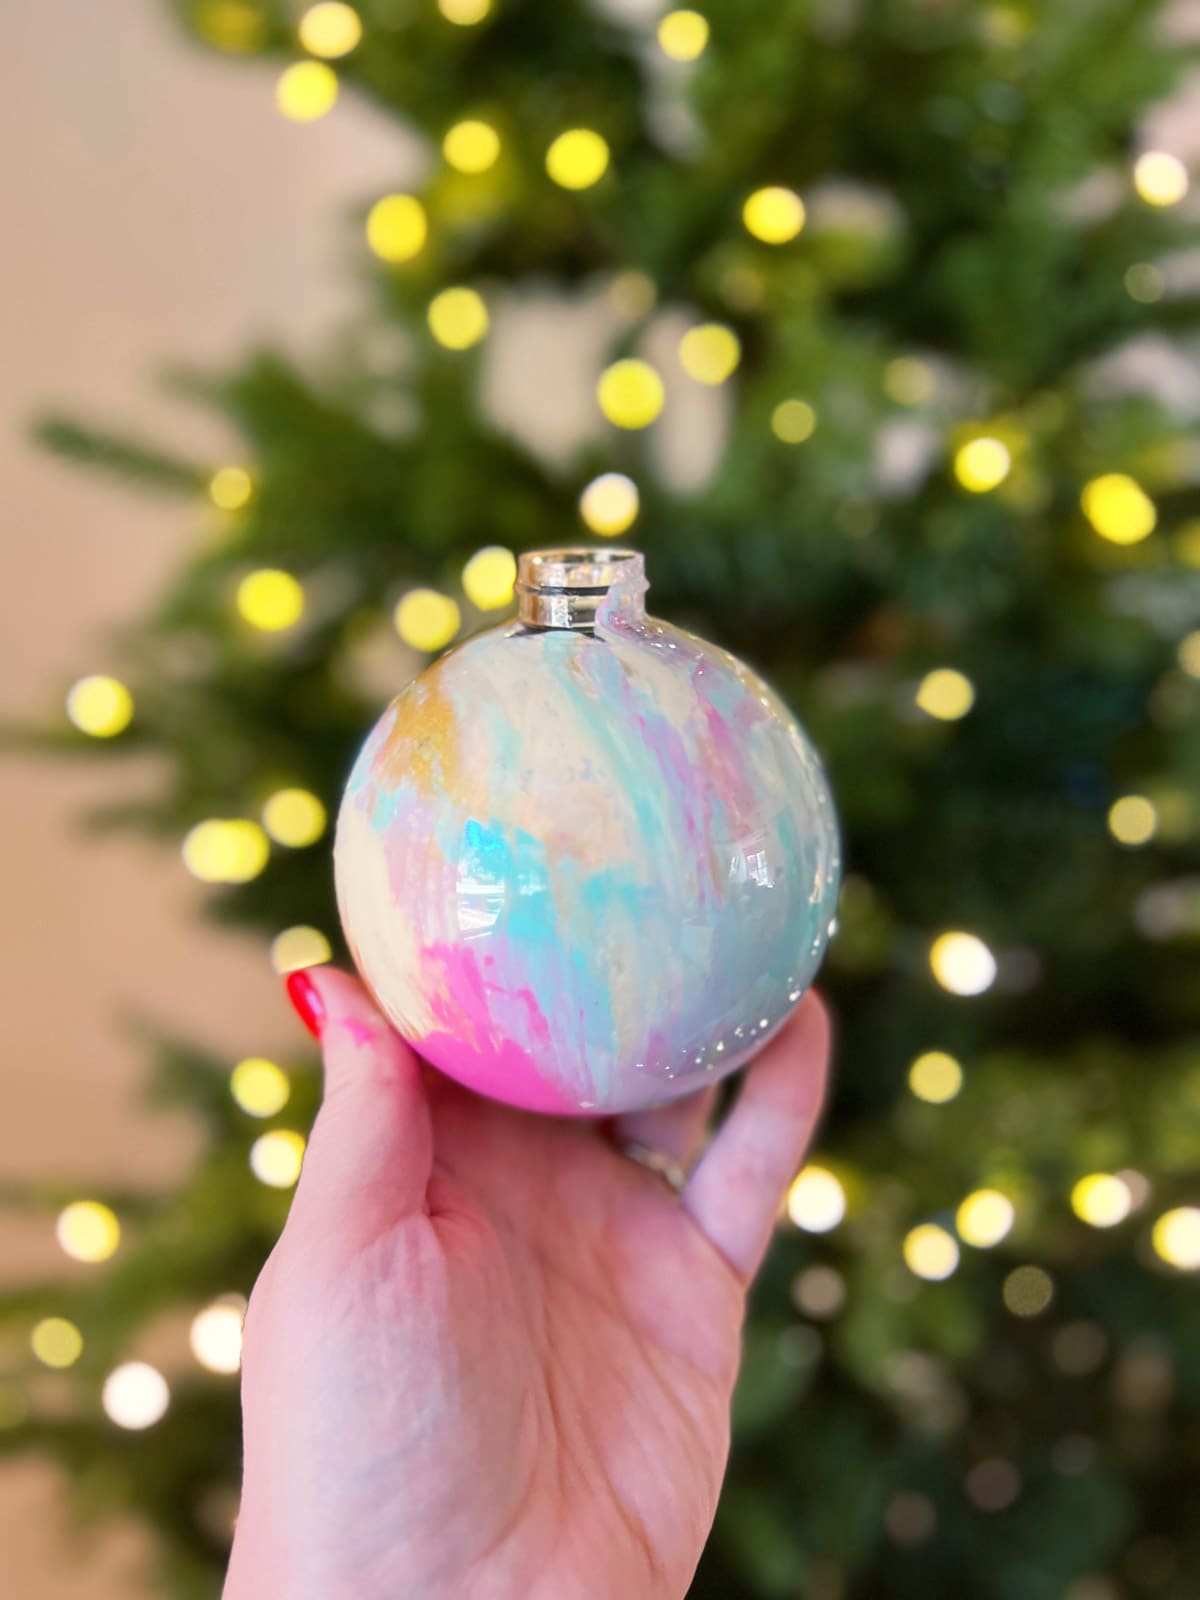
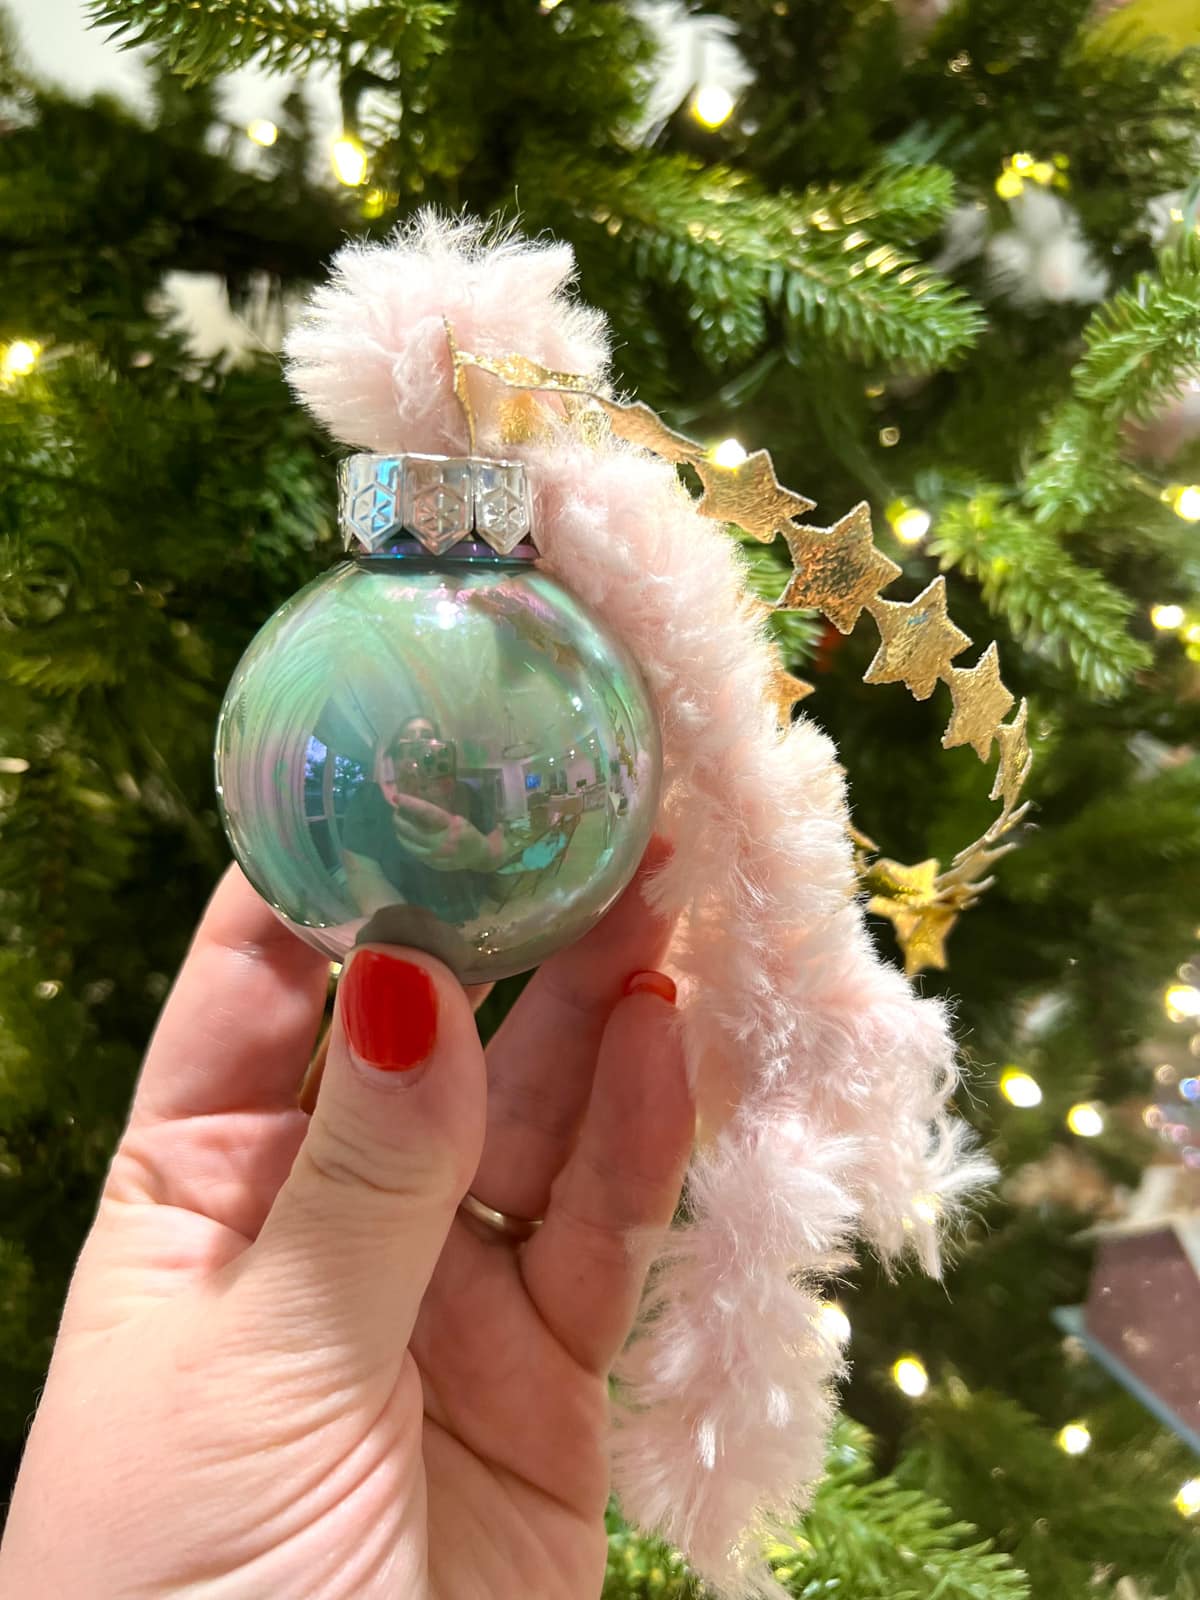
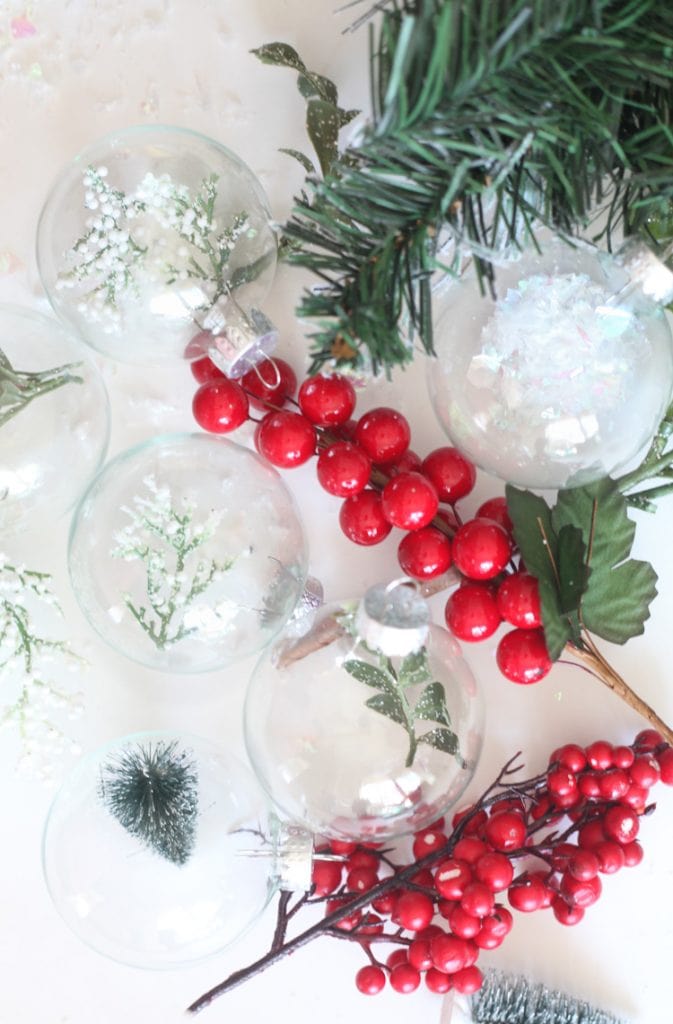
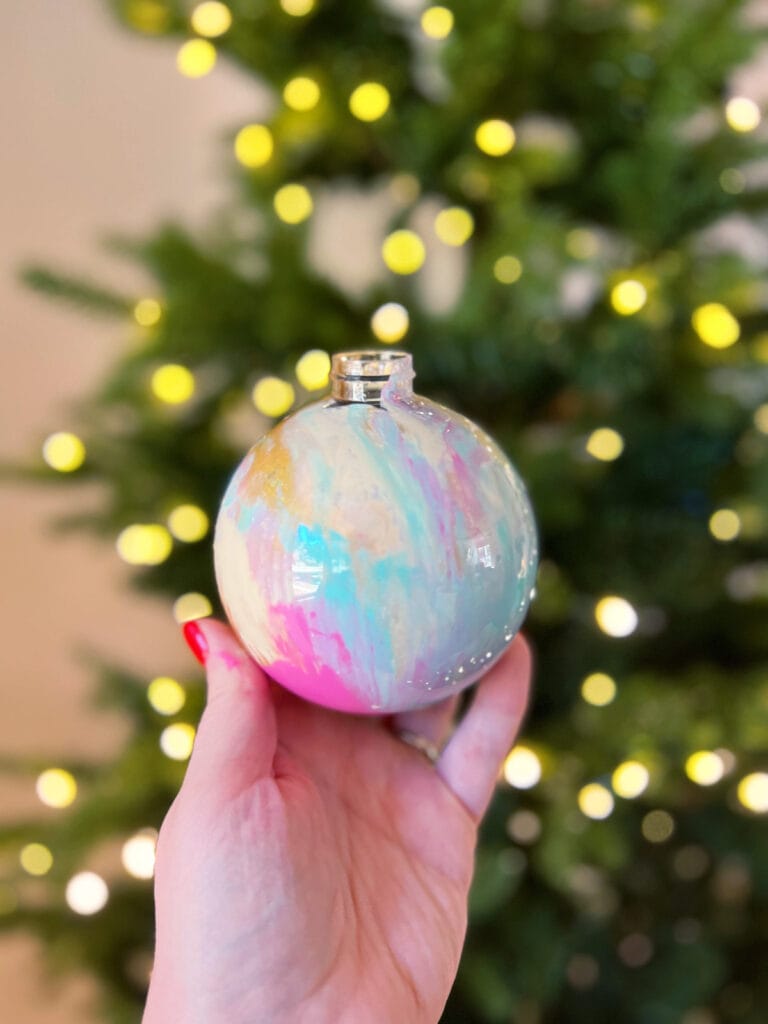
- Clear round ornaments – you can use whatever size and finish you like. I made these with 2 different kinds of plastic ornaments: these larger clear ones, as well as these slightly smaller iridescent ones. Both are gorgeous!
- Acrylic paint set – I highly recommend getting a variety of colors – like this 54-count set! You’ll be amazed at what color combinations look good together. This is where my daughter really shined—her ornaments always turned out better because she went for it with color!
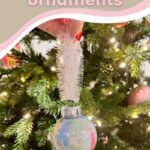
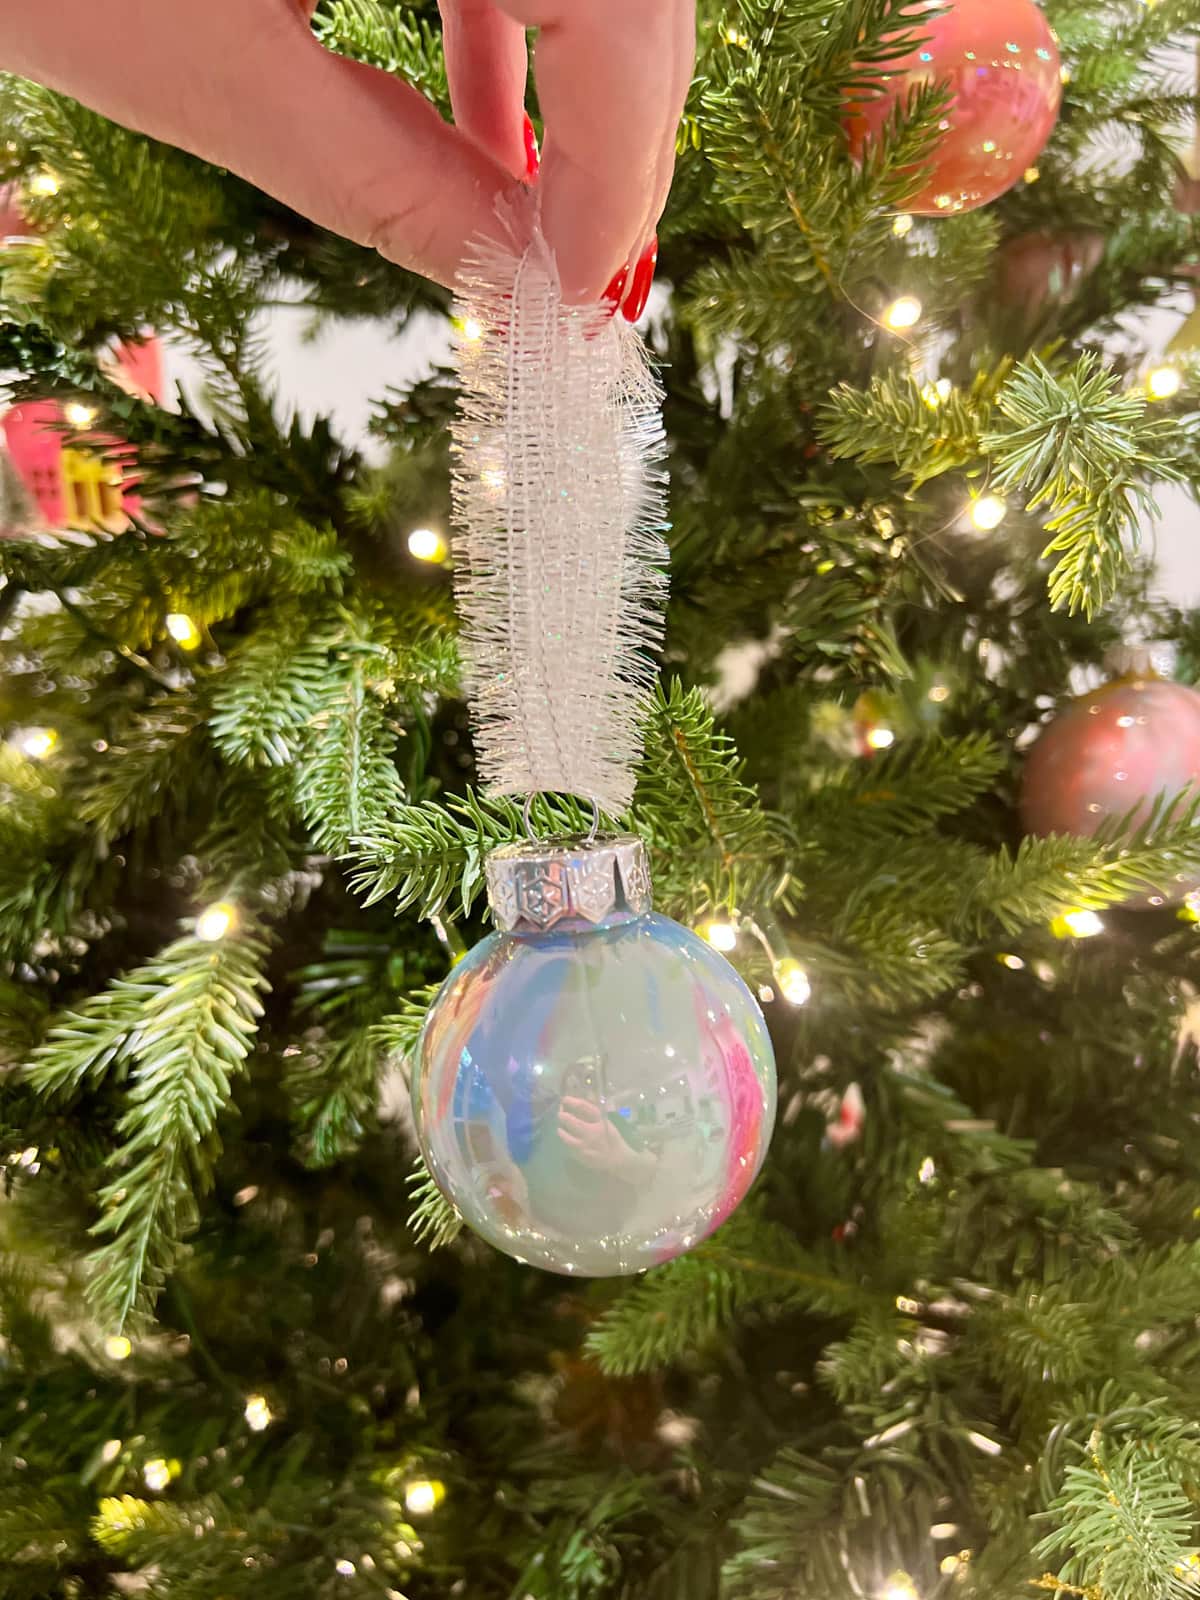
- Ribbon (optional) – if you want to make it a bit fancier, you can grab some ribbon to hang the ornament up with. We did this with some, and with others we just used the hanger that came with the ornament originally. Shimmery silver ribbon, star embellishment, and this sheer, patterned ribbon go perfectly with this ornament design!
And that’s it! Easy peasy. 🙂
Grab your ornament-painting supplies right here:

Note: I HIGHLY recommend making this craft with plastic ornaments vs glass, particularly if you are making this with young children. It took us about 5 minutes to have glass shattered everywhere, which can put a damper on your crafting time!
Instructions
As you saw in the video above, these painted ornaments are SO easy to make. Here’s what you’ll need to do!
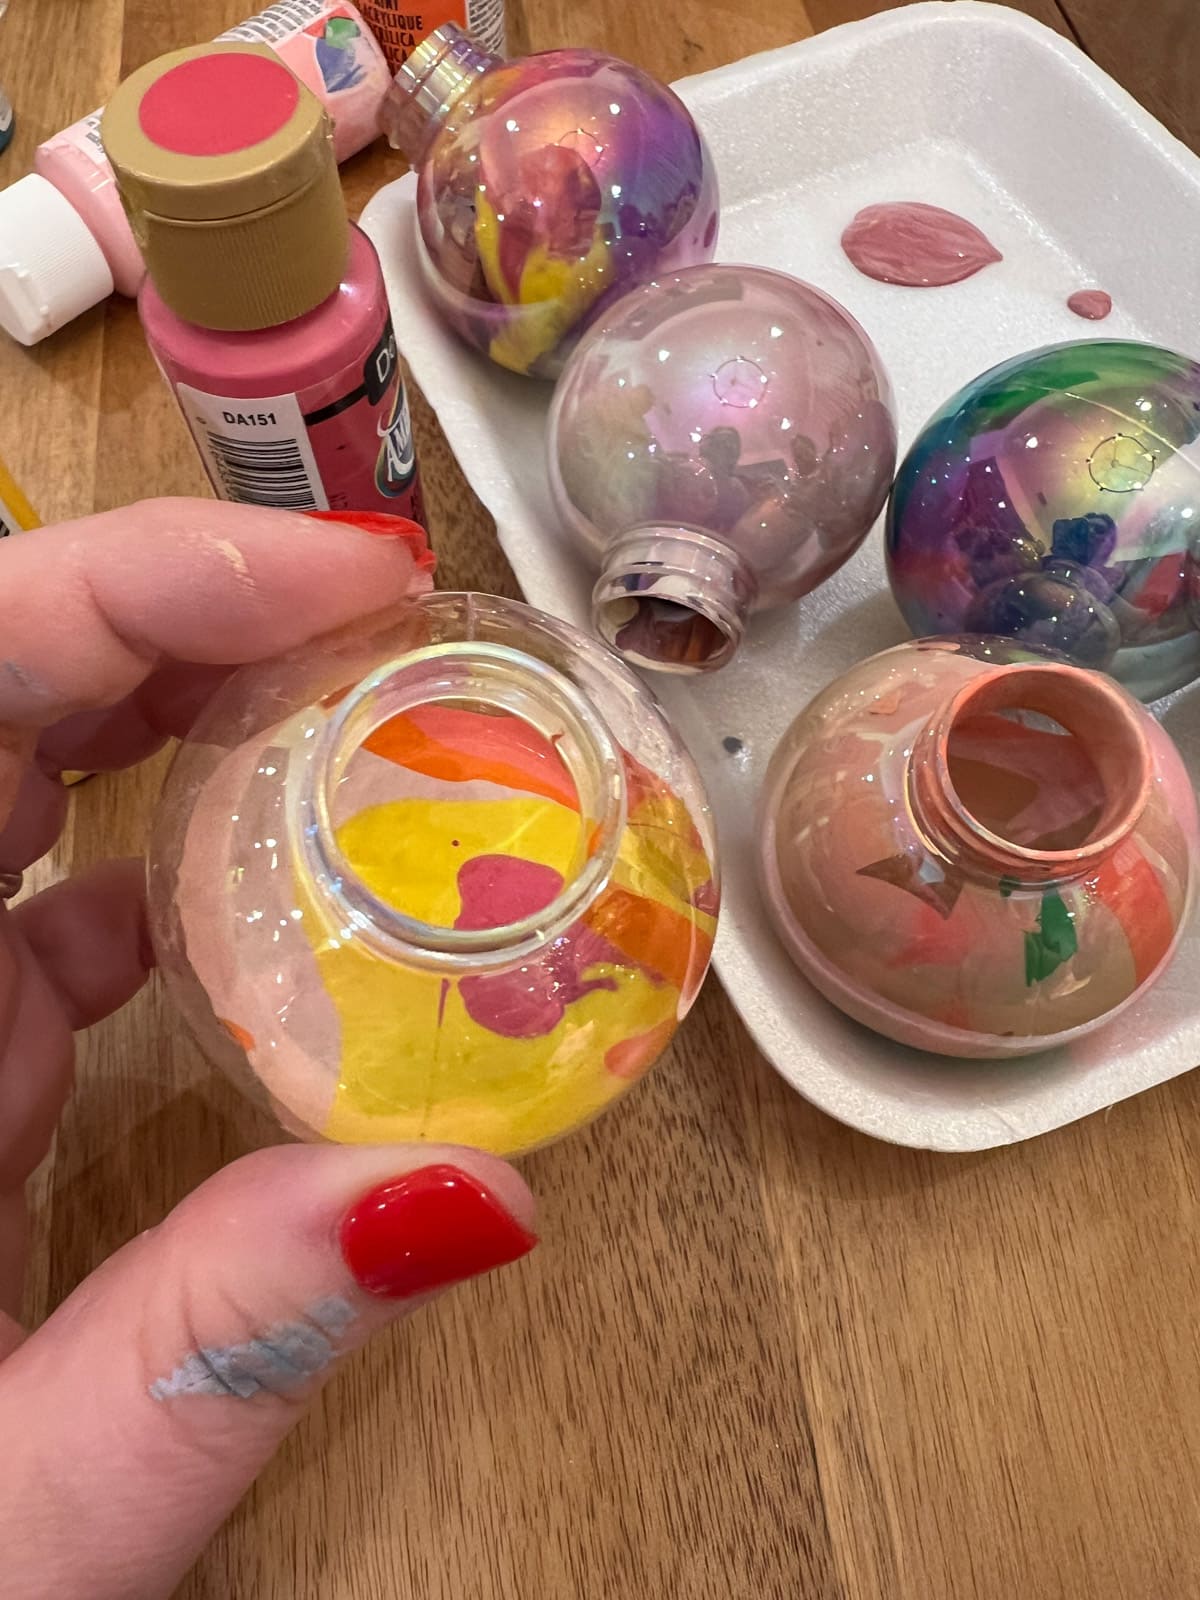
- First, take the top off of your ornament. It should just pop right off when you pull.
- Add your paint. You can squeeze in as much or as little as you’d like. Like I mentioned, the more colors, the better. However, if you want a more monochromatic look, you can stick with a single color. I did a few of these to test it out, and it looked pretty with the iridescent ornaments!
- Then shake and/or swirl the paint around. I found the best way to do this was to use my thumb as a plug and give it a shake. I let my daughter do one, then took back over because it was too stressful haha. Tell them their job is to pick colors, and yours is to swirl it up. 😉
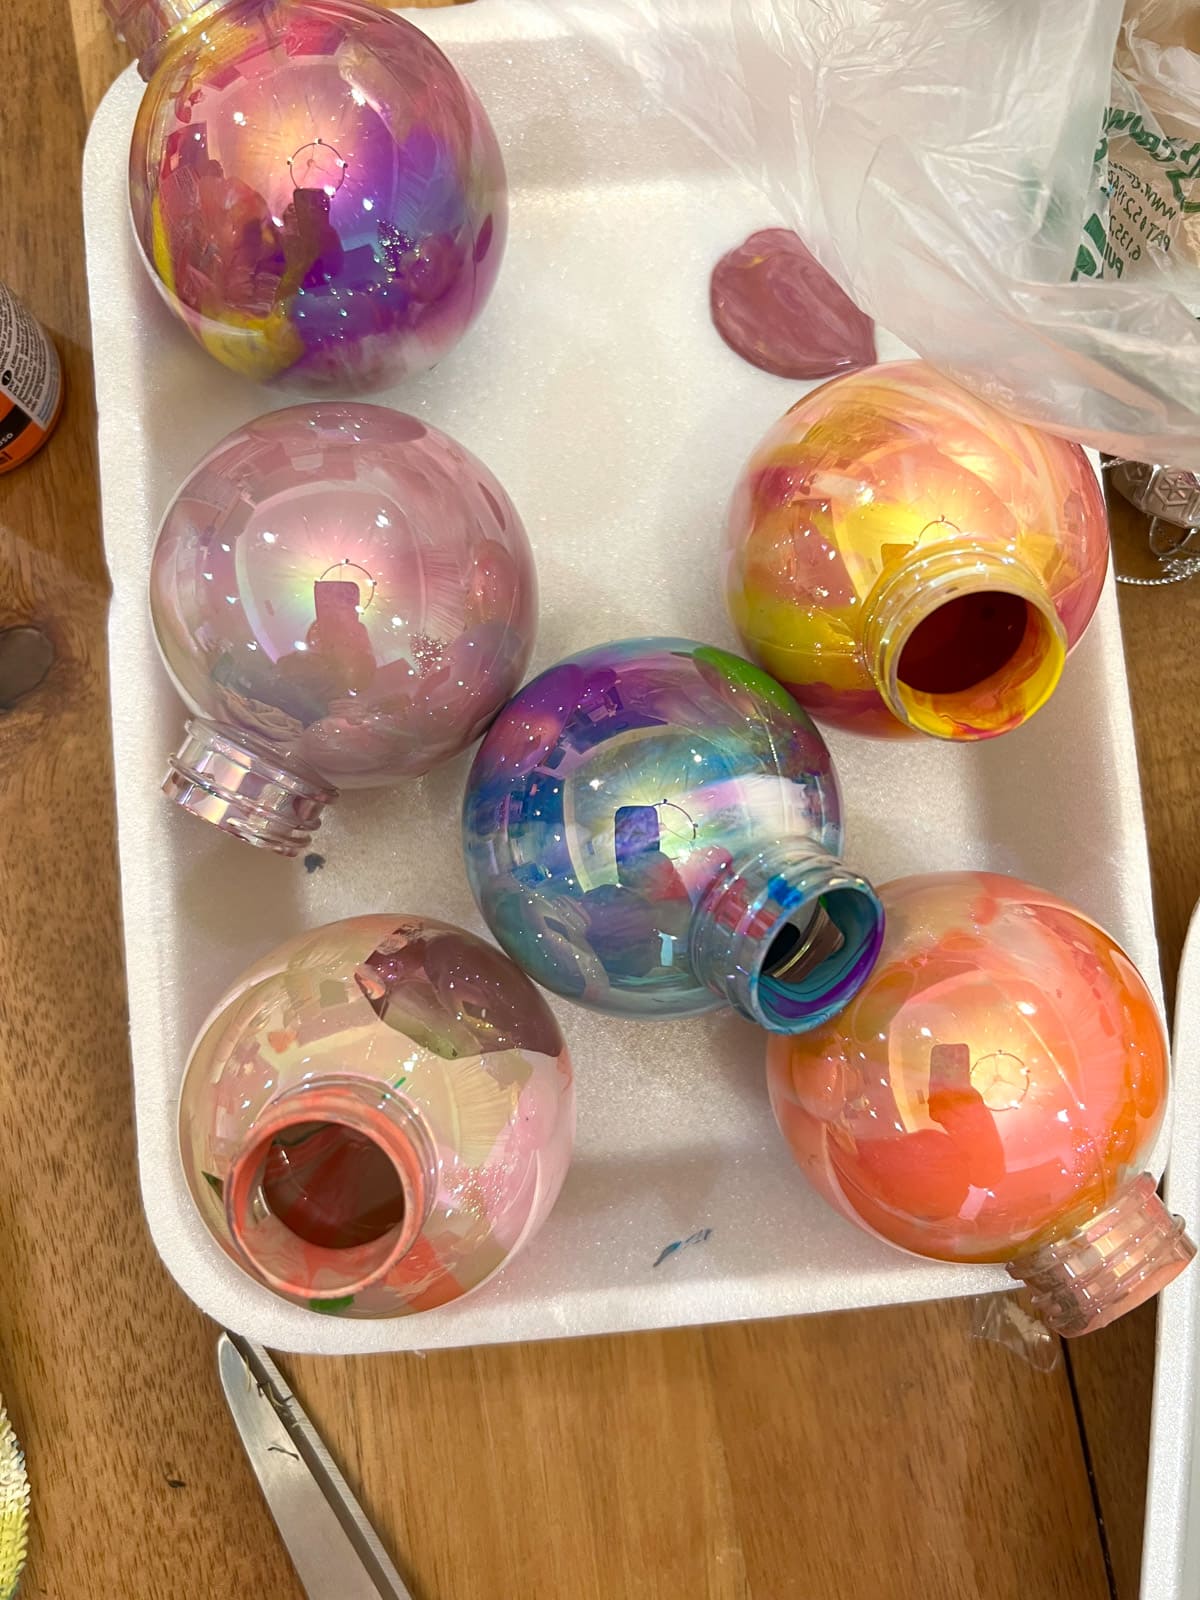
- Let the paint dry. Depending on how much paint you use, it can take different amounts of time. I opted to let them dry right side up for an hour or two, then flipped them upside down and let the paint drain out overnight. I used these empty styrofoam trays because I had a bunch lying around, but I also used a plastic tray with a lip I bought from Ikea. Use what you have on hand.
- Finally, put the top back on and hang your painted ornaments. If you want to add ribbon -go for it!
That’s IT. See, I told you it was easy! Happy crafting, friends! 🙂


Supplies
- small plastic bulb ornaments
- large plastic bulb ornaments
- variety of acrylic paint
- assorted ribbon
Instructions
- First, take the top off of one of your ornaments.
- Add some acrylic paint inside the ornament by squeezing in as much or as little as you'd like.
- Add a few more colors of paint.
- Then, shake and/or swirl the paint around using your thumb as a plug over the open top of the ornament.
- Set the ornament right-side-up, and let the paint dry for about an hour.
- Repeat above steps for as many ornaments as you'd like to make!
- Once ornaments have dried for an hour, flip ornaments upside down in a tray, empty egg carton, or plastic cup, and allow them to continue to dry and drain out any excess paint overnight.
- Once they're dry, put the tops back on and hang your painted ornaments. If you want to add ribbon for hanging – go for it!