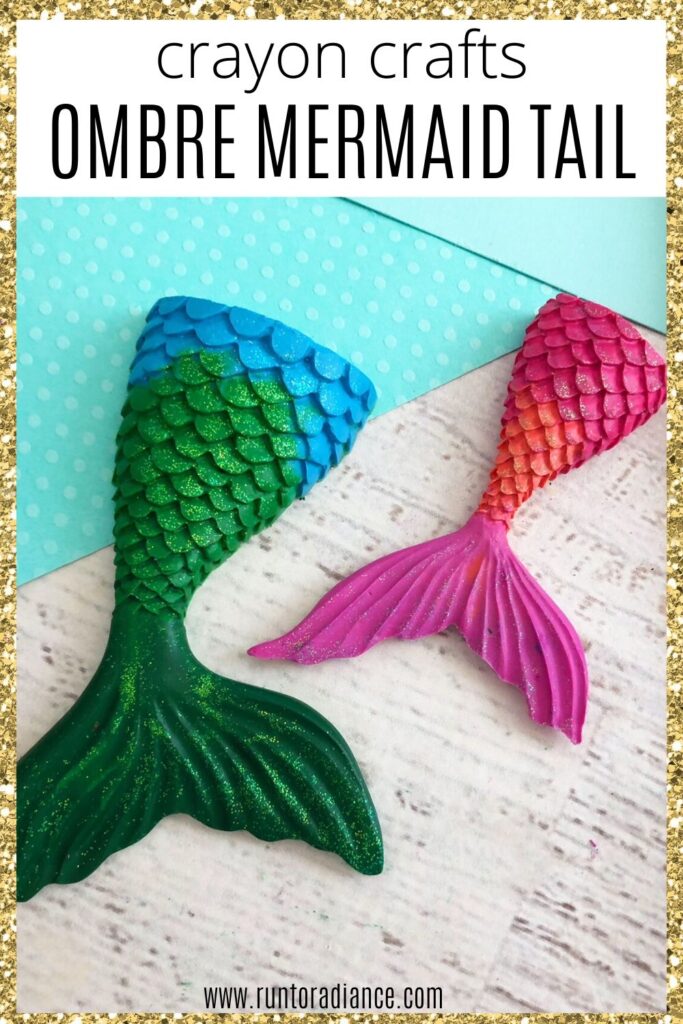
Crayon Crafts: How To Make Mermaid Tail Crayons
This post may contain affiliate links. As an Amazon Associate I earn from qualifying purchases.
This is one of the best crayon crafts ever! Make your own DIY mermaid crayons with any leftover and broken crayons you might have lying around – it makes a really cute homemade gift.
Crayon Crafts
The thing I love the most about crayon crafts is that the supplies are really easy to find. There are literally hundreds of things you can make with a box of crayons.
When the crayons get old and break, keep them in a tub. You can use them again to make these glittery and beautiful mermaid tail crayons!
Keep reading and I’ll show you how to make your own beautiful, glittery, mermaid crayon crafts.
I’m so excited to do this with Lily!
How To Make Crayons Shaped Like Mermaid Tails
This is a craft that even kids can do themselves! Since they all love to break crayons (mine LOVES it), have them be a part of the process,
It involves a cookie or baking sheet and a hot oven- so if your children are small, help them out with this part.
Don’t forget to pin this post so you can find it later!
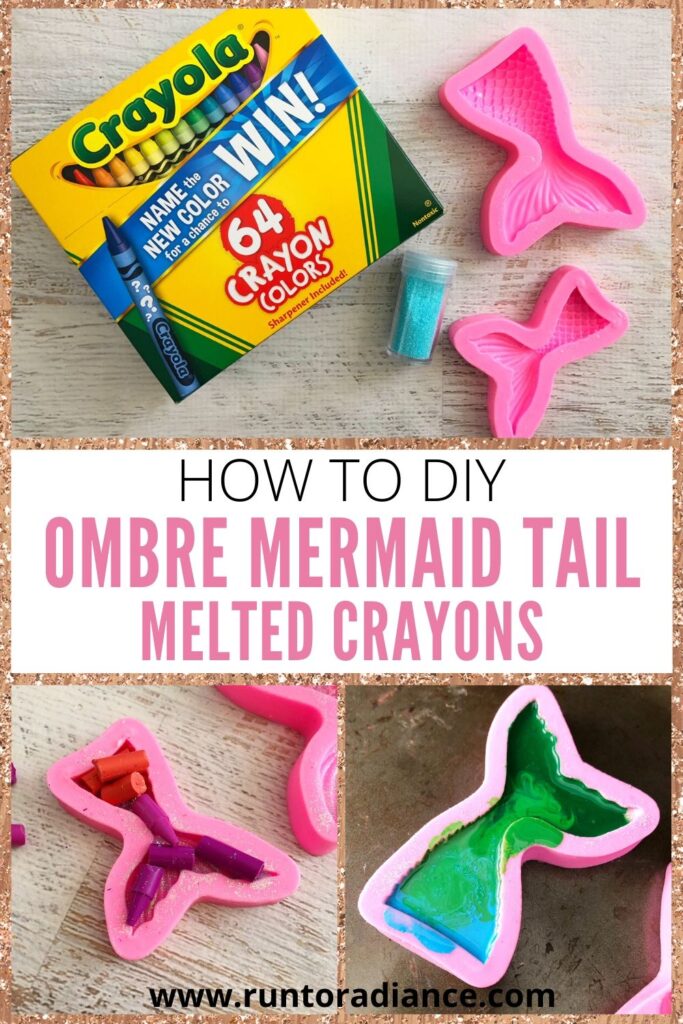
Supplies
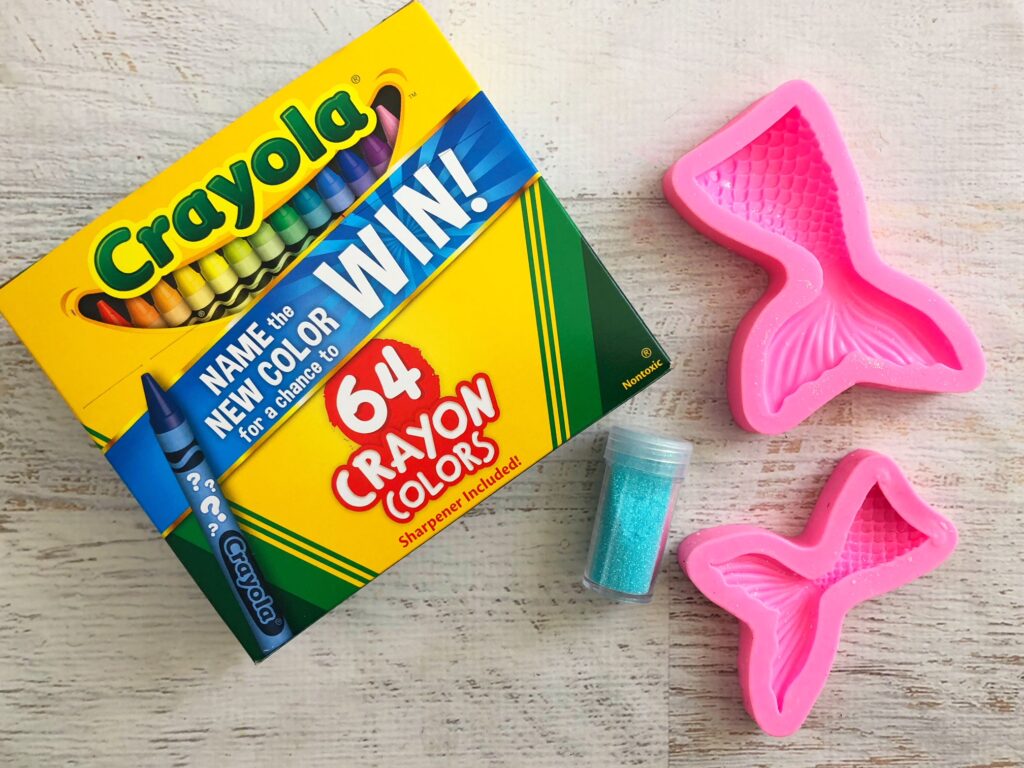
Here’s what you’ll need before you get started. You might already have most of this on-hand already.
Directions
I’ll take you step by step through the entire tutorial. It’s such an easy craft but there are still a few things I want to share with you that I learned along the way.
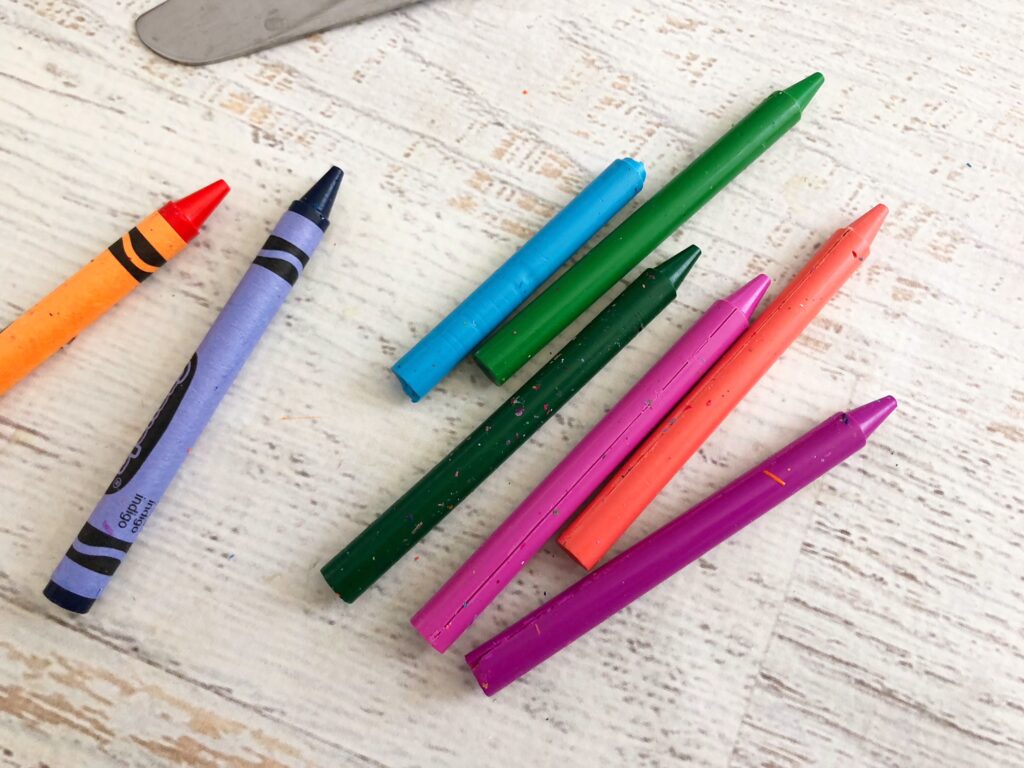
1. Prep the Crayons and Oven
Peel the crayon wrapper off and preheat your oven to 250 degrees.
If the crayon wrapper is being stubborn, use a knife to shave it off. Try not to leave any pieces of paper on the crayons, or else they will show up on your magical mermaid tail afterwards.
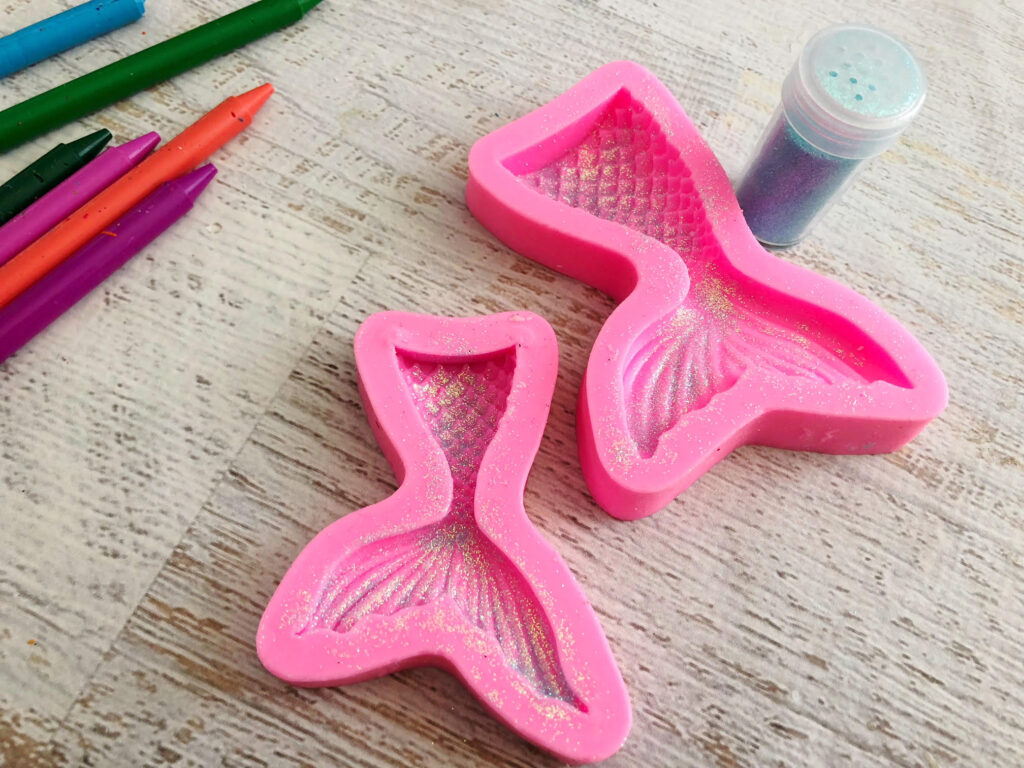
2. Add The Glitter
Next, sprinkle a little glitter into your molds.
If you are worried about the glitter making a mess, do this part over the sink, trashcan, or a washable surface.
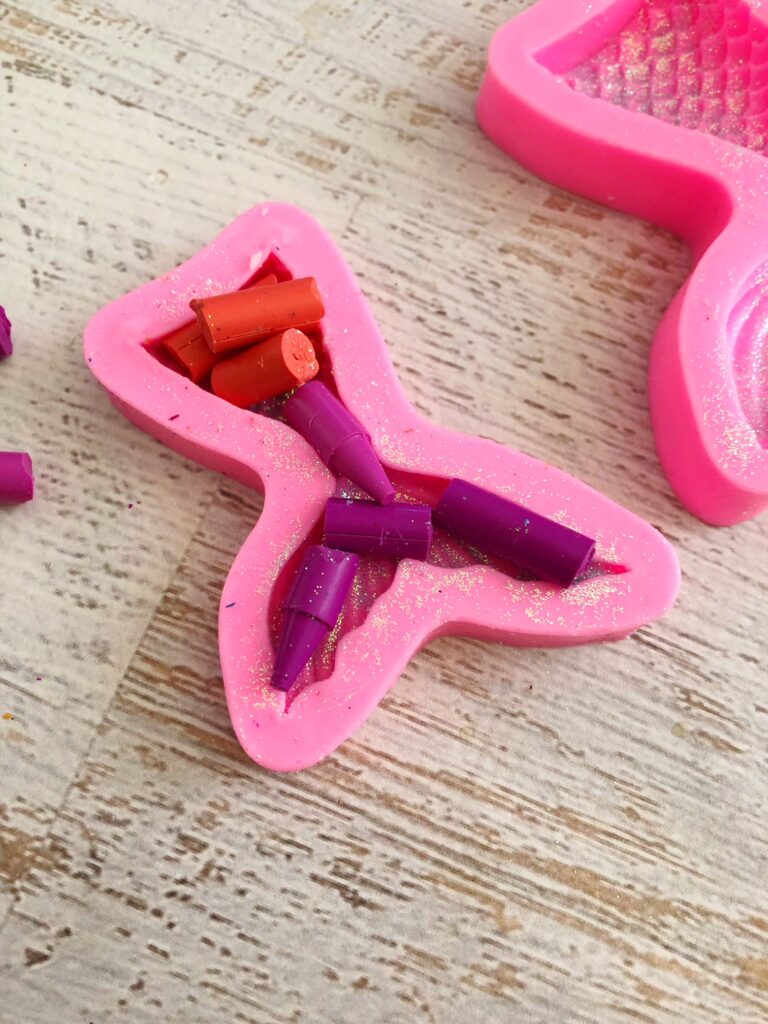
3. Add Broken Crayons To The Mold
Break the crayons in several pieces and place it into the mermaid tails a few of the same colored crayons at a time so it will have an ombré look.
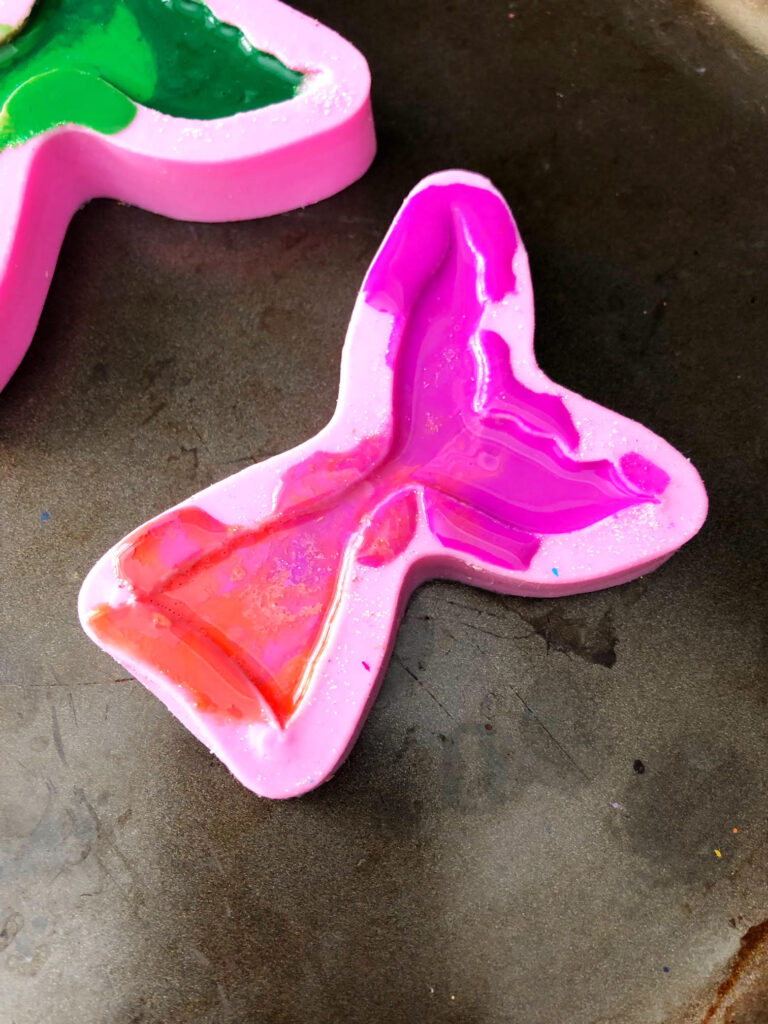
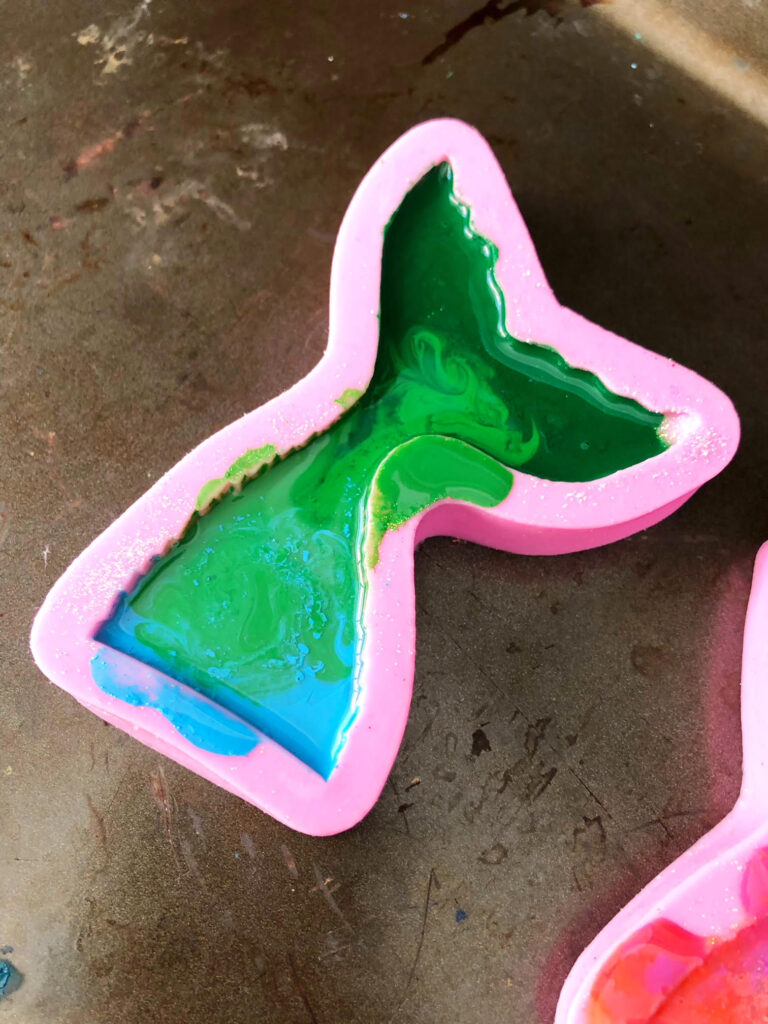
4. Bake The Crayons
Place your silicone molds onto a baking sheet and place it into a preheated 250-degree oven for 8 to 10 minutes, checking halfway through to see if they’ve fully melted.
5. Let Them Cool Completely
Carefully remove the pan from the oven, place on top of the stove until they’ve cooled down and then transfer to the freezer for about 15 minutes.
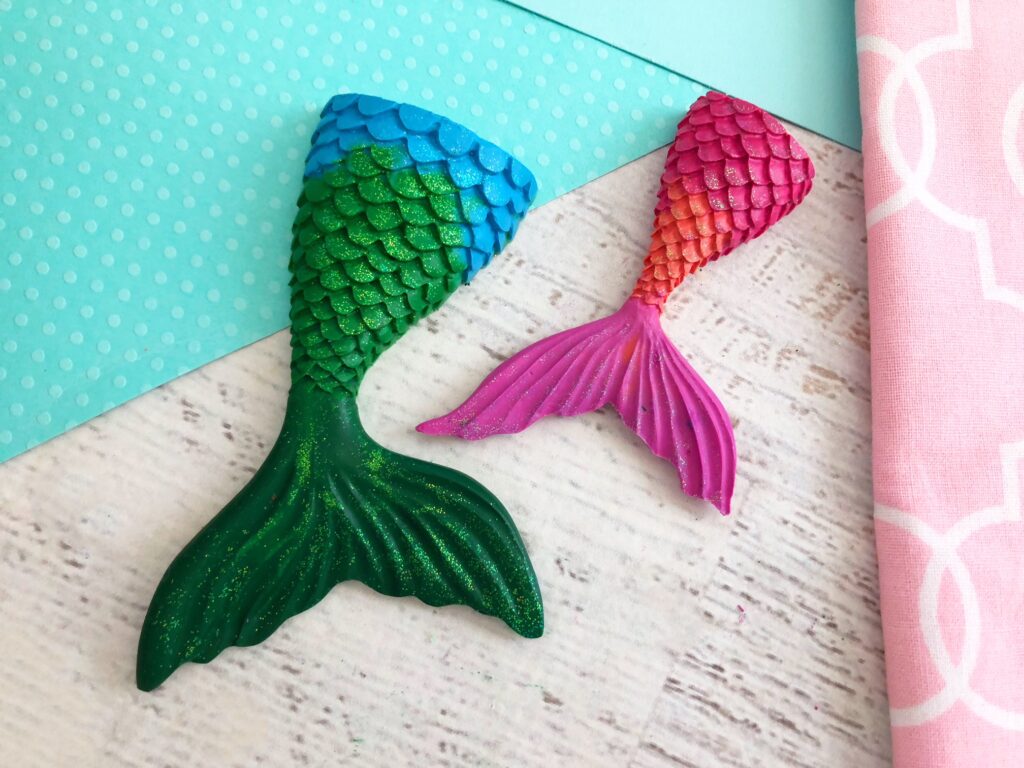
6. Pop The Crayons Out
After they have cooled down enough, carefully stretch out the sides of the mold and pop your crayons out.
Grab a couple of pieces of paper and let your kids have it!
Creative Color Schemes
As you can tell from the photos above, I chose a basic mermaid color scheme – greens, blues, and pinks. I think it’s so fun to let your kiddo’s creativity fly and give them the freedom to make any kind of mermaid tail that they want.
Let them break up some crayons and be creative! If you are having a creative block, here are some ideas to get you started.
- Dark Theme – Use blacks, greys, and a few white pieces for a gothic mermaid tail.
- Rainbow – Chop up the pieces really small and add them in the ROYGBIV pattern.
- Sports Teams – Use the colors from your favorite sports team
- Sunrise/Sunset – Use reds and oranges to represent the sunrise or sunset
- Ocean – Blues and greens are a common mermaid color
- Wedding Colors – These make perfect wedding favors too! Use your wedding colors
Other Ways To Melt Crayons
I totally understand if you don’t really feel comfortable using the oven with your kids around. Or if you just don’t feel like turning it on.
Here are a couple of other options when it comes to melting crayons!
How To Melt Crayons In The Microwave
Silicone molds are safe to use in the microwave. Doing it this way will save you quite a bit of time as well.
To melt the crayons in the microwave, add your chopped crayon bits to the silicone molds.
Then, put the molds on a microwave-safe plate and “bake” them on high for 1-2 minutes. This should melt the crayons completely.
Let the cool completely before trying to pop them out of the molds.
Melt Crayons In A Double Boiler
Another way to melt the crayons involves a double boiler. This is the same method people use to melt chocolate.
Just follow these easy steps.
- Fill a large pot with 2 inches of water.
- Bring the water to a boil.
- Set a large glass bowl on top of the bot. It should be setting above water level.
- Add the crayon pieces to the bowl.
- After the crayons melt, pour them into the silicone molds.
This method is the most difficult one to do. It makes the most mess and you can’t obtain the ombre look as easily. If your oven and microwave are unavailable, this is one option you can do.
How To Prevent Glitter From Making A Mess
Glitter has such a bad rep in the craft world! I know, it gets everywhere and is a royal pain to clean up. It’s just that it is so pretty – especially on these DIY crayons!
To prevent glitter from getting everywhere, I do this part of the craft over a bowl, sink, or the trash can. Then, I wash my hands completely.
Best Type of Crayons To Use
There really isn’t a best type of crayons to use for crayon crafts. The best type is the one that melts – and that is all of them!
I do suggest chopping them up into very small pieces. This will help them melt evenly and give you the option of using more colors in the molds.
What To Do With DIY Crayons
Now that you have your DIY crayons, what will you do with them? DIY gifts are extremely thoughtful. Here are a few things I love to do with my crayon crafts after I make them.
- Teacher Appreciation Gift – Fill a gift basket with these crayons, a coloring book, and a handmade card.
- Bathroom Decor – ‘Under the Sea’ is a very popular bathroom theme. Add these crayers to a glass jar with some seashells!
- Party Favors – Make a bunch and hand them out as party favors.
- Wedding Centerpieces – Add some seashells and mermaid tails to tables with some paper or coloring pages for some wedding reception fun.
- Create Crayon Candles – People also enjoy adding wicks to the melted crayons to make crayon candles.
If anything else, make a couple of them, add them to a box, and bring them out so your kids can color with them.
Lily LOVES to grab paper and go to town!
Final Thoughts
There you have it! A magical and mystical crayon craft that you can do with your kids any time of year. I hope you enjoyed this tutorial as much as I enjoyed creating it!
More Easy Craft Ideas
Want some more craft inspiration? Try one of these easy ideas next!

Great tips! I especially agree with the one about sleep!!