IKEA Hack: Wicker Basket 3 Ways for Cute Storage
This post may contain affiliate links. As an Amazon Associate I earn from qualifying purchases.
One thing I’m always looking for is more storage. Not only does storage need to be functional, it needs to have form—i.e. be pretty and work with our decor! That’s why I’m always picking up wicker baskets – they are the perfect way to add storage to your house! Need cute toy storage? Shove toys in a wicker basket! Need somewhere to stash your craft supplies? Wicker basket! And bonus points if you can make them cute like this!
Not sure where to begin your basket hunt? There are a ton of options for pretty, customizable storage right up the street at our local IKEA store. I had been wanting this cute wicker sequined basket for Lily’s nursery that another store was selling, but I really couldn’t justify the $120 price tag. Then, a few days later, I was at IKEA and noticed a basket that was very, very similar to the pricey one—except at $12 it was literally 1/10th the price. Meet the Fladis basket—here’s the before version.
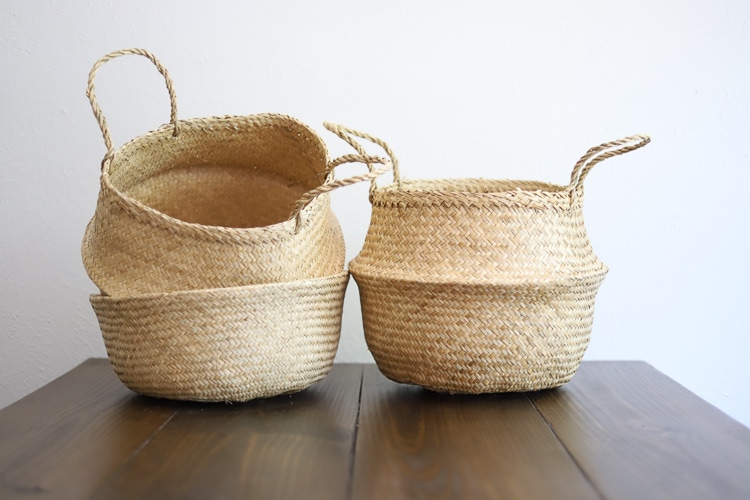
I bought 3 thinking I could group them together and corral toys in one, books in another and blankets in a third. I wanted to do a design that would go together on each one, but be different.
Here are the affiliate links for supplies you’ll need for each of these:
Supplies for wicker Ikea sequined basket
- Ikea wicker Fladis basket or similar version right here on Amazon
- roll of gold sequin trim (or color of your choice)- you’ll want at least 12 yards, but maybe more depending on the height you want
- hot glue gun and glue sticks
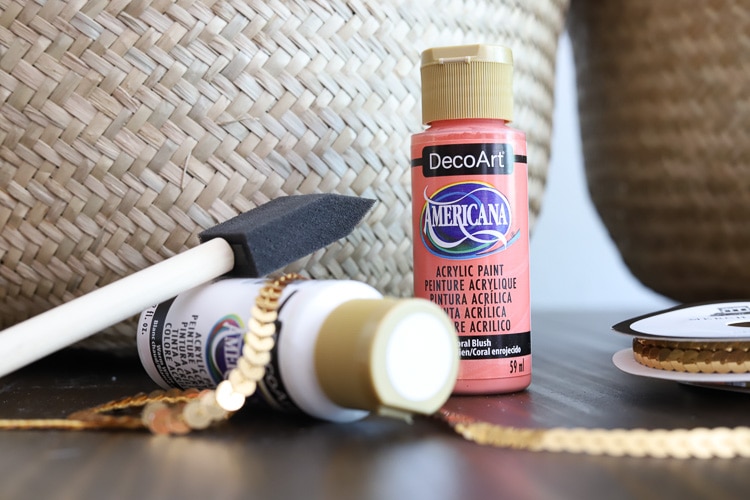
Supplies for painted Ikea basket
- Ikea wicker Fladis basket or similar version right here on Amazon
- craft paint in the color of your choice (I mixed this shade of coral + this shade of white for mine)
- foam brush
- painter’s tape
Supplies for wicker basket with pom pom trim
- Ikea wicker Fladis basket or similar version right here on Amazon
- hot glue gun and glue sticks
- pom pom trim in color of choice
Now, let’s make some cute storage baskets!
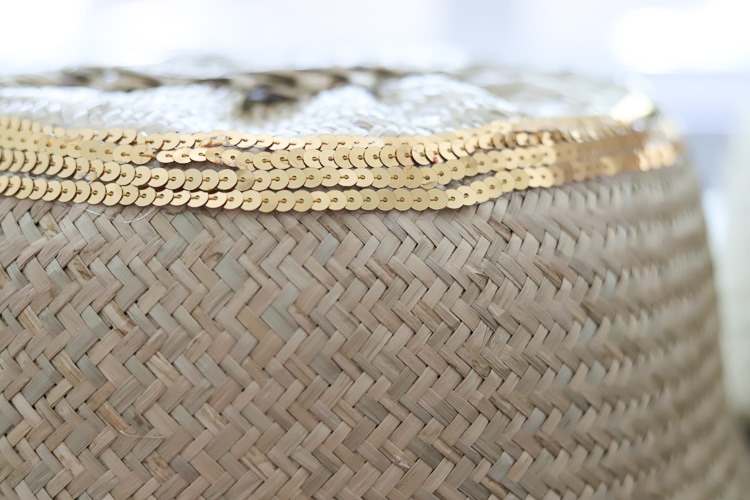
DIY wicker sequin basket
Of course, the first one I wanted to try was the sequin version!
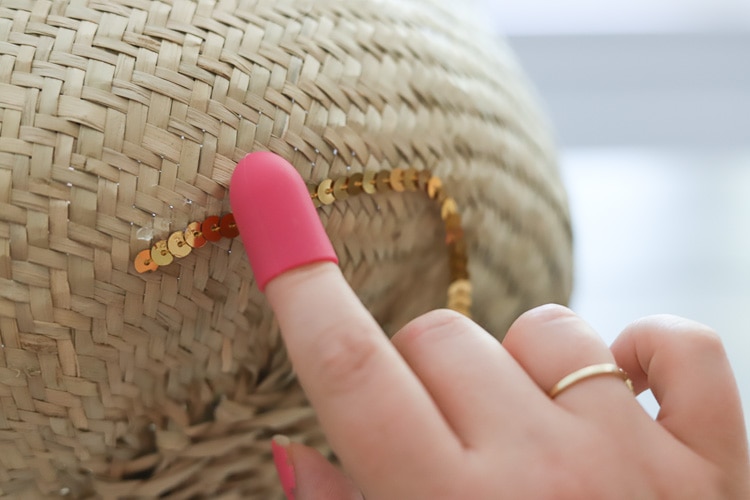
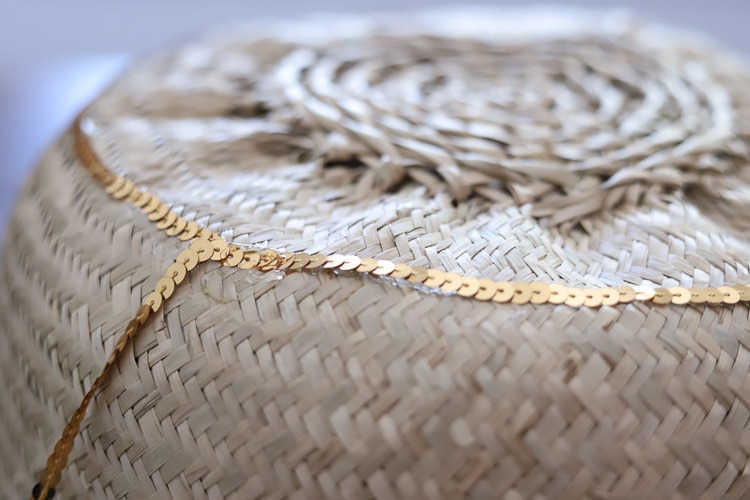
This project is super easy, but definitely time-consuming. Turn the basket upside down, and pick a place to start. Be smarter than me, and don’t start too close to the bottom—you can’t even see the first four rows of sequins unless you are literally crawling on the ground—I guess Lily will appreciate them.
First, use a hot glue gun to create a thin line of glue and make sure you keep it as straight as possible. Next, add the sequin ribbon in small sections. Press down on each piece to ensure adhesion (don’t forget to get these fingercaps—all it takes is one hot glue burn to vow never again!) and then add more glue and ribbon and repeat.
For hours.
I wish I could tell you this was a craft you could do while binge-watching something fun, but it isn’t. You have to keep your eyes on the project and head down. BUT, you could listen to a great podcast or audiobook? Or this could be something to keep you busy while your husband watches sports…?
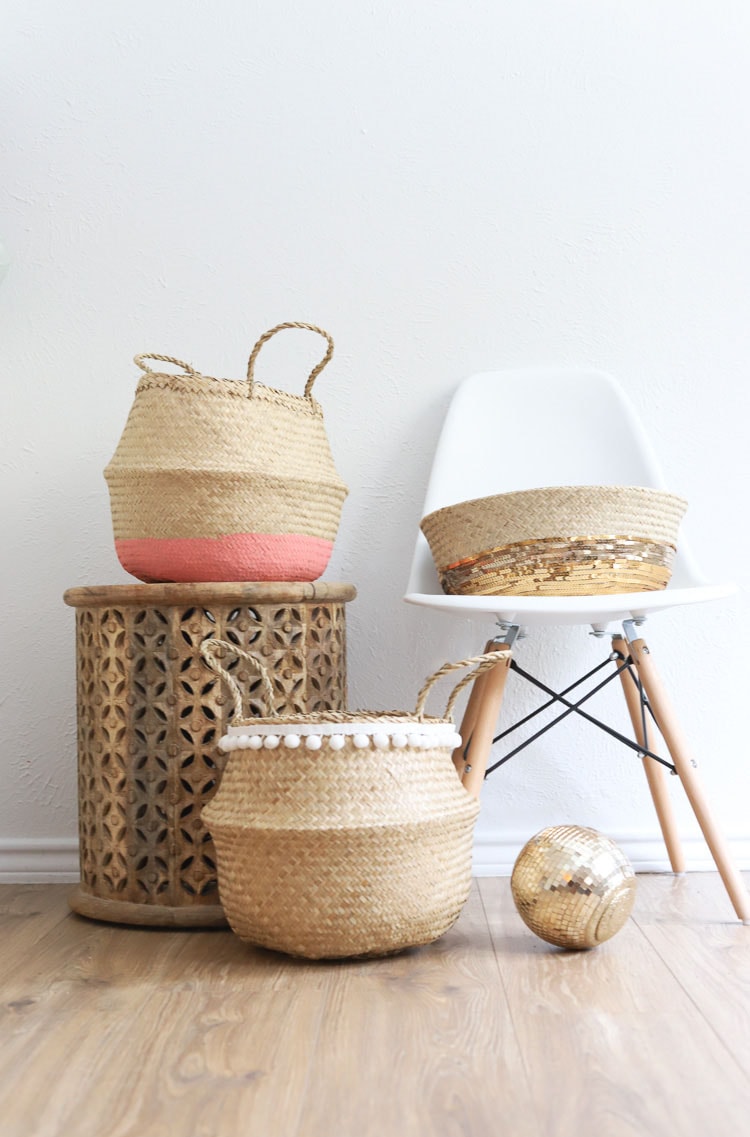
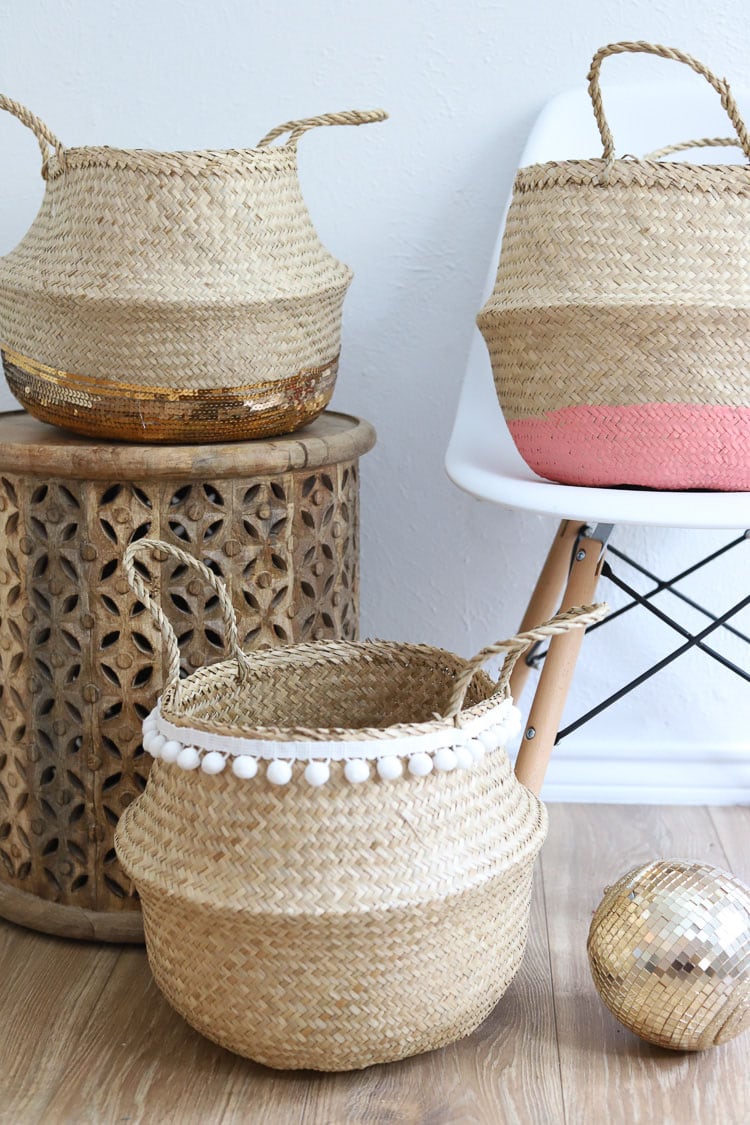
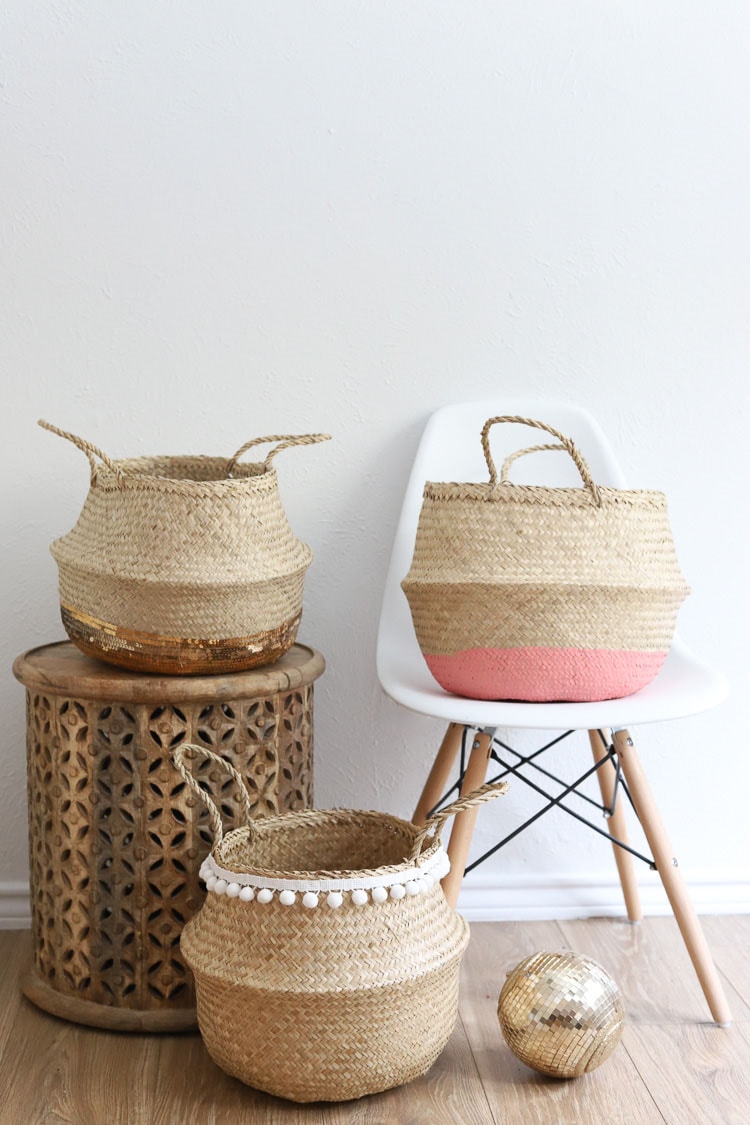
Either way, it was absolutely worth my time and effort—I love how this DIY sequined basket turned out – it’s a fun way to add a bit of glam to any room!
DIY Painted Wicker Basket
For my second Fladis makeover, I went way more simple. I taped off a section of the basket and used basic craft paint to paint it pink. Some of the paint did get inside the basket, but since no one will see it since it’s stuffed with toys, so I’m good with it.
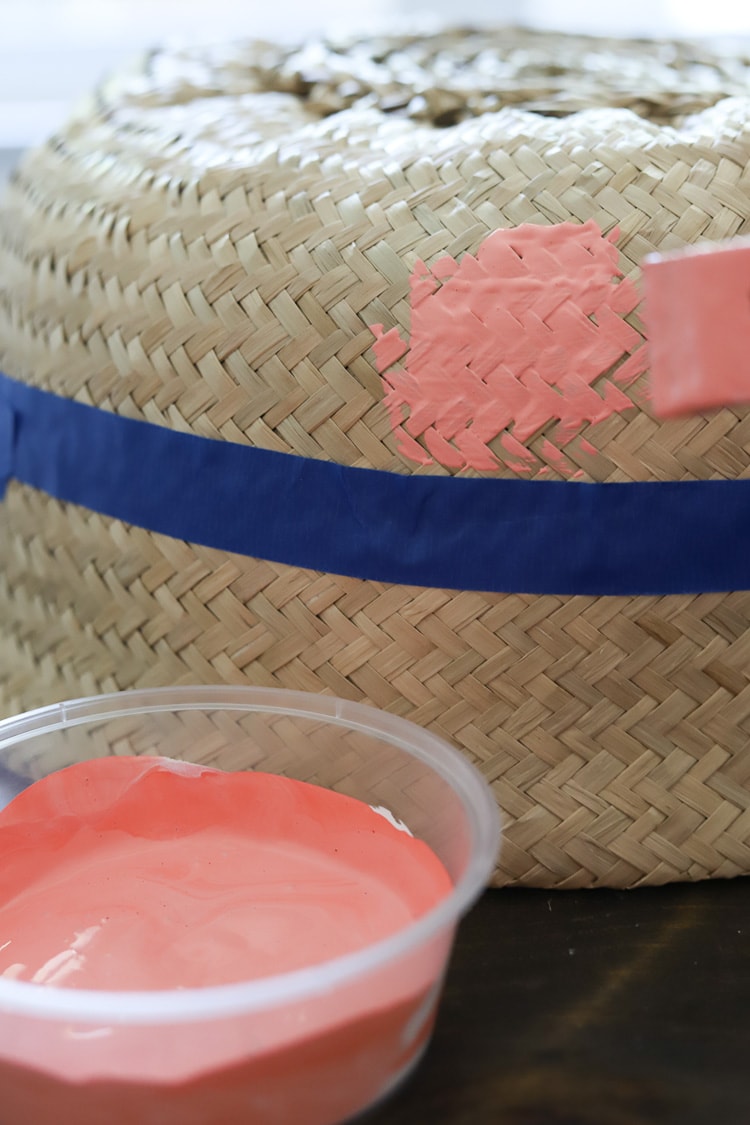
Just peel off the tape when you’re done and then let it dry. Easy!
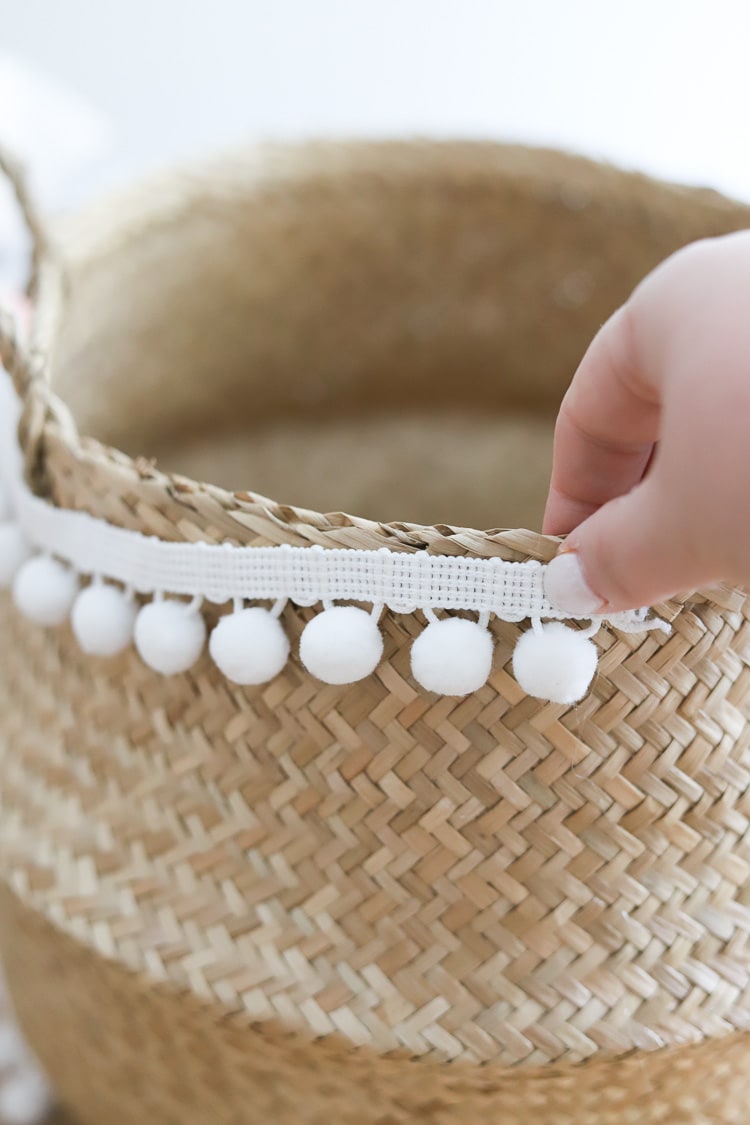
DIY wicker basket with pom pom trim
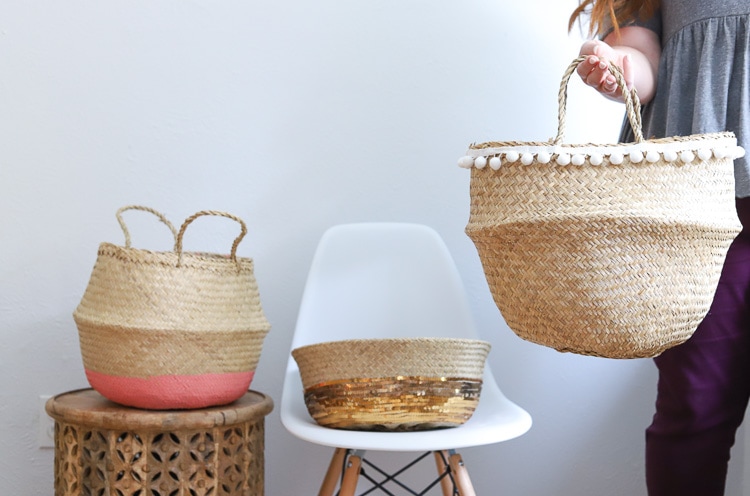
This is probably my favorite of the three and the easiest. I kind of want to make 100 of these. I simply took some white pom pom trim and hot glued it to the wicker basket. It’s such a small, easy project, but it gave it a world of difference!

And there you have it—3 Ikea wicker basket makeovers! Does that count as an Ikea hack? I feel like I’m stretching this one a little but I’ll go with it. ?
Love love love these baskets! was just thinking how to better organize my art supplies! brilliant and i love how cute they turned out!
These are such fun ideas! I’d luv to invite you to share with us at Wall to Wall DIY Wednesday, which runs thru Mondays!! Best, Ann
Love how your baskets turned out. thanks for sharing at the inspiration spotlight party pinned and sharing. Theresa @DearCreatives See you again soon.
These turned out great! I’m going to the nearby city an hour away that has an Ikea. I’m putting this on my shopping list! Thanks for the idea!
mybrightideasblog.com