Adding Craft Storage So I Can See My Pretties
This post may contain affiliate links. As an Amazon Associate I earn from qualifying purchases.
Happy Tuesday friends! I’m back with another update on my studio! Last time we talked about it, the IKEA bookshelves went up on one wall for custom-built in look (you can find that post here). We’re trying to squeeze a lot of functionality out of this little 10×12 room! Not only will it be where our library’s housed, but it will also be where we have our office and our craft studio.
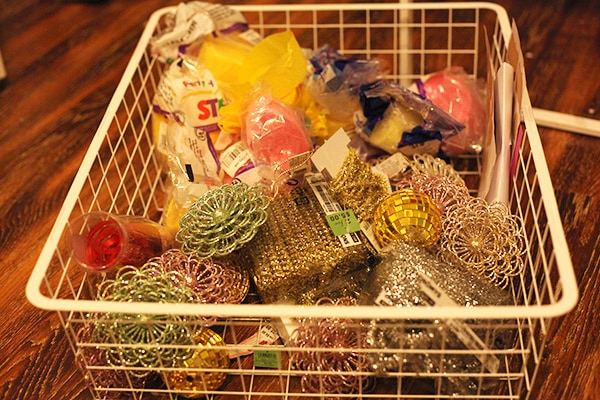
We knew we needed some kind of storage system to house all of the craft supplies that we’ve amassed over the last several years but we weren’t sure exactly what we needed. It was one of those “I’ll know it when I see it” type things. We knew it needed to be functional, accessible and easy to pick up and clean, but we also wanted it to look good of course. 😀
After a lot of time on Pinterest, looking on Craigslist and at thrift stores to see if I could find something I liked, I was feeling a little dejected. Then one day, I got an email from IKEA. Now I’ll admit- the first reaction was “no way. No more stuff from IKEA.” With the addition of the IKEA bookshelf wall we both felt like we had enough IKEA going on for one room, but as it would turn out, we were wrong.
This was all back during the week between Christmas and New Year’s and they were running some really great specials, one of which was this little storage unit. It was on sale for only $10 on New Year’s Day. We looked at it and looked at the dimensions of the room, and felt like it would be worth the trip out to Frisco to see if it was what we are looking for. (Ironically I was off work that day and it was the only day I didn’t have to drive to Frisco yet there we were again, an hour from our house. I just can’t keep away I guess!)
We ended up really liking the storage units and thought even if we didn’t use them in the craft room they would be great to have for the pantry or the laundry room or in our walk-in closet when we build it. So we got several. You can’t go wrong for $10, right?
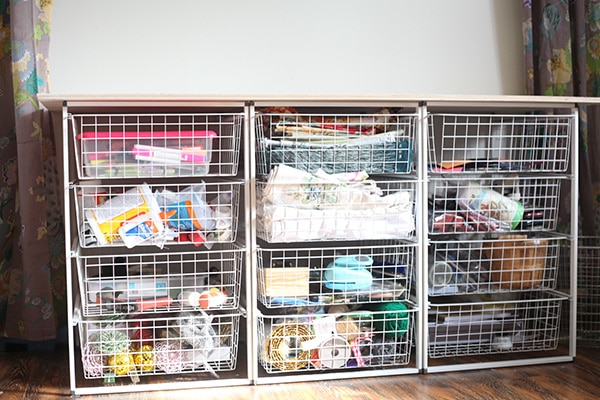
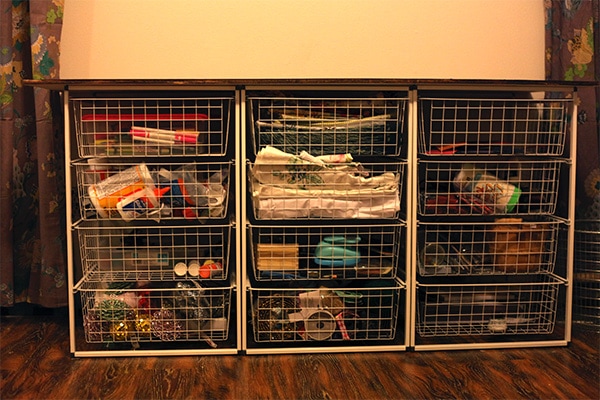
That night Scott was able to put together all of them within 30 minutes (hence all the Christmas décor) so it wasn’t too terrible at all. We took them in the studio room and put them against the wall directly opposite from IKEA bookshelf which is where we knew we wanted our storage. They fit fantastically! It looked a little bear and a little sad. One thing I considered was spray painting them, but I really like the white and thought it would look best with all the colorful things that were to be inside of it.

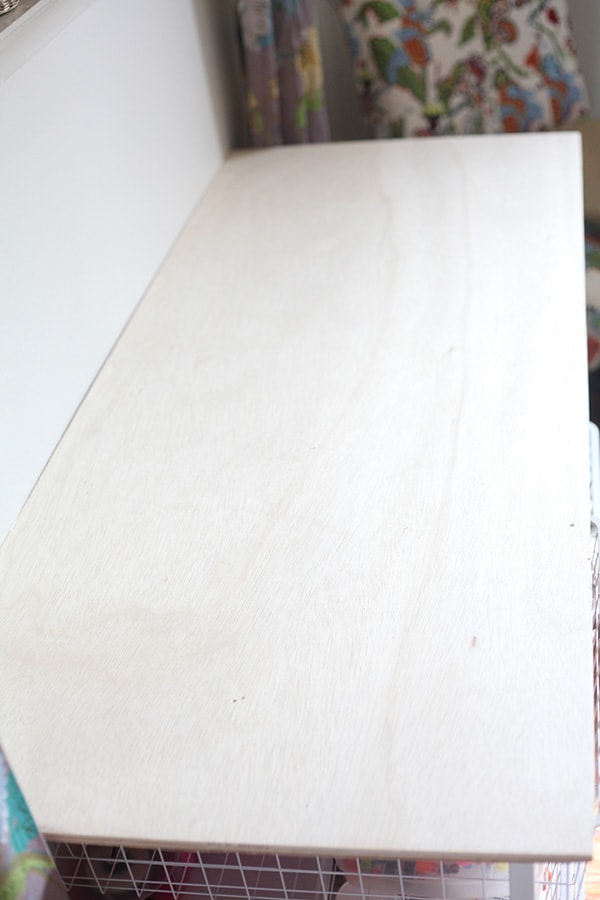
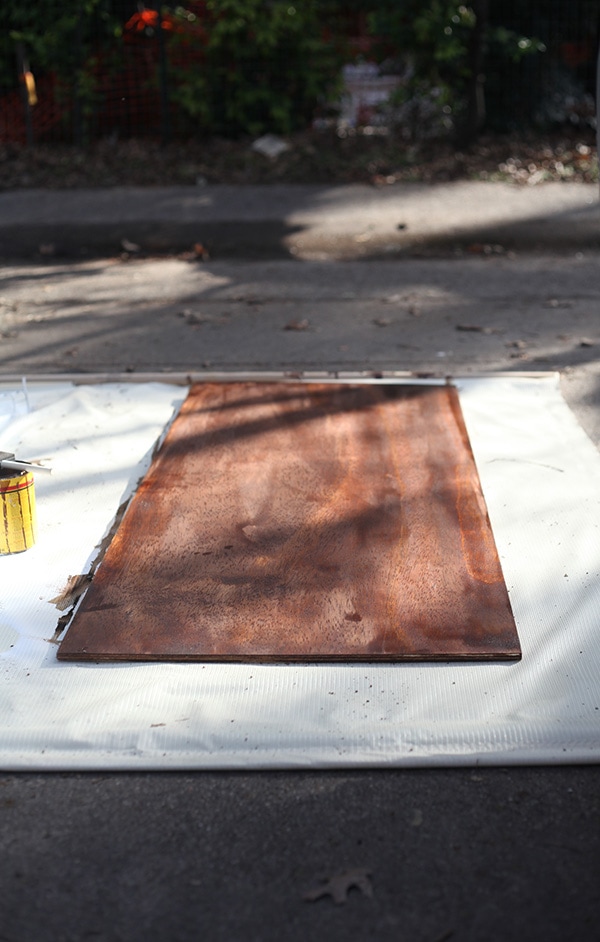
And it hit me. I needed to add a tabletop! Not only would that give it a little bit more of a finished look, but without a lot of functionality and decorating space. Scott went to Home Depot for me the next day well I was at work and got a piece of 1/4″ thick plywood. He had a cut there so that it would be exactly an inch overlapping on each side and on the front.
I couldn’t wait to start putting stuff in there so I did that very night. The unpacking began! (Don’t be scared for us!)

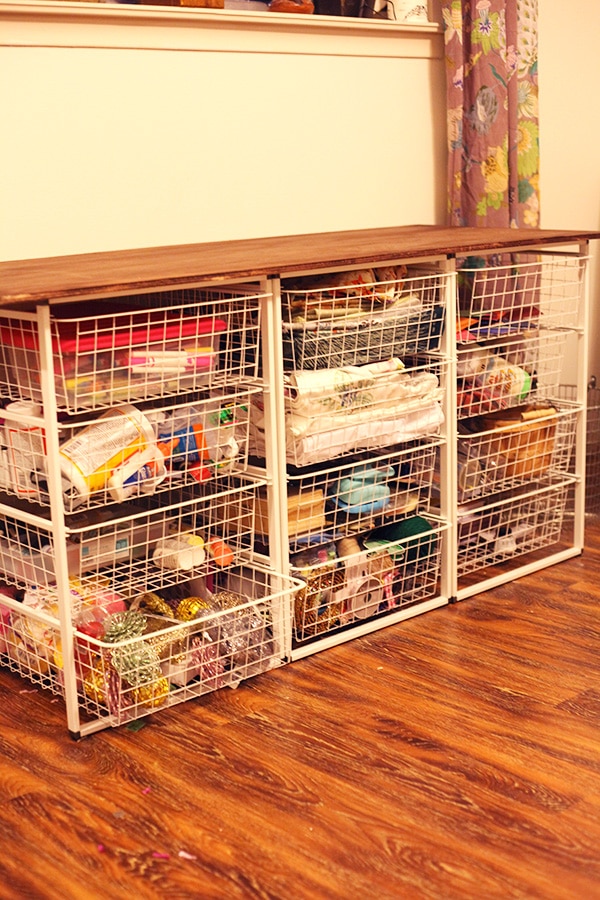
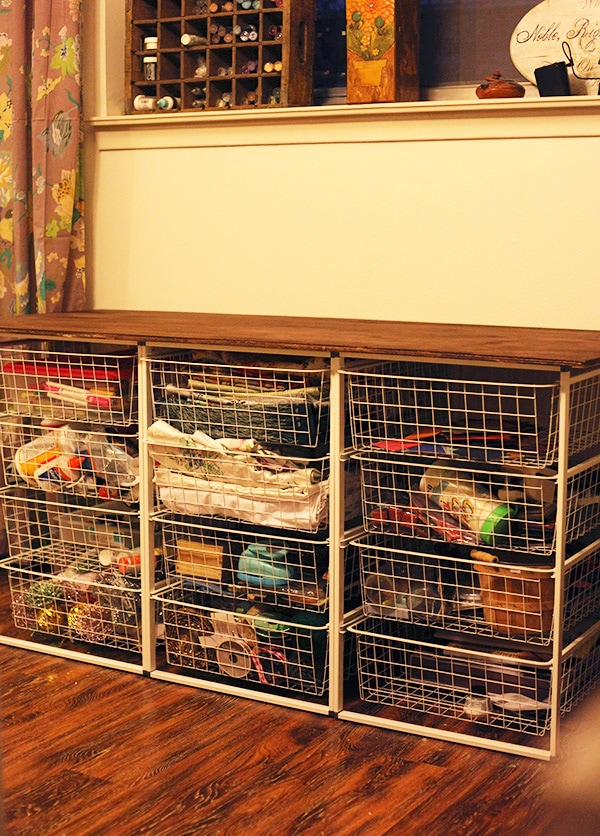
And soon everything was nice and put away! (And we hung our curtains, aren’t they adorable?!!?)
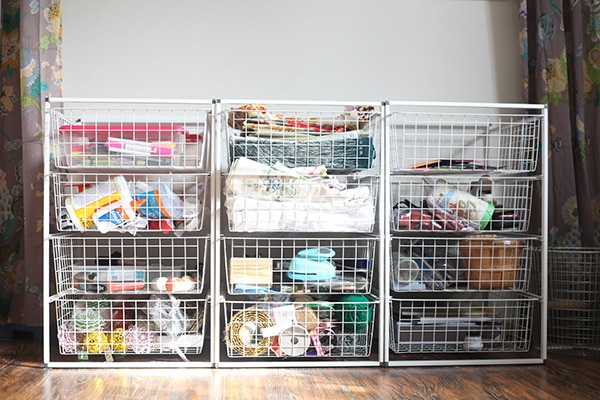
After living with the storage system for the last several weeks, I can honestly say I love it. It works perfectly for me because I’m the type of person that likes to see everything rather than have everything put away and hidden. This is a great combination of both. I can easily see what supplies I have, but when I’m working on something it’s easy to put it away.

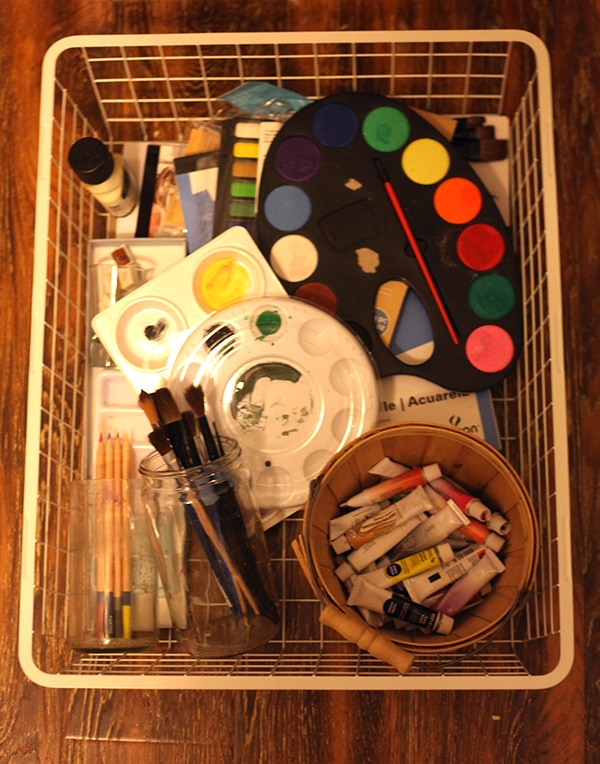
I also love that the drawers pull completely out so when I need something or I’m working a certain project, like for example a watercolor piece, I can simply pull the watercolor drawer out, use what I need and put it all back in the drawer and back into the unit. Easy. Even the smaller things that might fall through the holes in the drawers I’ve put in smaller baskets of been the doors to hold them (like that like the watercolor paints).
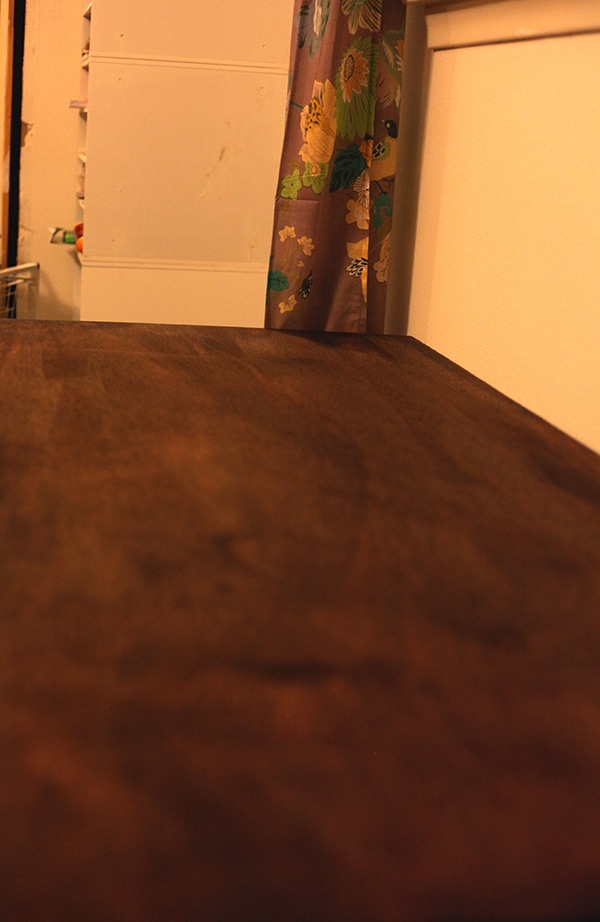
This weekend, I finally took the plywood tabletop outside and stained it with my favorite stain, honey. I only stained one side, and my plan is to go back and paint the other side white so that I can switch it out if I feel like I need a change. We didn’t glue it on top of the storage units or anything- it just sits on top. If I had kids I’d probably secure it but for us it’s fine.
I cannot tell you all how much joy it brings me to be able to come into my studio pullout at your and start painting or practicing calligraphy or using stamps or whatever I want to do. I will never take something like that for granted again! I feel like a whole new creative part of my brain is come back to life! And you’re sure to read the benefits of that through this blog I hope. I’ve been working on lots of fun craft projects- so excited to share them with you guys!

So this is my little craft studio storage unit. Altogether it took us about an hour of work and about $50. Not bad right?

One of these days I really need to get my crafty stuff organized! I love your solution, especially with the dark stained wood top!
Thanks Brynne! It’s much easier to see what I have and what I need, and to use it all! 🙂
It looks great!! So functional AND cute.. gotta love Ikea!
I love the watercolor drawer!!! 😀