Installing Laminiate Flooring
This post may contain affiliate links. As an Amazon Associate I earn from qualifying purchases.
Our sweet house has come so far! The thing that has been one of the biggest game changers by far has been installing our laminate flooring. For the first time in 4 months I am able to walk barefoot through our living, dining and kitchen! I love it!
Picking our floors was a huge process. I knew I wanted something low maintenance and scratch resistant, but I wanted something that had the look and feel of hardwoods. And I would like all of that to be affordable, rustic and unique. No tall orders here! After searching for months, we stumbled upon a little plaza in Plano that had 3 flooring places in it. We decided to pop in to Monster Flooring and check them out and I fell in love with this guy:

I love the look of this flooring! It is hand scraped, scratch resistant, and clearly completely unique and gorgeous. It literally matches everything between the redish brown undertones, the dark brown swirls and the white washed finish. Installing this floor was a loooooong job. We opted do to it ourselves to save some money and because we have my brilliant father who is basically an expert floor installer after installing flooring in half a dozen houses or so and of course my lovely mother who is basically an expert in training! 🙂
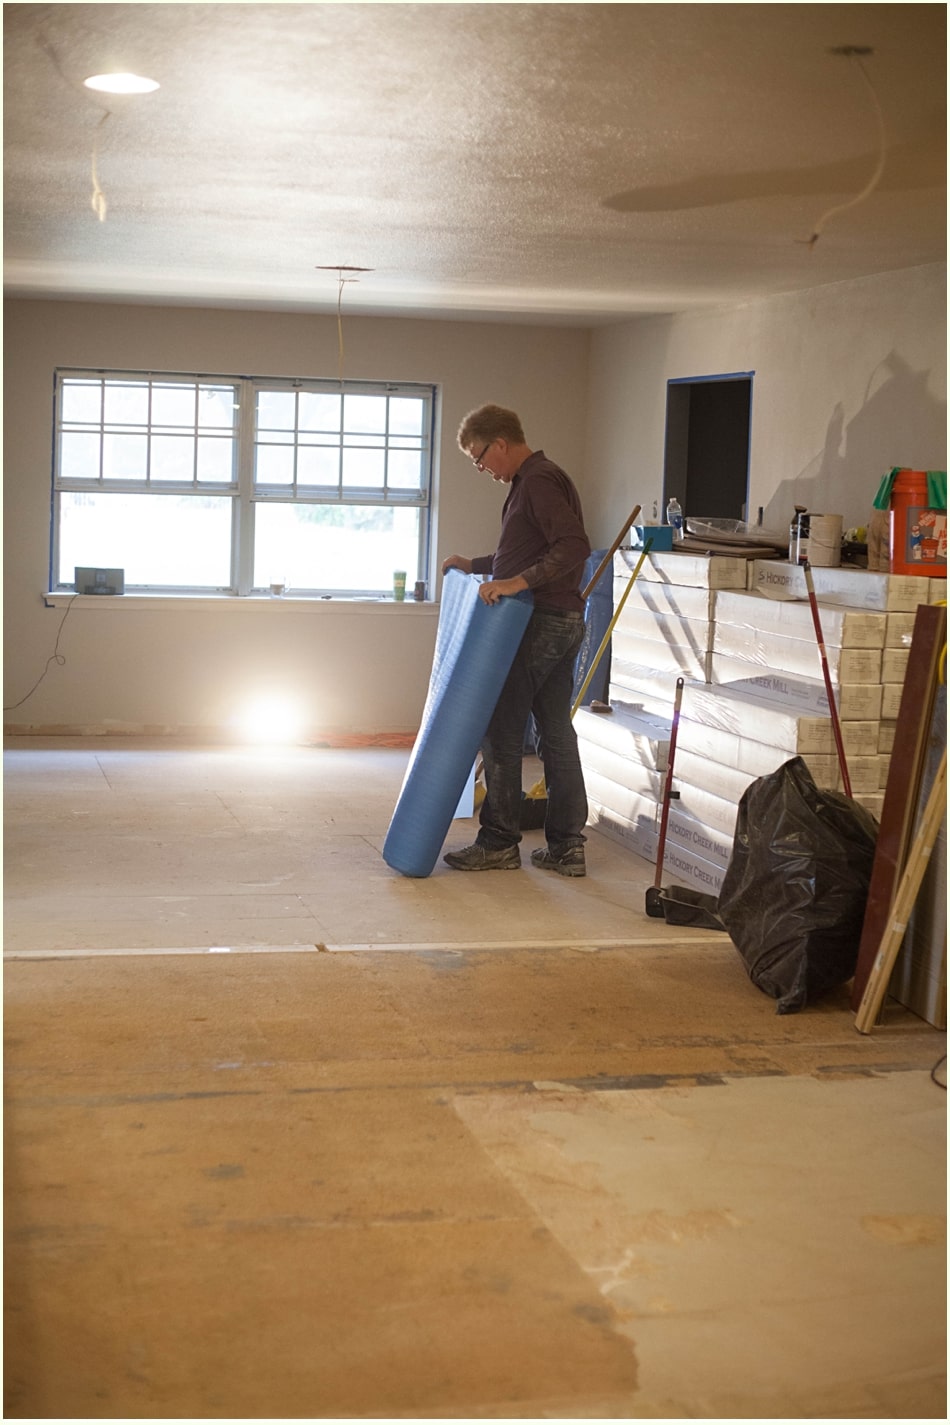
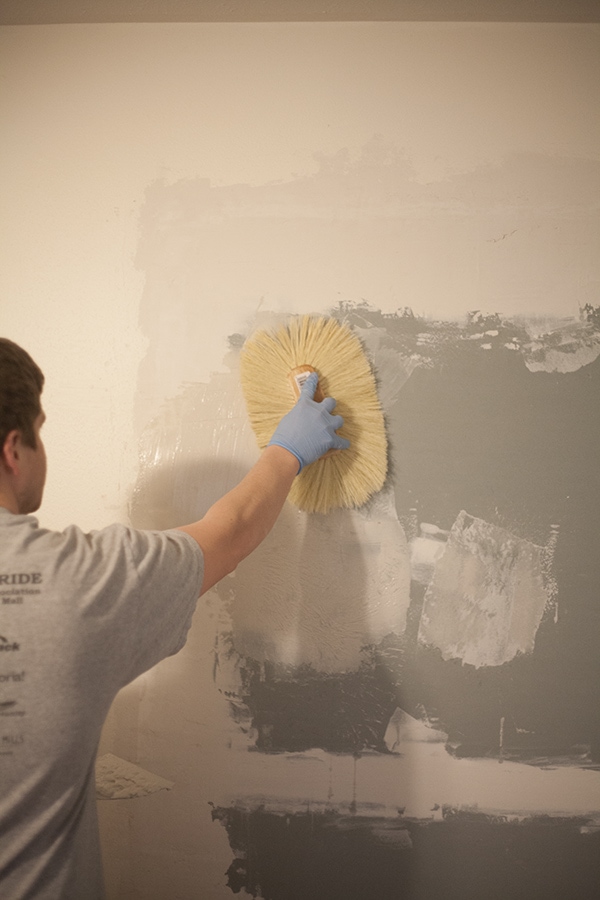
Step oneof installation is to clear the room. Since we were doing the entire front half of our house we cleared half the room, installed the floors and moved everything on to the other half to finish it out.Step two is prepping the surface. We had actually cut out the awful carpet the first day we demoed (way back when we had 3 rooms instead of 1!) but we also had to remove the ceramic tiles in the kitchen. I’m proud to say I did a lot of that myself one day while Scott was working – I really felt like wonder woman or something. Even though we had already done a ton of prep Scott, my dad, my mom and I all got down on hands and knees and pulled out over 100 staples where carpet had previously been.
Step three – laying the underlayment. I would recommend for anyone to splurge a little more on the underlayment if they can! We got a package deal where the least expensive underlayment was thrown in for free. It was great for our budget and since we went with a super thick 12 mm board we didn’t really need a lot of sound barrier- especially since we have a one story house.
I will say this- the underlayment was definitely not high quality. It tore and ripped constantly if you stood on it the wrong way or if you had to crawl on your hands and knees (which you are doing 90% of the time!). We were able to patch the holes with duct tape but it was a pain in the rear for sure.
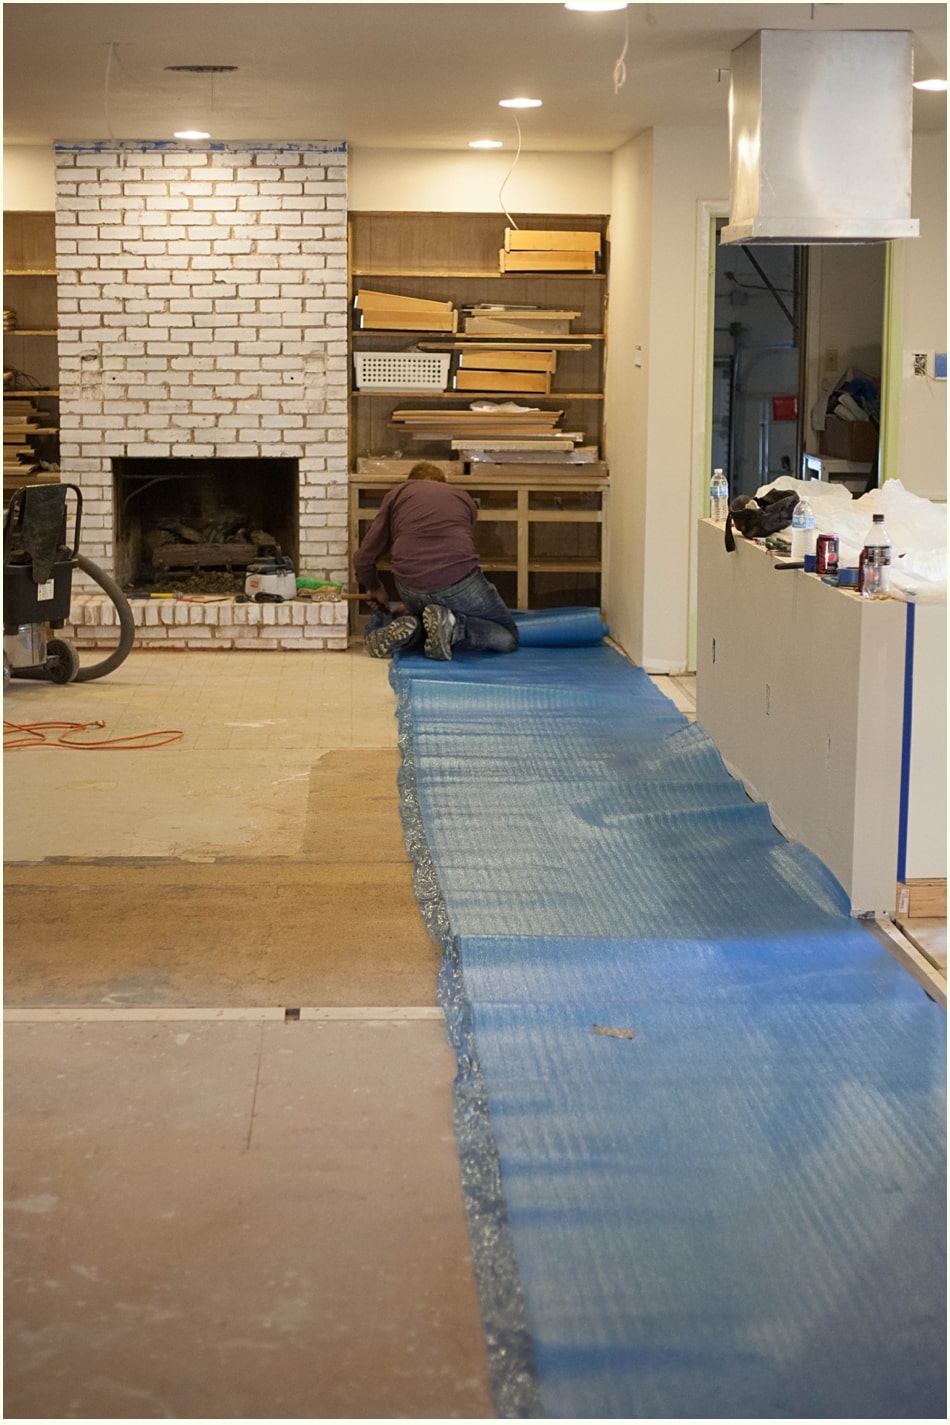
Step four– check the underlayment. You have to make sure that it’s perfectly smooth and doesn’t overlap itself anywhere. Even the slightest bump can mess up your floors pretty bad – I was skeptical until I saw it with my own eyes. In some ways the underlayment was the most time consuming part of the entire process. I did mine by overlapping them about ½” on top of each other than coming back with an exacto knife to cut the top layer off.
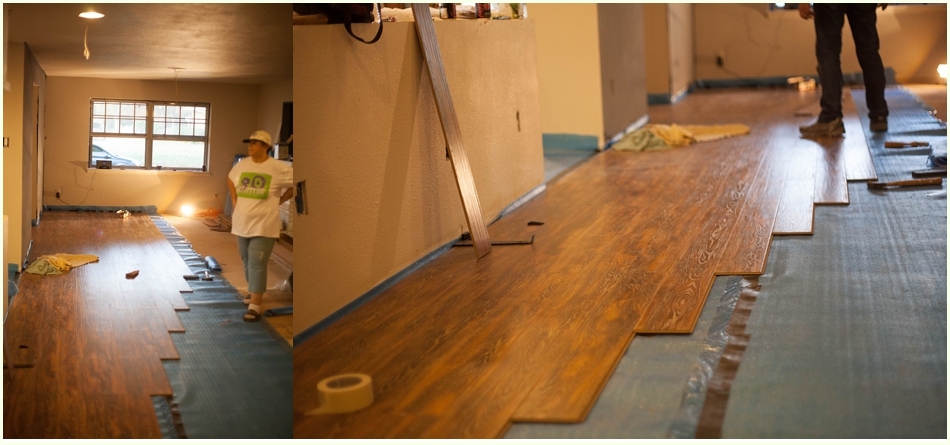
Step five– piece together your floor. It took us over an hour to figure out how to get it together. My dad mentioned this was the hardest floor he had ever done- the pieces simply didn’t want to click together. This is something else I would’ve changed- while I love the floor I would recommend anyone to get a demonstration from the store about how they click together and make sure you can do a few pieces to try it out while you are there. Otherwise you will be kicking yourself at 8am on a Saturday morning!

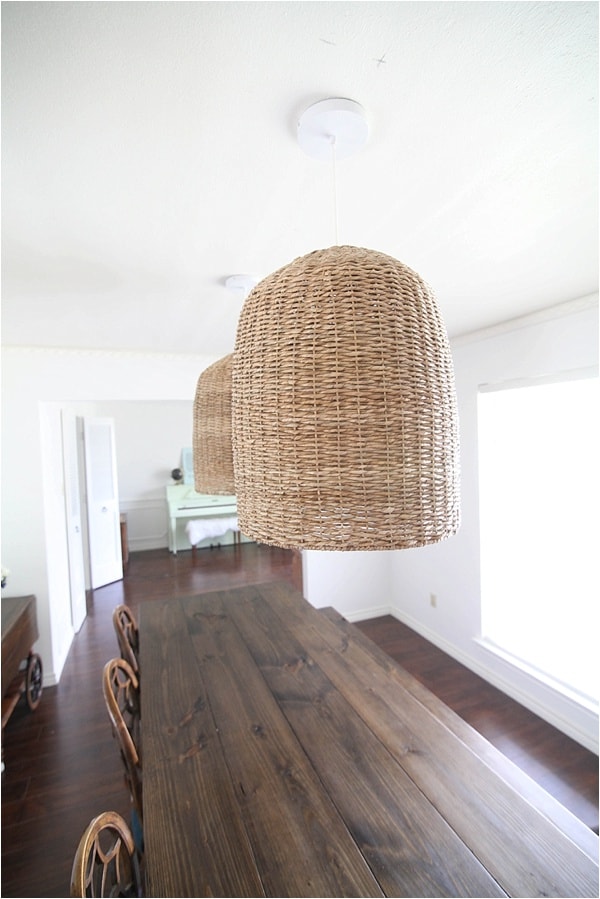
Once dad and Scott figured out a trick to make it work they did one long row spanning from the dining room to the edge of the bookshelf. Once they had that row done, they came along side of it and did a second row, starting with a board cut in half so it would be staggered. They stopped the row one board before the end, then started a third row, etc so in the end the floor was perfectly lined up and staggered in an ascending pyramid style. Apparently this helps the floor stay straight and locked in place- some math something something :p
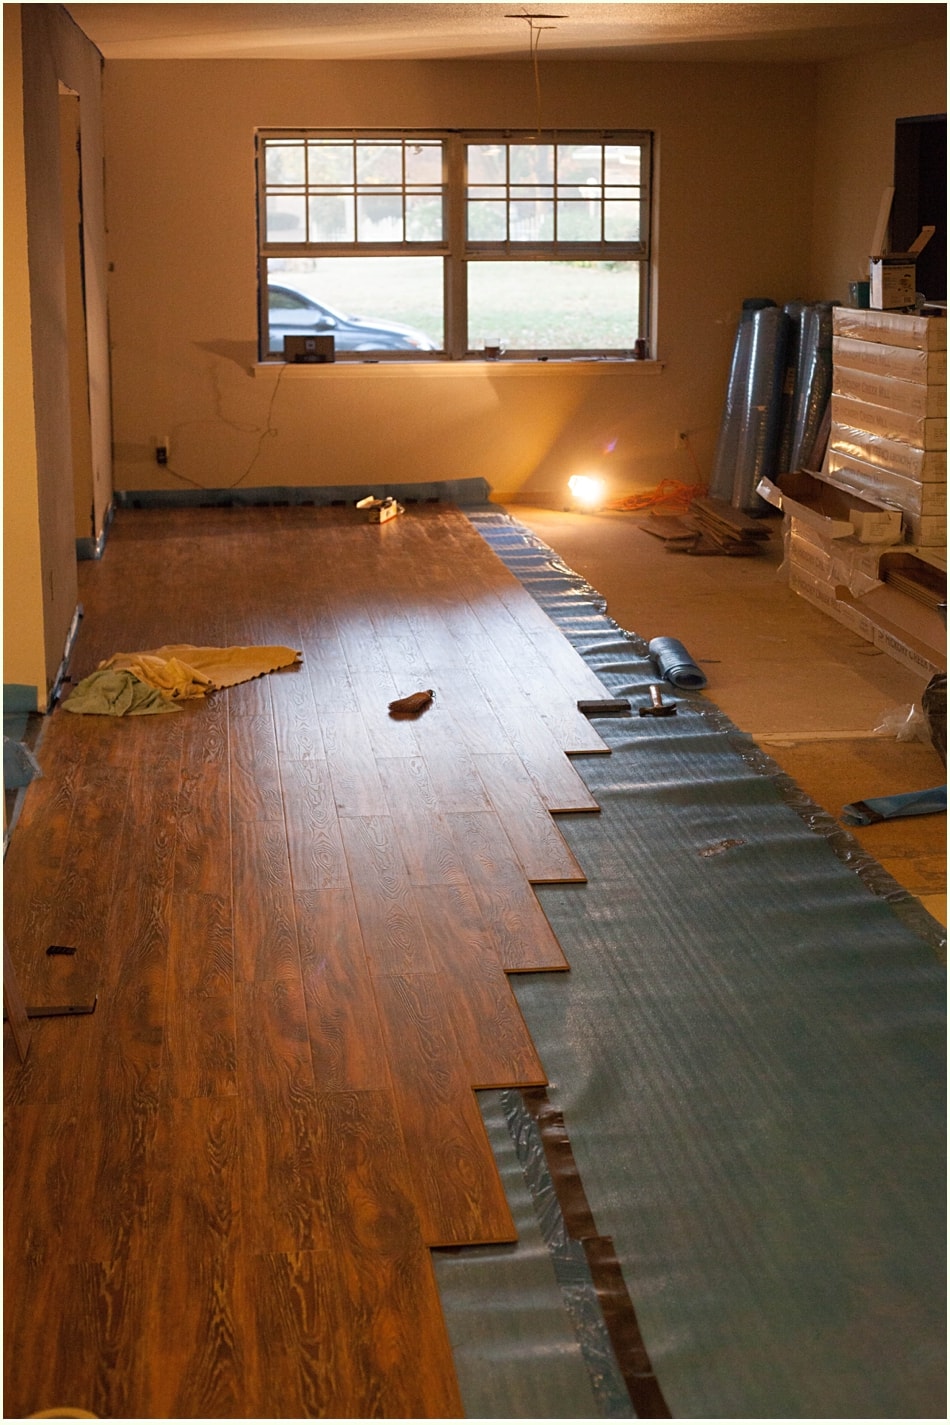
From here we “bled” the floor into the kitchen/pantry, around the island and back to the other side to meet back around the other side of the island.
We opted to undercut the fireplace rather then put the wood up to it and trim around it with quarter round. That involved renting a took from home depot, cutting up the brick and carefully cutting/sliding in floor. I really wasn’t convinced it was worth it, especially when it took Scott and I over 2 hours to get the final piece in. But now that I see it- I’m liking it much more! And also- I liked getting to watch his booty 😛 (we are married- it’s ok!)
We opted to undercut the fireplace rather then put the wood up to it and trim around it with quarter round. That involved renting a took from home depot, cutting up the brick and carefully cutting/sliding in floor. I really wasn’t convinced it was worth it, especially when it took Scott and I over 2 hours to get the final piece in. But now that I see it- I’m liking it much more! And also- I liked getting to watch his booty 😛 (we are married- it’s ok!)

My parents were super gracious and stayed all day Saturday and Sunday to help us! We were a powerhouse team and with four people working on it we were 85% done by the time my poor parents stumbled out the door Sunday night. It took Scott and I 4 weeknights of staying up until almost midnight, and a great friend coming by to help us (a post coming very soon!!!) to finish but we did it!

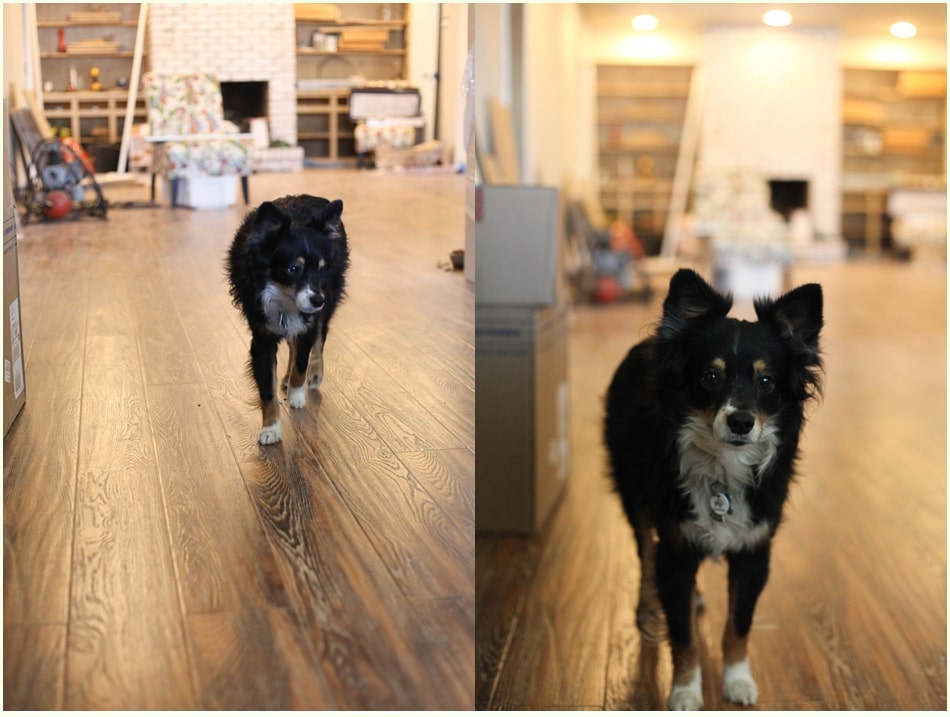
And finally! I can walk barefoot (love being without shoes! Such a hippie!), our dogs are allowed to come inside, I’m not scared of nails, etc. Hooray! Isn’t it GORGEOUS!?!!?? I can’t believe this is our house!!!
Also- in case anyone was curious my BFFFs (Best Fur Friends Forever) 100% approve. 🙂 They haven’t quite figured out how to run in here without sliding and smashing into walls, but at least Scott and I are really entertained!!!


ahhh, love it! love your updates, as always. 🙂
Thanks Anne! 🙂 Soon you’ll have to come see in person!!
Right now it looks like Drupal is the best blogging platform out there
right now. (from what I’ve read) Is that what you’re using on your blog?
We did our floors. Great tutorial. Thanks for sharing at the Inspiration Spotlight party. Shared.