How To Paint A Piano With Chalk Paint
This post may contain affiliate links. As an Amazon Associate I earn from qualifying purchases.
A piano can be a source of joy and entertainment for the whole family. Even better? A painted piano can also serve as a focal point in your home and add an unexpected pop of color! Here’s everything you need to know about how to paint a piano (hint: it’s SO simple!).
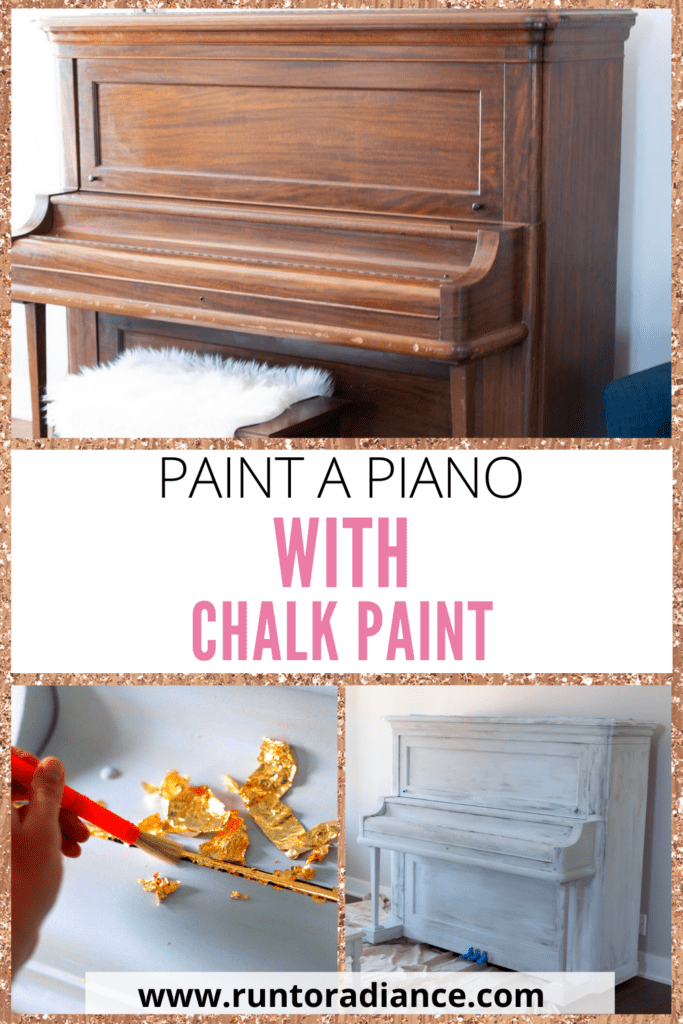
I am so excited to share with you how to paint a piano with chalk paint. If you haven’t used chalk paint before, you are going to love it. This magical paint requires no prep. Yup, no sanding or stripping, just start painting away!
In fact, you may remember a while back I painted a piano, and I am back at it again!
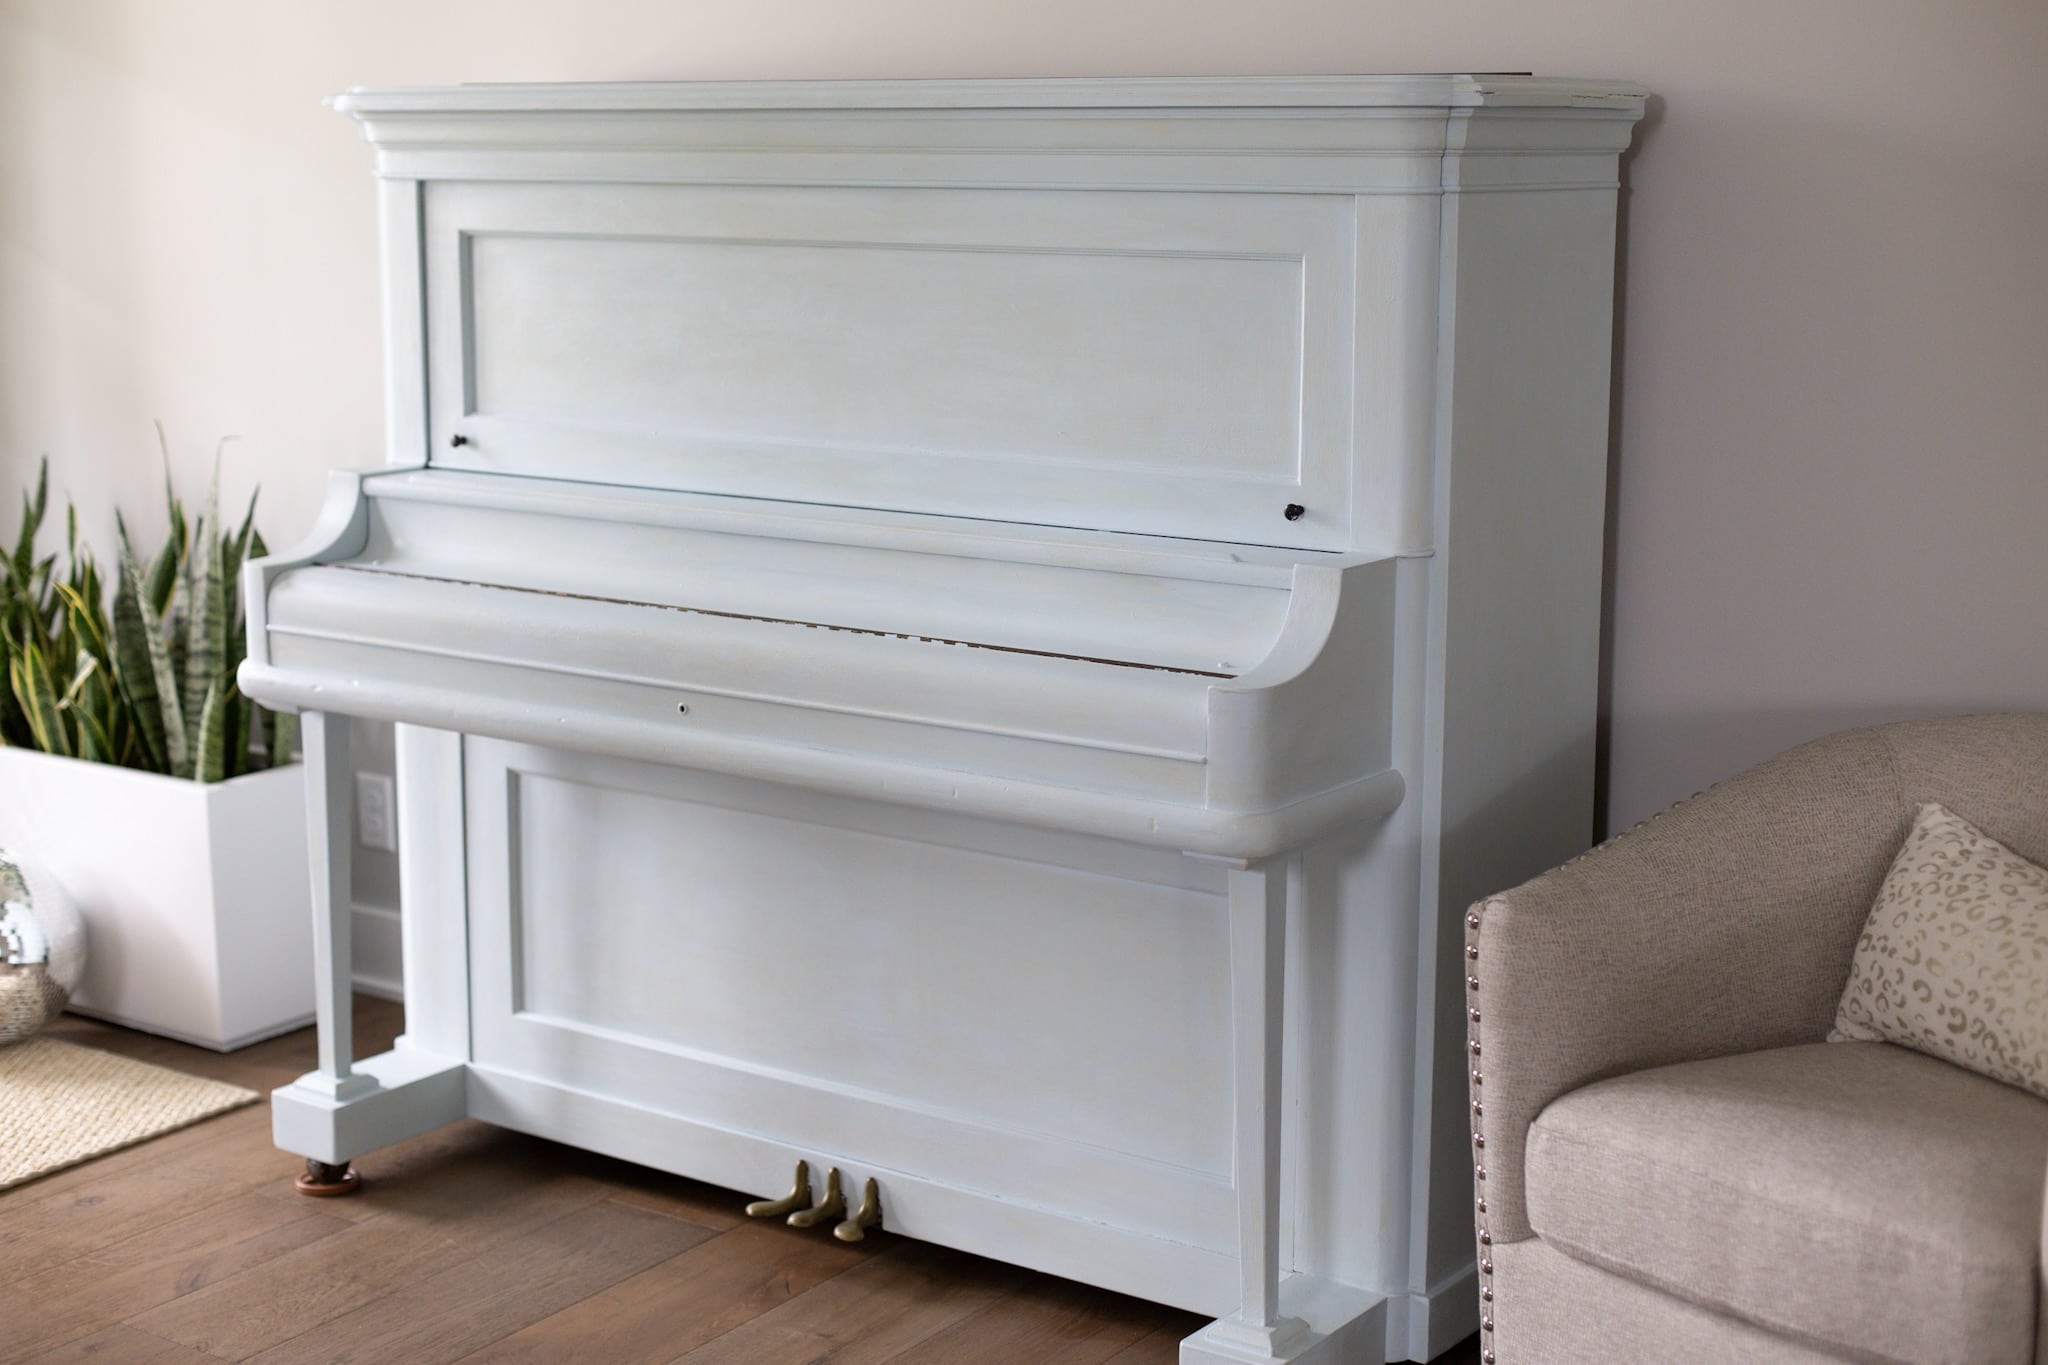
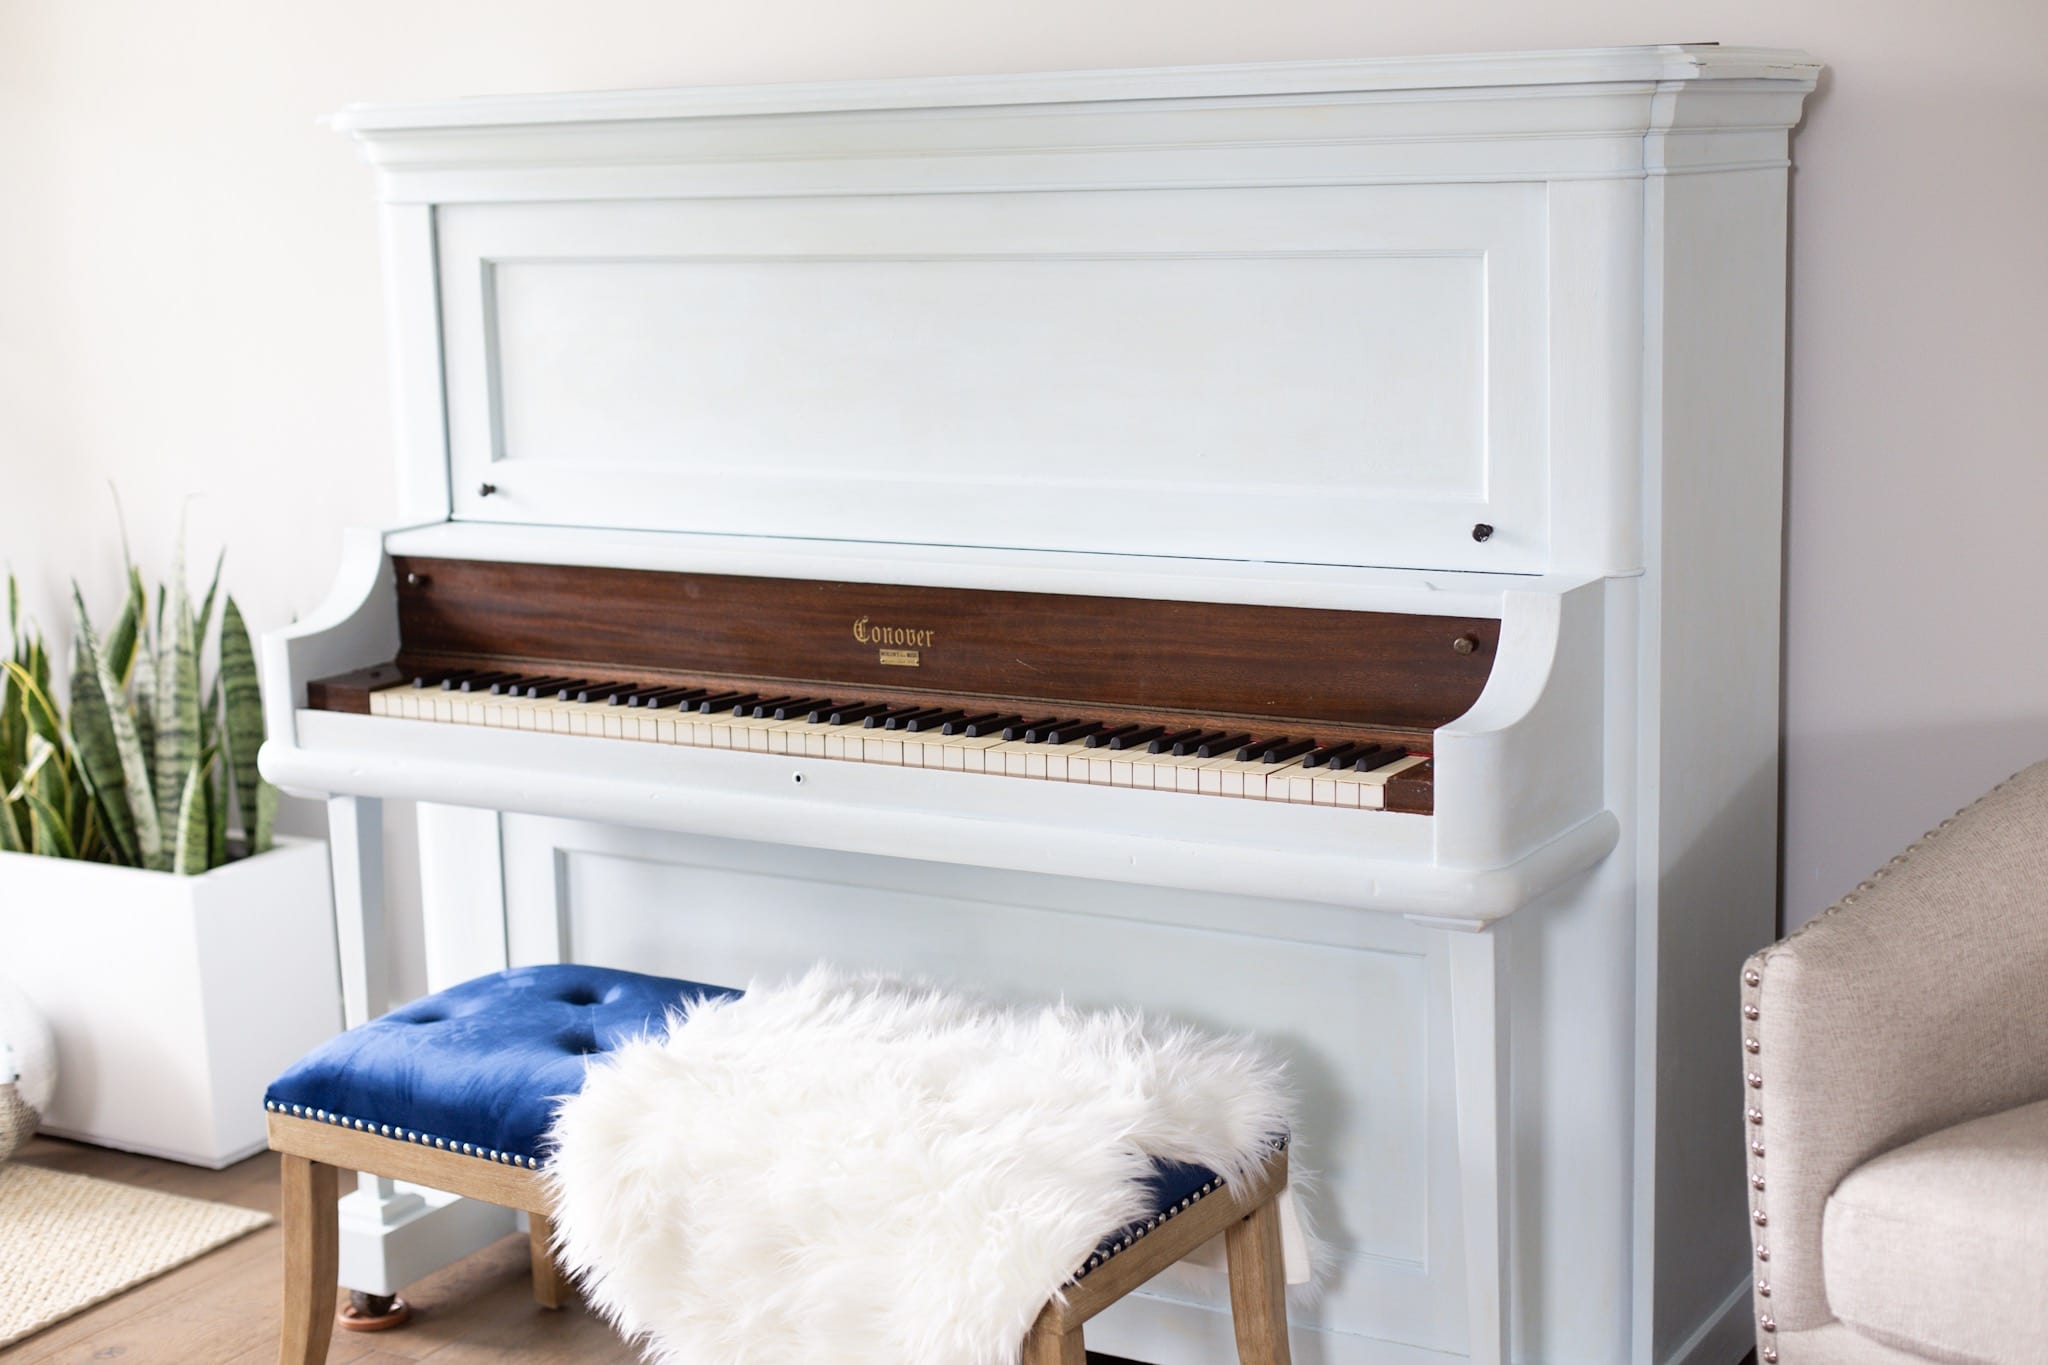
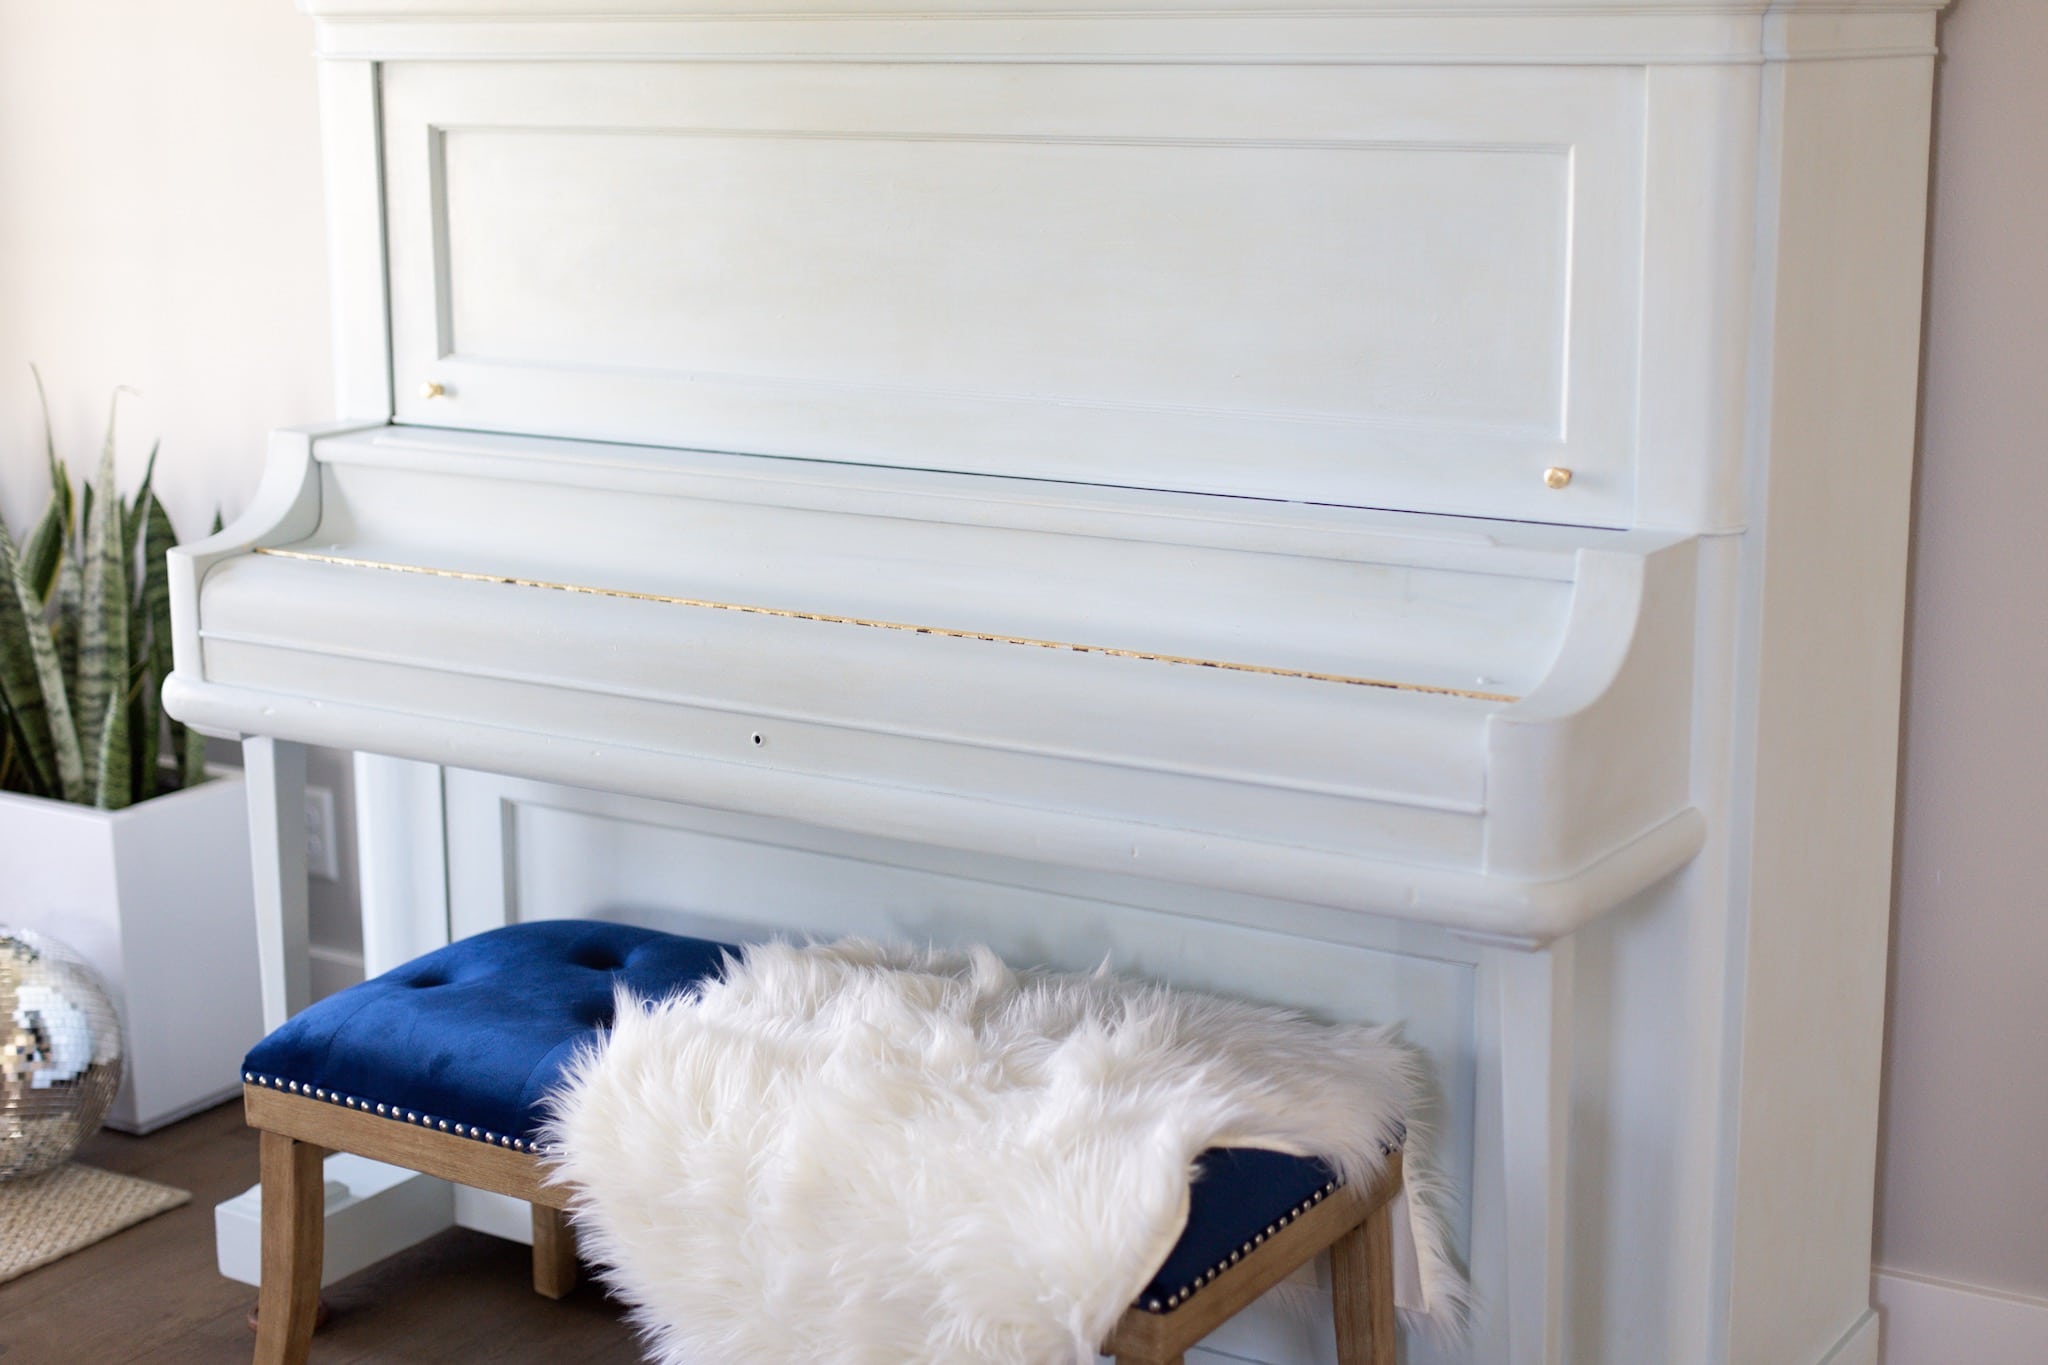
Painted Piano
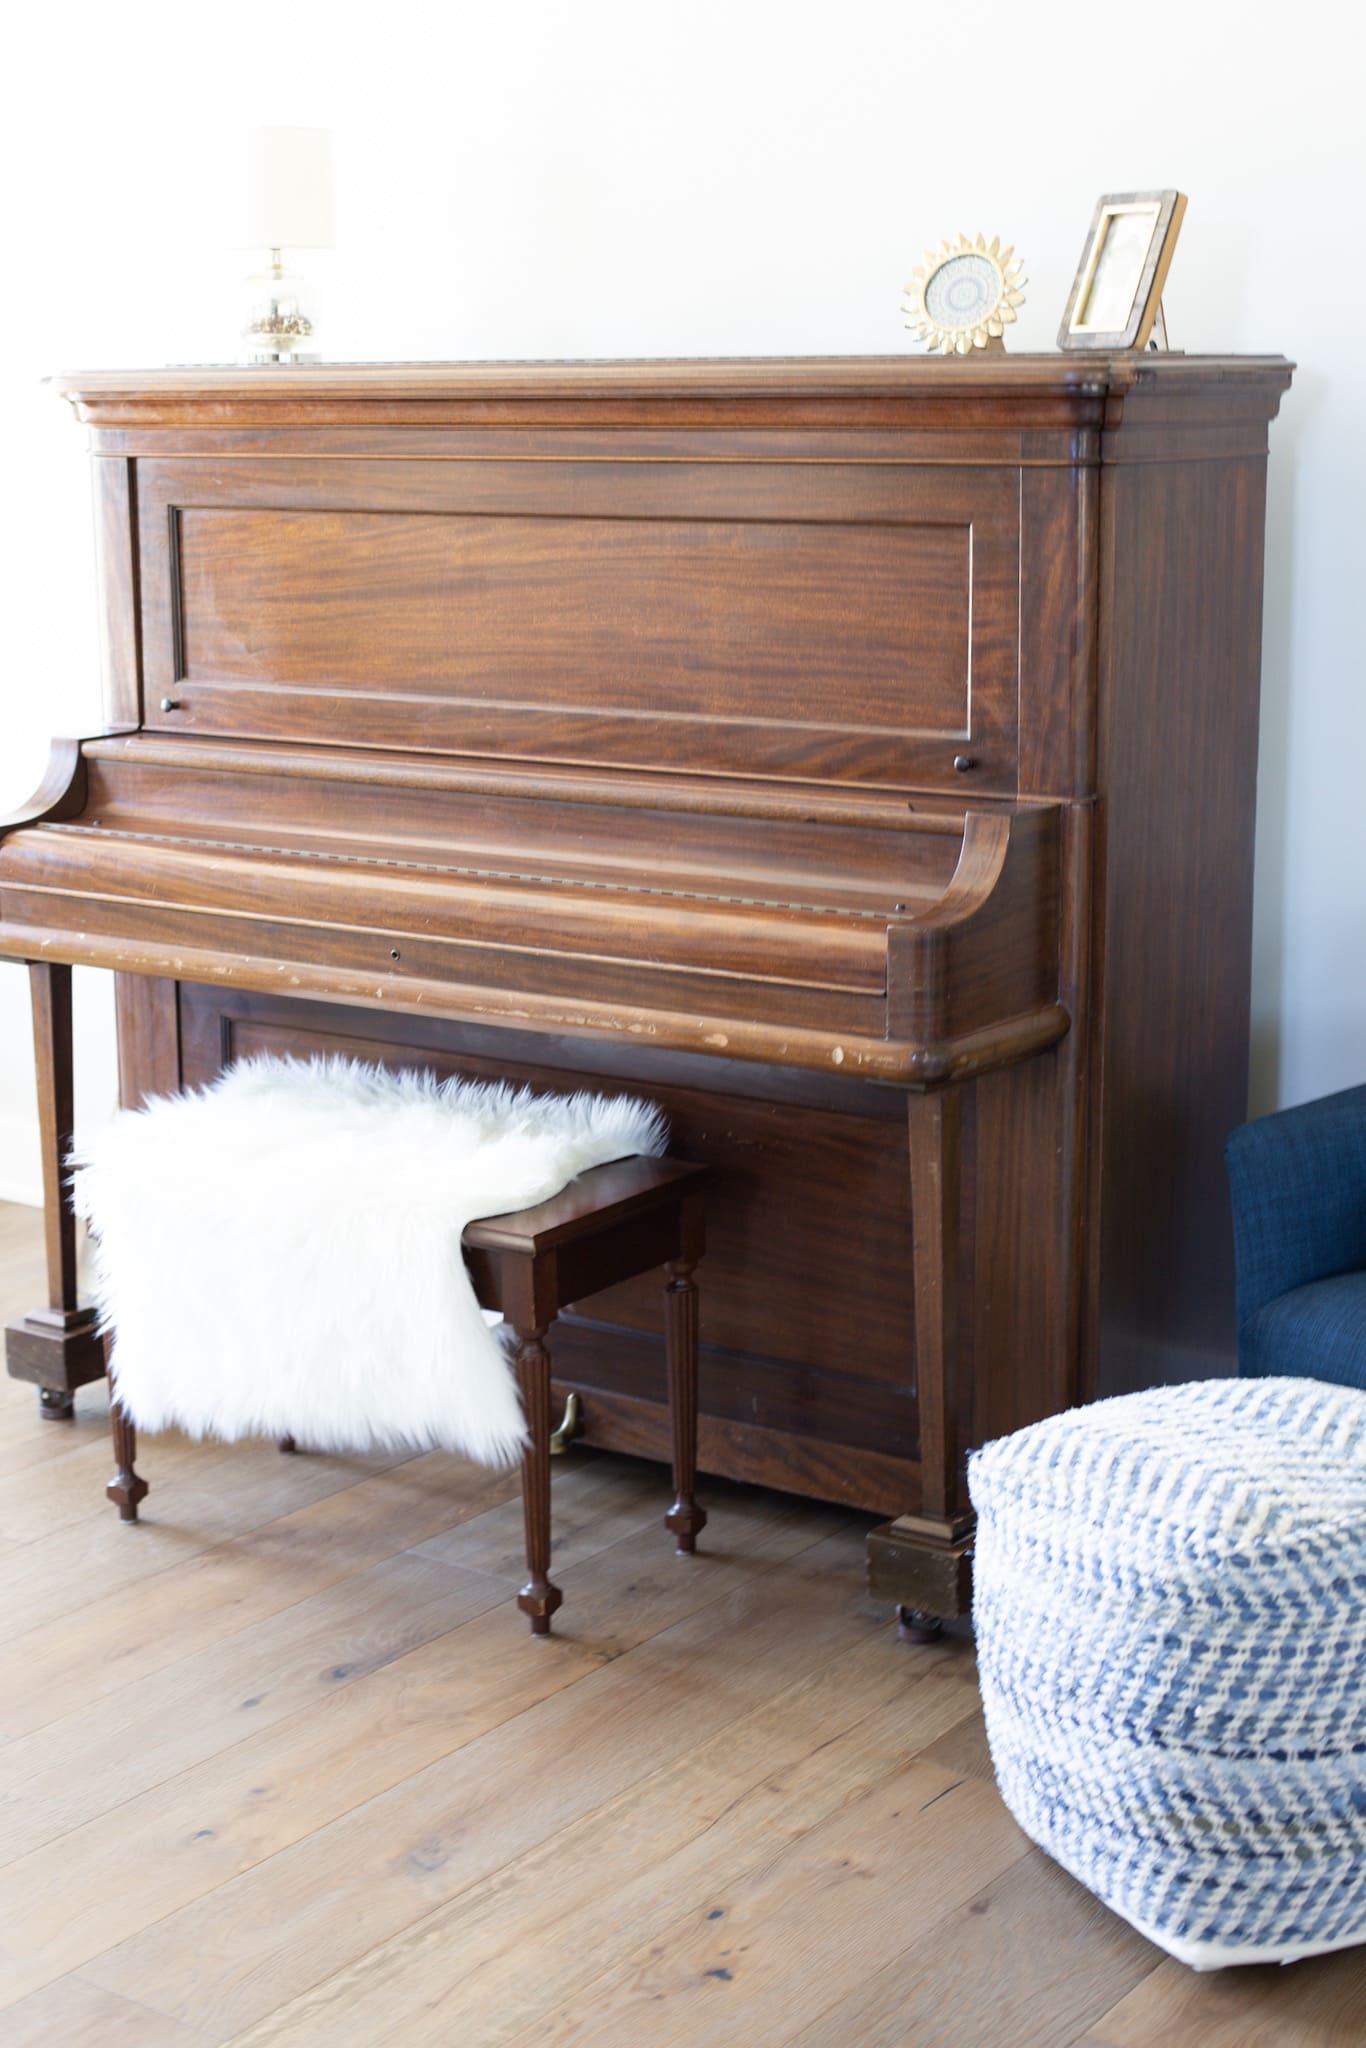
Painting a piano is a lot of fun and the result is purely gorgeous. That post is one of my reader favorites, so when I was lucky enough to acquire this very old upright piano, I instantly loved the more modern lines and shape of it.
However, I wanted to brighten up my space a bit and add a more fun pop of color, so I decided to paint it. After doing some research and having the experience of previously painting furniture, I knew that I wanted to use chalk paint again.
There is nothing wrong with the style of a classic piano, but sometimes you just want to give it a fresh and updated look. Besides, it’s pretty relaxing to work on painting a piano!
What kind of paint should I use to paint my piano?
In the past, I have used Annie Sloan Chalk Paint. It’s a wonderful brand and product – I would highly recommend it.
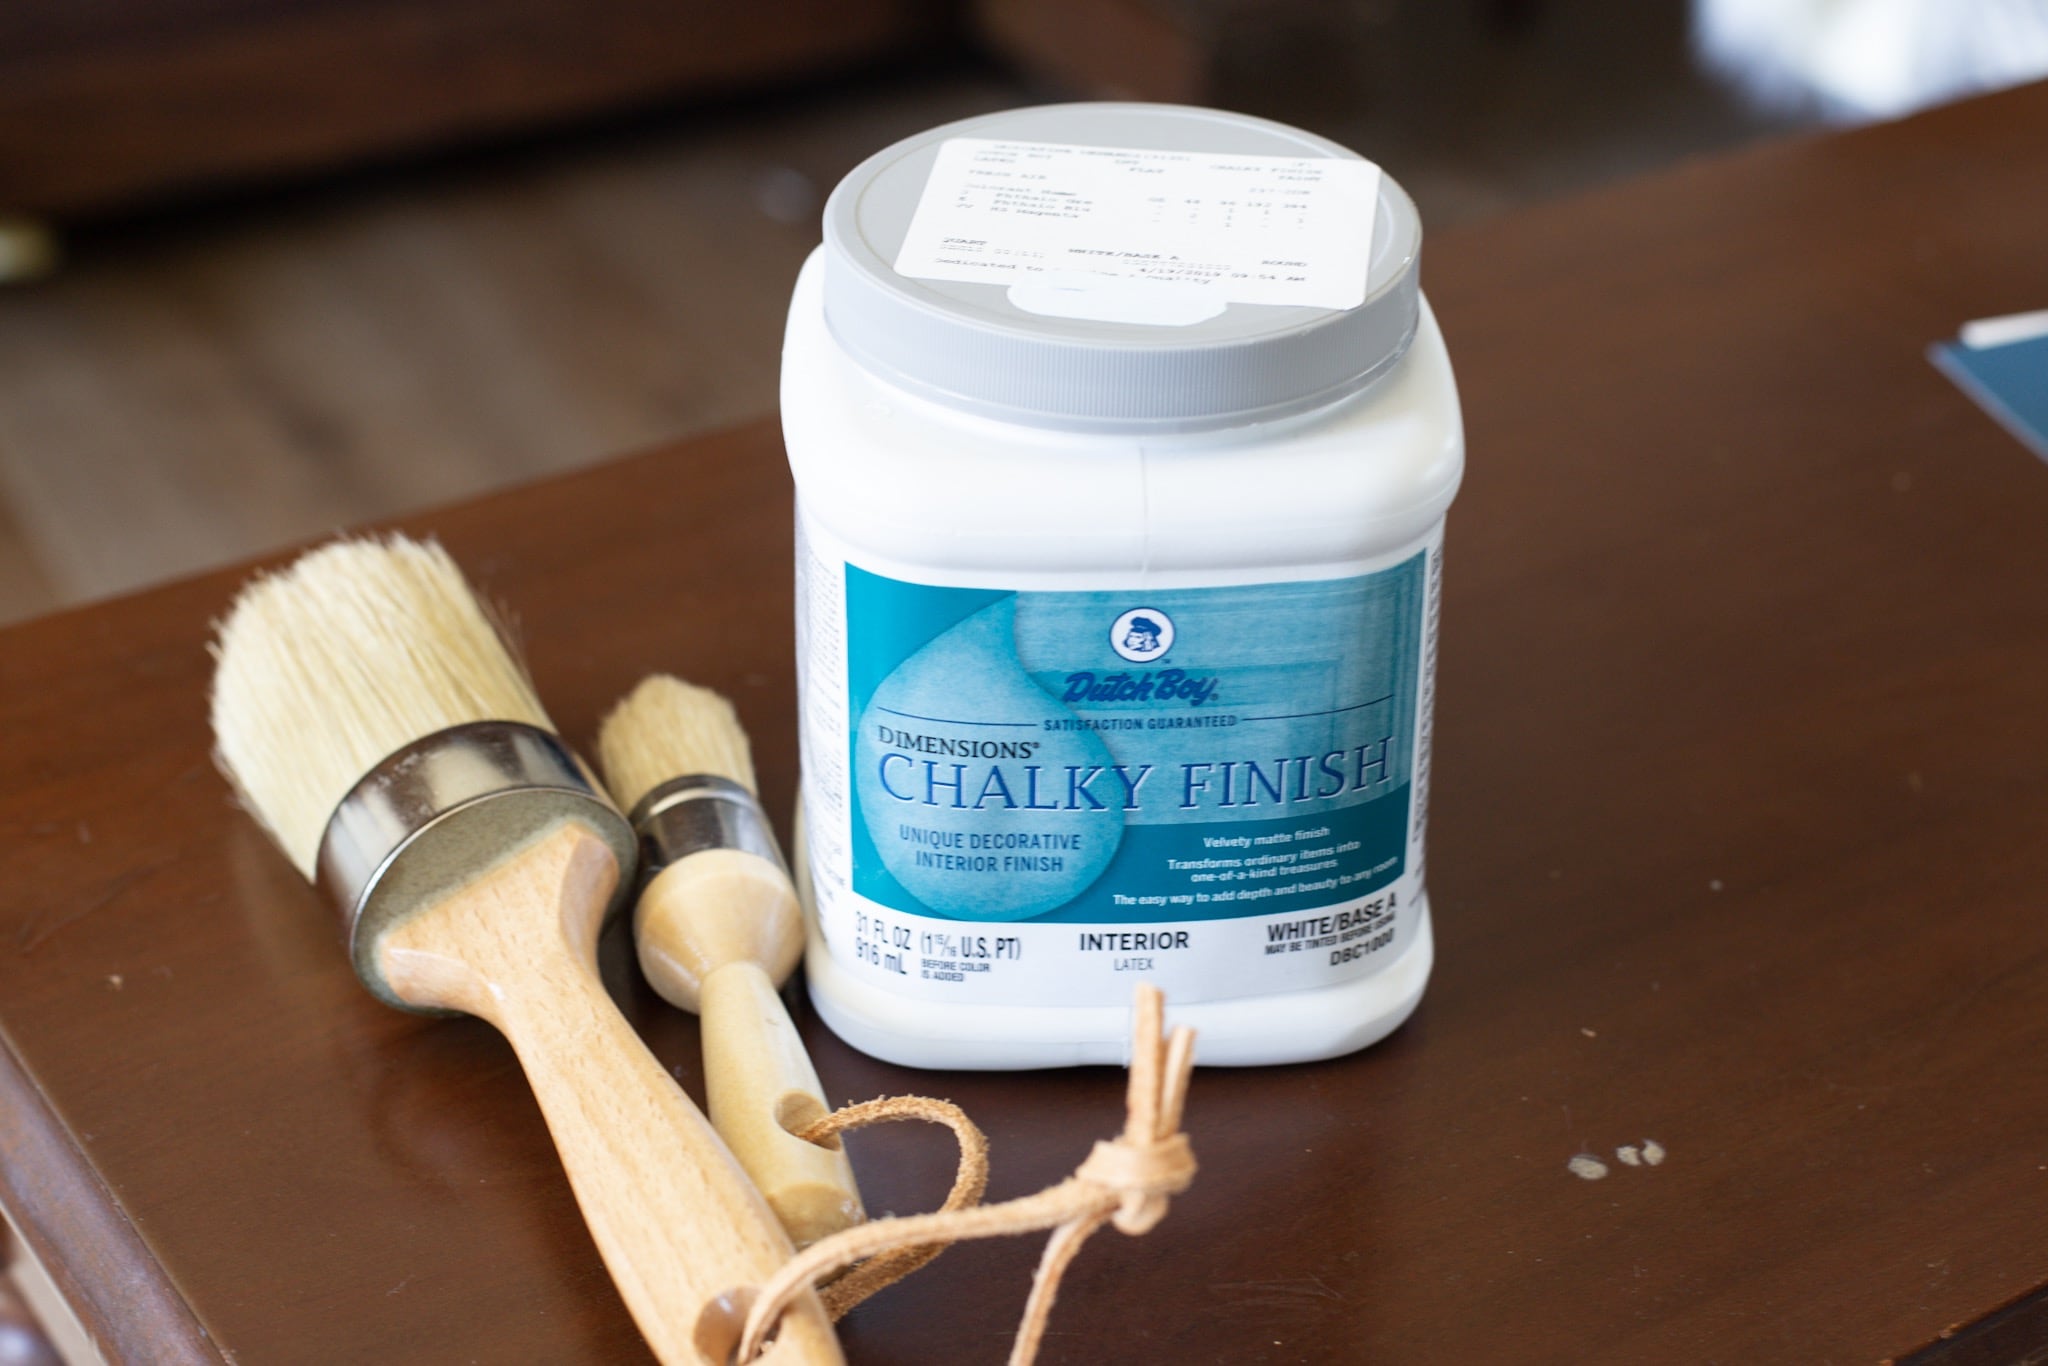
For this project, I decided to use a brand that my local hardware store carries: Dutch Boy Chalky. I really like that I was able to easily get paint swatches, they have lots of color options (any color of Dutch Boy paint) and the paint was very inexpensive. Overall it is very comparable to Annie Sloan and I would definitely recommend it.
A couple of other options are the Miss Mustard Seed’s Milk Paint or Folk Art Home Decor Chalk Paint. Both would work perfectly for this piano painting project.
How to Paint a Piano
You will be surprised by how easy this DIY project is, y’all!
Plus, chalk paint gives all your projects a creamy, gorgeous finish. If farmhouse style is your cup of tea, then I know you are really going to love this DIY piano painting project.
Painted Piano Supplies
This piano painting project doesn’t require a ton of supplies and is reasonably inexpensive to do. Here are the supplies you will need to get started:
- Dutch Boy Chalky Paint (I used Sky Blue, but any color works) or Miss Mustard Seed’s Milk Paint, or Folk Art Home Decor Chalk Paint
- Wax: Minwax Paste Finishing Wax in Natural
- Paintbrush and waxing set: Pro Chalk & Wax Brush Set
- Dropcloth
- Gold leaf – optional but highly recommended!
- Gold leaf glue – also optional
- 3-4 old t-shirts for waxing
Directions For How To Paint A Piano With Chalk Paint:
1. Choose Your Color
First, you will want to pick your paint colors. There are TONS of colors to choose from, so just pick something that matches your style.
2. Clean the Piano Off
Then, you will want to clean your piano. I did this several times and allowed plenty of drying time before painting. This is an important step or the paint won’t adhere properly.
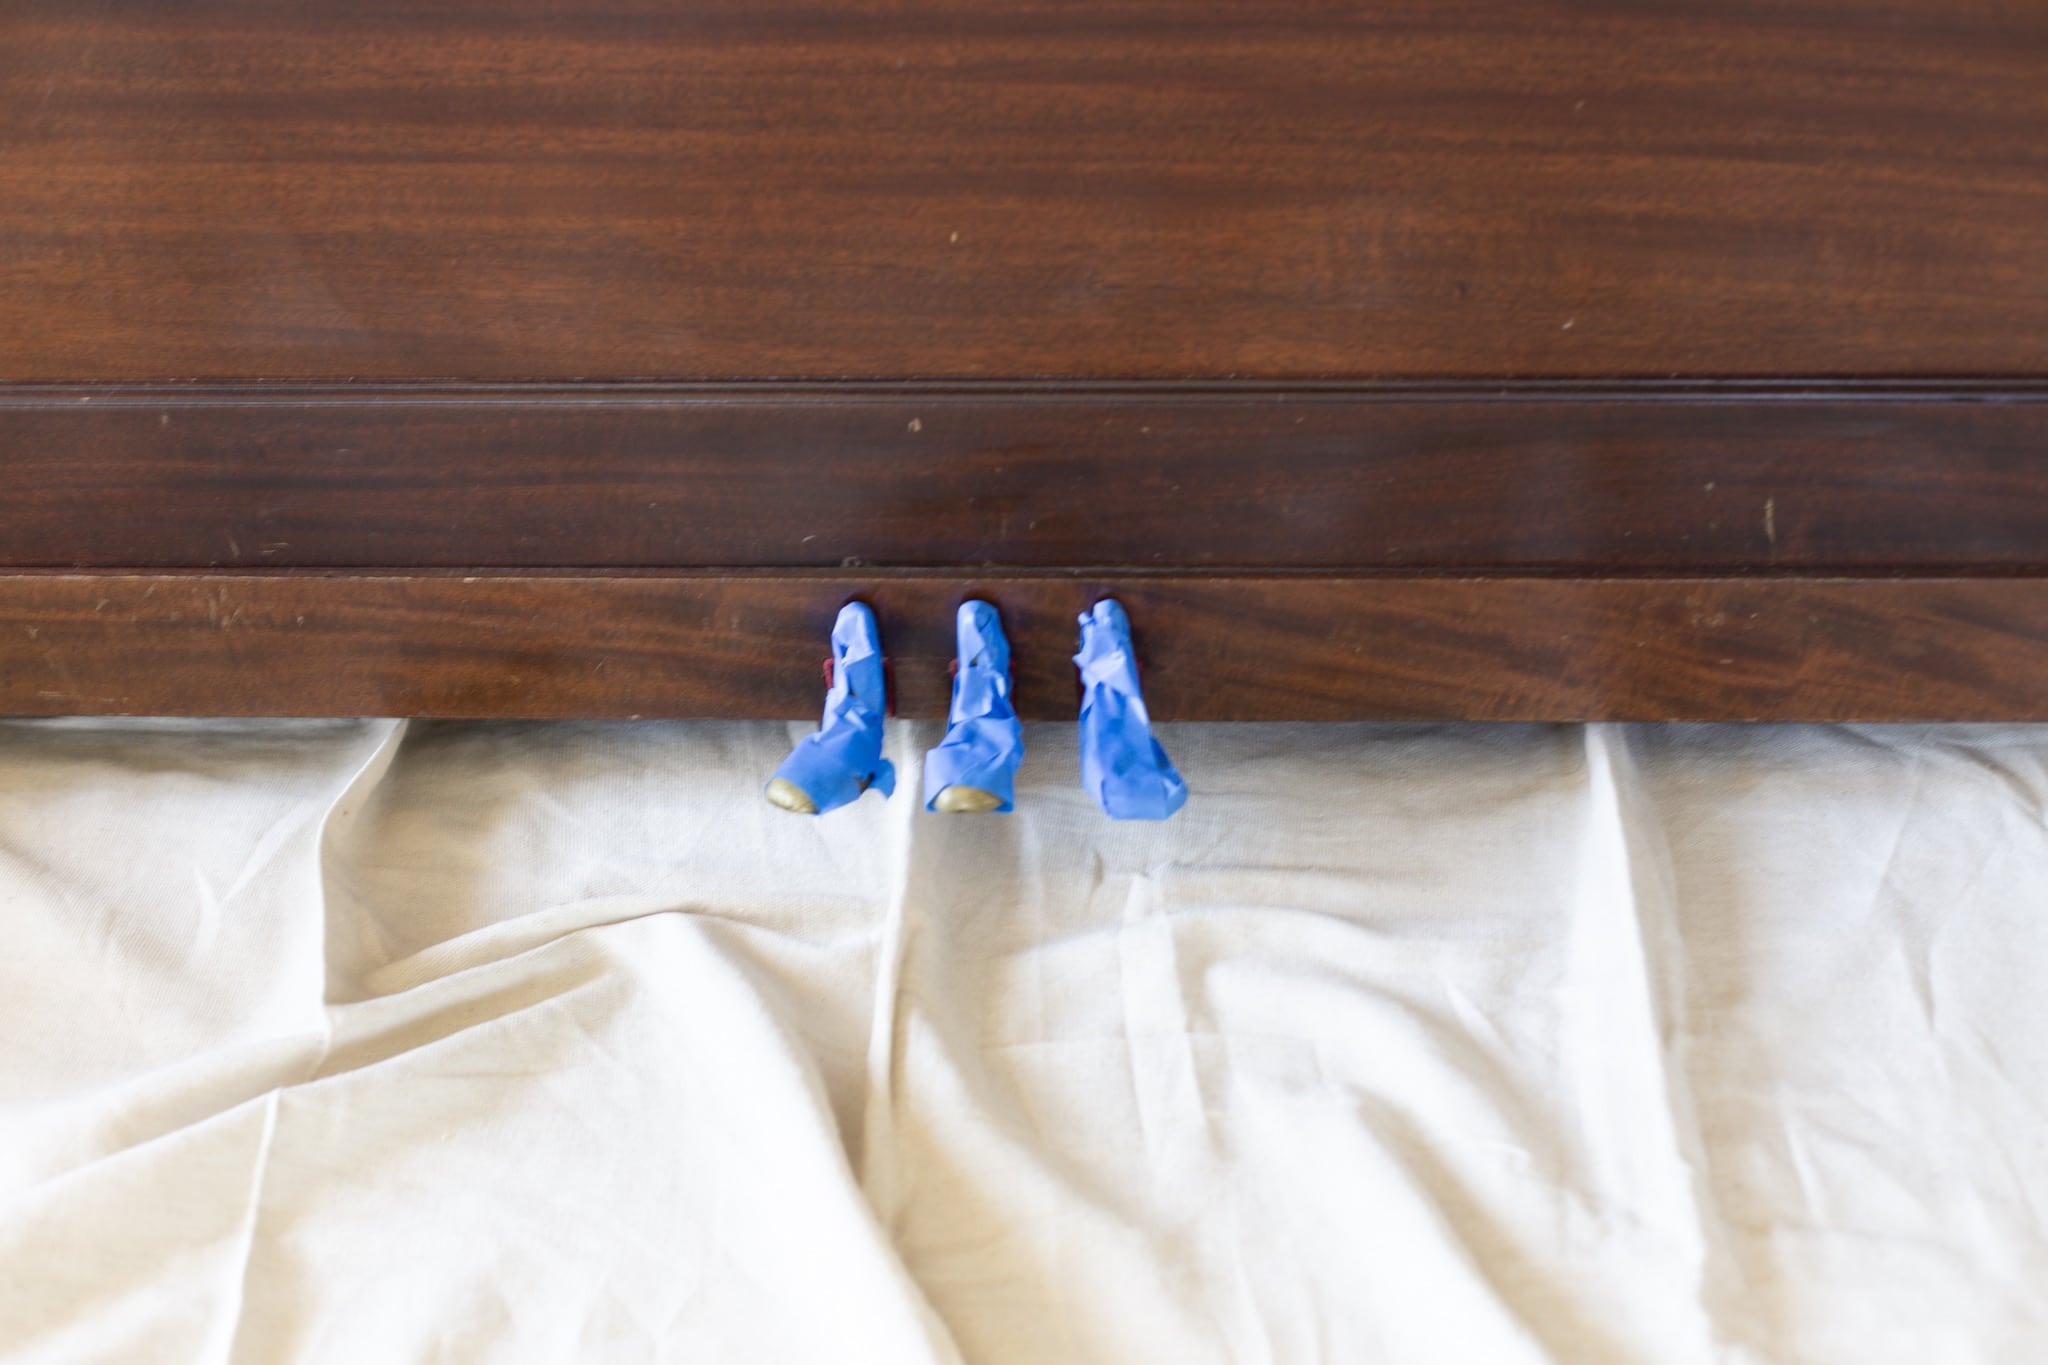
3. Tape off Parts of the Piano You Don’t Want Paint On
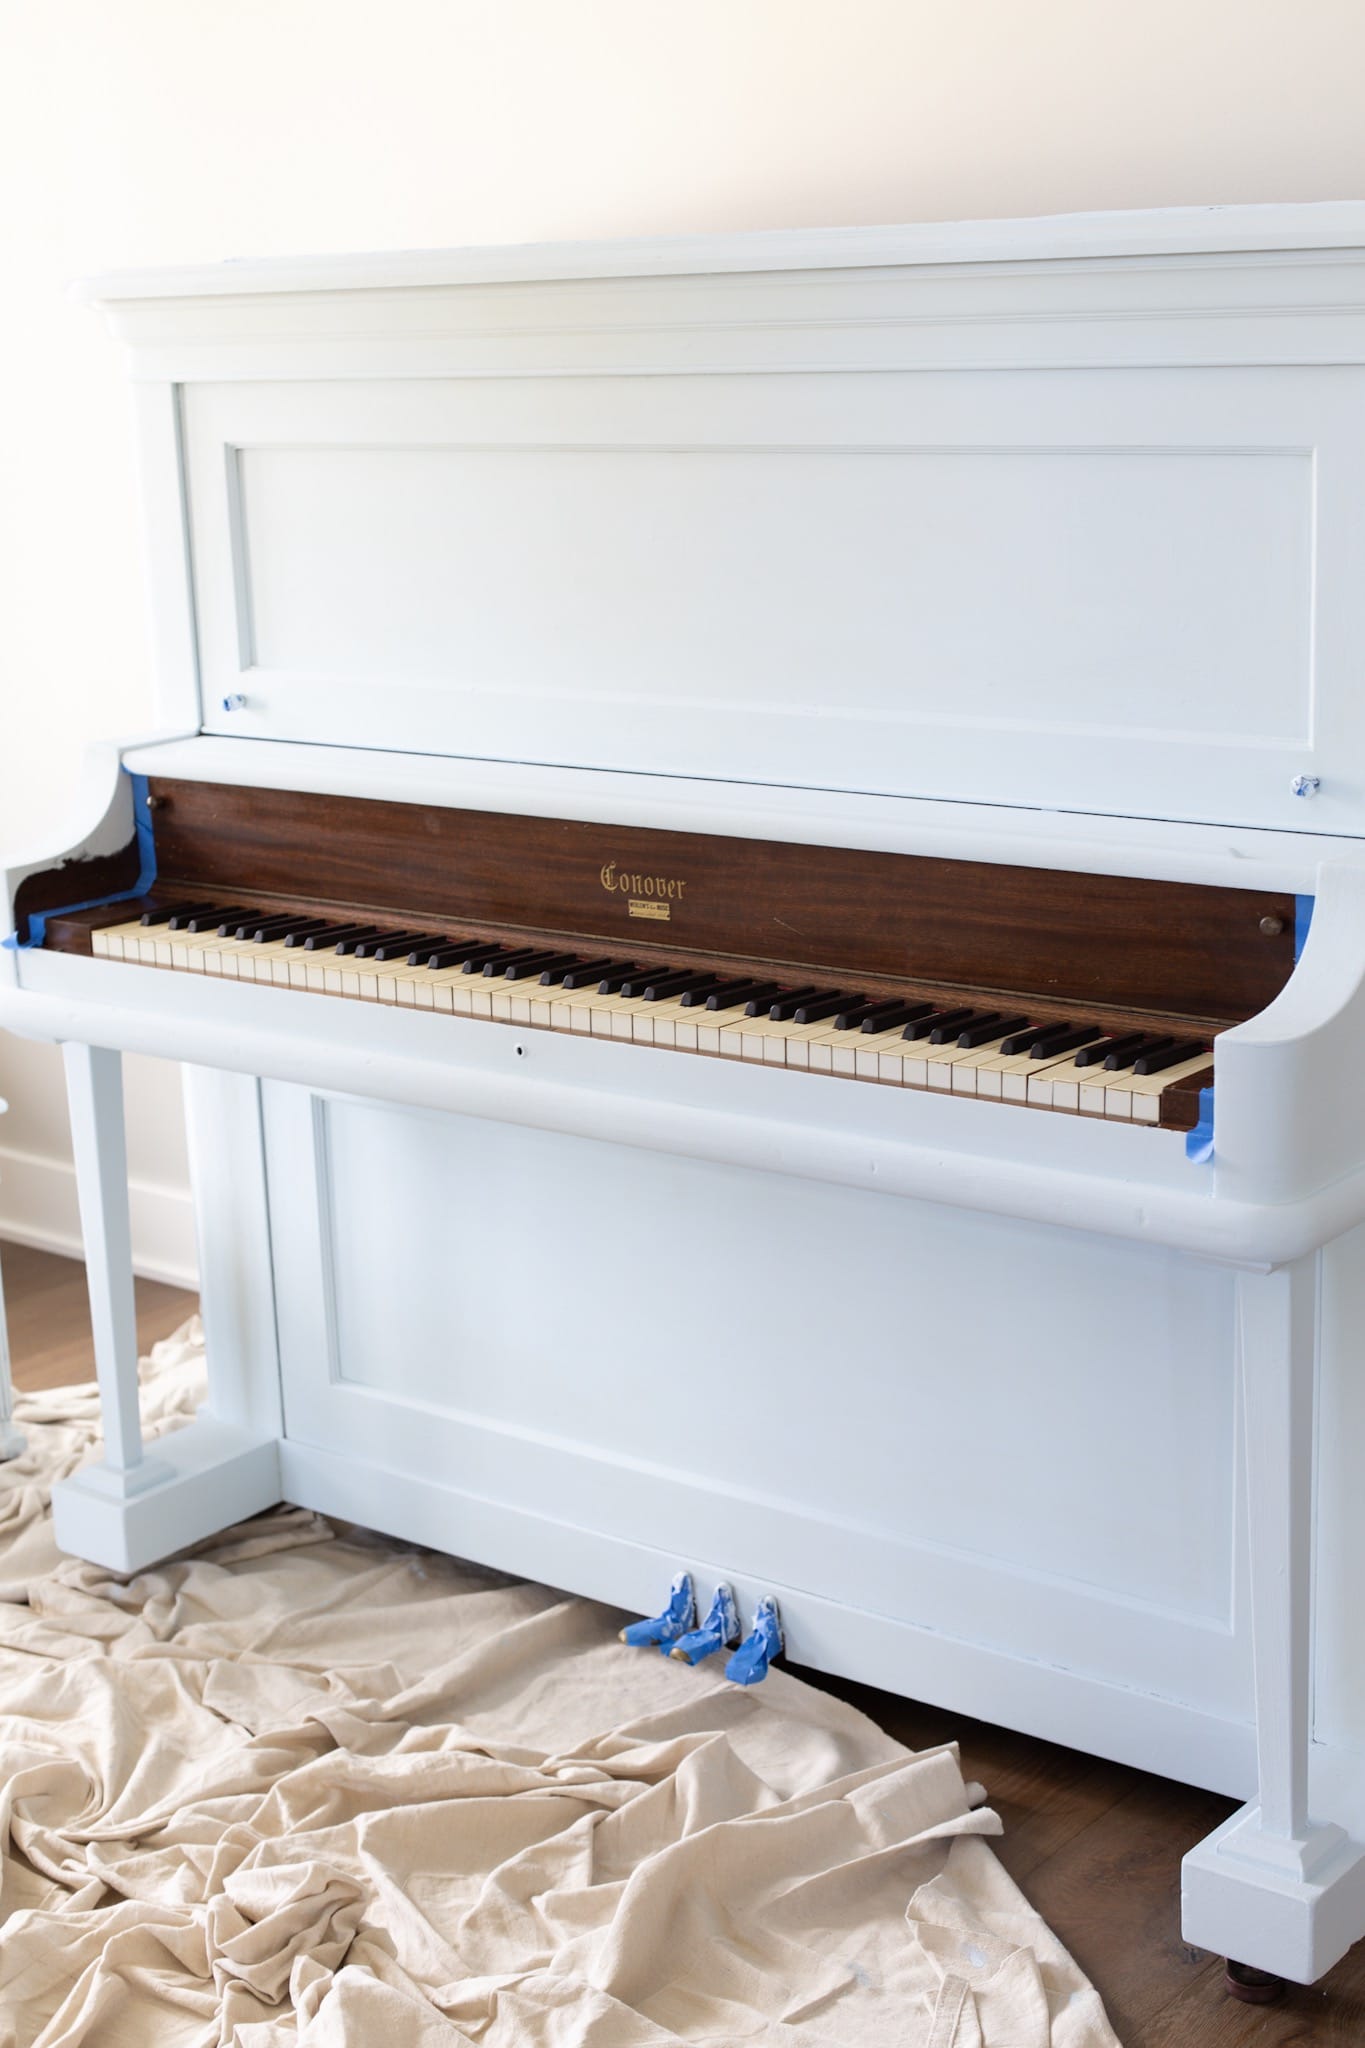
Now, it’s time to tape off the piano. You will want to use painter’s tape to tape off the keys, foot pedals, and any handles (etc.,) on your piano. It is important that no paint has access to any functional music parts of the piano.
You also want to keep in mind that you will need to open and have access to certain areas of your piano so you don’t want to seal it up by painting too thick.
4. Test an Area
Next, you will want to test an area. I painted the entire bench as my test area. I planned on replacing the bench anyway, so I figured it was the perfect thing to test paint.

5. Start Painting!
After you test the paint on the bench, it’s time to get started painting the piano! It is best to work in sections of the piano applying thin coats of paint.
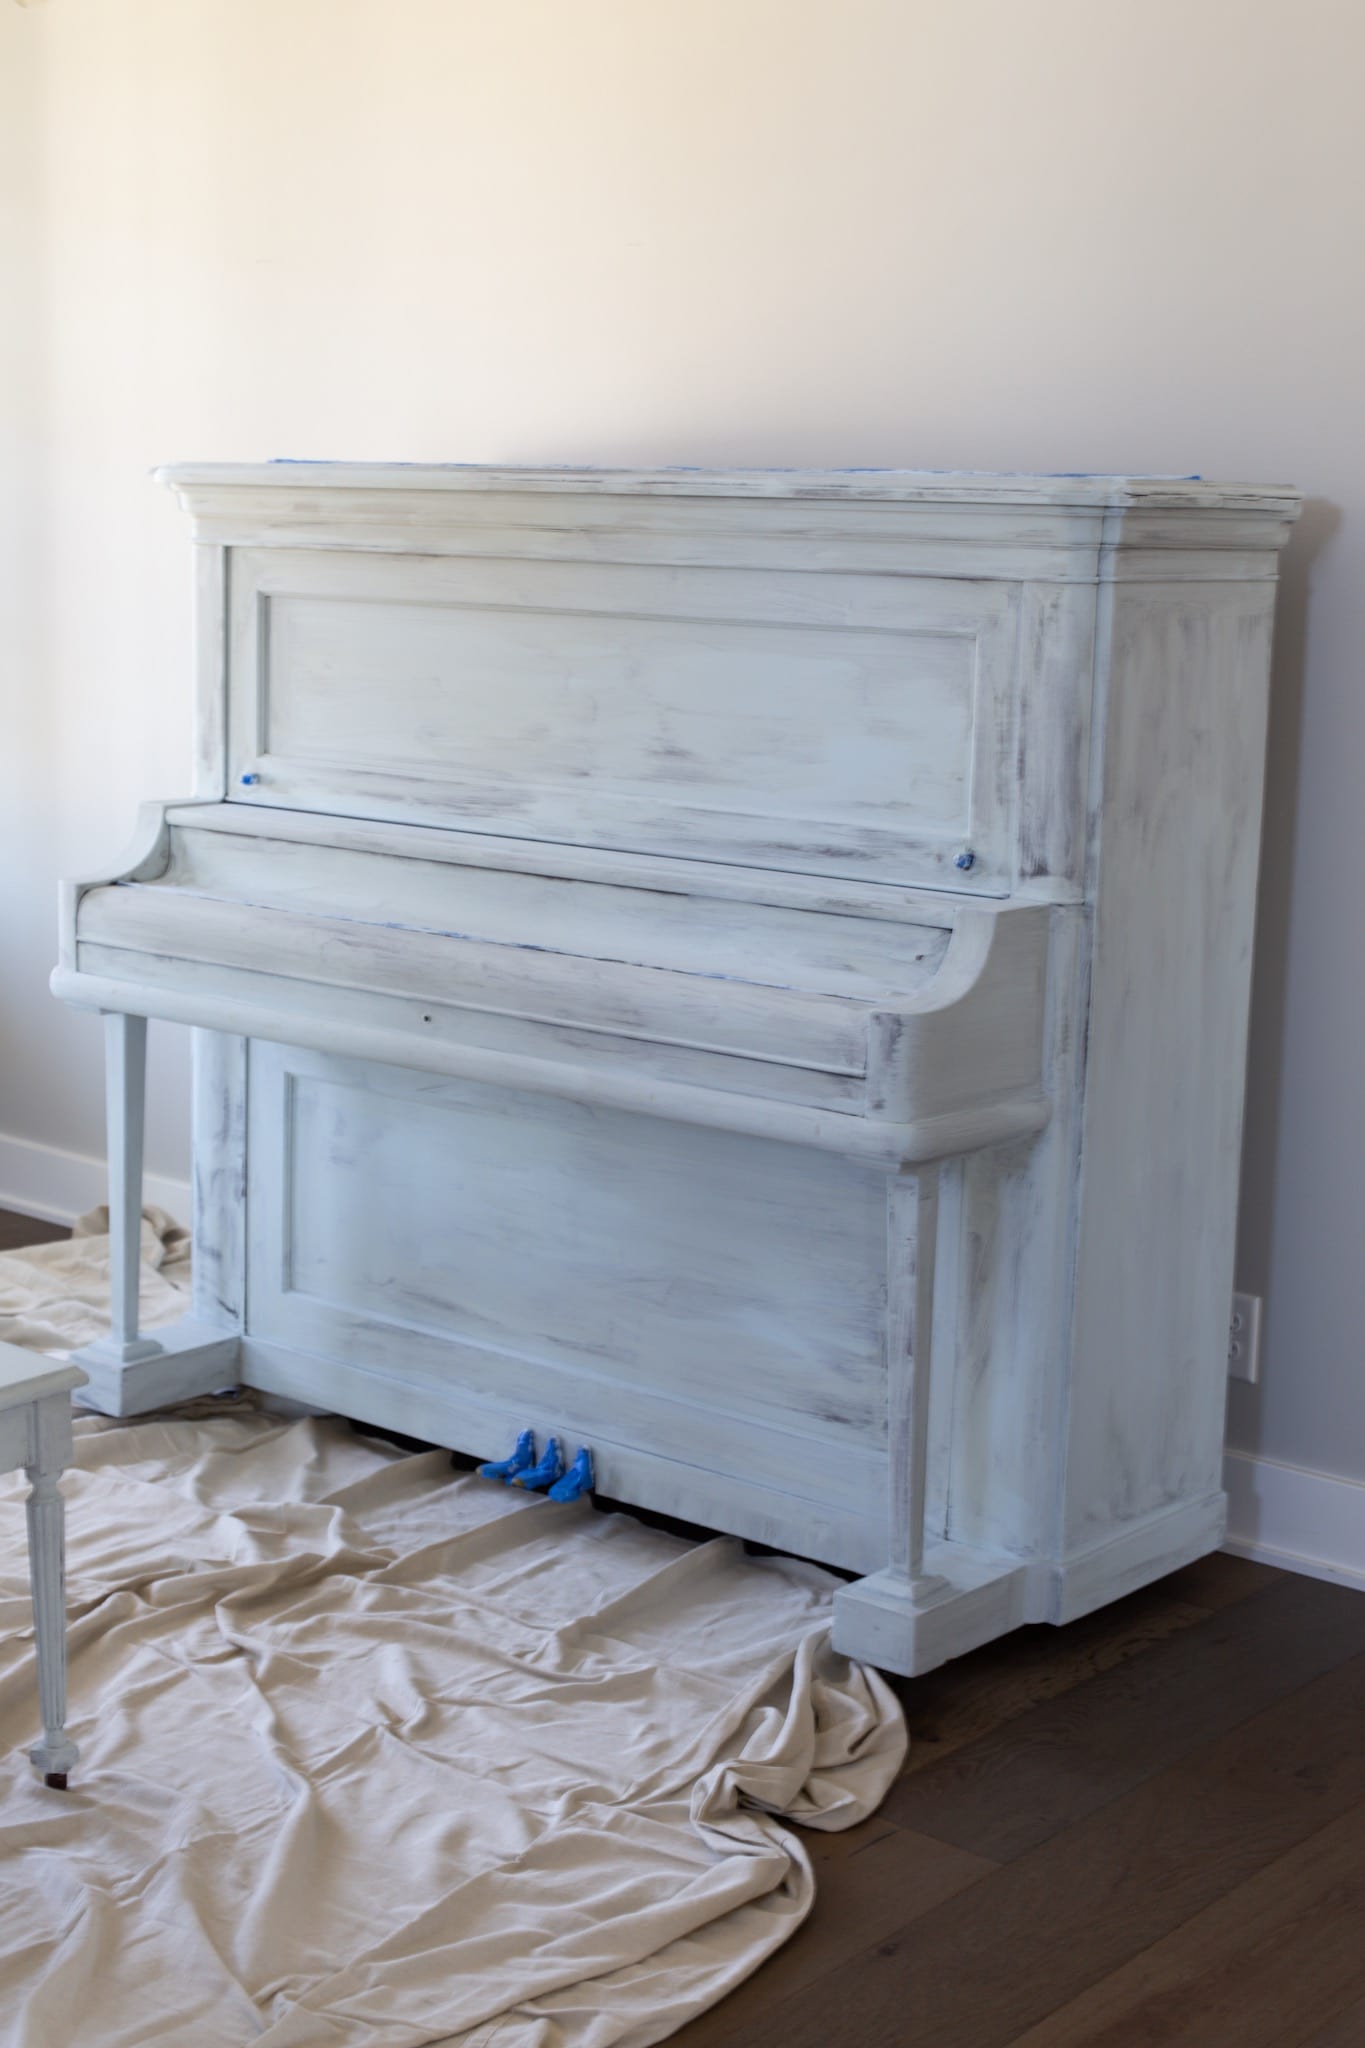
Once you have the first coat applied, let it dry for the recommended drying time.
6. Apply Additional Coats and Touch Up as Needed
Then, proceed to apply as many coats of paint as needed. Since I was using a lighter paint color and my piano was a darker wood, it took me 3 coats of paint.
Make sure to touch up any areas that need a little extra paint or spots that you might have missed.
7. Seal with Wax
Once you are done painting your piano, you will want to seal it with wax. Wax protects the paint and gives a nice sheen to your project.
I used Minwax Paste Finishing Wax in the color Natural to wax my piano. This wax does have a “vintage” cream tint to it so if you don’t like that look, I would suggest finding a clear wax.
To wax, you want to apply the wax with a cloth and then buff it out with a clean cloth or brush to remove any excess. Definitely leave your drop cloth down for this part, as it can be messy too.
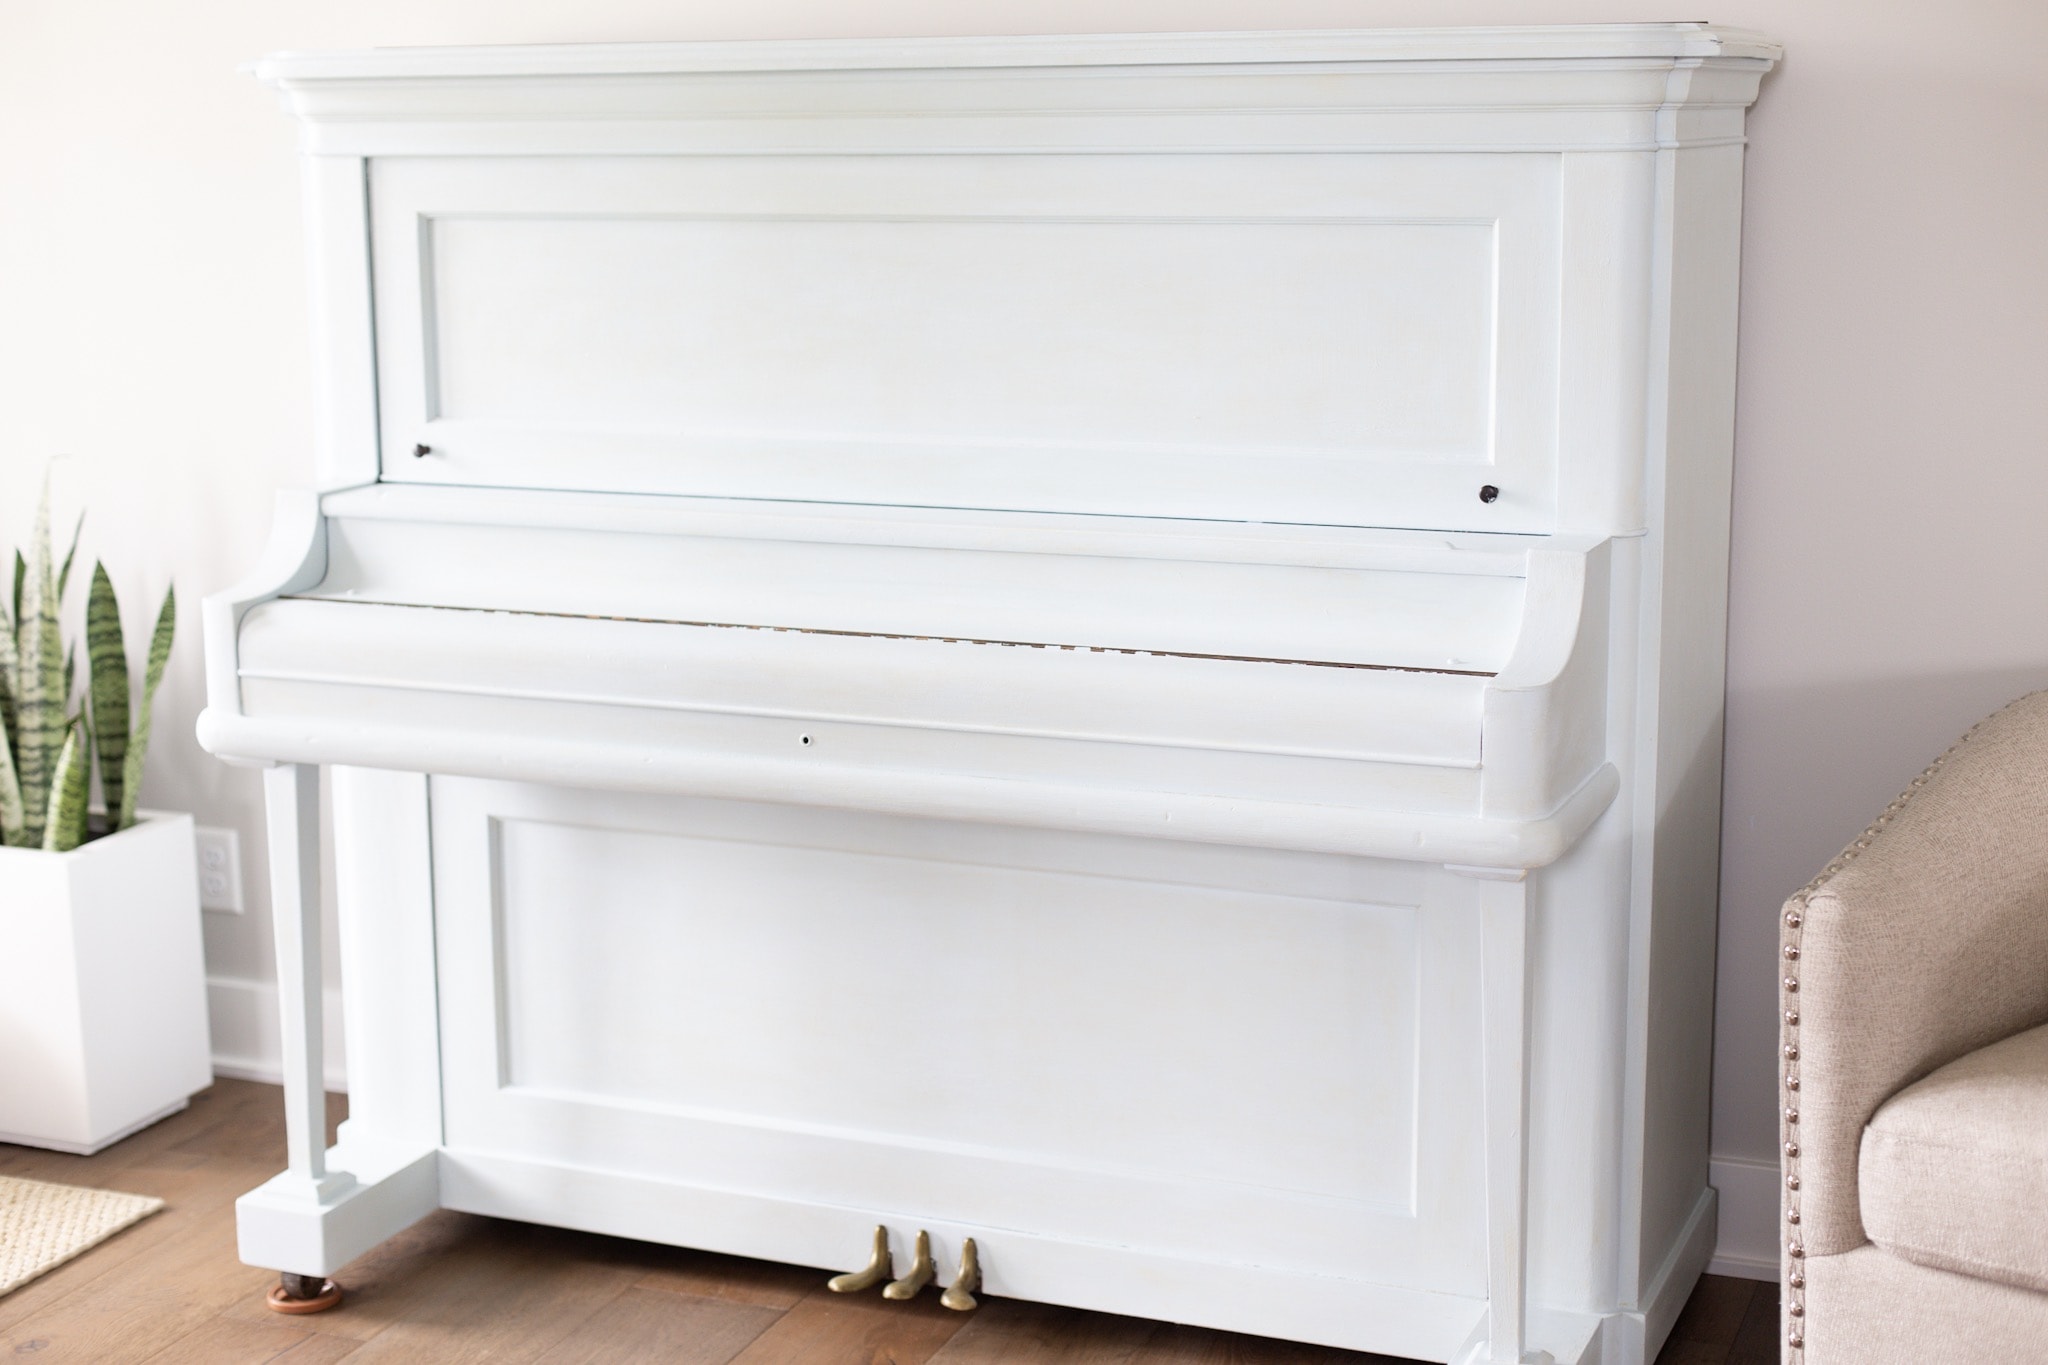
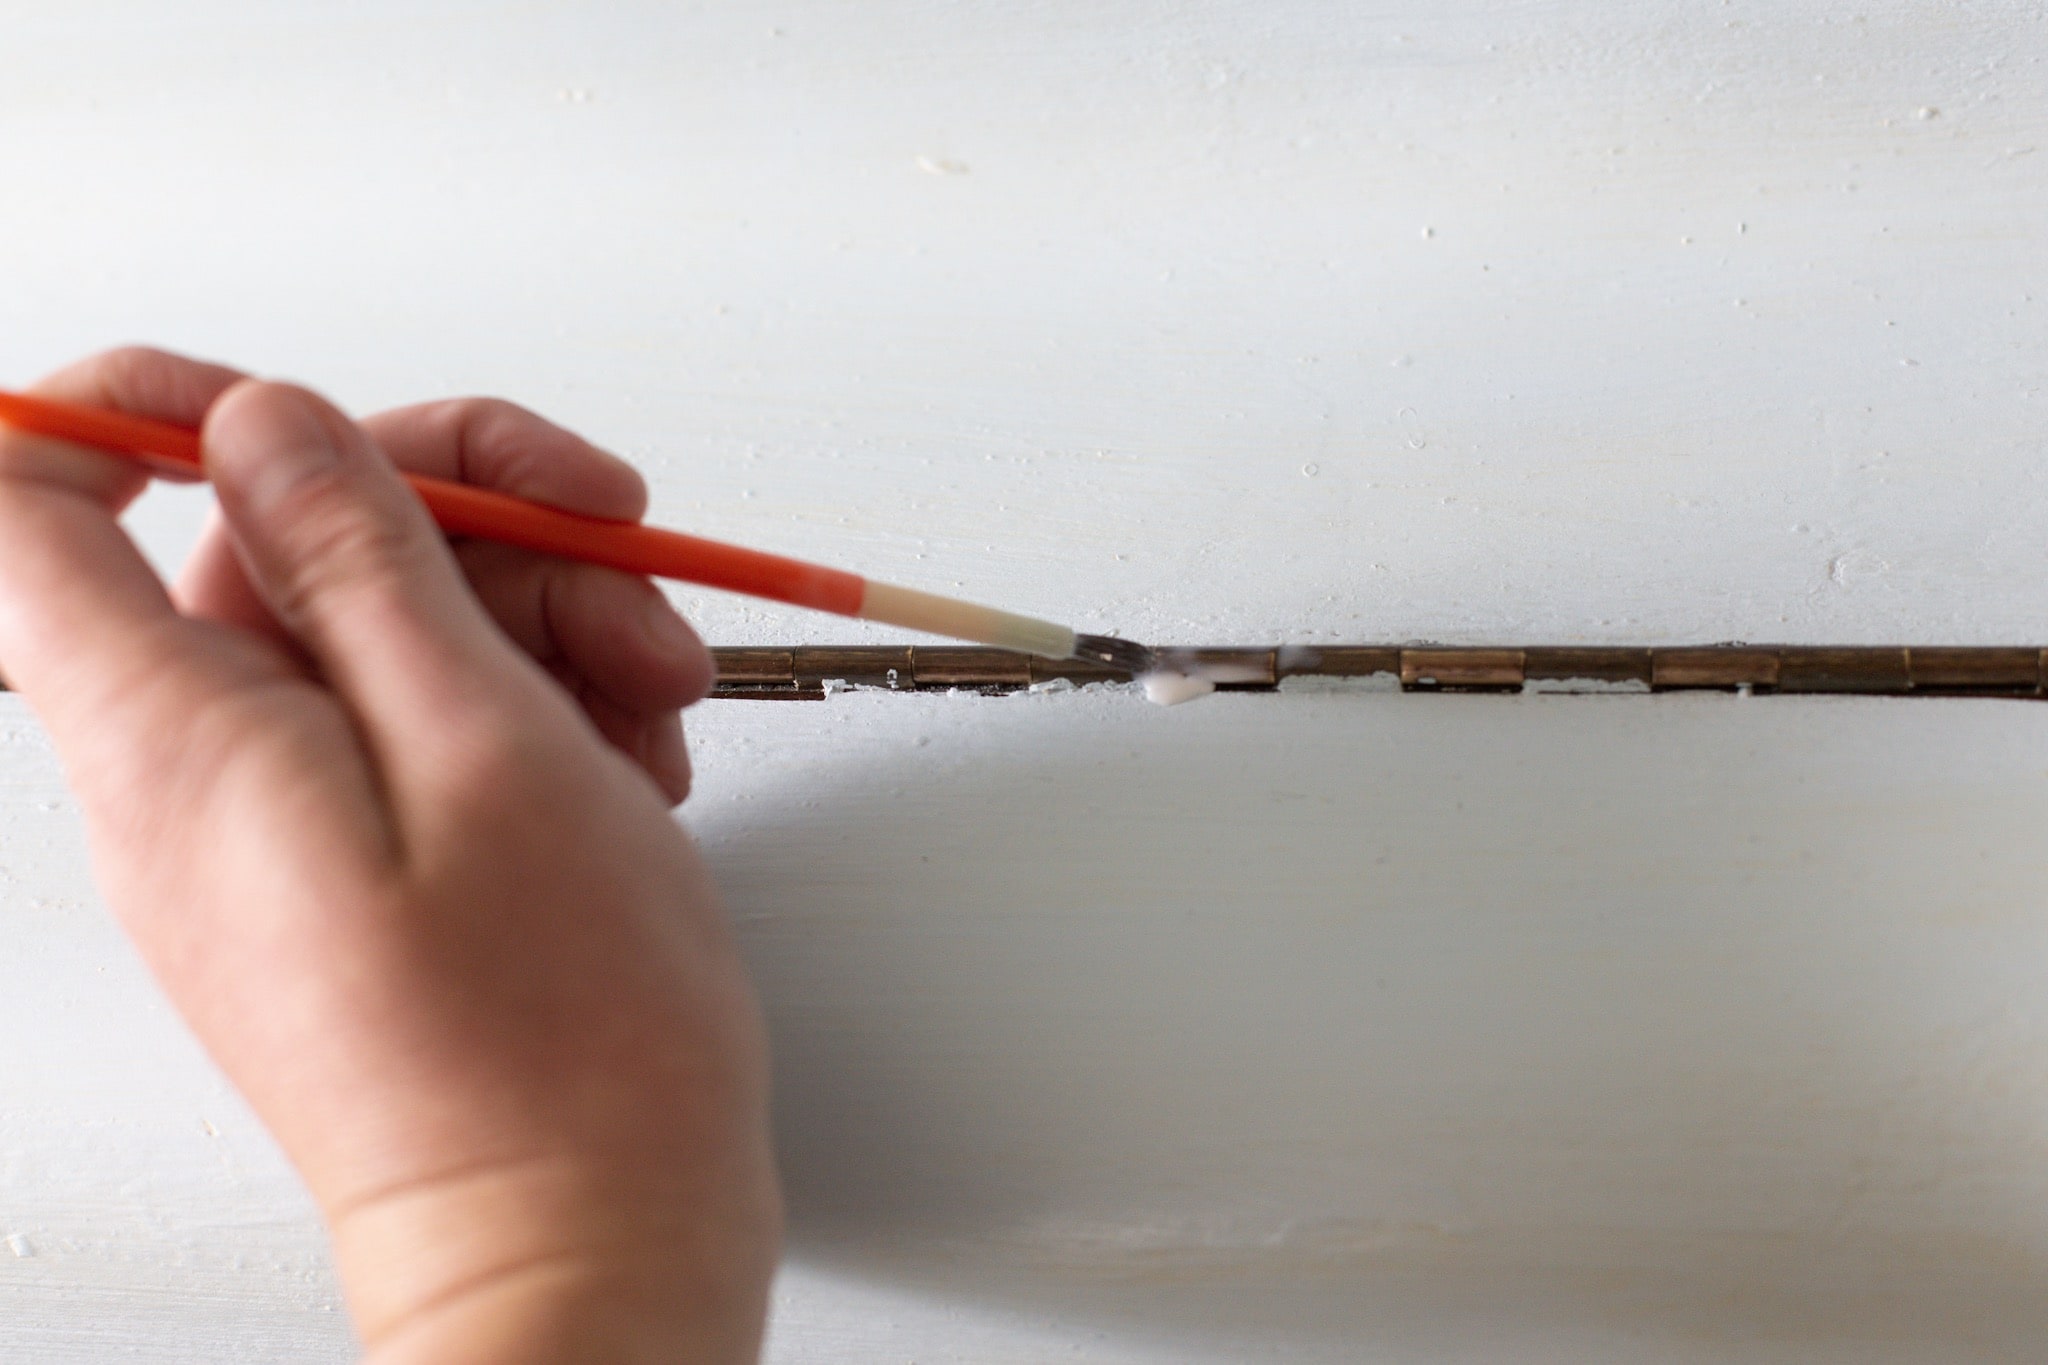
How To Add Gold Leaf To A Piano
The final detail that I added to my piano was gold leaf. I decided what areas I wanted to add the gold to, then painted the glue on those areas. Then, I let the glue get tacky and then applied the sheets of gold leaf.
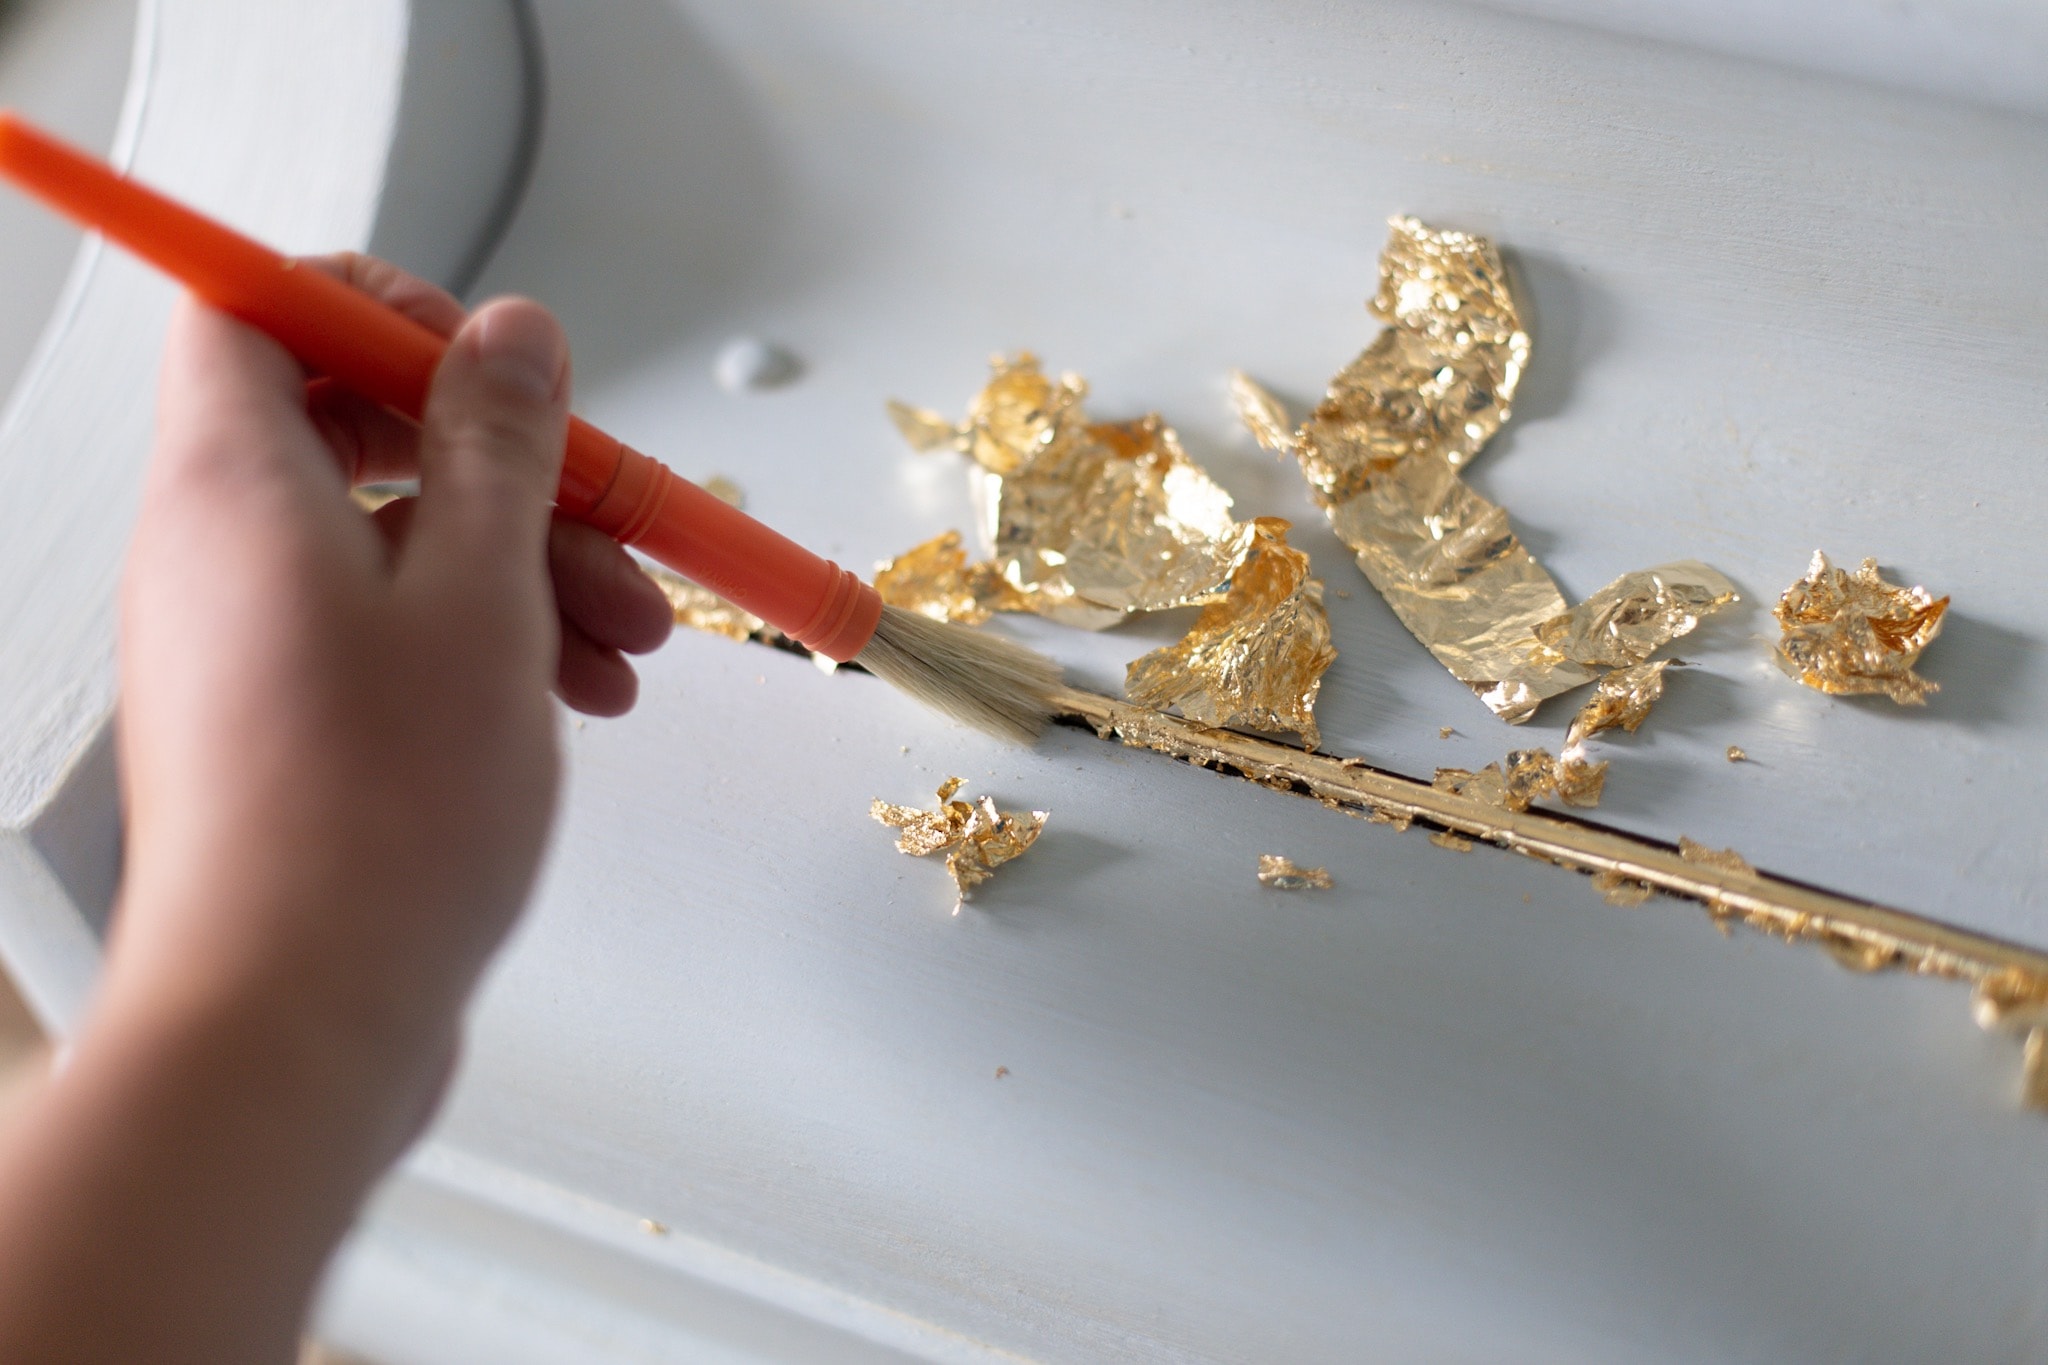
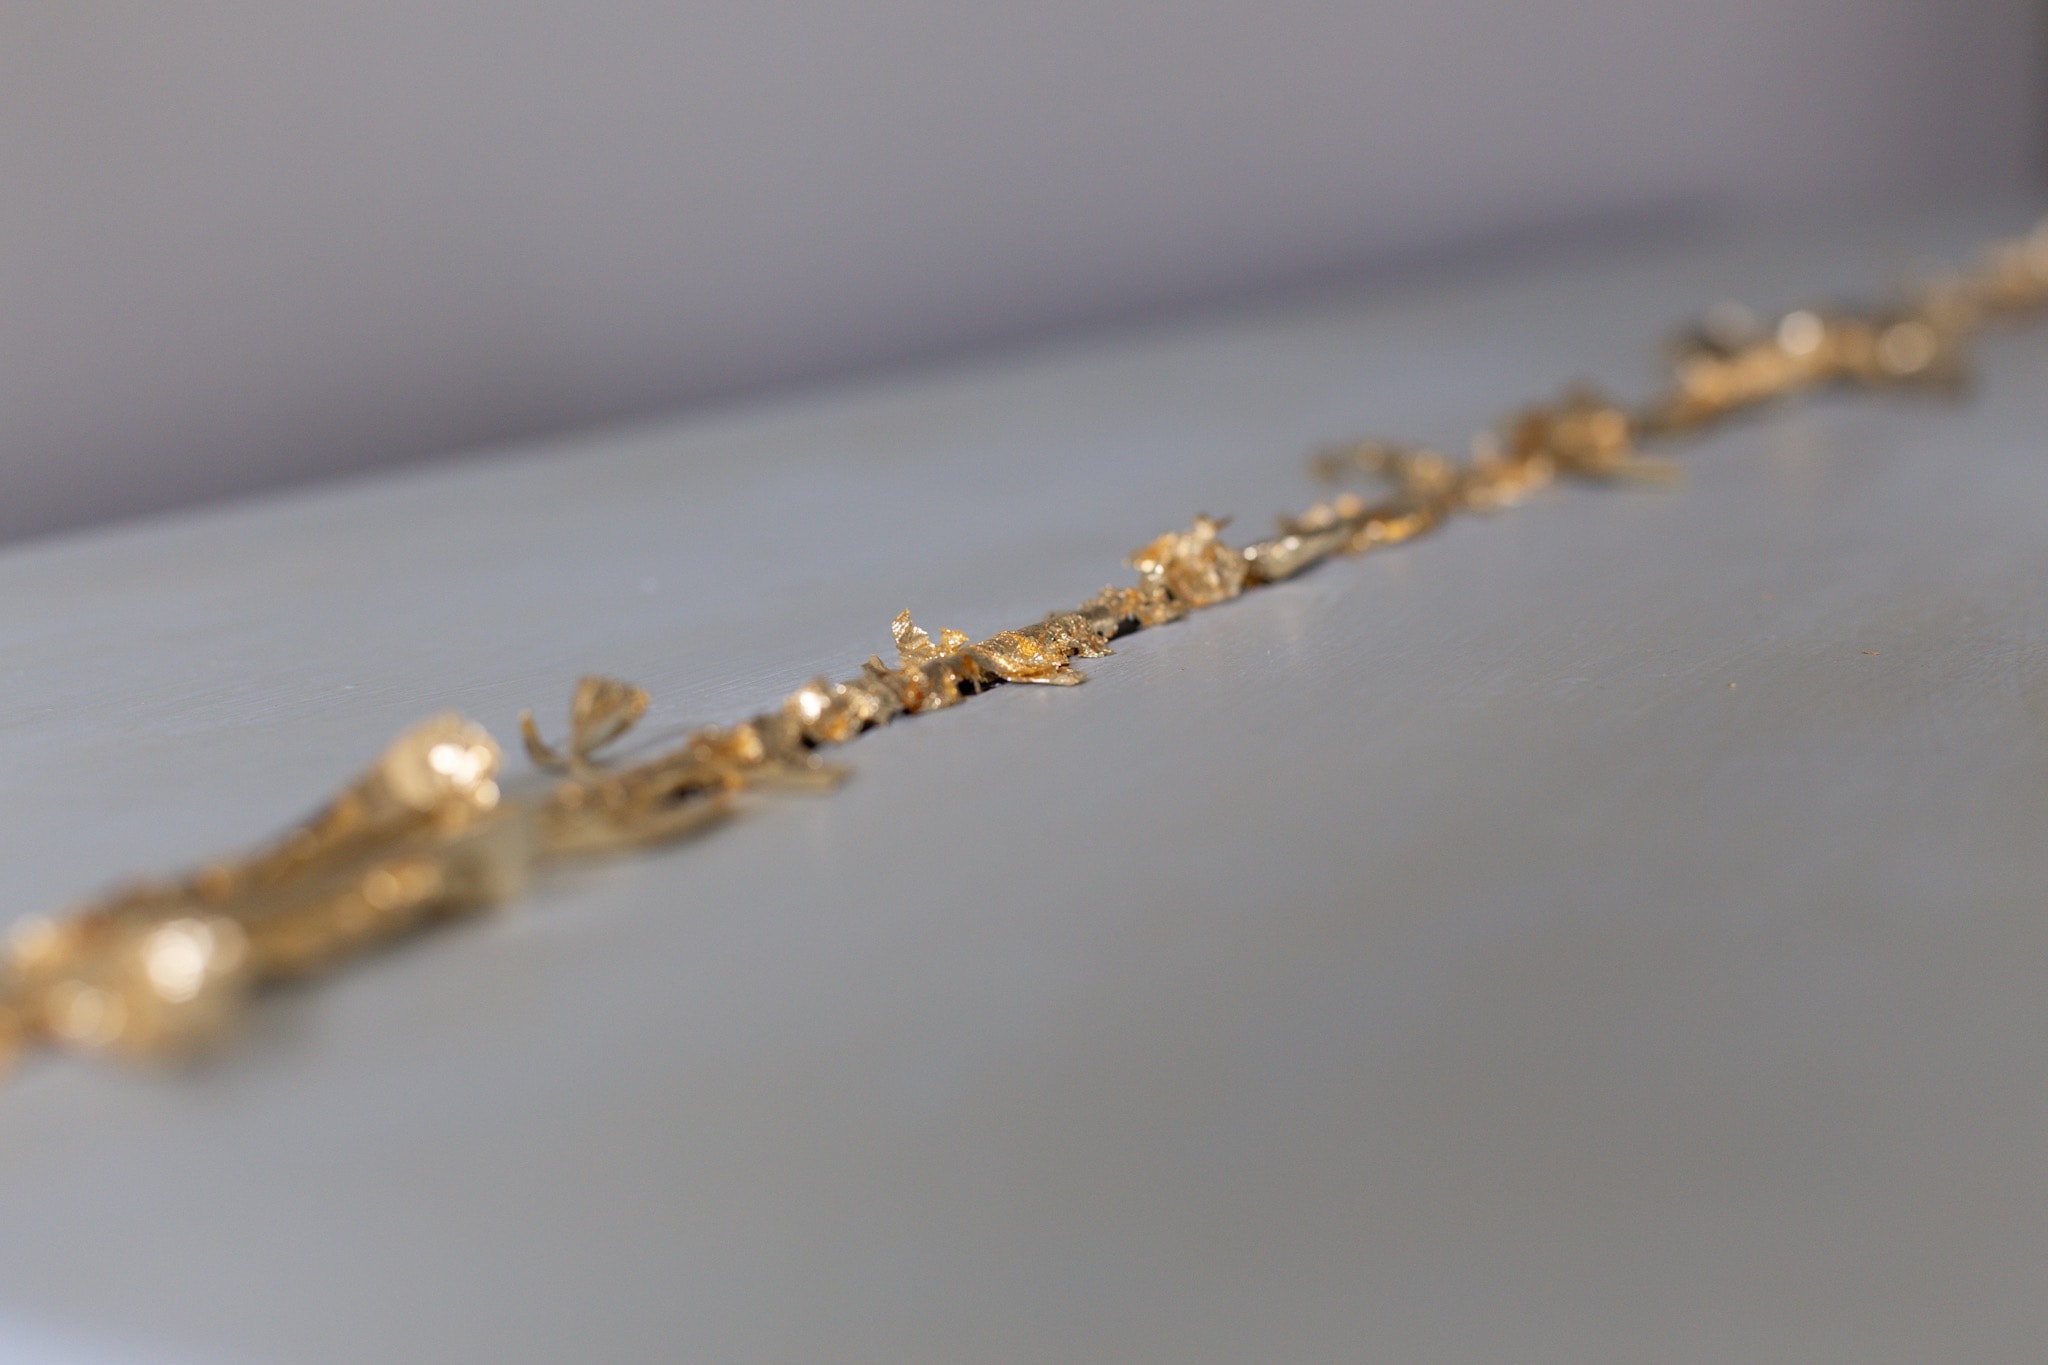

I used a dry, larger paintbrush to dust off the excess gold leaf; you will want a vacuum nearby to clean it up. Adding the gold to the piano was the perfect accent!
Now, you can decorate the top of your piano to continue to personalize it to fit into your space and home.
Frequently Asked Questions & Answers On How To Paint A Piano
I have gotten so many questions regarding painting pianos and wanted to take a couple of minutes to address them. Don’t hesitate if you don’t see your question here, just reach out to me. I love helping and would be happy to answer all your questions. 🙂
Can pianos be painted?
Yes, of course, they can be painted. You just have to make sure to prep the piano properly so that the paint sticks, and don’t paint the keys or anything that would affect the piano’s function.
What color should I paint my piano?
When it comes to painting a piano, you might be surprised that the most difficult part can be picking a color. You will want to gather paint samples and even test swatches of paint.
Consider what colors are in your home, what colors you love, and what would fit best in the overall space. It’s important to pick a color that you will like in the long term.
You can go wild and pick any color you love; don’t be afraid to add some color and pizzazz to your space.
Does painting ruin a piano’s sound?
No, it does not ruin the sound of a piano when it is painted. However, it is important to not paint the back of the piano and to also avoid paint dripping into any areas inside of a piano.
Can I distress the paint?
Yes, if you want to distress it, go for it! I was looking for a sleek and clean finish, but distressed is gorgeous too! I find it’s best to use sandpaper to lightly distress the areas you want. Do as little or as much as you wish, just keep in mind to do a little bit at a time because once it’s distressed it will be hard to fix it if you don’t like it.
Happy painting, y’all! 🙂
More DIY Ideas
- DIY Gold Mini Greenhouse (IKEA Hack!)
- The Best Gold Spray Paint – and How to Use it!
- 16 Brilliant IKEA Billy Bookcase Hacks


Why did you choose to leave the area over the keys unpainted? Is there no way to paint that section of the piano without compromising the sound?
Thank you, Cher Denham