DIY Sunroom – Roof, Electric, HVAC and Exterior Painting
This post may contain affiliate links. As an Amazon Associate I earn from qualifying purchases.
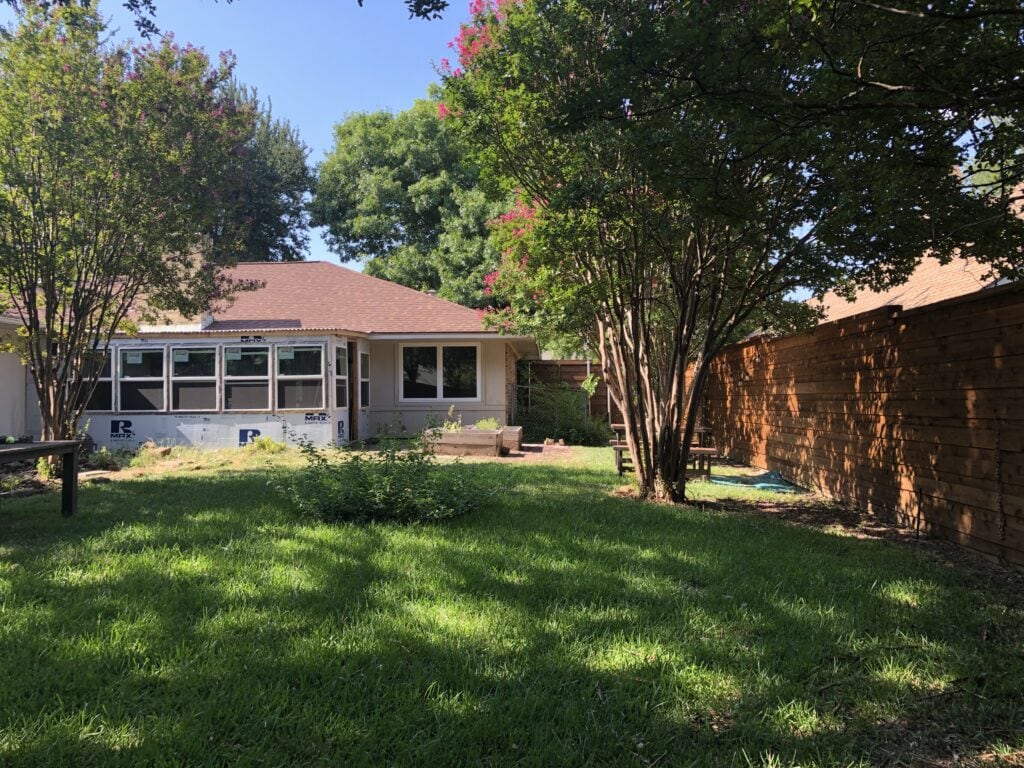
Yup, we are still chugging along on our DIY sunroom!
If you recall, we partnered with our friends at Surplus Warehouse who were generous enough to help provide materials and funds for our DIY sunroom. We started work on this project months ago and thought we’d be able to wrap it up in six to eight weeks.
Little did we know that 6-8 weeks would turn into months of construction due to weather, surprise construction issues, and, well, life! Isn’t that how remodeling life usually goes?
Here are the earlier posts so you can catch up (or refresh your memory) from the beginning:
Now that you’re all caught up, let’s chat about what we’ve been up to. We’ve gotten a lot done over the last few months- I’m so excited to share! Hopefully, these DIY sunroom tips, tricks, and ideas will help you if you’re planning on making a sunroom of your own one day too.
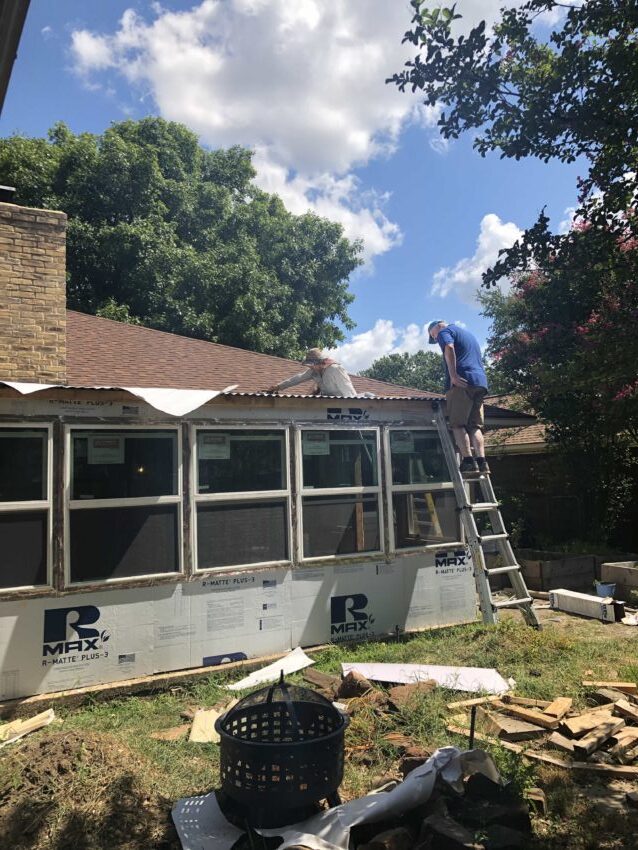
DIY Sunroom Roof
We already had a roof, but it was a plastic one that had leaks and wasn’t very strong. So we needed to come up with a better option for our roof to prevent leaks in our new sunroom when we get big rainstorms.
We looked at a ton of options. We considered ideas ranging from keeping what we had and repatching it, to ripping off the entire roof and starting over again, along with everything in between.
Then my father-in-law came up with a brilliant solution:
Thermoplastic Roofing
If you haven’t heard of it, you are not alone! In a nutshell, thermoplastic roofing is an adhesive-backed material that is used in commercial buildings to protect the roof from weather damage. But this product also has a large number of benefits, including:
- Easy Installation – it comes in sheets that can be welded together during installation to create a durable, water-tight seal.
- Durability – thermoplastic roofing is flexible, allowing it to withstand punctures, tears and many chemicals, it’s also bacteria resistant and is great for combating pooling water. This was especially important to us since the roof is a bit flat and only has the slightest of slopes downwards.
- Weather Resistance – can withstand incredible amounts of wind, rain, and even hail (hello, Texas)
- Energy Efficiency – their heat resistant properties lead to lower cooling costs
- Cost – often lower-priced compared to other roofing materials and can last 15-20 years without needing significant repairs.
So basically, it’s a magic material that we added to make our not-so-great roof practically like new!
My father in law and a contractor rolled it out in sheets and added it to the top of our existing roof after patching holes. Now it’s sealed up nice and tight!
How to Insulate a DIY Sunroom
Texas is hot. A room full of windows in Texas is incredibly hot! With this in mind, we took extra care to insulate extra well in the roof and walls before we go back and cover everything with drywall.
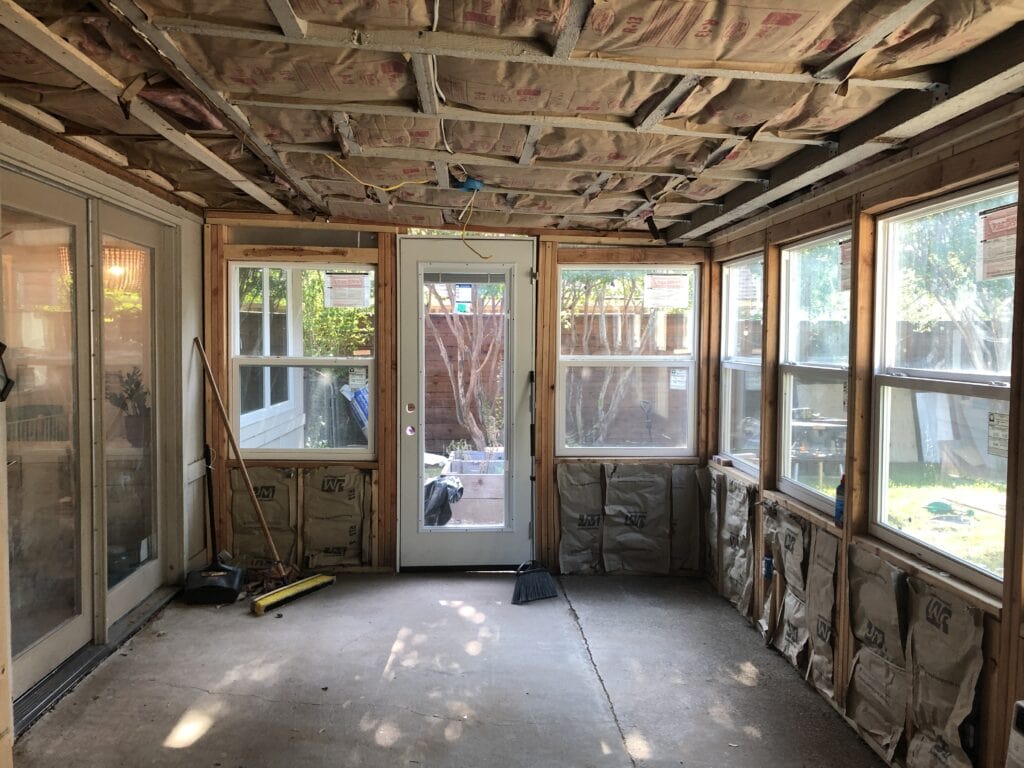
Adding Electrical to the DIY Sunroom
Since this was a back porch and not a room, there was no electricity outside of the porch light. Of course, we wanted plugs, so they had to be added.
We didn’t do this part ourselves; we had a contractor, Art, come out and help us run electric.
He wired directly from the electric box outside into a conduit pipe that feeds into the sunroom. Then he added outlets all along the wall underneath the windows. Woo hoo!
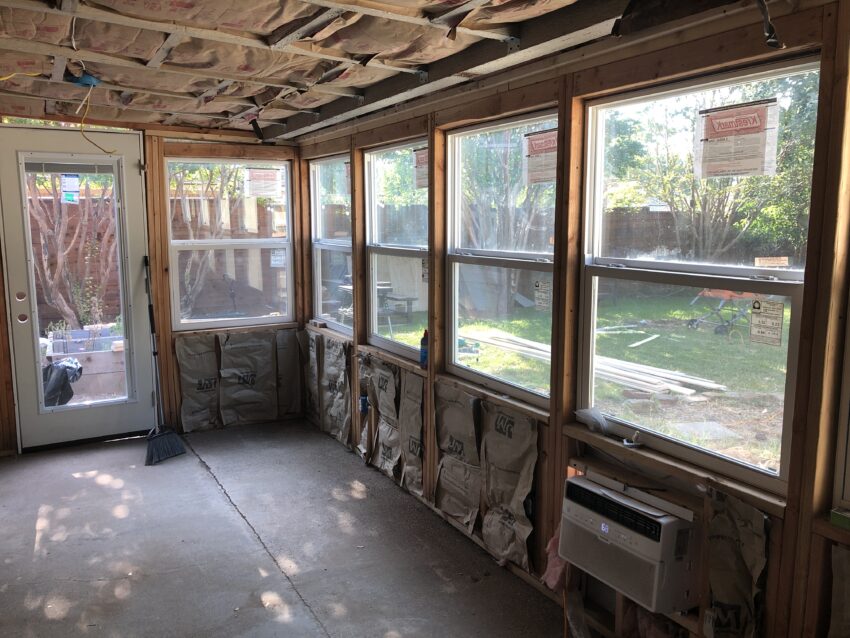
DIY Sunroom Air Conditioner
We played around with so many different options but decided to go with a smart window air conditioning unit.
It’s nice-enough looking that it doesn’t bother us, but more importantly, it’s very effective! Eventually, our plan is to do built-in storage seats along the wall to disguise it a bit with the additional benefit of adding storage for toys, board games, etc. We have so many fun plans for this room!
Exterior Door
After we installed the windows, we had a narrow space left over where the door could go. This means we needed a door that was more narrow than the typical 36″ exterior door. After investigating all our options, we went with this door from Surplus Warehouse.
My favorite part is that the blinds are inside the door between the double panes of glass so we can enjoy all the light without messy cords. Not only is it easy to use, but hanging cords are super dangerous for toddlers, so I love that it’s not even an issue!

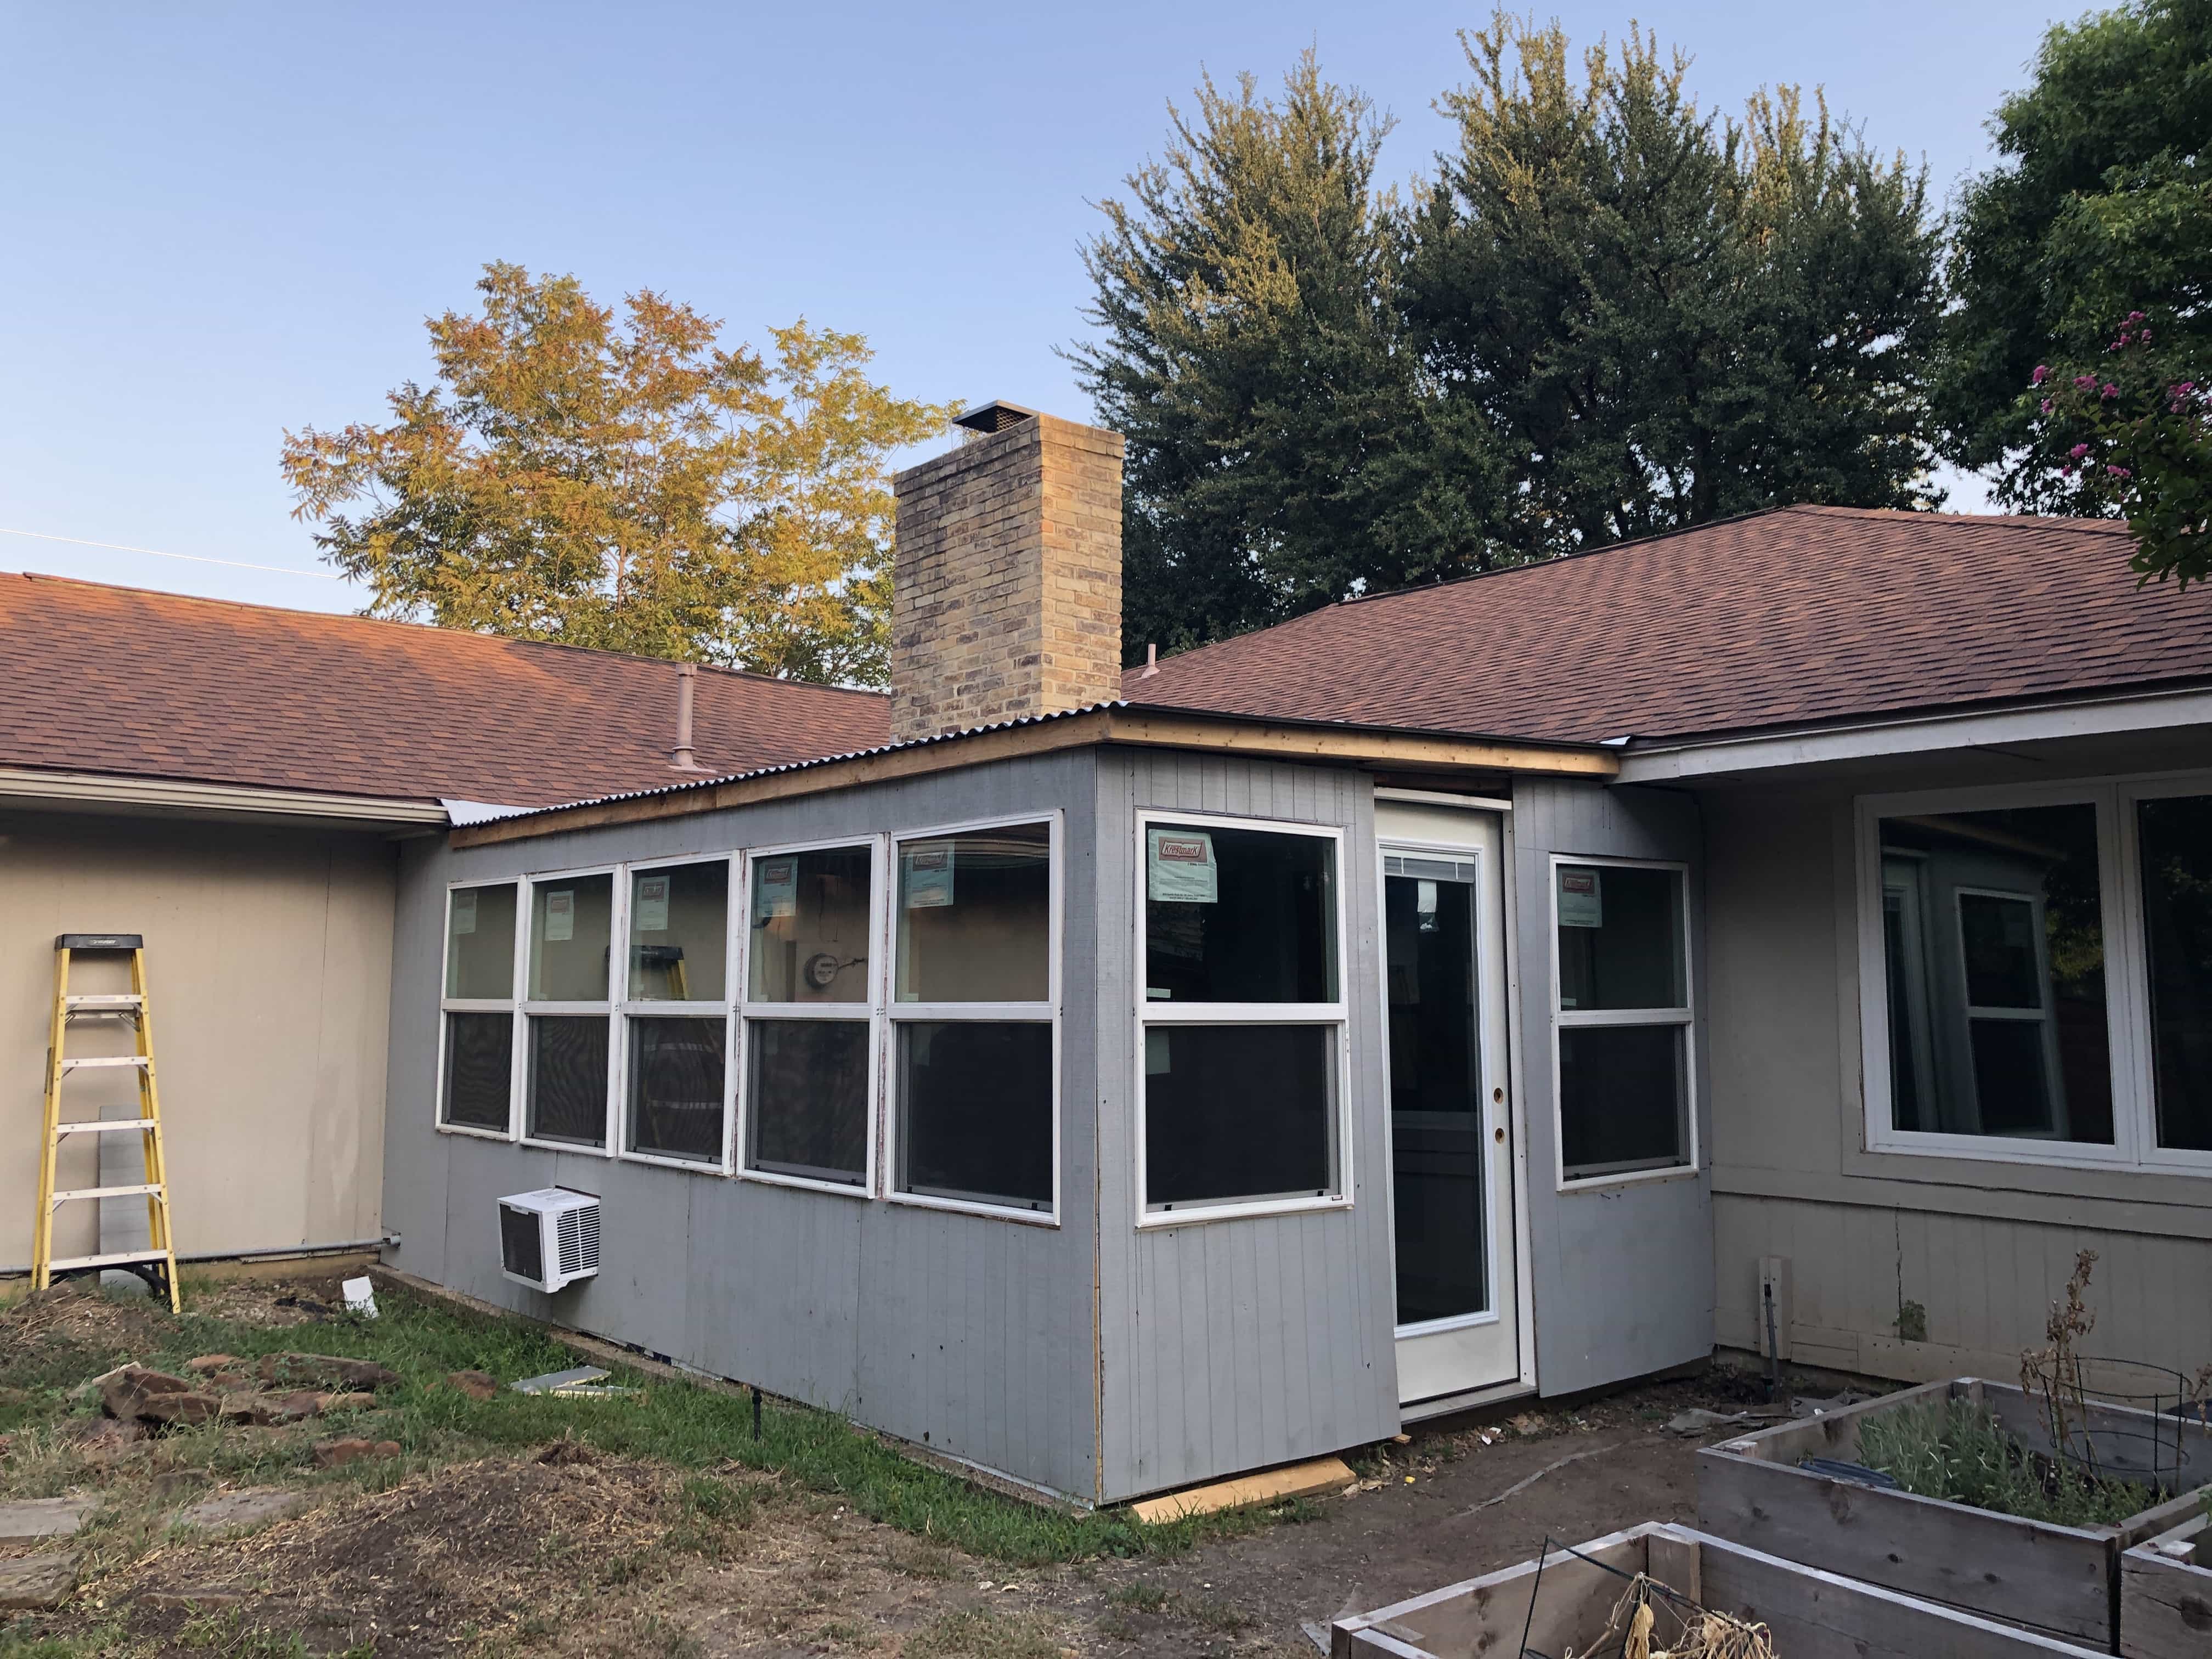
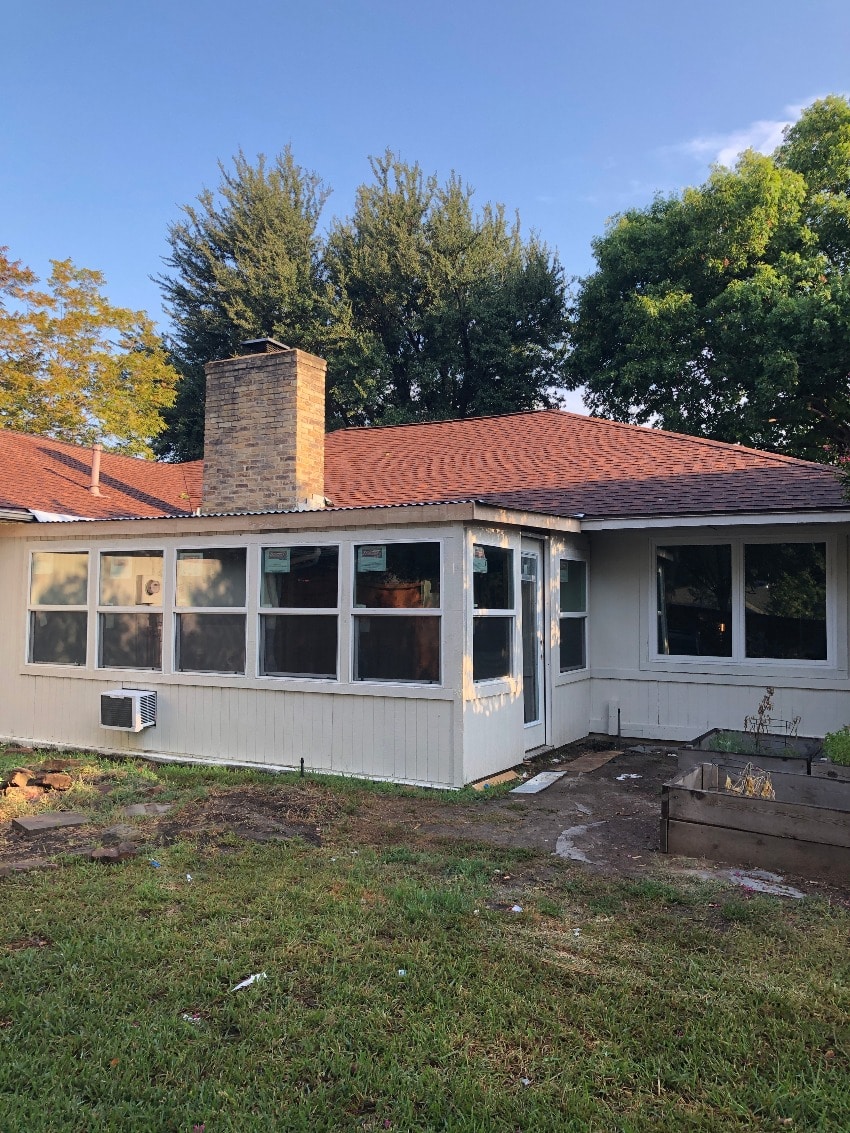
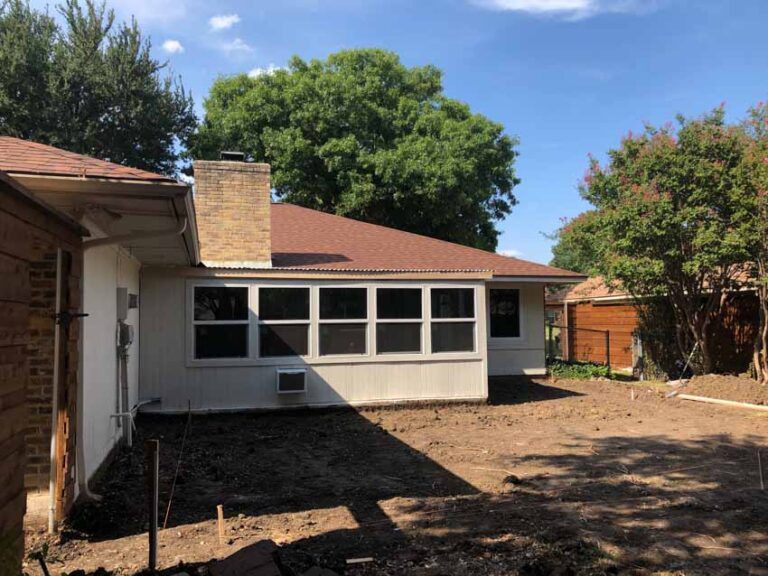
Adding Siding and Painting the Exterior of the Addition
We wanted our new sunroom to match the rest of our house so that the addition looked like a seamless part of the rest of the house. To accomplish that goal, we purchased the same exact siding and painted the entire back of the house. That way it all blends together!
We had quite a challenge choosing paint (isn’t that always one of the hardest parts?). We started off using a blue-ish gray that looked great on a small sample but turned out to be way too blue on the house. Then I repainted the entire exterior in a more neutral greige.
Next Steps
This project is starting to get close! I love when you can start to see it really coming together. It gives me just the push I need to stay motivated to finish things up – especially when a project takes as long as this one has.
Our to-do list is getting shorter and shorter! Here’s what we’ve got left:
- Finish drywall and mud
- Paint interior
- Add lighting
- Install floor – we are going to be using one of the great waterproof flooring options
- Remove the current patio doors – there will no longer be any separation between our home and the sunroom! It will feel like one cohesive space — I can’t wait!
- Hide the ac unit at the exterior – we are definitely going to be adding some sort of cover to make the ac unit not look so obvious. I’ve got all kinds of fun ideas, but if you have any, I’d love to hear them
What do you all think?? We are so close to wrapping this project up and being able to enjoy it, and with the fall weather just around the corner, I know we’ll be spending so much time in our new space! 🙂
Thanks again to my friends at Surplus Warehouse for partnering with me on this build!

Love your project. I’ve shared it with my handyman and hope to get started soon.
That’s so exciting, Mary! This space has brought us many years of joy. I am sure yours will too! 🙂