{DIY Sunroom} How to Convert a Porch to a Sunroom – Framing and Windows
This post may contain affiliate links. As an Amazon Associate I earn from qualifying purchases.
This sunroom project is sponsored by Surplus Warehouse. All opinions are my own. If you are looking for building supplies at the best price possible—check them out!
Follow along to discover how we converted a covered porch into a DIY sunroom, and how we chose the best windows for our new space!
Like most things in life (and particularly in remodeling life!), things move a little slower than ideal. Exhibit A: our sunroom.
If you recall, we partnered with our friends at Surplus Warehouse, who were generous enough to help provide materials and funds for our DIY sunroom.
We started work on this project months ago and thought we’d be able to wrap it up in six to eight weeks. We were wrong.
Thanks to a crazy rainy Spring in Texas that led to flooding, outdoor work time was seriously limited—and the work that took up the bulk of our time was not the exciting high-visibility stuff.
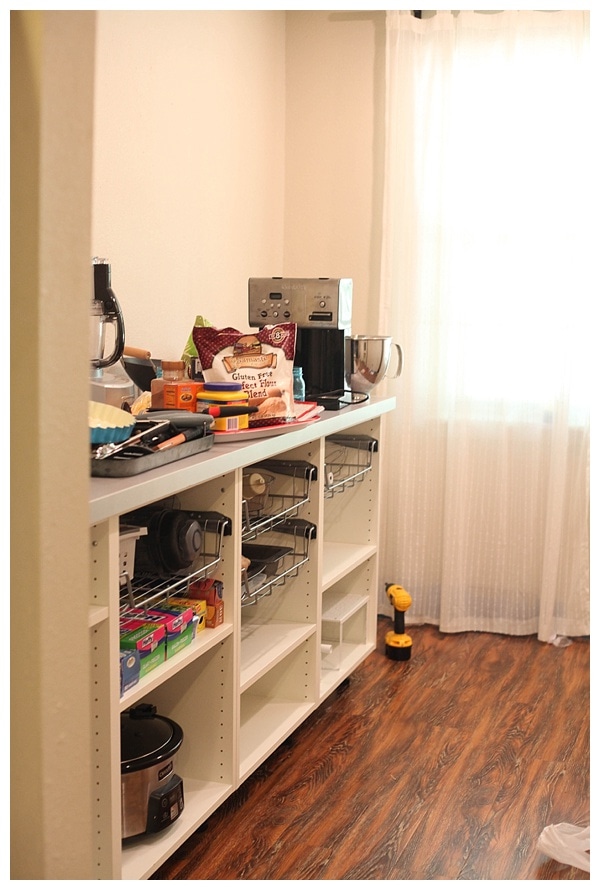
Here’s a quick look before we get started… read along to find out how we chose the best windows for our space, and got the very best deal for what we wanted!
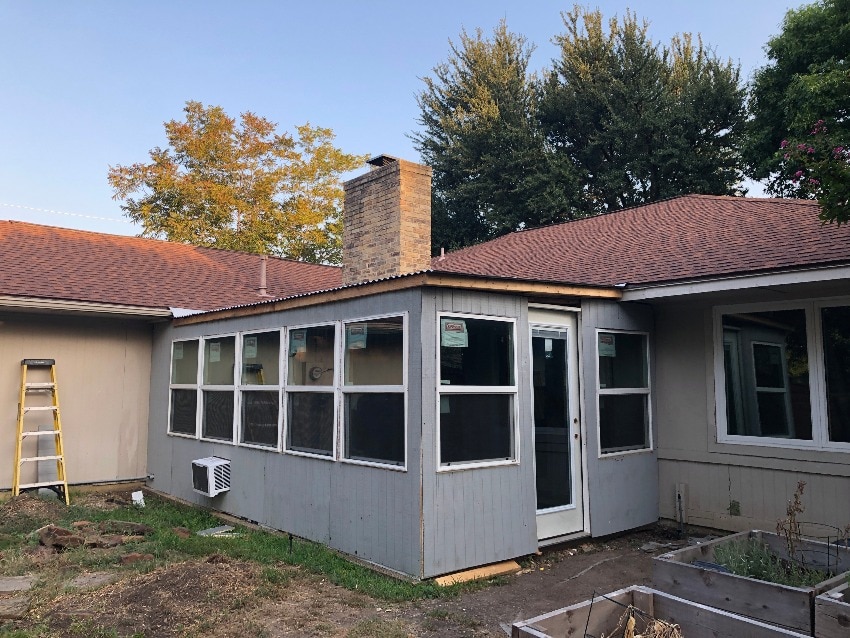
How to Create a Solid Foundation for a DIY Sunroom
Like everyone knows, to have a good building, you have to create a really solid foundation. This was the least glamorous and most tedious part of the entire thing, TBH, but without spending time on this, our entire project would be a failure.
For us, this meant calling out foundation experts to examine the concrete pad to make sure it was feasible to use (thankfully, it was!).
Our next step was to correct the drainage issue.
Since the concrete pad was low to the ground and a bit thin, we had to make sure that when we had crazy rainstorms, water would not seep into the sunroom.
This meant that we (okay…Scott) had to dig an 18″ deep trench around the entire perimeter of the room. (This is where we will add a DIY French drain system to direct water from around the room towards the downslope of our yard. I’ll be sure to share once we do!)
Building a Frame for the DIY Sunroom
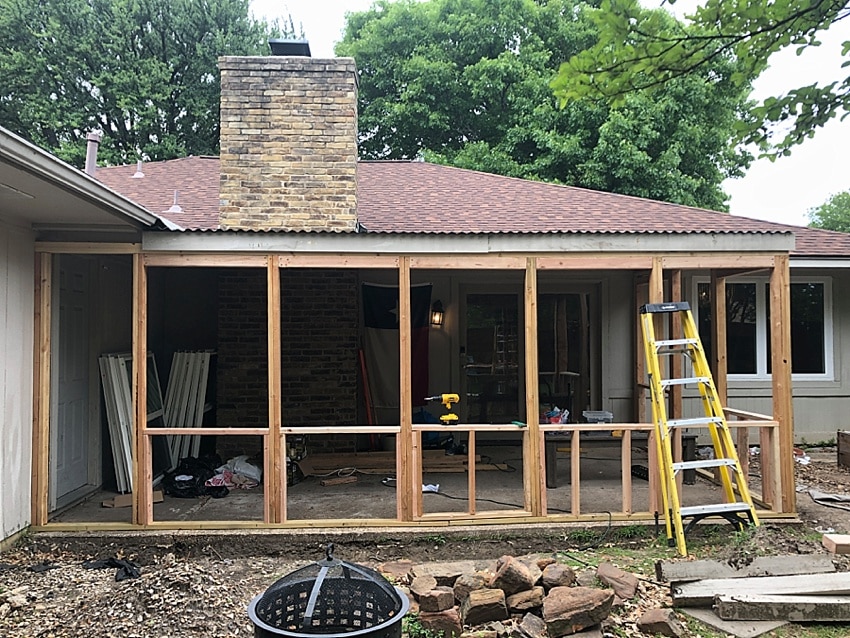
Now—onto the fun stuff! Once that was done, we could finally add our walls.
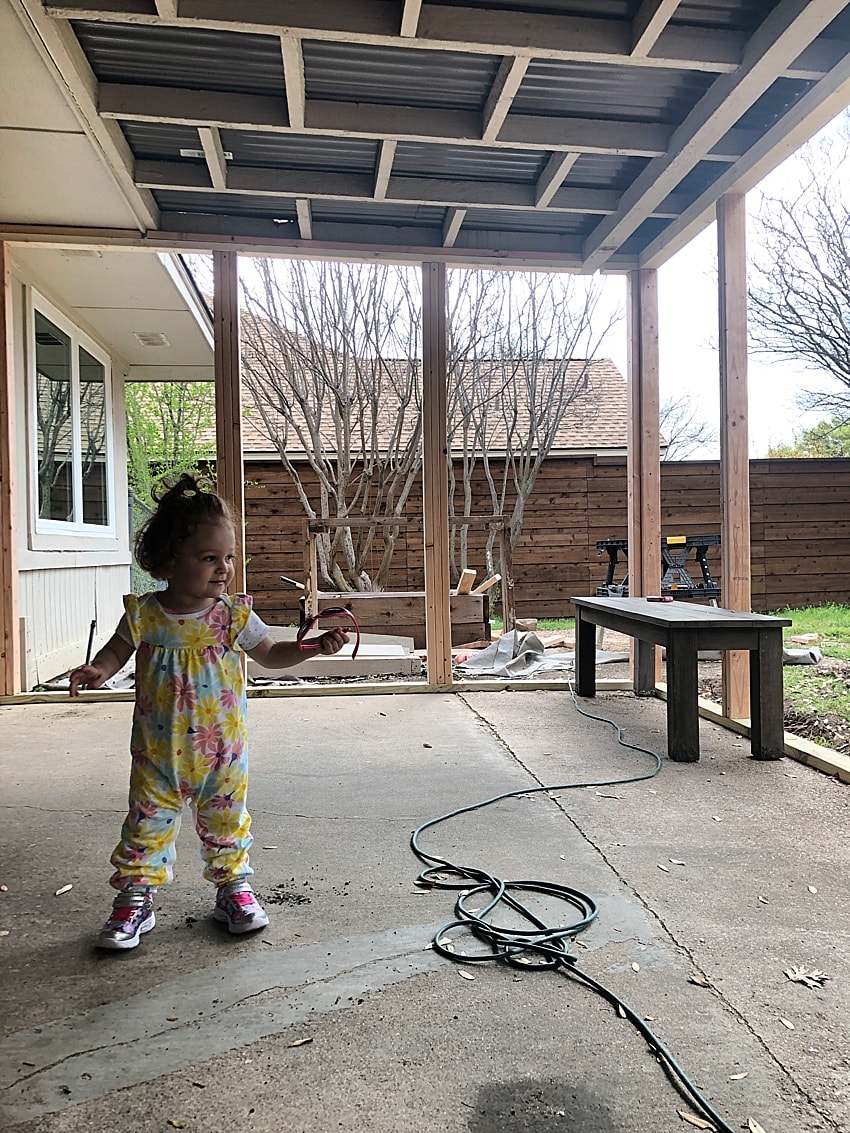
The roof structure was held in place by a few vertical beams throughout the porch, but they were set several feet in from the edge of the patio.
We wanted to maximize the room with as much square footage as possible, so we built an entirely new frame using 2 x 4 beams.
First, we had to secure horizontal boards around the exterior of the concrete pad. This was done using a hammer shot tool. I’ve never worked with one before—it’s pretty intense! It uses gunpowder and literally shoots into the ground.
Once the framing base was complete, we added vertical beams about every 36″.

If you look above, you can see the former support beams still in the room, set a foot or so in from the new support.
Once the new frame was up, Scott removed the old ones using a combination of a reciprocating tool, hammer, and sheer willpower. 😛
Our construction manager approved. 😉
Next, we had to make a final decision about the size of our windows before we could continue framing. I went back and forth for a few days—I was really torn!
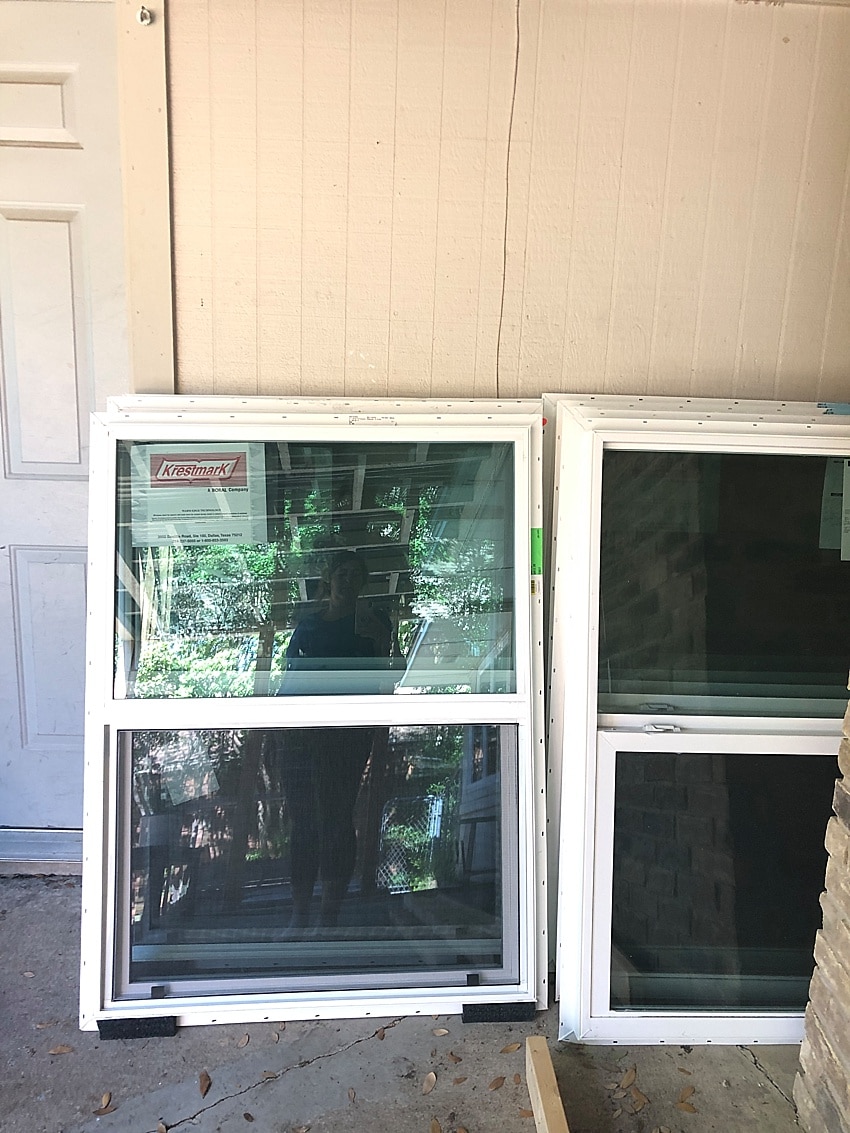
With the size of the room, we had already calculated and measured for 35.5″ wide windows. We decided to use windows without grids to maximize the view, but I was having a tough time choosing the right ones.
The two contenders were the 47.5″ long window and the 59.5″ long window. I loved the idea of having long windows with lots of sunlight, but since the room is not very tall, that would take up the majority of the wall.
In the end, we went with 47.5″ windows, which will allow us to use space under the windows to create a built-in bench for storage and dining, and also cut down on the amount of heat and sun the room will get…remember, we are in Texas and it gets HOT!
We purchased the sunroom windows from Surplus Warehouse—they are SUCH a good deal! Each window was well under $200—an incredible value for all-glass windows without grids.
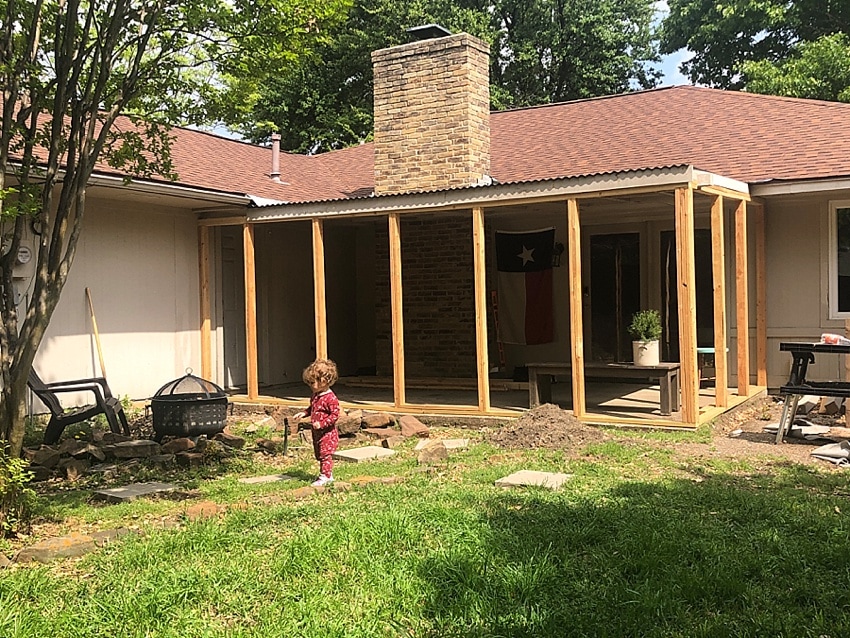
Once we had our windows, we got to work with framing them in. This part went fairly quickly—we used 2 x 4 beams to create a support system under each window.
Like anything construction—measure 300 times and cut once. 🙂
We tested the framing on each section to make sure the windows fit. We did pretty good—we only had to re-do one section. 🙂
As you probably know, the open space on the end is where our door will go.

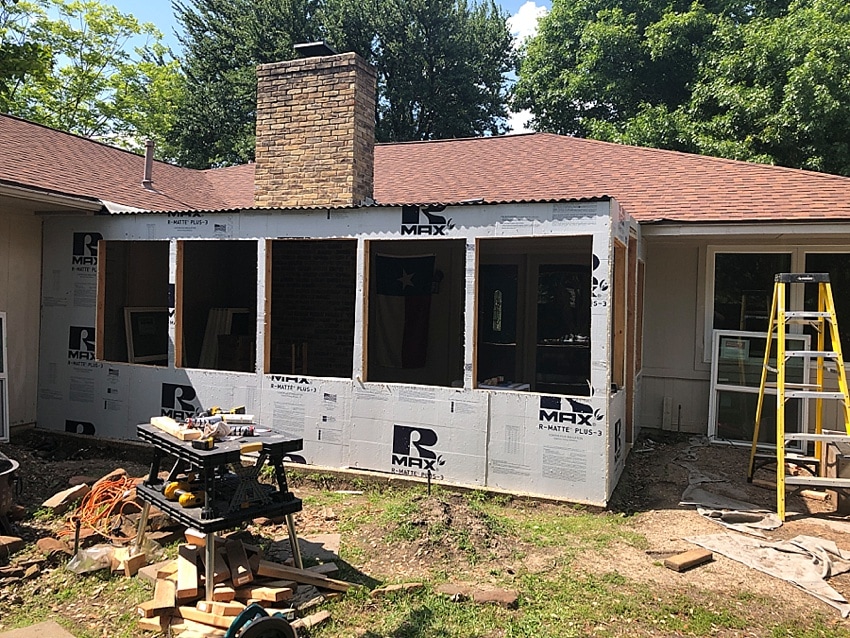
Before we started installing windows permanently, however, we had to add some insulation. After doing a lot of research, we went with a foil-backed foam.
This will help block and reflect heat—a definite must-have for those 110-degree summer days!
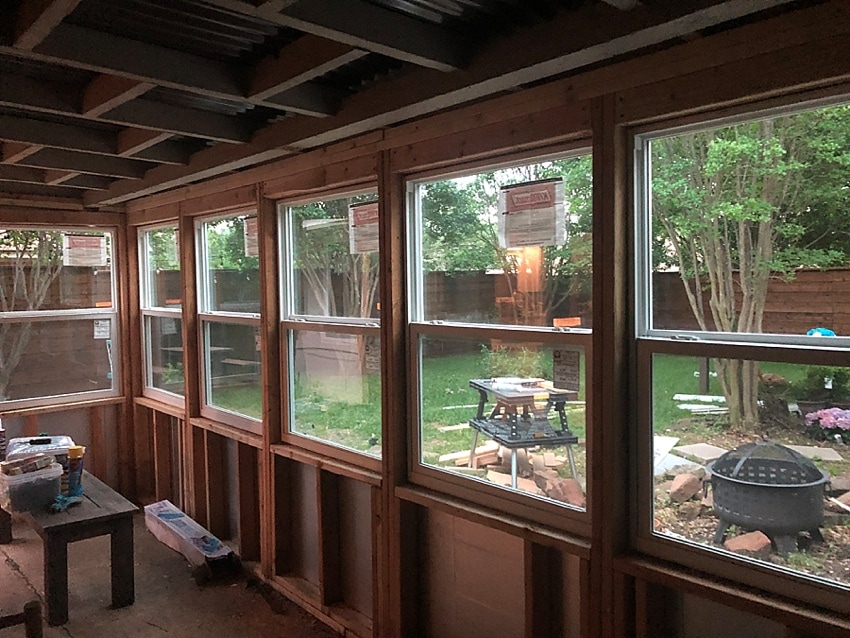
Then, it was time to install those gorgeous windows! 🙂
This was the best day ever—it really started to feel like an actual room once the windows were in.

So, that’s where we are at currently with our DIY sunroom! It looks so good! I’m really proud of our project. Here’s what needs to happen next:
- The roof will likely need to be recovered, as there are some spots where it is leaking during heavy rainfall.
- We need to wire for electricity in the exterior walls, then add drywall
- Exterior siding and trim, including exterior window trim
- Interior drywall and deciding which kind of interior window trim we will go with
- New flooring – we are definitely going with a waterproof vinyl for durability.
- Then all the fun stuff – paint, decor, etc.
I am so excited about this project. It’s fun to be at a stage with it where we are actually seeing big changes, rather than just shoveling dirt around (literally). 🙂


Wow, a DIY sunroom is a tall task, especially with the windows! Well done, there must be a lot of fulfillment completing a project like this one on your own as opposed to hiring.
LOVE THIS! Thanks for sharing.It’s identical to what I’ve been wanting.
Do you have photos of the finished room (exterior and interior)? I am really interested in doing this project on my own home and would love to see the sunroom addition in its final form.
what was the size of the windows? And what was the size of the opening.
Hello! Looked amazing! Can we see final pics and around how much do you end up spending?
How did you insulate the windows?
Your porch roof looks really flat. What’s it’s pitch? Hopefully not completely flat so water hasa way to run out. You said you had problems with leaks at first? Hope it’s working for you, just wondering.
Question this home came with a covered patio. It was made into a sunroom. My concern is the cement is poured with a slope. How do I make it flat?
Looks like what I want but I would like longer windows almost down to the floor, for more natural light.
You are on the right track. I went long also and love it