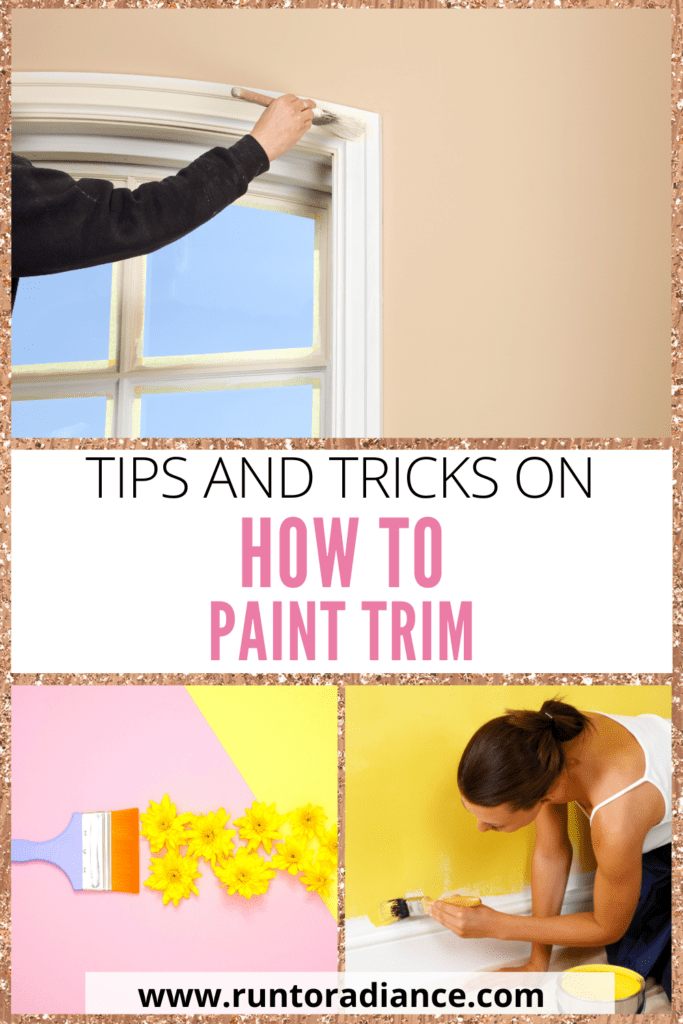
How To Paint Trim
This post may contain affiliate links. As an Amazon Associate I earn from qualifying purchases.
If there’s one area of decorating a room that always gets overlooked, it’s painting the trim. Brightening up the edges of your walls with a lick of paint on your trim is the perfect way to complete any room’s new look.

Plus, it’s relatively easy to do yourself as a finishing touch that you can be proud of. No need to hire a painter; just choose your color, roll up your sleeves, and let’s get going! Read on for everything you need to know on how to paint trim flawlessly.
Before You Get Started

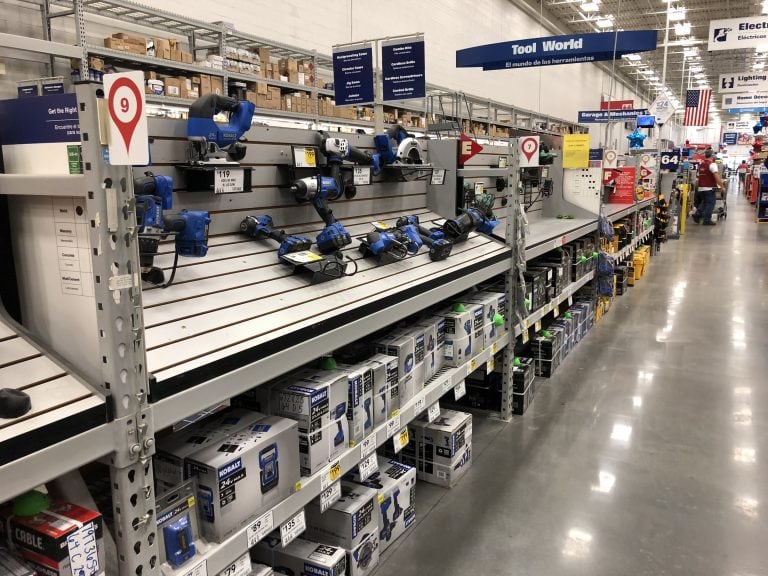
Before you dive in headfirst, there are a few things to tackle first. Make sure you have everything you need in advance, so you’re not running to the hardware store while the paint is still drying. Here’s all you’re going to need to paint your trim:
- Paintbrushes: Try and get a variety of sizes, so you can get right into the crevices of more detailed trims.
- Paint Tray & Liners: If you’re using multiple colors, make sure you get enough so that each color has its own tray.
- Painter’s Tape: You can use any easy-peel tape to protect nearby surfaces and achieve clean, crisp lines.
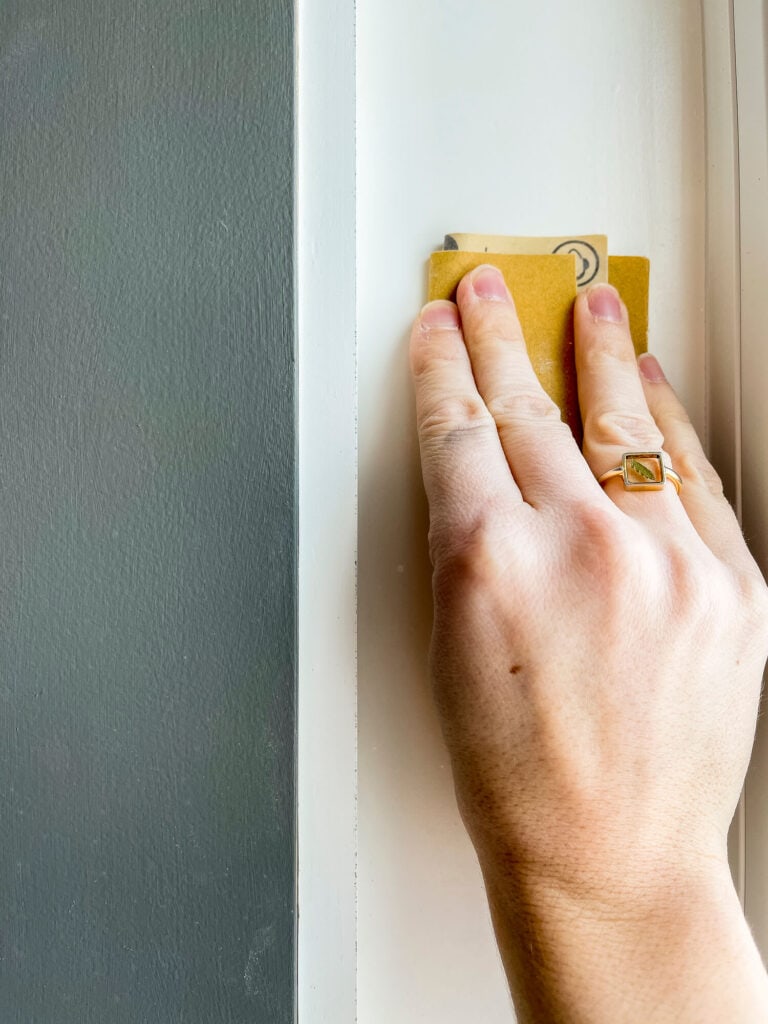
- Sandpaper: If your trim is worn down, make it smooth again with sandpaper so the paint holds better and looks smoother.
- Caulk Gun: A caulk gun seals the gaps between the trim and the wall.
- Primer: Make sure to choose a primer that matches your paint. For example, an oil-based primer for oil-based paints.
- Overalls And Furniture Covers: I there’s any furniture you can’t move out of the way, get some large plastic sheets to protect them. Overalls are also useful to protect your clothes.
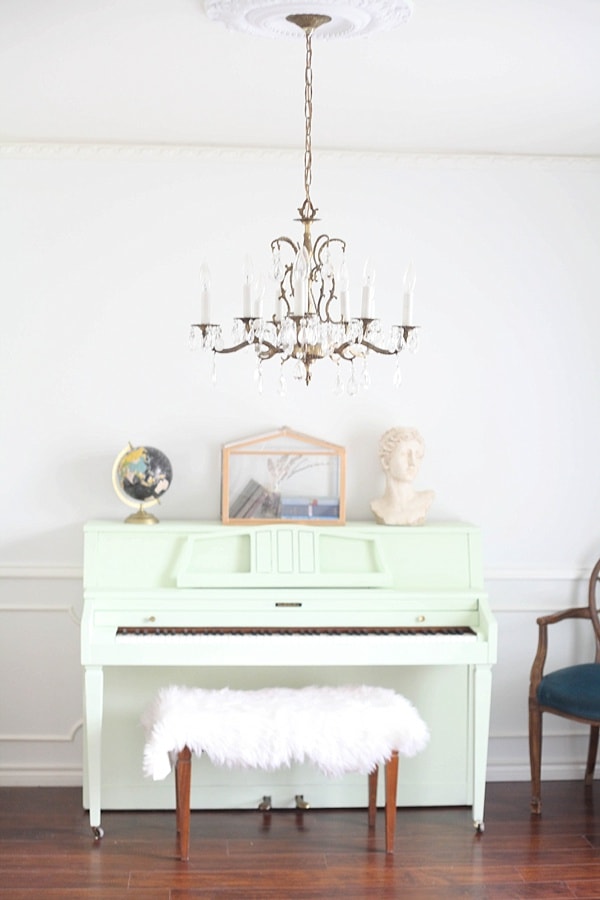
- Paint: Of course, the essential item! Choose your paint colors carefully to complement the rest of the room. If you need a little help, I ran through the best trim paint colors here.
Now that you’ve got everything you need, prepare the room that you’ll be painting in. As already mentioned, remove as much furniture as possible and cover what needs to stay.
Prep Your Space

Protect your floor and walls as well by running painter’s tape along the wall next to the trim you’ll be painting, and by putting plastic sheets on the floor. No matter how careful you think you’ll be, paint can splatter everywhere! It’s better to be safe than sorry.
If you’re painting both walls and trim, you might be wondering whether to paint trim or walls first. Ultimately, it’s all down to personal preference, but getting the walls done first gets the messiest job out of the way early. You have a lot more surface area to cover on the walls, so there’s more chance for the paint to splash around. With the trim, you can be more focused, making it less likely that you’ll drip paint on the walls.
How To Paint Trim
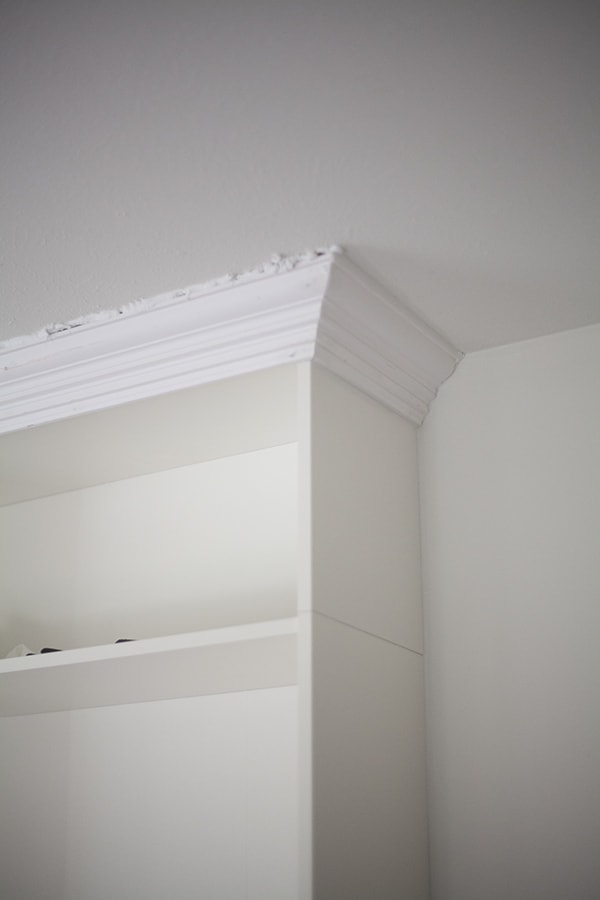
Now that you’ve got all the preparation sorted, it’s time to get down to business! The first step is to fill in any gaps in the sealant with your caulk gun, along with any holes or scrapes in your trim. Use the sandpaper to smooth down the trim afterward.
Wipe down the painting area with a damp cloth. You can use dish soap for any extremely dirty areas, but avoid using bleach or other harsh chemicals that could interfere with the paint color.
Now’s the time for your primer. Apply the primer in long, smooth strokes following the direction of the trim. Lift your brush after each stroke to avoid splotches and try to paint in the same direction each time. You want the primer to be applied as smoothly as possible.
After the primer has dried, sand it down one more time. This gives you the prime surface to apply a flawless coat of paint. Wipe down the trim with a damp rag once more to get rid of any dust or shavings.
Dip your brush into the paint in your paint tray and wipe off any excess. You want your brush to be covered in paint, but not dripping. Apply the paint with short, confident strokes. Once you’ve done that all over, smooth the first coat out with long strokes, so you can’t see the individual marks anymore.
Repeat this process for a second coat, and as many more as you need to get a smooth, consistent color. If your trim was originally a dark wood or color, then you might need more than two coats of paint.
Finishing Touches
Now the painting job is done, it’s time for the finishing touches. Be sure to pull your painter’s tape off when the paint is fully dry, to avoid disturbing the coats. Pull it slowly and gently, so you don’t pull off any new paint along with it.
What Is The Best Paint Finish For Trim?
Using a paint finish on your trim gives it a glossy, shiny look that will help it look brand new for months to come. What’s more, it helps to protect your trim from wear and tear in the long-term.
The most popular paint finish for trims is usually gloss or semi-gloss. As you might be able to guess, gloss is shinier than semi-gloss, but both offer excellent protection and durability. If you’ve got more neutral tones on your walls and other furnishings, a semi-gloss will pair more naturally, whereas bright colors can really pop with a gloss finish.
Can You Paint Trim With Carpet?
When it comes to how to paint trim with carpet, it’s definitely possible, but just needs a little extra care to make sure you don’t ruin your carpets. Tape your plastic or canvas protective sheets to the baseboard, to make sure there are no gaps that paint can get through.
When it comes to painting the baseboard, you can also get a paint edger (a handheld paint pad) to make sure you get a smooth clean line on the baseboard without touching the carpet.
Now you’ve got everything under your belt for how to paint trim, the only thing left to do is get started! Happy painting!
Check Out Similar Posts
- Ideas To Freshen Up Your Spring Decor From Amazon
- 8 Ways To Style An Open Shelving Kitchen
- How To Pick Kitchen Countertops
- Black Accent Wall: Dramatic Ideas For Your Living Space