How to Build an Outdoor Swinging Bed- Part Two of Three
This post may contain affiliate links. As an Amazon Associate I earn from qualifying purchases.
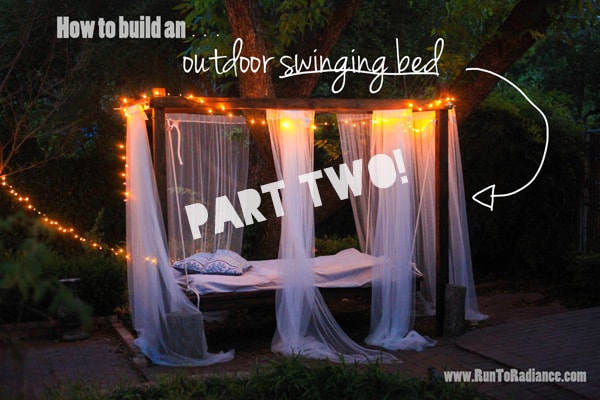
How to Build an Outdoor Swinging Bed- Part 2 Build the Deck
Once we had the posts perfectly square and concreted solidly into the ground, it was time to build the bed itself. If you have ever built a deck, or can screw screws into wood…you can absolutely build this. Totally easy. We used Ana White’s super easy build plan- you can find it here.
If you missed part one, where we talked about how to build the posts for the frame, you can catch it here
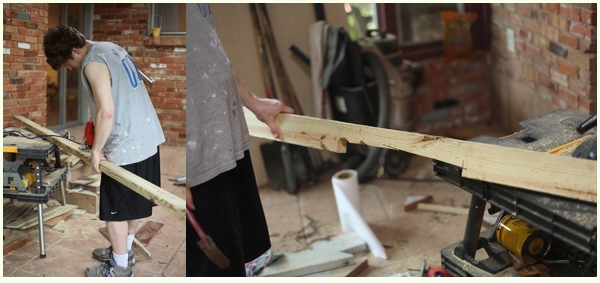
Rather then buy the lumber and bring it home to cut, we opted to have it all cut at Home Depot. The first 2 cuts were free and afterwards it cost us 50 cents per cut. It ended costing us less then $10 to have everything professionally cut- totally worth it. Money vs time, right!? 😉 Plus…the less scraps of wood we have to have around our house the better- we already have plenty! Tip- make sure that you get treated wood to use especially if your bed, like ours, will be outside. Otherwise it will be much more susceptible to the elements and rotting.
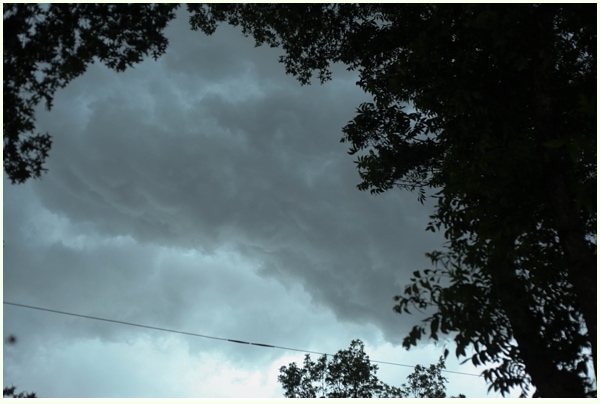
By the time we finished buying all the lumber and screws and the rest of the supplies- we noticed it was getting awfully dark outside.
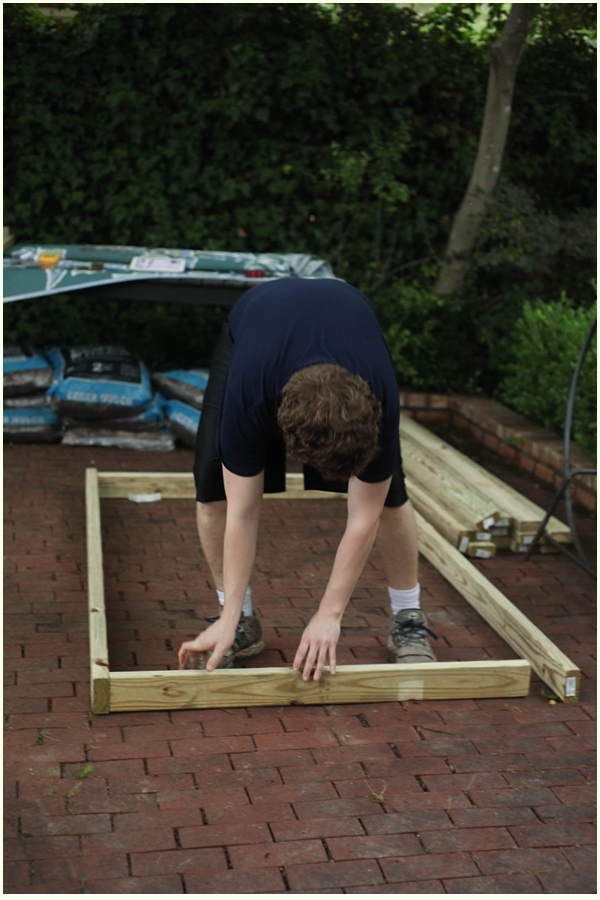
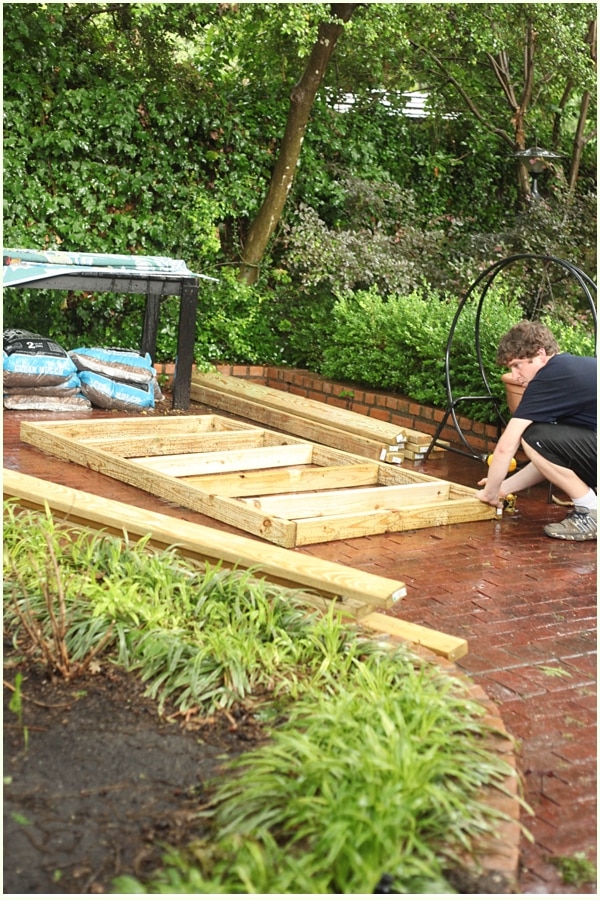
After hours in the store, Scott and I were determined to get the bed together, so we started by laying the frame…
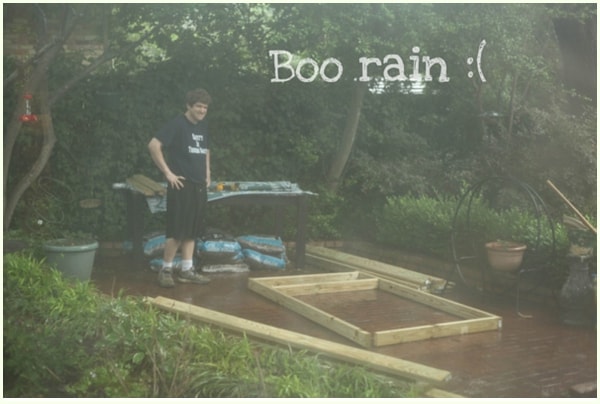
then the storm hit- Texas Thunderstorm style. If you all haven’t been in a rainstorm here in Texas…ya’ll haven’t seen anything. Like most things, it’s bigger here in Texas…and depending on if you are a rain fan or not, better. 🙂

Turns out Scott was more determined and hardcore then I am. He fought the rain, determined to win and build the bed while I stood in the sunroom taking photos out the windows. He only gave up because I went out and got him…I was afraid he’d get struck by lightening or electrocuted while drilling!
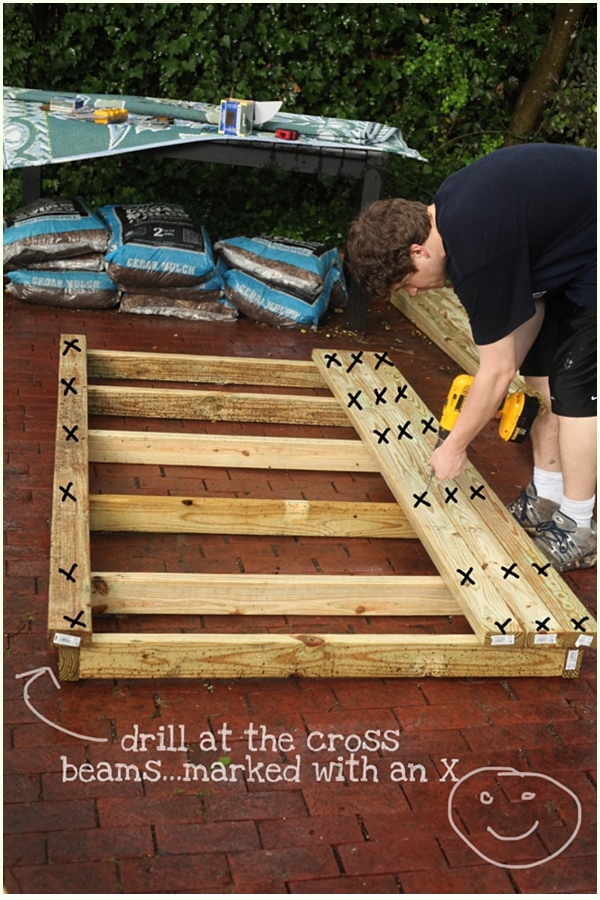
After the storm cleared, we were able to finish pretty quickly. After we built the frame, making sure that it was perfectly square, we were able to add the crossbeams for support, and screwed them all in to the frame.
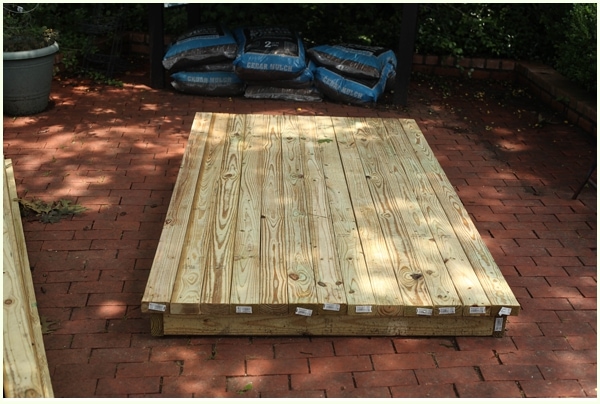
We then were able to lay out the top pieces. We skipped the wood glue Ana suggests in her plan but instead opted just to use the screws. They definitely secured it all together!
Tada!
(Side note- when I was younger I was convinced I’d be a hybrid actress/pop star. For my birthday one year I asked my parents to build be a stage for my bedroom, so I could practice and put on musical shows. I used it up until I was in college….seriously. So- if you have a little one (or just for you!) who dreams of bright lights…this could be a fun gift on it’s own.)
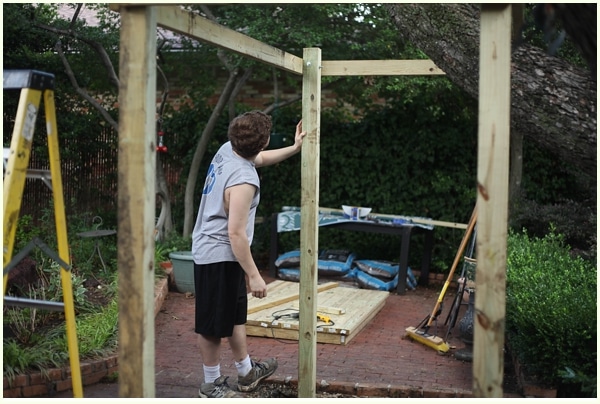
Add Crossbeams:
We also added crossbeams to our four posts using 2x4s. I felt pretty nervous about the sturdiness of the posts (even with four bags of concrete among them!), but the crossbeams serve as a binder between the four posts so they can’t bow out or move at all. Please, please, please don’t skip this step!!! We measured each beam and used the skill saw to cut them down to size.
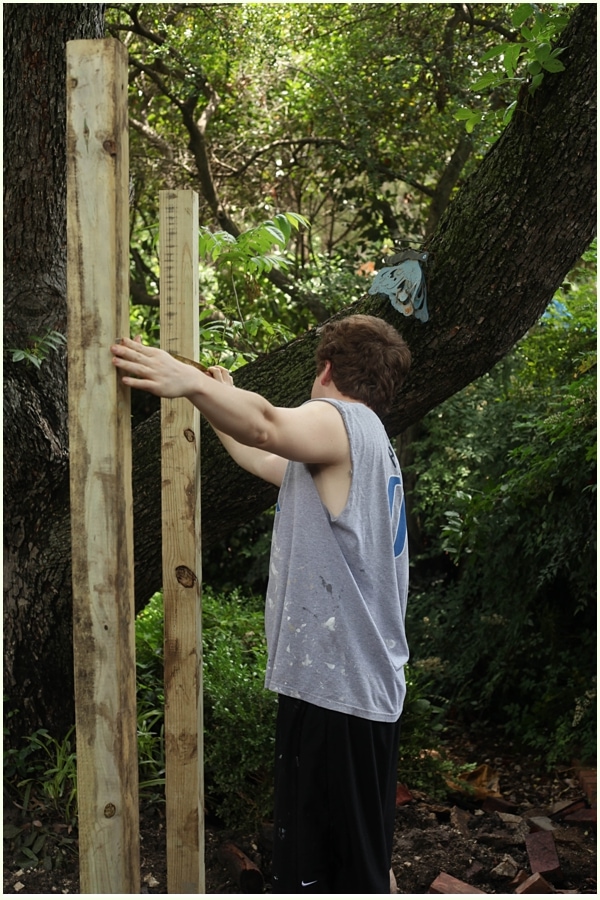
We have a giant pecan tree in our backyard and one of the branches happened to be right in the middle of where our cross beam was supposed to go. We cut out a groove for that crossbeam so the tree branch was actually integrated in the middle- kind of like a little treehouse 🙂
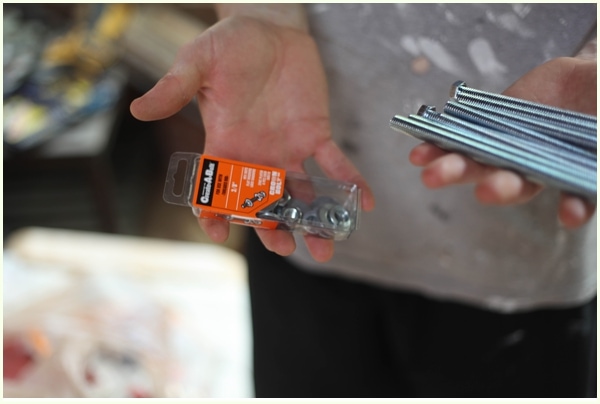
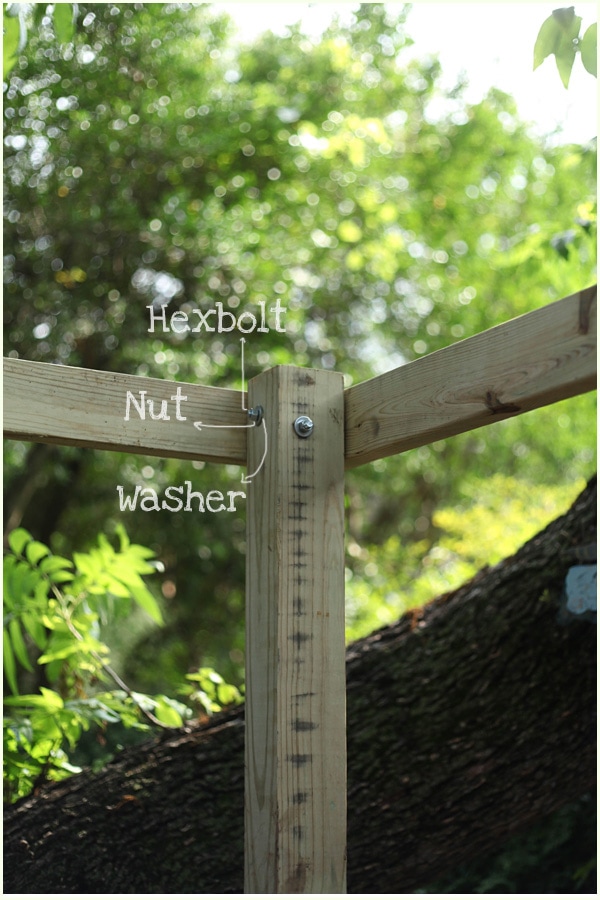
Support the Weight with Hexbolts
We then attached the beams using 6″ hexbolts. We decided these were the best hardware to create support and sturdiness- which we wanted lots of! 🙂
Then we marked where they would go and made sure they were at the same height, and screwed them into the 4×4 posts so they wouldn’t fall. After we were happy with the placement, we drilled a hole the same size as the bolt (about 1/2″), and inserted the hexbolt in, using a hammer to push it through to the other side. The back of the bolt had a washer and a nut, which we tightened with a wrench to ensure everything was securely held together.
Once it was all connected and secured- Scott tested the safety of the beams like so:

And it held, folks! 🙂 Hooray! You are almost ready to hang your bed and enjoy- next part three of this tutorial will cover all of that…and the FUN stuff like staining, weather sealing and decorating! Woo hoo! 🙂


2 Comments