DIY Wooden Serving Tray
This DIY wooden serving tray takes just minutes to make and has such a high impact. It’s food-safe and a totally easy beginner’s project!
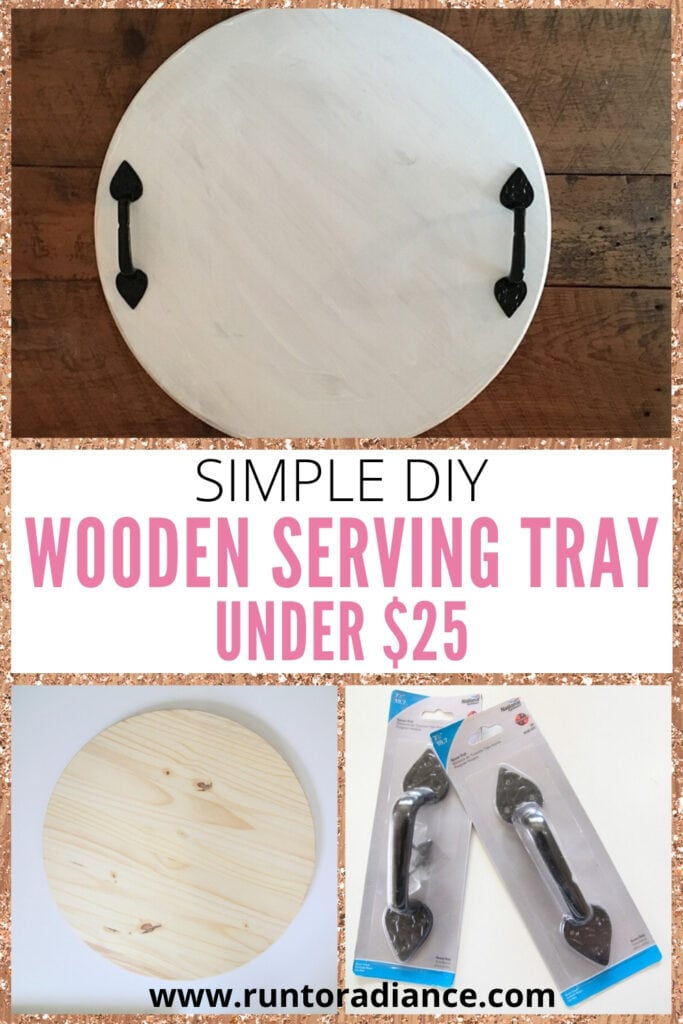
You guys know I’m a sucker for easy DIY projects that takes minimum time to do and a small budget.
This one is my current favorite—for less than $25 and just a few minutes I made a large DIY wooden serving tray that I’ll be using for years to come.
Want to make one too? You got it!
How To Make A DIY Wooden Serving Tray
Scott and I have a running joke in our family. If we are at the store, and I’m eyeing a tray, he says, “Tania, what are you going to do with that tray?” and I lovingly and innocently look up at him and say, “Scott, what wouldn’t I do with this tray?”
You see, I truly believe trays are a home owner’s BFF. They corral your things so they look neat and tidy, they are pretty and they allow you to eat dinner on the couch without making a mess.
Just being honest, you guys!
So when the opportunity came up, I got really excited about the idea of making a massive tray. Spoiler alert—it turned out better than expected!
You guys can do it too, promise!
Supplies Needed
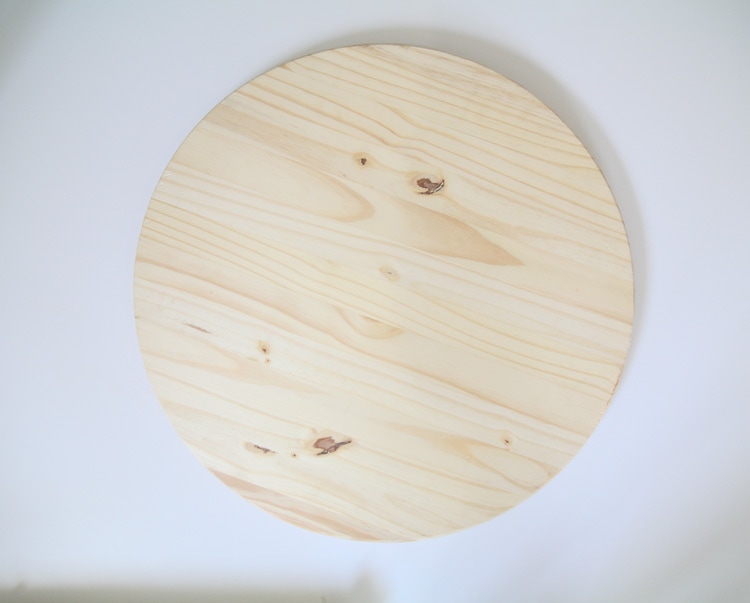
- Wood round (available at home improvement stores)
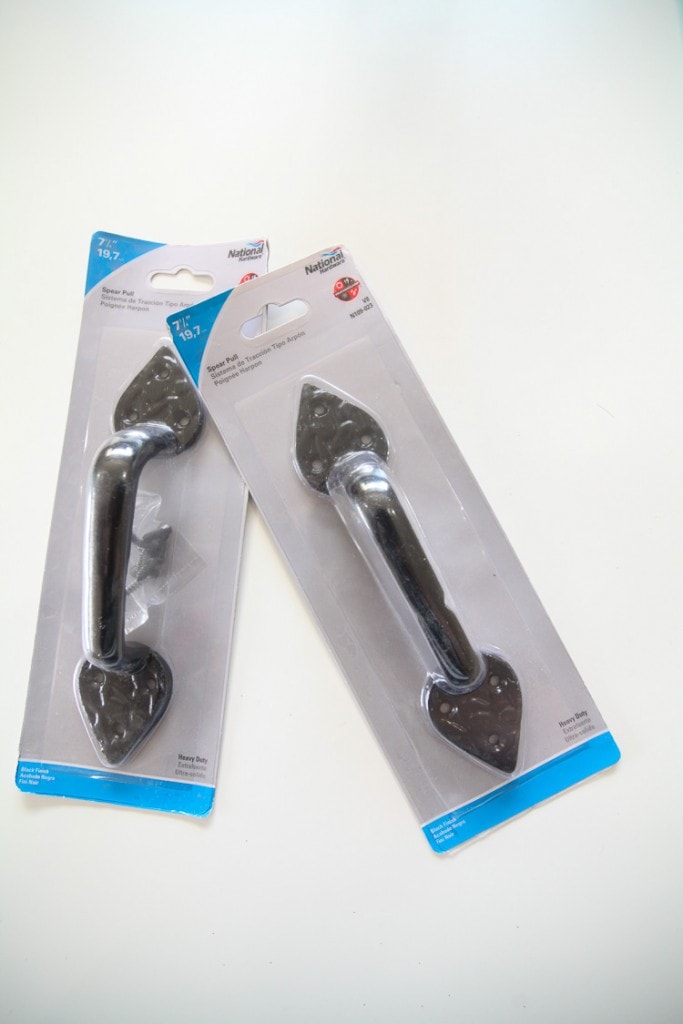
- National Hardware 7 3/4 spear pull
- Paint
- Non-toxic sealer (make sure it has a clear finish)
- Drill or screwdriver
Wood Ottoman Tray Tutorial
Here’s how to make a wood tray, step by step. It’s so easy!
Time needed: 15 minutes
Follow these easy steps and you’ll have a beautiful wood tray that you created all by yourself!
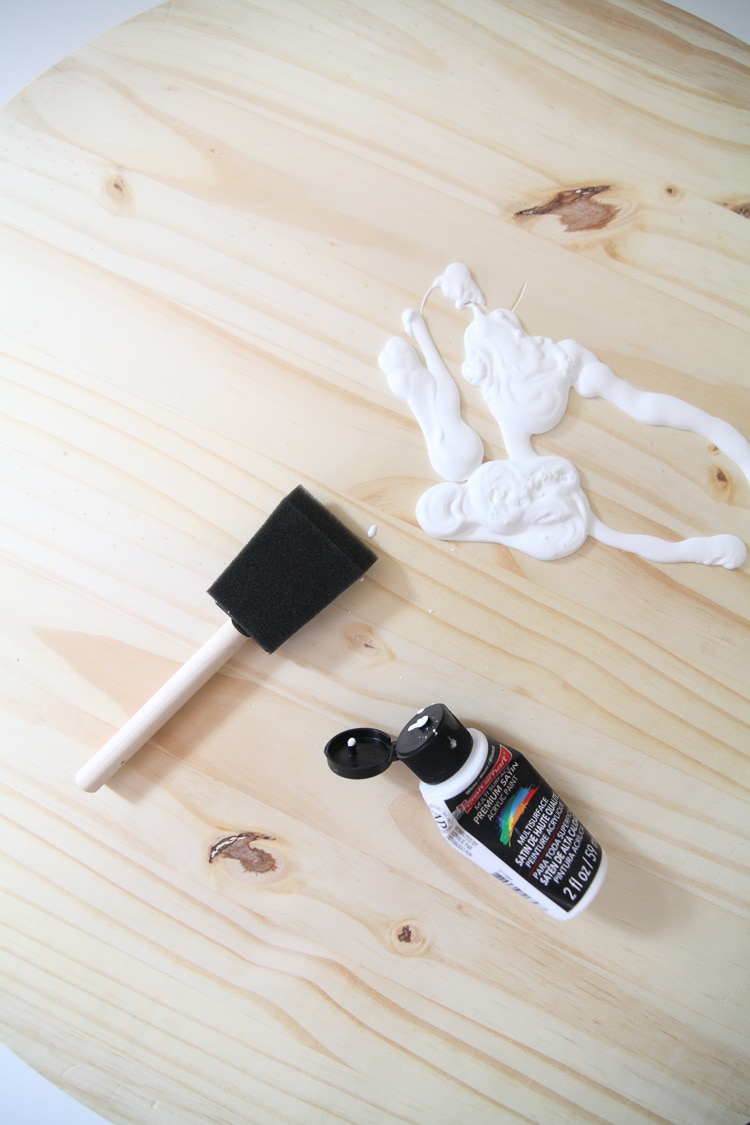
- Paint the Wood Round
You can choose whatever color you like, but I went with a chalky finish paint that I picked up at a craft store. You can even stain the round if you prefer!
I wanted to give mine a bit of a distressed finish, so I purposely made the brush strokes less smooth than normal and allowed there to be a bit of texture with the paint.
Let it dry. - Seal With A Top Coat
Seal it with a non-toxic topcoat. This is only necessary if you plan on having food on the tray, but I would advise doing it anyways.
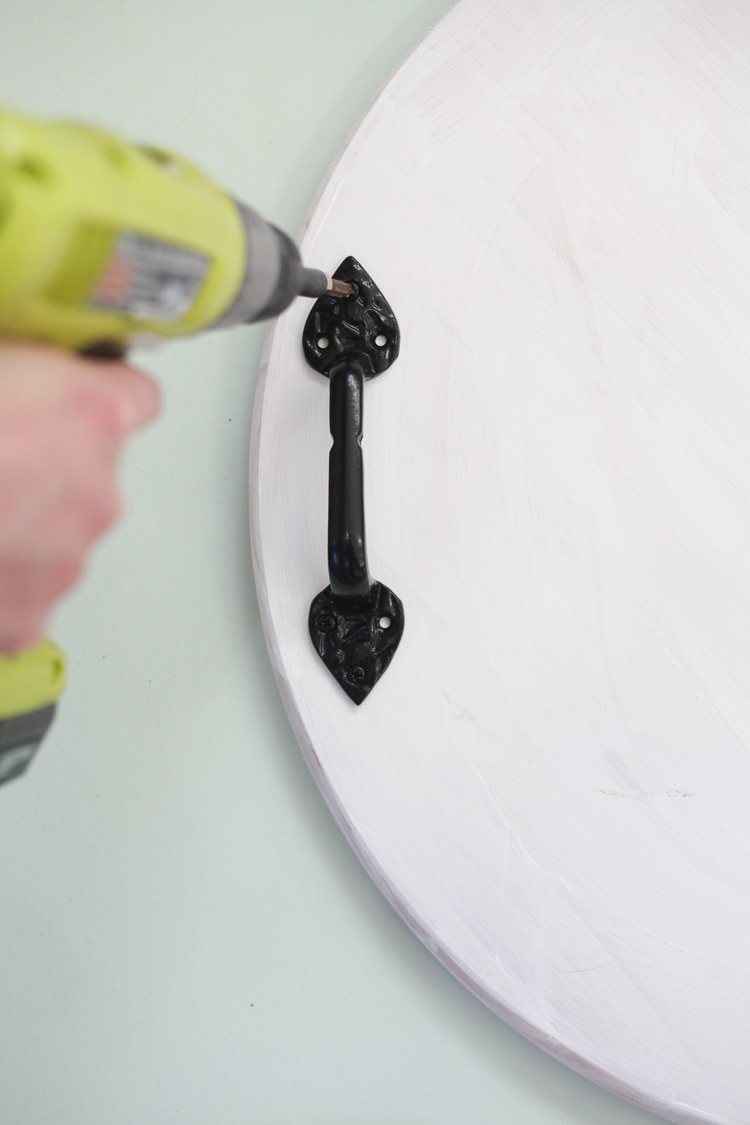
Let it dry. - Attach the Hardware
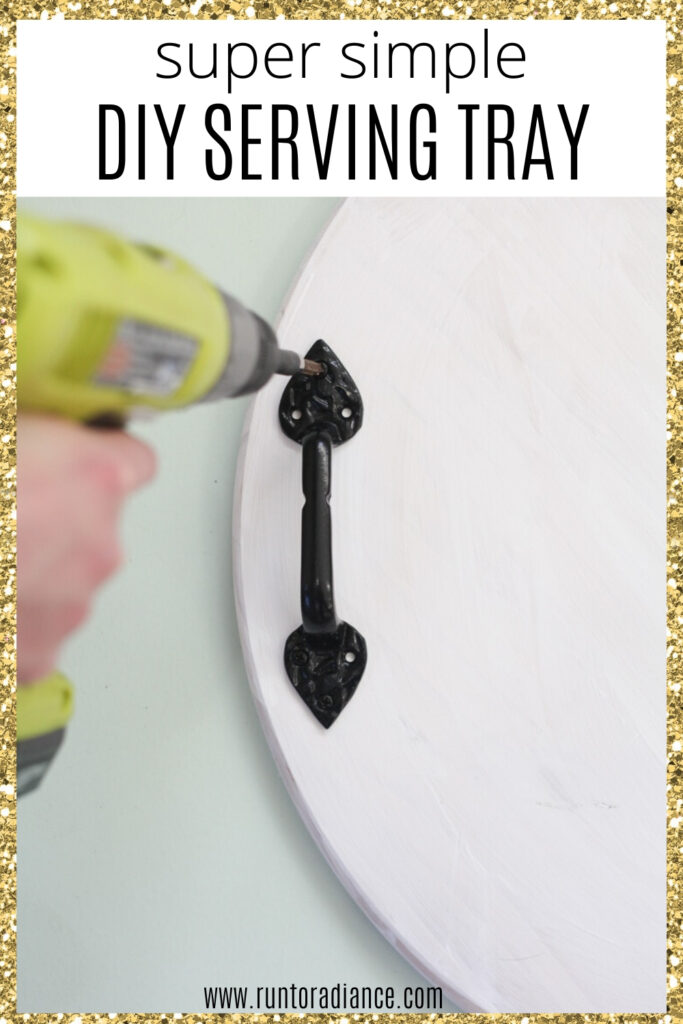
Screw the spears into the wood round. They come with the screws you need in the set!
Make sure the two spears line up straight—I used a straight edge from the poster board to keep them on the same line. - Decorate it!
This is your opportunity to use or decorate this tray however you like. If you are needing some ideas, keep on reading!
How to Use And Decorate A Wooden Serving Tray
This is such a beautiful tray! You can paint it any color you wish to match your home’s theme.
How do you like to use trays? I can imagine so many ideas. My favorite one of all is to set some cheese and snacks out.
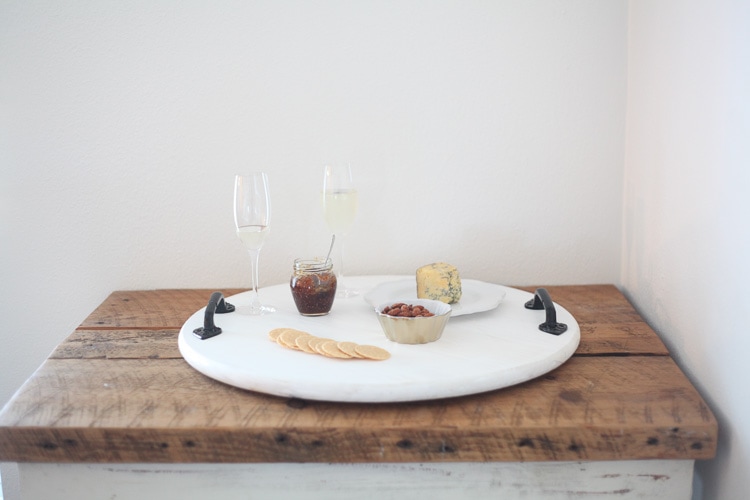
It looks perfectly beautiful for parties or even date nights at home. I love using it as a charcuterie board with meats, cheese, and nuts.
The white paint allows the food to be the star of the show!
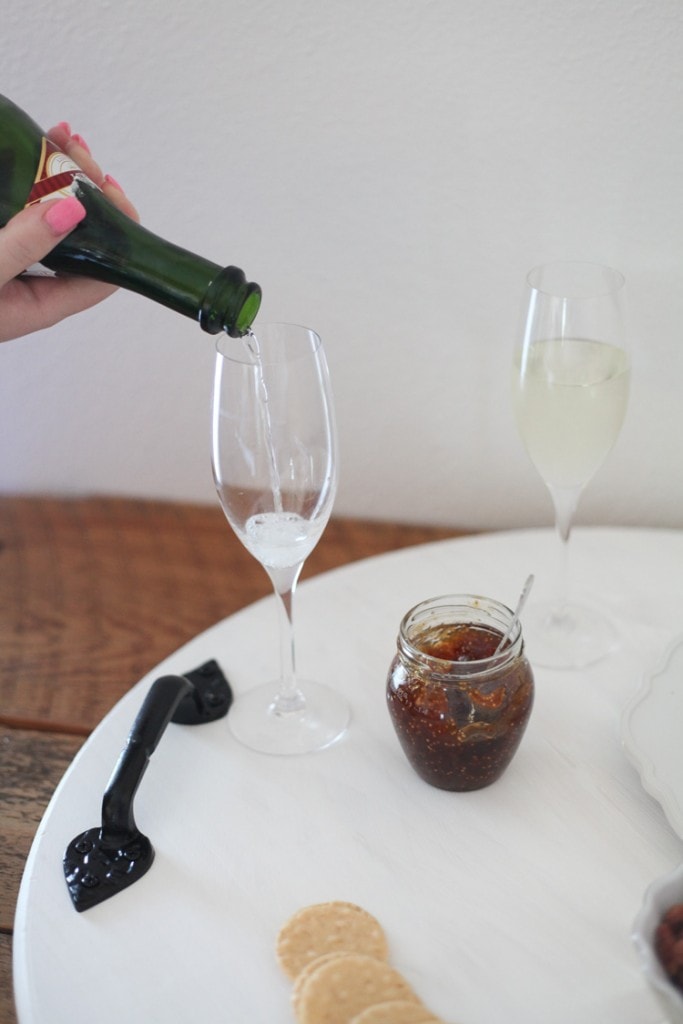
A few other tray ideas could include:
- Display books on your ottoman
- Breakfast in bed
- Hold toiletries in the bathroom
- Display baskets for keys and your remotes
See, isn’t this DIY awesome? It’s simple, beautiful and totally customizable.
How To Keep Projects Simple
DIY projects can be as difficult or as simple as you keep them. I don’t know about you, but my life is way too crazy for projects with too many steps. If I can keep it simple, I will.
This is why I love this DIY wooden tray project. It was so simple!
Here are some more of my favorite KISS (keep it simple stupid) tips to use when making DIY projects. I’m sure you’ll agree with them.
Reuse Items From Around Your House
Don’t build things completely from scratch if you can help it! It’s easier to turn an old window pane into a picture frame than it is to build a picture frame from raw materials.
For my serving tray, I found an unfinished wood round at my local home improvement store. You can also turn cutting boards into serving trays by adding a few handles and repainting them.
Keep Decorations Simple
Instead of trying to add too many stencils to your projects, just give it a nice coat of paint. You’ll finish your project in less time and have quicker gratification too.
Plus, simple DIY projects are timeless. They last the longest and fit in more decor themes too.
Make a Multi-Purposed Item
Finally, make something that you can use in a variety of ways. This will save you time so you don’t have to make 3 different things. Make one thing that can be used in 3 different ways.
So, tell me. What wouldn’t you do with a massive tray like the one above? I can’t think of a reason!
More Interior Design Resources
As you decorate and spruce up your home, here are some more ideas to help you build and decorate your dream home:
- Cute & Cheap Coffee Tables Under $100
- Before & After Bathroom Remodel
- How To Whitewash A Brick Fireplace
Tania Griffis is an accomplished writer, blogger, and interior designer with a Journalism degree from the University of Oklahoma. She started her popular blog, Run to Radiance, in 2011, demonstrating her design expertise through the personal remodeling of six houses to millions of readers across the globe.
Tania also owns The Creative Wheelhouse, a respected ghostwriting agency for bloggers, further showcasing her talent for creating engaging and informative content.





You know, it is quite possible I do not own any trays at all! But after seeing this, I am 100% convinced I need one and one that I can put together myself. Love how yours turned out! Thanks for sharing this great tip!!
What! Not one? How is that possible? You need AT LEAST one for your kitchen, one for your art supplies and one for your bathroom. 🙂 If you need a tray-making partner, I’m in.
So cute! I love those pulls you used!
Thanks Brynne! I love them too- they are so versatile!
Love love love that tray!!! It is so simple but so timeless and stylish! You are always so creative.
Aw, thank you Nadine! 🙂
I love DIY projects, but I especially appreciate easy ones! 🙂
Me too Courtney!
So cute, and near instant gratification! I love and quick and easy project.
Yes, Sarah, I’m all about the instant gratification! 🙂
Ooooo love this tray!!! Can you believe that I haven’t made a tray from scratch yet? Love your tutorial and the hardware is gorgeous!!
I mean, talk about bang for your buck?! The tray looks amazing! (As does the cheese. Mmmmm cheese.) Looks great, Tania! xx
that is really creative way to display fancy pulls. I never thought to DIY a tray with them. I am digging it.
I never knew i needed a tray until now! And I don’t have one! Thanks for saving the day!
I would love it if you would share this post on my weekly link party : )
http://www.twentysomethinginthe2010s.com/peace-love-linkup-002/
Very neat! I would paint the top of my tray with chalkboard paint. The only question, how heavy is the tray?
How big is the piece of wood round you bought, and what store carries them please? I can hardly wait! I am going to make two! Ok maybe 3 lol!
Great job, love this!
I love the handles! I just redid a large lazy susan from the thrift store, but I may have to add the handles!
I luv this tray and looks super easy to make too! I’d luv for you to share it with us at Wall to Wall DIY Wednesday Link Up!