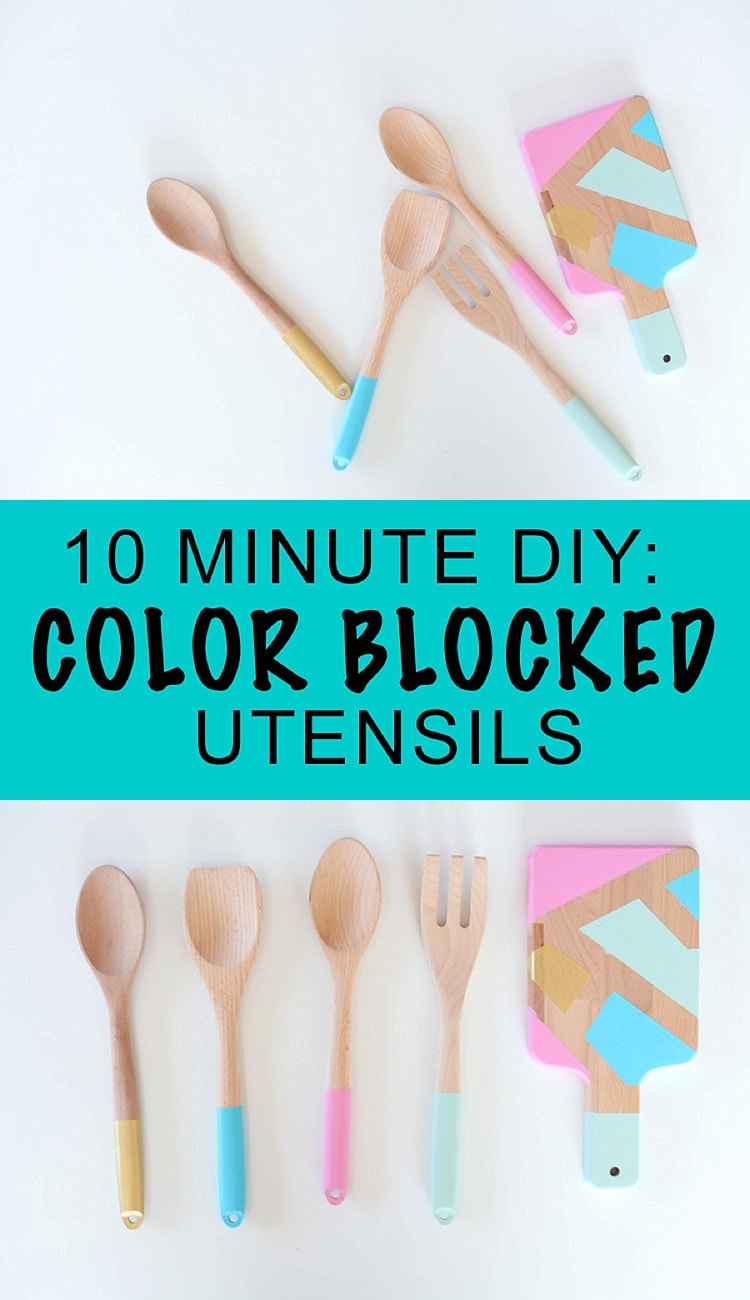
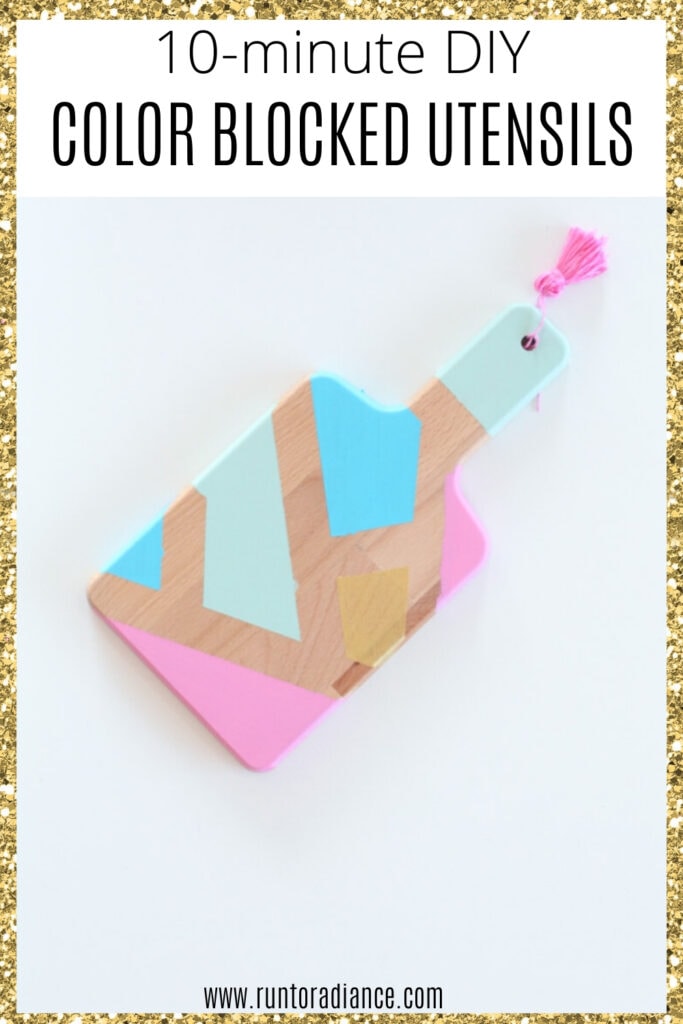
Color Blocking Craft Idea – Painting Utensils in 10 Minutes
Learn how easy it is to paint your utensils with this simple color blocking technique. It makes a unique DIY gift idea or makes old things feel new!
As you all know, I’m a huge fan of quick and easy craft projects that are both beautiful and functional.
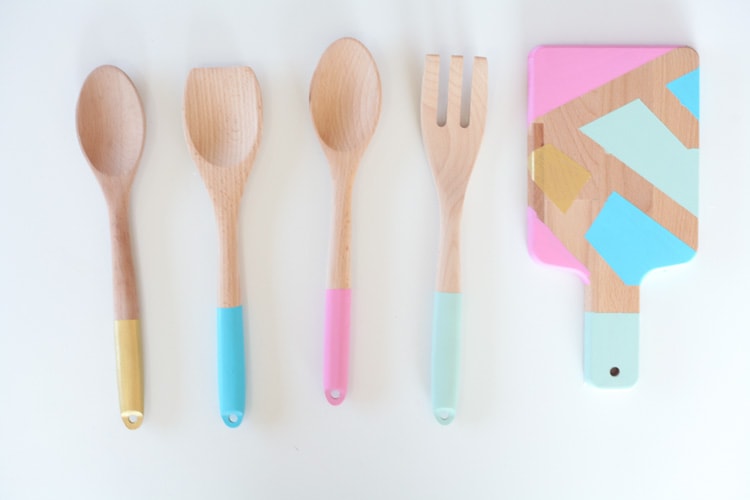
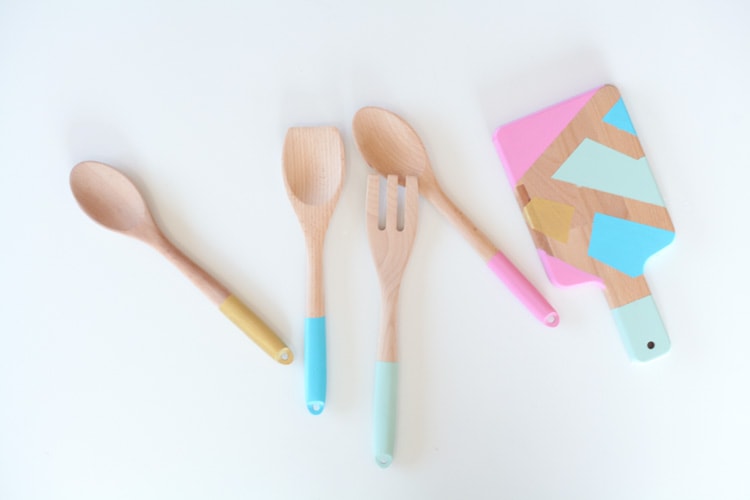
These color-blocked utensils check every box on my list!
They are affordable to make and can be done in ten minutes or less. They are food safe and every time I use them to cook, I just feel happier.
Crafts do that to me!
This post contains affiliate links.
Frequently Asked Questions About Color Blocking
I love simple crafts, especially ones that I can use as gifts. This one is super easy to customize and is a wonderful gift at any time of year. It really doesn’t take more than 10 minutes to do from start to finish!
You can do this craft with your kids, during a girl’s craft night, or make a bunch of DIY gifts all at once.
Before I show you how to make this quick and easy craft, here are a couple of questions I have gotten from some of my readers about color blocking.
What Is Color Blocking?
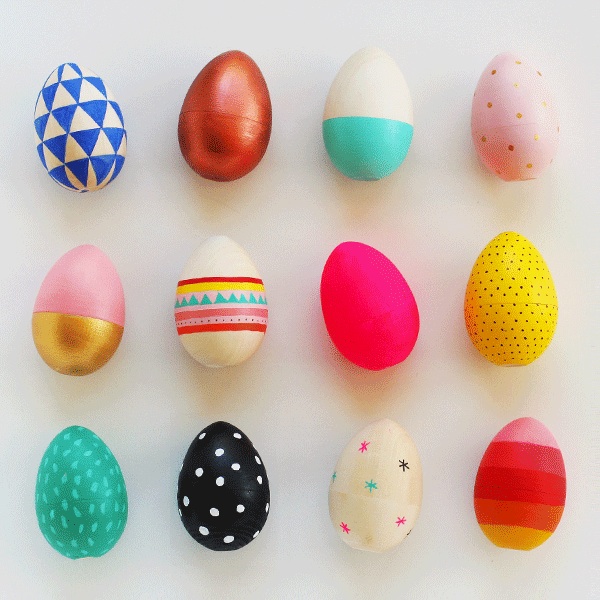
Color blocking is the use of colors on the opposite ends of the color wheel together. So, in this case, I used pink and blue. I threw in some gold as a bright accent color.
Other color-blocking combinations include:
- Green and Red
- Purple and Yellow
- Orange and Blue
- Green and Pink
What Kind Of Paint Is Best To Use on Wooden Utensils?
I used acrylic craft paint on my utensils as I found that it goes on thick and smooth and is really easy to use. I really like how well it dries so that I can layer it on without any issues.
Plus, it’s ready to use, right out of the bottle!
Oil-based paints are vivid and fun, but you need to premix them. Plus, they are more difficult to use for beginning crafters.
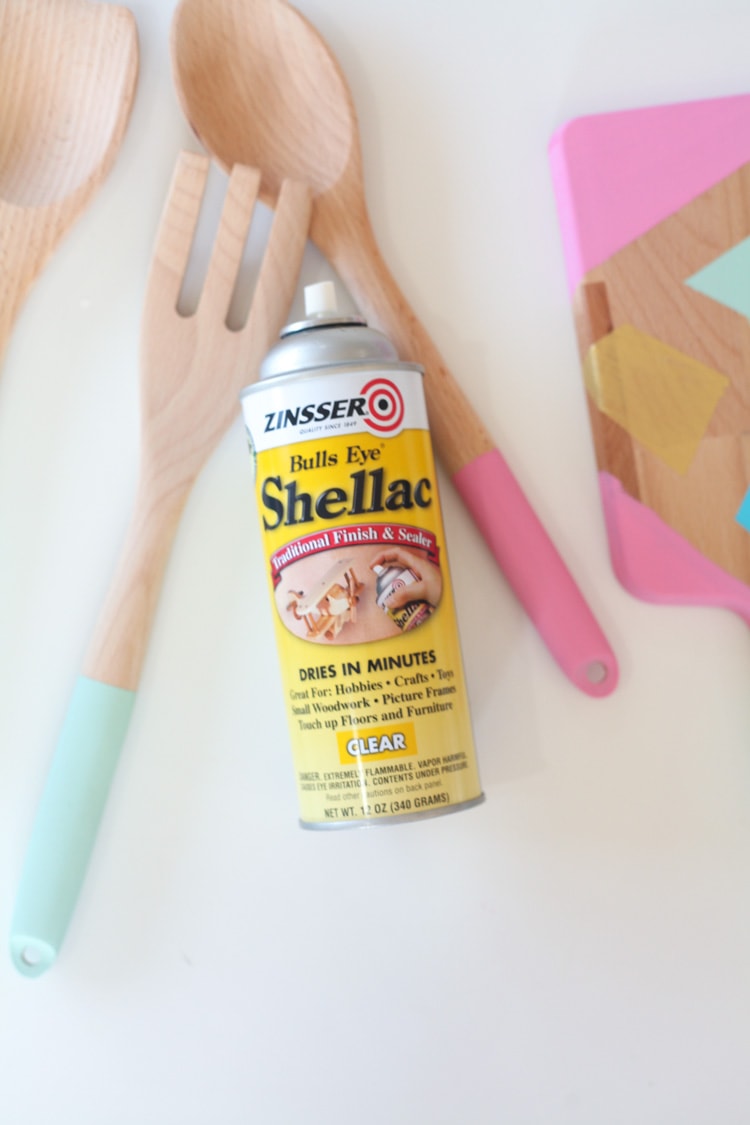
Craft Tip: Do not forget the shellac non-toxic sealer! This is what makes it safe to use on food.
What Type of Paintbrush Is Best?
When you are painting something without much detail, like color-blocking the wooden utensils, I have found a foam brush works the best. It applies the paint without brush strokes. It tends to look smoother and even.
Foam brushes are also a great economical choice if you are on a tight craft budget! You can usually buy a huge pack of them for a low price at a craft store.
Are Painted Utensils Dishwasher-Safe?
I personally wash mine by hand. While the sealer helps protect the paint, I know they will last longer if I handwash them.
If you are giving them as a gift, attach a tag that says, “hand-wash only” so they know.
Painting Utensils with Color Blocking
As promised, here’s the quick 10-minute tutorial!
This is so easy you can even get your kids to help make gifts for their friends too. It really is as easy as tape, paint, and let it dry. The end result is unique and stunning!
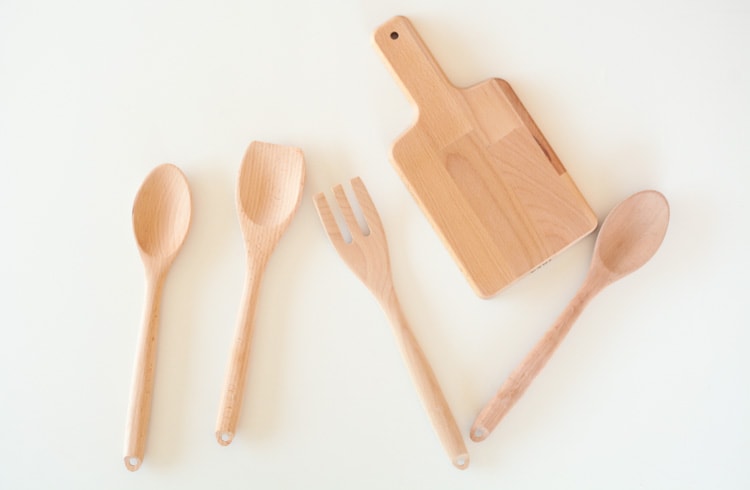
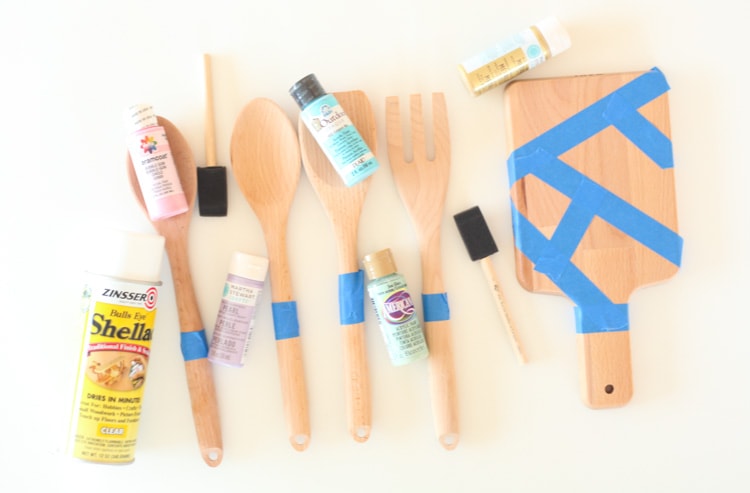
Supplies:
First of all, gather your supplies. You’ll need:
- Wooden utensils (I got mine from Ikea, but these ones from Amazon are similar)
- A small wooden cutting board
- Craft paint
- Painter’s tape
- Foam brushes
- Shellac non-toxic sealer –> this one is what makes your utensils food safe! Don’t skip it!
Instructions
Follow these instructions and you’ll have color-blocked utensils in no time at all. Don’t forget to pin this post so you can find it later!
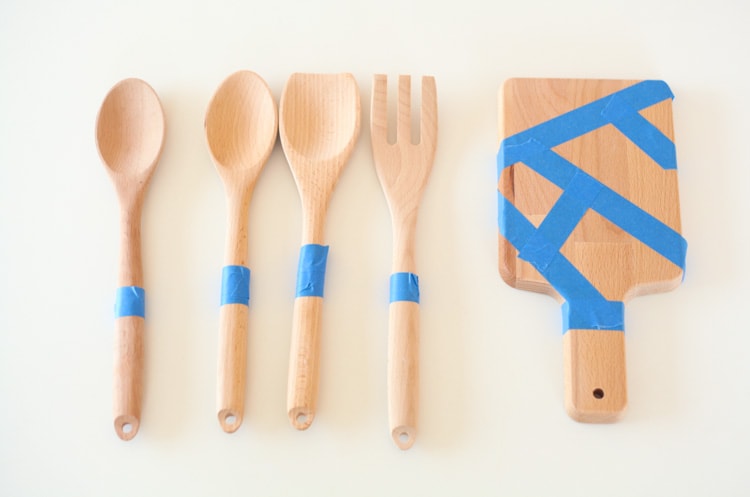
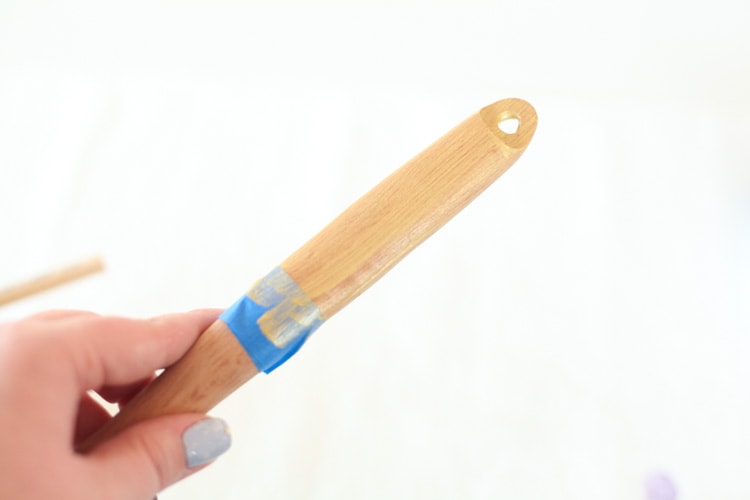
1. Tape Your Utensils
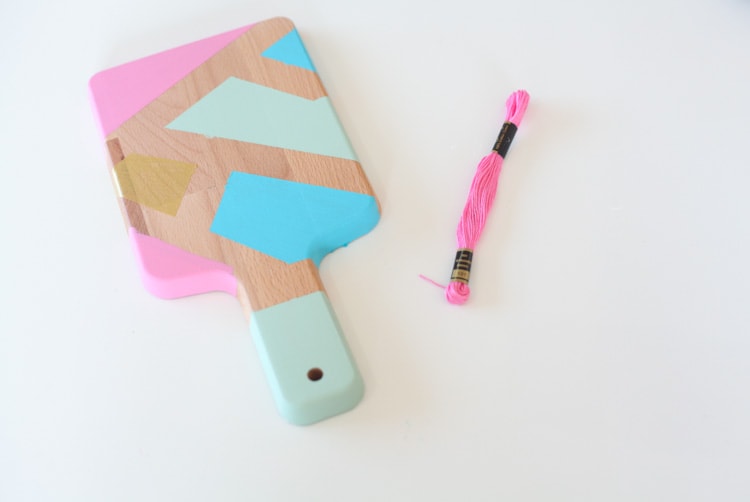
Start by taping off your utensils. For the cutting board, I decided to tape off a random pattern.
How you tape them is totally up to you. You can add stripes to the spoons or just one solid block like I did.
You could even use the tape to create a letter or an intentional shape. Have fun with this part!
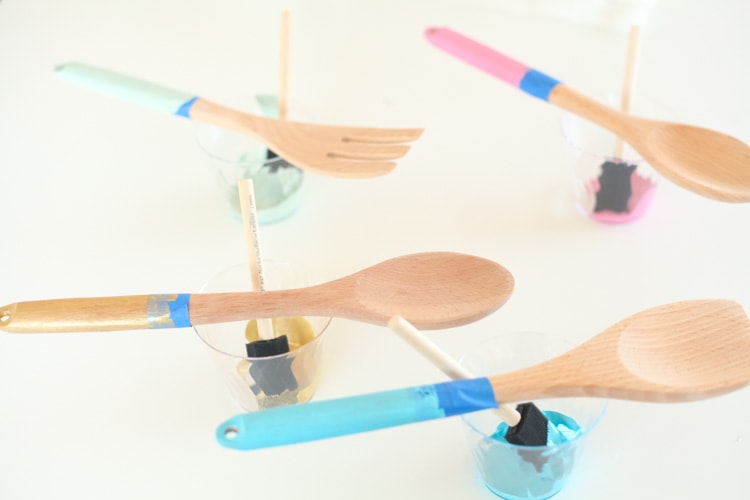
2. Paint The Utensils
Then use craft paint to paint! I used my favorite color scheme of mint, blue, pink and, of course—GOLD! 🙂 If you decide to use gold, just know upfront you’ll need to do like 10 coats (worth it!).
Do not paint the top of the utensils. Yes, the sealer keeps it food-safe, but the more you use it the more likely it will be to fading and wearing out.
That’s why I prefer to just paint the handles.
As you can see, the gold almost matched my natural wood utensils too well. Painting it with about 10 coats really helped cover it and made the gold pop.
I let the utensils dry on the cups of paint.
For my cutting board, I used the same color scheme.
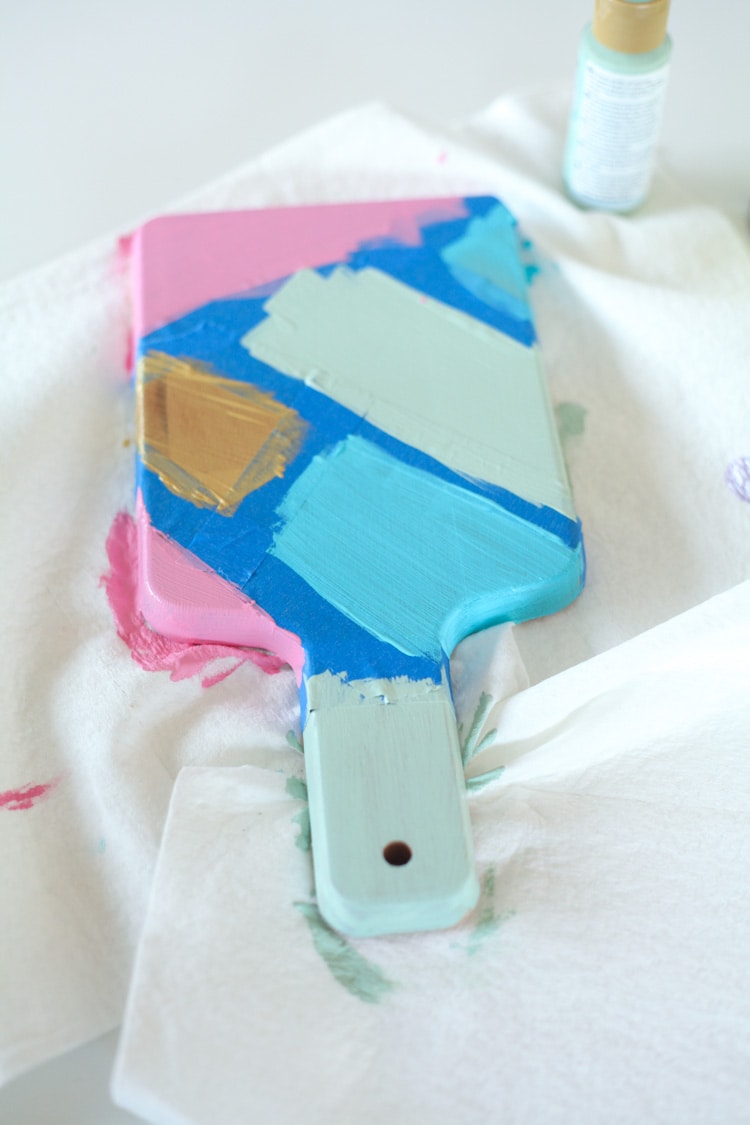
3. Take Off the Tape
Take off the tape while the paint is still wet so your paint doesn’t chip, and let it dry for a few hours.
4. Seal With a Non-Toxic Sealer
Once your paint is completely dry, use a non-toxic sealer like Zinsser’s Shellac. This step is really, really important. Without it, your items will NOT be food safe.
Once it’s dry, you’re done! Your utensils are ready to use. These will need to be gently hand-washed.
And, if you’re anything like me—you’ll get crazy and add a really fun tassel.
Tada! Give this one a try—it’s super easy!
DIY Gift Ideas
If you want to give these as a gift, there are lots of ways you can personalize them and create a memorable gift. These make easy teacher appreciation gifts, wedding gifts, and even graduation presents.
Here’s how to go the extra mile and personalize them.
- Use their favorite colors
- Use a stencil to add their monogram
- Add them to a baking gift basket
- Tie a few of your favorite recipes around the handles of the utensils
- Paint them to match the person’s kitchen decor
- Use stencils to add their favorite animal or shape to it
Other Kitchen Items You Can Paint
Be creative! There are lots of other things around the kitchen you can paint and give as gifts too. Paint a large breakfast tray or hand-paint a coffee mug. You can even redecorate an old wine bottle and turn it into a stunning vase!
This is why I love color blocking so much. You can truly be as creative as you want!
More Quick And Easy Craft Ideas
Here are some more craft ideas that can also become thoughtful gifts.

Tania Griffis is an accomplished writer, blogger, and interior designer with a Journalism degree from the University of Oklahoma. She started her popular blog, Run to Radiance, in 2011, demonstrating her design expertise through the personal remodeling of six houses to millions of readers across the globe.
Tania also owns The Creative Wheelhouse, a respected ghostwriting agency for bloggers, further showcasing her talent for creating engaging and informative content.

I tried this idea with a set of wooden utensils I bought at the dollar store. I wound tape around the handle, down to the end, and painted around it with a silver paint to create a spiral effect. It really looks pretty, and even though I have so many utensils, I keep these out to “show off” at the dinner table. Thank you for the great idea!
I’m so glad you got to try this, Faith! Hope you enjoy them. It’s definitely a quick project but the results are so cute!
So simple but yet so effective. love this!
This tutorial is absolutely great. I saw a set of color block kitchen utensils that I loved…now I just might have to try making my own instead. I would have never thought to do a cutting board, too! Brilliant idea and great post!
I love this idea! Would even make cute personalized wedding gift! Added to my Pinterest queue.
This would make such a fun wedding shower gift! Thanks for the tip on the Shellac and for linking up with Funtastic Friday!
Love these. I always wondered about how everyone was making this stuff food safe and now I know. Totally going to try.