Brutally Honest xTool M2 Review (Read BEFORE You Buy!)
This post may contain affiliate links. As an Amazon Associate I earn from qualifying purchases.
The xTool M2 has some new and exciting features—but does it try to fit in too much in one machine? And is it actually worth the cost? Here’s the good, the bad, and the ugly you need to know before you buy.
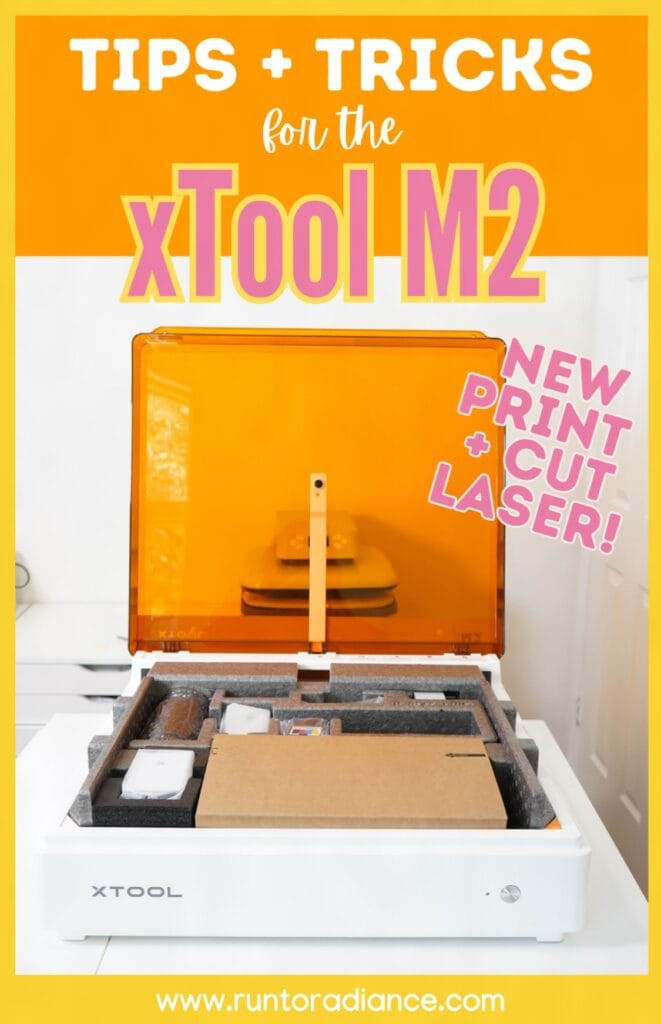
I’ll be totally honest up front: the xTool M2 Color Craft Laser Cutter and Engraver is NOT for every crafter. But, chances are, it could be the right fit for many of you. By the end of this in-depth review, you’ll know which group you fall into!
Disclosure: xTool provided me the M2 Color Craft Laser in exchange for this review. All opinions are 100% my own. This post also contains affiliate links, at no additional cost to you.
Psst…I wasn’t kidding when I said we’d take a deep dive. Before you spend your hard-earned money, I want you to be sure that this is the right crafting tool for you! I encourage you to read the entire post, but you can also use the table of contents to skip ahead to the section you need.
🏅 Why You Can Trust This Review
Okay, quick pause before we dive in — let me tell you why you can trust everything I’m about to say!
I’ve been laser crafting since 2023, and I currently own 5 laser machines (plus a full craft room of other crafting tools to compare against) — so I’m not reviewing the M2 in a vacuum. I know exactly how it stacks up against everything else out there.
I’ve partnered with xTool since 2023, testing the majority of machines they’ve released, and I’ve sold 120+ laser-crafted items in my Etsy shop — so this isn’t a hobby I dabbled in for a review. It’s genuinely how I create, and part of my income stream.
Honestly? I’ve been crafting since I can remember — this is just the newest chapter of something I’ve loved my whole life.
Want to check out my past reviews? Find them here:
+ more coming soon!
And as always: every opinion here is 100% mine, jargon-free, and as honest as it gets. Let’s get into it!
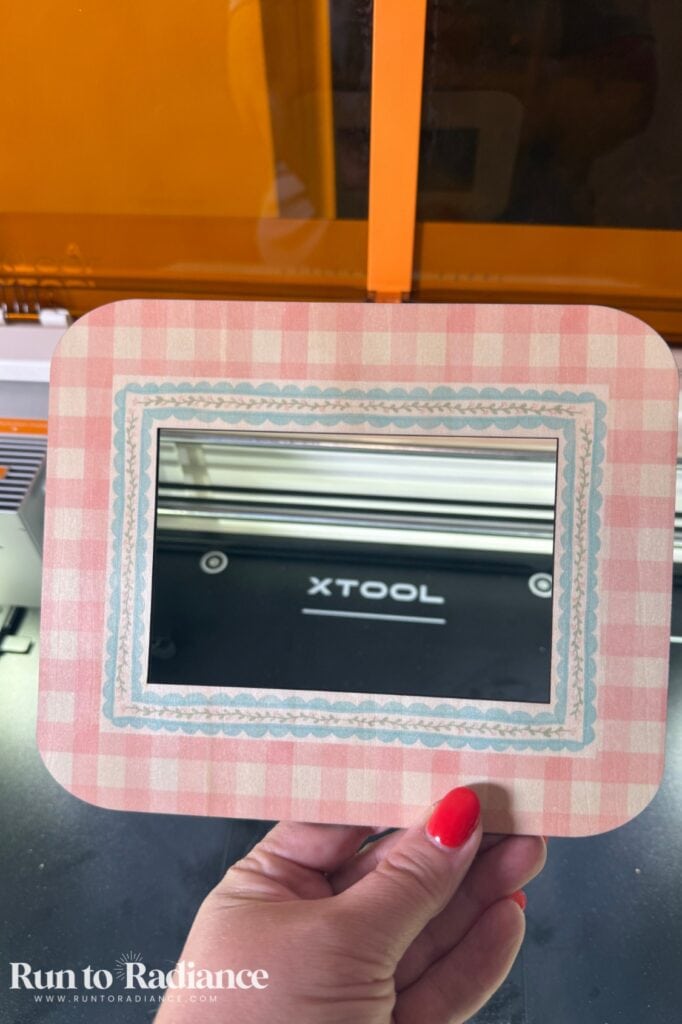
xTool M2 at a Glance 👀
- What it is: the xTool M2 is a single machine that engraves, cuts, and print-and-cuts in color — basically your craft room’s new all-in-one workhorse
- Work area: 12.5″ x 16.7″ max
- Price: starts at around $599 and but cost increases depending on package and accessories
- Standout feature: Swappable modules let one machine do it all — switch between 10W/20W diode lasers for detailed engraving, a 3W module for metal, and a CMYK print head for full-color printing, all in the same machine
- Skill level: Beginner-friendly, but powerful enough to grow with you
- Best for: Home crafters, DIY makers, and Etsy sellers who want one machine instead of a laser + a separate printer
- Perfect if you: Want to make custom gifts, jewelry, stickers, and home decor pieces without owning five different machines to do it
- Not a great fit for those who: only want to make stickers or cut vinyl — this machine can do soooo much more, so you’d only be using a fraction of its power.
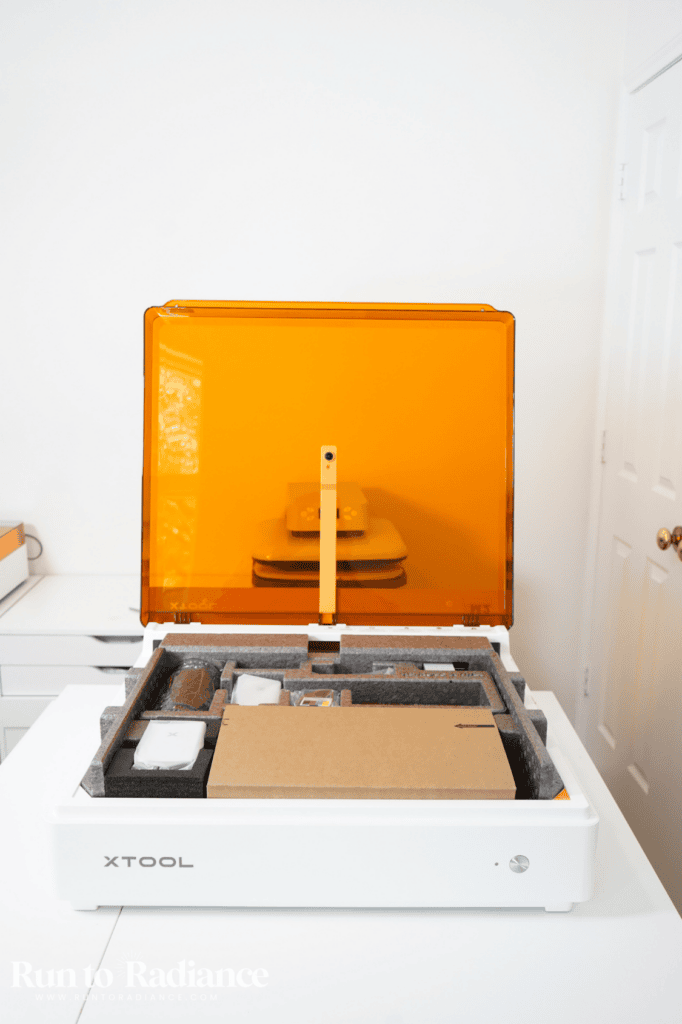
What Exactly Does the M2 Do?
Okay, let’s get into the fun part — what this machine can actually make! As of now, the M2 has three swappable power modules, plus some seriously smart tech to help you use them. Let me break it all down.
1. Diode Laser (10W or 20W)
This is your main workhorse, and it actually does three different things:
- Engrave: burns a design into the surface (wood, leather, acrylic, cardstock, slate)
- Score: a light pass that creates a clean line without cutting all the way through — perfect for fold lines or adding fine detail without fully separating the piece
- Cut: cuts all the way through your material (black acrylic, basswood plywood, cardstock, felt, and more)
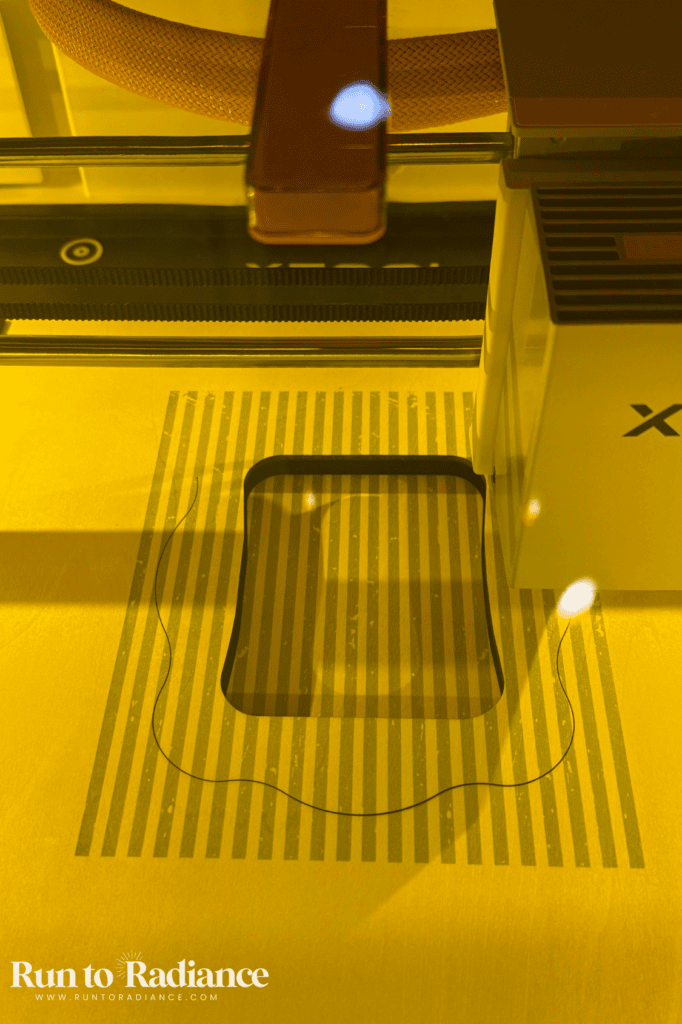
10w vs. 20w
Debating between 10w and 20w? Here’s what you need to know:
xTool sums it up simply — the 10W diode laser module comes standard with the machine and is your “detail engraving, daily cuts” workhorse, while the 20W diode laser module is built for “thick cuts, high output.”
In real numbers, that means basswood cutting can go from 8mm to 10mm, but the bigger jump is in something like black acrylic — 3mm on the 10W vs. 8mm on the 20W.
Here’s my honest take, though: unless you know you’ll primarily be cutting thicker wood or acrylic, I’d actually skip the 20W upgrade — for hobbyists, at least.
I have the 10W and have been genuinely happy with it! Since the 3W IR module (for metal engraving) costs about the same as the jump to 20W, I think your money is better spent adding that module instead — it gives you a whole new capability rather than just more power on the laser you already have.
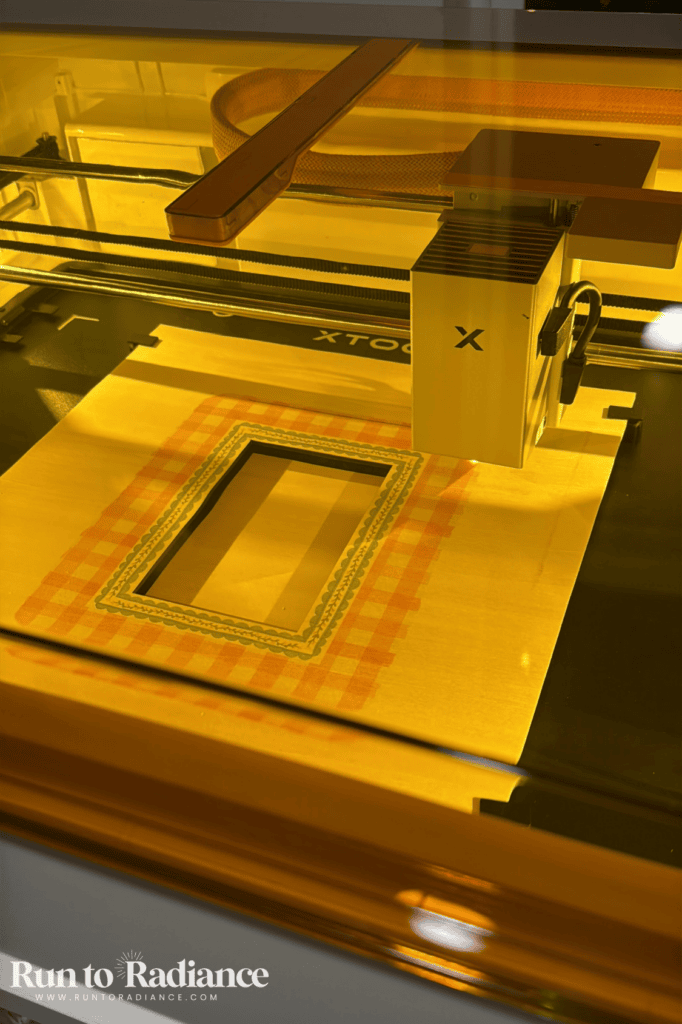
One important caveat for small businesses: if you’re running a small business with higher volume than a hobbyist (or plan to be!), the math changes.
xTool’s own testing shows the 20W laser module cuts roughly twice as fast as the 10W — in one test, a 5mm basswood cut took just over a minute on the 20W versus nearly 2.5 minutes on the 10W.
If you’re cutting batches regularly, that speed difference adds up fast and is genuinely worth the investment. Time is money, after all!
Bundling the 20W with your machine at purchase does save you around $100 compared to buying it later, but the beauty of the M2’s swappable system is that you don’t have to decide everything up front.
You can easily start with the 10W, and add the 20W module later if you find you need it. Keep an eye out for sales or promos, since similar bundle savings often come back around.
2. 3W IR Laser Module
This 3w IR laser module unlocks metal engraving — think engraved tumblers, dog tags, or knives. It’s a completely different laser type than the diode, which is what makes the M2 genuinely more versatile than machines with just one laser type.
3. CMYK Print Module
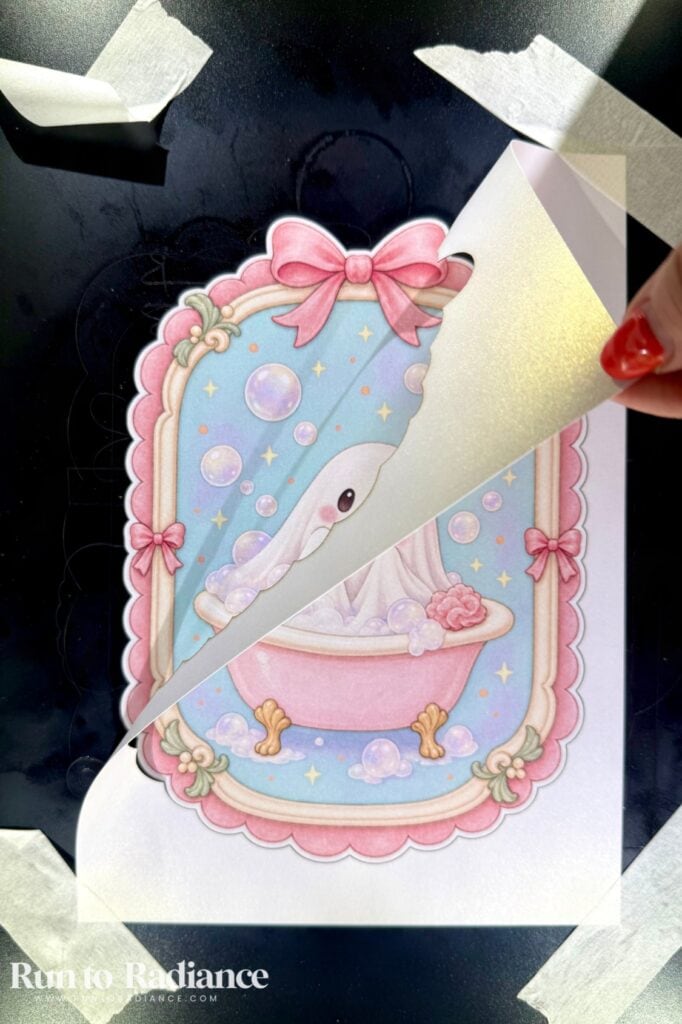
The CMYK print module is the part that makes the M2 different from every other laser I’ve owned before: it prints in full color, directly onto your material, using true CMYK ink (vs the CMY ink that the M1 Ultra offers).
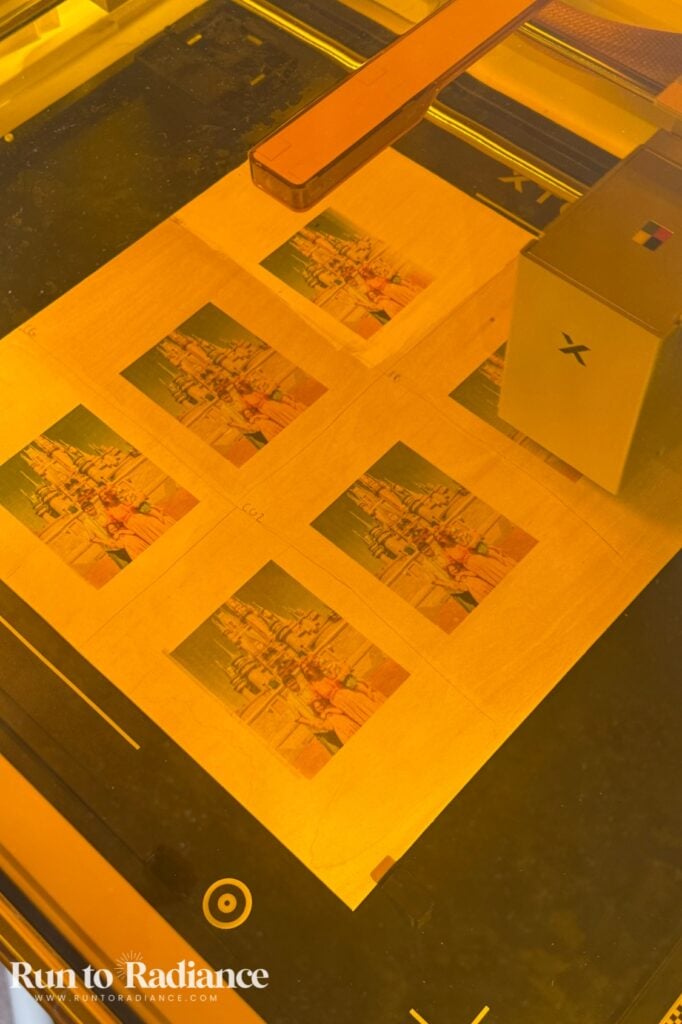
A few real specs worth knowing:
- 1200 DPI resolution
- Water-based dye ink
- 40ml total ink capacity, non-refillable cartridges (replacement only), with about a 1-year shelf life
- Rated for roughly 400 pages (under certain conditions) before you’ll need a new cartridge
Here’s the really cool part: it’s print-then-cut in one machine. No moving your material to a separate printer, no manually lining things up — design, print, cut, done. (Full sticker-making tutorial coming soon — this feature deserves its own deep dive!)
And, in case you were wondering – YES, the color is vibrant and totally gorgeous!
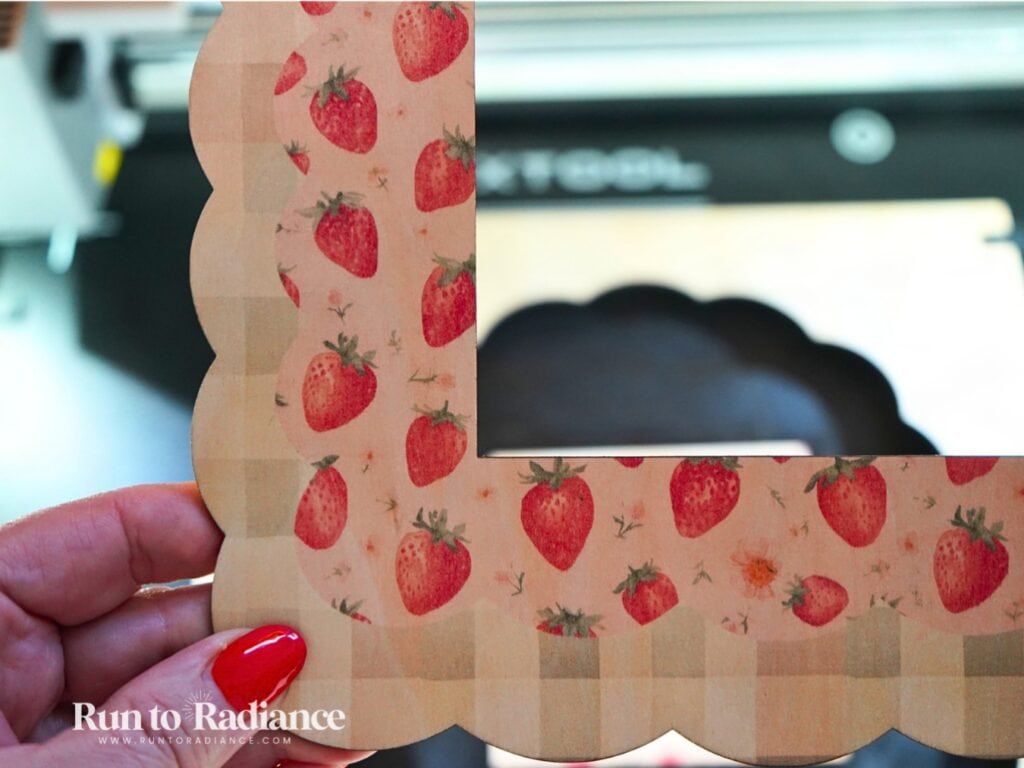
Bonus: if you’re not sure where to start, the M2 comes with dozens of ready-to-use templates — stickers, keychains, bag charms, cake toppers, baby and newborn designs, door signs, and more — so you’re never starting from a totally blank canvas.
Cylindrical Projects
The M2 isn’t limited to flat projects, either. It’s compatible with the xTool Rotary Attachment 3 Lite (RA3 Lite) — a rotary accessory made exclusively for the M2.
With this handy tool, you can engrave cylindrical items like mugs, tumblers, rings, balls, and round ornaments.
What makes it special is that it it uses the same magnetic, tool-free design as the M2’s swappable laser modules, so switching it in and out is just as quick and easy.
You can even go beyond flat designs entirely with layered 3D projects like paper flowers and 3D puzzles!
How Do the Swappable Modules Work?
Here’s the part that had me genuinely impressed the first time I tried it: swapping modules on the M2 isn’t some fussy, multi-step process — it’s magnetic. The module simply lifts out and snaps into place, no tools, no fiddly latches to wrestle with.
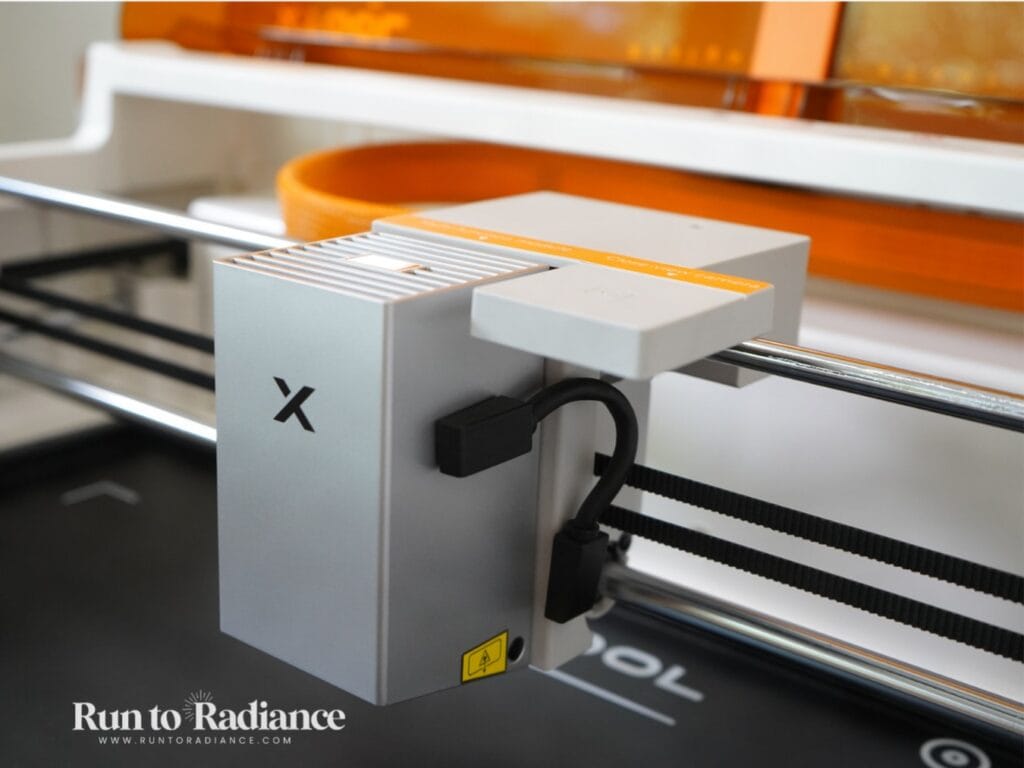
Here’s what swapping actually looks like in practice:
- Open the lid and locate the current module
- Lift it straight up and out — it releases cleanly thanks to the magnetic connection
- Line up the new module and set it down — it snaps into place and locks in. The laser head module will also need to be plugged in with the included cord (super quick).
- The software automatically recognizes which module is installed, so you’re not manually telling it “hey, I switched to the IR laser”
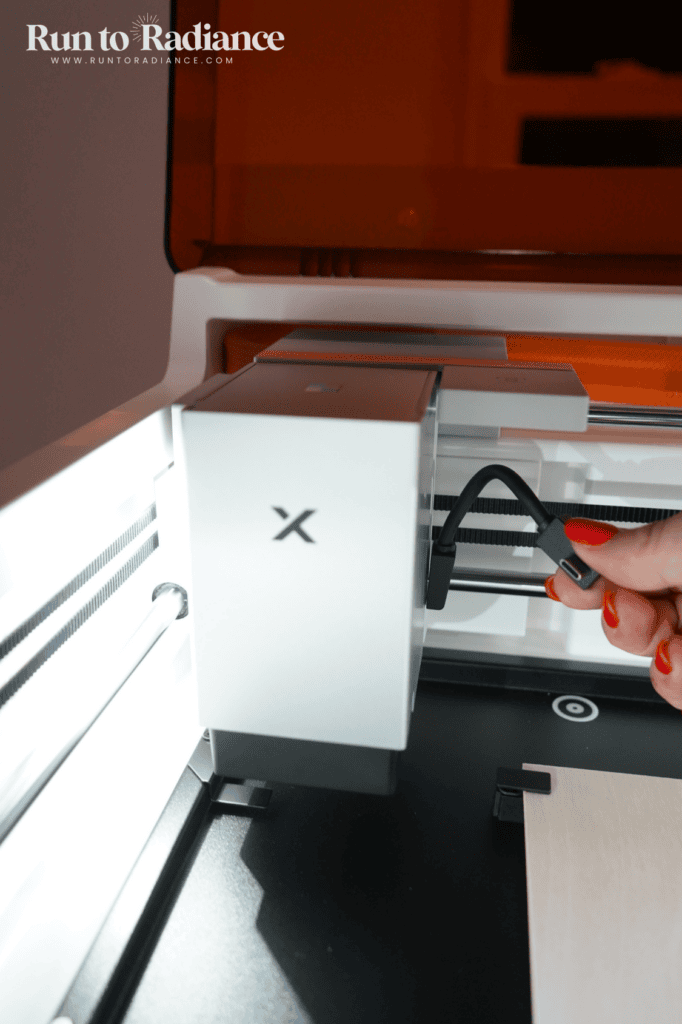
What to know before you swap modules for the first time: don’t be scared — this genuinely takes under a minute once you’ve done it once or twice. I was honestly expecting something more finicky based on other machines I’ve used, and the magnetic snap-in system was a pleasant surprise.
One small thing worth knowing: since each module is a separate piece of hardware, you will want a safe, dust-free spot to store whichever module isn’t currently installed — I keep mine in the original packaging when they’re not in use, just to protect the connectors.
What Materials Does the xTool M2 Work With?
xTool says the M2 can work with over 300 materials — and while I certainly haven’t tested every single one (yet!), here’s a breakdown of what each module is capable of, so you know exactly what to expect.
By the way, the best way I’ve found to see what this machine can actually do is to grab yourself this M2 Material Starter Pack or this M2 Deluxe Material Set.
| Material | Engrave | Cut | |
| Wood, Basswood | ✅ | ✅ | ✅ |
| Acrylic **(Dark Opaque Shades) | ✅ | ⚠️ | ✅ |
| Clear Acrylic** | ❌ | ❌ | ⚠️ |
| Leather | ✅ | ❌ | ❌ |
| Paper, Cardstock | ✅ | ✅ | ✅ |
| Vinyl + Sticker Paper* | ✅ | ✅ | ✅ |
| Metal (IR Module Only) | ✅ | ❌ | ❌ |
| Fabric, Felt | ❌ | ✅ | ✅ |
| Slate, Stone | ✅ | ❌ | ❌ |
| Canvas | ❌ | ❌ | ✅ |
*Before you grab sticker paper or vinyl: Not all vinyl and sticker paper is laser-safe! Some materials release toxic fumes when cut with a laser (PVC-based vinyl is the big one to avoid). Always double check that what you’re using is labeled laser-safe before cutting it with the M2.
Want to make it easy on yourself? Just grab the sticker paper and laser-safe vinyl right off the xTool website!
**A quick honesty note on acrylic: see the section below for an depth dive on acrylic and the xTool M2.
Can the M2 Cut Acrylic?
Acrylic is the one material on this list that trips people up the most, so it deserves its own quick breakdown.
Here’s the thing about cutting acrylic with a diode laser: it’s not as simple as “dark colors work, light colors don’t.” What actually determines whether a piece of acrylic will cut cleanly is the specific pigment used to color it — and two colors that look nearly identical can behave completely differently under the laser.
Random acrylic from a craft store or a general supplier is honestly a bit of a gamble, and most likely will not give you the results you are looking for.
Clear acrylic is the one hard no. The M2’s diode laser, like every other diode laser. simply passes right through transparent acrylic instead of cutting it.
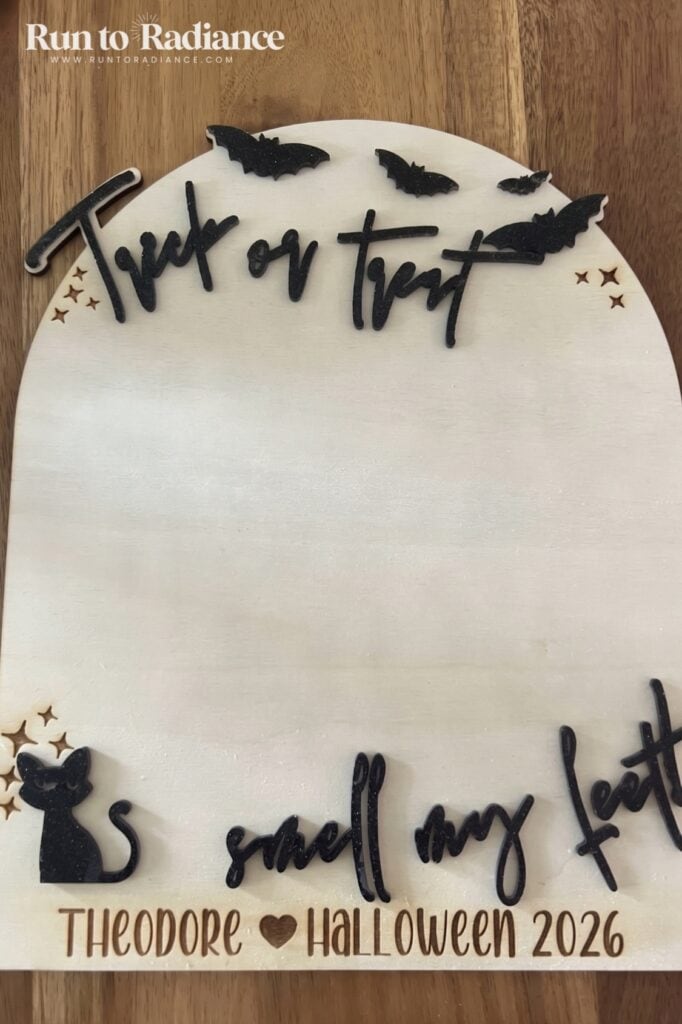
The easiest fix? xTool sells their own “Selected” acrylic line, specifically tested and formulated to cut reliably with diode/blue-light lasers like the M2’s. It comes in 11 colors — not just black — so you’re not stuck with one boring option. If you want predictable, frustration-free results (especially while you’re still getting a feel for the machine), I’d start here instead of guessing with a random sheet.
What about printing on acrylic? That’s actually a separate consideration from cutting! A few quick things to know:
- Raw acrylic won’t hold ink well on its own — you’ll want a primer spray first for good adhesion
- The M2’s CMYK ink doesn’t include white, so white or light-colored acrylic gives you the most vibrant color results — dark acrylic will look pretty muted underneath printed color
- If it’s a piece that’ll be touched, gifted, or sold, a clear protective spray after printing helps it hold up
My honest take: acrylic is one of those materials where a little research upfront saves you a lot of wasted material later. Start with the xTool tested, diode-friendly acrylic, and keep clear or translucent acrylic for other uses, and you’ll get gorgeous results.
The Tech That Sets the M2 Apart
I’ll be honest — “auto-positioning” and “real-time camera preview” sound like a lot of jargon. But don’t be scared! Here’s what it actually means for you, translated into plain English.
Two Cameras, One Big Advantage
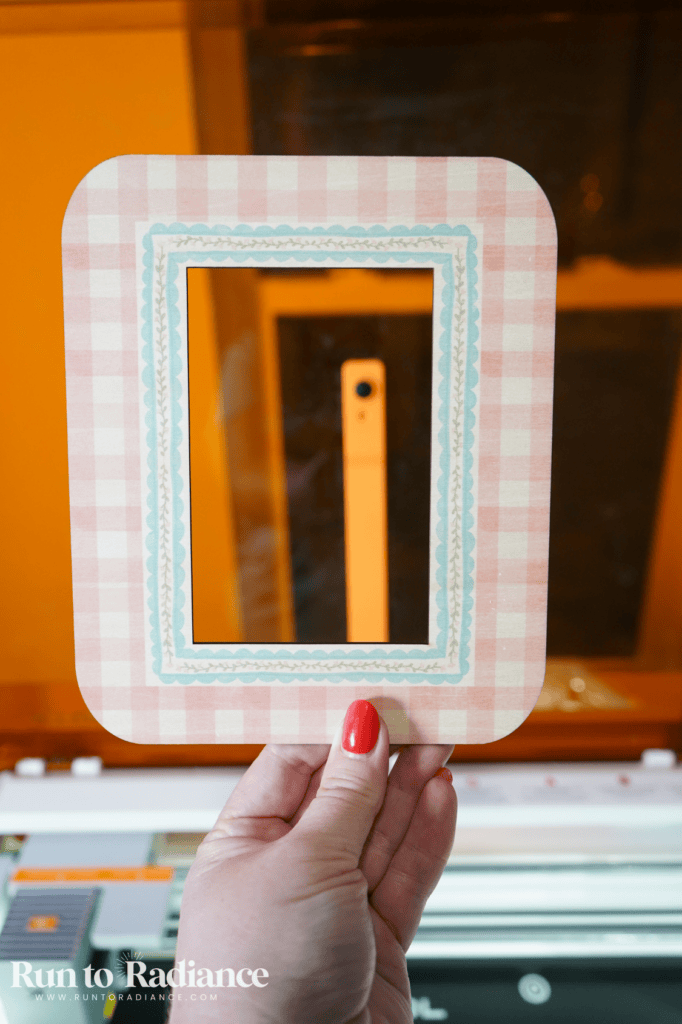
The M2 has not one but two built-in cameras that work together to show you exactly where your design will land before you ever hit start. This is true “what you see is what you get” — you can see your material, your design, and exactly how they’ll line up, all in the software, all before any laser touches your material.
- Distant view camera – mounted on to the lid, this camera gives you an overview of your working area with the click of a button.
- Close view camera – this camera is mounted on the tool head, where the swappable modules are. It captures precise close up views that give you excellent accuracy.
If you’ve ever eyeballed a design placement and hoped for the best, this is the fix. No more wasted material because a design landed half an inch off from where you wanted it.
What ACS™ Actually Does
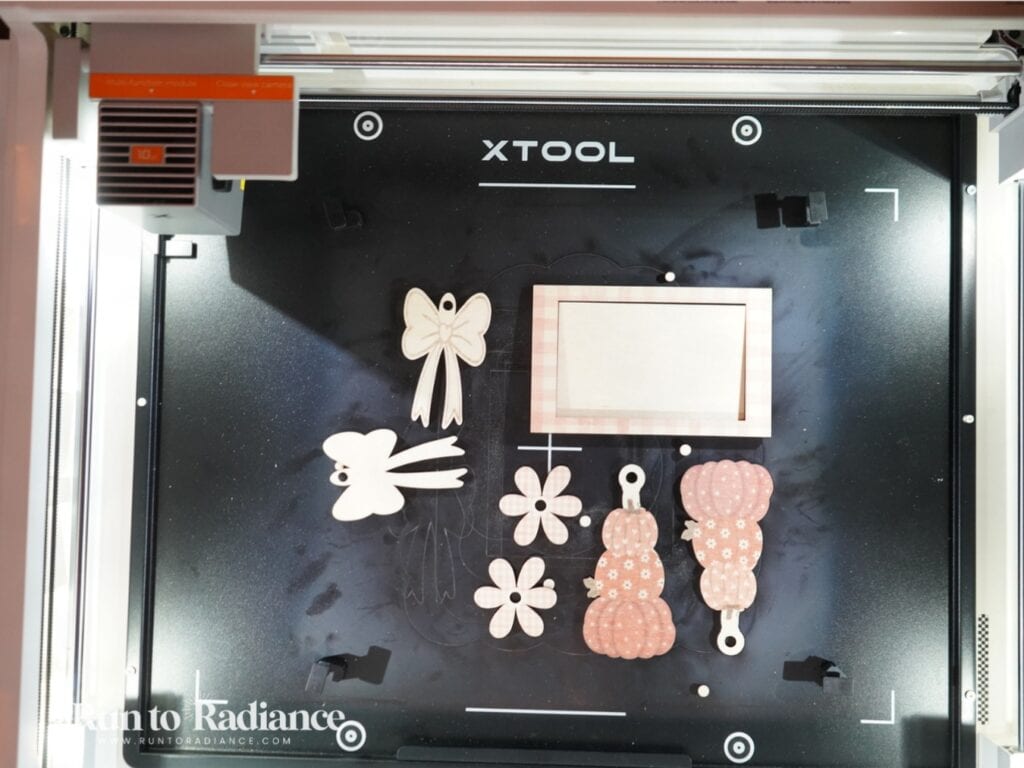
ACS™ stands for xTool’s Automated Creation System, and it handles a few things automatically that you’d otherwise have to fuss with manually:
- Auto-focus — finds the right focal distance for your material on its own
- Auto-positioning — helps place your design accurately using that dual-camera view
- Auto material settings — for xTool-brand materials specifically, the M2 can read a built-in QR code and automatically pull up the right power/speed settings for that exact material — no guessing, no searching through a settings chart
What to know before you dive in: you don’t have to use every automated feature every time — but when you’re starting out, letting ACS™ handle the guesswork is a genuinely great way to get confident, clean results while you’re still learning the machine.
Why This Matters More Than It Sounds
This tech is really what separates the M2 from a lot of other lasers in its price range. A lot of machines make you manually calculate focus height, manually eyeball placement, and manually look up settings for every new material.
The M2 does a lot of that thinking for you — which means less frustration and more actual creating, especially if you’re newer to lasers.
Class 1 Safety
One more thing worth mentioning, especially if you’ve got little ones around like I do: the M2 is a fully enclosed, Class 1 safety-rated machine with real-time safety monitoring — genuinely one of the safer laser options for a home craft room.
Is the M2 Software Easy to Use?
Short answer: yes, genuinely. I know software can be the part that scares people off a new machine, but don’t be scared here!
Quick naming note, since this trips people up: you may have seen xTool’s software referred to as XCS (xTool Creative Space) in older reviews or tutorials — that’s actually been upgraded and rebranded to xTool Studio, which is what you’ll be using with the M2. Same core idea (design + machine control in one free app), just a smoother, more modern experience.
The M2’s software is excellent — intuitive, easy to navigate, and honestly one of the smoothest learning curves I’ve had with a new xTool machine.
xTool M2 vs. xTool M1 Ultra
Since I wrote an M1 Ultra review before, you’re probably wondering how the two actually compare. Here’s the honest side-by-side:
| Feature | xTool M2 | xTool M1 Ultra |
|---|---|---|
| Laser Options | 10W/20W Blue Diode + 3W IR Laser | 10W/20W Blue Diode only |
| Blade/Cutting Mode | — | Fine-point Blade, Cutting Blade, Rotary Blade, Foil Transfer Tip, Hot Foil Pen |
| Color Printing | CMYK (4-color, dedicated black) | CMY (3-color, mixes CMY to fake black) |
| Pen Mode | — | 8 colors |
| Camera System | Dual-Camera real-time positioning | No camera — uses pin-point positioning |
| Air Assist | Included standard | Add-on purchase |
The chart above does a good job giving you a quick overview, but here are a few things worth calling out:
The camera system is the biggest upgrade.
The M1 Ultra relies on pin-point positioning (you mark reference points manually), while the M2’s dual cameras give you true real-time visual placement. If you’ve ever misjudged a pin-point setup, this alone might sell you on the M2.
Color printing got a real quality boost.
The M1 Ultra fakes black by mixing cyan, magenta, and yellow together — which never quite gives you a true, rich black.
The M2’s CMYK module includes a dedicated black ink channel, so your color work (and any black text or line art) looks noticeably more accurate.

The M2 comes with air assist as part of the machine.
For those of you who read my other reviews, you know I am a BIG fan of air assist! I was thrilled to see xTool made it standard on the M2 instead of a separate purchase!
In my M1 Ultra review and my M1 review, I talked about how much smoother and cleaner my cuts got once I added air assist, so having it built right in here is a genuine win.
What the M1 Ultra still has that the M2 doesn’t
The M1 Ultra does have blade cutting modes and pen mode. If you’re doing a lot of vinyl/blade cutting or multi-color pen drawing specifically, that’s worth knowing — the M2 traded those features for the IR laser and better camera/print system instead.
However, you can cut laser-safe vinyl with the laser module — just be super careful with the settings!
My honest bottom line on M1 Ultra vs M2
So, first of all, the M1 Ultra has been discontinued by xTool, though you can still find it on some third-party sites or secondhand on marketplaces if you go looking.
But even setting that aside, the M2 is simply the smarter buy for most people today: better camera positioning, better color printing, and metal engraving capability, all for a comparable starting price.
The M1 Ultra’s blade and pen modes are the one thing it still holds over the M2 — so if multi-color pen drawing or blade cutting is a must-have for you, that’s worth factoring in. But for nearly everyone else, the M2 is the one I’d point you toward.
Final Verdict: My Personal Experience with the M2
Okay, so let’s get down to it. Soooo…
What I Loved
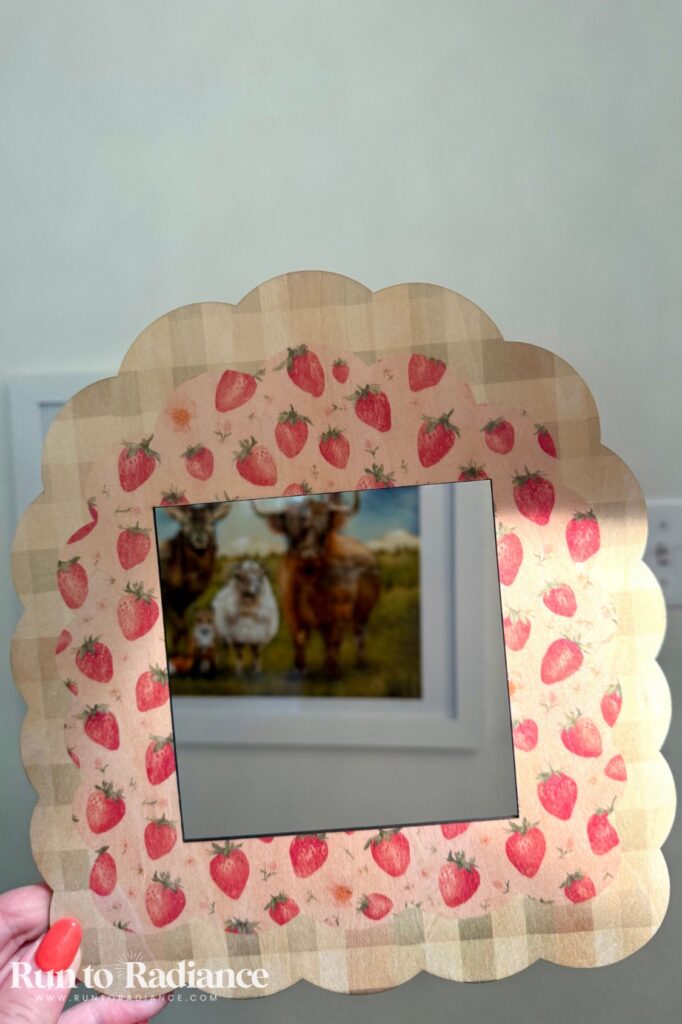
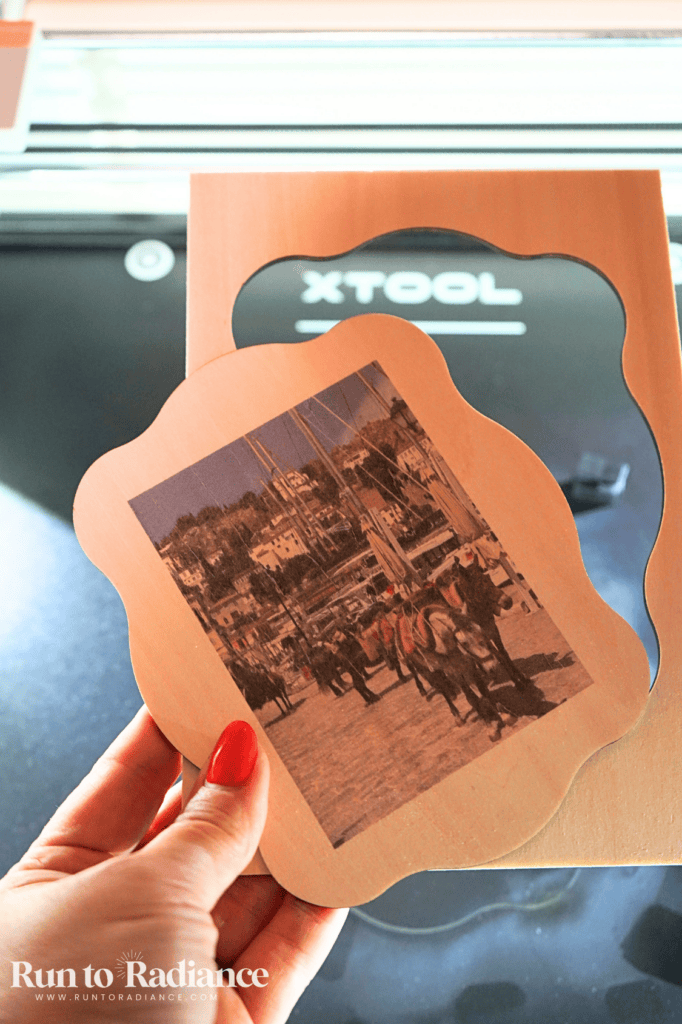
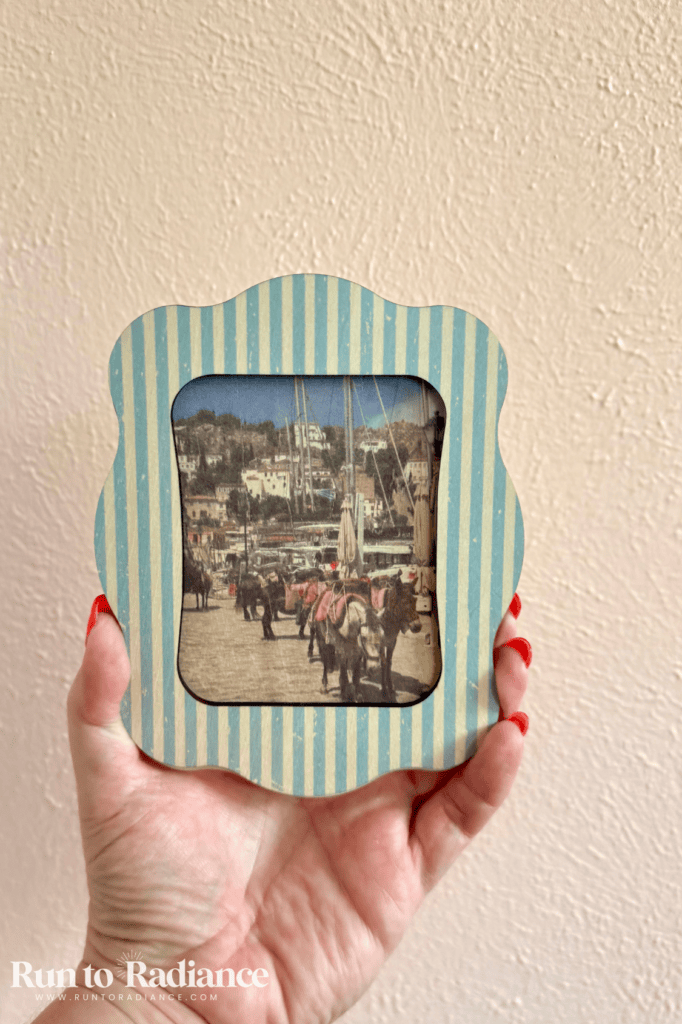
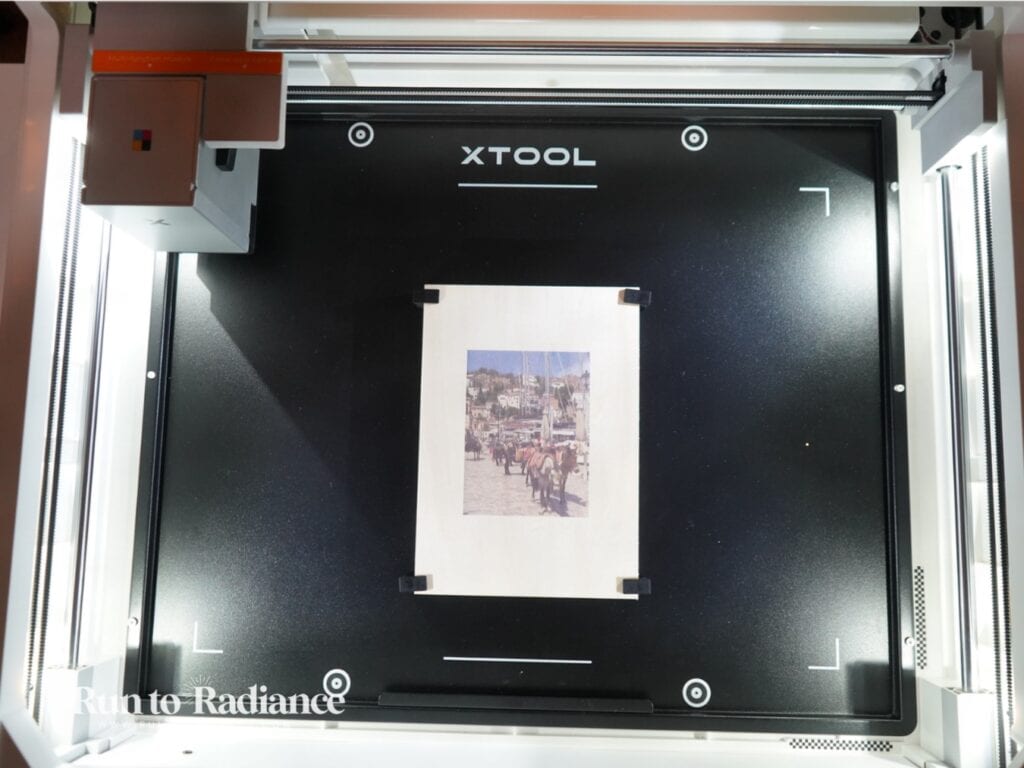
The photo-on-wood printing took my favorite M1 Ultra project to a whole new level. When I had the M1 Ultra, printing photos and designs onto wood and hanging them around our home (or gifting them to others) was genuinely one of my favorite things to make.
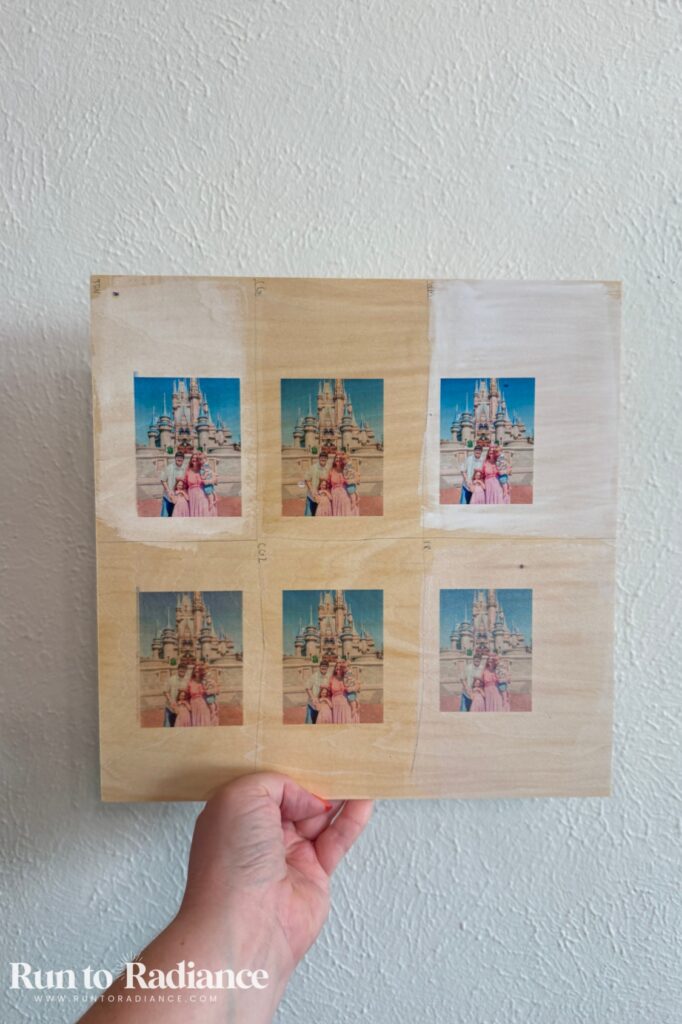
With the M2, that obsession has only gotten stronger — the print quality is noticeably more vibrant, especially when you pair it with a prep product on the wood first. I have plans to make an entire printed wood photo gallery!
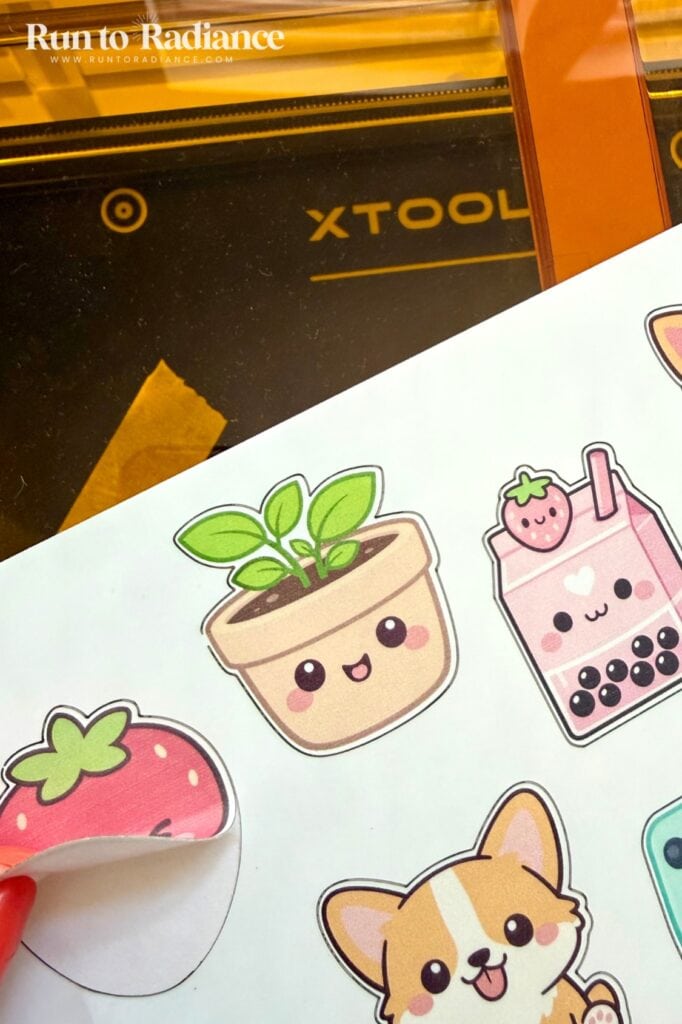
Print-and-cut stickers are SOO much easier. I mentioned this earlier in the review, but it’s worth repeating here as a genuine highlight — no separate printer, no manual alignment, just design, print, cut, done. Boom.
The cameras vs. pinpoint positioning is a total game-changer for my brain. As a visual person, I’ve talked before (in my xTool P2 review) about how much better camera-based positioning works for the way I think and create. The M2’s dual cameras deliver that same win — being able to see exactly where my design will land before committing just makes everything click so much easier.
What’s On My Wishlist
A honeycomb panel and riser base. I’d genuinely love to see xTool release these as official M2 accessories — they’d open up even more project possibilities, and I have a feeling they may be coming down the line.
Update: wow, that was quick! xTool released the new M2 Clean Cut Panel right after I published this. I guess they heard me!
I haven’t tried the 3W IR laser module yet, but I’d love to in the future. Since my review unit didn’t include it, metal engraving is one area I can’t personally speak to hands-on yet — but based on everything else I’ve experienced with this machine, I’m genuinely excited to test it out down the road.
My 5 Favorite M2 Projects
By now you’ve heard all about what the M2 can do — but nothing beats actually seeing it in action! I spent 6 weeks testing this machine out, and made a lot of things.
But I managed to narrow it down to share my top five favorite projects:
- Custom cake topper for a 4th birthday party. It turned out so cute!

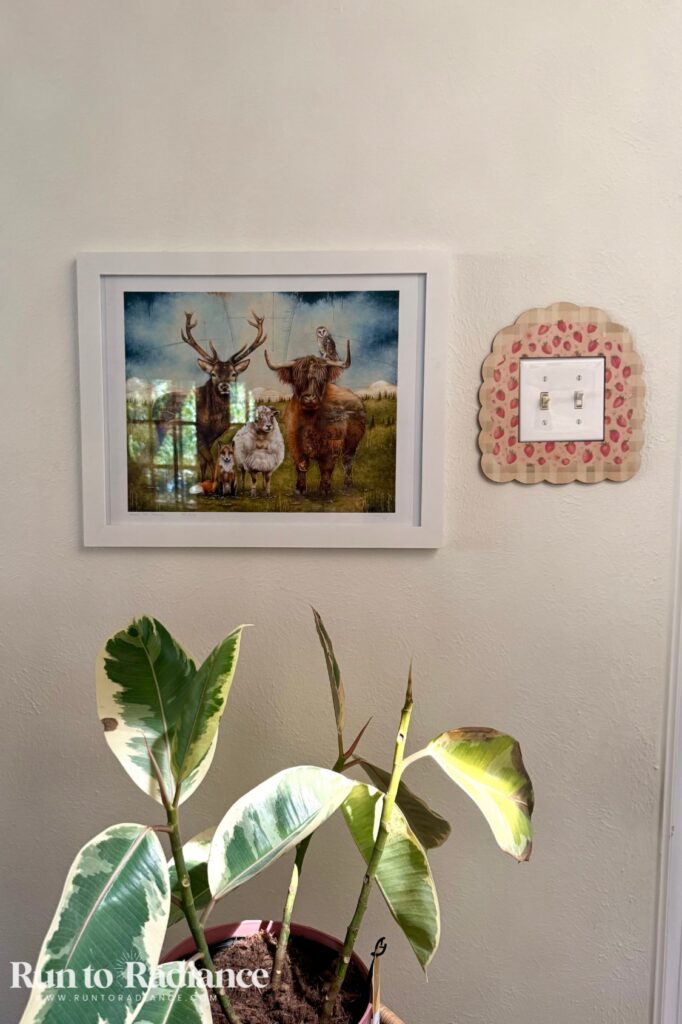
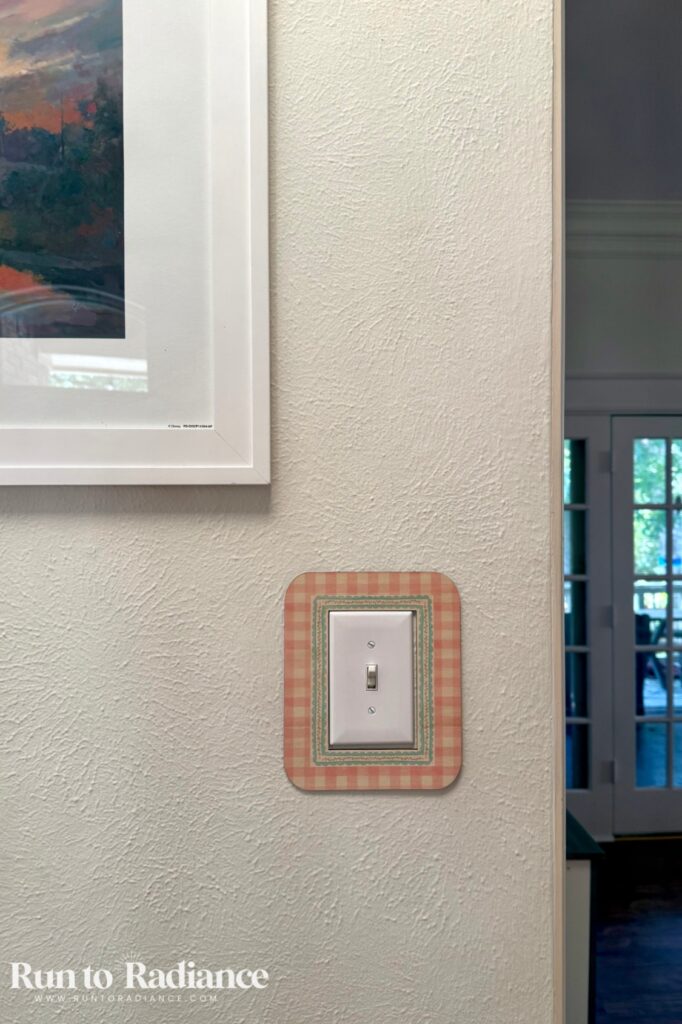
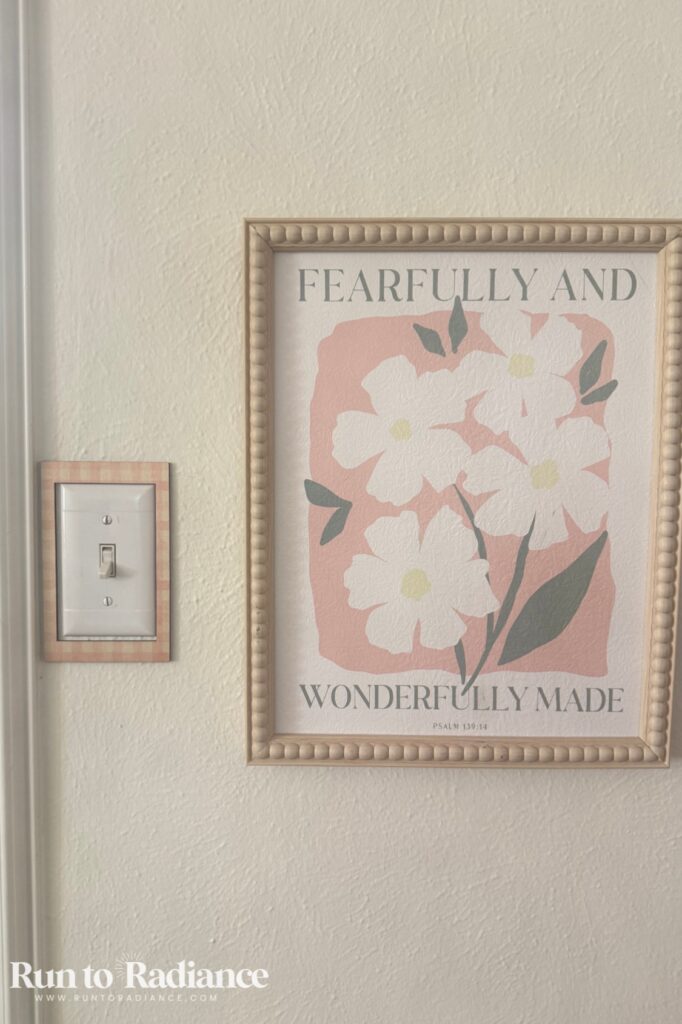
- Custom sized light switch covers for 4 different rooms in my home…because why not?!
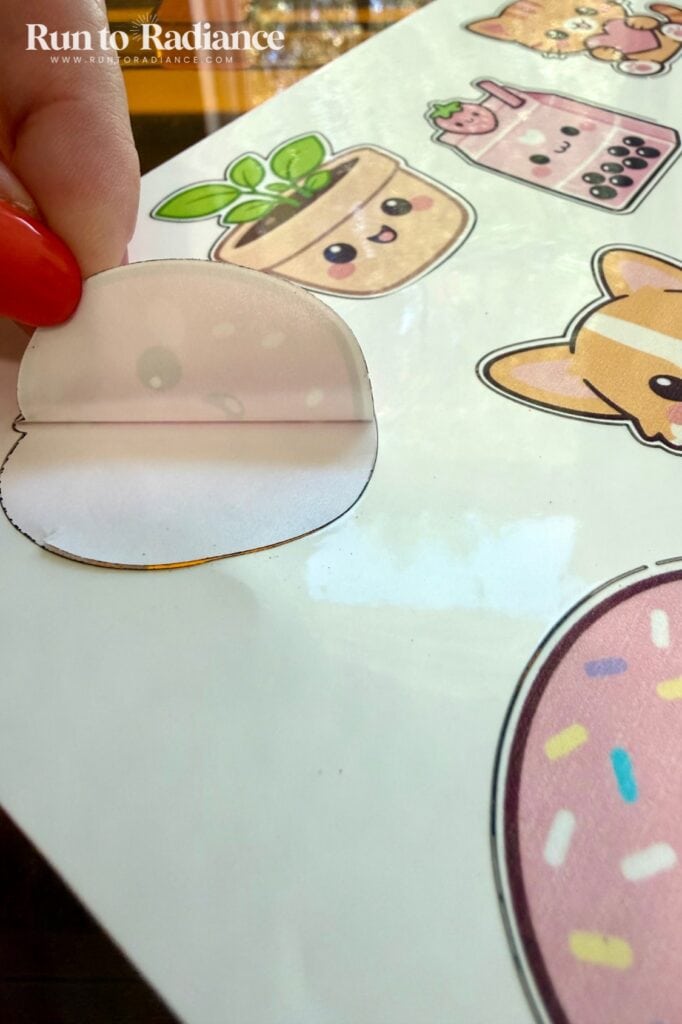
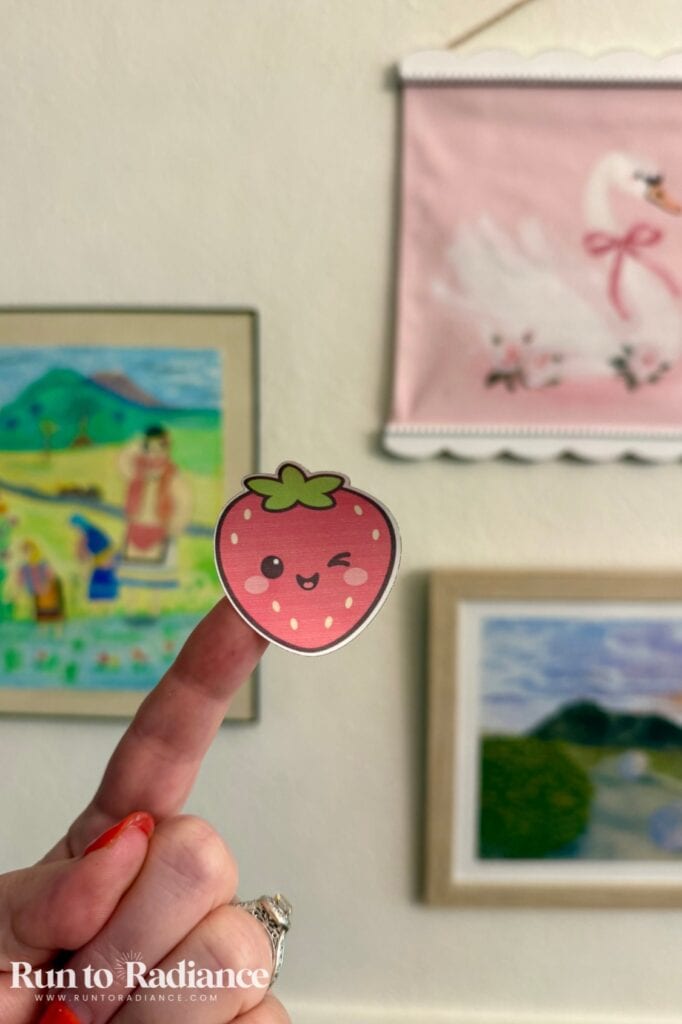
- A bunch of super cute stickers like these kawaii ones! They are super easy and quick to make.
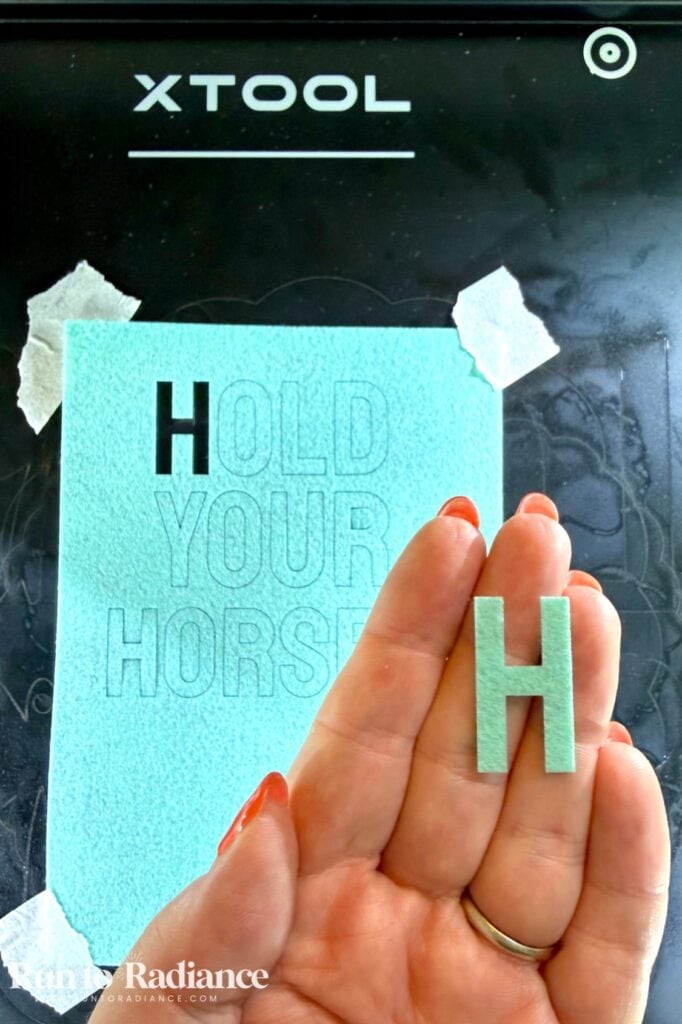
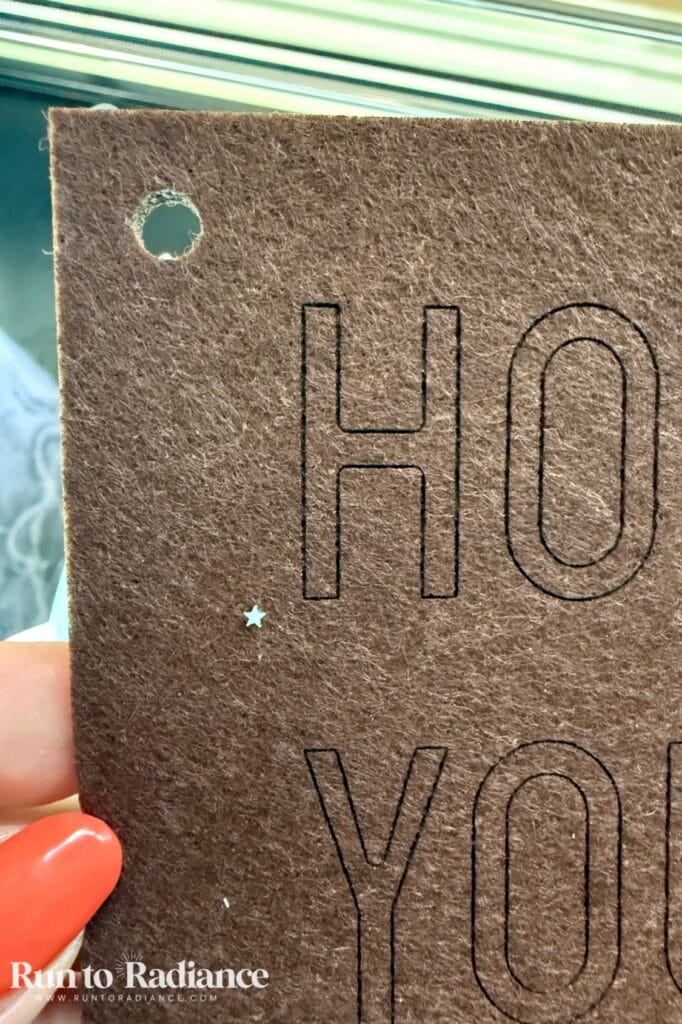
- A custom cheeky little felt banner for our home. Fun, right?

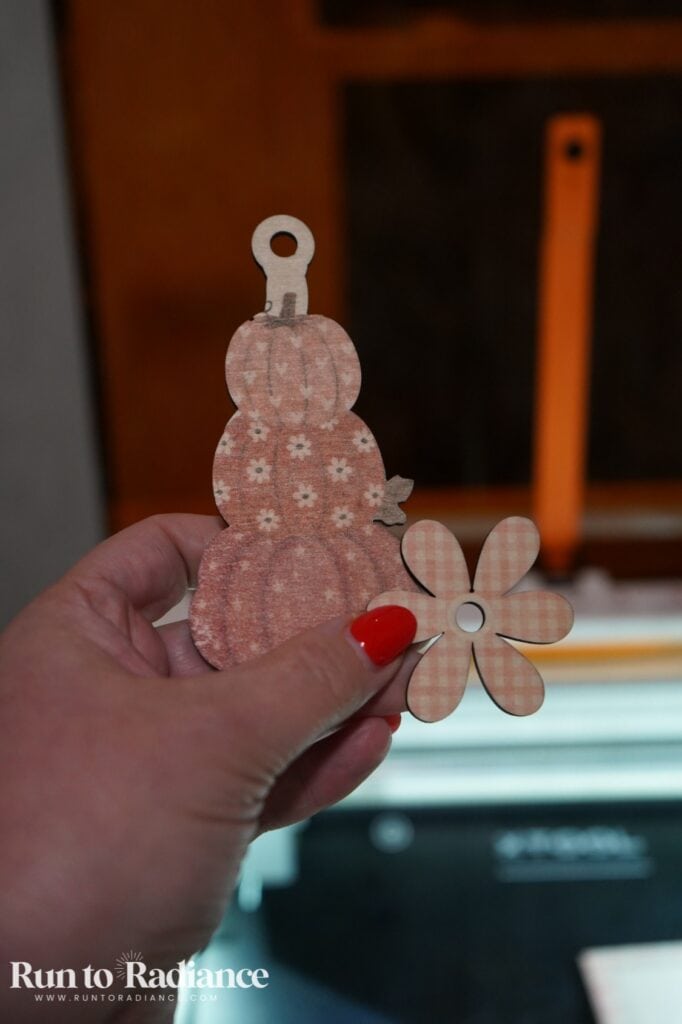
- Decorative door knob backplates—these were printed on wood and cut. I love the idea of switching these out seasonally!

Who Should Buy the xTool M2?
Every machine isn’t right for every person, so let’s break this down by who you actually are:
The Beginner Crafter
Yes, this is your machine. The M2’s dual cameras, ACS™ auto-settings, and genuinely easy software mean you can get beautiful results almost immediately — no steep learning curve, no guesswork. If you’re brand new to lasers and want something that won’t leave you frustrated in week one, start here.
The Etsy Seller / Small Business Owner
Also a strong yes — with one consideration. The print-and-cut stickers alone make this a fantastic small-business machine, and the swappable modules mean you can expand into wood, metal, and acrylic gifts as your shop grows.
If your volume is high enough that speed really matters, remember what we talked about earlier: the 20W diode module is worth the upgrade for you specifically, since it cuts roughly twice as fast as the 10W.
The Cricut Upgrader
Yes, especially if you’re ready to grow beyond vinyl. If you love making stickers, cards, and cut designs but keep bumping into the limits of what a blade cutter can do, the M2 is a natural next step — it does everything your Cricut does with stickers and paper, plus wood, acrylic, and metal, all with a camera system that takes the guesswork out of placement.
Who might want to look elsewhere? If you truly only want basic vinyl decals or simple paper crafts and have zero interest in ever branching out, a dedicated blade cutter is still the simpler, cheaper choice — the M2 has a lot of power you wouldn’t be using.
Final Verdict: Do I Recommend the xTool M2?
Yes — with no hesitation.
After months of hands-on testing, swapping modules, printing on wood, cutting stickers, and comparing it directly against machines I’ve used for years, the M2 has earned a permanent spot in my craft room.
It’s genuinely one of the easiest, most versatile machines I’ve owned, and it consistently delivers results I’m proud to hang in my own home or gift to someone I love.
Is it perfect? No — I’d still love to see a honeycomb panel and riser base added to the accessory lineup, and I haven’t gotten to test the 3W IR module firsthand yet. But those are wishlist items, not dealbreakers.
If you’re a beginner, an Etsy seller, or someone ready to level up from a basic cutting machine, the xTool M2 is worth every penny. It’s user-friendly, produces consistent, beautiful results, and honestly? It’s just plain fun to use.
As I mentioned earlier — since craft room space is precious around here, the M1 Ultra is officially getting the boot, and the M2 is stepping in as the new queen of the craft room. 👑
Buy the xTool M1 Ultra ✨
So, there you have it – my super honest review of the xTool M2 Color Craft Laser Cutter and Engraver.
If, after reading this post, you have decided the M2 is right for you, I would love it if you consider purchasing through one of the affiliate links in this post (like this one here!). It doesn’t cost you anything extra, and the small commission I receive allows me to continue creating content like this. Thank you!
What questions do you have about the xTool M2? What would you like me to test next? Leave a comment below and let me know!