Sealing Concrete Countertops
This post may contain affiliate links. As an Amazon Associate I earn from qualifying purchases.
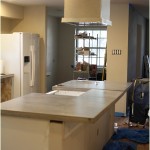
Since we finally finished building our countertops and convinced some strong-armed men to come and lift them into place for us, it was time to seal our countertops. I was super excited to do this because 1) it was something that I could actually participate in and 2) it meant we could finally start using them as countertops!
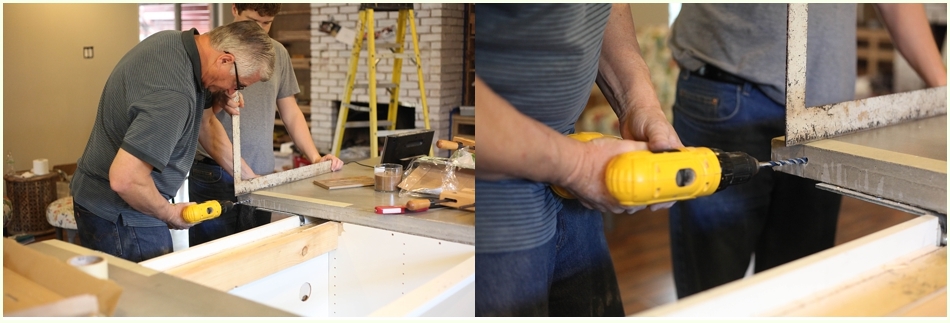
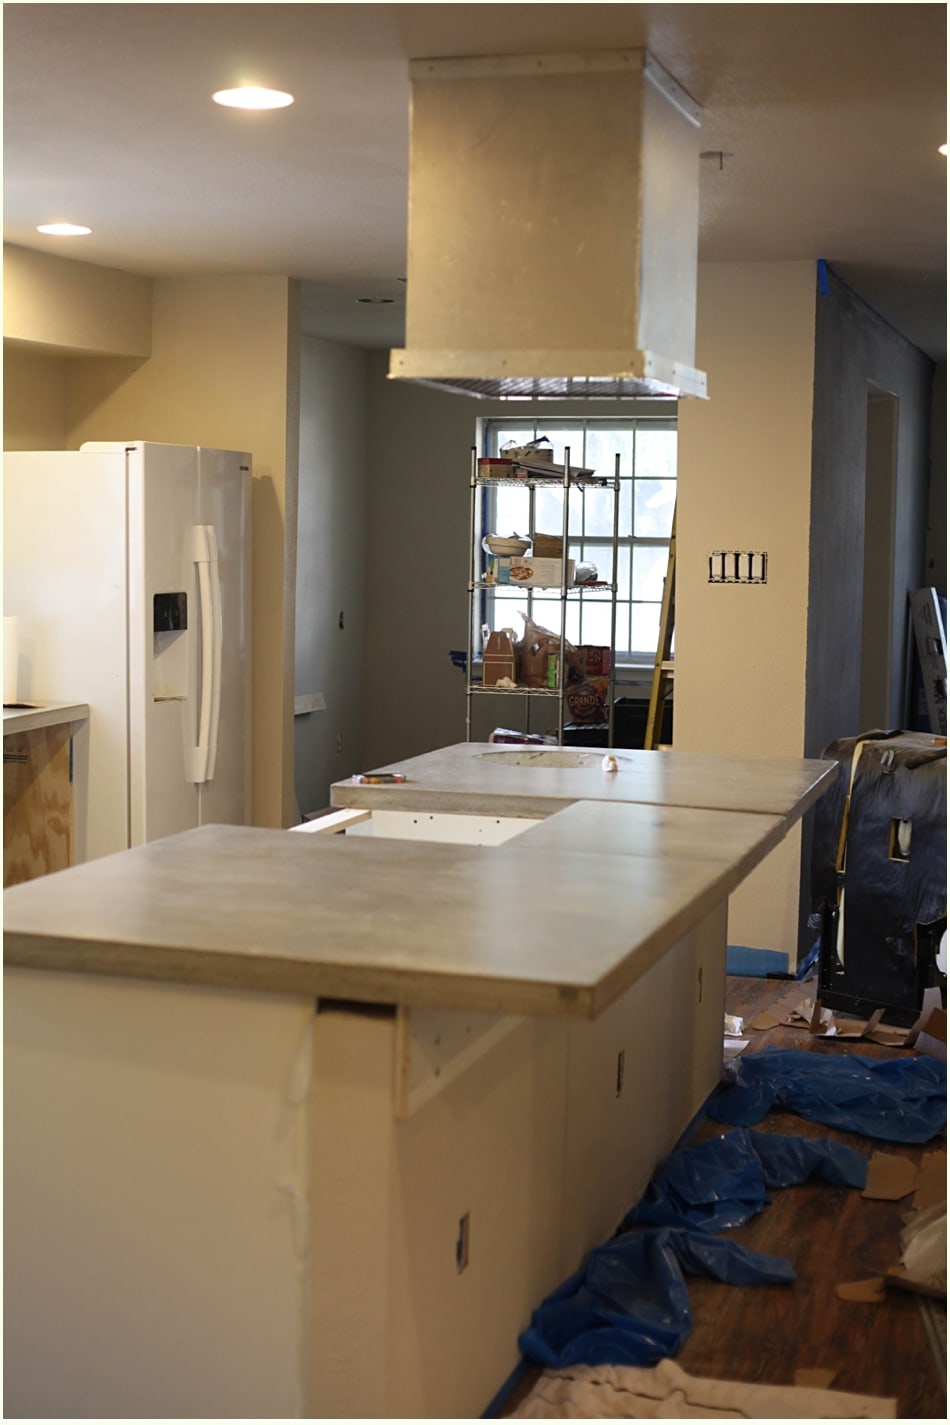
Before we could get them sealed we had one more problem to address: Because we poured the island into 3 separate pieces rather than one large slab (it would have been impossible to get into the kitchen), the smaller middle piece kept sagging slightly compared to the two larger outer pieces.
Because that side of the island has benches for seating, we also had to make sure it was secure so if someone was leaning on it, they didn’t break our countertop and have a giant piece of concrete smash on their legs…surprise!
Plan A was to get the strongest L brackets available and drill one end into the drywall under the counter and let the countertop rest on the other end. The concrete ended up being too heavy and bent the L bracket slightly, and it also required us to have an unsightly plank type thing under the counter (see it in the photos below).
So we boo’d that plan and Ken and I brainstormed until we each came up with a brilliant idea – his on how to make the countertop steady and mine on how to change the entire look of the back/sides of the island.
His idea was to drill into the concrete and place a metal bar between the side pieces and the middle and use epoxy glue to make sure it all held together. I was nervous about drilling into the concrete but he assured me it would be fine and as always father (in-law!) knows best. 🙂
I don’t have any pictures of the metal bar because I had to leave to meet friends and the guys forgot to take pictures. Boo.

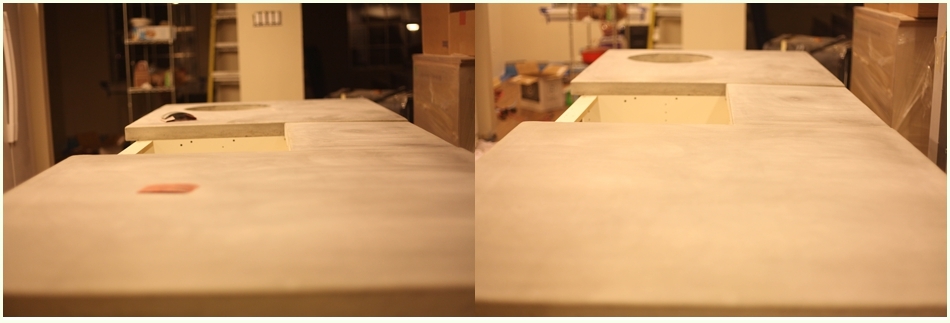
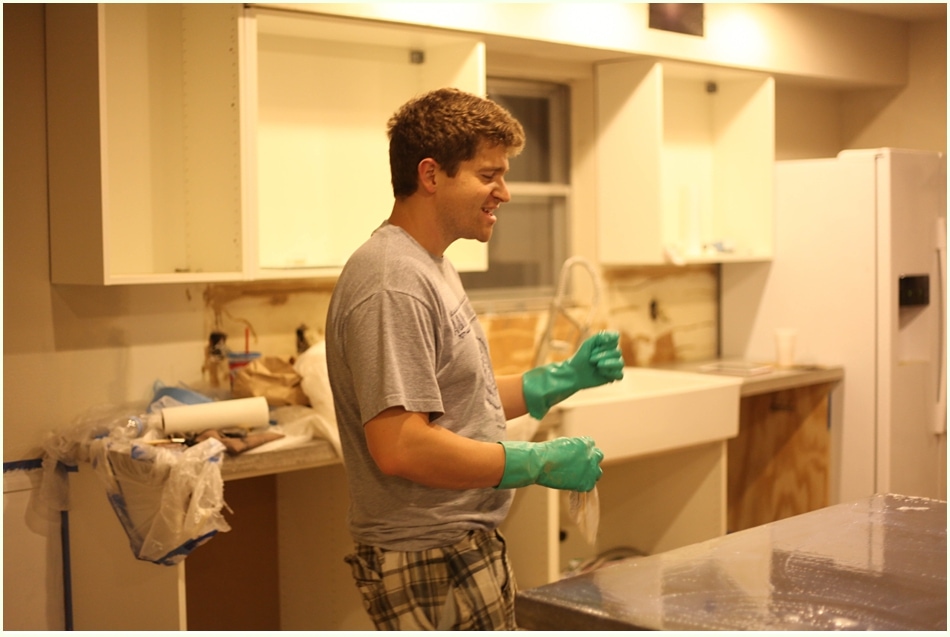
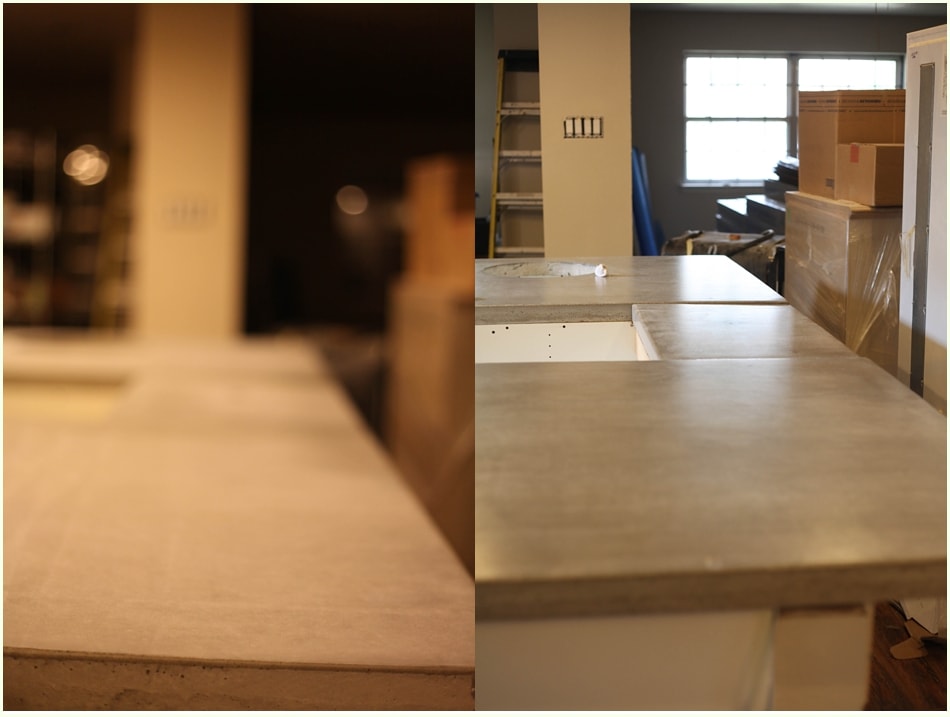
Once Scott and Ken got the countertop more secure, we could finally start the sealing process! Before sealing, the countertops looked like…well like smooth slabs of concrete. 🙂 Not quite as bad as a sidewalk, but not quite pretty enough for a countertop either.
After doing a ton of research we decided to use Cheng’s Concrete Sealer. I really liked that (most importantly) it is food safe and low VOC as well as a hybrid sealer. This meant that the sealer not only penetrates and seals up all the tiny little pores in the slabs but also creates a super thin layer of sealant on the top. Best of both worlds type deal.
We followed the directions exactly as described on the website (which were slightly different and much easier to understand than the directions on the bottle).
The first step is to sand the concrete to ensure that it is perfectly smooth. We used 4 different sandpapers starting with the lowest grit number (the roughest) and working our way up to superfine paper.
After, we used a wet rag to remove all the dust and sand off the countertops and make sure they were clean – you don’t want to apply a sealer to a dirty gritty counter!
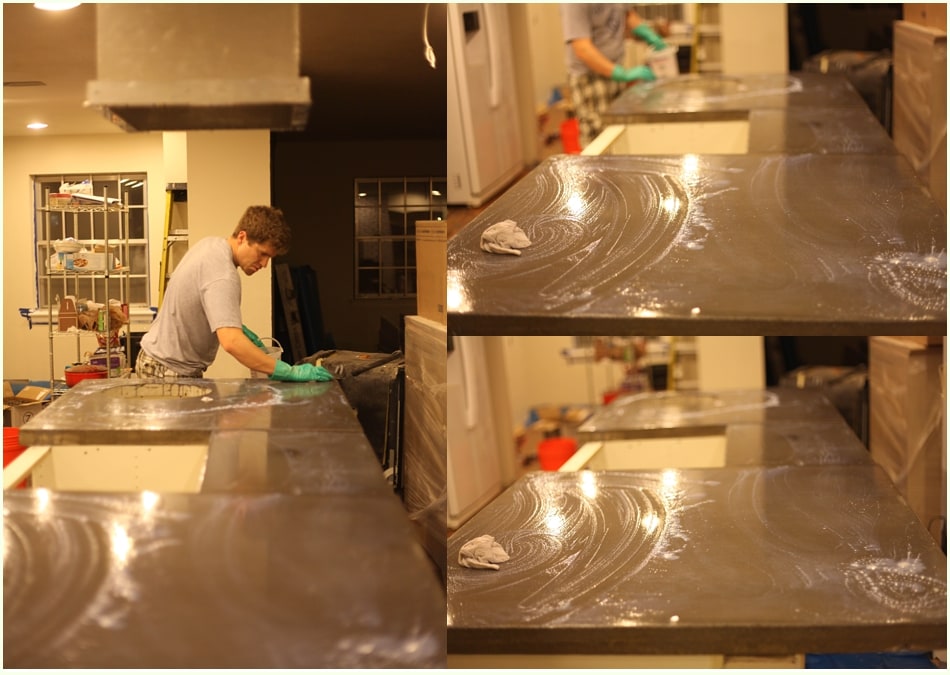
The second step was to create a “wet layer” using a clean rag and clean, cool water. You basically dip your rag in the water and then use it to get every part of the countertop lightly wet.
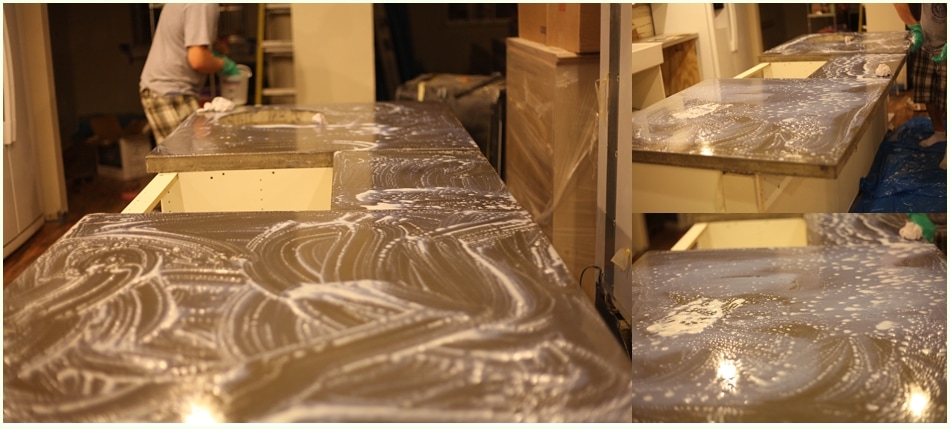
If you are doing this by yourself, I would recommend small sections, but since I had my partner in crime with me we decided to tackle the entire thing together. Then, you begin to apply the sealer mix in increasing ratios of sealer to water.
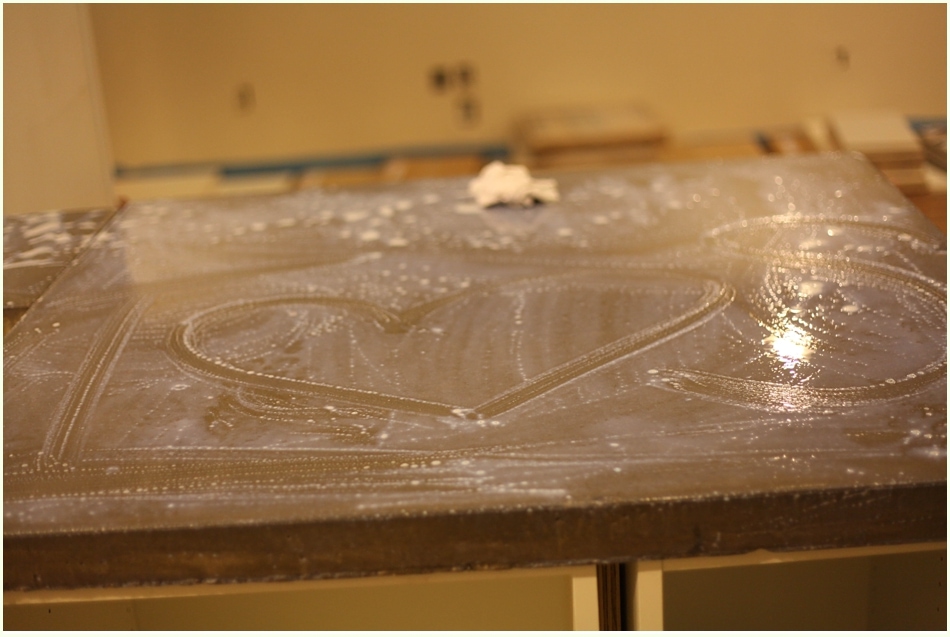
Scott etched “T <3 S” into the sealer mix since we opted out of etching it into the concrete!
Of course, we had a great time and played super fun music and danced and sang! Well mostly I danced and Scott sang. 🙂
This is how things were looking after the first round of sealing

We applied 3 layers, waited an hour and reapplied another 3 layers.
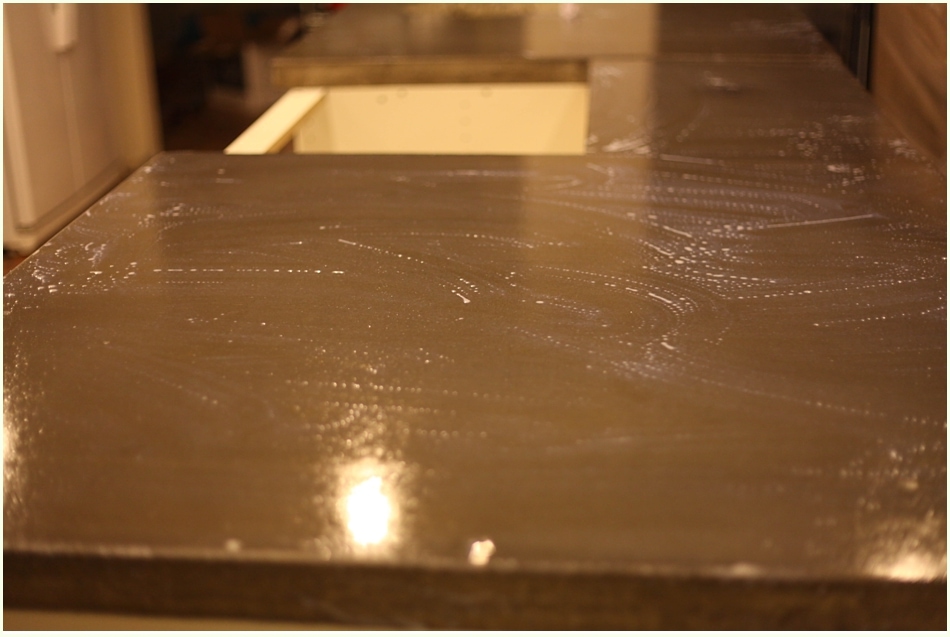

After waiting 24 hours we did the “drop test” where you place several drops of water on your concrete and wait 2 minutes to see if any of the water has seeped into the concrete or left a dark spot.
If it has, you fail and you have to redo the whole sealing process (minus the sandpaper). If you don’t see a dark spot and the water drop looks like it’s on glass or plastic, you pass!
We passed! Hooray! Here’s a before and after comparison:
Aren’t these countertops gorgeous? I am not just saying that because they were my dream and took months of effort and patience. But I really, truly think these are awesome!
They are so smooth and have a slight sheen to them (see how the window light is reflected in the photo above?) I love them. I can’t stop touching them. They are the superstars of our kitchen for sure! 🙂

Hi! I have some 15 year old concrete countertops that need to be resealed. Are you still happy with your finish on your concrete counter tops? Appreciate any info you can provide!
Thanks!
Hi Penne,
Yes! We still love them. Ours need to be resealed every 6 months or so, and we are about due for another one. I’m planning on writing an entire blog post about it in the near future, but I really like the products we used from Chan’s Concrete Exchange. They are very easy to use and pretty quick to apply. Let me know if I can give you any more info!
how did you remove the stains?