The UpSkill Project Workshop Summary
This post may contain affiliate links. As an Amazon Associate I earn from qualifying purchases.
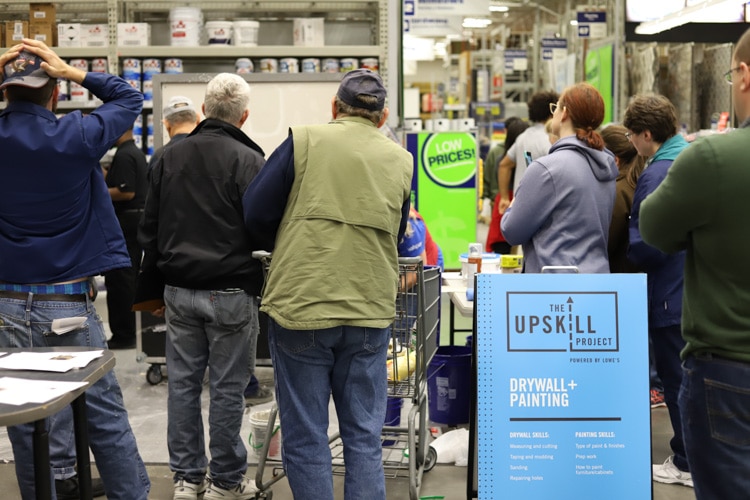
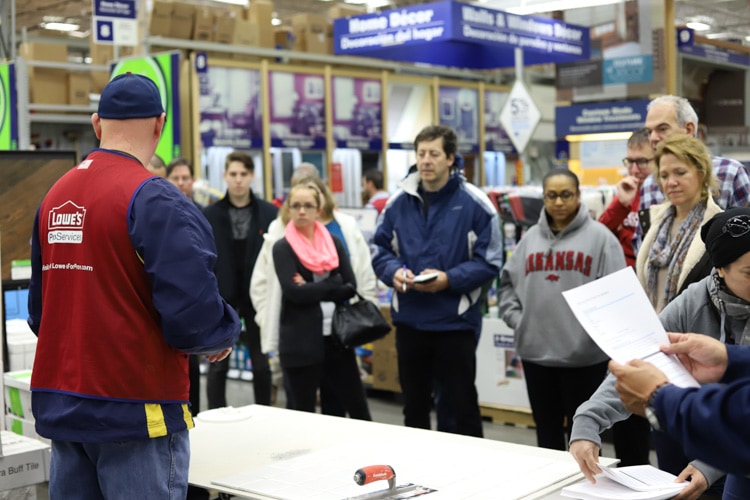
I’ve had a great time partnering with Lowe’s to promote The UpSkill Project over the past several weeks and have been especially looking forward to The UpSkill Project Workshop, which was held at the Preston Road Lowe’s location in Dallas on a chilly Saturday morning. We had an incredible turnout and I had so much fun getting to meet many readers in person and chat about all the DIY projects happening in their homes!
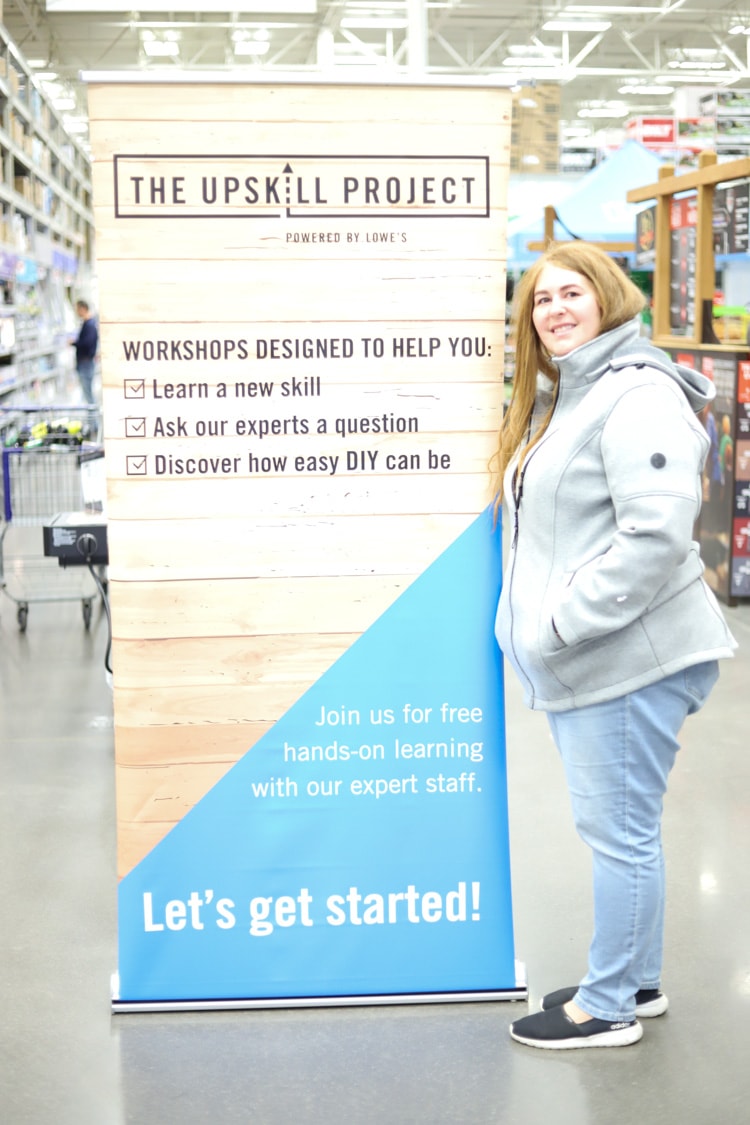
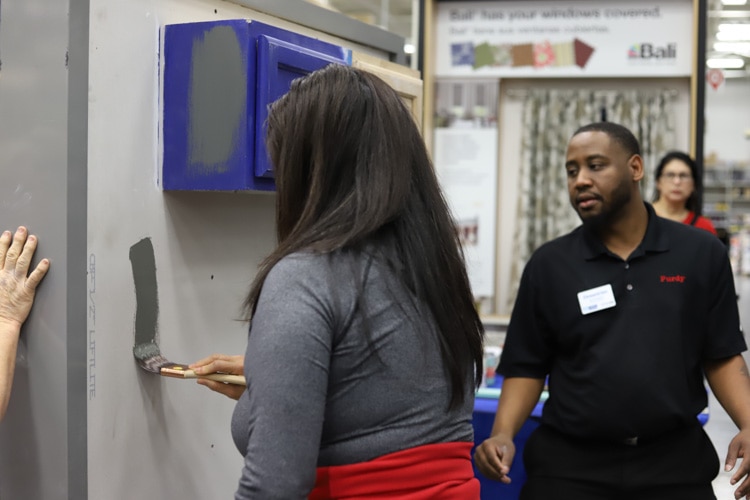
Just like the sign above says, The UpSkill Project Workshop gives homeowners an opportunity to watch a demonstration from an expert, test out what they learned hands-on, and ask any questions they had. There were three separate stations—drywall, paint, and tile.

I know it wasn’t possible for everyone to attend The UpSkill Project Workshop, especially those who aren’t local to the Dallas area, so I took plenty of notes and am excited to share everything I learned about tile, drywall and painting from the professionals at Lowe’s!
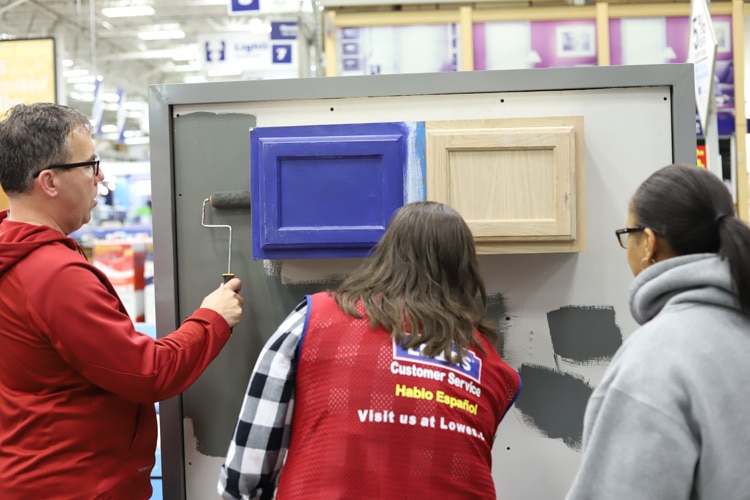
Painting Workshop
Prepping for Paint
- Surfaces need to be thoroughly cleaned before painting—I know it’s tempting, but don’t skip it!
- When you are painting over a surface that is already painted, you’ll need to know if the paint is latex or oil.
- To find out if the surface has oil paint or latex, you can use denatured alcohol. Take a small amount and rub it on the surface—if the paint comes off, it’s latex. If nothing happens, you are working with an oil paint surface.
Selecting and Using Brushes and Rollers
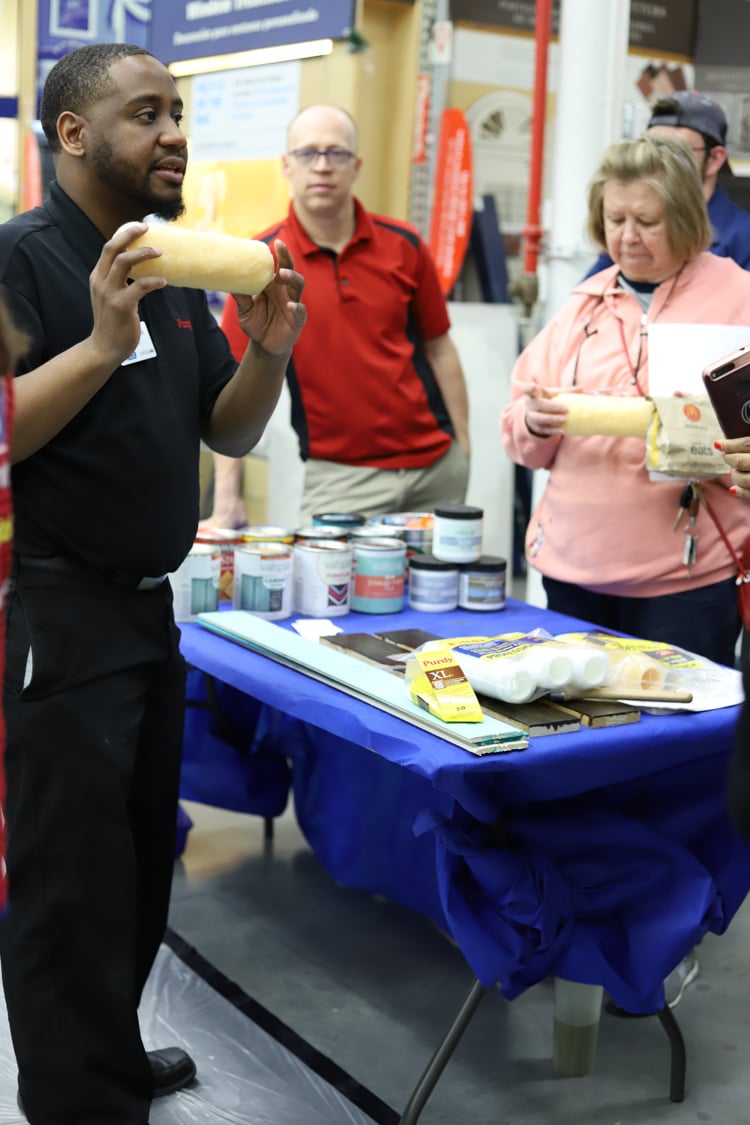
- The Purdy brand of brushes was readily recommended by the Lowe’s team. Their brushes are molded, which allows for more even coverage.
- Roller brushes are recommended for smooth spots, and brushes are recommended for spots with lots of angles. At the end of the day, it’s personal preference (but I would be very impressed if someone was patient enough to paint an entire room with just a brush #teamroller).
- The proper way to grip a brush is to grip the brush handle like a pencil, hold it towards the bottom ⅓ and apply paint.
- The proper way to load a brush with paint is to dip about ⅓ of it into the paint then drag some off onto the paint tray to avoid drips and spills.
- The best way to clean a brush is to massage the bristles into a dishwasher liquid and rinse with water. Get out as much paint as possible, then let it dry overnight before placing it back in the bag it came with.
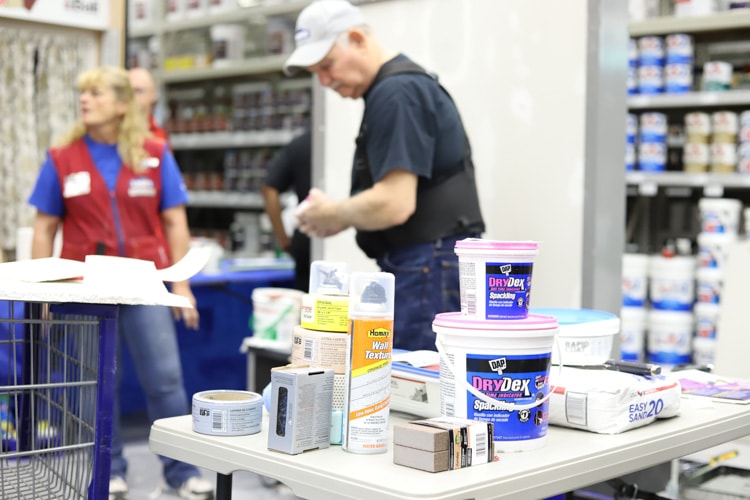
Painting and Priming
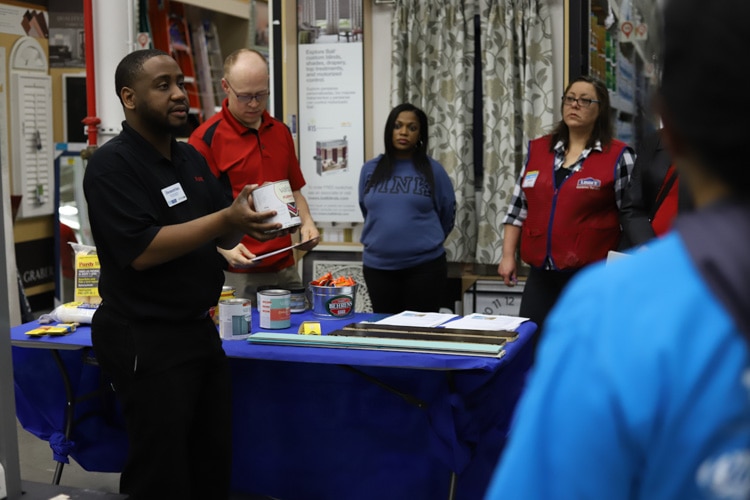
- Most rooms will need some sort of primer.
- Kitchens tend to have grease, so when painting a kitchen, you’ll need to use a separate primer and then paint.
- If a bathroom has a flat paint finish, you’ll need to prime it to prevent mold. After priming, you can add two coats of paint in a satin finish.
- If you need protection from water (like when you want to paint a bathroom vanity), use Polycrylic as a top coat.
- When painting kitchen cabinets, there are two ways to do it. The first option is to sand cabinets down and then clean them with a cheesecloth. After the cabinets are dry and clean, you can paint with two coats of a good brand of paint, like Infinity, which is available at Lowe’s.
- The second recommended way to paint kitchen cabinets is to use Valspar Cabinet Enamel. You don’t need to sand with this product, but you’ll need to do two coats minimum with a full 24 hours between each coat.
- Whichever method of cabinet painting you choose, make sure you use a smooth roller that is marked as made for cabinets or smooth surfaces.
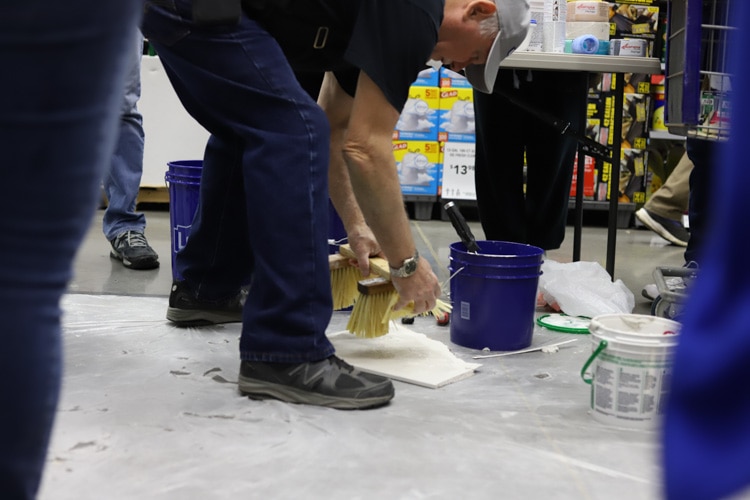
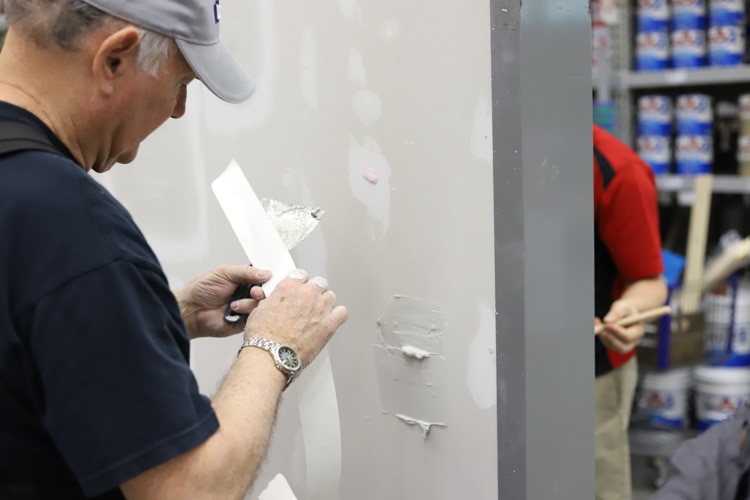
Drywall Repair Demonstration
How to Patch Drywall
How to Patch Drywall
The number one question that was asked over and over at The UpSkill Project Workshop was how to patch holes in drywall. I was thankful to hear I wasn’t the only one busting holes in my walls all the time (thanks to my unprofessional attempts at moving furniture). I learned a lot during the presentation—so if any of you out there need to repair some drywall damage, here’s how to do it!
- First, use a drywall saw to cut out a piece of drywall that will cover the hole in question. You can roughly measure this with your iPhone, a piece of cardboard, or—of course—measuring tape.
- Take your new piece of drywall and trace it directly onto the wall on top of the damaged drywall.
- Cut out the damaged drywall from the wall.
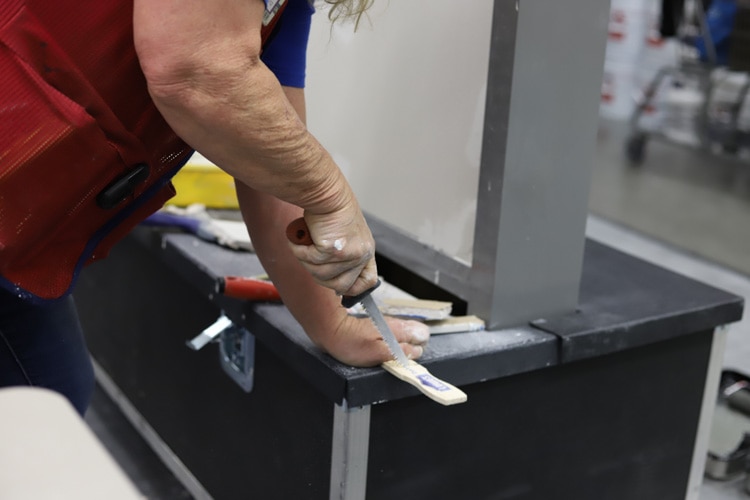
- Cut a shim (we used a paint stick) that will fit behind the hole you just cut—this is going to help support the new drywall and give you something to screw the new piece into! You want the shim to be taller than the hole in your wall.

- Use drywall screws to screw in the shim to the wall. If it’s a smaller hole use 1 shim in middle. If the hole is larger, use two shims—one on each side.
- Use a putty knife to place a little drywall mud on the shim and on back of the new drywall piece to bond them together. Screw the new piece into the shims.
- Then add mud on top of the new drywall piece. Use a folded piece of drywall tape with the fold pushed into the wall to prevent bubbles.
- Put a thin layer of drywall mud on top with a broad knife. Spread the knife in the direction of the tape so it doesn’t start pulling up.
- Let the drywall dry for about 24 hours. Make sure it is totally dry!
- Once dry, sand it smooth, add texture, prime and paint. You must use a primer!
Tiling Workshop Demonstration
Beginning a Tile Project
- When you begin a tile project, make sure you start in the center of a room. If you start on the edge, you could end up with a tiny sliver of tile at the end, which will be difficult to cut and install.
- Work in a 3×3 area at a time, finish a section and move to the next.
Tiling a Shower or Bathroom
- If you are tiling a shower, make sure you purchase slip-resistant tiles.
- If you are tiling both the walls and the floor, it doesn’t matter if you do the floor tile or wall tile fist. The Lowe’s expert said he likes to do his floor first and then have the wall overlap the floor tile, but it’s a matter of personal preference. Whichever you choose, make sure you cover your newly finished tile while working.
Spacers and Grout

- There are different sizes and types of spacers, but the general rule is to use smaller spacers for smaller tiles.
- To place grout between tiles, dump grout on the tile and use a rubber float to push grout between tiles at a 45-degree angle.
- Try really, really hard not to let the grout dry on the surface of your tile, but if it does, you can use a specially designed acid wash to remove it.
- Grout needs to be sealed—the purpose is to help prevent stains, not prevent against chips.
- If you have grout that is chipping (side note – I totally do! Our kitchen grout is falling out all behind the sink…sad!), then you can use a grout removal tool to chip out old grout, force new grout in and seal it.
That wasn’t too hard, right? If you have more questions about any of the above, or something totally different, leave them in the comments below and I’ll help get you an answer. Don’t forget you can always go into your neighborhood Lowe’s and ask an associate for help as well.
For those not local to Dallas, you still may have another opportunity to submit a video entry for a chance to win $2,000 to learn DIY skills to complete a project of your own or attend a workshop. Check the website to find out The UpSkill Project is coming your way!
When is the next workshop?
That was the only one in Dallas (for now) but you can check the website for other locations!
It’s so great that Lowe’s does these workshops for the community!
It really was nice, especially with all the remodeling going on here in North Texas!
Thanks for taking notes!! This MN girl wishes she could have attended live and appreciate that you filled me in. And LOVE LOVE LOVE that Lowe’s does these workshops. So fun!
I wish you could have too! The good thing is you can walk into any Lowe’s and ask whatever questions you have—I go there so much haha!
These are AMAZING workshops for DIYers like me! 🙂 Thanks for the detailed notes – bookmarking this page for our next project!!!
You’re welcome! Can’t wait to see what you make!
It looks like there was a great turnout for the workshop! Wish I could have been there but thank you for taking such great notes ?
You are so welcome! 🙂
I love all your tips! I wish I could have at least been there for the drywall patching part. Using paint sticks for shims is a great idea!
Okay, right??? That blew my mind the most! I have patched drywall before but never like that and I feel like i need to go back and re-do it all!