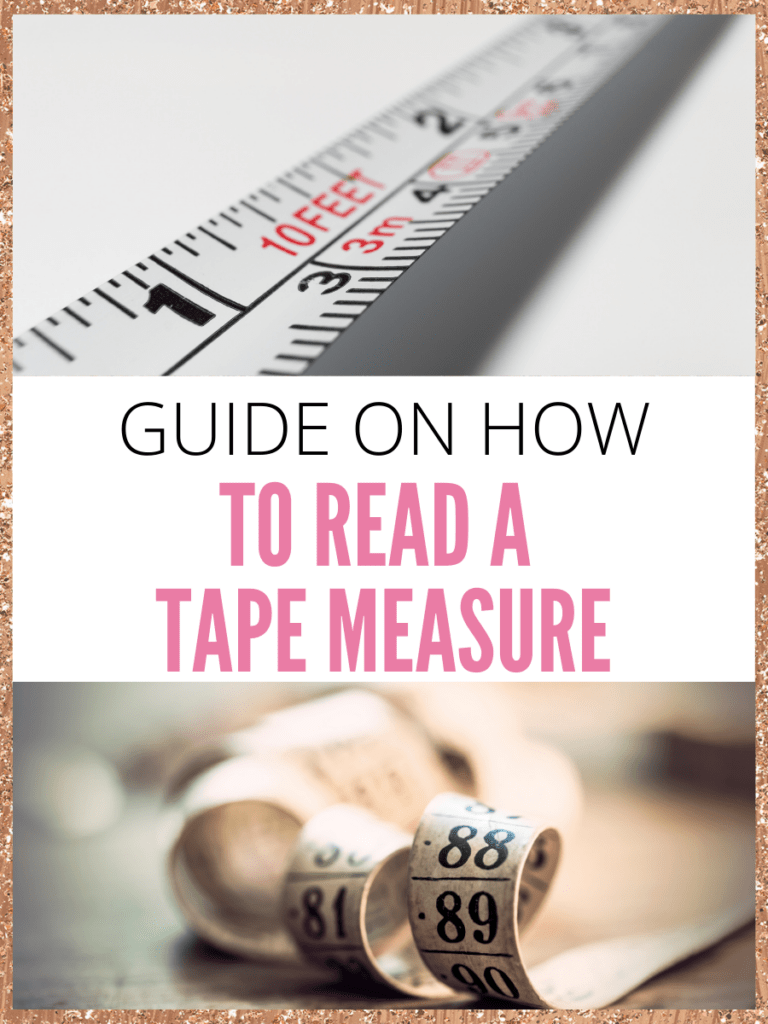
How To Read A Tape Measure
This post may contain affiliate links. As an Amazon Associate I earn from qualifying purchases.
A tape measure is one of the most useful tools any good DIY-er can have around the home, and knowing how to read a tape measure is just as important. It’s used to measure out what furniture can slot in where to spacing out decoration plans. A tape measure is infinitely easier to use than measuring sticks or other old-fashioned forms of measuring.

What’s more, they’re lightweight and portable so that you can carry them around with you. This is great for working in your own home, visiting others, or perhaps even visiting a potential future home.
Of course, a tape measure will do you no good if you don’t know how to use it right. Read on for a step-by-step guide on how to read a tape measure. You’ll also find some tips and tricks to get the most out of your tape measure and use it safely.
How To Read A Measuring Tape In Inches
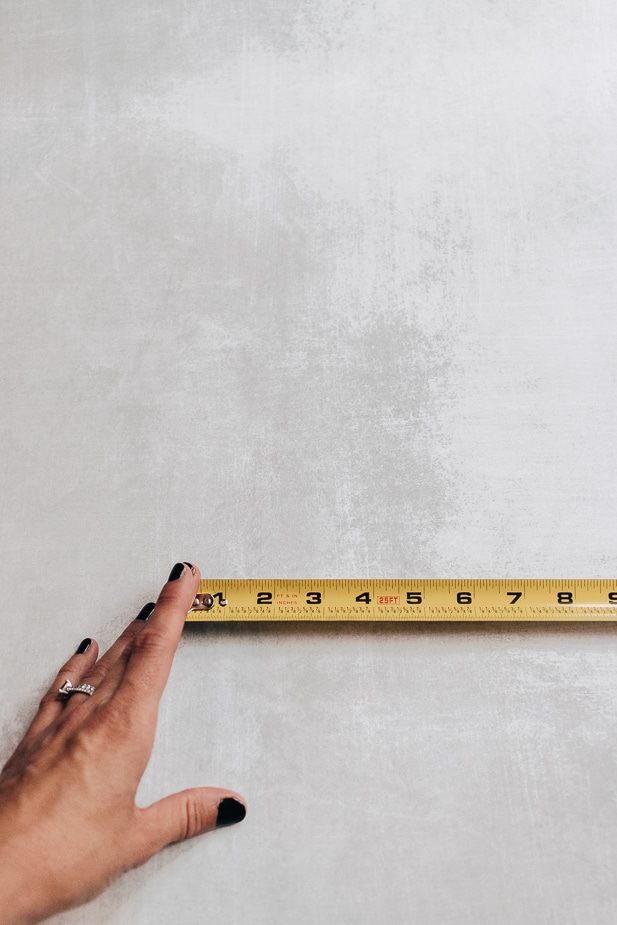
The first thing to remember when using a tape measure is that there are two sides. Each side has its own unit of measurement. If you prefer to use imperial measurements, you’ll want to use the side in inches.
You’ll know it’s the side for inches because the numbers on that edge will be larger than on the other. There will also be a series of tape measure lines, some long and some short. The numbers will be placed by the long lines to mark whole inches. The smaller tape measure lines in between the numbers mark half and quarter inches. They will sometimes be labeled with red numbers.
A foot is made up of 12 inches, so every 12 inches, you will also see a marking to show a new foot. For example, a 16-foot tape measure will have 16 marks throughout the tape measure to measure each foot.
How To Read A Measuring Tape In Centimeters
For anyone who prefers to measure in centimeters and meters, there’s a similar set-up on the other side. The numbers for centimeters will be smaller than those for inches.
The tape measure lines are also usually smaller, with roughly two and a half centimeters to an inch. There are 100 centimeters in a mete. So, after 100-centimeter intervals, you’ll either find a marking for one meter or for 100 centimeters. This depends on the design of your measuring tape.
How To Read A Measuring Tape In Millimeters
Sometimes, you need to work with smaller measurements for more detailed projects. Not to worry though, a tape measure can still help you out. Inside the longer tape measure lines for centimeters, there are smaller lines that mark out millimeters. There are 10 millimeters to every centimeter.
Most often, millimeters won’t be marked with numbers because they are simply too small. However, the five millimeter line will likely be slightly longer than the others. Although still smaller than the centimeter lines, the five-millimeter line will help you find your place.
General Tips For How To Read A Tape Measure
Now that you know how to read a tape measure for different measurements, let’s dive into some general tips and tricks. These should help you get the most out of your tape measure.
What Do The Symbols On A Tape Measure Mean?
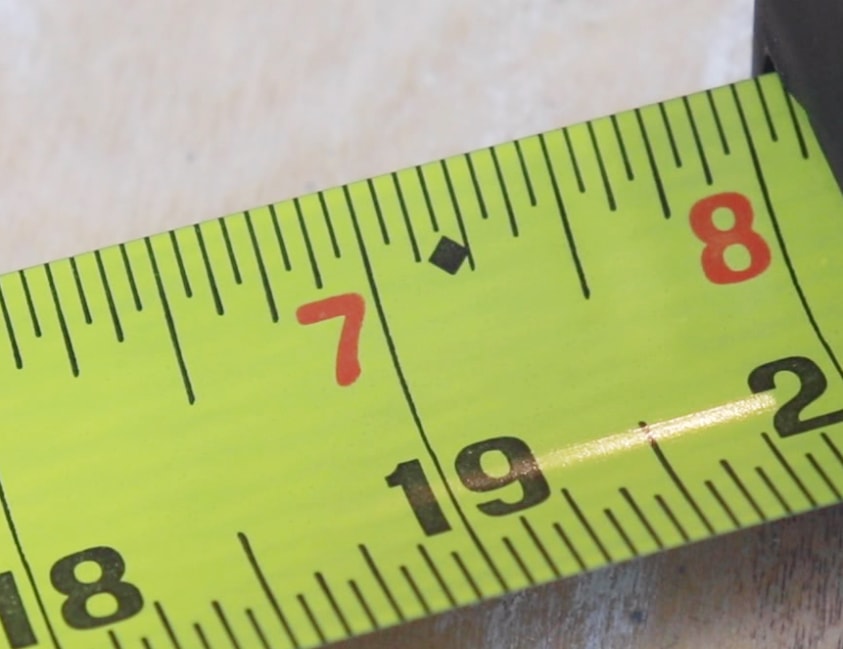
There are more than just tape measure lines on a measuring tape. There are also a variety of other symbols designed to help users. If you look at each 16-inch interval, you’ll often find a small black arrow along the tape measure lines. (e.g. 16 inches, 32 inches, 48 inches, etc)
These are to help these distances stand out, as building codes state that supporting wall studs must be this far apart. Even if you’re not working on a supporting wall, it can be a useful way to find your place.
If you’ve got a keen eye, you’ll also be able to spot tiny black diamonds at seemingly random intervals. In fact, they’re not random at all. These are called black truss diamonds. They offer guidance on spacing for six trusses (used to create wooden rooves) on a standard sheet of plywood. You may only find black truss diamonds on a professional long measuring tape, rather than the average homeowner’s one.
What Is The Easiest Way To Read A Tape Measure?
The easiest way to read a tape measure is to make use of the hook on the end of the measuring tape itself. For external measurements, place the hook (usually made of metal) around the edge of what you want to measure. Push it firmly in place and you’ll be able to reel out the measuring tape without it shifting.
For internal measurements, you can do something similar, but in reverse. Push the hook into the corner of what you’re measuring to make sure you get right into the crevice. It can be harder to hook on in these cases. So, you might need to hold it in place as you reel out the tape.
You should also have a clip on the case. Once you’ve got the length you need, flick this clip down. Your tape measure will now stay firmly in place, so you don’t lose your measurement. You can also use it to measure other materials or objects.
Once you’re done, you can undo the clip and it will recoil back neatly into the case. Be careful though: never let it come all the way back into the case at full speed. The metal hook can hurt your hand or damage the case if it comes flying back in too quickly.
You should also be careful about the edge of the tape itself. There are often made of metal to be more stable and durable, but that edge can be quite sharp. Watch out for your fingers, especially when reeling it back in.
More DIY Resources
That’s all you need to know on how to read a tape measure! Want to keep learning? Check out these other DIY articles:
- How to Paint Trim
- The Best Gold Spray Paint and How to Use It
- Best Reusable Wallpaper and Where to Use It