How to Build a Chicken Coop: The UpSkill Project with Lowe’s
This post may contain affiliate links. As an Amazon Associate I earn from qualifying purchases.
I recently got to work on a project that was SUPER fun! Lowe’s recently ran a video contest called The UpSkill Project where homeowners who didn’t feel confident in the DIY arena could submit a video of a project they needed help with. The UpSkill Project team selected five Dallas residents who not only got $2,000 in Lowe’s supplies for their project but were also gifted with a team of experts to work with them to complete their project over 2 jam-packed days.
Of course, Lowe’s needed someone to document the entire transformation, which is where I came in! I am so excited to be partnering with Lowe’s on this post—as you all know I shop there all the time.
As if all that wasn’t exciting enough, I got to help with the coolest project of them all—building a chicken coop!

Rod, the homeowner who won the contest, sent a video to The UpSkill Project asking for help remodeling his then-fiancée’s (now wife!) chicken coop. Brittany built the entire coop herself six years ago (go girl!) and it was in need of some serious repairs thanks to some rambunctious chickens. Rod self-declared himself “tool-challenged” and asked The UpSkill Project to help him give Brittany the ultimate wedding gift—a decked out coop.
How could Lowe’s resist? 😉
Meet our happy (prize-winning!) family!

For reference, here’s the coop Brittany built years ago. Isn’t it cute? You can see from the second picture that it had run its course, however.
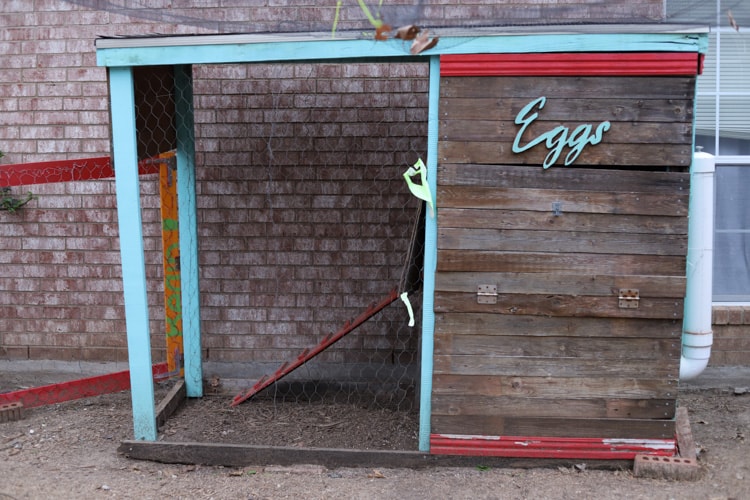
And, yes, she did also build the dividing fence and gate herself as well!
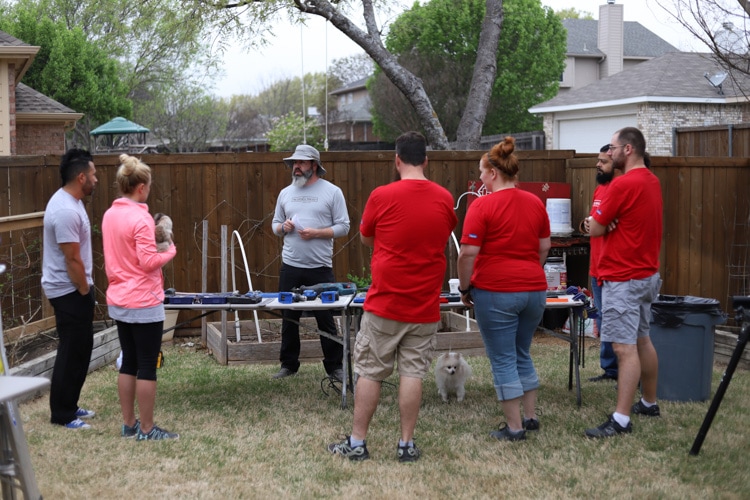
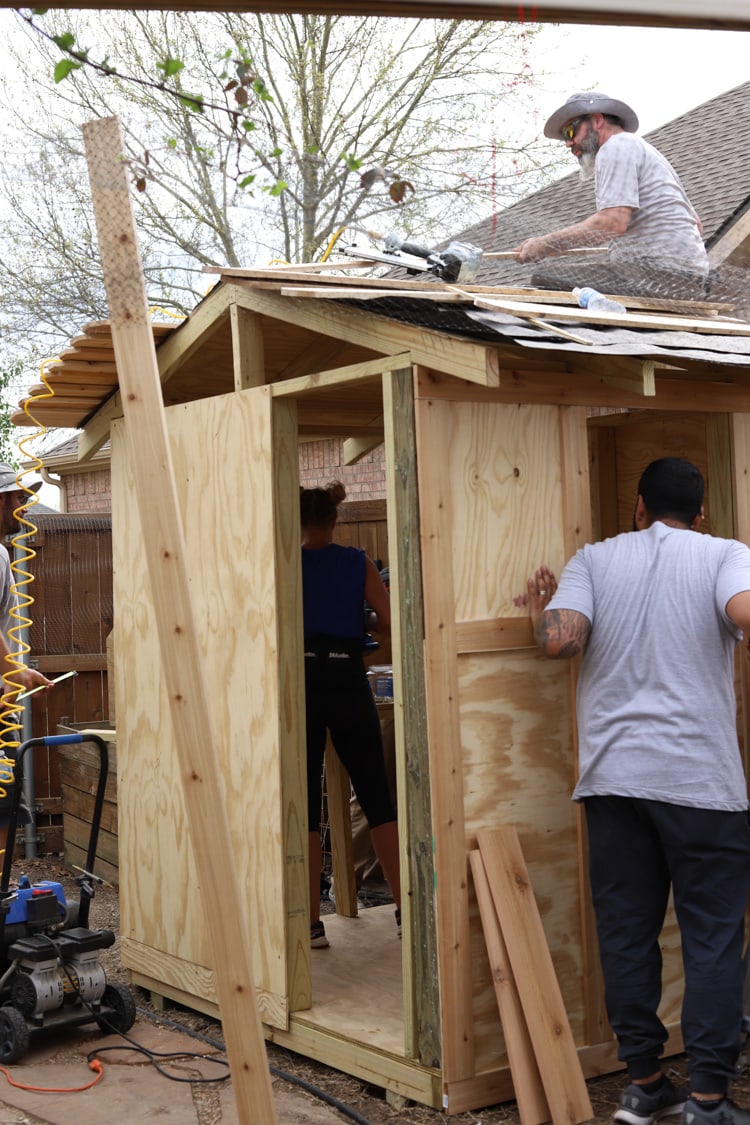
We started work on a Sunday morning with a team huddle, led by our fearless leader, Mikey. Mikey has been traveling with The UpSkill Project for a year and this was his 50th project! Isn’t that awesome??

Also, isn’t this chicken awesome? She’s a silkie, which is now my favorite type of chicken. All the heart eyes!
 After briefly going over the plans for the day, we started building. If you’ve ever wanted to build a chicken coop, I’ve got some helpful tips for you to build your own—no crew necessary!
Start with a plan, but don’t be afraid to change it. The official chicken coop plan was purchased online but was then also modified to fit Brittany and Rod’s space, as well as the needs of their growing flock.

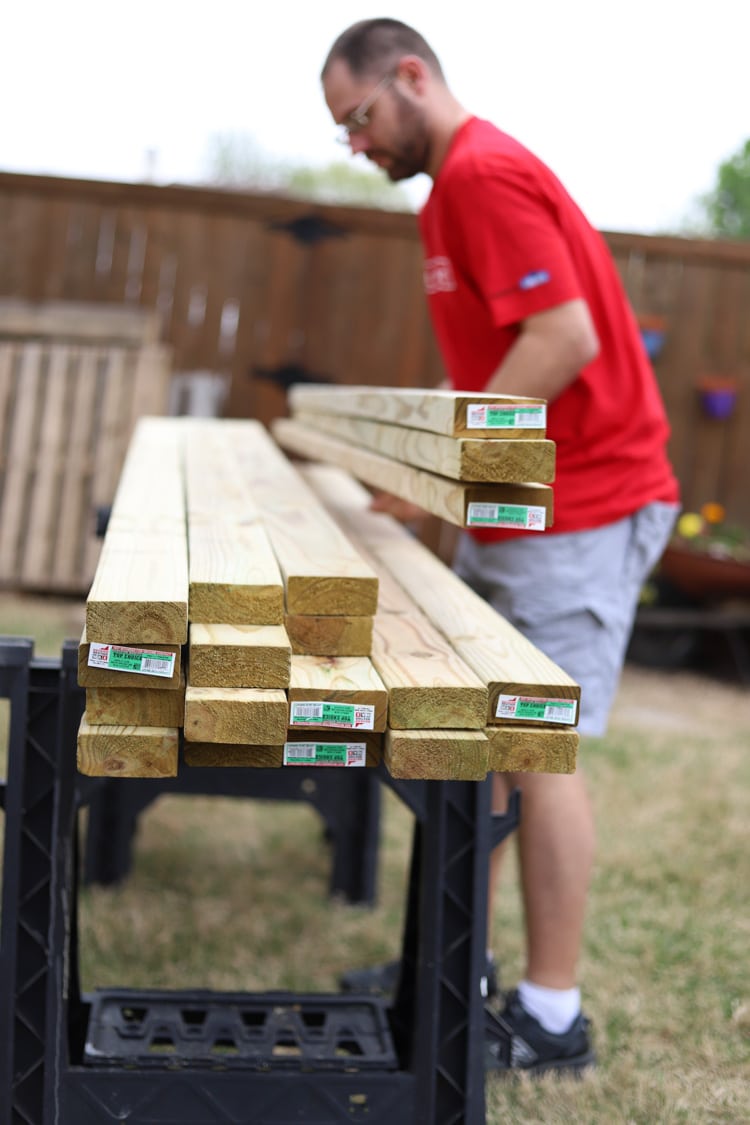
Start with a level base and firm foundation. The very first thing Mikey and the team did was make sure the base was level. They dug down and put 3” of paver base using crushed granite before placing skids on top. This allows for good drainage and helps make sure the coop won’t settle over time—especially important here in Dallas!
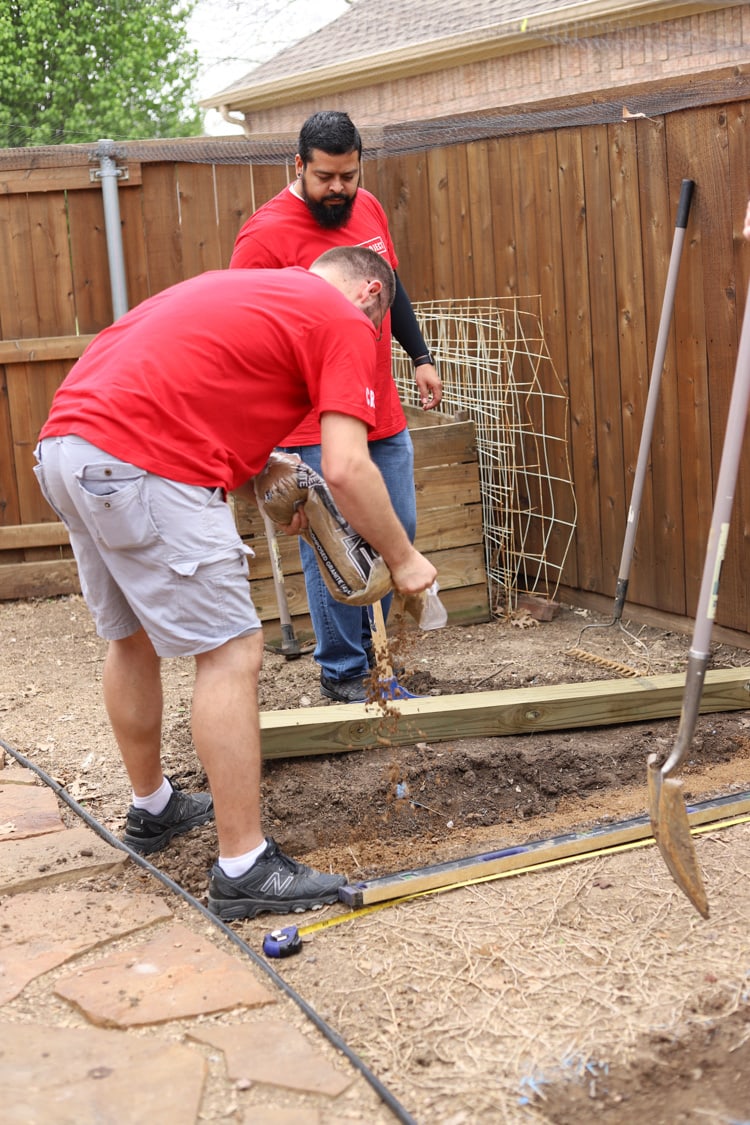

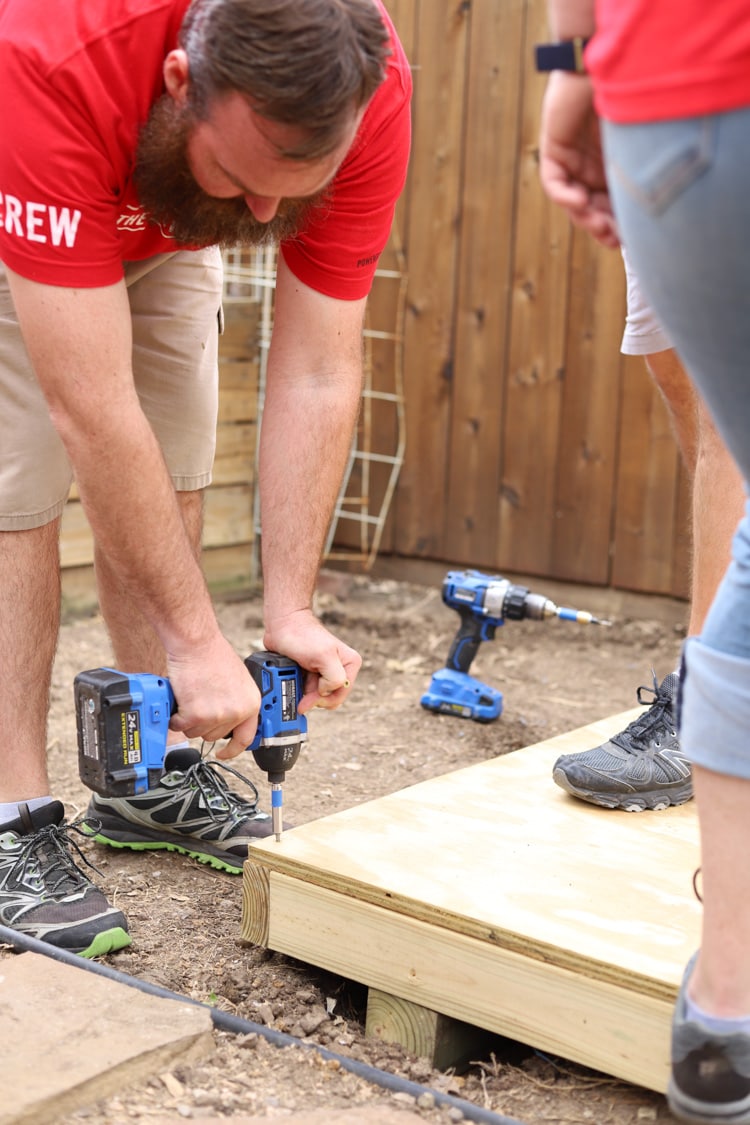
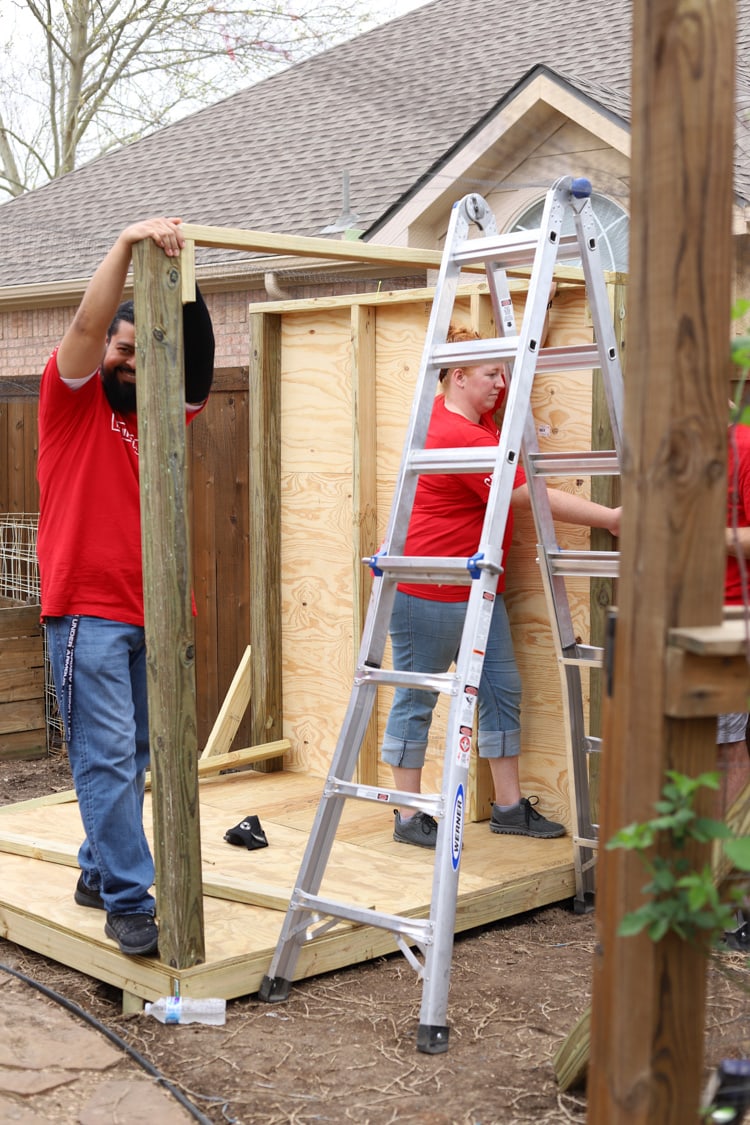
Once the team had the skids laid, they built the foundation with plywood and some more 2×4″ boards.
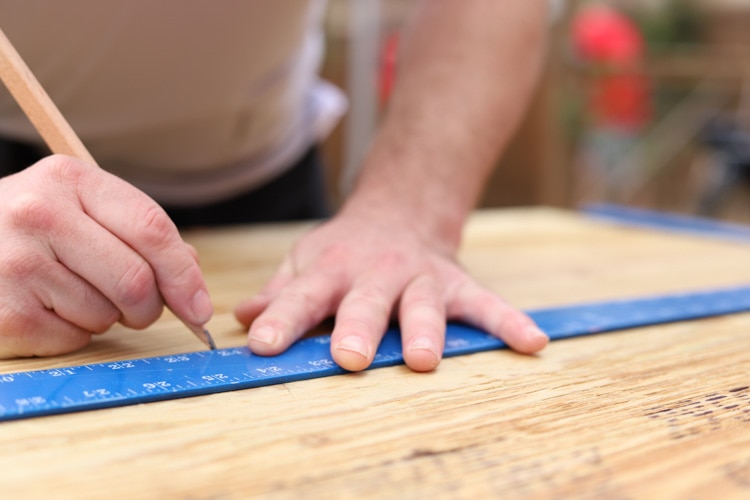
Mark once, cut twice. Okay, we’ve all heard this tip before…but that’s because it WORKS. Bonus tip—use a “V” to mark your spot instead of a straight line for the most accurate markings. Make sure you use a sharp pencil!

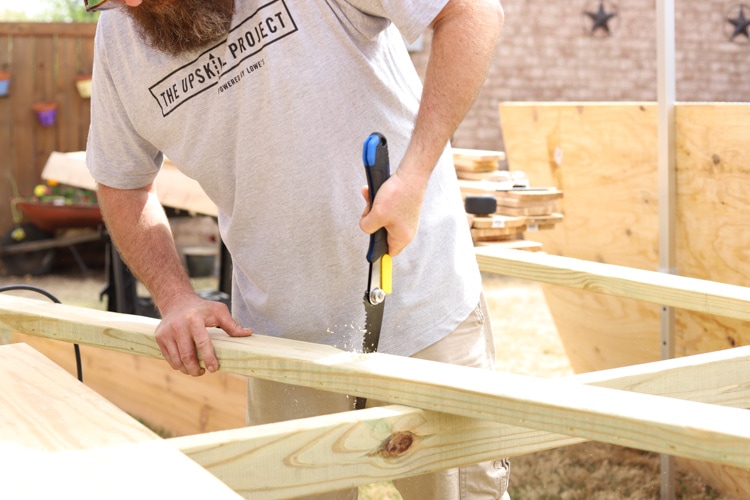
Know that a 2×4 isn’t really a 2×4. Confused yet? Me too. When you are measuring, it’s important to know that a 2×4, named for its alleged measurements of 2” by 4” isn’t really 2” by 4” at all! It was originally cut at a measurement of 2 by 4 inches, but is then sent into a kiln process to dry the wood, during which it shrinks to about 1.5” by 3.5”. So really, a 2×4 is a 1.5×3.5. Who knew? The UpSkill Project team did. 😉
Work with a team when you can. Okay, not everyone can get a crew from by Lowe’s to come out to their home and help with a project, sadly. But you can tap into the experts at your local Lowe’s to help plan your project and pretty much everyone can get a crew of friends and family to come help them out. Even just one extra set of hands for just a few hours can make a big difference!
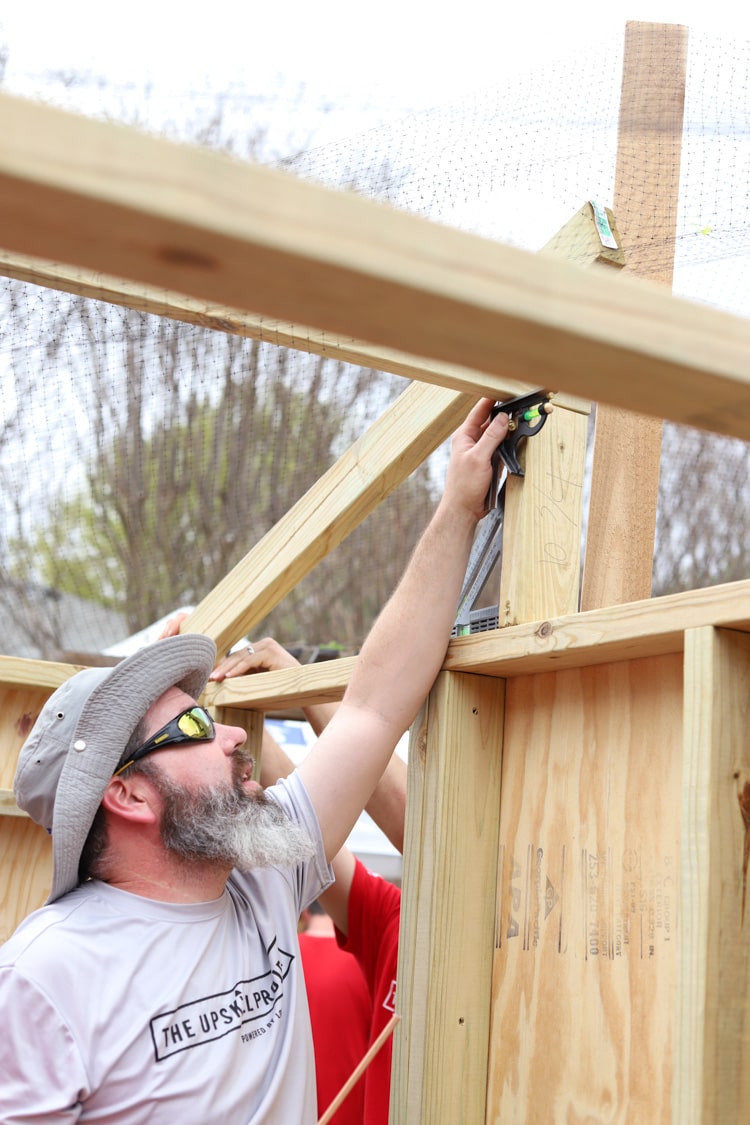
A square is a tool you need. The square (which isn’t square-shaped) is a humble but mighty tool to help you make sure things are square in relation to one another, hence the name. The square was used multiple times throughout the project to make sure beams were truly straight—looks can be deceiving.

You’ll probably have to go back to the store. Even working with a professional team, Brittany and Rod still had to make another Lowe’s run halfway through the project to get some more supplies. It happens, so just keep a running list so you can reduce the number of trips out.
8th-grade math IS useful. Y’all. All those times I bemoaned how pointless math could be…until you try to put a roof on a chicken coop. We used the Pythagorean theorem to calculate the roof pitch. A2 + B2 = C2 – how long your roof beam should be! Most roof rafters jet out about 12”, so you can add a foot to your calculations. We also followed the 12/4 rule, for every 12” long a rafter is, it slopes down 4”. Now go high five your eighth-grade math teacher!

Always start at the bottom when installing shingles. Start at the bottom and layer on top—if you go the other way, bugs and other gross things get stuck under your shingles.
Keep a fully stocked toolbox. You never know when it will come in handy!
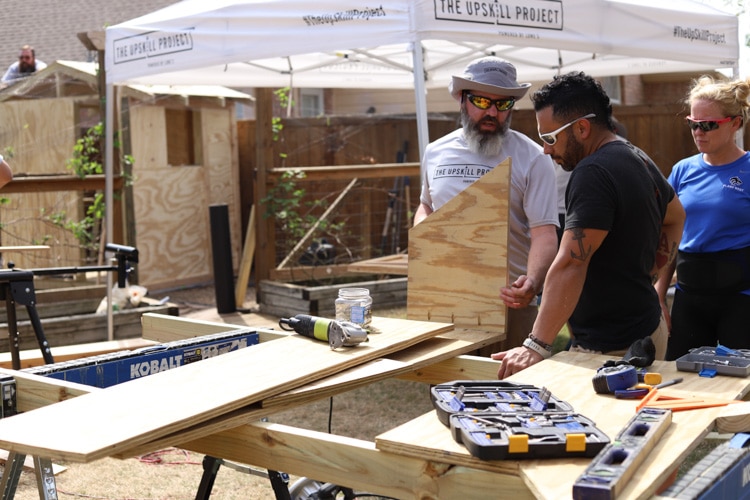
There are a million tools out there, but I asked Mikey what tools he would recommend every homeowner to have handy and he gave me a simplified list:
- Kobalt toolkit. This kit comes stocked with a ton of essentials including a ratchet driver and bits, box cutter, hammer, needle nose pliers, adjustable wrench and more—the perfect starting point for any homeowner!
- Tape measurer
- Handheld electric meter. This little tool costs about $10 and will tell you if a wire is hot or not. Safety first!
- Speed square. Great for any carpentry projects.
- 3-foot level. A long level is very helpful when hanging art or shelves in your home!
- Vice grip. If you ever strip a screw or bolt (and trust me, you will at some point!), use a vice grip to get it out.
- Basin wrench. This is helpful whenever you change out a faucet or if you need to turn the main water line off.
- Contour gig. If you ever lay tile or wood in your home, you need this little guy to help you cut the weird angles in a closet or under any trim (I’m really sad we didn’t know about this tool…we did it the hard way!).
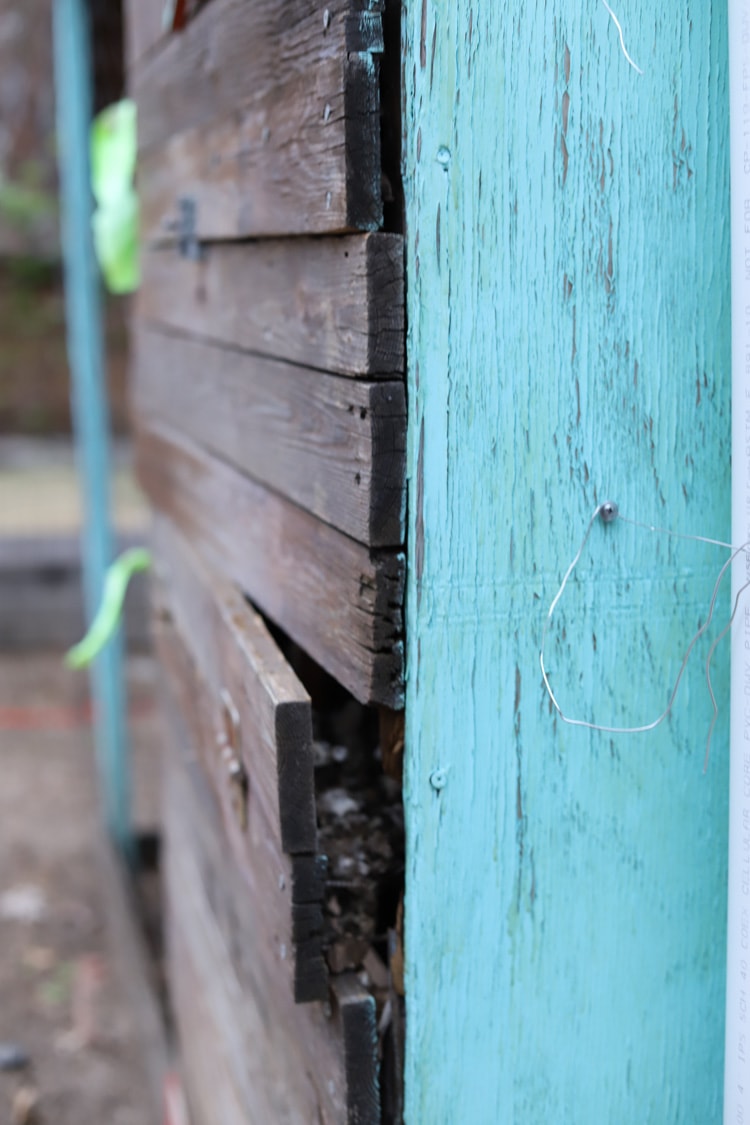
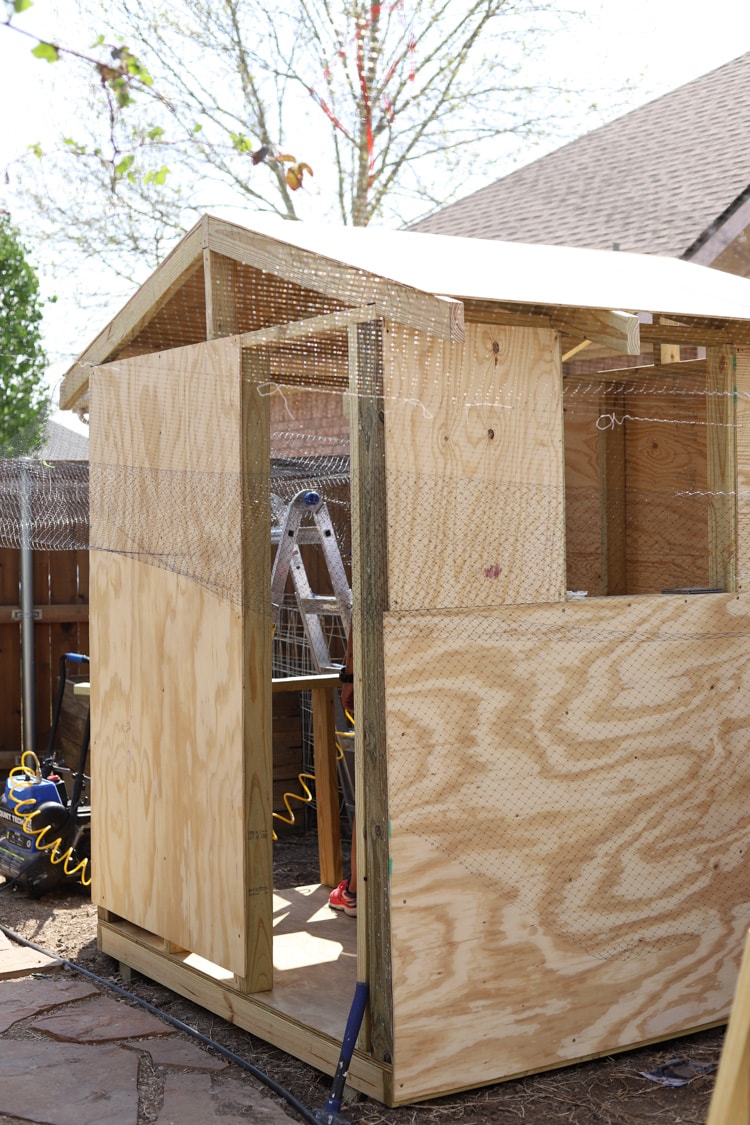
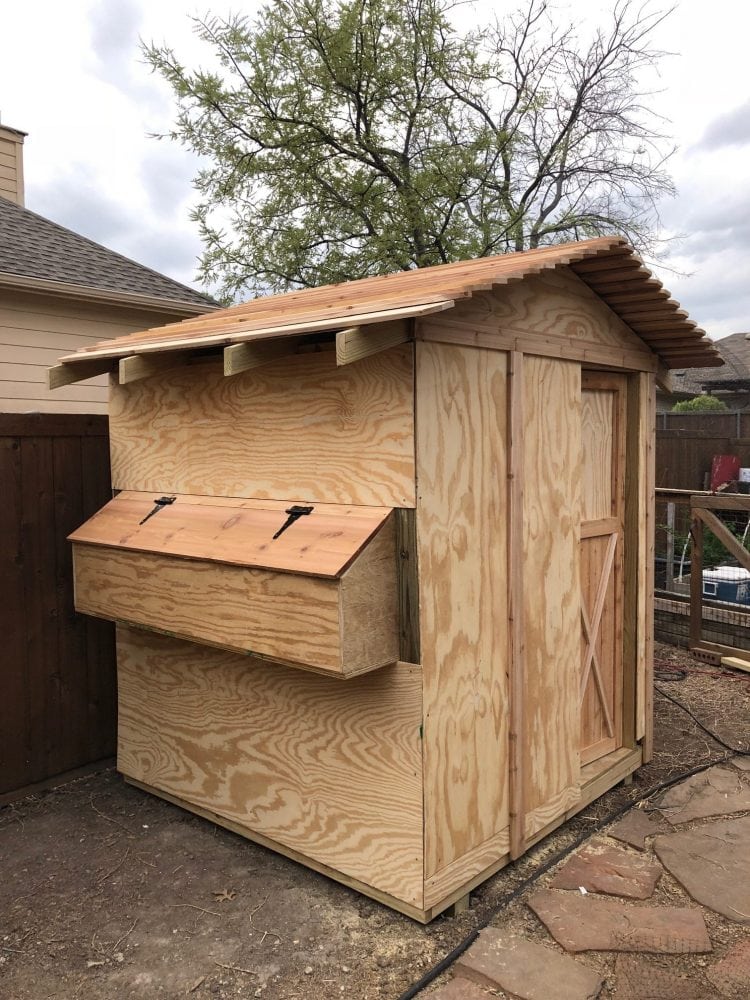
And there you have it! The most helpful tips on how to build a chicken coop I picked up are now all yours. Here’s the finished build—complete with a hinged nesting box, and gorgeous farmhouse-style door. Brittany and Rod are planning to paint the coop red and white—and I’ll share updated photos when they do! 🙂
If you are in the Dallas area, come meet the awesome UpSkill Project team + me at the Preston Road Location for an awesome UpSkill Community Workshop between 10am-1pm on Saturday, April 7th, where you can learn to tile and paint from the pros.
Also, if you are interested in seeing some video and more behind the scene’s footage from The Upskill Project Do Days, check out my highlighted Instagram story at the top of my profile titled “The UpSkill Project.”


I totally want a chicken coop! Can you come over and build me one? This is so sweet and I’m so happy for them!
Oh my goodness! I love this! Congrats Brit! this is beatiful – now if I can just get J on board with one…
We want a chicken coop so badly. I love how this coop came out. Lucky chickens!
I am so itching to get chickens! This post makes me want to plan out and build a coop in my backyard 🙂
So cool! I love the outside nesting box access!
Your photos make work look fun! What a neat project!
How fun!! I can’t wait to see it painted. And that chicken is ?
What a very cool project to be able to help with. It came out so pretty. I’m sure the chickens are happy too. Thanks for sharing at #HomeMattersParty
That was great…do you have a link to the company that made the coop plans?
Hi! Unfortunately I don’t – this was from many years ago, but I do love the design as well!