How to Choose and Use Basic Tools
This post may contain affiliate links. As an Amazon Associate I earn from qualifying purchases.
I’ve done a lot of DIY projects over the past 8 years, and have learned a lot the hard way—by trial and error, or by watching a project come crashing down (literally and metaphorically!). It’s definitely better to work smarter and not harder, and to get there you need the right tools.
I’ve teamed up with my friends at Lowe’s, who have taught me so much during my time in-store with them! If you recall, I got to partner with the Lowe’s team on The UpSkill Project and document building an incredible chicken coop.
Even though I have been doing DIY projects and remodeling in some capacity for an entire decade now, there is still so much I have to learn. I don’t always feel 100% confident in my skills—I often feel like I need a little hand-holding (which is totally okay!). Each time I work with Lowe’s, or try a new project on my own, I feel empowered and educated, like I get a little more confidence to add to my toolbox (hah!). Of course, I had to share that goodness with you all!
This post is created in partnership with Lowe’s. I only work with companies I personally use and trust—thanks for supporting companies like Lowe’s that help me keep this blog running!
How to Pick a Tape Measure
Although a measuring tape is one of the most frequently-used items in any DIY project, it also can be one of the most complicated to use. I’ve worked with a lot of measuring tapes and I still feel a little unconfident (or frustrated!) at times. Let’s be real—I became a writer so I don’t have to mess with math and adding fractions! Luckily, my friends at Lowe’s were able to help me figure out where I was going wrong—and of course, I took plenty of notes to share with you all!
First of all, there are a ton of measuring tapes on the market—what gives? They are all the same, right?
Actually, no.
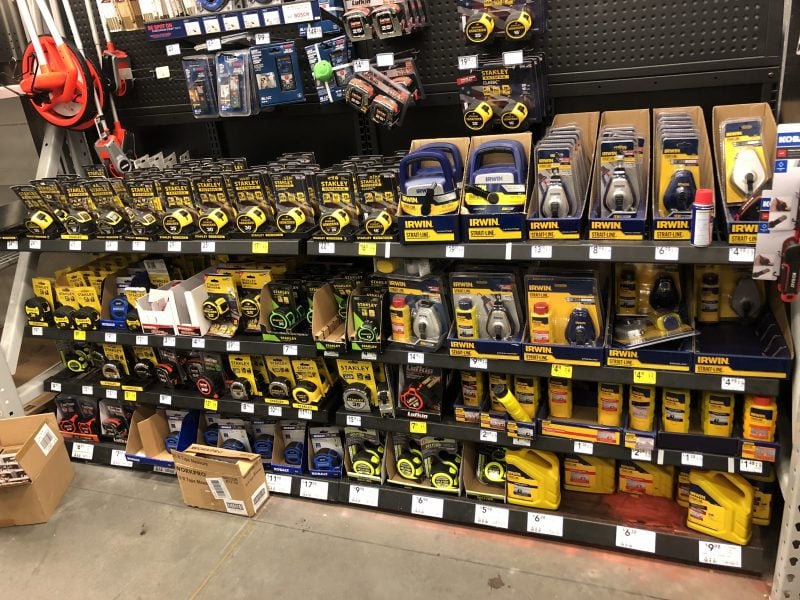
While they all basically are used for the same function, there are a few key differences that will make a measuring tape more or less expensive. A more expensive tape will use stronger metal to create the actual tape—it will be more likely to be taut and firm and be able to stand out on its own when rolled out. Some measuring tapes also have magnetic tips which are helpful for metal work or measuring between screws. Measuring tapes also come in different lengths—if you are planning on doing major construction or needing to measure large spaces, it would serve you well to get a longer tape.
The biggest tip I got? One other major difference is some measuring tapes will have each line labeled between the inches, while others do not. It will save you so much headache to choose a measuring tape that is clearly labeled (like this one!), otherwise, you’ll be stuck counting all the tiny little lines! Ick.
Of course, with any tape measurer, make sure you follow the golden rule of carpentry—measure twice (at least!!) and cut once. Trust me, that saying is popular for a reason!
Curious how to use a tape measure properly? Check out this helpful video from Lowe’s!
How to Use a Saw
For many at-home projects, you can get by with just using a basic hand saw. They take up much less space than an electric-powered saw, and you can accomplish many of the same things—with a little more sweat equity.
When you get your saw, make sure it is straight (you can tell by looking down the blade) and that it is sharp. If you are getting a brand new saw, like this one from Kobalt, both of those things should be correct. If you are borrowing a used saw, however, you’ll want to make sure it is both straight and sharp to head off any frustration.
To use a saw:
- Measure your cut line (see above and remember—measure twice and cut once!)
- Watch your form- keep your elbow close to your body, and extend your forearm to make the cut
- Hold the wood firmly in place—you can put the wood on a table and push down firmly, with the part where the saw will go through hanging off the end of the table
- Start by making a small notch into the wood with the blade—you will want to cut slightly to the outside of your cut line—you can always sand down the edge
- Recheck and make sure you are cutting into the right place. If not, try again and make a small notch in the correct location
- Keep sawing all the way through—make sure you keep the blade straight and cut with long strokes as opposed to short tiny ones. Longer strokes are less work for you and will use the entire length of the blade!
Besides a hand saw, a miter box and a clamp will also be helpful. A miter box helps you make precise angled cuts by holding or clamping wood onto the miter and using the guides to saw. In fact, my father-in-law used a miter box and hand saw to cut the wood for our framed wallpaper in the nursery.
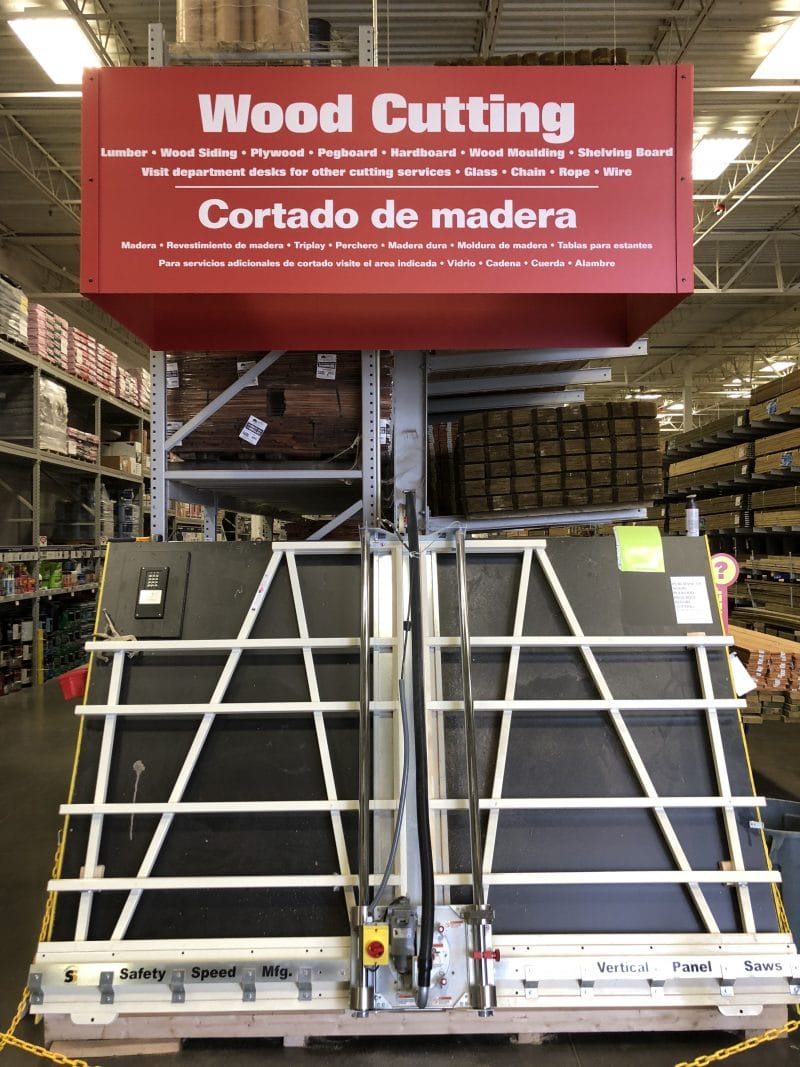
PS- Does it sound like a pain to cut your own wood? Then let Lowe’s do it for you! Visit your local Lowe’s and they can cut all kinds of materials for you, including pegboard, wood, plywood and more.
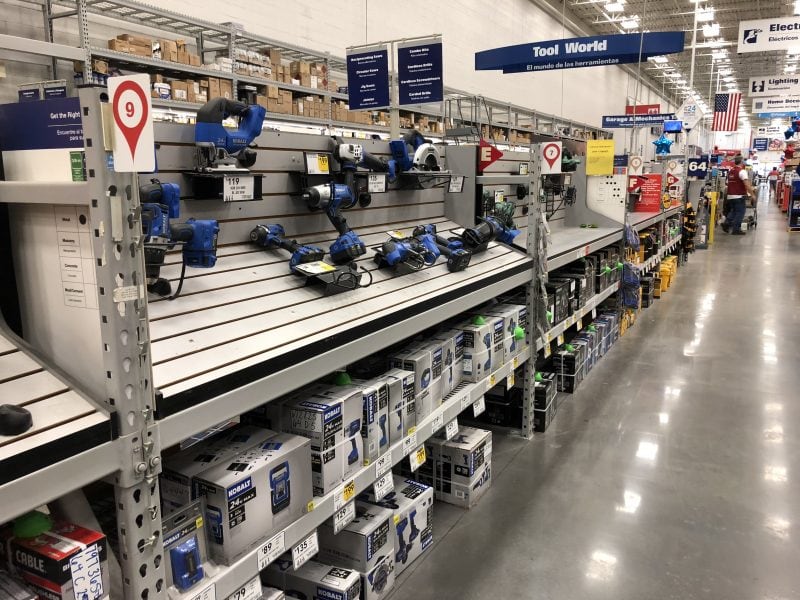
How to Pick a Drill
Just like most tools, there is a good amount of selection when it comes to drills. I highly recommend cordless, battery-powered drills—they are easily portable and will come in handy when you don’t have access to electricity, like when working outside.
It’s best to pick a brand you like and try to get most of your electric tools from that line because you can switch the battery between each one. I’d recommend using the Kobalt line or Dewalt—both are excellent.
This Kobalt kit contains two types of drills—an impact driver and a drill driver. Here’s what you need to know about each:
- An impact driver is good for drilling into tough materials, like concrete. It performs a hammer-like motion as you drill, which gets the screw in easier, without stripping it
- A drill driver is better for more precise and finished-looking drilling, like putting together furniture. It’s also better for more delicate material, like glass (yes, you can drill through glass with the right bit!)

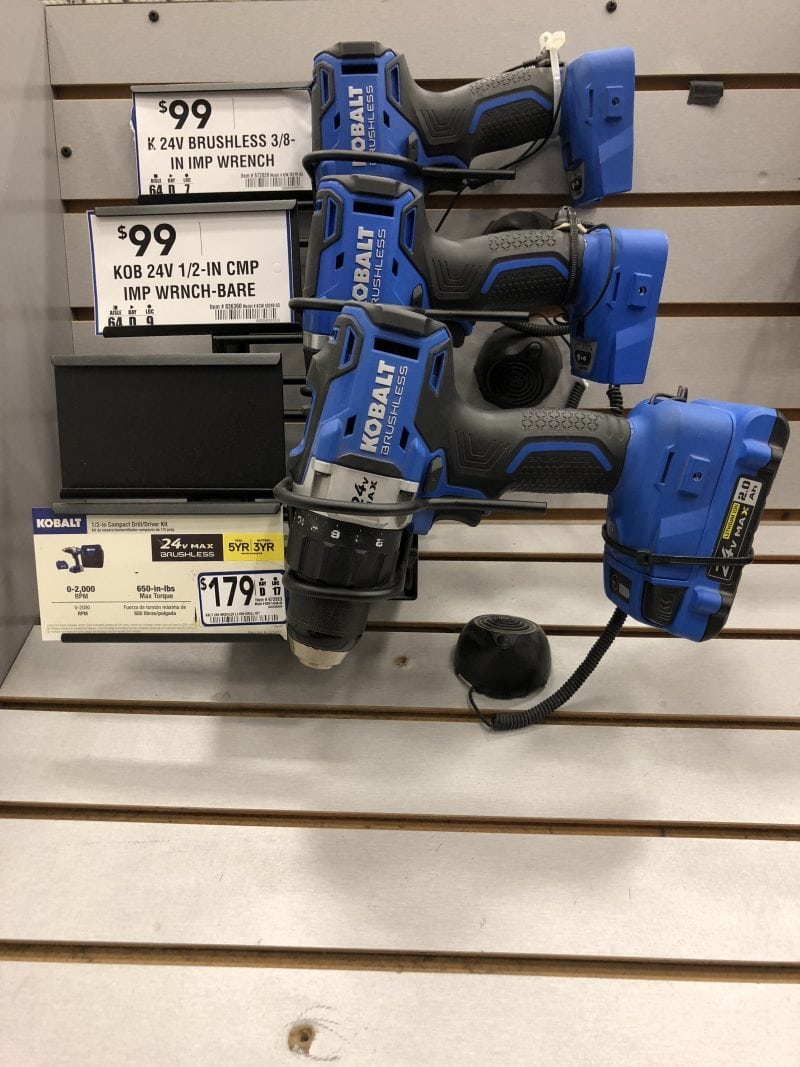
These two drills work in tandem in many projects—like my recent closet installation! We had to use both drills to install metal beams and shelving. Whichever one you select, make sure you have a wide variety of drill bits—I promise you they will come in handy!
How to Use a Level
For a long time, I didn’t use a level. I would just eyeball things and hope they would end up straight—sometimes they would, sometimes they wouldn’t. If you picked up any of my hung art, you would have seen dozens of holes behind it—all from me drilling over and over again hoping to get it straight!
Now that I have a level, everything is always straight on the first try (duh, Tania). Again, there’s a wide variety of levels out there, and each has its pros and cons. The most helpful tip is to get a long level, rather than a short one, particularly if you are doing any DIY work. A long level, like this 24” level, or this 48” level, is going to help you get a straight edge for hanging so many things—mirrors, shelves, pictures, kitchen cabinets and more!
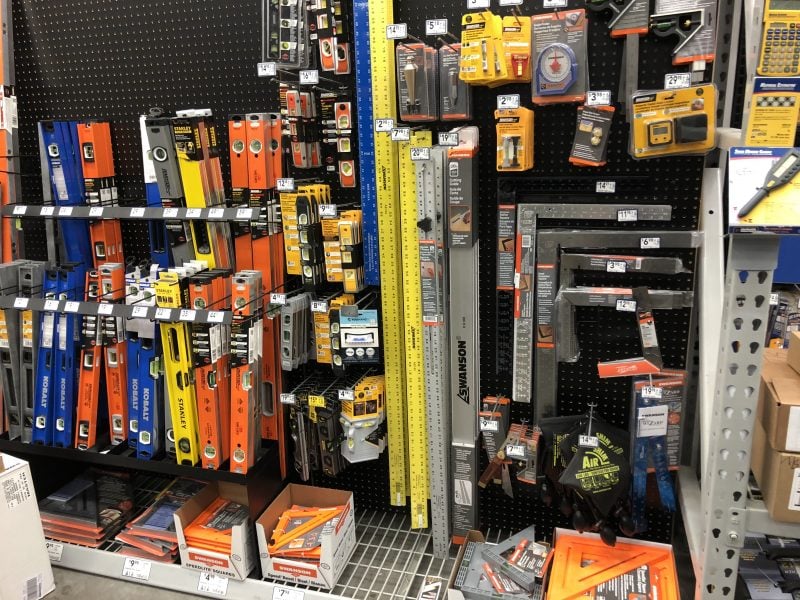
You’ll also want to look for a level that has at least 2 vials in them—one to keep things straight when you use it horizontally and one to keep things straight vertically. Here’s how to use a level:
- Pick the spot on the wall where you want the object to be hung. If it needs to be a certain distance or in a certain spot, make sure you use your measuring tape to double check where it goes
- Place the level on the wall, and adjust it by tilting it slightly higher or lower on each side, until the air bubble in the vial is centered between the two black lines
- Use a pencil to lightly draw a line at the top of the level onto the wall
- Hang your item along that line—once it’s hung, set the level on top and make sure it’s still straight. Repeat as necessary
Lowe’s has a great guide with lots of more info on different types of levels, right here.
I hope this all was helpful in encouraging you ladies to pick up some tools and get to DIY-ing. If you have any questions, drop them below or head to your local Lowe’s store and ask a Red Vest employee—they’ll be glad to help!
Like I said earlier, I’m always learning and having to ask questions—but that’s part of the fun! I have several upcoming projects where I am going to test my newly acquired DIY knowledge. We are working on building some shelves and reworking our entire closet, and the things I shared above have made it all so much easier.
So, it’s your turn! What’s going to be YOUR next DIY project? Whatever it is, you got this, girlfriend!


Hi, You explain it like an expert. I think this is helpful for the beginner who needs to tools for their work. I am going to share it with others hope, so people will be benefited from here. Thanks for the sharing such an informative article.