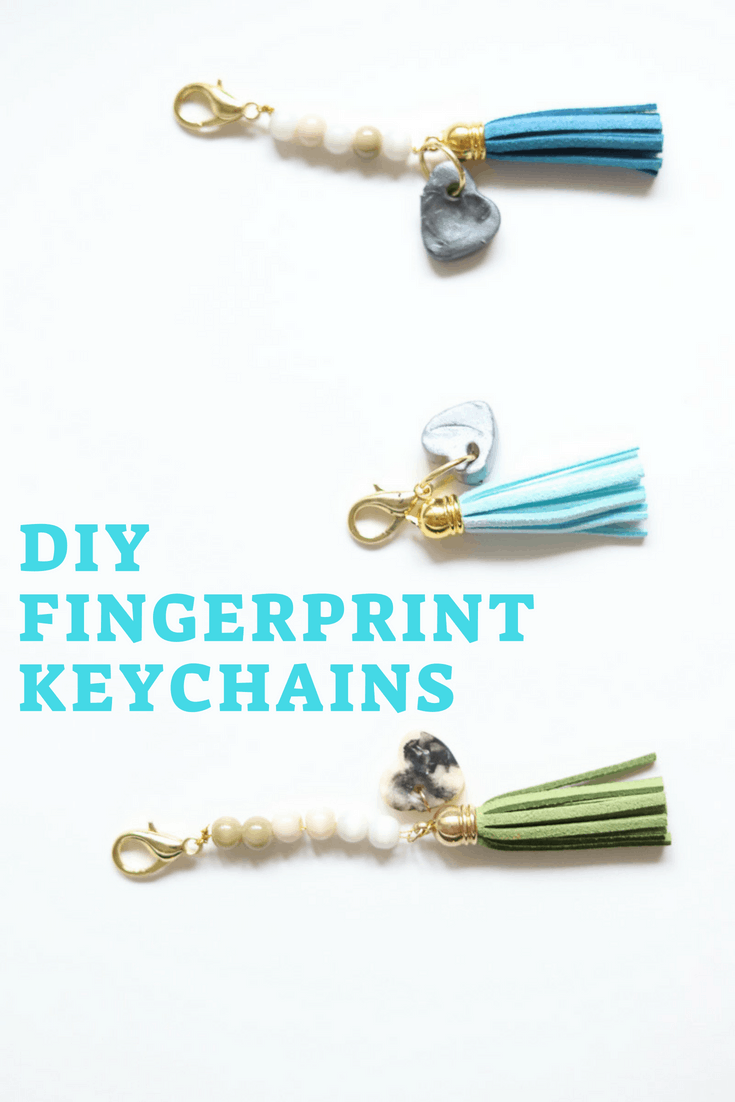
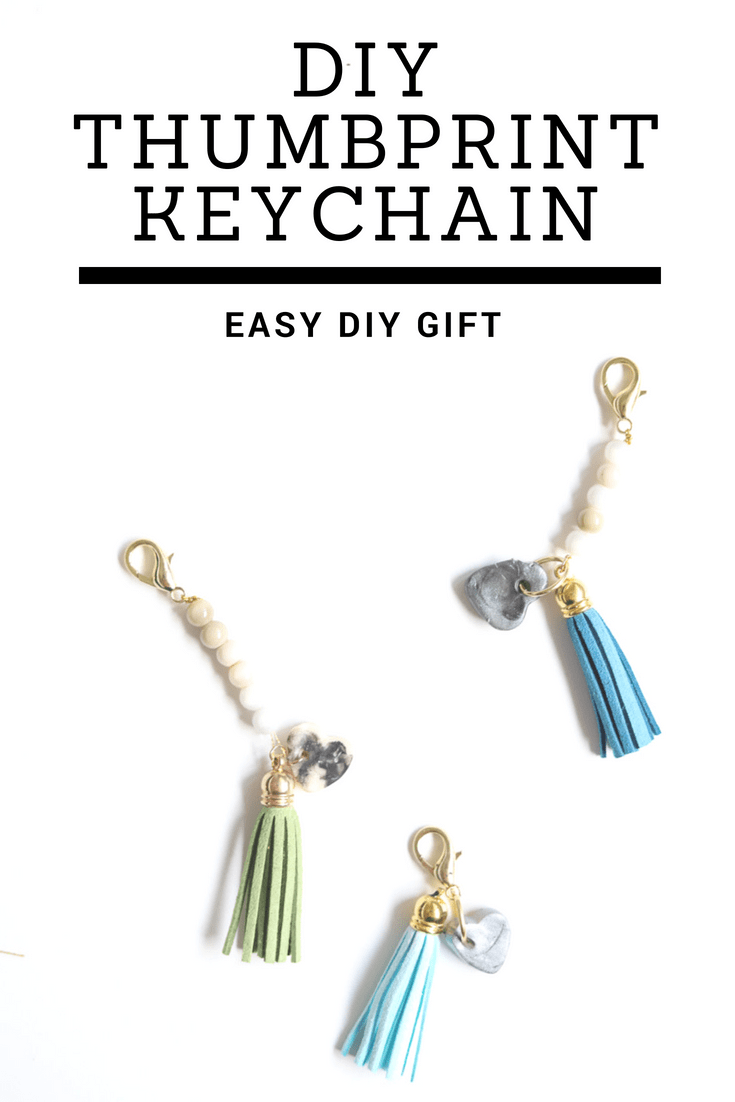
Easy Gift Idea: DIY Custom Keychains with Fingerprints
Years ago, I had a massive keychain with about a dozen keys of various sizes, various keychains I had collected and random reward cards (you know the ones from grocery stores?). It was a HOT MESS. I kid you not when I say it looked like I was a groundskeeper or prison guard! Hah. This year, I was determined to simplify all the things, and my crazy key ring was one of them. I decided I wanted to make some custom keychains that were simple and meaningful and keep the 2 keys I need (car and house!) and get rid of the rest.
When I thought of the different ways I could make custom keychains, I had a lot of ideas, but in the end, I knew I wanted to incorporate Lily—what can I say, I’m obsessed. So, I had a crafting day with my four-month old (the same day we made the Mother’s Day gift frame with her footprints!). Can I just say I can’t WAIT until she can craft with me on her own? 🙂 I LOVE this project—there will seriously never be a sweeter way to carry my keys! And—bonus—my purse feels so much lighter now!
This post contains affiliate links at no extra charge to you.
DIY Custom Keychains with Fingerprints
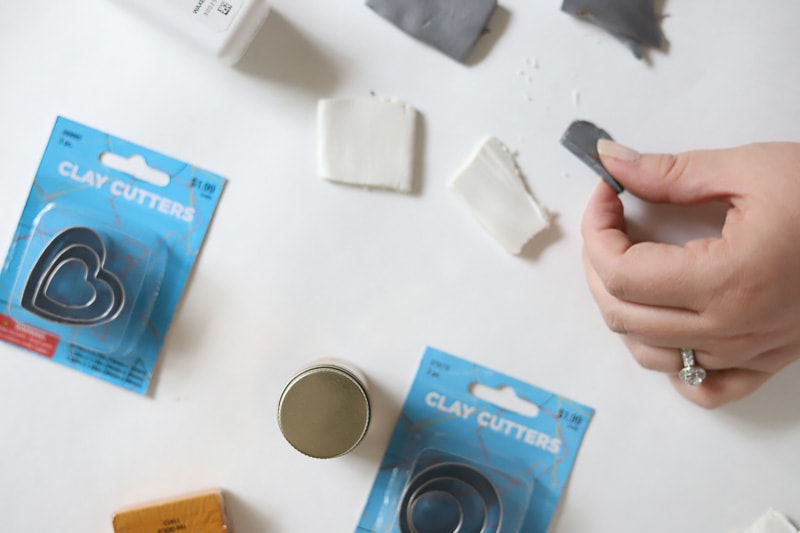
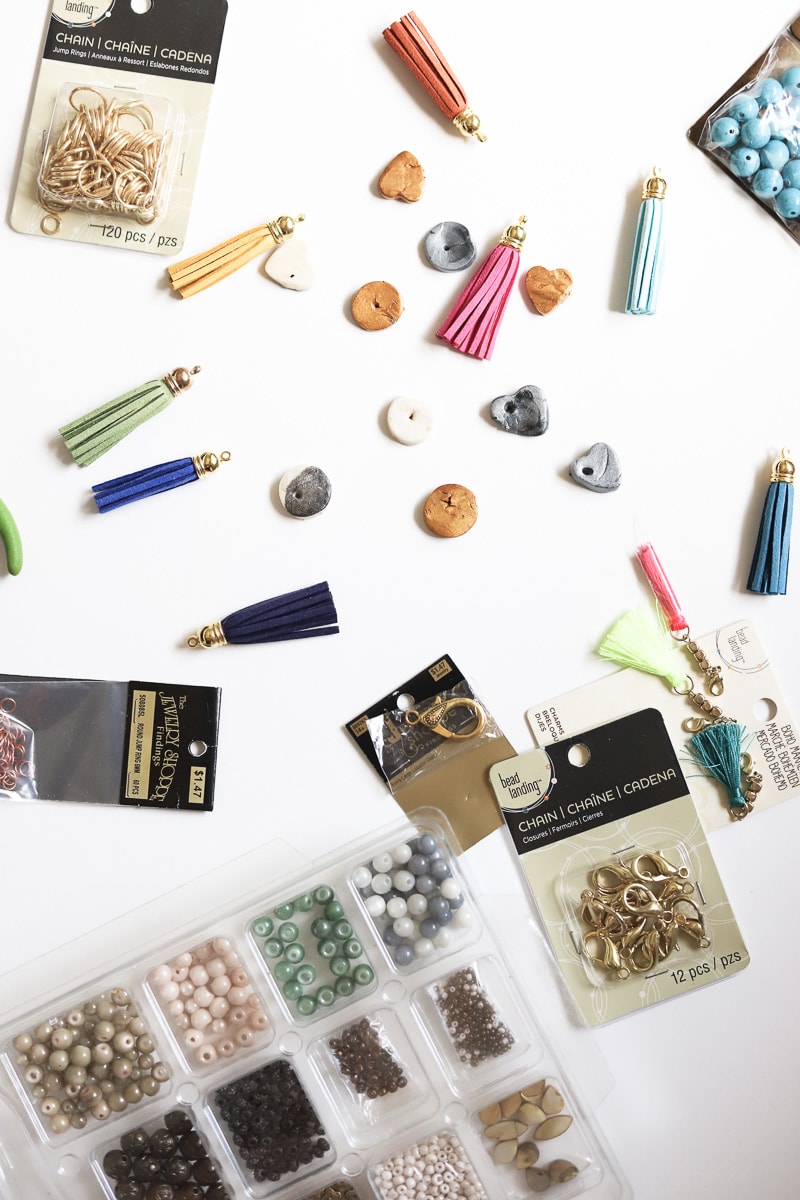
To make your own thumbprint keychain, gather your supplies:
- Oven-bake clay (Use the color of your choice— I used white, silver and gold)
- clay cutter (I used a heart shape)
- bead string (you can use the type of your choice, however, I do not recommend elastic string for this)
- lobster clasps, jump rings, and jewelry pliers
- pre-made tassels (or make your own!)
- beads of your choice (I think these beads are so pretty!)
First, grab your clay and cut it into even slices that are about 1/4″- 1/8″ thick, depending on your preference. I heard a rumor out there that you can cut clay with floss and it definitely did NOT work for me. So, use a craft knife, or a clay slicer to cut it.
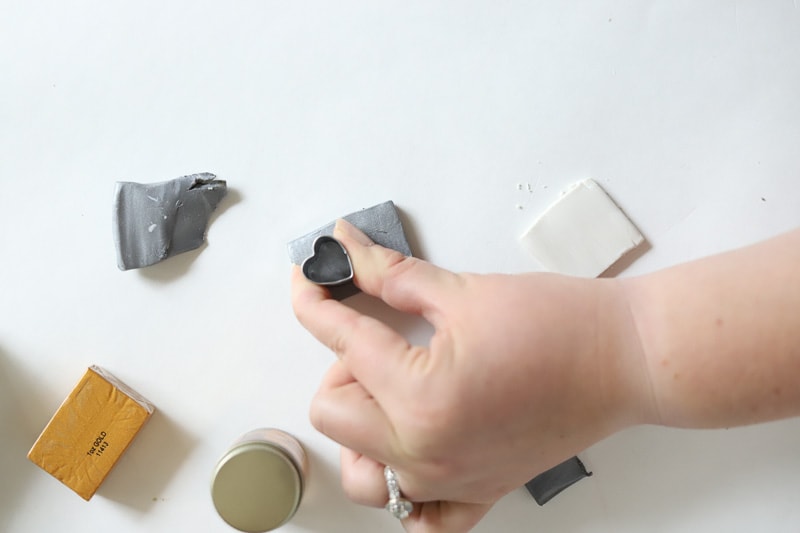
Then, use your clay cutter to cut out shapes.
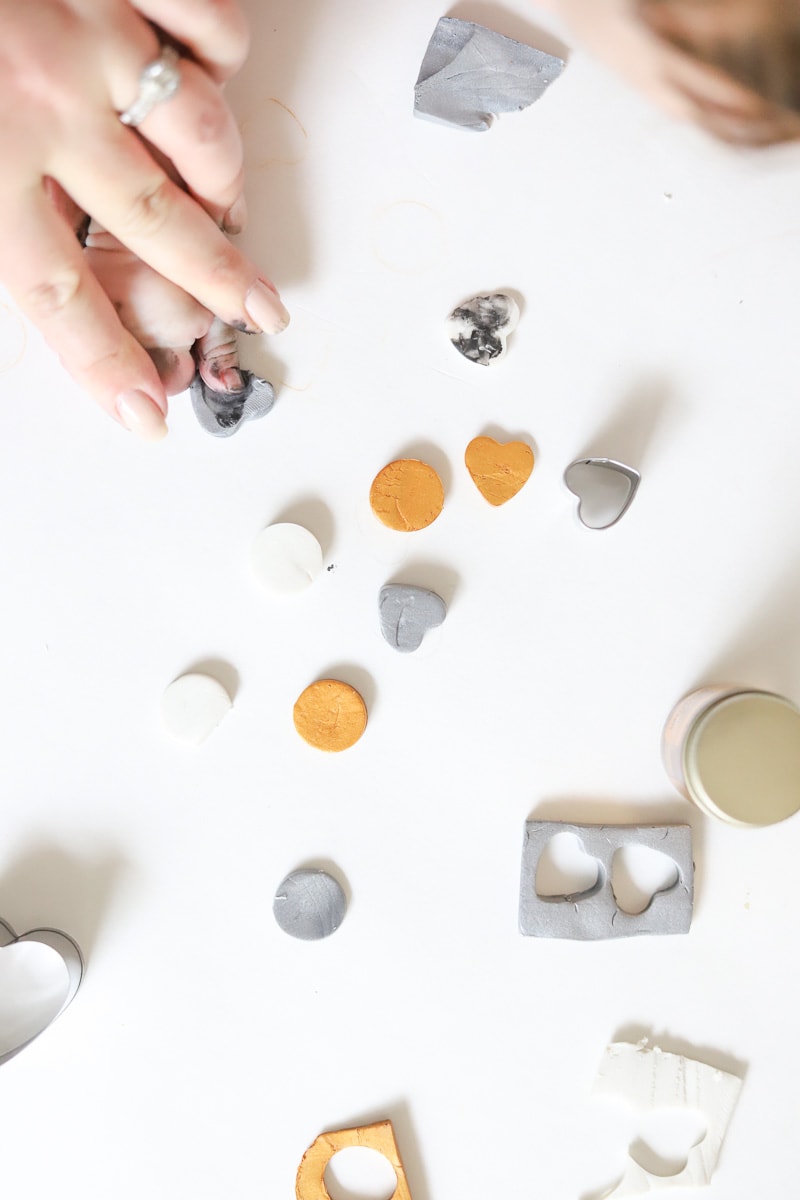
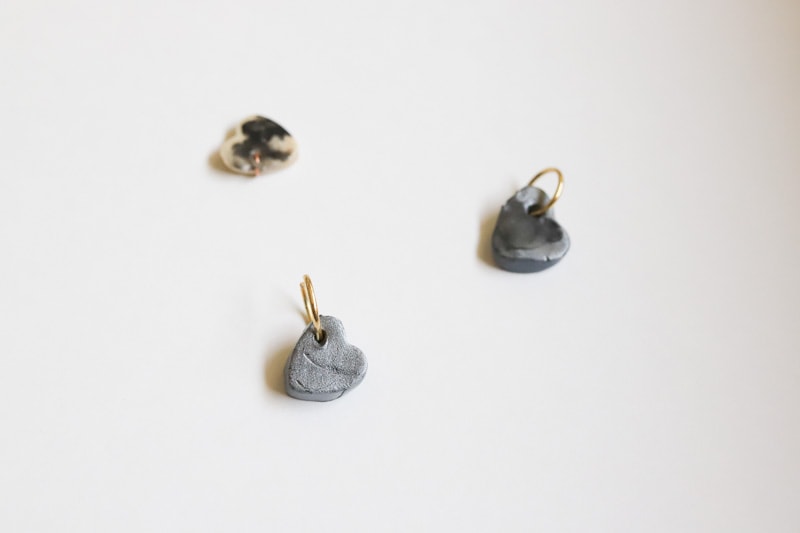
Once you have your shapes cut, it’s time to do the fingerprint. I wanted to use Lily’s tiny finger, so I had Scott help me hold her. (If you aren’t a blogger and taking pictures, you probably could do it just fine on your own ?) I pressed her finger into several of the clay shapes. You have to press pretty firmly, but it doesn’t hurt since clay is soft.
The fingerprint was there, but it was faint, so I wanted to try rubbing some non-toxic black paint on her thumb, then pressing it onto white clay. This worked better in my opinion, but it all depends on the look you want.
You could also use a best friend’s fingerprints, grandmother, husband, etc. It doesn’t have to be a baby!
***IF YOU USED YOUR BABY…make sure you go wash their hands really, really well. Oven-bake clay isn’t meant to be consumed and those sweet babies stick fingers in their mouths all the time. BE CAREFUL!
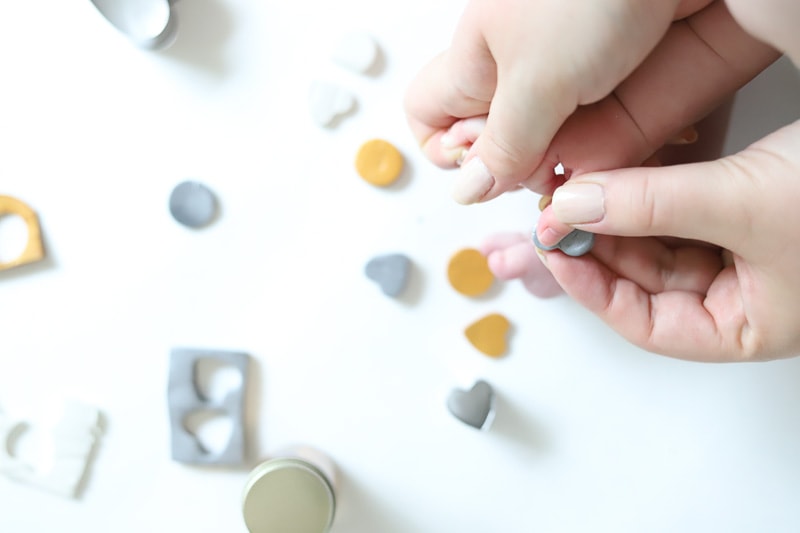
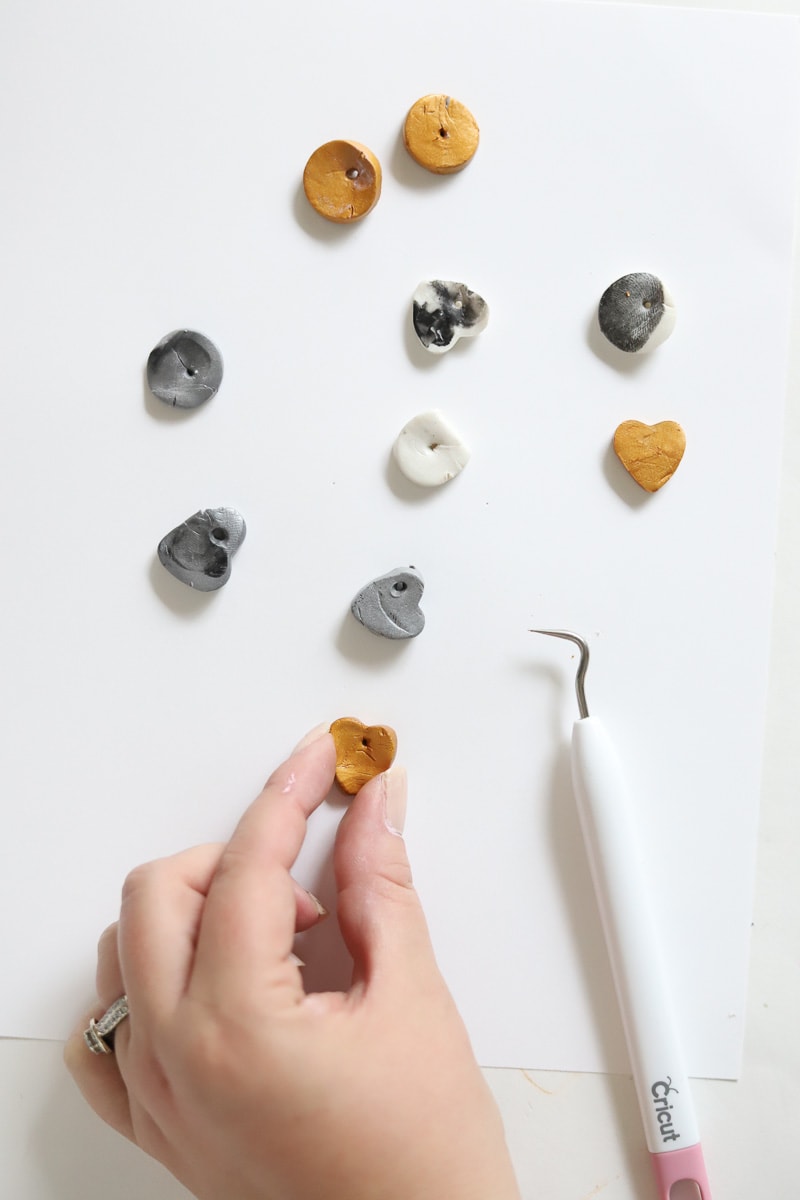
Once you have your fingerprints all done, use a toothpick or chopstick to poke a hole in each shape. Make sure you do it far enough from the edge, and make sure you go all the way through—I had a few that didn’t!
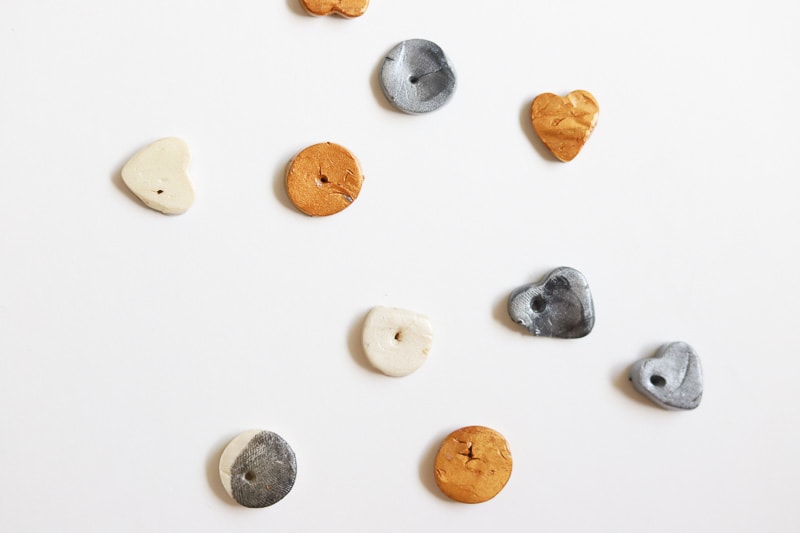
Now it’s time to bake your clay, according to the directions on the clay package. While you are waiting on your clay to bake, gather up the jewelry supplies listed above.
Once the clay is baked and cooled enough to handle, insert a jump ring into each hole.
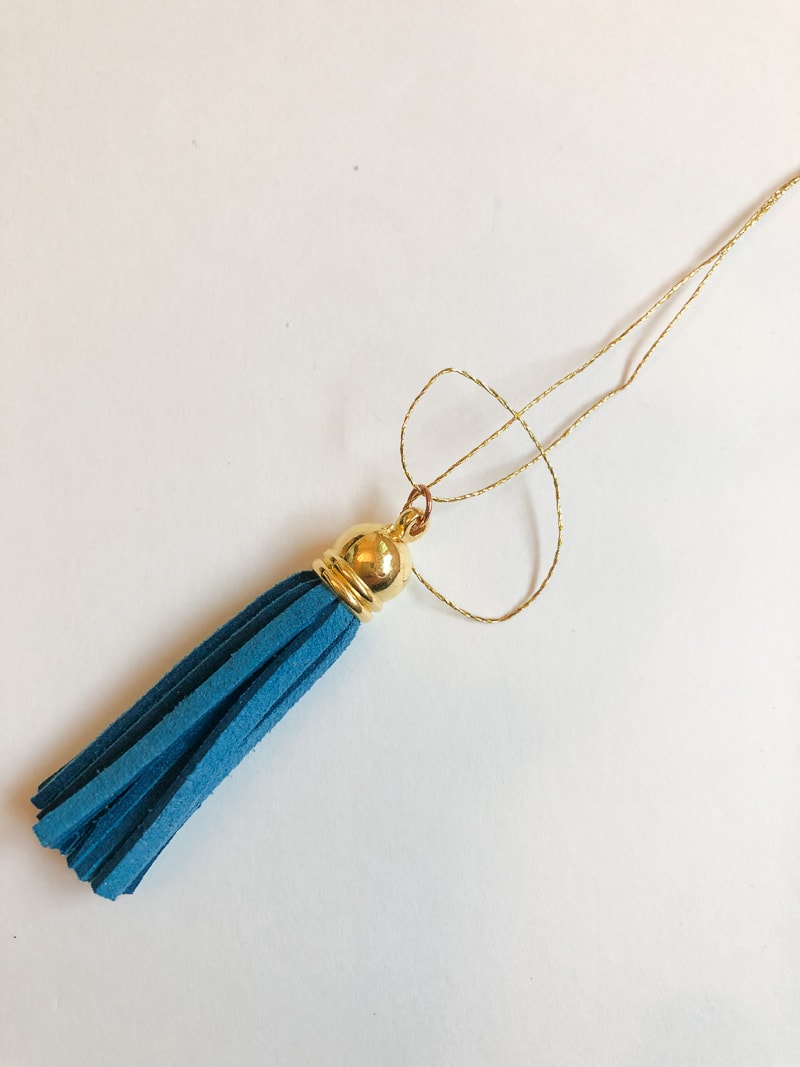
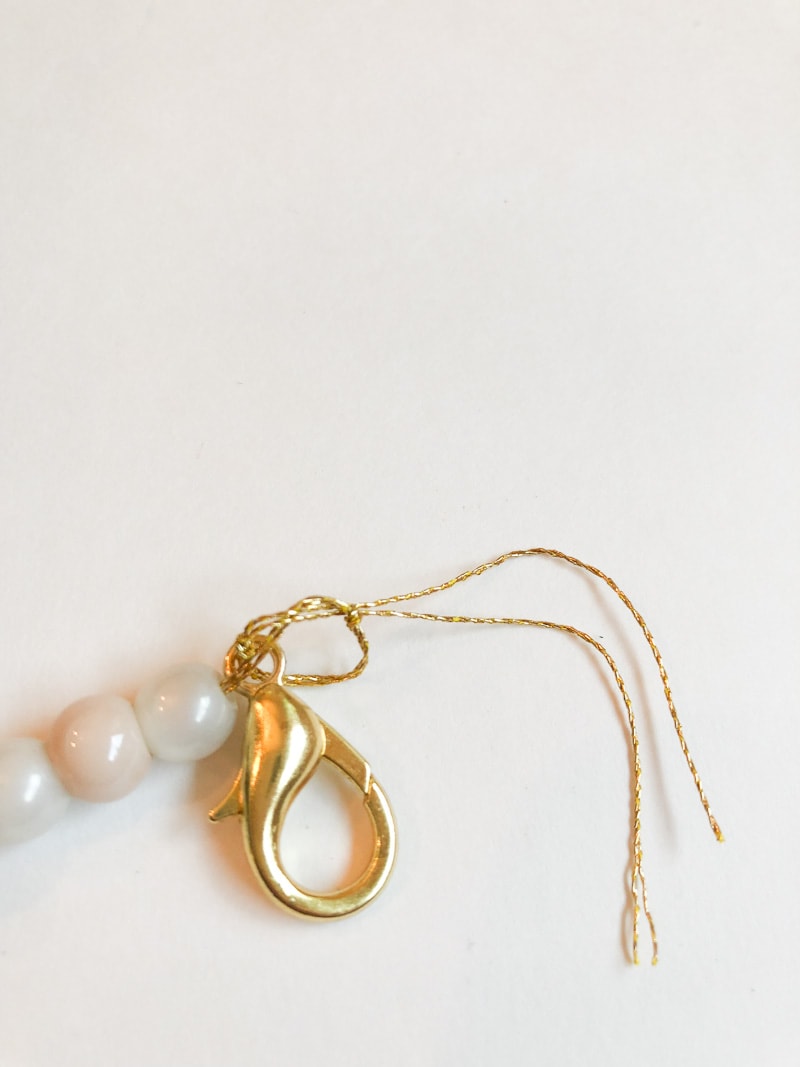
Then, take the jewelry string, thread it through the tassel and tie a knot. Here’s how I did mine:
Once your string is secure on the tassel, tread your beads in (as many as you want!) and knot in the lobster clasp to the top. Don’t forget to trim the extra string!
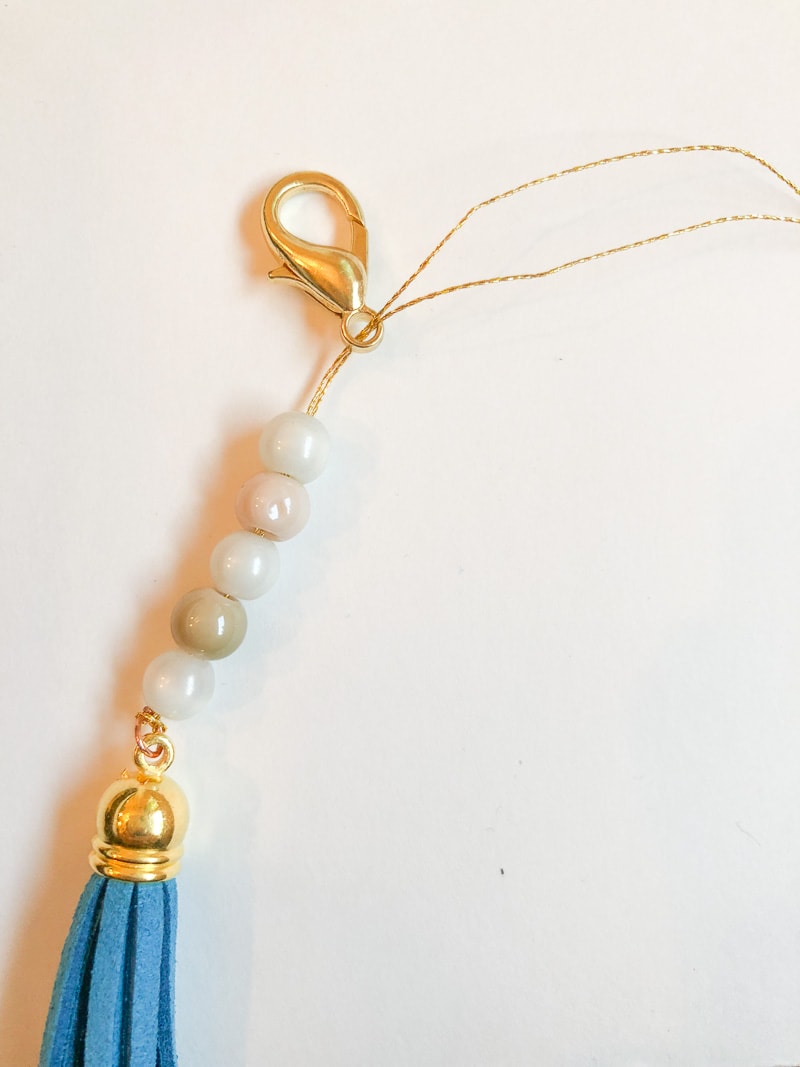
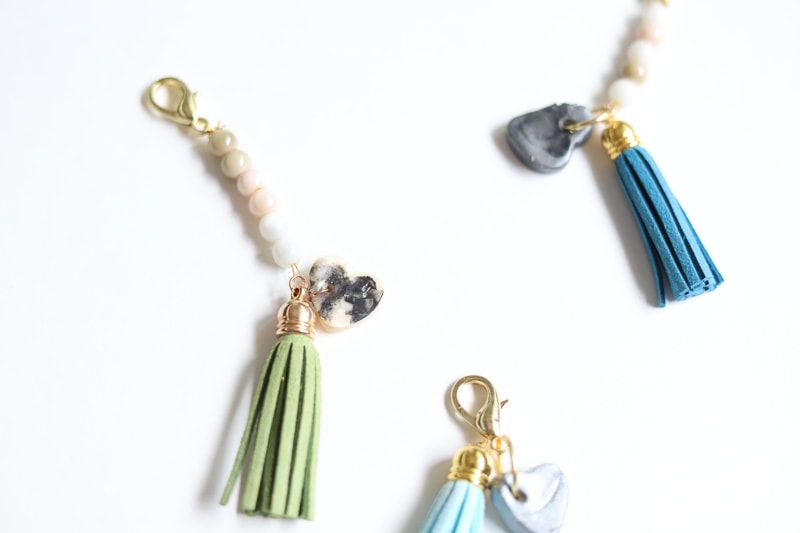
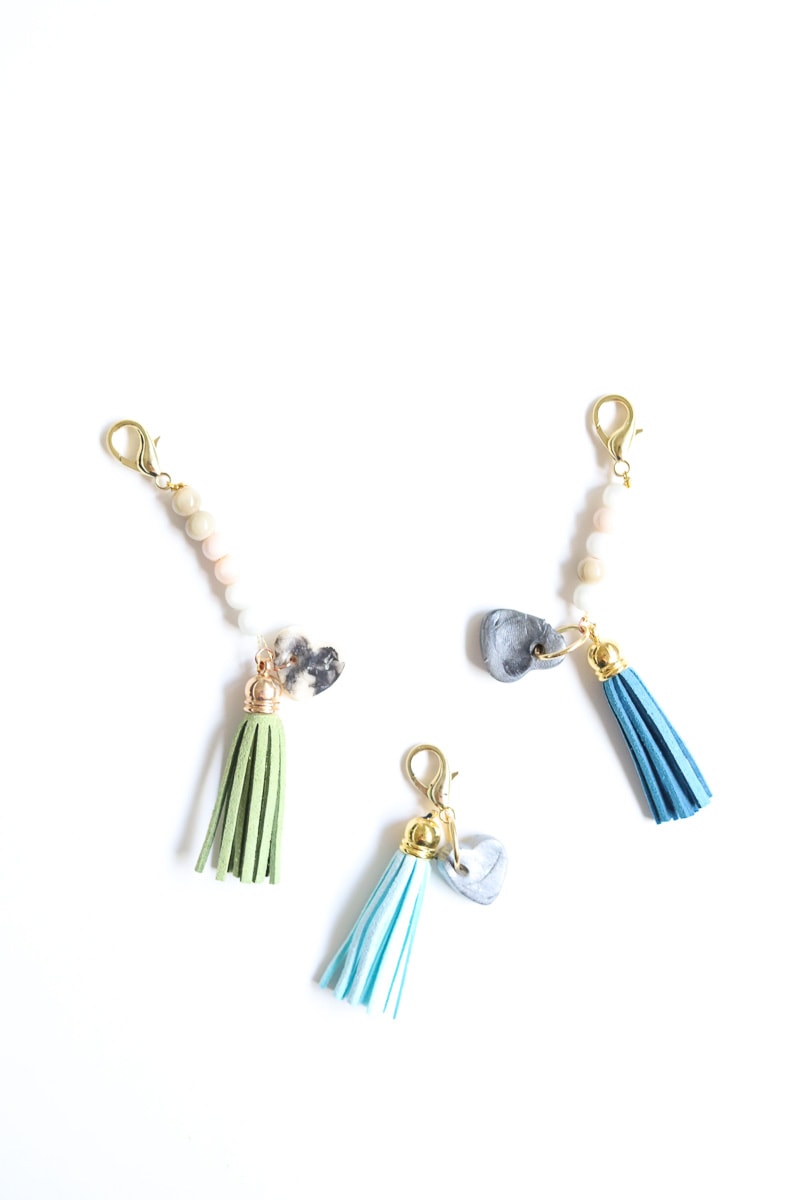
Add the clay fingerprint on and you are done!
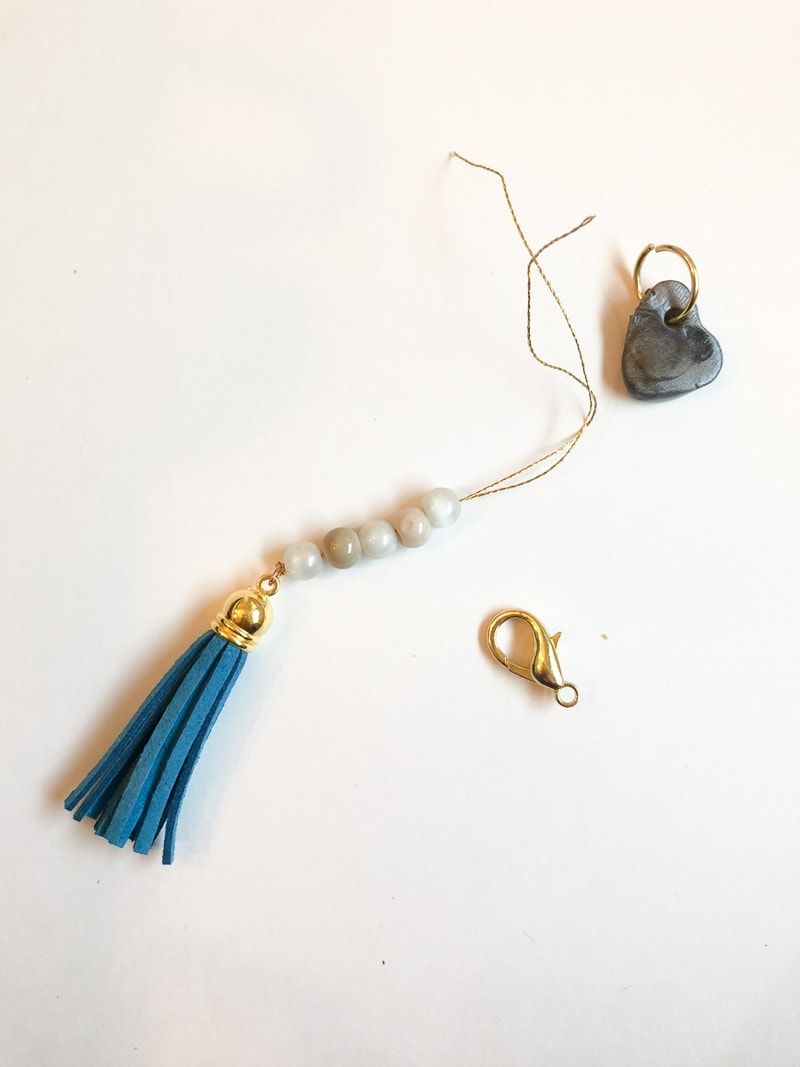
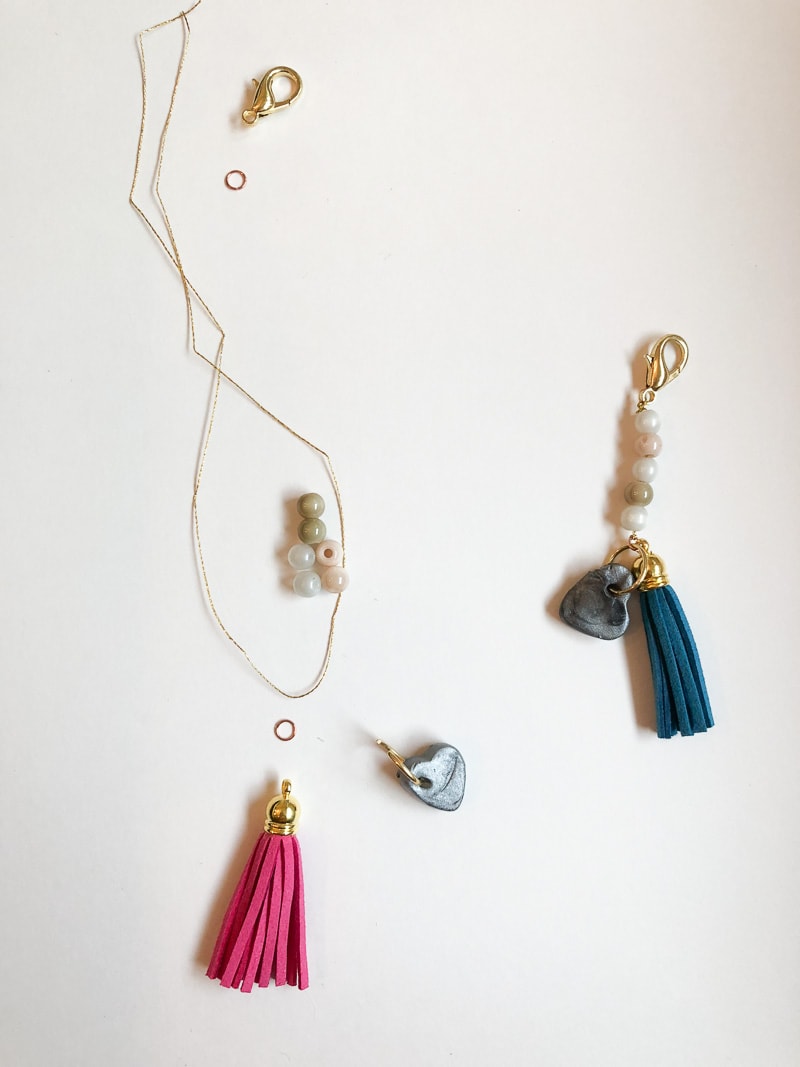
Here’s a visual of the keychain deconstructed next to a finished one:
Aren’t these DIY custom keychains so cute? These would make the perfect Mother’s Day, Birthday or Christmas gift!
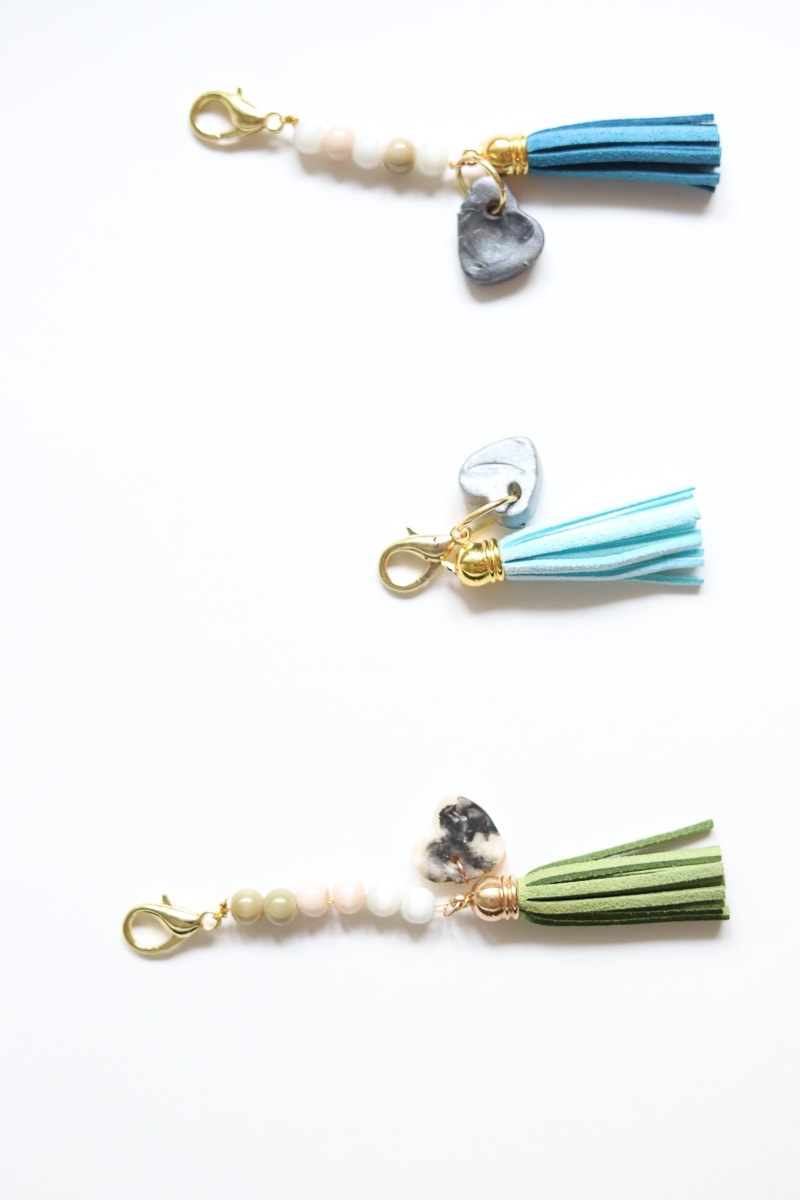
Whose fingerprints would you want to carry around?

Tania Griffis is an accomplished writer, blogger, and interior designer with a Journalism degree from the University of Oklahoma. She started her popular blog, Run to Radiance, in 2011, demonstrating her design expertise through the personal remodeling of six houses to millions of readers across the globe.
Tania also owns The Creative Wheelhouse, a respected ghostwriting agency for bloggers, further showcasing her talent for creating engaging and informative content.

One Comment