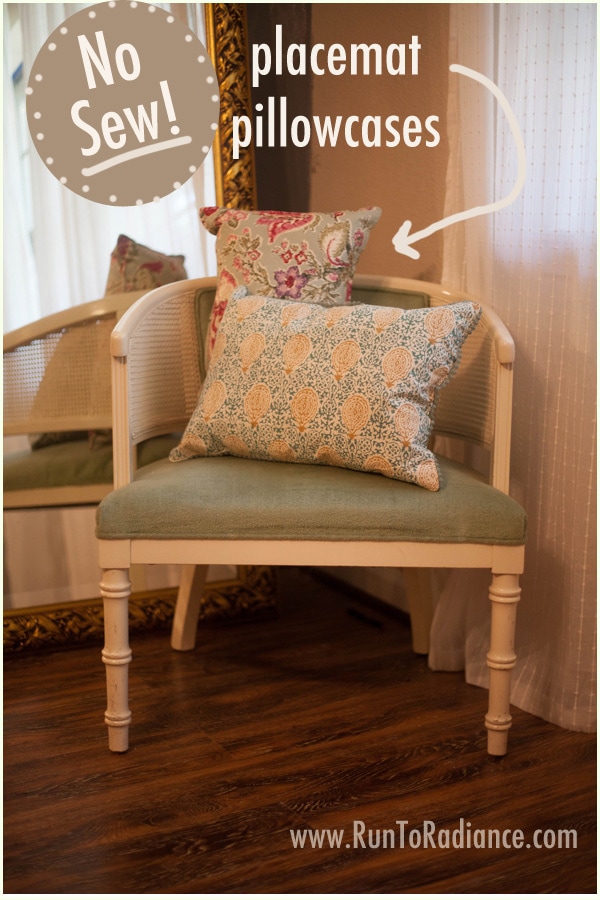
Easy No-Sew Pillows: Fun With Clearance Placemats
Make easy DIY no-sew pillows the quick way: with placemats! Easy DIY projects like this one make it a snap to freshen your home decor. Learn how to make these placemat pillow covers.
How To Make A New Pillow Cover
Hi everyone! I hope you all had a great weekend. Only five more days until the next one, woohoo! 😁
Today’s project is something that I have had a great deal of fun with: making NO-SEW pillows out of placemats.
As much as I enjoy sewing (in straight lines to make extremely basic items), sometimes it seems like such a hassle to get the sewing machine out and use it. Okay, yes it’s laziness, but I still like to make a no-sew project from time to time!
This project has a difficulty level of super easy.
This post contains affiliate links.
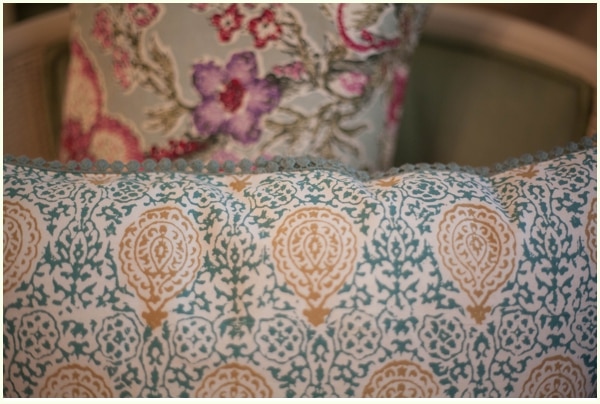
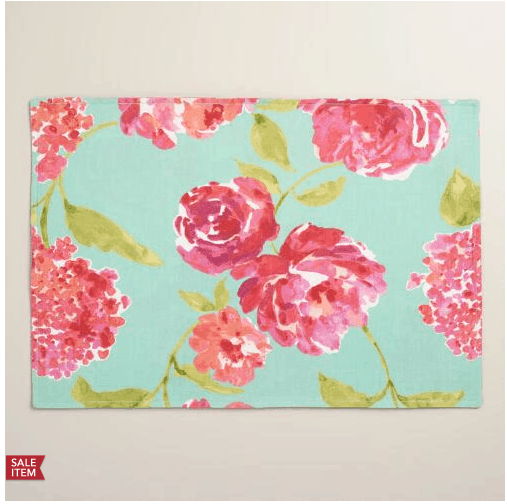
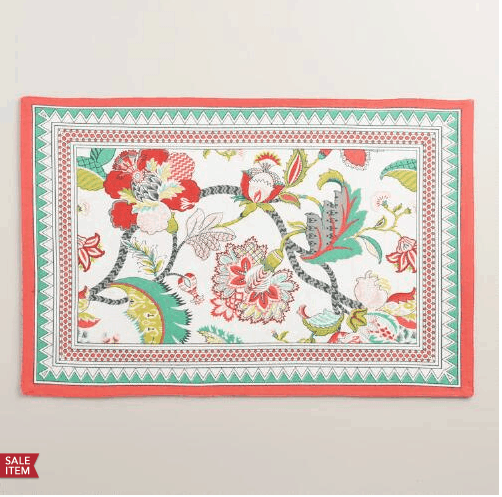
I can’t remember where I first heard/read the placemat pillow idea, but the gist is this: Placemats are generally two coordinating or identical fabrics sewn together.
You can tell fairly easily by looking at a placemat if it has two pieces of fabric or one. You’ll need a “two-piece fabric” placemat to make a pillow, and no pattern is needed!
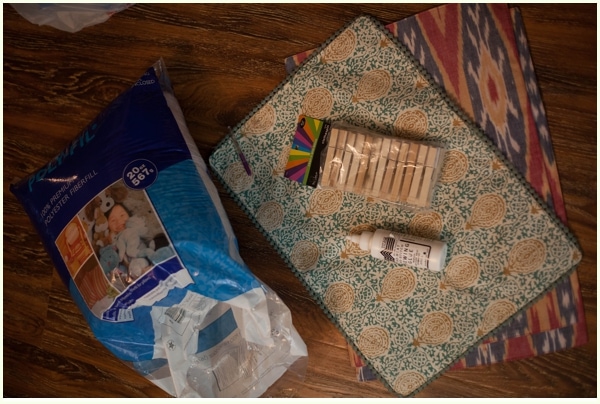
No-Sew Pillow Cover Materials Needed
For this project, you’ll need:
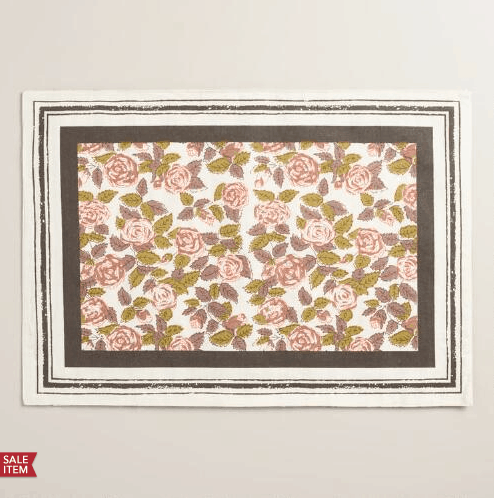
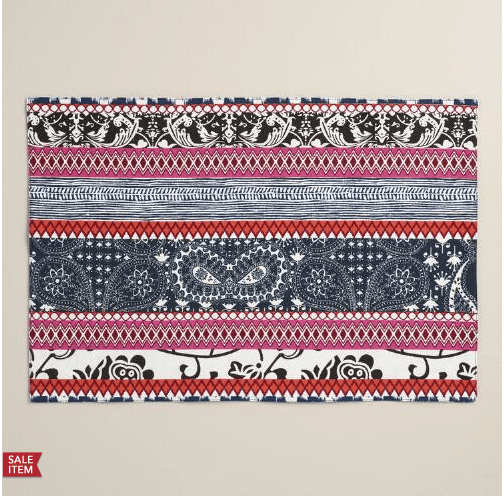
- Placemats – the “two-piece fabric” kind
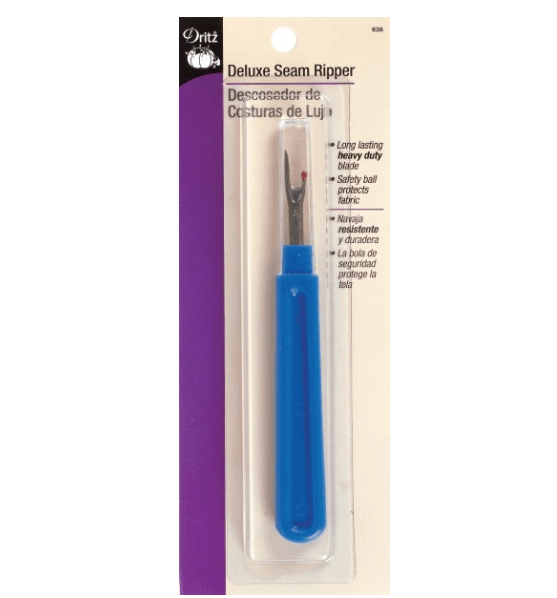
- Seam Ripper

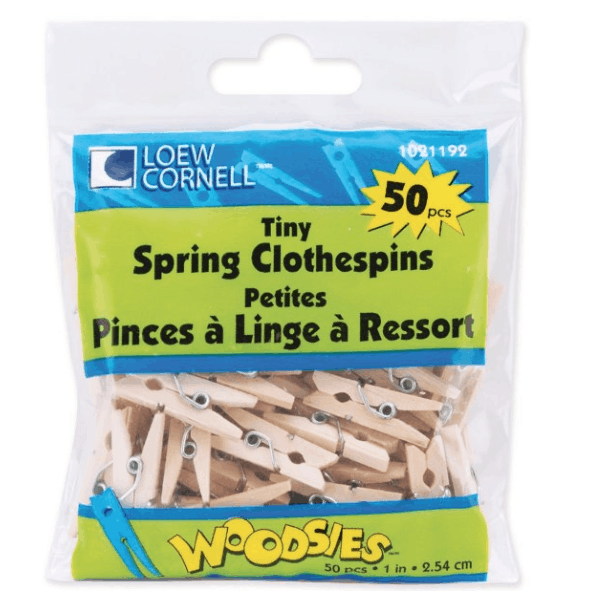
- Clothespins
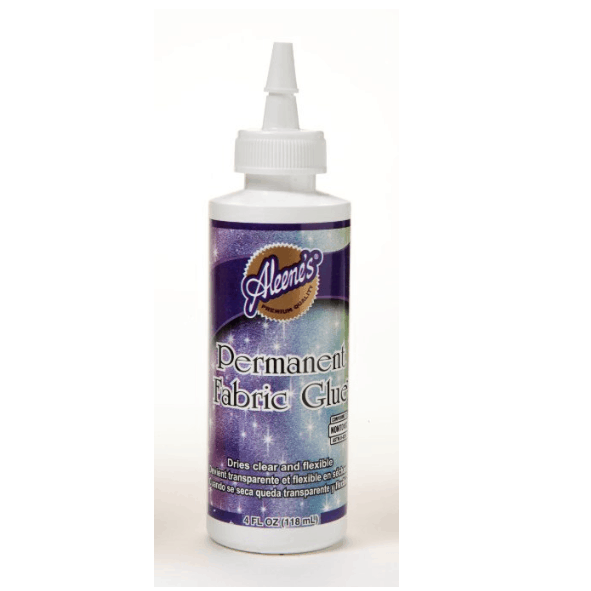
- Fabric Glue
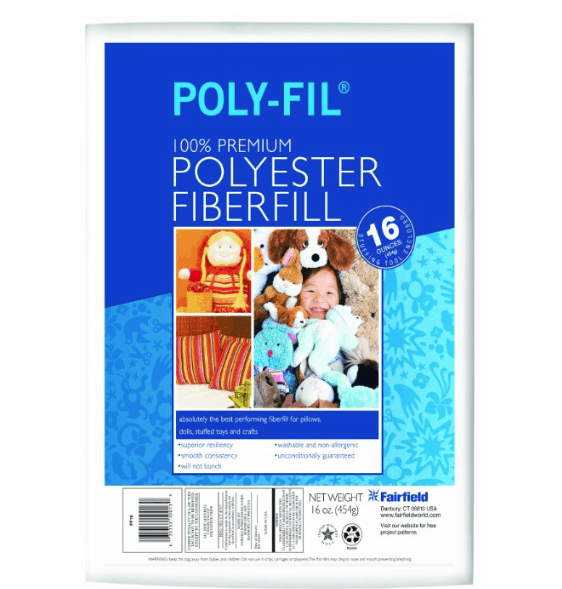
- Poly-Fil
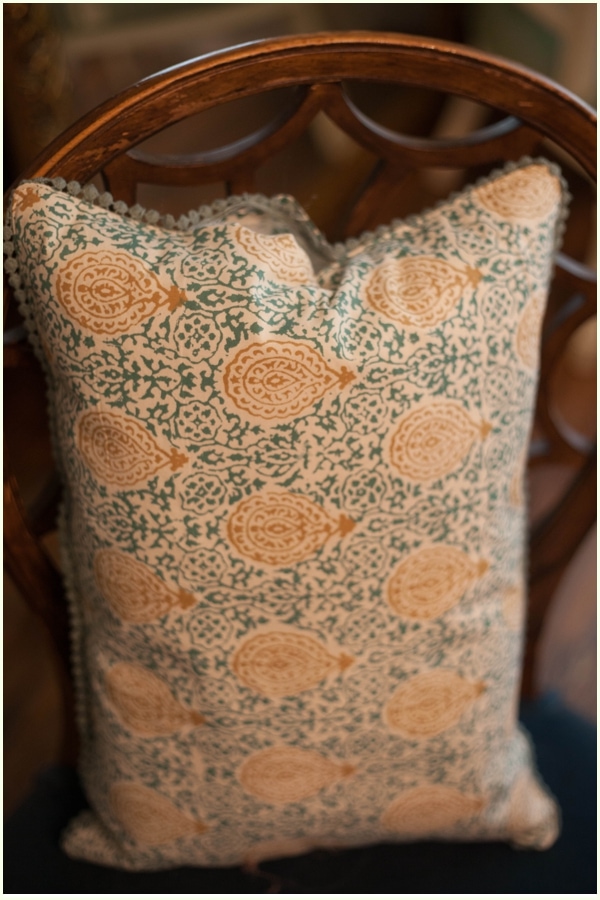
I found my placemats on clearance from World Market. I think they only cost $2.99 each!
Instructions To Make A DIY No-Sew Pillow Cover
Once you take the sewing machine out of the equation, making no-sew pillows is unbelievably easy. Here’s how to make throw pillows using this tutorial.
Step 1: Create A Hole In The Placemat
Using a seam ripper (which work better than scissors for this), pull out the seams on one side of the placemat. You don’t want to rip out the entire side, just a 3-4″ wide hole. You’re looking for an opening just large enough to fit your hand into.


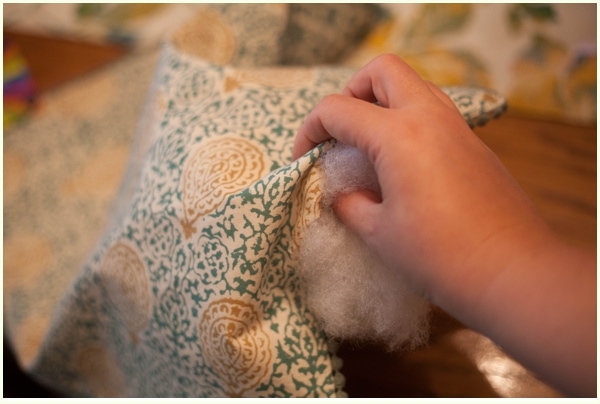
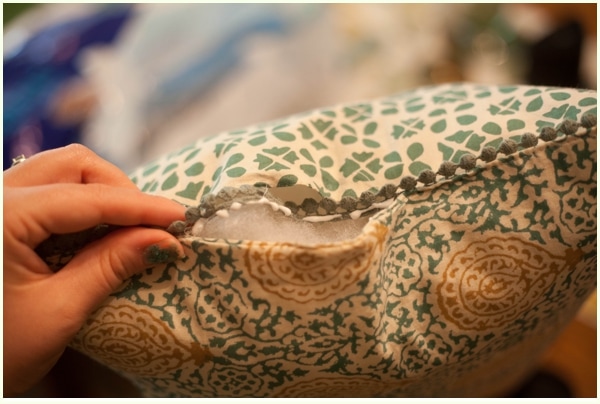
Step 2: Stuff Your Throw Pillow
Once you have your hole opened, stuff the pillow with Polyfil. It’s important to smoosh the filling all the way into the corners at the bottom.
My Polyfil bag included a wooden stick for this exact purpose, but I couldn’t figure out how the stick was supposed to help me. So, I just used my hands. You can do it!
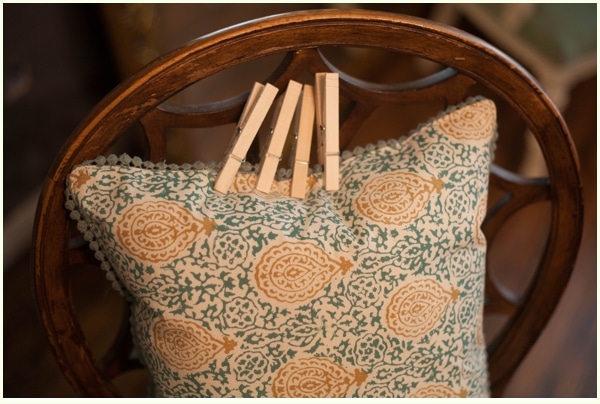
Step 3: Glue Your No-Sew Pillow Seam
Once your placemat no-sew pillow covers are stuffed to your satisfaction, it’s time to glue. Create a thin line of glue along the edge of the opening’s seam. Then use the clothespins to pinch the fabric together to dry.
Make sure the edges of the two pieces line up evenly so your closing isn’t jagged after you join them.
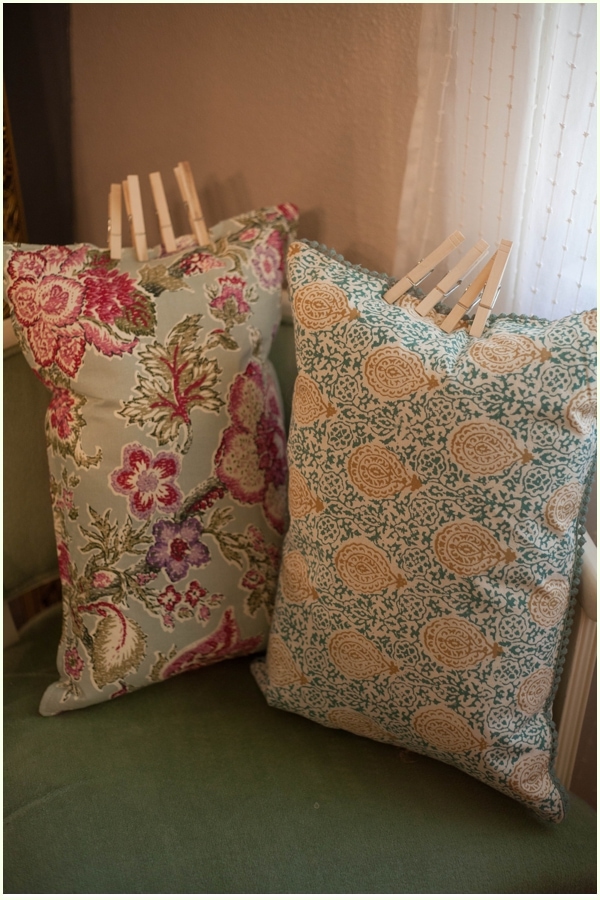
Step 4: Allow No-Sew Pillow Covers To Dry
Allow your easy no-sew pillow cases to dry thoroughly. I recommend following the directions on your fabric glue for how long to leave it alone before handling your no-sew pillows.
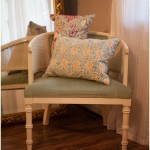
I left my pillow covers alone overnight, which was plenty of time for the glue I used. See? You can’t even tell where the hole was.
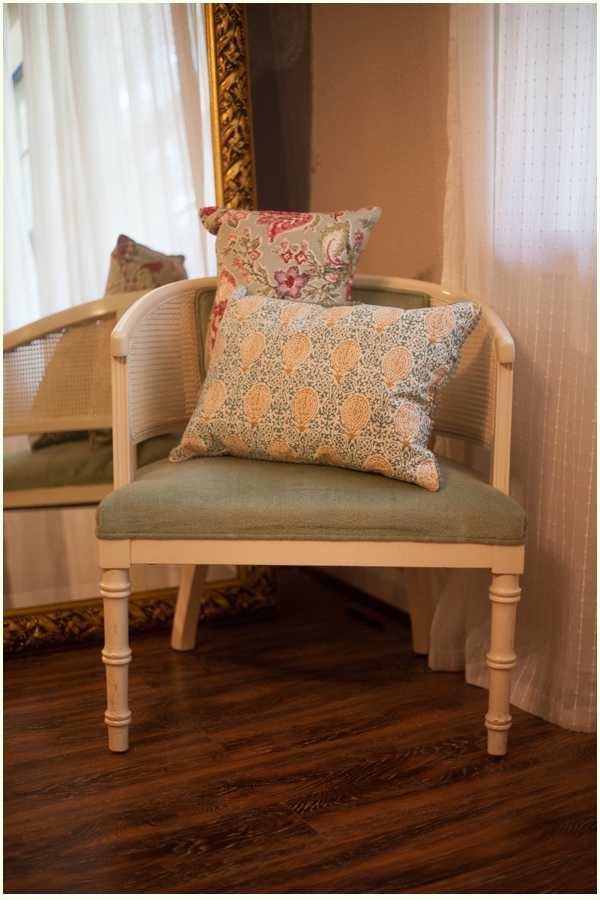
Ta-da!! You are done. It may not be free, but this throw pillow covers project is one of the cheapest, easiest DIY projects I’ve tackled yet!
Wouldn’t you know there are adorable placemats at every store I go to? I’ve even found some double fabric large napkins that I’m debating about turning into DIY no-sew pillows!
As far as these pillows go, I love them so much that one is in my living room, and the other went to my fabulous cubical. I get to see both of these darlings quite often! You could put yours on your bed, the couch, or any other piece of furniture where you can see them.
FAQs
Here are common questions I’ve seen some readers ask.
How do I make a no-sew pillow cover?
Since you don’t need to cut very much, follow a pattern, or sew pieces together, making no-sew pillows following this tutorial is quick and easy. Before you know it, you’ll have brand new throw pillows – and for much cheaper than buying them!
How much fabric do I need for a no-sew pillow?
You don’t need to go buy fabric for this project. Instead, you just need a couple of placemats. They’re the perfect size to make no-sew pillow.
How do you make fabric glue pillow cases?
As this tutorial shows, the very basic process of making no-sew pillow covers simply requires two-piece fabric placemats. Cut an opening in the seam of the fabric and stuff it with Poly-Fil. Then glue the seam back together.
Enjoy your new awesome throw pillows anywhere in the house!
How do you make homemade pillow covers?
You can certainly spend time to sew pillow covers around a pillow form you can purchase from craft stores. Or you can use this method to make a no-sew pillow cover in very little time and with minimal cost.
What do you all think? Are you ready to go make no-sew pillow?
More DIY Ideas That You’ll Love
- Simple Wood Serving Tray DIY
- Easy DIY Flower Wall Decor
- Homemade Essential Oil Candles
- Faux Succulent Centerpiece DIY
Supplies
- Placemats
- Seam Ripper
- Clothespins
- Fabric Glue
- Poly-Fil
Instructions
- Use a seam ripper to open up 3-4" in the seam on one side of the placemat.
- Stuff your placemat with Poly-fil, making sure to firmly push the Poly-fil into the corners to get the right shape.
- Once you have filled your fabric to your preference, it's time to glue the seam back together.
- Use clothespins to hold the seams together while the glue dries.


Tania Griffis is an accomplished writer, blogger, and interior designer with a Journalism degree from the University of Oklahoma. She started her popular blog, Run to Radiance, in 2011, demonstrating her design expertise through the personal remodeling of six houses to millions of readers across the globe.
Tania also owns The Creative Wheelhouse, a respected ghostwriting agency for bloggers, further showcasing her talent for creating engaging and informative content.
This is life changing.
Hah Sarah that’s exactly what I said! I will have pillows everywhere for sure now!
Just found your blog! And it seems like I found it at the right time. This is an awesome/incredibly easy project that I would’ve never thought of. And who can ever have enough pillows? NO ONE, that’s who.
So glad you found me! I agree-no one can ever say they have enough pillows! 🙂 Thank you for reading!
Love this, thank you for sharing!
Wow, this is great!
Will definitely be doing my pillows woot
http://www.selftimers.blogspot.com
LOVE this idea! I never would have thought of this. I love pillows and love making things. This is such a great idea and easy to put together.. THANK YOU for sharing.
This is such a clever project, and I love the material.