Whitewashing our Brick Sunroom
This post may contain affiliate links. As an Amazon Associate I earn from qualifying purchases.
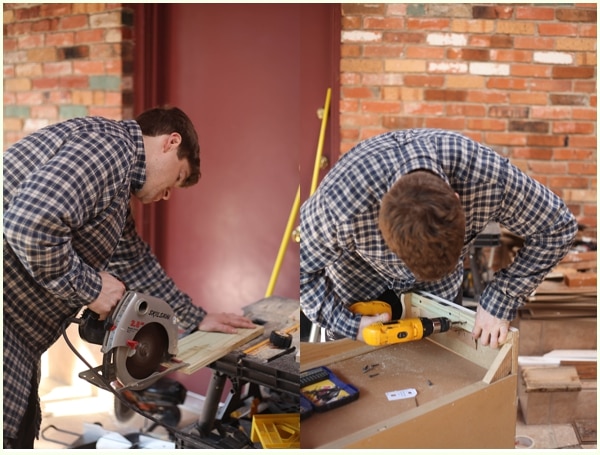
For a long time, the sunroom served as a workshop. Our garage was full of boxes of stuff and random pieces of furniture and the rest of our house was filled with construction. 🙂 I used to stare longingly out into the sunroom, imagining it clean and pretty and livable…so I decided to make my dreams come true! 🙂
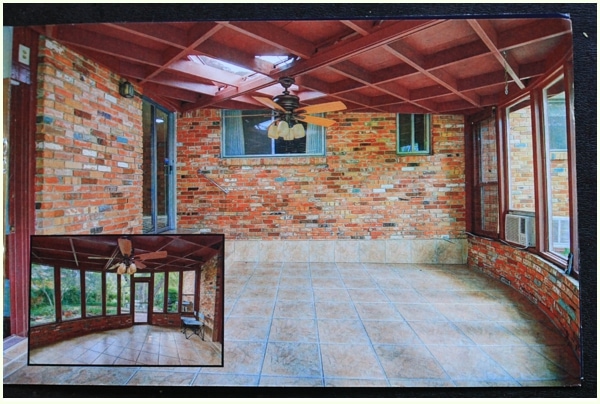
The sunroom was an addition the owners added to the house and was one of the top three reasons we bought this house. Because it was an addition they built it out of the same red brick that is on the exterior of our house, then matched paint to the red brick. So it was really, really red. Boo that. I wanted it to feel like a room that was a part of our house, not a creepy addition filled with tools, sawdust and dead spiders. So I decided to use the same technique we did on our fireplace, and white wash the bricks. Of course this was a bigger space, so it required a bit more time and planning, but nothing we couldn’t handle since we are painting experts by this point. (photo from MLS)
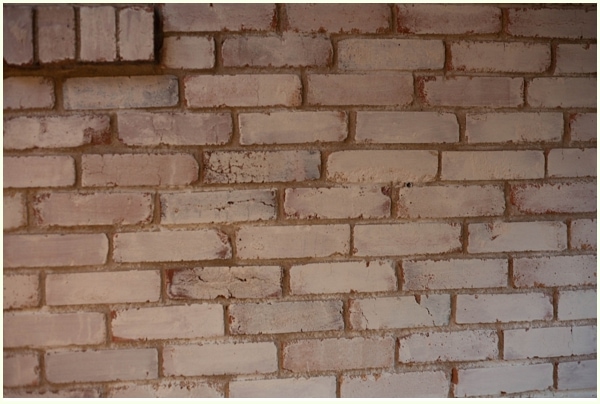
We had Home Depot color match some Glidden paint to Alabastar by Sherman Williams, which is a warm, creamy white. From there we mixed the paint in a ratio of about 2 parts paint to 1 part water, which allowed it to be slightly transparent but still thick enough to only really need one coat.

The prep work for this one was rough. We spent about 2 hours sweeping and dusting all the dirt/sawdust/dead bugs (blahhhhhhhhh).
Then…it was a solid 4 hours of painting, brick by brick. 🙂 See how you can still see the different variation of the brick underneath the white? It adds a bit of dimension and pop to it all. We just dipped out paintbrushes in the paint/water mix (make sure you mix thoroughly and continue to mix every 10-15 minutes!), then painted the brick. Easy. 🙂
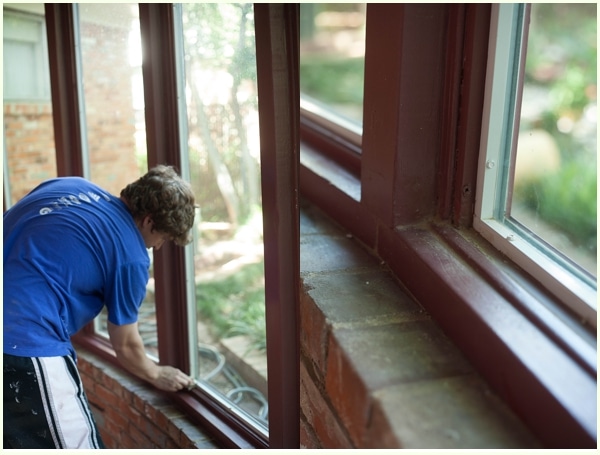
I really didn’t like the maroon trim around the windows either. It distracted too much from the back yard, and I decided at the last minute to paint it too. I didn’t have a paint brush though…and didn’t really want to go to Home Depot again, so I got creative:
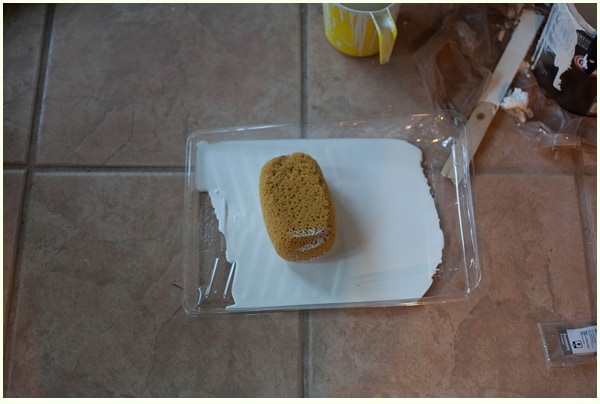
Yes, I painted our trim with a sponge. 🙂 LOL. I don’t know if I should be admitting this or not…but I actually liked it! It fit into each little corner and was able to distribute paint evenly. Really not too much different then a sponge roller. While I wouldn’t use a sponge for a wall in my house I would probably use it for trim again!

It took us about 6 hours to finish this room; the end result was well worth it though! So much brighter and lighter and just…lovely.
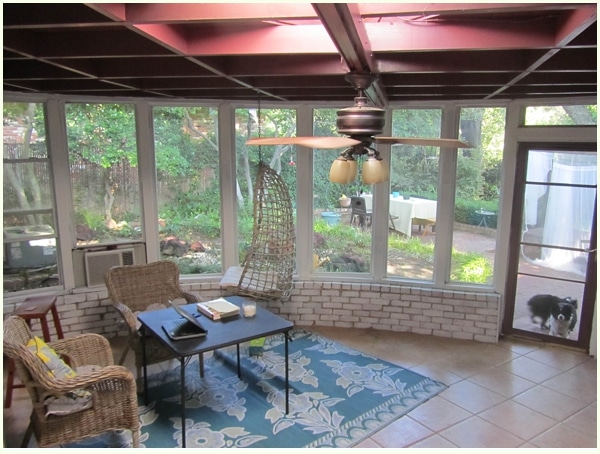

And to save you from scrolling back up, here’s the before photo again:

I can honestly say we have spent time in here every single day. Whether we are eating meals, lounging, reading or playing darts…we are spending a lot of time in our bright, white sunroom and we love it! It’s incredible how much a paint of coat can fix.
Now we just have to figure out how to paint the ceiling…I’m afraid of that! Any suggestions? 🙂
Currently it seems like Expression Engine is the best blogging platform out there right
now. (from what I’ve read) Is that what you’re using on your
blog?