Paved Patio Backyard Makeover: Day One
This post may contain affiliate links. As an Amazon Associate I earn from qualifying purchases.
Day one of our backyard makeover was filled with prep work and a plan. Here’s everything you need to know about a large-scale backyard makeover, plus a video showing what was done!
I’m going to be honest with you guys – this is my favorite makeover of all time. I’m going to be honest with you guys again—I didn’t do any of the work.
Both this blog series and the backyard makeover are courtesy of two incredible companies – Belgard (the premiere outdoor living company) and Precision Pavers, the best paving installation company in Dallas, Texas.
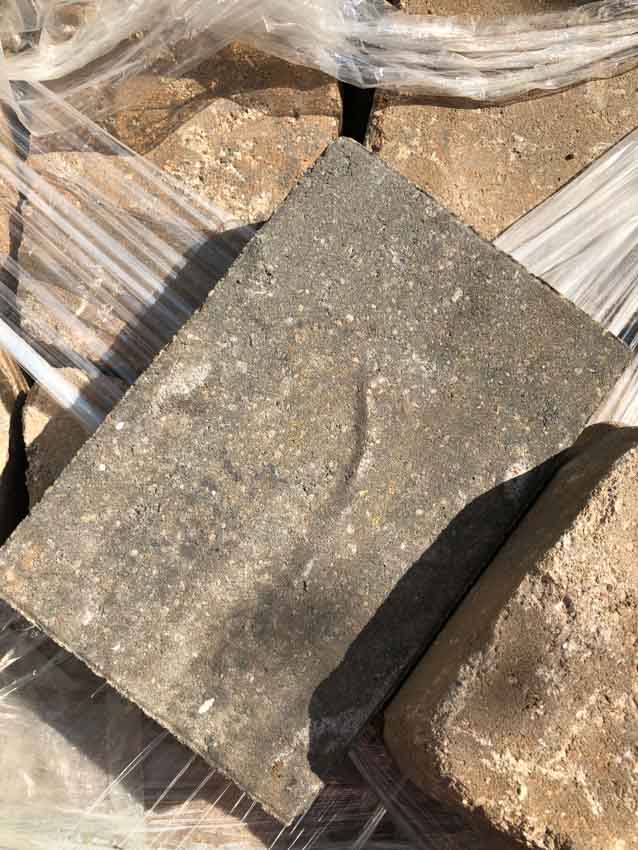
If you recall, Scott and I spent a good amount of time with the team trying to decide on our paver color and learning how to choose pavers. There were so many gorgeous options at the Belgard store! In the end, but with expert input, we ended up going with the Catalina Slate in Leuders Gray. It has the best natural texture and a beautiful finish.
Prepping Our Yard for a Patio Installation
In the days leading up to the scheduled project start date, Scott and I spent a good amount of time prepping. For us that meant moving furniture, and sprucing up our yard slightly. We also had to remove some small trees, and even painting the siding of our house. 🙂
Otherwise, it was a really nice (and kind of odd!) change to not have to do much. I could hardly sleep the night before—I was too excited!
Steps for Laying the Foundation of a Patio
I have to admit, I was pretty ignorant of how much work and effort it would take to install an entire patio.
I consider myself a fairly advanced remodeler, and after going through all of the steps and watching Bob and his team at Precision Pavers go through their process I would never, ever attempt to install a patio on my own. Honest.
Start with a Plan
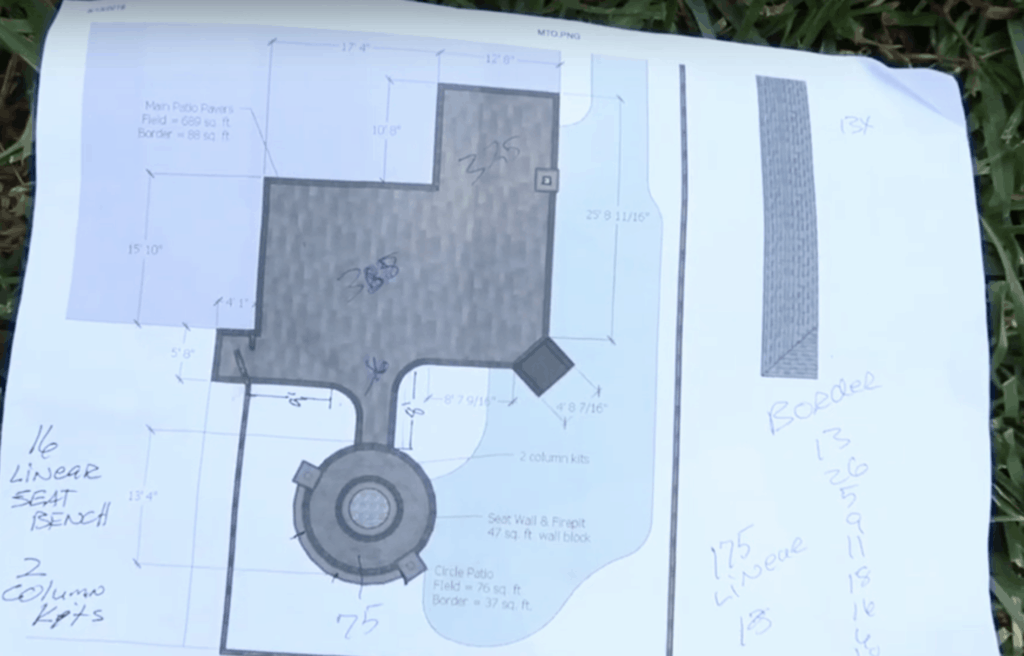
Just like every remodeling project, the patio began with a plan. I met with the team from Belgard, and Bob from Precision Pavers before installation week to come up with a professional sketch.
When I saw it on paper, I remember thinking to myself wow…that’s a lot of paved space. I was a teeny bit nervous that it would leave us with not enough grass for Lily to play on. Thankfully, I was so wrong (more on that later).
I decided to trust the experts and go with the plan, and I’m so glad I did. When you’re working with an installer like Bob who has had over 35 years of experience, you can rest easy knowing they’ve already encountered any issue or setback a thousand times over.
So, my big piece of advice? When you choose a patio installer, make sure to pick someone who knows what they are doing!
Laying the Foundation for a Patio
If you decide to have a patio installed, just know it’s way more work than what you are imagining.
In our case, we added a fairly large paved patio space that was over 800 square feet. I know, huge, right? But whether you are adding a small patio, a walkway, a driveway or anything else with pavers, there are certain steps your installation team should take.
Video: Day One of Our Patio Installation
I’m going to go into a lot more detail about the steps the crew took below, but it’s a lot more fun to show you! Here’s a quick video I put together detailing our day one experience.
Step One: Remove debris
Before your installation crew comes out, you’ve got homework. Make sure to remove all the debris, furniture, and other items from your yard space.
Step Two: Create a Point of Entry
Be prepared that when you are working with a professional patio installer in Dallas (or anywhere!) like Precision Pavers, they will likely be bringing in some heavy machinery.
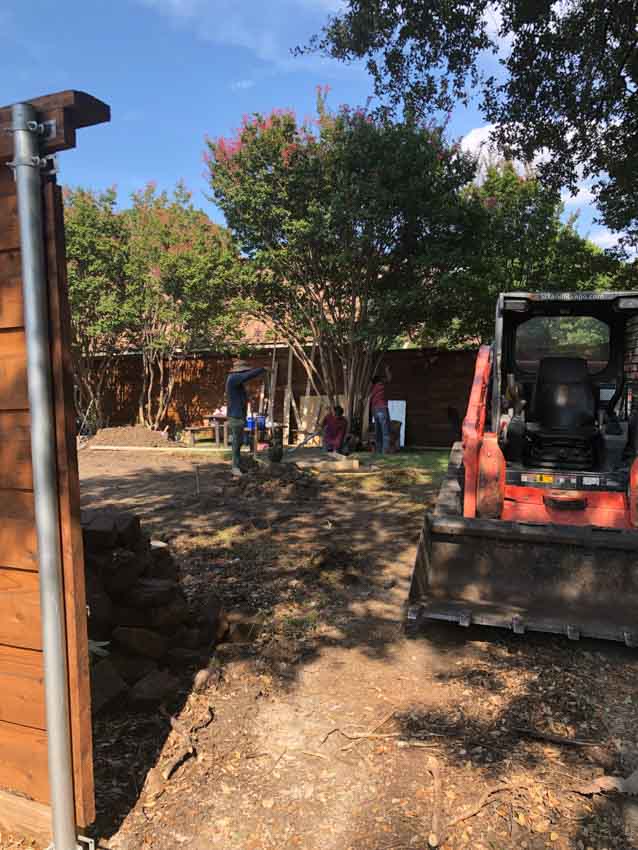
In our case, they ended up having to cut a section of the fence out (which they put back later). It wasn’t a big deal for us at all! We just kept our pup on a leash when she wanted to go out.
Plus, our neighbors got to take a peek into our yard. 🙂
Step Three: Mark Out the Patio
There is quite a bit of digging and such that will go along with any patio installation. The last thing anyone wants is to dig out the wrong part of the yard, or create a design that wasn’t agreed on!
To prevent this and make sure we were all on the same page, the Precision Pavers team marked out the outline of where the patio would go with spray paint.
Then, once we okayed it, they marked it off with wooden stakes and string.
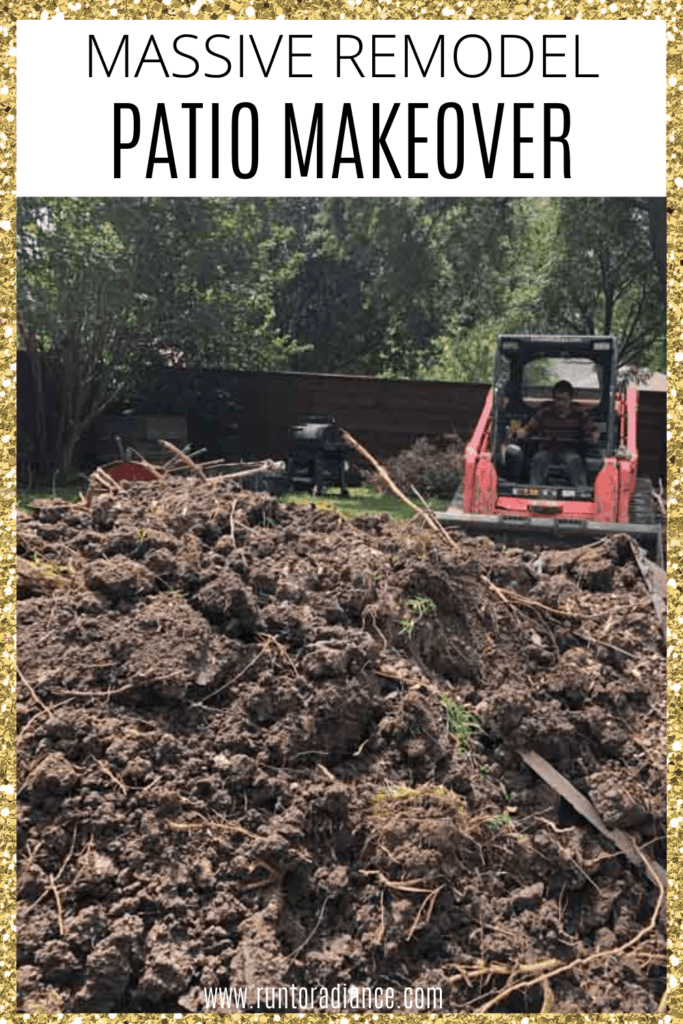
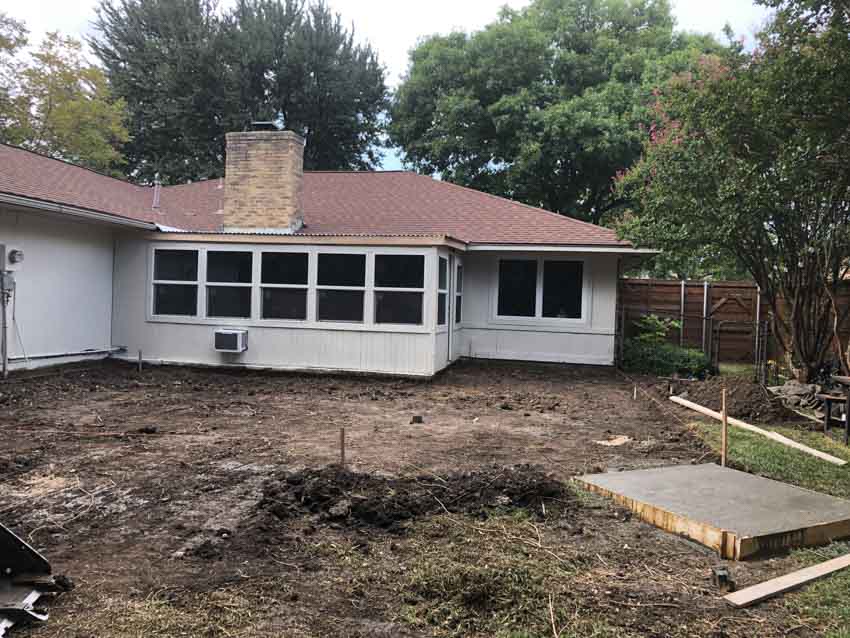
Step Four: Foundation Grading
This is where that heavy equipment I mentioned came in handy! The team removed a solid TWO truckloads of dirt off our property. And I don’t mean a pickup truck – I mean a real construction truck!
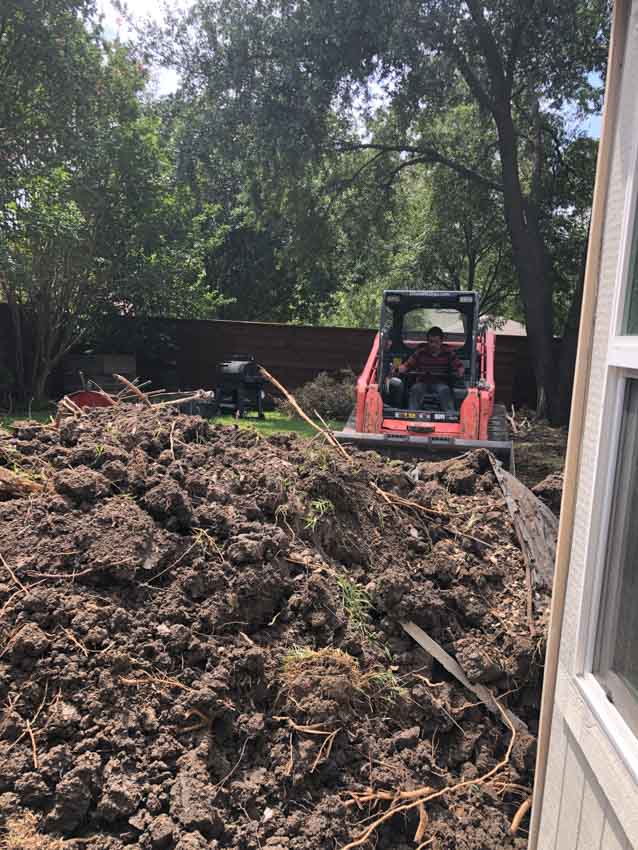
The entire space was graded to slope away from the house. As you can imagine, this took hours and hours of labor from the team.
This is incredibly important as it prevents water from pooling around the house, which leads to foundation issues, rot, and a lot of issues you don’t want in your home (like mold!).
The team continually checked and measured the slope of the yard to ensure any water would run away from our home.
One thing I was especially thankful for was how careful they were with our sprinkler system and making sure not to break any lines. The ones that eventually ended up under the pavers were capped or removed, so no leaks will occur.
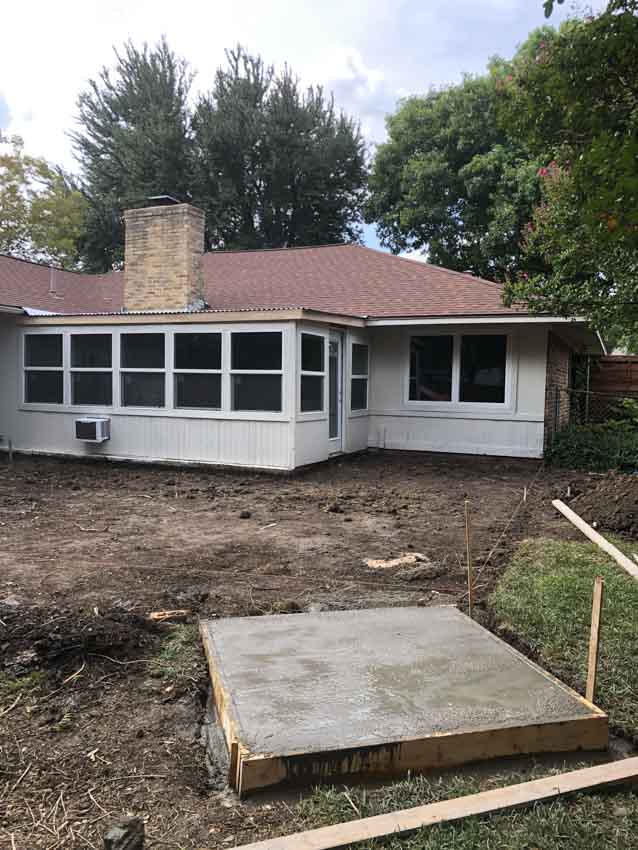
Step Five: Pour any Concrete Bases Needed
Part of our patio makeover is an outdoor fireplace, which is a total dream! Because the fireplace is so heavy, it needed a concrete base created and framed.
I can’t WAIT to show you all the fireplace in the next post – it is seriously my pride and joy!
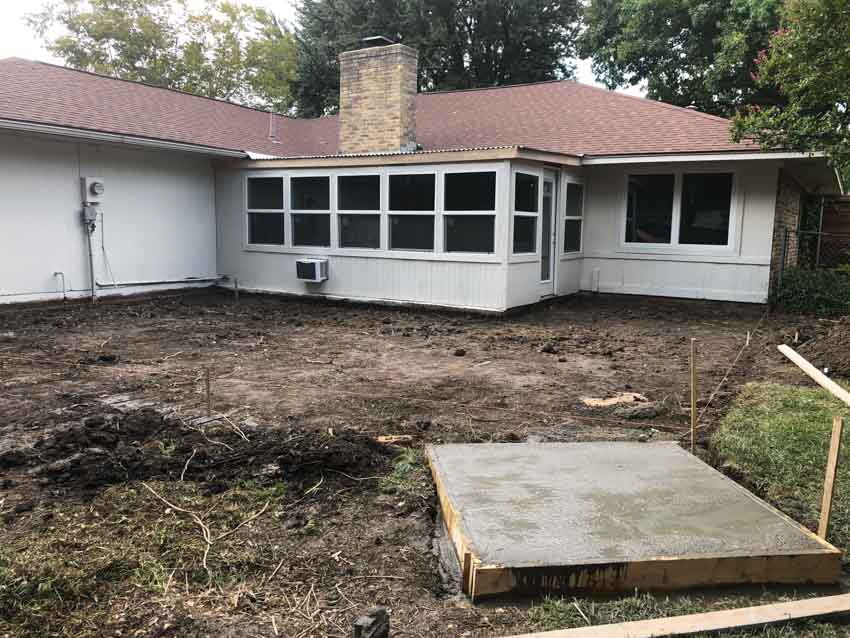
Recap: Day One
After a solid eight hour day of labor, our yard was prepped and ready for the patio layers to start going in the next day.
Plus, our gorgeous Belgard stone was delivered and waiting in our driveway to go in. I spent a lot of time on day one wondering over and looking at the pretty pavers!
Make sure to come back for all the details from day two! 🙂
Again, a huge thank you to Belgard and Precision Pavers for providing me with this incredible outdoor living space. I highly encourage any homeowner to work with either of these amazing companies!