How to Hang Drywall
This post may contain affiliate links. As an Amazon Associate I earn from qualifying purchases.
Hi there, I’m Scott, the special guest blogger of the day. Thank you Mrs. Run to Radiance 🙂 So…how did I get this honor? Lets just say I married very very well!

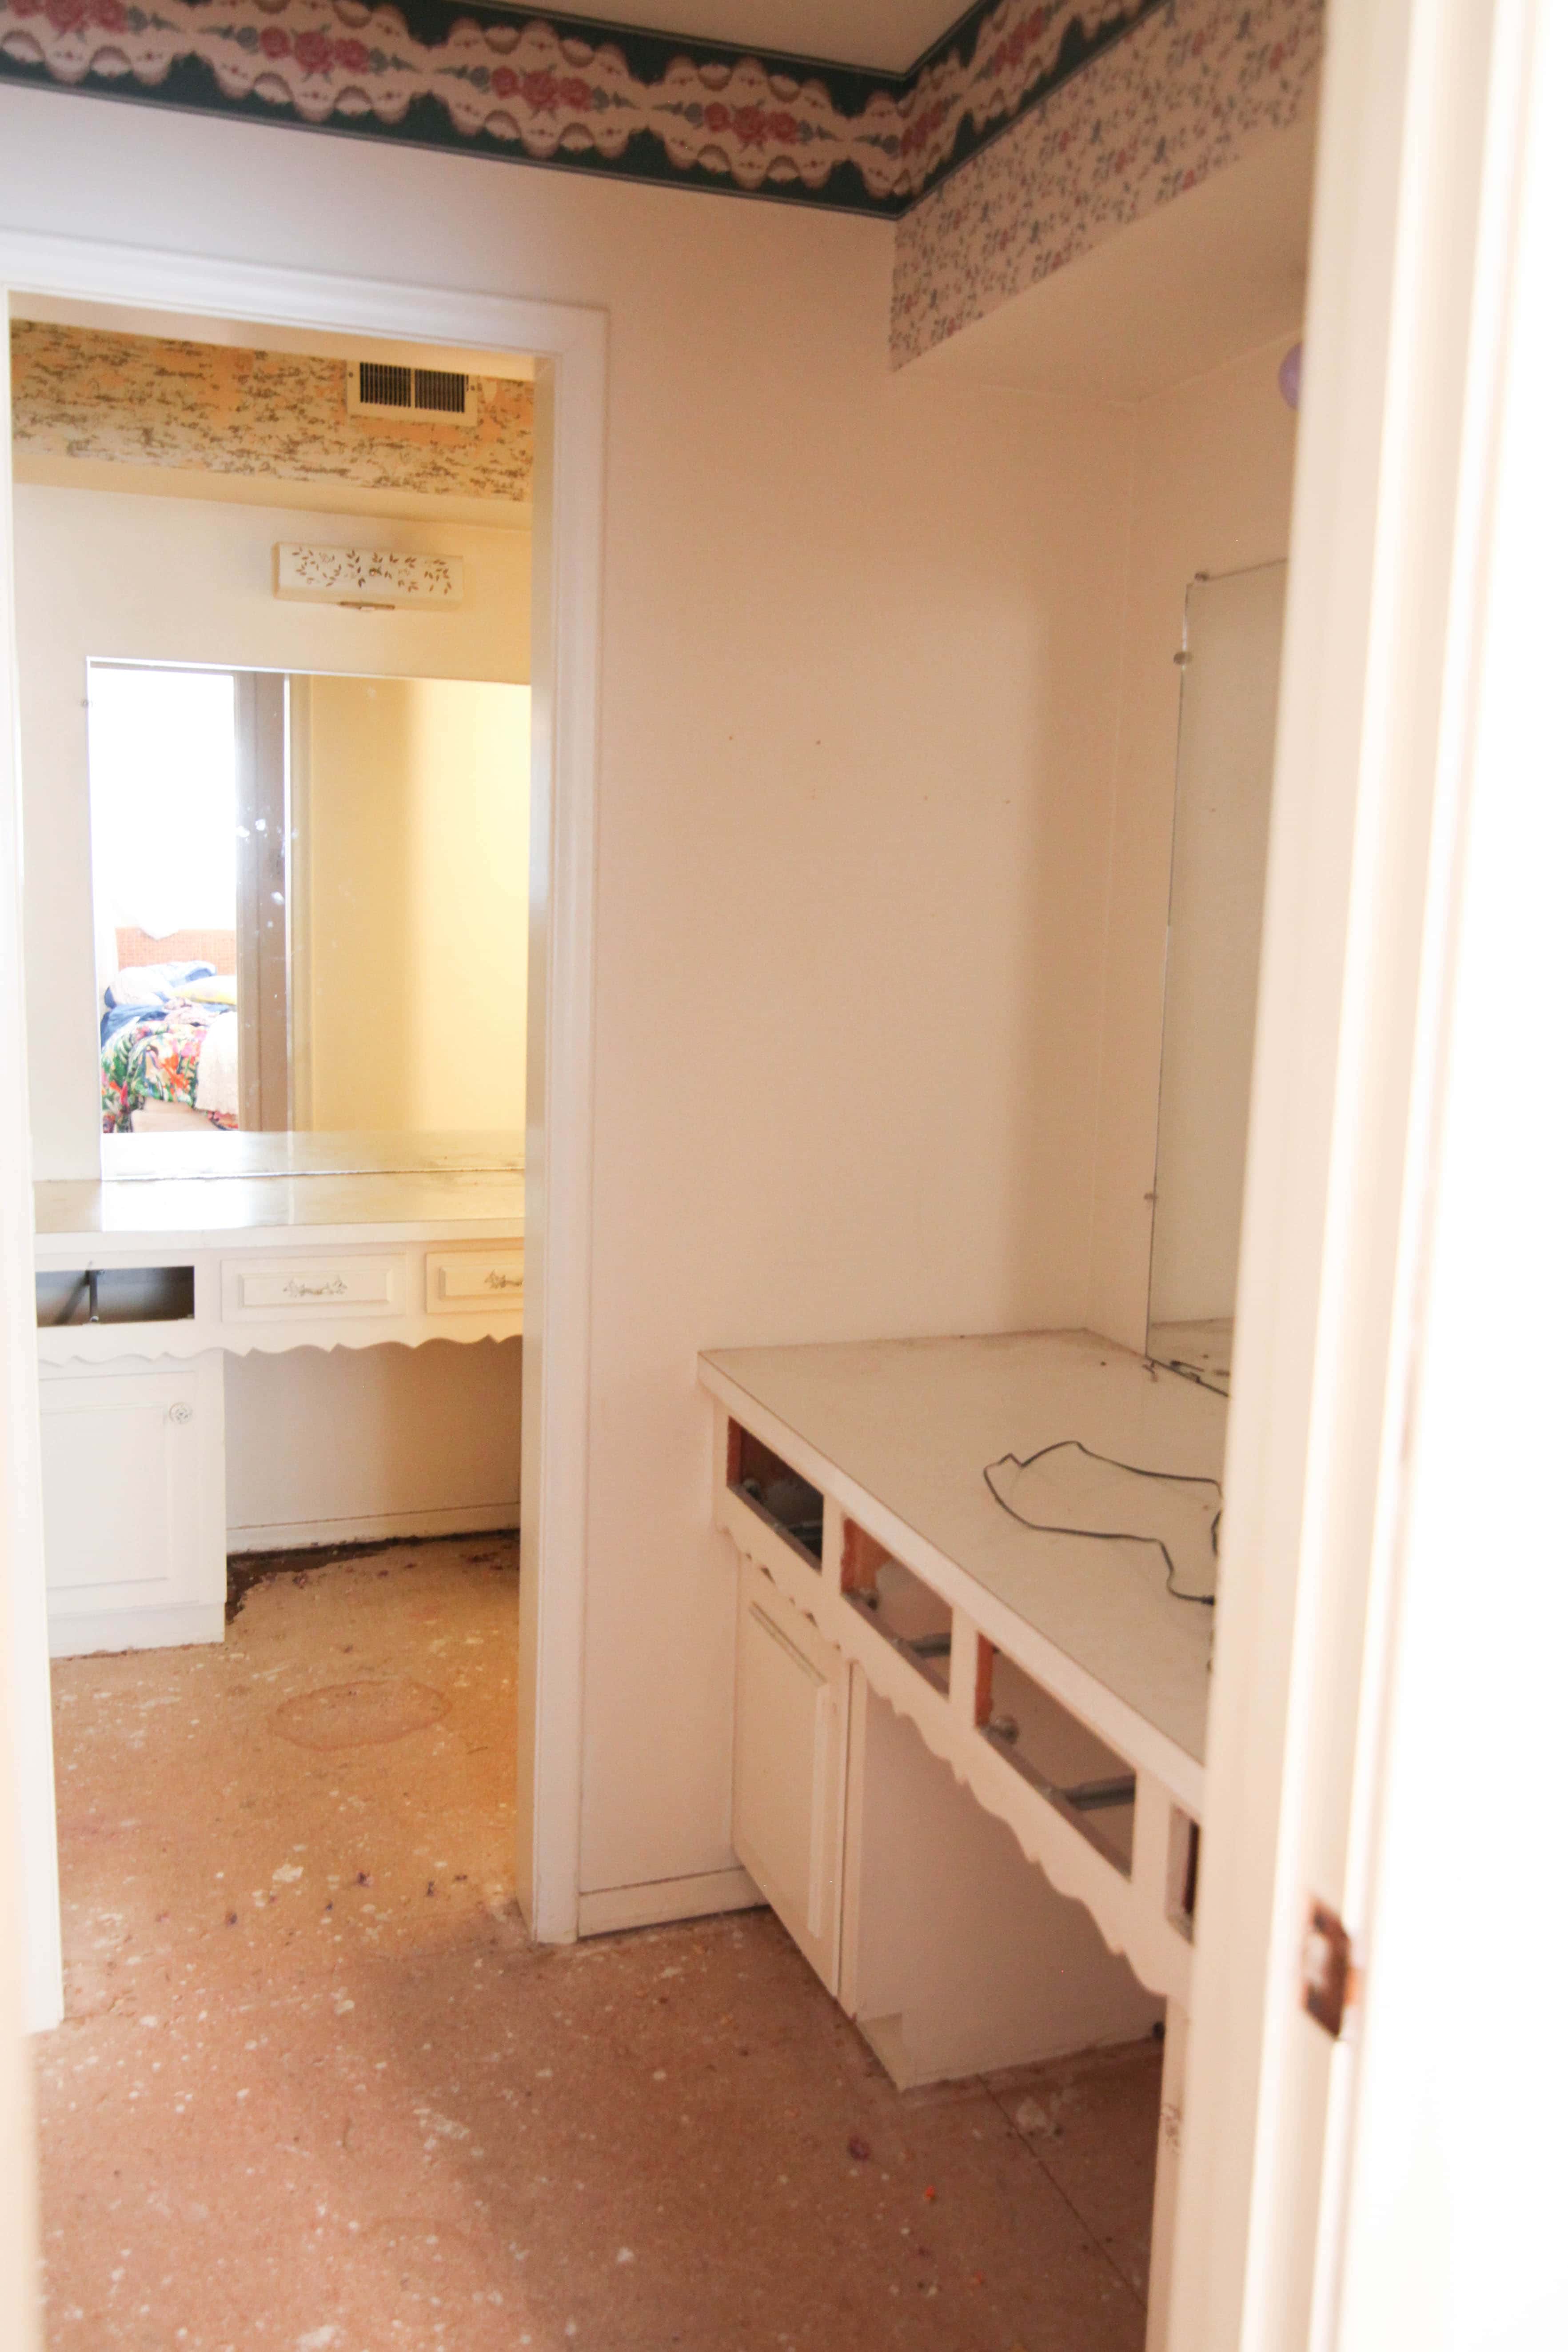
I have to tell you, being a part of RuntoRadiance on a daily basis is constantly exciting, we have so much fun together. The stories you read on here are no exaggeration, we live by the philosophy that life shouldn’t be boring…so if ever we feel it is, we go out and do something about it. One night Tania and I were on our way home from one of our adventures to Barnes and Noble and a spontaneous outing with a friend, and decided once we got home we were goiong to stop procrastinationg and get started on one of our last major remaining projects, the hall bathroom. We dug a hammer into some drywall and that started the fun string of demolition events to follow.
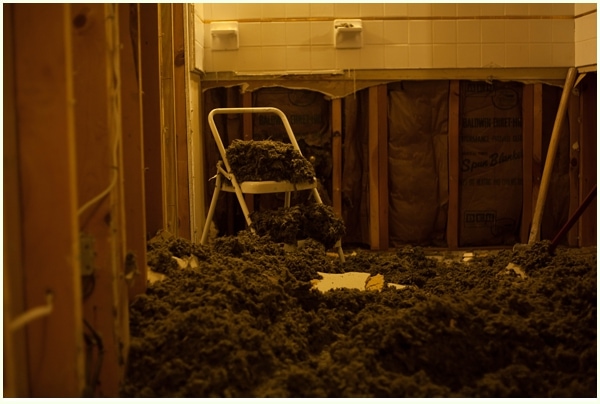
Then, after an adventure in learning how to rough in plumbing, electrical and repairing subfloor, it was time for today’s how to:
Drywall!
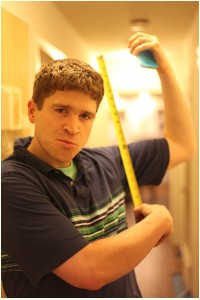
First thing I did was measure everything. Since drywall comes in 4′ x8′ sections I knew we needed 14 sheets after carefully measuring the room dimensions. I was able to buy 16 sheets for cheaper so I went ahead and got it (Home Depot Bulk sale!) I purchased the Mold Tough brand as you should be doing for bathrooms or kitchen remodels.
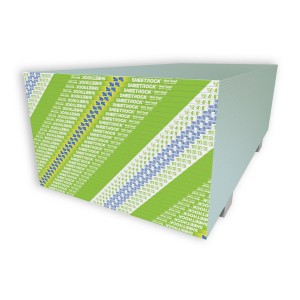
(Picture via google images)
One thing I read on a tutorial was to make sure you don’t try to use lots of scrap pieces.
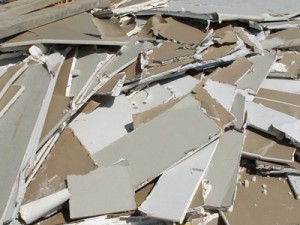
(picture via google images)
You may save a few bucks but it makes the second step much more difficult, and it really is pretty cheap to purchase 🙂 You have to tape and mud every single joint so imagine all the extra time you will lose by trying to save $20-$30= not worth it
Now that you have your drywall purchased and at home, it’s time to cut the pieces to size. You need six things: a tape measurer and pen, a sturdy straight edge(level is prefereable), a utility knife, jab saw, and some muscle
haha
1st– Start with the ceiling first, you want to work your way down.
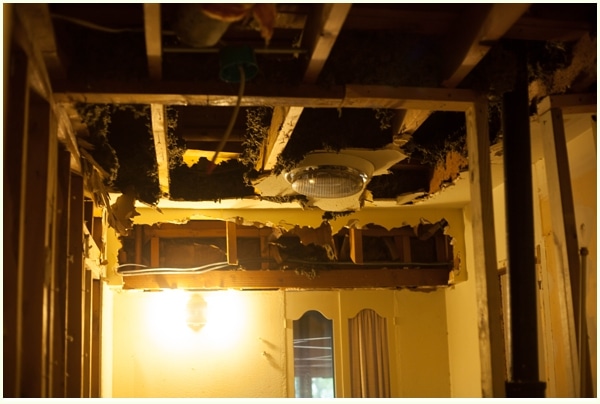
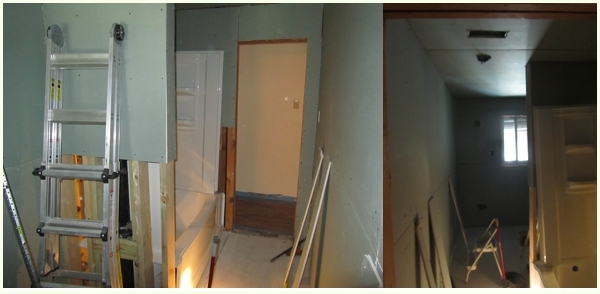
In my situation the studs were going front to back, and since I want to hang my drywall perpendicularly to the studs I knew I wouldn’t need to cut the four foot side, but I did need to cut the eight foot side. This pic is a few days before we installed the drywall, but it show how the ceiling studs are directed

First, a quick lesson on cutting drywall
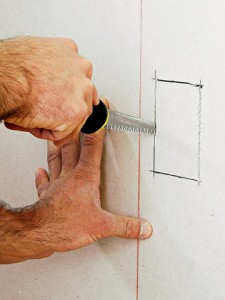
1st- Score it using a level. 2nd- Punch it – Make the piece into two separate pieces. 3rd- Finish it- Cut the two pieces loose by using utility knife on the other side
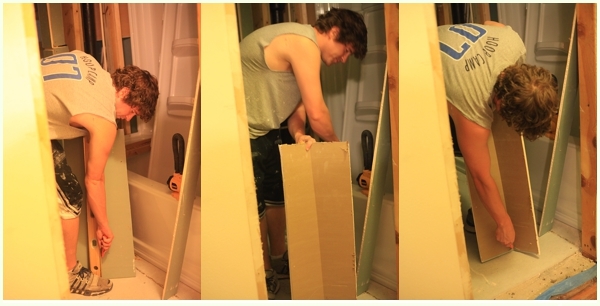
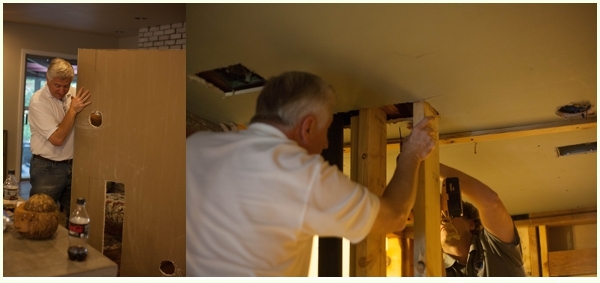
This is where you need to call your family or a good friend. You can tackle the wall pieces on your own but I wouldn’t recommend it for the ceiling. In my case I called my Dad, He’s an expert on most things and always willing to give a helping hand.The pic on the bottom left shows three cuts we had to make. Do your due diligence and make sure your marks are all correct. It’ll be worth the time when its hung.
The width is a little more than 6 foot so I measured it and gave myself an extra half inch, which helps nudge it in place in the end.
When you have an electrical box, A/C vent or something else to cut out make sure you measure it very carefully. When you’ve got it marked perfectly,before you hang it, take a jab saw and start cutting it out.
I always cut a little more than I draw knowing it will make for easier installation of each piece and if you cut too much you can tape and mud it in step two.
(picture via google images)
When you finish your ceiling pieces you’ll work your way down butting the factory edge of the drywall against the ceiling leaving a very small gap between the two pieces. When you’re hagning your top wall piece use a 2 inch thick board about 1 inch below where your drywall will drop. Get on a step ladder and with one hand lift up the side of the drywall and with the other hand screw in one of your top corner pieces. Then still holding it up scoot half way down the sheet, lift up from the middle and screw the top in again, one more time and the piece should be totally secure, go ahead and finish your screws about every 10-12 inches or so. Then your bottom piece should fit snugly under the top piece if you have an 8 foot ceiling like we’re lucky to have 🙂 This piece is way easier to install, no patience and strength is required. You will be amazed how quickly these pieces will start flying up.
Once you get the hang of using your level and utility knife properly you can cut a piece in a matter of seconds and hanging will be a cinch with the use of a friend or a support board.
I challenge you to try this on your own. Everything you do yourself you save 2 or 3 times what it would cost for someone else to do it and you have fun stories to share. What tips do you have from your drywall hanging experiences?
Thank you for the help. I recently dried to start hanging drywall by myself. I started with the ceiling and it didn’t go too well. Do you think it would be wise to hire professionals to install the drywall for me?