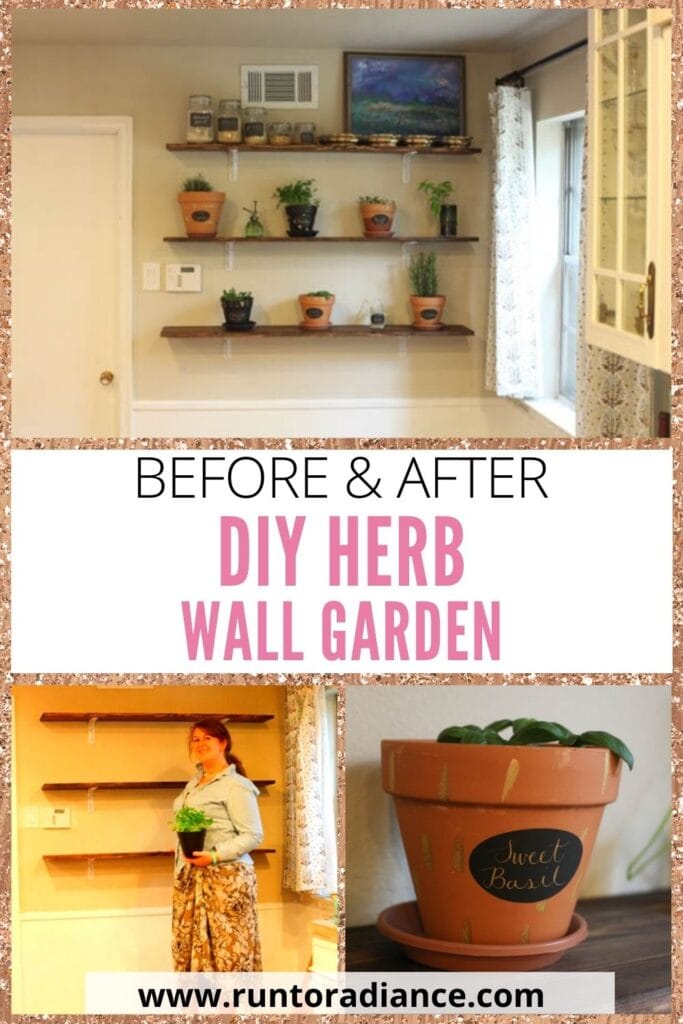
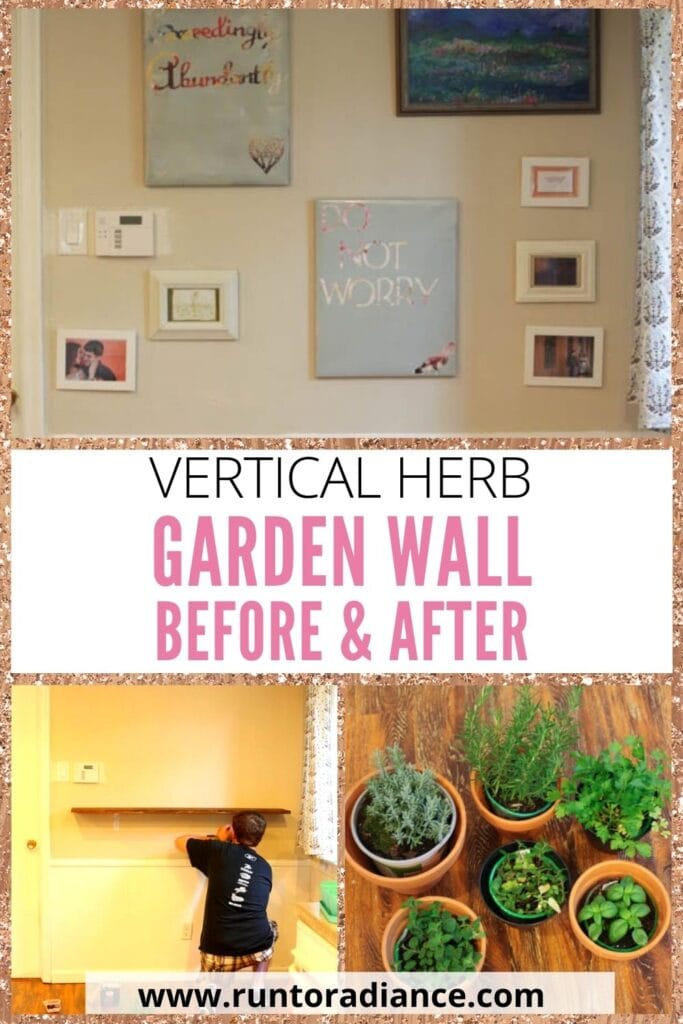
DIY Herb Wall Garden: Grow Your Own Herbs
A DIY herb wall garden is a must-have for anyone who enjoys cooking. Plus, it looks amazing and is perfect when you’re low on gardening space. Learn how to create a simple wall herb garden yourself!
While there are many things Scott and I enjoy doing together, cooking is one of our favorite activities. We can spend hours simply reading through cookbooks and shopping for ingredients.
There’s just something so therapeutic about chopping, dicing, and sautéing ingredients to create an edible piece of art. And, it’s a great couple’s skill-building activity – to work together as a team with an end goal in sight. 😁
One thing that we have noticed that’s made a huge difference in both the presentation and the taste of our meals is using fresh herbs versus dried. So that’s why it has been a goal of ours to plant a fresh herb garden so that we always have some within reach.
Our first plan was to do it in our backyard, but there are so many trees. All that shade plus our small amount of grassy space meant that we didn’t think herbs would grow well there. Then, I began daydreaming about having some sort of indoor garden where we could snip our own fresh herbs.
I mentioned it to Scott one day and showed him the spot in the kitchen where I thought a vertical garden would be perfect. The idea quickly took off from there!
Planning Our Wall Herb Garden
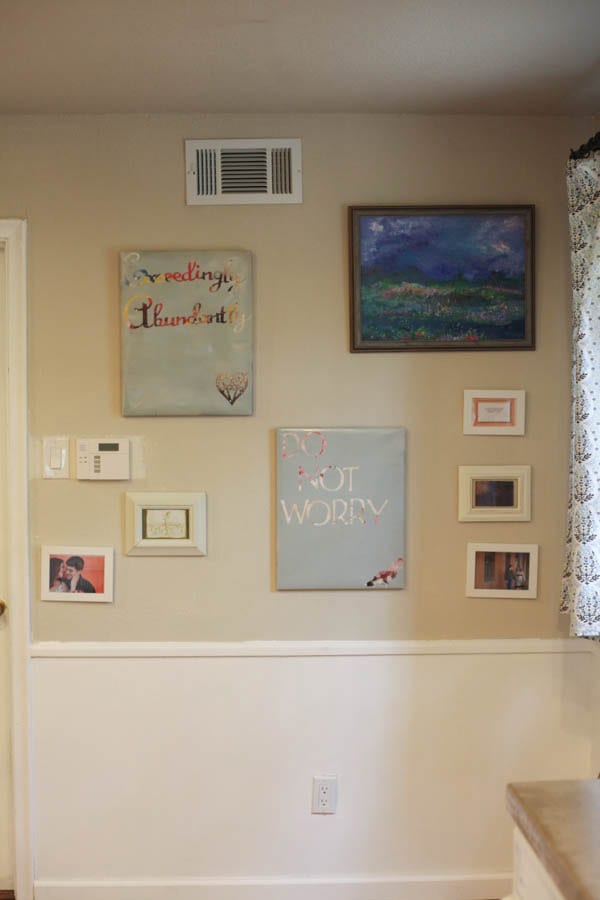
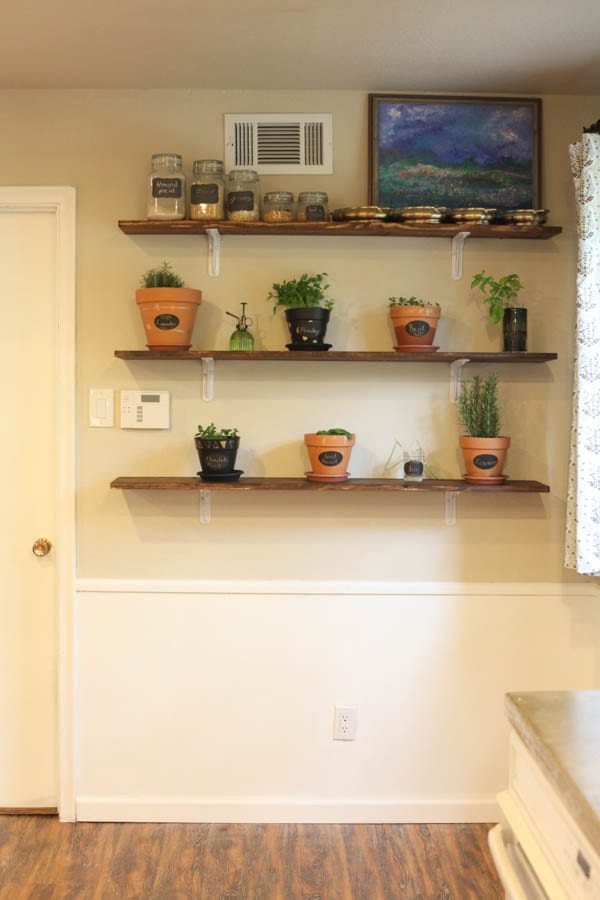
After throwing around some ideas, we decided to do three shelves on the wall in our kitchen that (at the time) displayed art.
I wasn’t sad to move the art because we had always viewed the art as a temporary placeholder until we came up with a more solid plan for what we wanted to do in that corner.
The available space plus the adjacent window that gets a good amount of natural light made it the perfect place for our herbs to grow.
How To Build Our Wall Planter Garden
What’s really amazing about this project is that I communicated the entire idea to him over text. When does that ever work? Well, this time it did!
I was going for a dark, stylish farmhouse vibe.
Messages like, “I want a warm, but dark, vintagey looking stain,” and “I want brackets that are there, but not too there,” were easily and successfully interpreted by my husband who went to Home Depot to pick up every material on the list. That’s love. 😍
Step 1
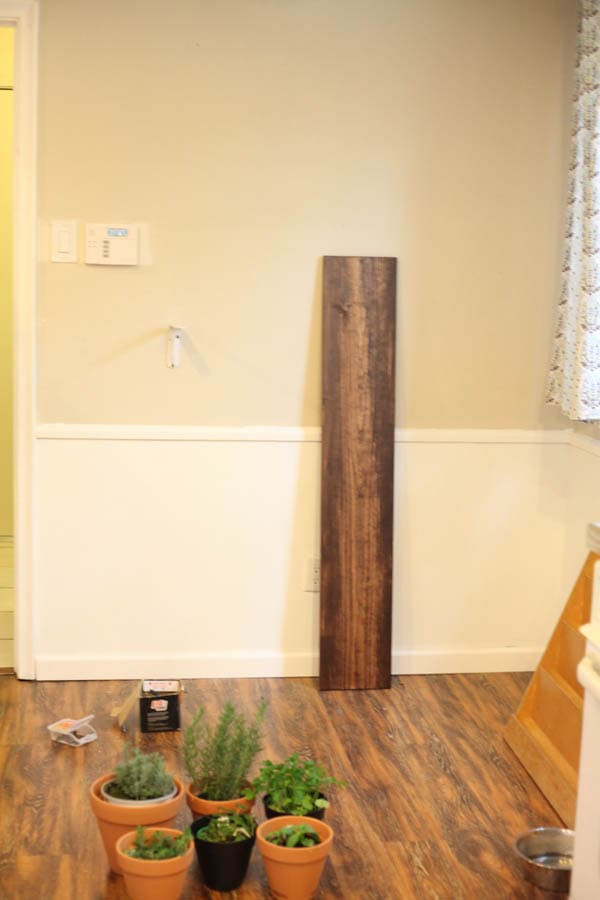
He had Home Depot cut three 1×8″ boards to be 54″ long, which gave us a 6″ buffer on each side of the shelf. We stained them with Minwax’s Honey Stain, which we both really like.
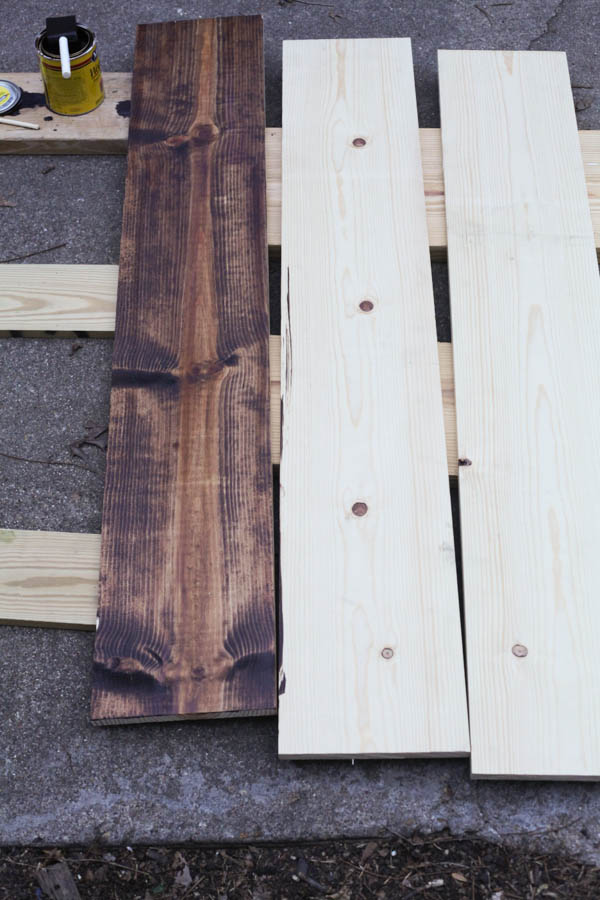
After all three boards were stained, we let them dry for about 24 hours before bringing them in to hang the brackets.
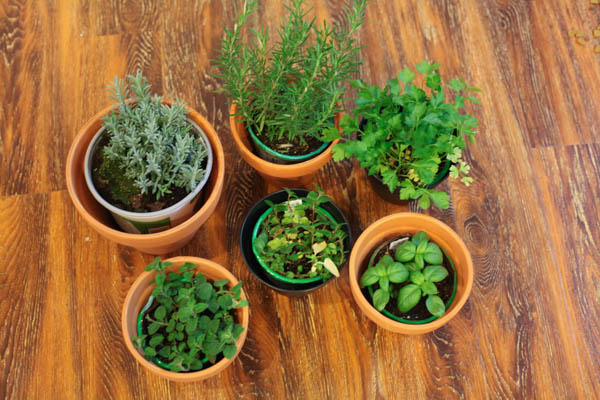
In the meantime, we headed back to Home Depot to pick out herbs! Luckily spring is prime-time for herb buying—there are so many options!
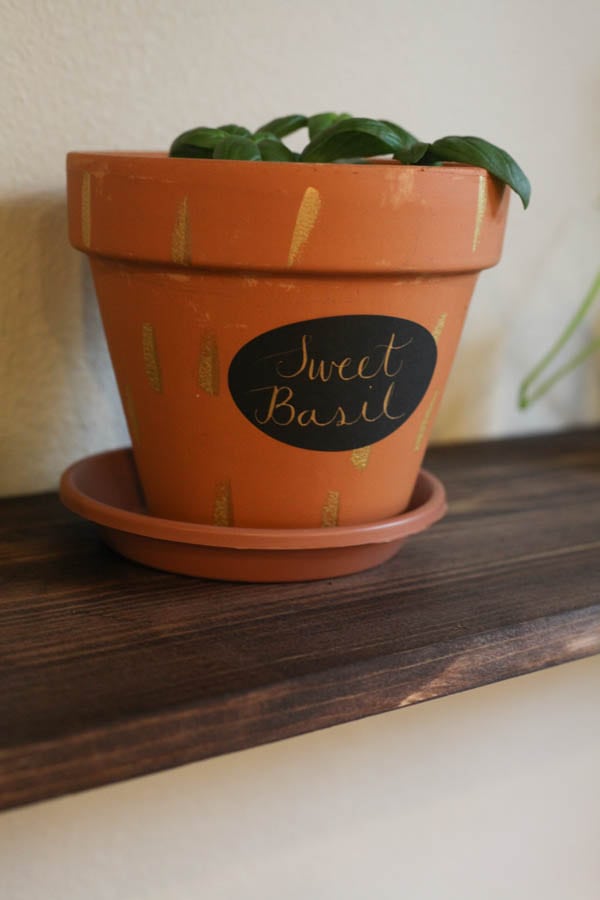
We spent about $20 and stuck with the ones that we thought we would use most often and have the best luck growing indoors – basil, sweet basil, chocolate mint, lavender, rosemary, and parsley.
Our car smelled like springtime on the drive home – the herbs are so fresh and lovely! We also picked out some planters to go with the plants.
Step 2
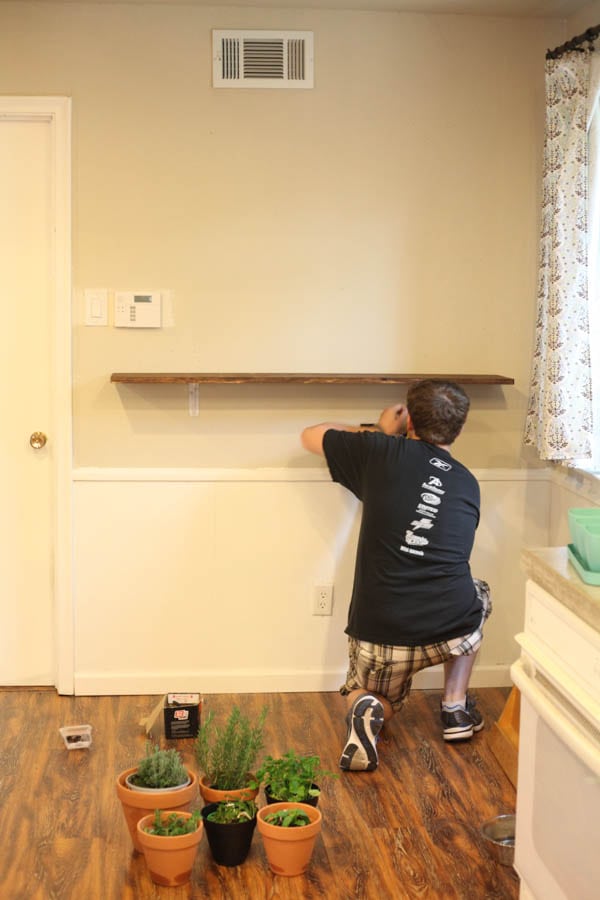
Then we cleared the art off the wall and used a stud finder to locate the studs in the drywall so we could drill the brackets directly into them using wood screws. Scott used a laser level to make sure that every bracket was hung flat and spaced out correctly.
This was definitely the most time-consuming part of the entire process, but it’s well worth the time to make sure the shelves are sitting level so your plants don’t slide off!
Step 3
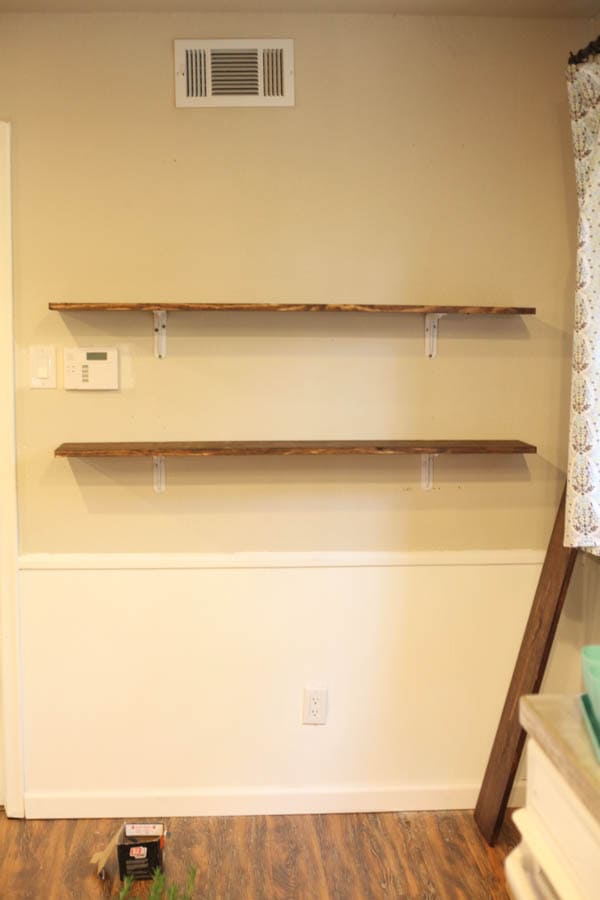
Once all three shelves were in the right position, we drilled them into the brackets with screws to ensure they were sturdy and wouldn’t move around.
Step 4
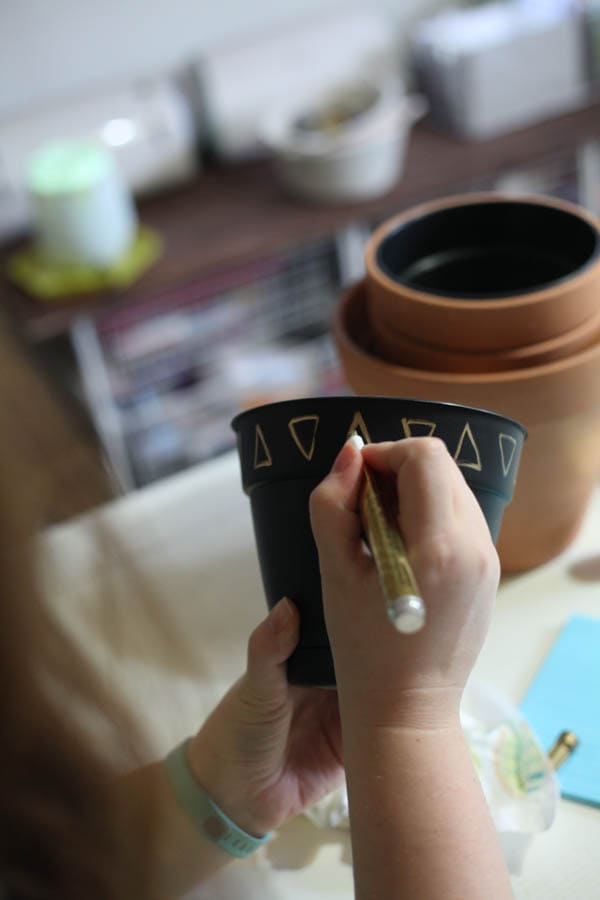
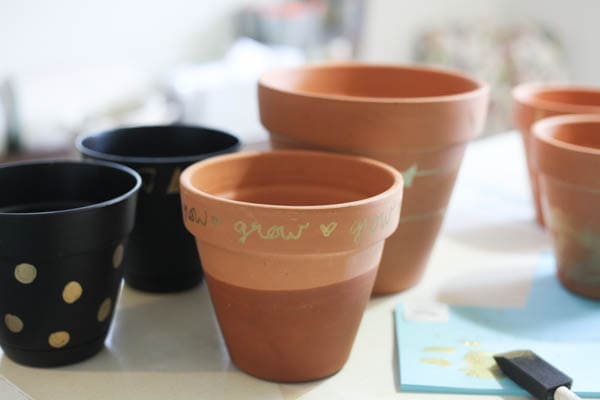
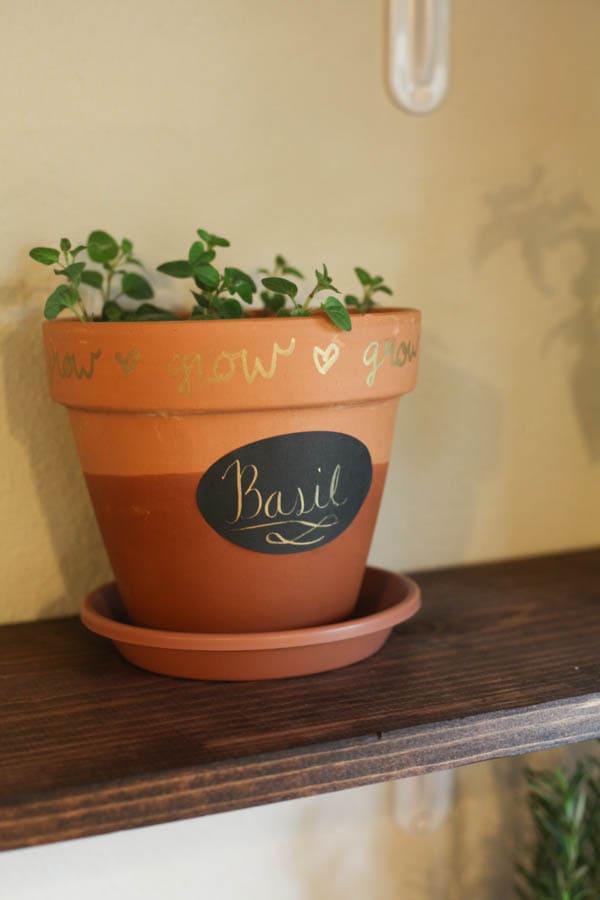
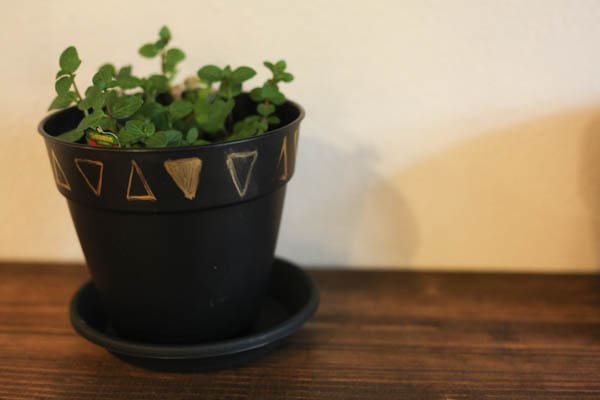
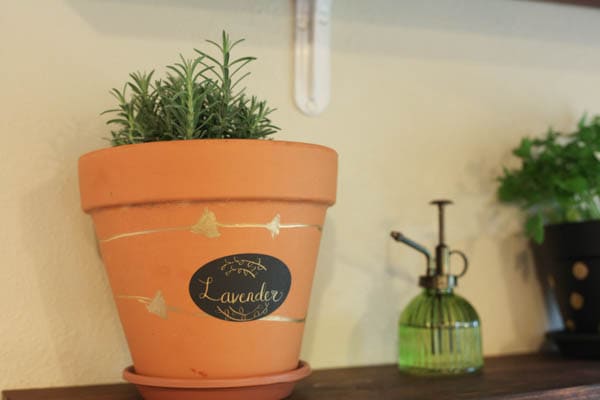
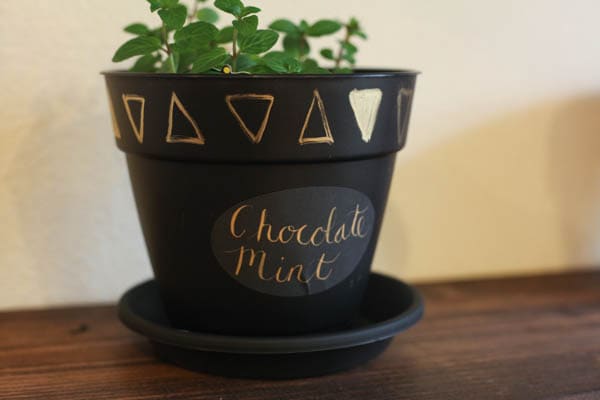
Then, it was time for one of my personal favorite parts of the project: to decorate the planters – woo hoo! I grabbed several gold supplies like paint pens and metallic paints. My plan was to decorate each of the planters with gold accents to complement the greenery of the plants.
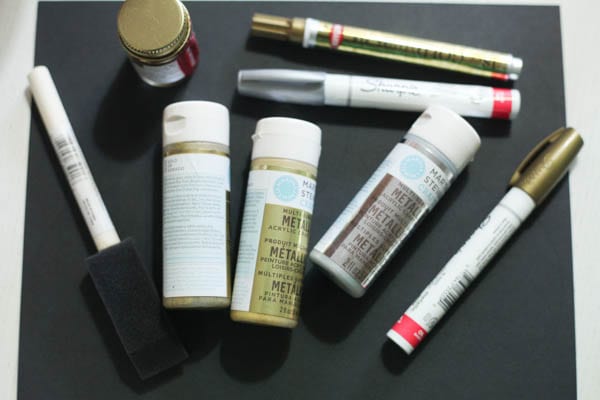
I then tested each of the materials on the bottom of one of the pots to make sure it wouldn’t smear or wipe off easily. All of the pens and paints passed the test, so I used a variety to decorate the planters with different patterns.

Step 5
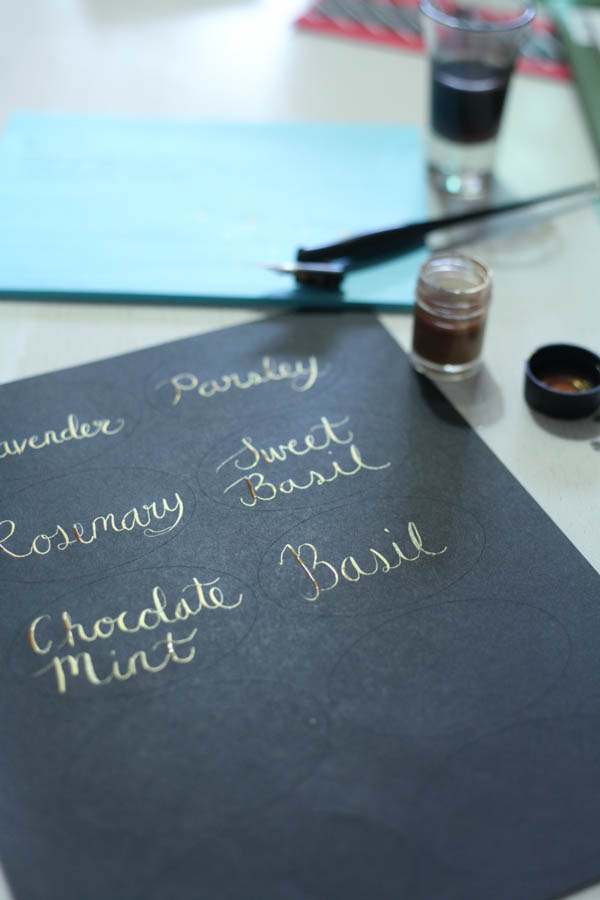
After each planter was decorated, it was time to make labels. I have been taking calligraphy lessons, so I was excited to create and add labels for my herb wall garden using my favorite gold calligraphy ink.
Step 6
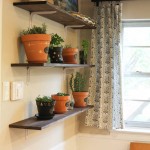
Once my pots had a chance to dry, I planted the plants each inside their new planter. Then I placed our indoor garden on the shelves.
We decided not to use the top shelf as part of our herb wall garden since our air conditioner vent is up there. Plus it’s really too high to be as accessible as we would like.

Instead, we decided to use the top shelf to hold these pretty gold casserole dishes and some dried baking goods. We even had room to hang up one of my favorite pieces of art from the gallery that used to be on this wall.
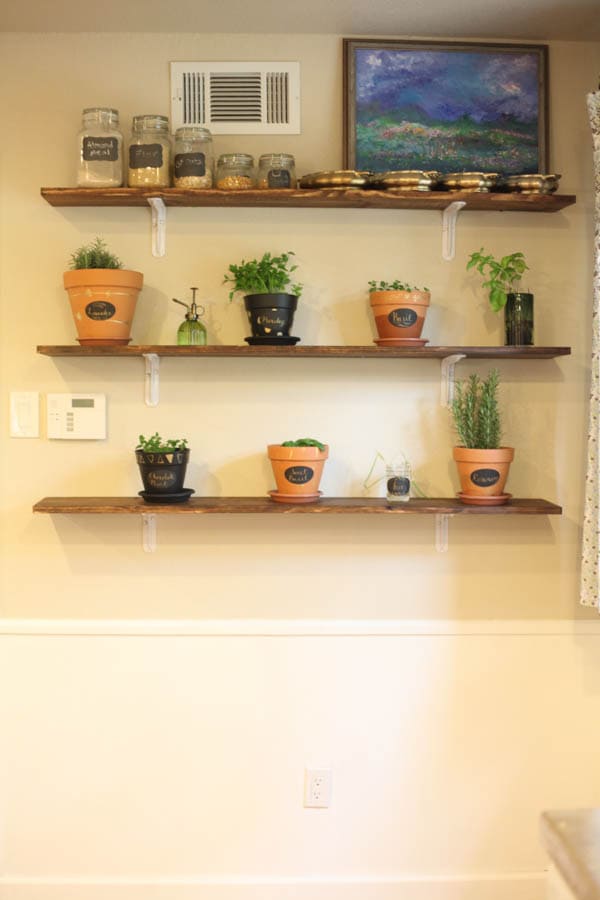
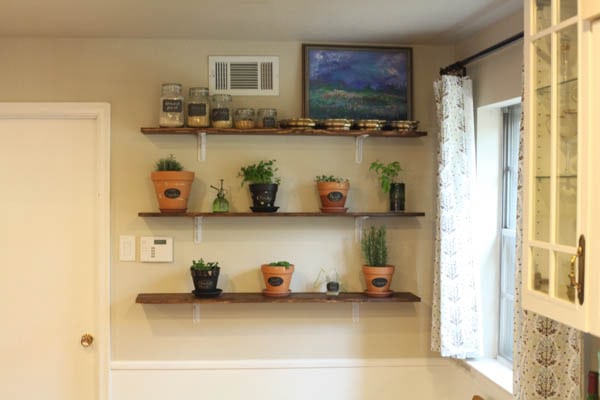
Doesn’t our simple indoor garden look amazing?
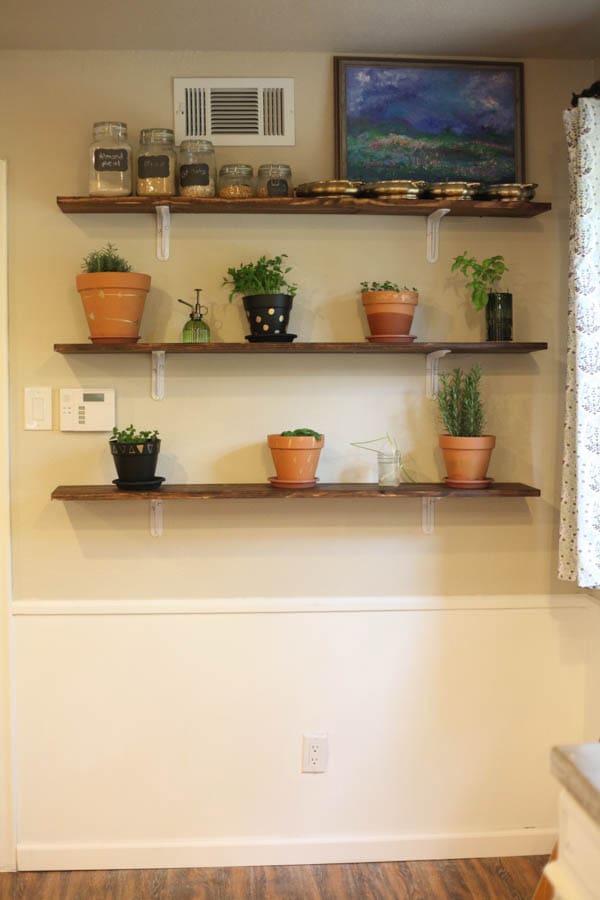
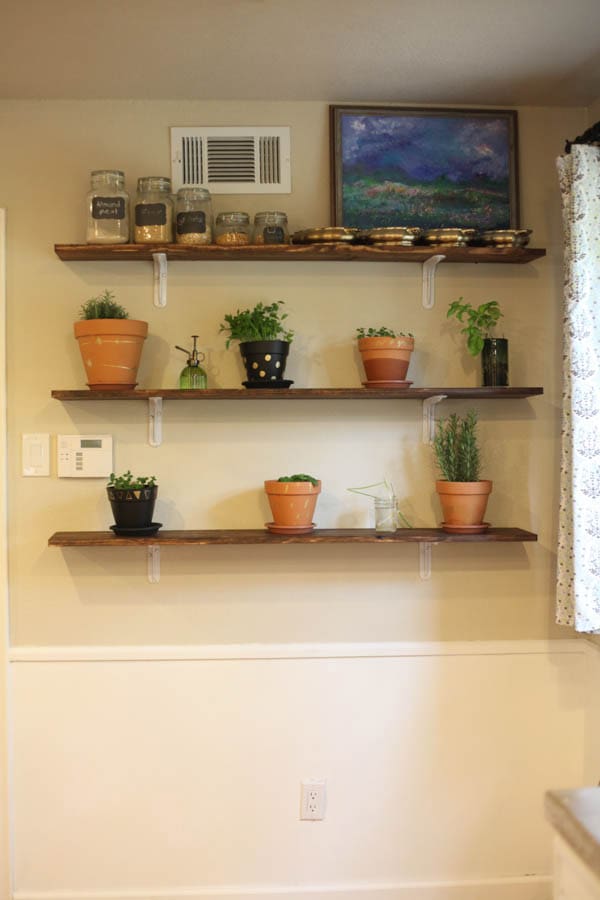
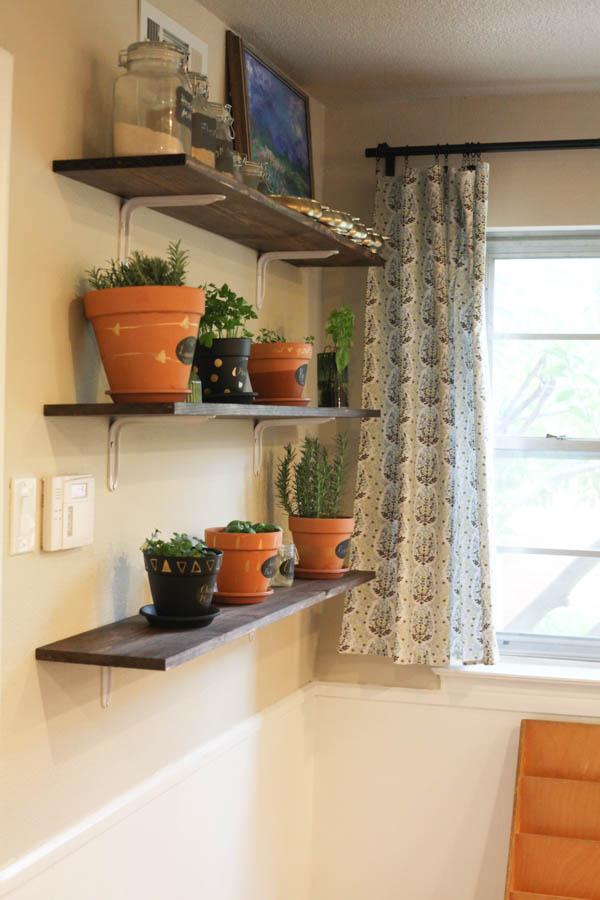
I love the pop of color that our green herb wall garden adds to our kitchen, and how functional it all is!
Having these plants nearby will make it easier to experiment more with adding new herbs to dishes and cocktails.
Helpful Tips About Herbs For Your Vertical Garden
There are some cool things to know about growing herbs yourself for your fresh herb wall garden.
Chives
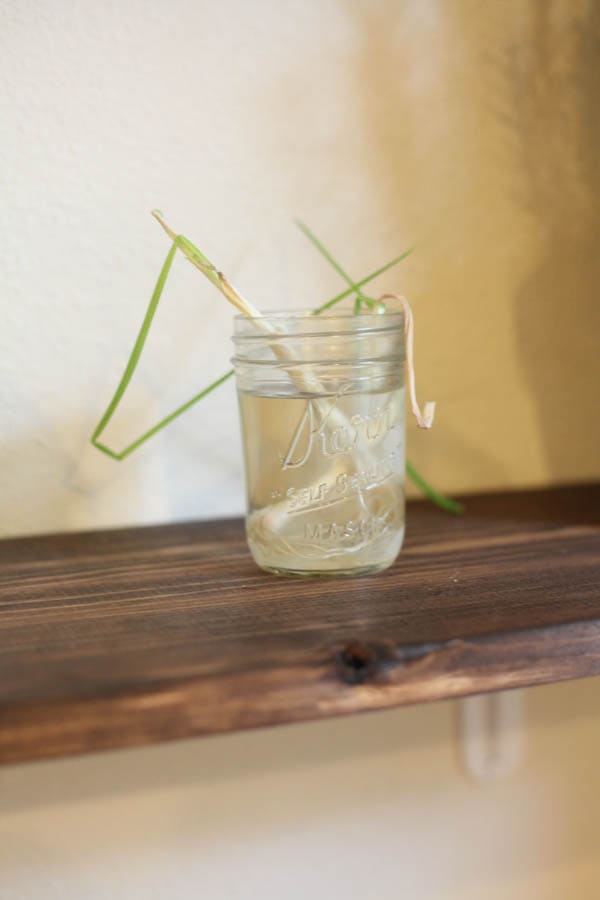
The chives are actually from the grocery store. Fun fact: we bought them months ago because I had heard that you could simply stick chive roots in a glass of water to regrow them in the gardens of your choice.
So far it has completely worked! We just use scissors to snip off the ends of them, and then they grow right back!
Basil
The basil in the glass cup is the same. We purchased a live basil plant from a grocery store, used all the basil, and then stuck the roots in a glass of water and it has continued to regenerate!
Do herbs need direct sunlight?
Honestly, herbs grow the best in direct sunlight, but there are many (such as rosemary, lavender, mint, and basil) that can grow well in indirect light.
Try Planting Herbs Indoors In A Hanging Planter
Herbs are indoor plants that can grow well in hanging planters. Hanging plants wouldn’t work in our space, but if you have a sunny window that needs a little green, try creating a vertical garden in your window with hanging plants!

Indoor Herb Wall Garden Follow-up
It’s now been a few weeks since we created our indoor wall planter garden, and I thought it was time to follow up on how it’s working out.
So far our herbs have done great! We haven’t had any issues at all with drainage or anything else in that space. The entire garden seems to be getting the right amount of sunlight and water. Whenever we want to use some, we just use grab our kitchen scissors and snip off as much as we need.
I do rotate the plants occasionally so they can each have a “turn” closest to the window. We also will place each planter on the windowsill about once or twice a week, just in case they need some more sun.
I absolutely love our little herb wall garden and the versatility it provides (along with how pretty it looks on display.) Plus, it makes a fun piece of home decor!
FAQs
Here are a few common questions I’ve seen readers ask.
How do you start an herb wall?
I hope that you can see that creating an indoor vertical garden isn’t as hard as some people may think. Vertical gardens can be made in many different ways, but we simply used shelves.
How do you make a living plant wall?
Many people think of vertical gardens as being outdoors. However, this same idea can be used to grow greenery in any type of planters that you want. Grow herbs, indoor plants, succulents, etc., and you’ll have your own living plant wall.
How do you build a small herb garden?
You can create an indoor or outdoor garden of your choice based on the space you have and the type of gardening you want to do. You could plant your plants directly into the ground, in planters, or even in raised beds.
What plants are good for an herb wall garden?
For one inside your home, I recommend plants that can do well in lower light levels. Many houseplants will work well. Herbs can also tolerate lower light, so they do well too.
So what do you all think? Are you feeling inspired to run out to Home Depot and then run home and create your own herb wall garden? DO ITTTT! 😀
More DIY Projects
- 8 Brilliant Ways To Style Open Shelves In The Kitchen
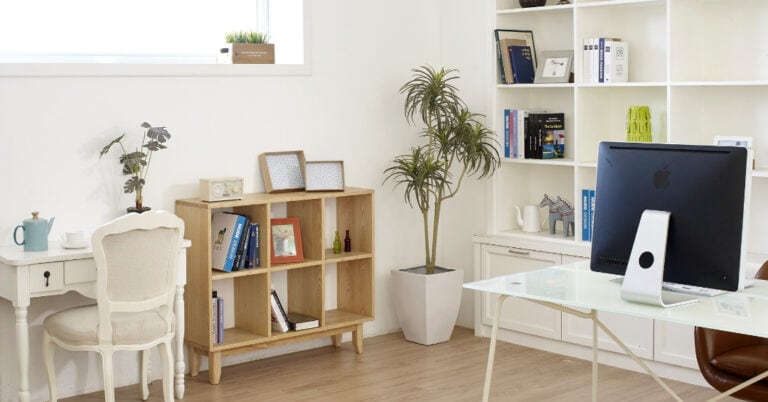
- DIY Ikea Billy Bookcase Built-In Bookshelves
- How To Make A Coffee Bar At Home
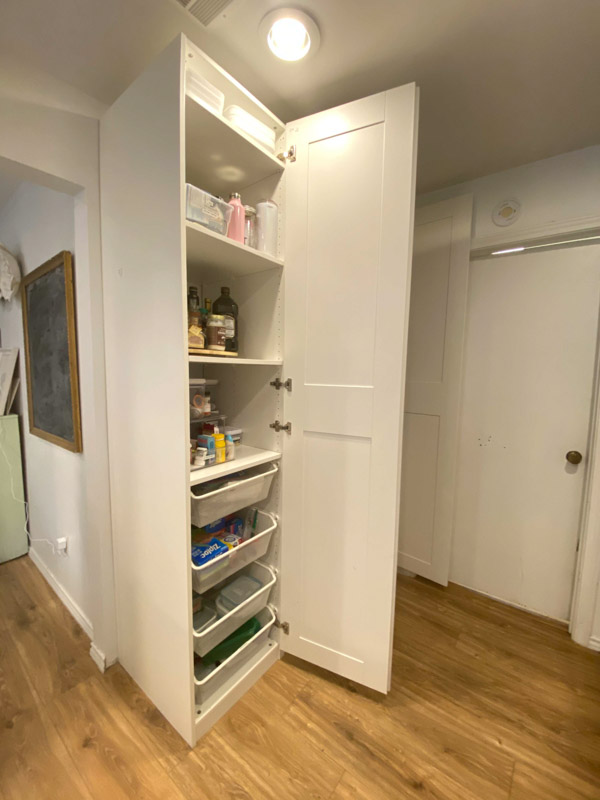
- Ikea Hack – Billy Bookcase As Pantry Storage
Supplies
- wood boards cut to the length you need
- wood stain
- shelf brackets
- laser level
- screws
- drill
- stud finder
Instructions
- Stain your boards with the stain of your choice. Allow the boards to dry fully.
- Use your stud finder to find the studs in your wall and add the brackets to the wall. Use your laser level to make sure the brackets are level.
- Once your shelf boards are dry, place them one at a time on your brackets and screw them down so they don't move.
- Decorate your planters.
- Add labels.
- Place your planters on your new shelves and enjoy!

Tania Griffis is an accomplished writer, blogger, and interior designer with a Journalism degree from the University of Oklahoma. She started her popular blog, Run to Radiance, in 2011, demonstrating her design expertise through the personal remodeling of six houses to millions of readers across the globe.
Tania also owns The Creative Wheelhouse, a respected ghostwriting agency for bloggers, further showcasing her talent for creating engaging and informative content.

Love this! I’d love to have one in my current kitchen, but there isn’t really anywhere for it… Maybe our next one!
Totally! Or maybe even just one or two small pots of your favorite herbs on your windowsill. 🙂 I use basil by far the most out of all of mine!
I love your herb wall! Between the pretty plants and pots it still is sort of a gallery wall. I adore how you mixed in the painting and the dishes. Great job!
You’re right! Plants are pretty right? 🙂
How fun! I especially love your gold calligraphy labels! Way to go girl!
Thanks Brynne! I am having fun and learning a lot! 🙂
Cute! I love how you painted the pots.
I don’t cook. I have a wonderful husband that cooks me dinner every evening 🙂 Plus I’m a plant killer.
Thanks Samantha! That’s a good man. 😀 I like to cook so my husband can do the cleaning part, hehe. But we usually do it all together- or he will help me cook and then clean while I read. LOL.
you two really are the perfect couple – it seems that your individual areas of creative expertise always combine into really awesome projects. have you considered opening at etsy shop together?
Awww thank you! It is on our long list of dreams for sure! 😉
You had me at functional! It’s so pretty – I didn’t know you could root basil – excited to learn that tip!
Yes! There are so many you can regrow that I didn’t know about! Here’s some more: http://food-hacks.wonderhowto.com/how-to/10-vegetables-herbs-you-can-eat-once-and-regrow-forever-0150343/
What a great idea. I need to add some plants to my home and edible ones would be even better!
It’s always nice to be able to use them for sure! 🙂
This is such a fantastic idea! I especially love how you’ve decorated each pot, it’s so cool that you can do calligraphy! x
Thank you Pearl! I am learning a lot and enjoying it a ton! 🙂
I love this! So functional and pretty at the same time. We just created a little plant ledge but I didn’t pot anything edible. I just tried something sturdy that hopefully I will have a hard time killy ; ]
Tania! This is adorable and such an inspiration, I might have to make one in our house! Glad to have found your blog 🙂
You have achieved a truly amazing result. Many people are afraid to grow plants indoors for the very reason that they need sunlight. But don’t hold back if you really want to garden – there are many cool solutions for this now.