Cedar Closet Makeover
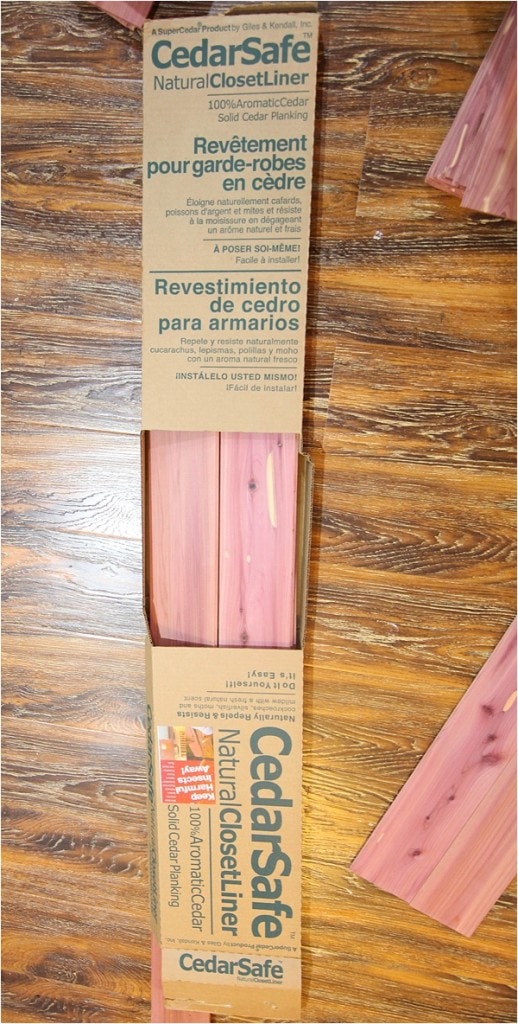
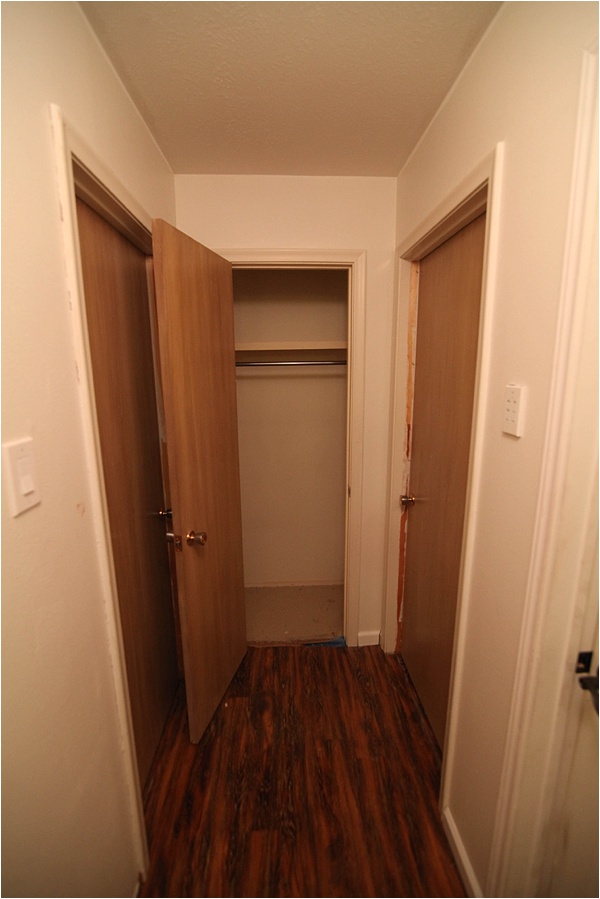
Lately we’ve been finding moths in our house a few times a week. Not swarms of them, or anything giant and scary, but we will be watching television, or lying in bed reading and all of a sudden a tiny gray-winged insect will appear. I’m still not sure where they are coming from, but I know for sure I don’t want a whole bunch of them feeding on our clothes! So when CedarSafe offered me the opportunity to try some of their cedar-planked natural closet liners, I was super excited to give them a try! You see, these cedar planks really solve a two-fold problem for us. One being the moths and wanting a secure place to store our jackets and linens and the other issue being our little secret at the end of the hallway. See that innocent looking door there? I give my outfits a once-over in front of that mirror every single morning. But I haven’t actually opened that door in about three months. The last time I did stuff started falling out and I got scared so I just shut it and walked away. I know, terrible. But everyone has that one spot in their home like that, right (please say yes!)?
We decided it was time to tackle our dirty little secret and get that closet under control. When our cedar arrived, we knew it was time.
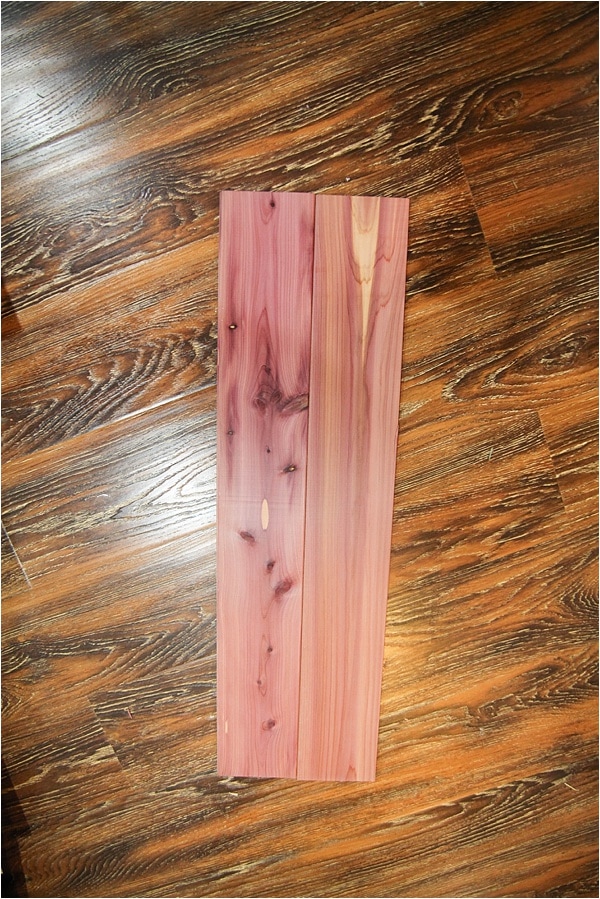
First of all, my goodness. cedar smells SO GOOD. It’s like being in the forest or a cabin or something woodsy and magical and fresh. I love it. After I took a break from sniffing the cedar planks, we got to work by emptying out the closet. A majority of the stuff was either donated or thrown away—obviously we don’t need it! I was inspired from my recent adventure in Europe that less really is more, so I’ve been on a downsizing kick lately. I hope I stay on it!
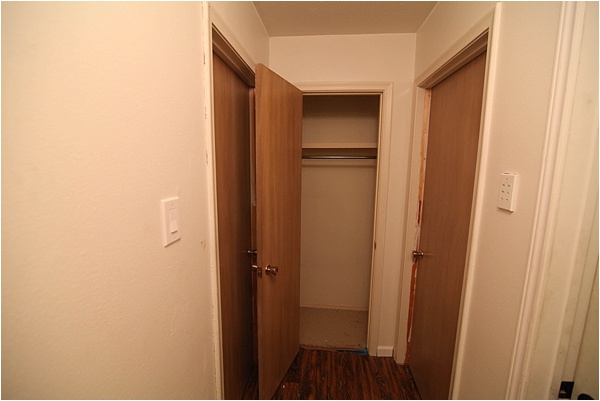
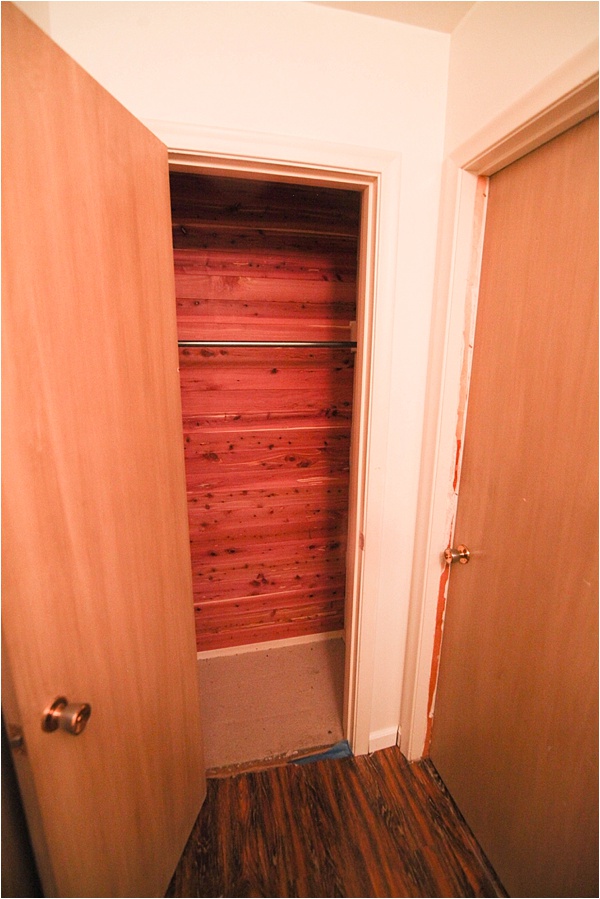
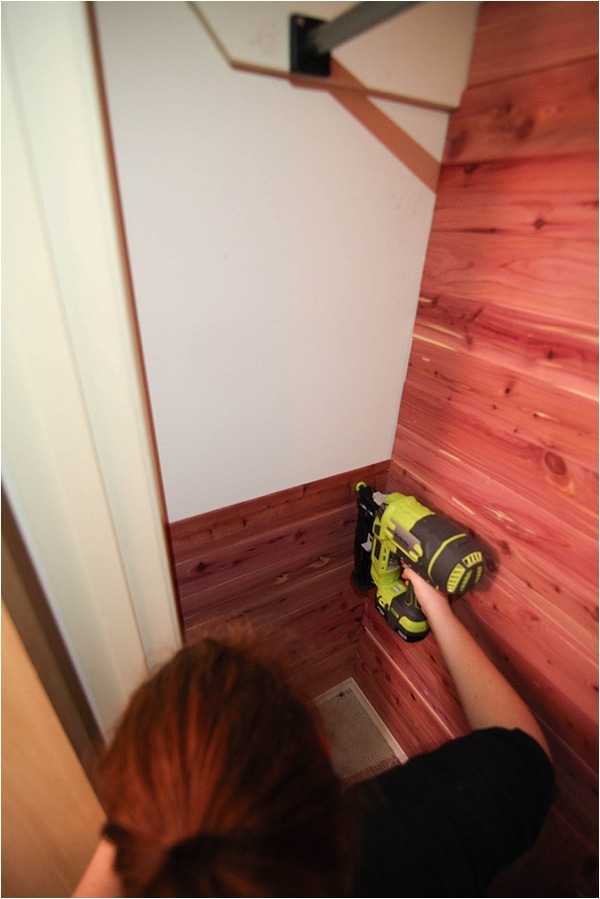
After the closet was cleaned out, we started from the bottom of the back wall. First, we measured the back wall and used a miter saw to cut the boards down to size. Then I used a stud finder to find where the wall studs in the closet were, and then used a level to ensure my bottom piece was straight before nail gunning it in with ¾” nails to the studs. It’s extremely important to make sure your base piece is straight, otherwise your whole wall will be crooked!
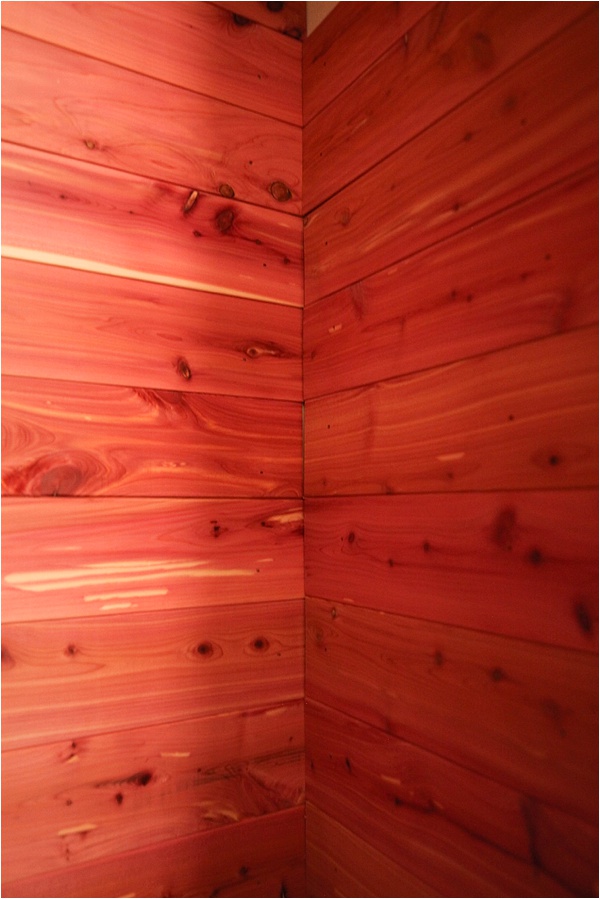
The planks are tongue and groove, so putting them together while on the wall was pretty easy. Every piece was attached to the one below it, then nailed in place with the nail gun.
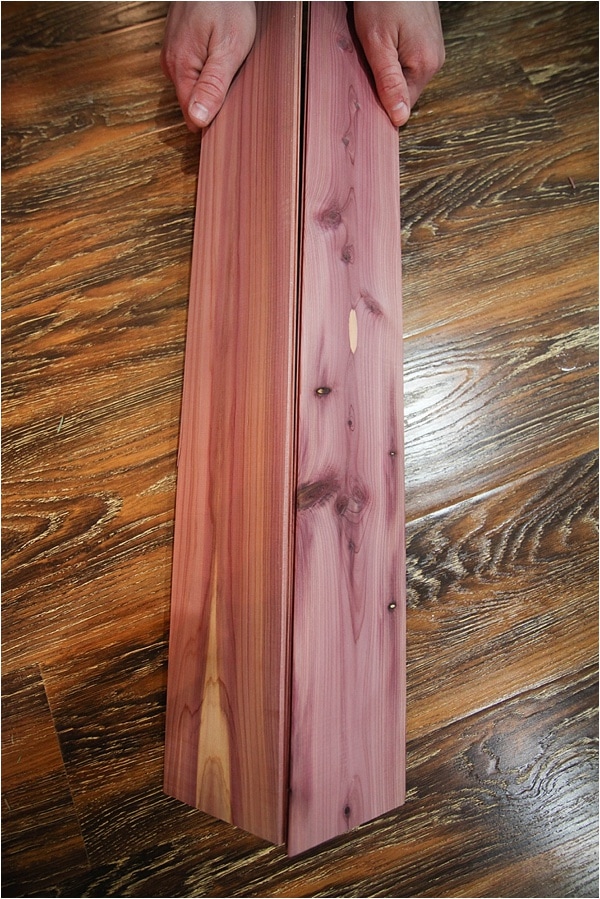
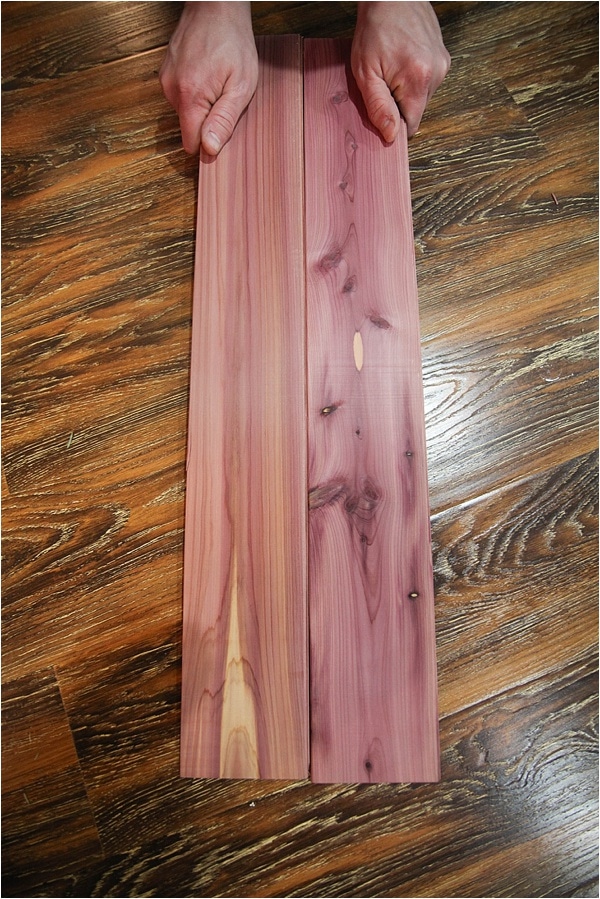
After the back wall was done, we repeated the process on each of the side walls. From beginning to end this tiny closet took us about two hours to do. So simple! And we were LOVING the smell.

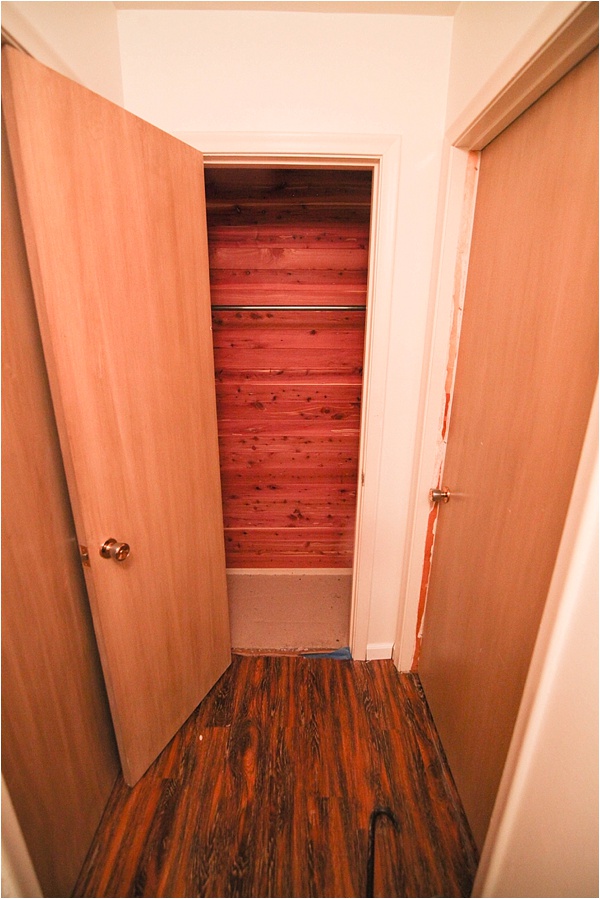
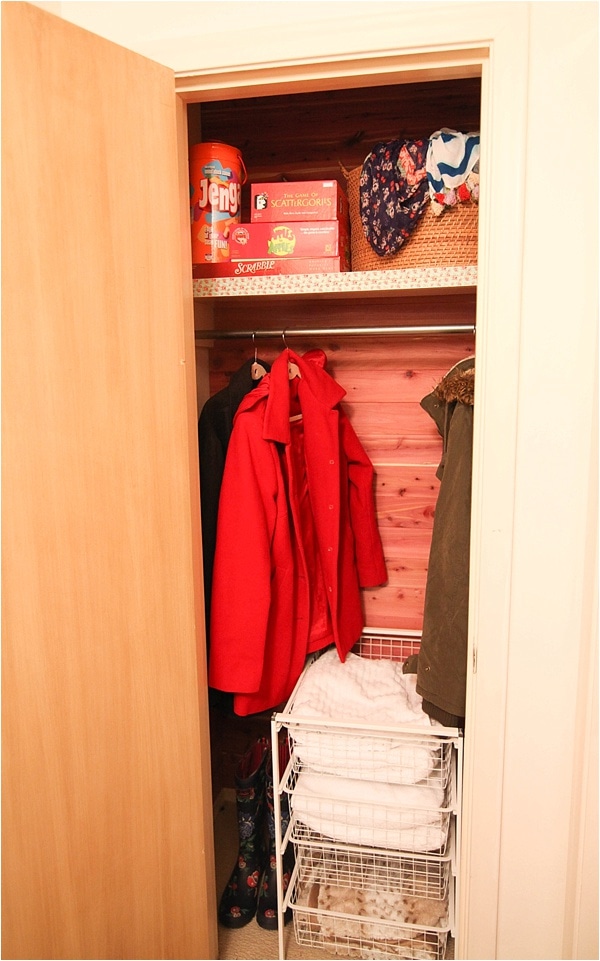
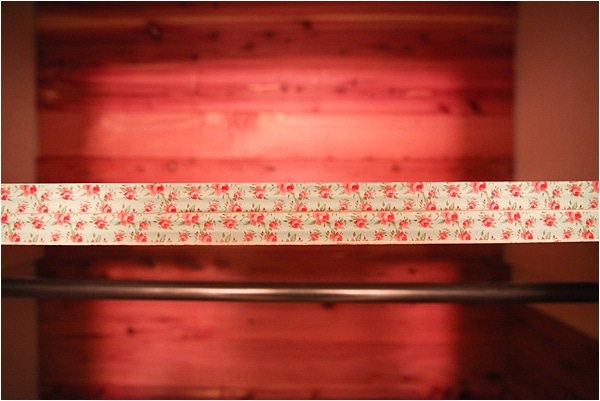
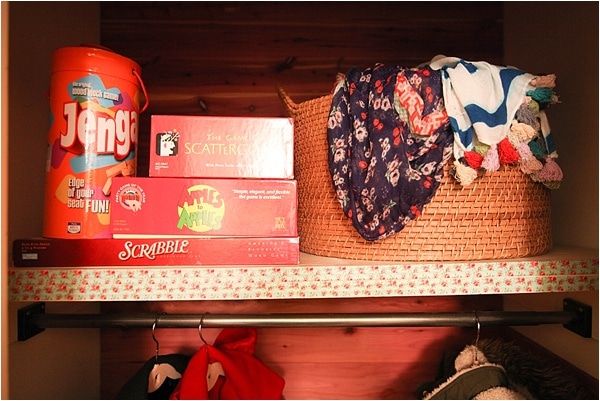
Then it was time to put everything back inside. We left the shelf in the closet, but I used a bit of washi tape to give it a decorative edge just for fun. I love how it looks with the cedar! Super cute.
We LOVE board games so those went on the shelf, along with a basket of my favorite scarves. I admit it. I have a scarf problem (repeat to self, less is more…even with scarves).
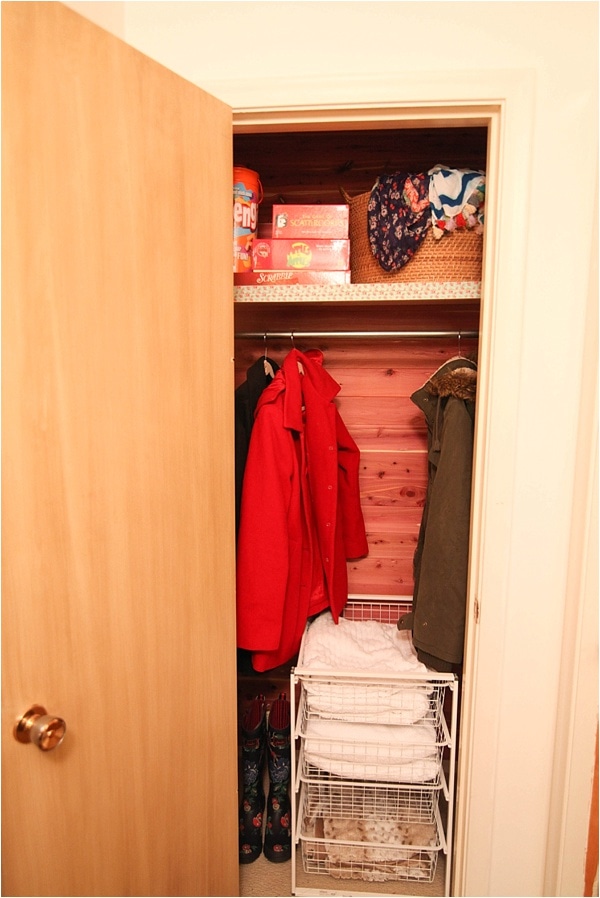
Look! Now our jackets can fit in the closet, along with a drawer unit to hold our spare towels and linens. Now when I get ready in the mornings and use that mirror, I won’t be afraid to open it. I probably will open it every morning just for a sniff—with no fear of bugs! Yay!
Do you all have cedar closets? I think at one point most houses had them, but this is my first one. Aren’t they pretty? I almost hate to put stuff in it—I just want to stare at it!
This post was sponsored by CedarSafe, who provided material and compensation for this project. As usual, all ideas, opinions, hard work and creative content are mine. If you are looking for a fantastic, easy way to install cedar planking, I highly recommend them! Thank you for supporting the wonderful companies who help my blog continue to run!
Tania Griffis is an accomplished writer, blogger, and interior designer with a Journalism degree from the University of Oklahoma. She started her popular blog, Run to Radiance, in 2011, demonstrating her design expertise through the personal remodeling of six houses to millions of readers across the globe.
Tania also owns The Creative Wheelhouse, a respected ghostwriting agency for bloggers, further showcasing her talent for creating engaging and informative content.





Wow it looks great. And I you’re right I bet it does smell amazing! I didn’t know that they made planks like that I’m definitely going to check them out!
Looks great! Makes me want to get our coat closet organized too.
I totally have a scarf obsession too 😉
I love my cedar closet, the smell is amazing
This looks so neat! I’ve never heard of this product or idea even. Definitely a bonus if it smells woodsy! I’ll have to look around the house to see where we can install some of these ourselves. 🙂 That closet looks great!! ( I also have a scarf problem ;))
What a great project! I love how you edged the shelf with washi tape. Clever!
That is pretty cool, I love the way it turned out. I also love the smell of Cedar too.