How to Make a Homecoming Mum
This post may contain affiliate links. As an Amazon Associate I earn from qualifying purchases.
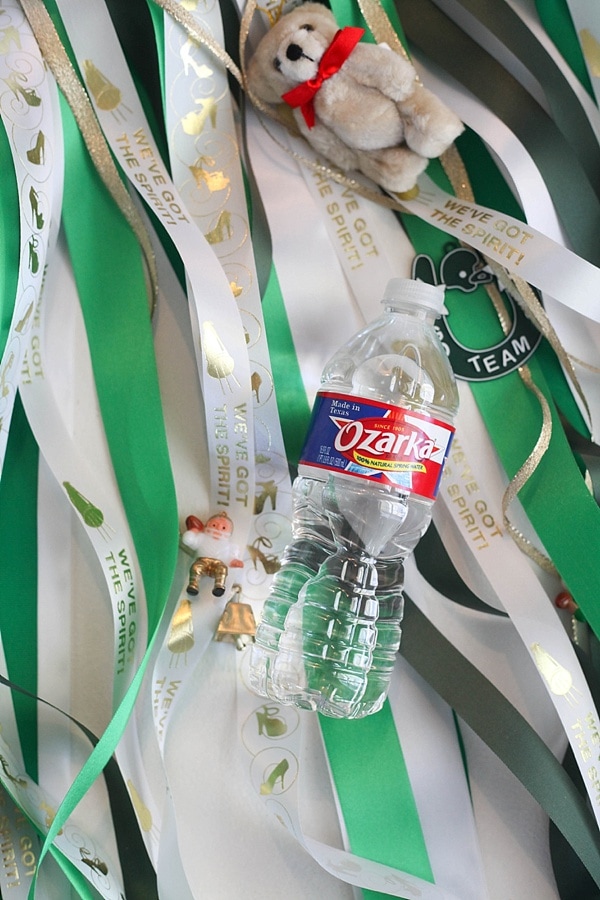
This post is sponsored by OZARKA® water. All opinions are my own.
It’s October in Texas, which is a very exciting month around here. The weather might be starting to cool down, the Texas State Fair is going on and it’s football Homecoming season. I know games happen across the country, but there’s nothing quite like Homecoming in Texas. Why? Simple— Homecoming mums.
If you aren’t from Texas, you probably have no clue what I’m talking about. We moved to Texas when I was in 8th grade and I was totally clueless to what my peers were talking about when they started mentioning Homecoming mums and dances. I quickly learned, however, that there’s one rule that trumps all others—when it comes to mums, dresses and hair, bigger is better.
Another Texas tradition to note is OZARKA water. They’ve been around for over 100 years and is sourced only from carefully selected springs located in the great state of Texas. OZARKA contains naturally occurring minerals for a refreshing, crisp, clean taste. They are passionate about supporting Texas communities, so for the second consecutive year, OZARKA is proud to support the Southlake Carroll High School football program as the official spring water of Dragon Stadium. Check out this awesome video OZARKA put together to get a taste of what Homecoming is like in Southlake:
Southlake happens to be my alma matter! 🙂 So you can imagine I was super excited to work together with them to show you how to create a Homecoming mum of your very own.
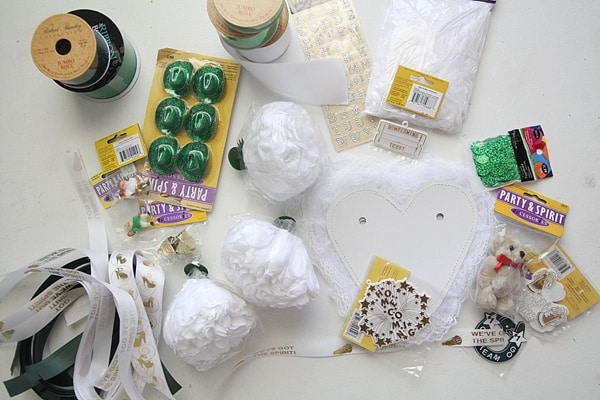
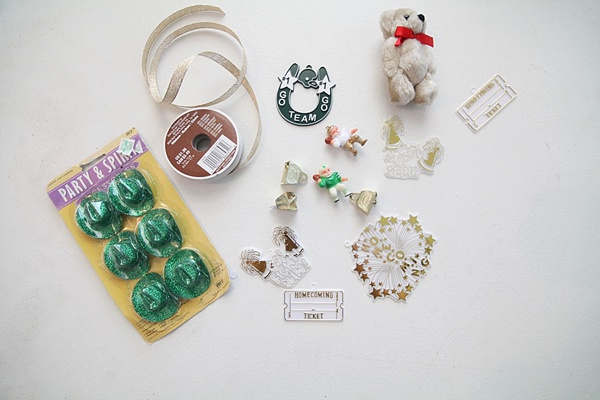
Supplies Needed: (all supplies can be found online if not available in your local craft store)
- Ribbon. I used about 22 strands of 1 foot long ribbon and 40-50 strands of ribbon that were 1 yard long each.
- Cardboard backing. I used 3 heart-shaped ones.
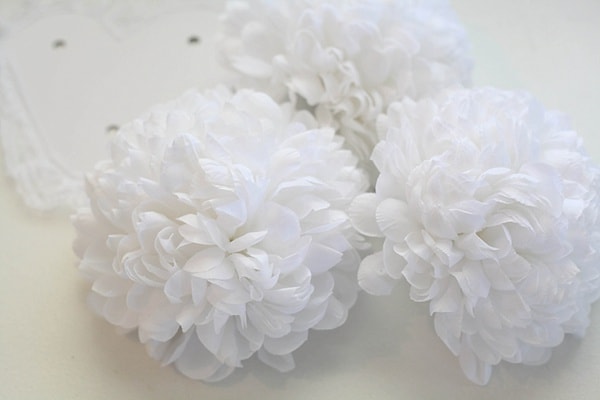
- Faux mums. I used 3.
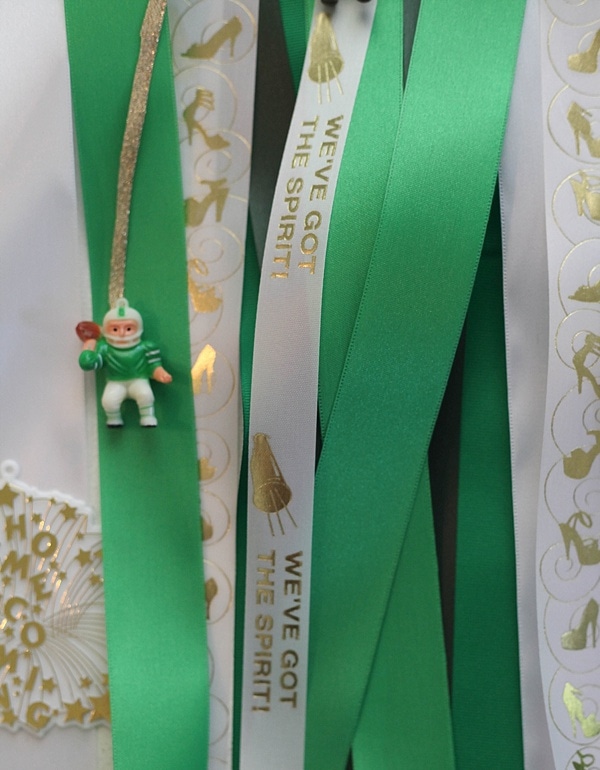
- Homecoming charms.
- Hot glue.
- Scissors.
- Stapler
Start by making the base layer. Take one of the cardboard backing pieces and using a ribbon of your choice, create a loop and staple it to the piece. Make sure you leave the three holes in the backing accessible—you’ll need them later! 🙂
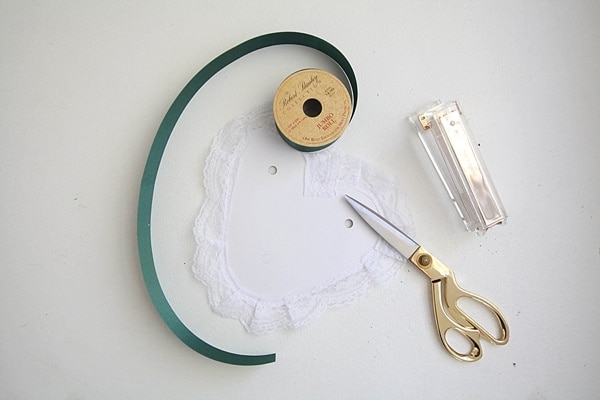
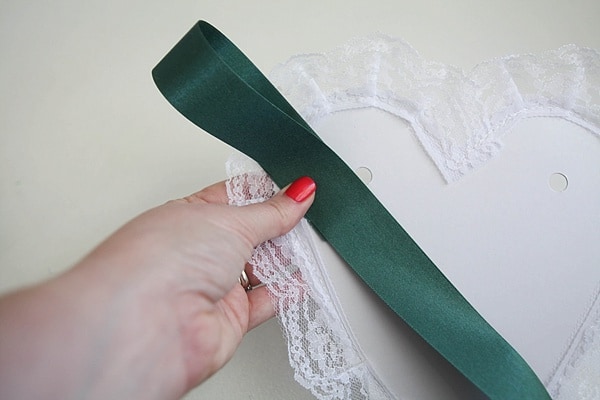
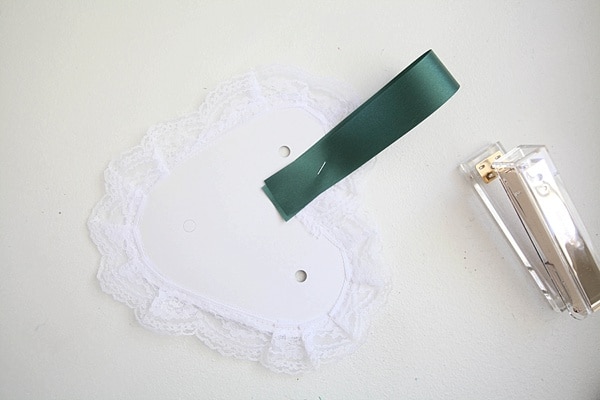
I stapled the ribbon loops around 3/4ths of the piece. The empty space on the bottom will be for the hanging ribbons in the next step. As you can see in the photo below, I trimmed the ribbon down at the bottom so it wouldn’t cover those three holes on the base.
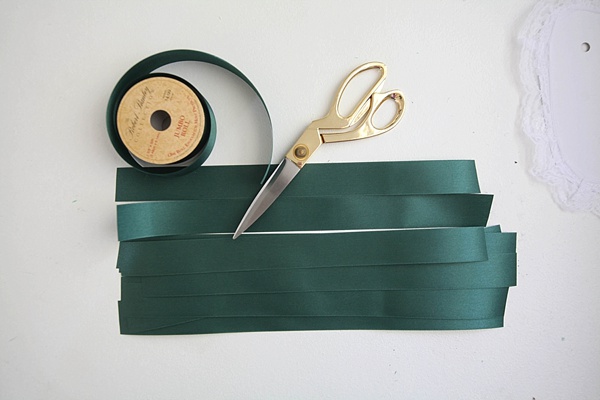
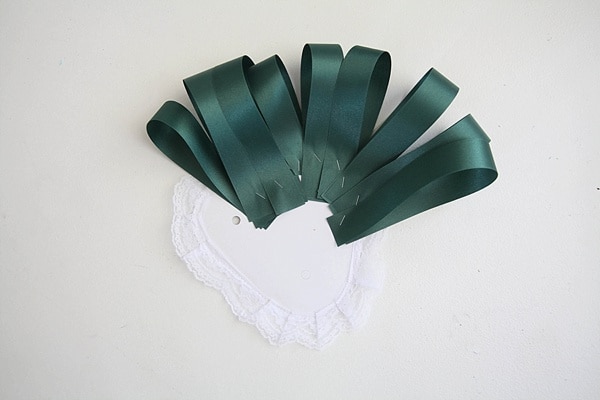
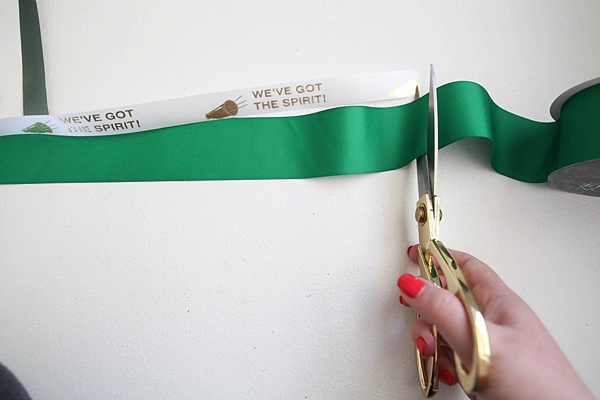
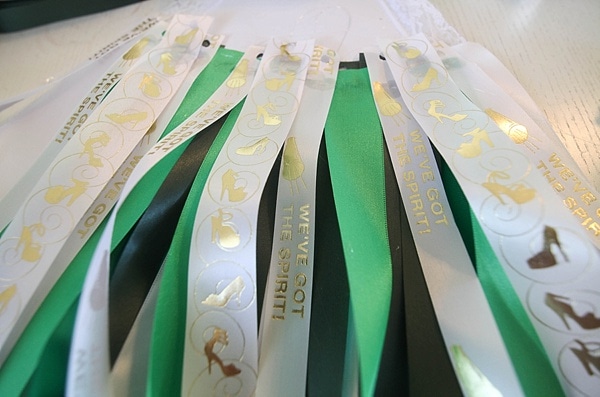
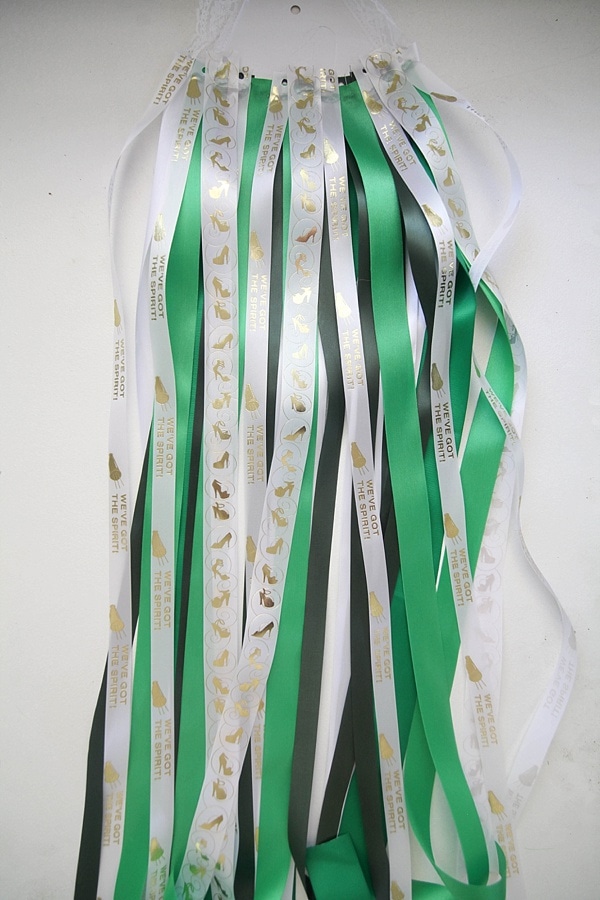
Next, get your hanging ribbons ready! You can buy these pre-cut or cut your own off the spool—I did both. They should be a yard long each.

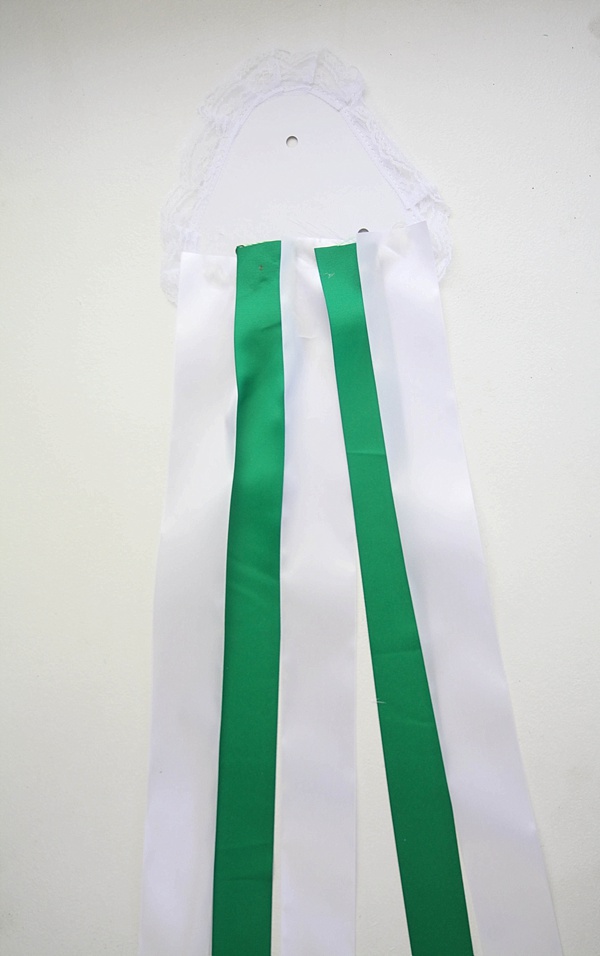
Starting with a new piece of cardboard backing, hot glue your base layer of ribbons on. I recommend using wide ribbons in alternating colors. If you haven’t worked with hot glue before, here’s your warning—it will probably burn you. It hurts. Be very, very careful!
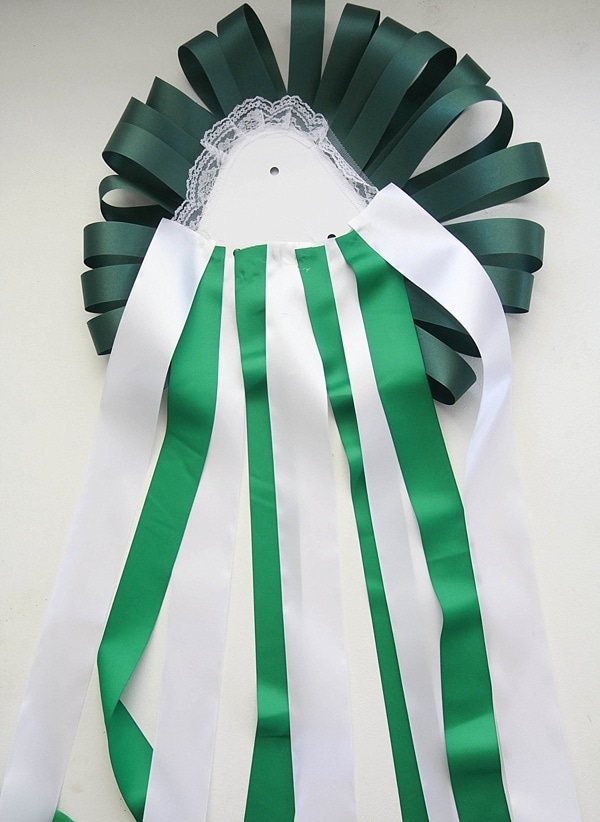
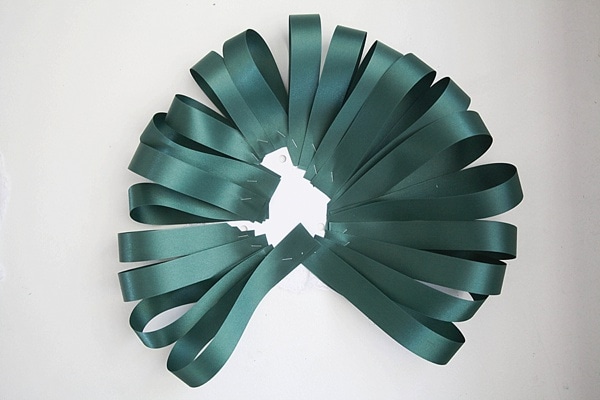
Now add on your next layer of ribbons.
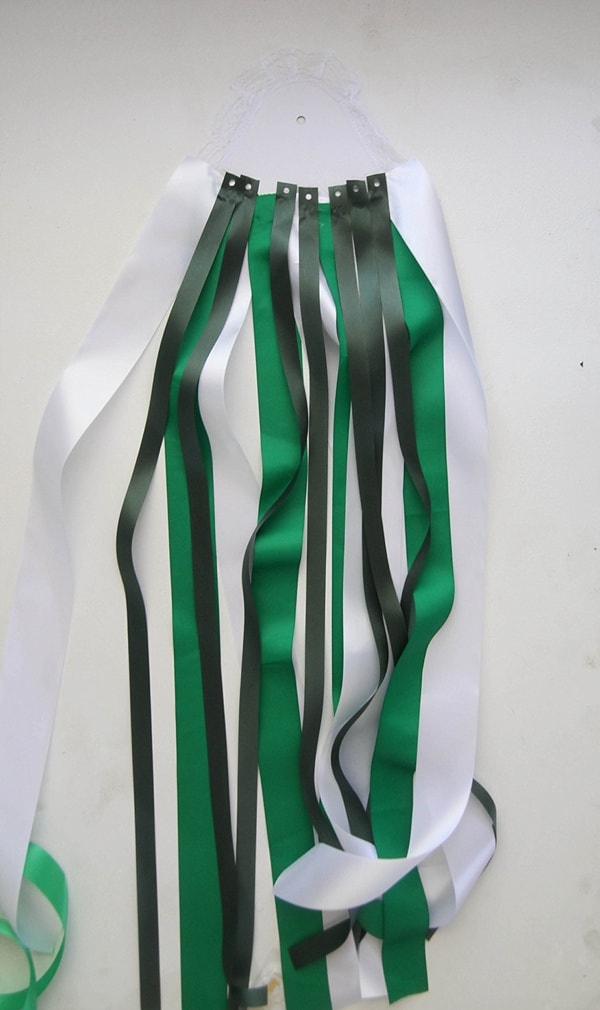

Keep adding on layers of ribbon with your hot glue. I used about 40 total.
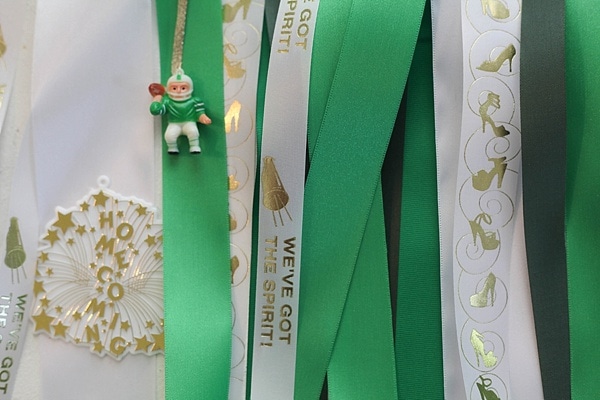
Now it’s time to add your Homecoming charms. Aren’t these all so cute? I’m not sure which is my favorite…I think maybe the little football guys! I attached them with thin ribbon and hot glue to the existing ribbon layers.
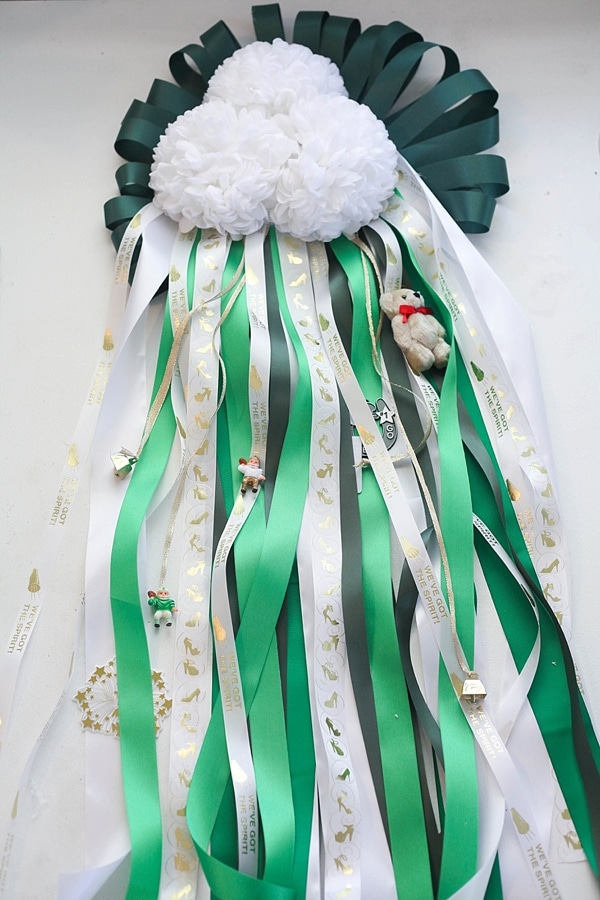
Now, it’s time to use your remaining cardboard backing piece to attach the mums themselves. Aren’t they pretty? I added hot glue to the backing piece, then inserted the stems through the holes. Once they were dried, I then added the three cardboard layers together and glued them—the looped ribbon piece on the bottom, the hanging ribbon layer in the middle and the mum layer on top.
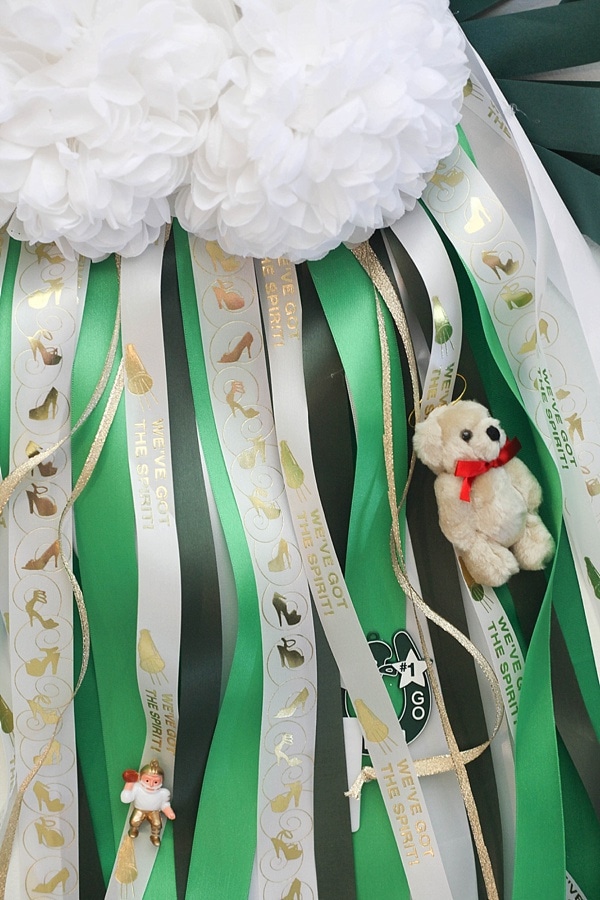
Tada! You’ve now created your very own Homecoming mum! Yeehaw! 🙂

I want to hear about your Homecoming memories! Did you guys get Homecoming mums? What are your favorite memories or traditions?

I cannot get over how outrageous the mums are in Texas!!! You did a great job putting your together. In Alabama we do not do Homecoming Mums, basically our only tradition for homecoming is spirit week.
Isn’t it interesting? I think texas is the only place that does these that I know of! 🙂 We have spirit week too!
I have never seen these before, but it is so fun and full of spirit!!! Love these!
They are really fun Nadine! And you can make them totally personal which is fun. My favorite one in high school had glittered EVERYTHING. <3
I didn’t even know this was a thing again. I haven’t seen these since the 80’s!!!
How cute!!!
How cool! Were they as big (literally) in the 80s?
Good job, Tania! Yours looks very classy 🙂 I am considering making one for myself and dressing as a Texas high schooler for Halloween!
Kelly that would be awesome! You should! Wear some cowboy boots too, just for fun.
I love how you made the mums making so easy and very classy. And looks like my favorite water Ozarks got you through this project; ) Well done.
Yes, it sure did! All that crafting calls for rehydration. 🙂
i always wanted one of these growing up!!
It’s not too late! 😀
I do not even know the way I stopped up here, butt I asesumed this put up was great.
I don’t recognise who you might be however definitely you’re
going to a well-known blogger should you aren’t already.
Cheers!
This looks so incredible! Pinned and tweet. Thank you for being a part of our party. I hope to see you on Monday at 7 pm, because we love to party with you! Happy Halloween~Lou Lou Girls