Prepping for Paint: Patching Holes, and Drywall Texturing
This post may contain affiliate links. As an Amazon Associate I earn from qualifying purchases.
Hi Everyone! Hope you all had a fantastic weekend! It was ridiculously gorgeous outside- in the 70s!- so we spent 80% or so of our time outdoors. Love. Could winter be over?!?! I hope so!
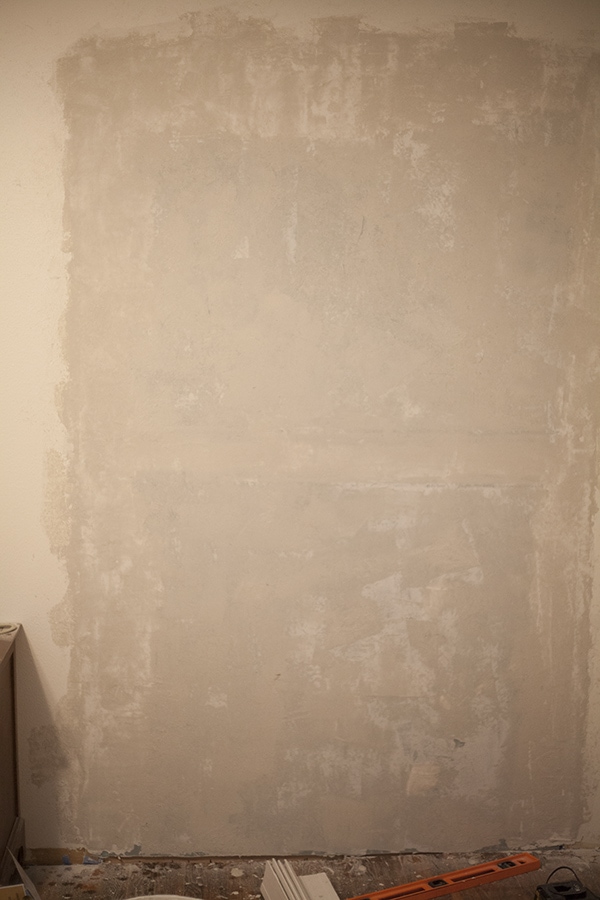
So like I shared last week, we finally got the dusty rose carpet and wallpaper out of our room!! Next up was paint, but before painting we had a few things to take care of- patching some holes and drywalling an entire closet to seal it shut.
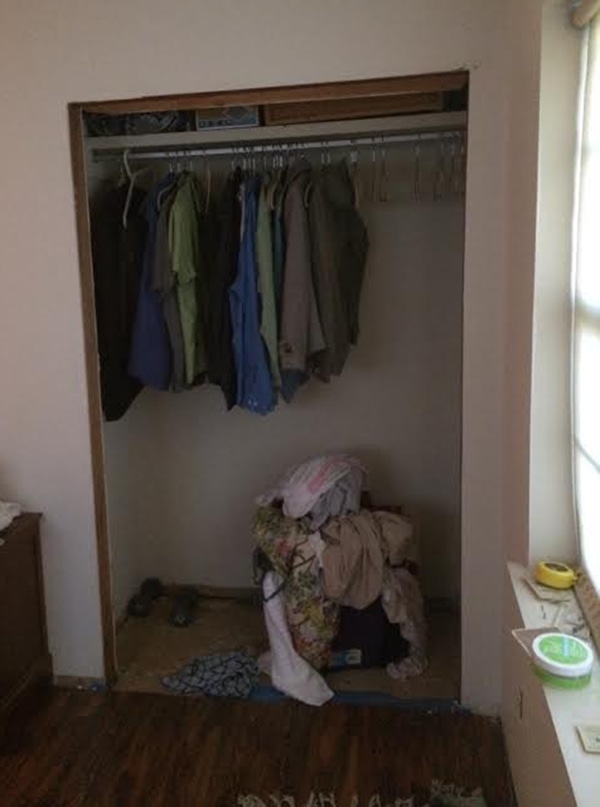
I know you all are probably thinking we are crazy. Why on Earth would you seal shut a closet in your room? Here’s the thing….it was ugly. And we are planning a full scale master suite reno which will give us one giant walk-in closet (por moi!) and one regular sized closet (for darling Scott). So we decided to go ahead to drywall the closet shut so we could at least have our room done- painted, baseboards, everything.
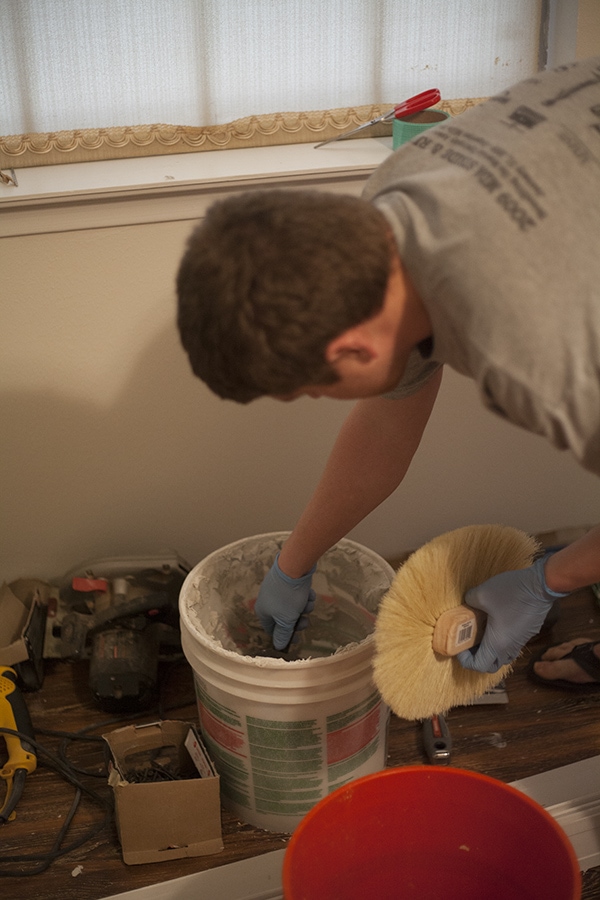
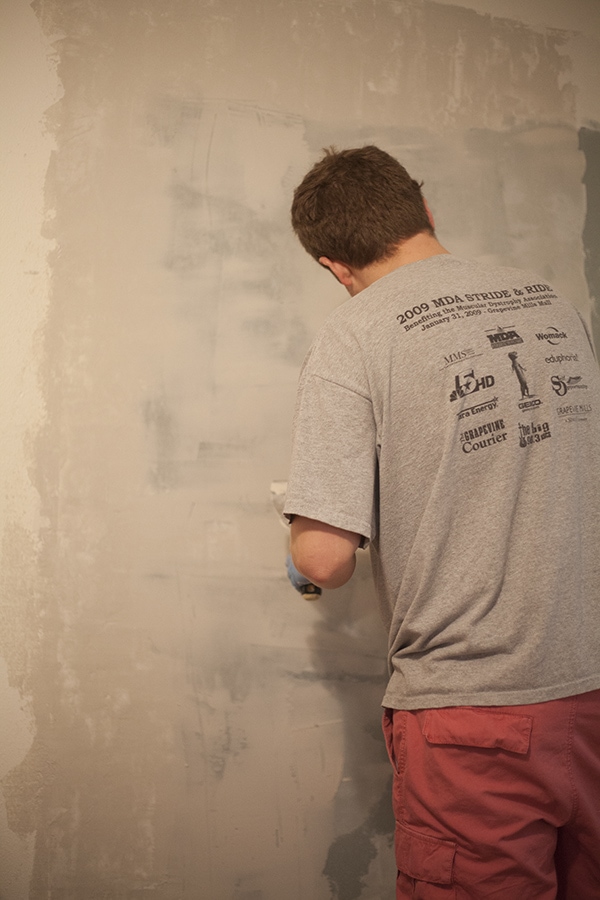
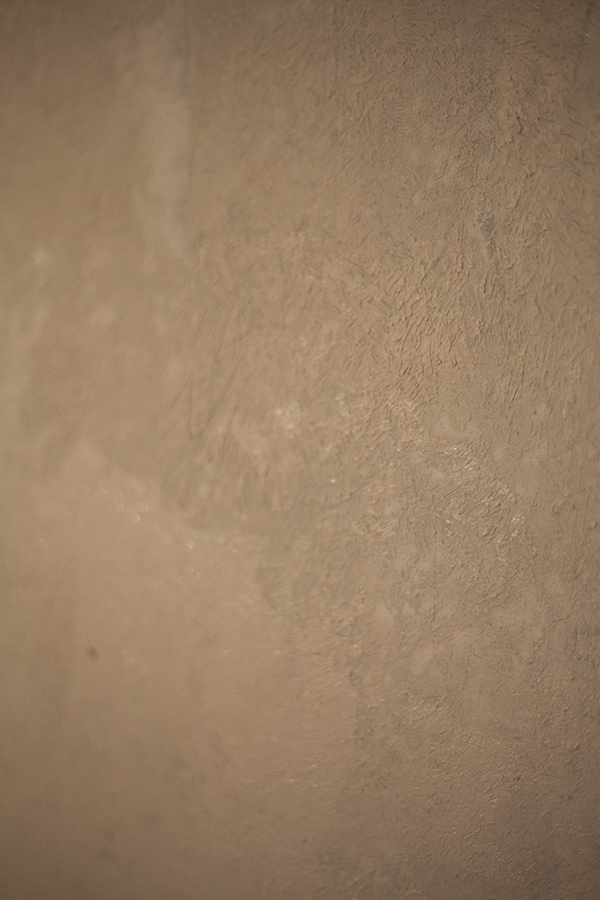
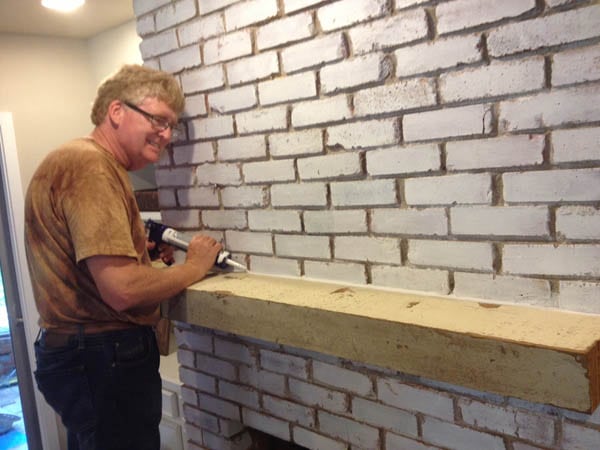
So we did. Scott pulled out all his clothes (we are still sorting out closet situations- luckily we have 3 in the house still!) and drywalled it right up. We had debated on what type of wall texture to use, but in the end, decided it would be easiest to just match a light crow’s foot pattern which is what we have in the rest of our room.
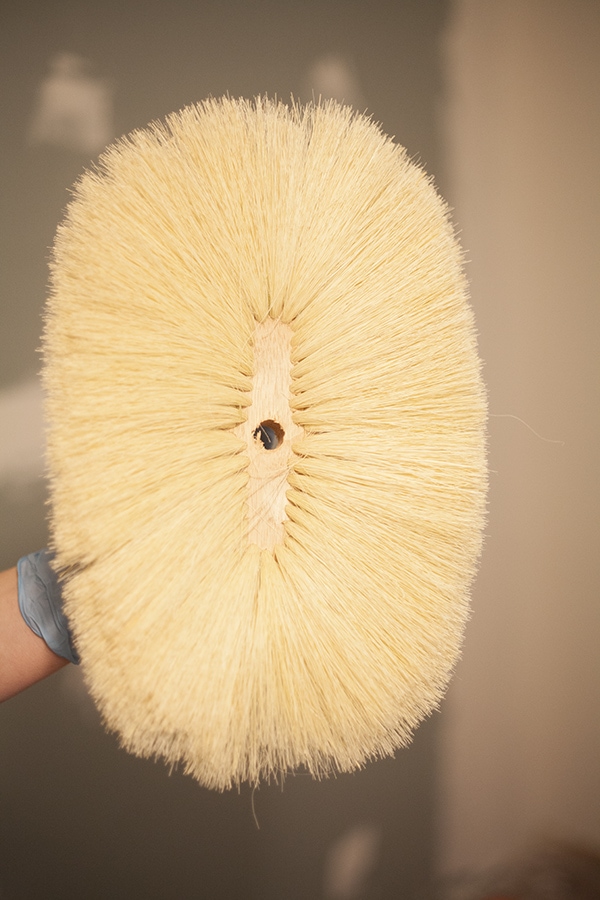
It was pretty easy to do. He used this brush that is especially designed for crow’s feet. It reminded me of a chimney sweep brush…like the one Burt has in Mary Poppins! 😀
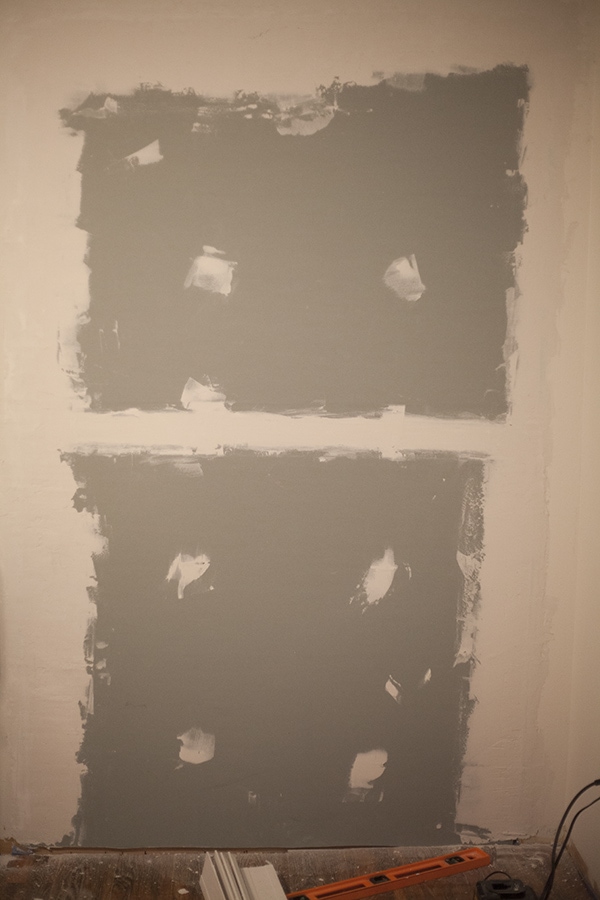
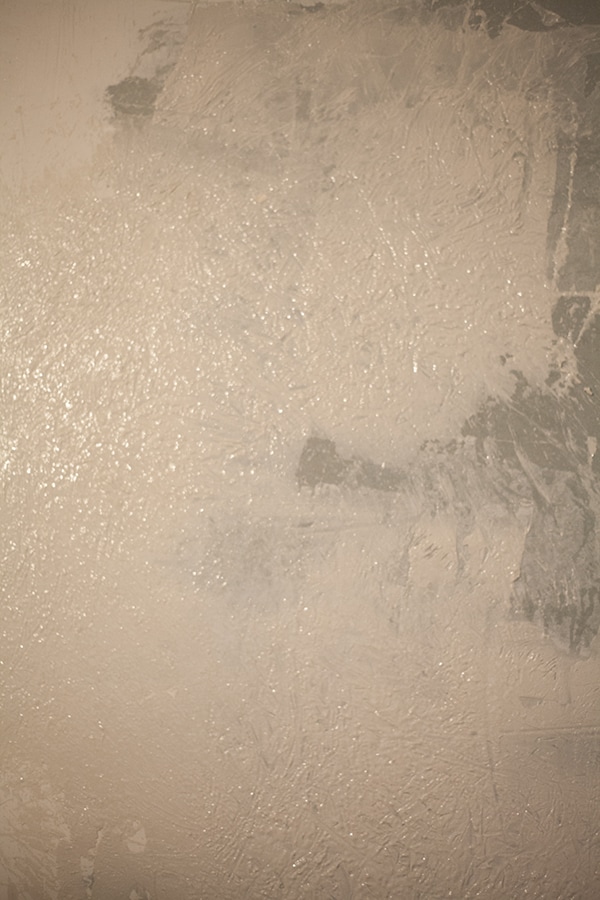
After doing several layers of drywall tape and mud to make a smooth, seamless surface on the wall He smoothed the pre-mixed drywall mud on the wall and carefully pressed the brush to the wet mud at several angles.
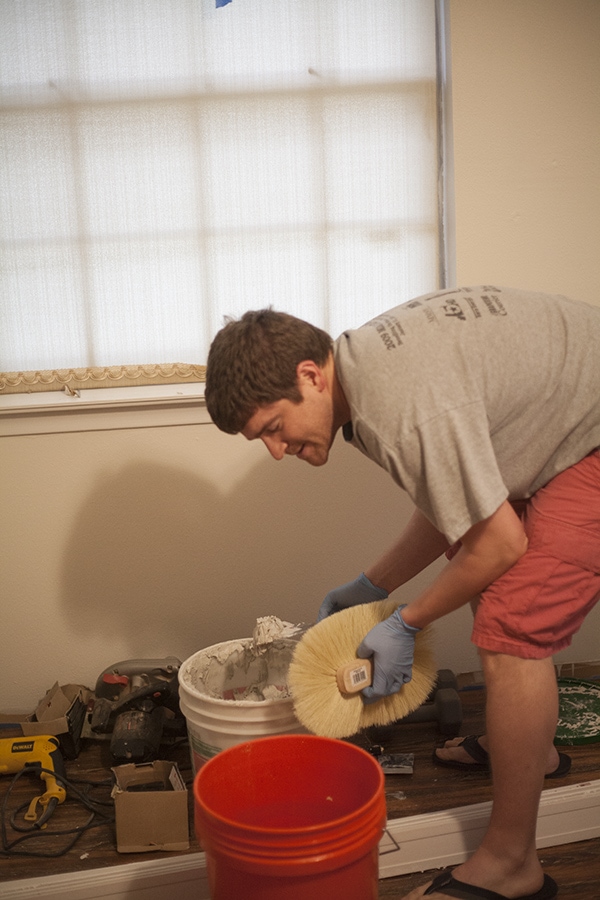
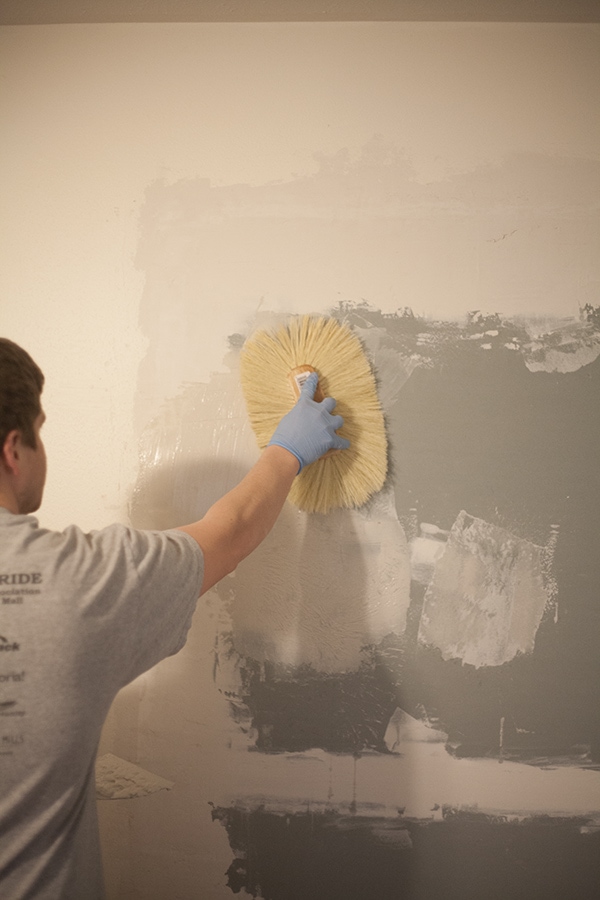
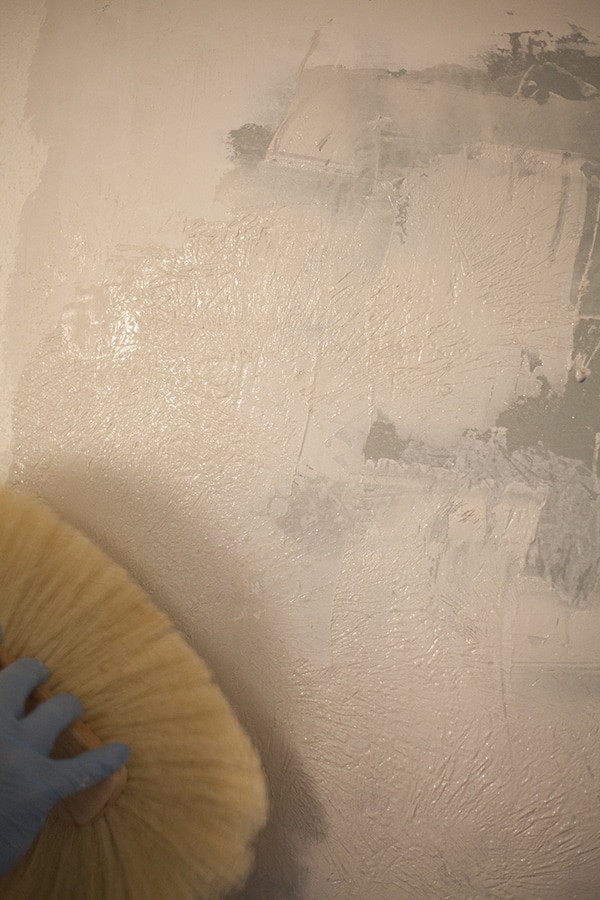
He looks like such an artist, no?
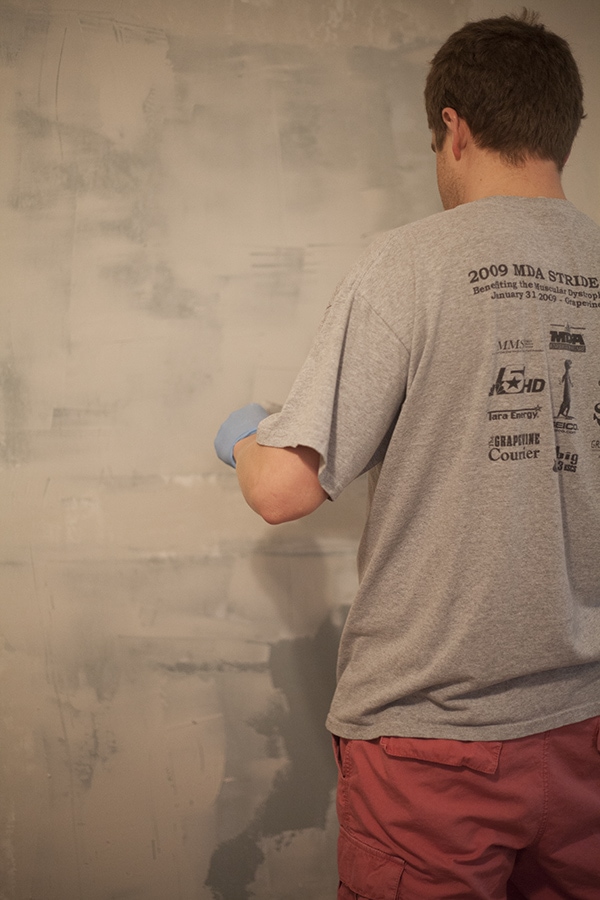
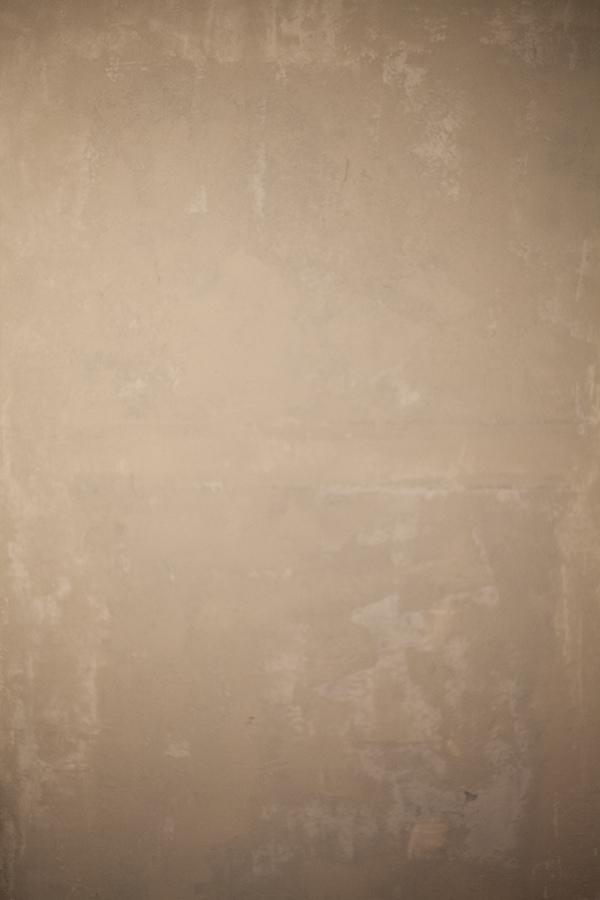
It turned out great and I LOVE how open our room looks now! We have a giant blank wall now, and I can’t wait to decorate it. 😀
We also pulled down curtains in both our room and my studio room (we’ll talk more about this room this week hopefully!). In my haste to pull these lovely curtains down in our studio room…
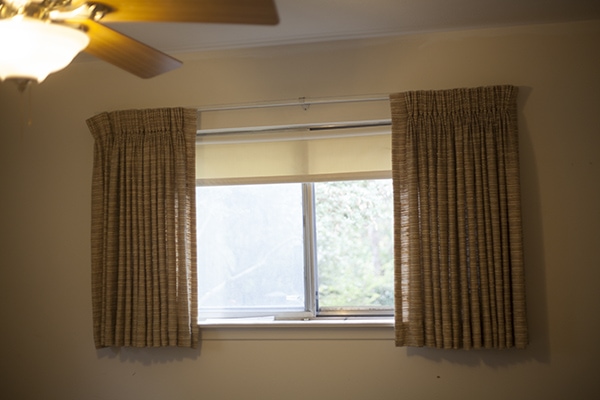
I accidentally ripped the entire rod off the wall on one side, leaving a pretty significant hole. Oops.
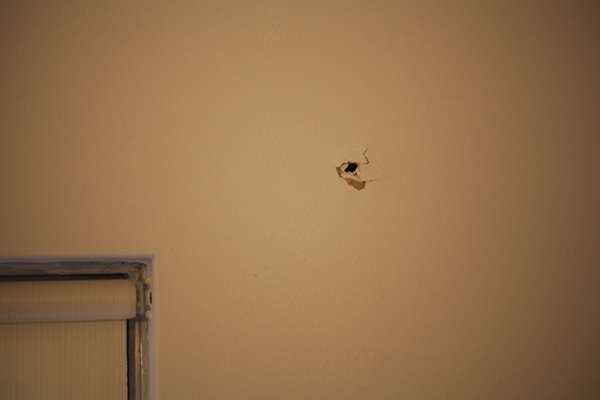
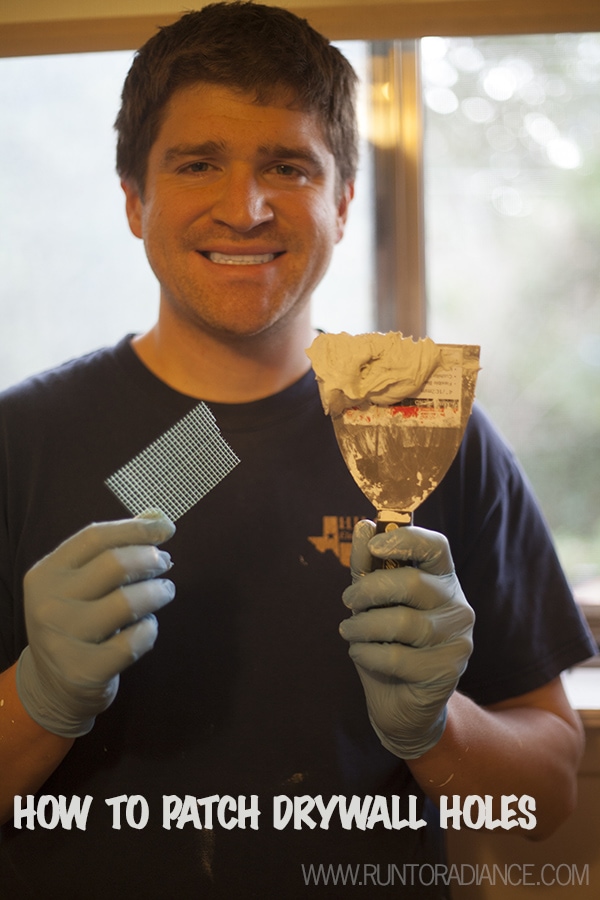
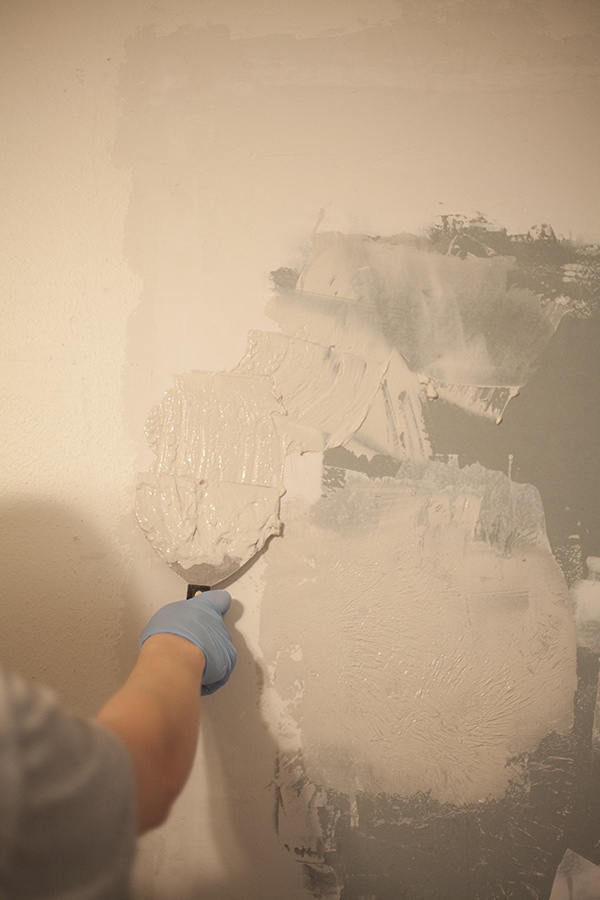
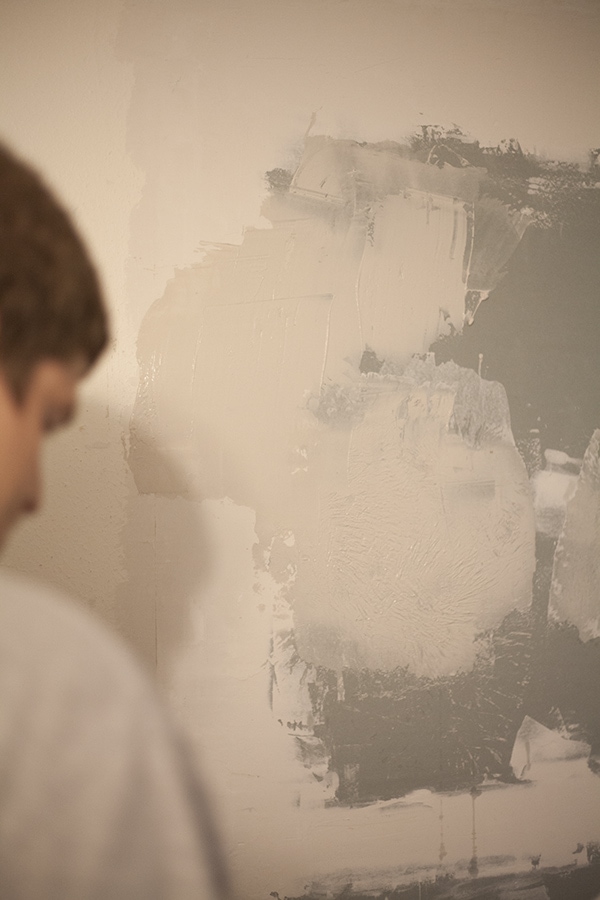
Never fear- Scott to the rescue! He taught me how to patch a hole- it’s not so hard and you can totally learn it too!
Get your drywall mud and a piece of mesh, and place the mesh over the hole.
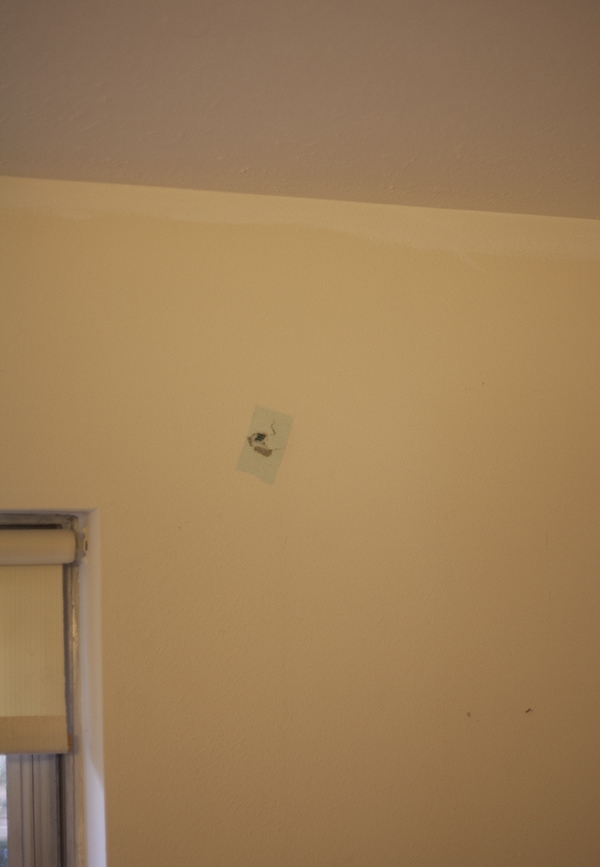
Then take the mud and put a thin layer over the mesh, sticking the mesh to the wall.
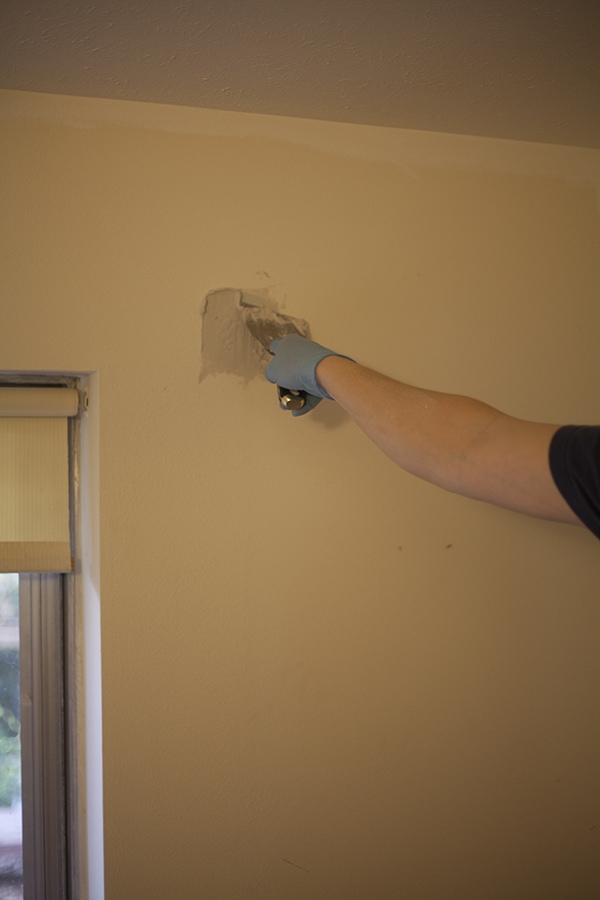
Do a second thin layer, then scrape off the excess. You want it super thin.
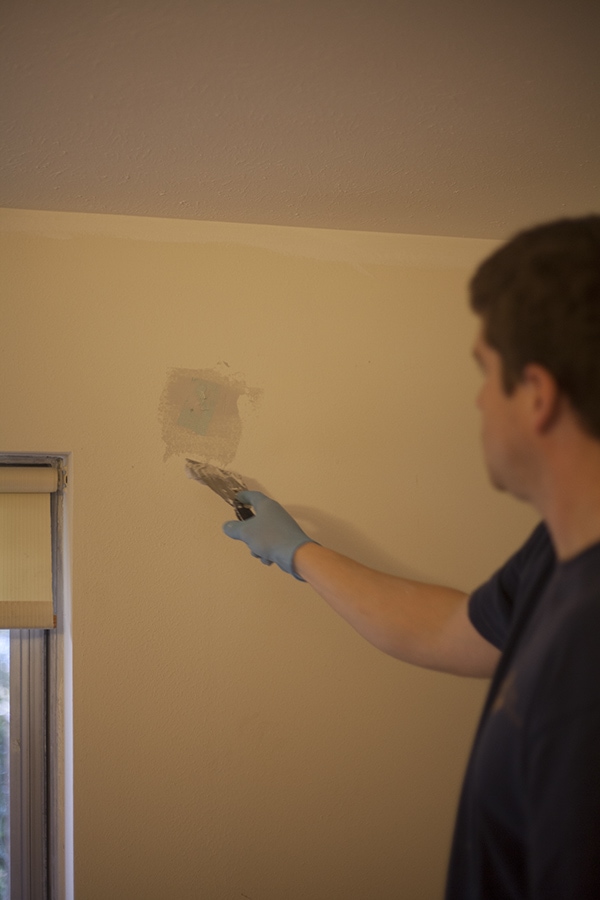
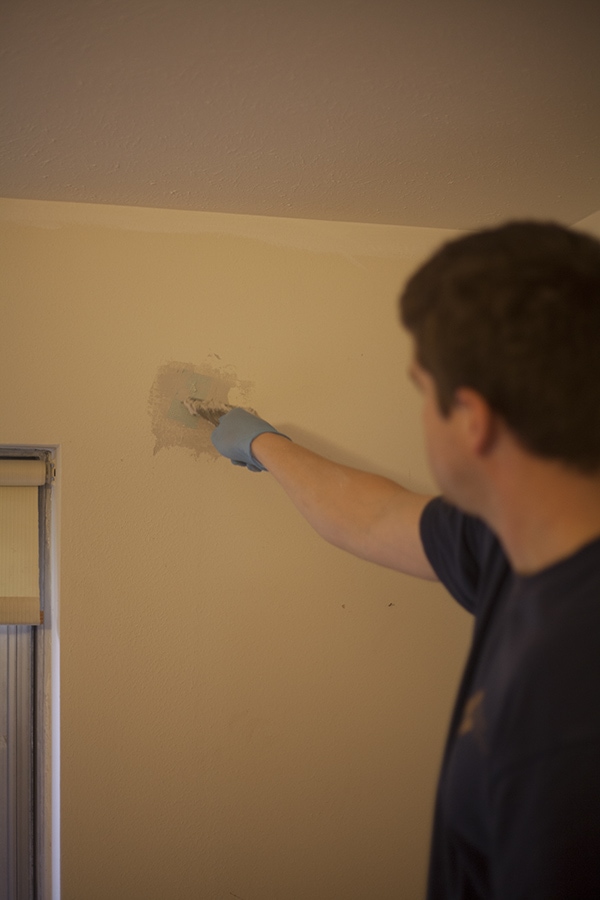
That’s it! Then you would just paint over it when it dries…which is what we did!
SO excited to show you all our pretty painted room…!! Come see the death of the dusty rose ceiling! 🙂 Tomorrow!!!
Did anyone tackle any fun projects this weekend? I’d love to check them out! Happy Monday!
ohmygoodness, what a sweet husband you have 🙂 i can’t imagine jon doing anything.. well.. handy around the house. might have to send him this post for some inspiration 🙂
He is pretty great, I won’t lie. 🙂
A walk in closet! The room looks like its really coming together. I look forward to the reveal
Char thank you! It really is. So happy we are finally getting some visible progress, woohoo!
Those pictures of the wall with curtains looks stunning!!! When we mess up with the drywall supplies,the room looks at utter chaos.But the end result would be a beautiful piece of art.
Hi there, just became alert to your blog through Google, and found that it
is truly informative. I’m going to watch out for brussels.
I will appreciate if you continue this in future. A lot of people will be benefited from your writing.
Cheers!