Demoing our House
Thinking about demoing your house? Here’s my advice. Have a plan, a timeline and a budget. Then take your timeline and budget and multiply by 2-3x. Then double it. 🙂
I jest, I jest, but seriously- demo is not the breeze they make it out to be on those home improvement shows! Where is Kitchen Crashers when you need them???
We don’t have Kitchen Crashers- but we do have the next best thing…parents! 🙂 Before we get to that- here’s the inside of dear Gray Gables:
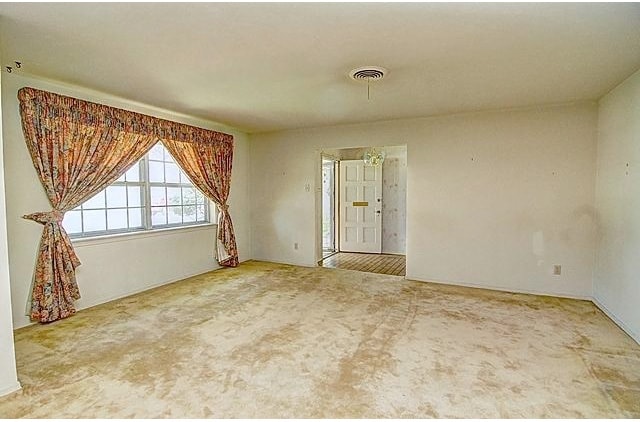
This is the dining/formal living room area that you see when you first come in. This photo is being shot from the entrance into the kitchen. On the other side the wall on the right hand side in this photo is the living room. (Photo courtesy of MLS).
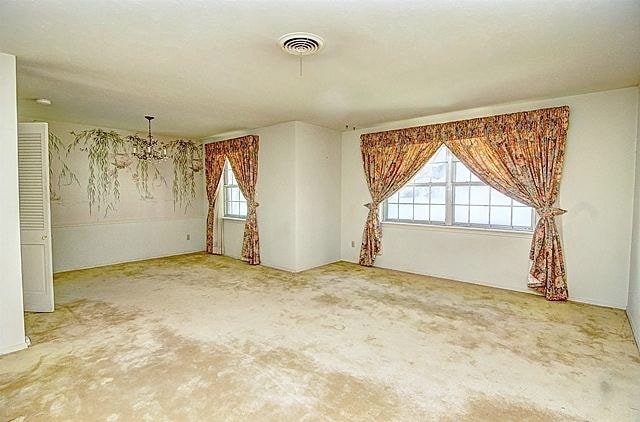
This is another view of the same dining/formal living room. The kitchen is where those doors are on the left side. the smaller area that’s indented on the left served as the dining room while this huge area (25 feet by 15 feet) was the formal dining. We are converting the former dining room into a kitchen extension/pantry. The larger area will be open to the living and will be dining as well as some built in shelves and bar area. Don’t you love the curtains and green tinted carpets? (Photo courtesy of MLS)
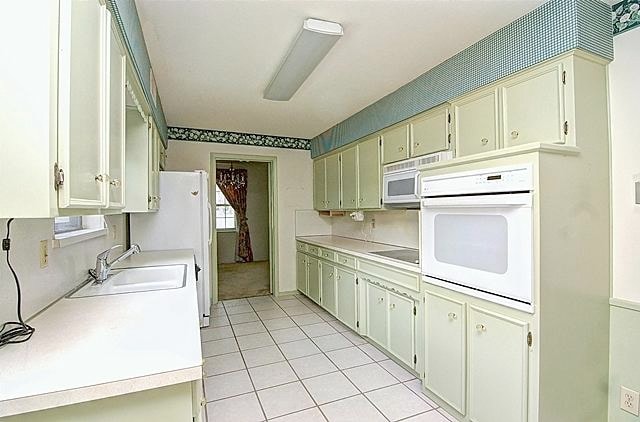
Here is the kitchen. It’s very…green. It’s a wide style galley- it’s almost 5 feet wide in between the two sides on the ground. The former dining (soon to be pantry/kitchen) is straight ahead and the entrance to the living room is on the right just out of view in this photo. Where this is being shot will be a banquette. We have completely torn down the right hand side of this kitchen and are placing an island with a cooktop and prep sink there instead. (Photo courtesy of MLS)

Here’s another view of the kitchen. As you can see we get AWESOME lighting in the house from those windows but since everything was so compartmentalized it left the inner rooms feeling dungeonized and creepy.
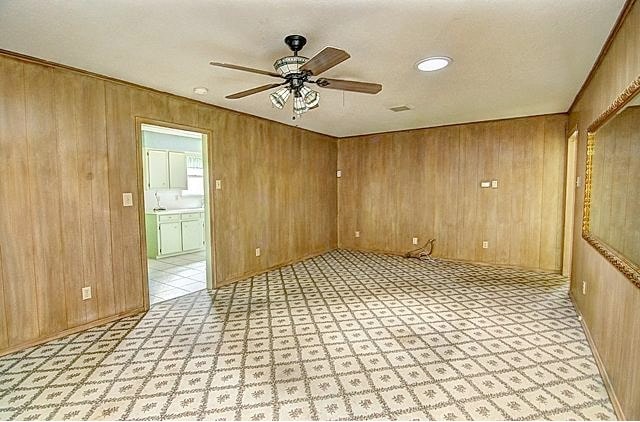
Here is the living room. Kitchen is on the left and the dining is straight ahead if you were to rip that wall out. Oh wait, we did! 🙂 The door on the right leads to a hallway with all the bed/bathrooms. This photo is being shot from next to the fireplace where the entrance into the sunroom and awesome backyard is -what sold us on this house! (Photo courtesy of MLS)

Here’s a close up on the wood paneling right before we started demo. I wish it well but it’s time to move on. 🙁
DEMO TIME! 🙂
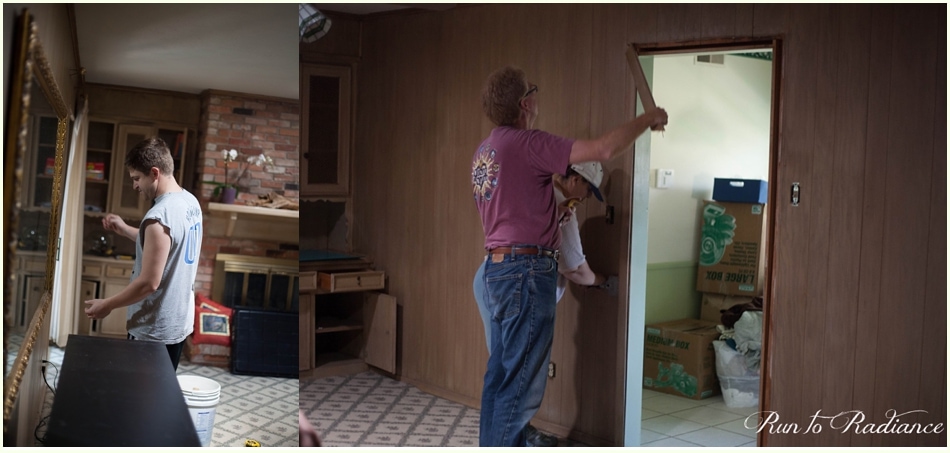
So here’s how we demo’d half our house out. It was actually pretty easy and took less then 5 hours! Since we didn’t care about the carpets at all and since we are planning on repainting every room and ceiling in this house- we didn’t have a ton of prep. We just shoved all of our stuff in boxes in the corners of the outer walls and started off by tackling the wood paneling.
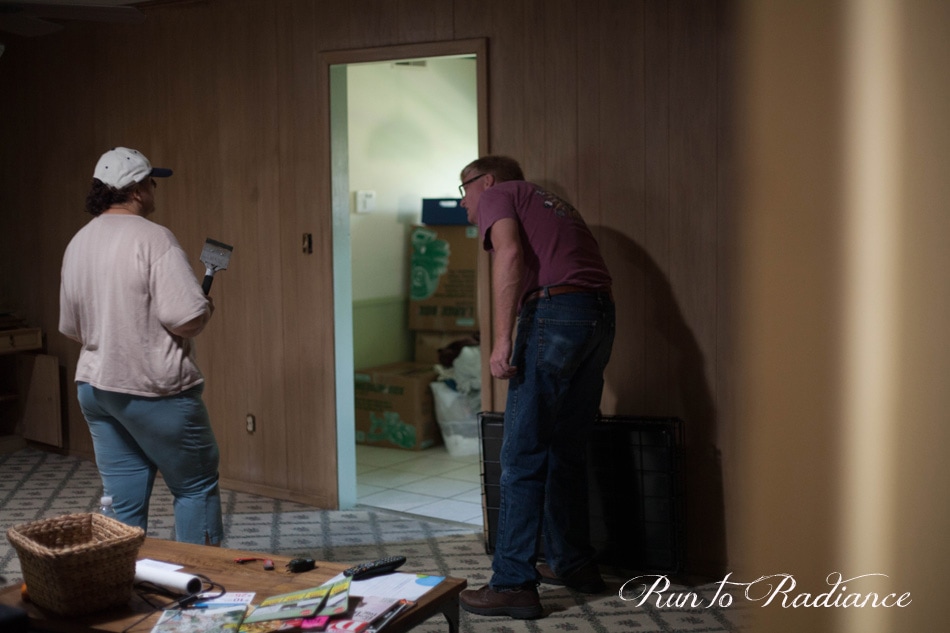
I know a lot of people choose to leave their paneling up and paint it which I think looks great and gives a room a good bit of texture however since we were condensing from 3 rooms into one we thought the finish would need to match on each wall so it felt more like one cohesive room. Panel removal was the longest and most tedious part in my opinion. you start by taking off the trim all over the floor and ceiling then peel the paneling off little by little. Luckily we had a great demo team! (Thanks mom and dad!)
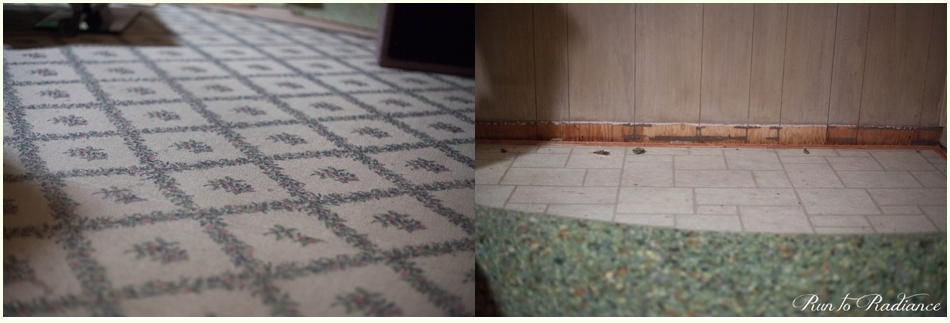
Bonus! A lot of neighbors told us they found hardwood floors underneath their carpets…we are not so lucky but we DID find some linoleum flooring. Woot! By the way I saw a carpet almost exactly like the one we just tore out on the front page of a home design magazine. Still hate it though. 🙂

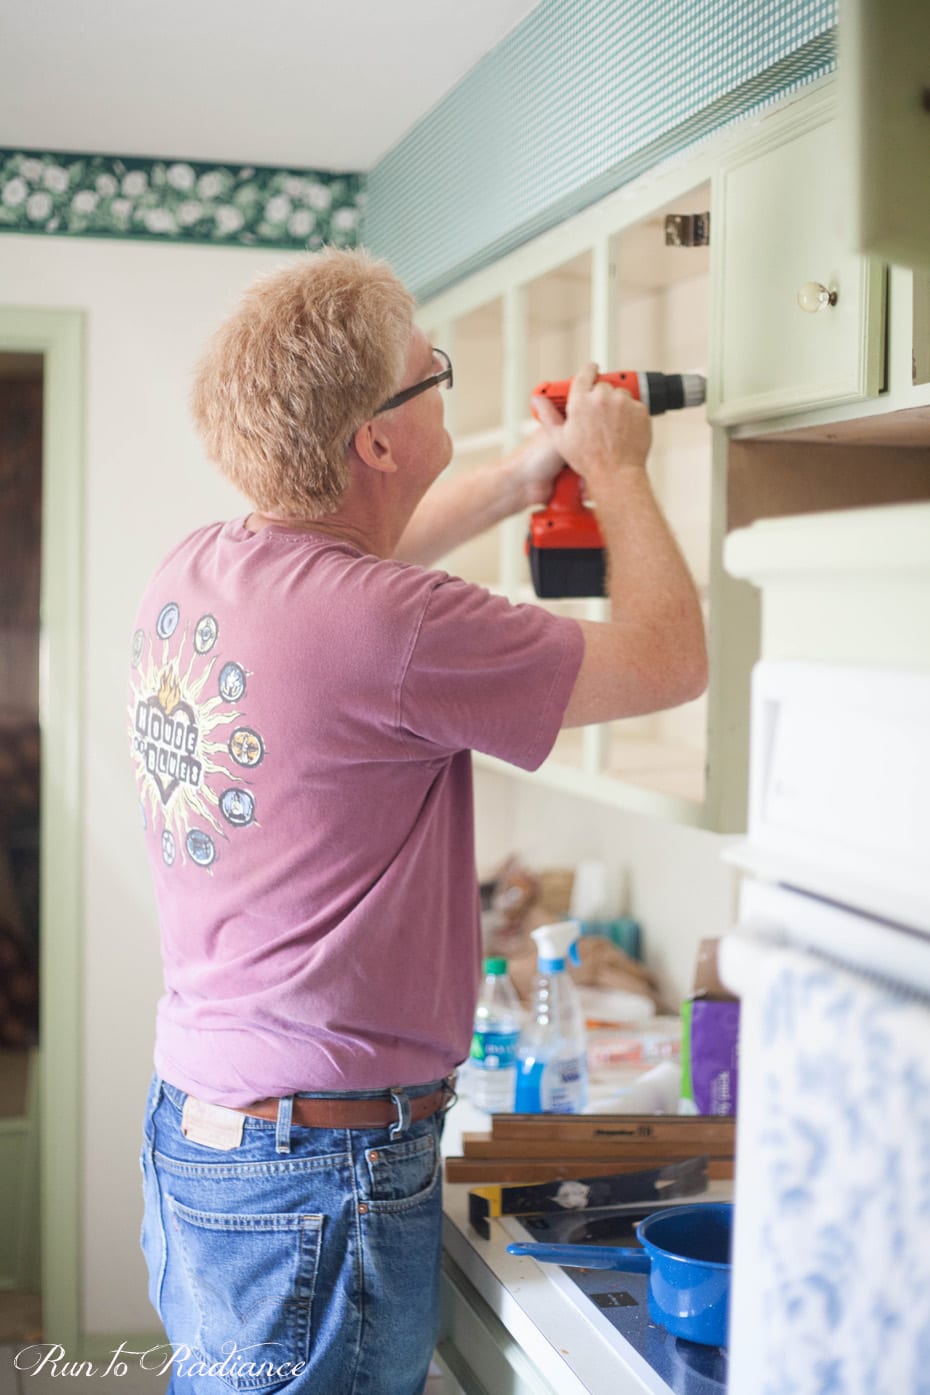
Here I am finishing out a wall! I only could find one glove- or maybe I’m just really trendy like that?
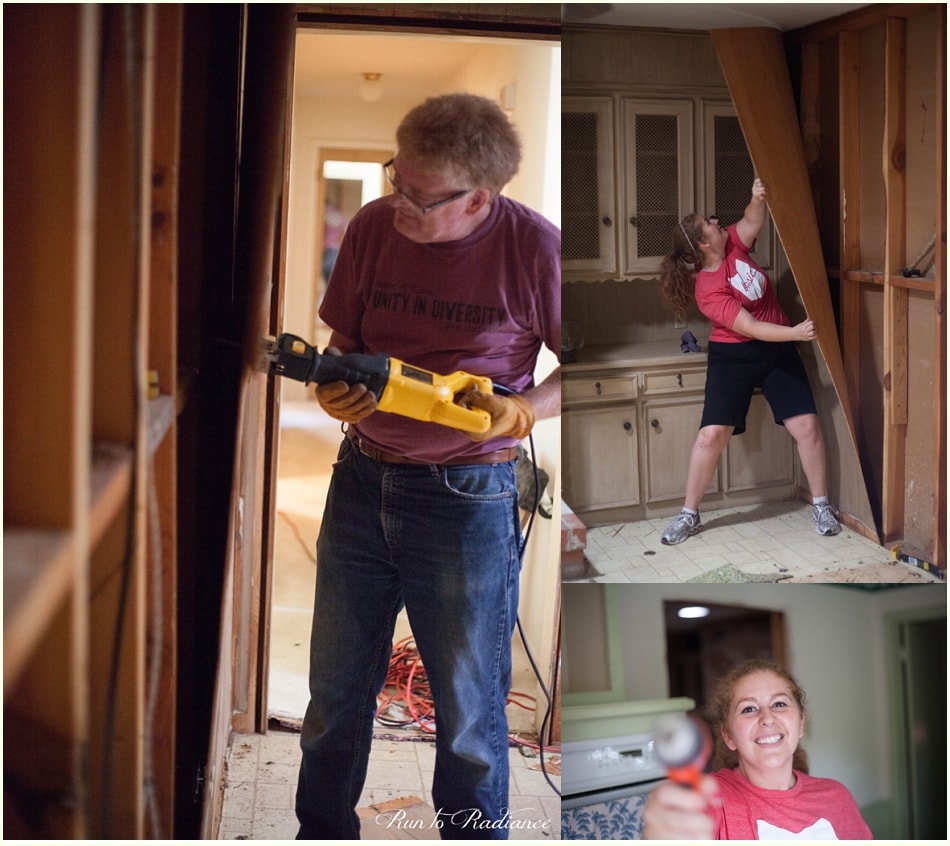
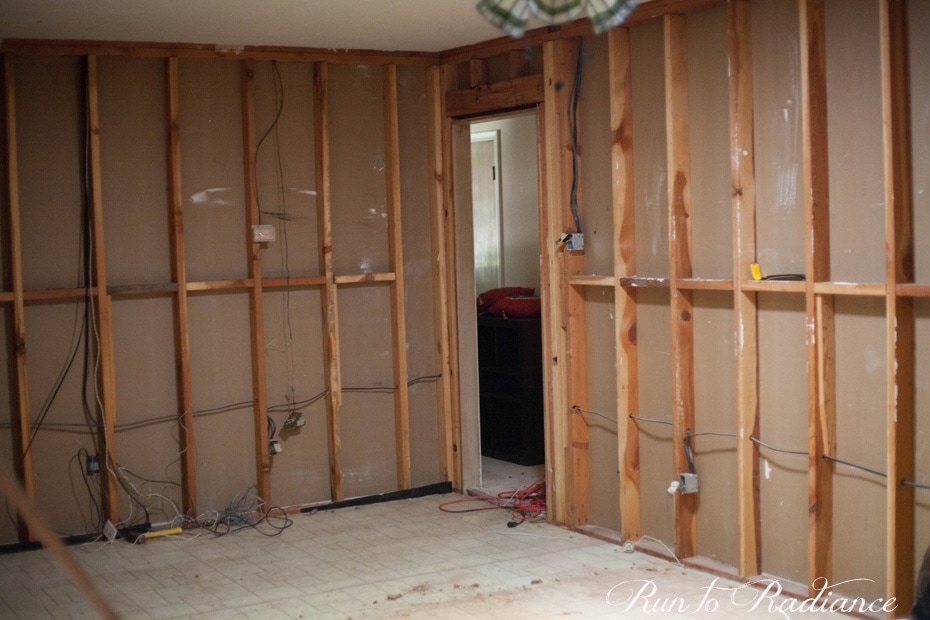
Tadaaa! Panel removed. Then it was time to try to remove the cabinets on the inner wall in the kitchen. We were hoping to be able to reuse the cabinets but these cabinets were hand built by the owner and were impossible to remove without ruining them. Boo. 🙁
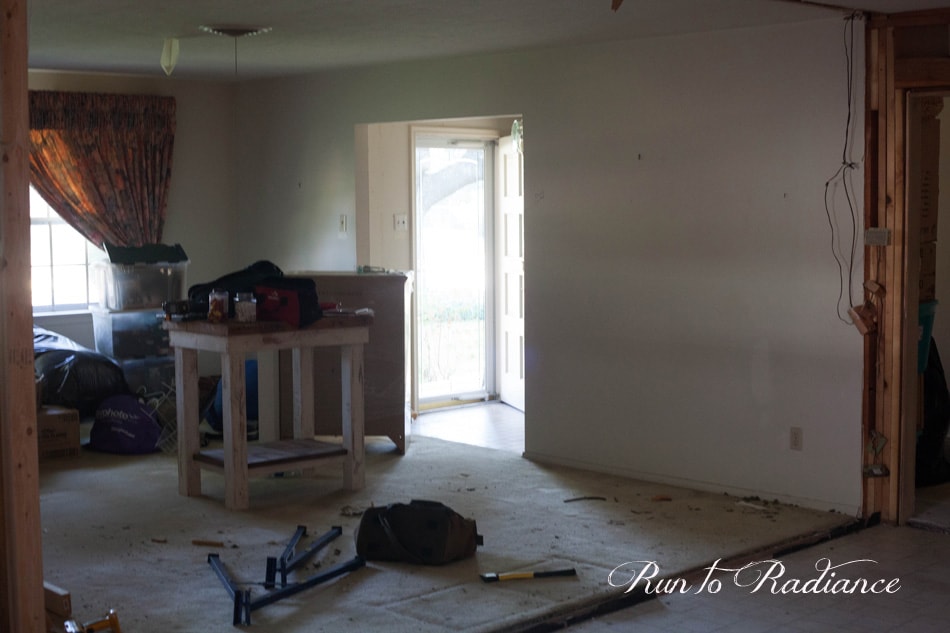
 YAY!!! Look at that light!!! This is standing in the living room. Removing drywall was my favorite part hands down. We had a lot of fun kicking, jumping and throwing ourselves through walls. There may or may not have been a point where I grabbed a hatchet and made my entire family watch as I hacked my way through and screamed HEEEEREE’S JOHNNY!!!!!!!!!!!!!!! Somehow we don’t have a picture of it (Scott must have been too scared of my roar) but my mom did take a video of it on her phone. I gave myself the shivers watching it. Academy!
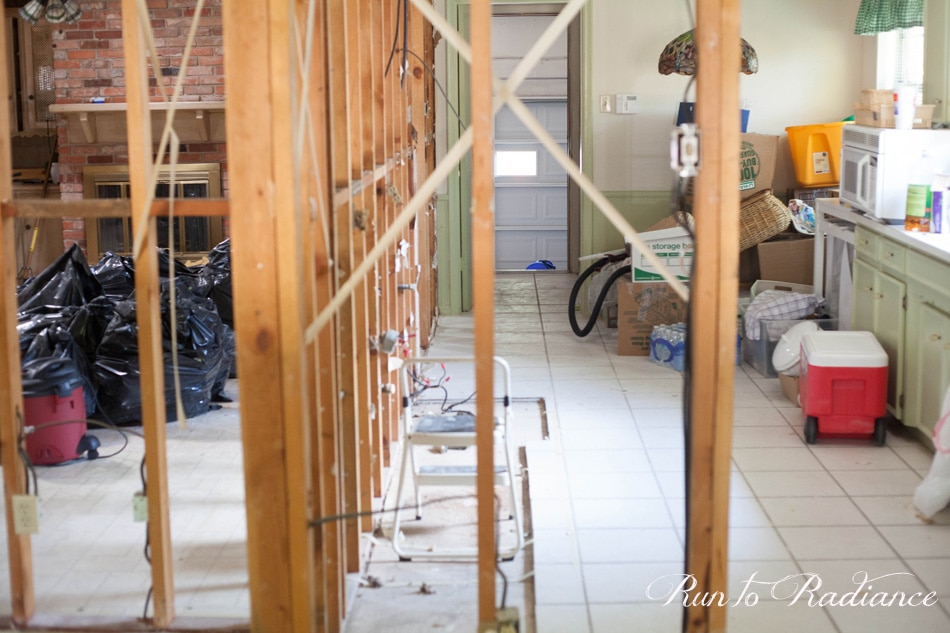
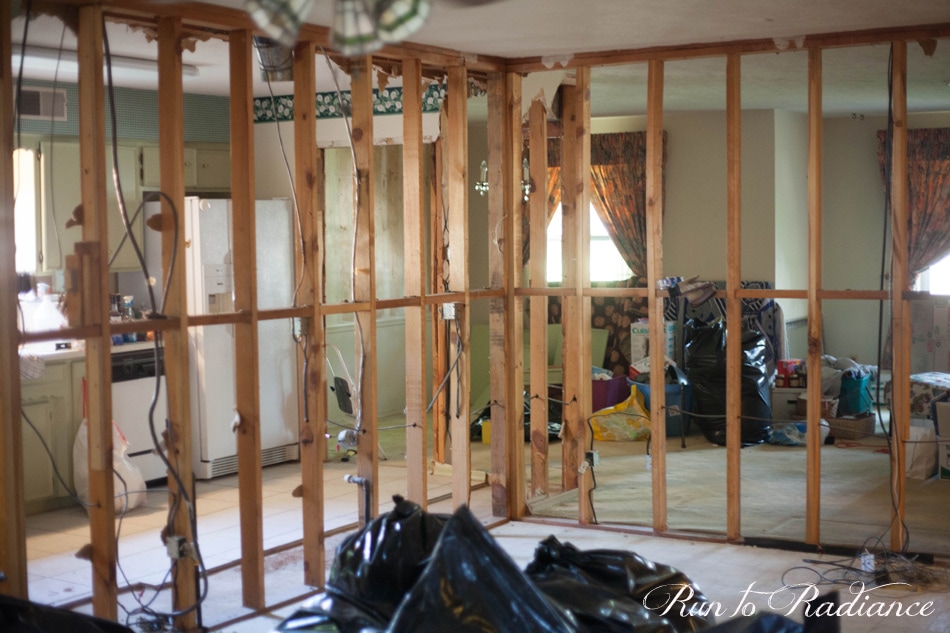
So here it is. look how open everything is! There is gorgeous natural light streaming in through every window which I love. These walls are ALL load baring -what are the chances of that?!? In order to be able to remove the walls Scott’s father hired a contractor to come install 2 giant LVL (Laminated Veneer Lumber) beams in the ceiling and tying the roof rafters to that rather then the studs you see below. I am not sure of how it exactly works but basically it holds up your roof securely without needing any studs or support beams. Here it is going in:
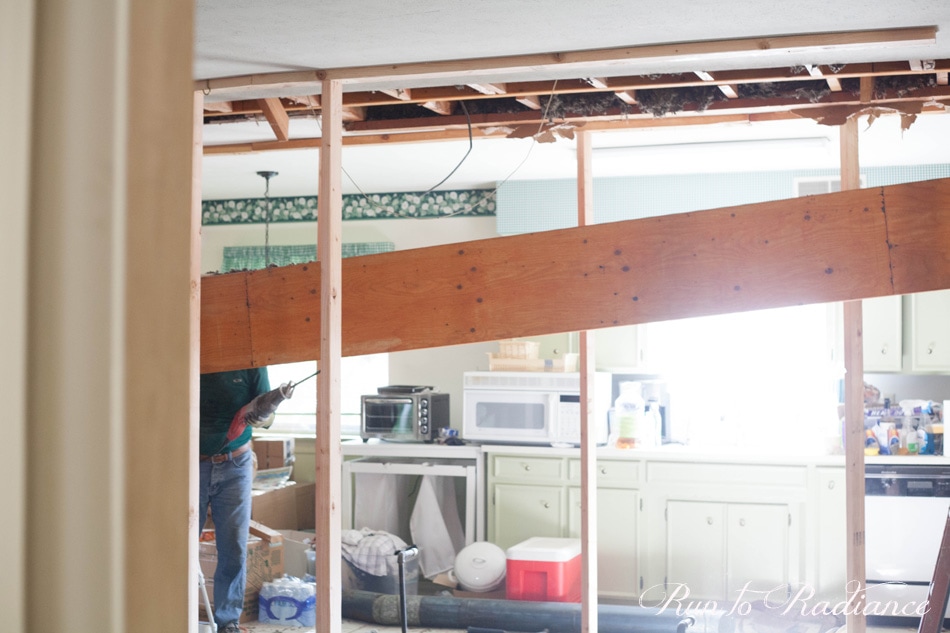
Isn’t that thing massive? I guess that’s good since it’s holding our house up now :-p
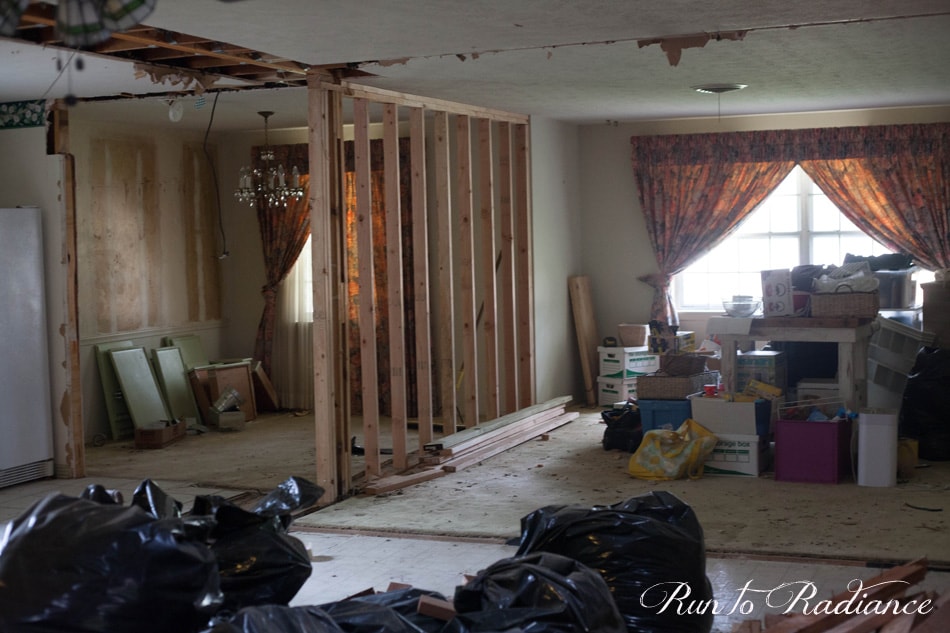
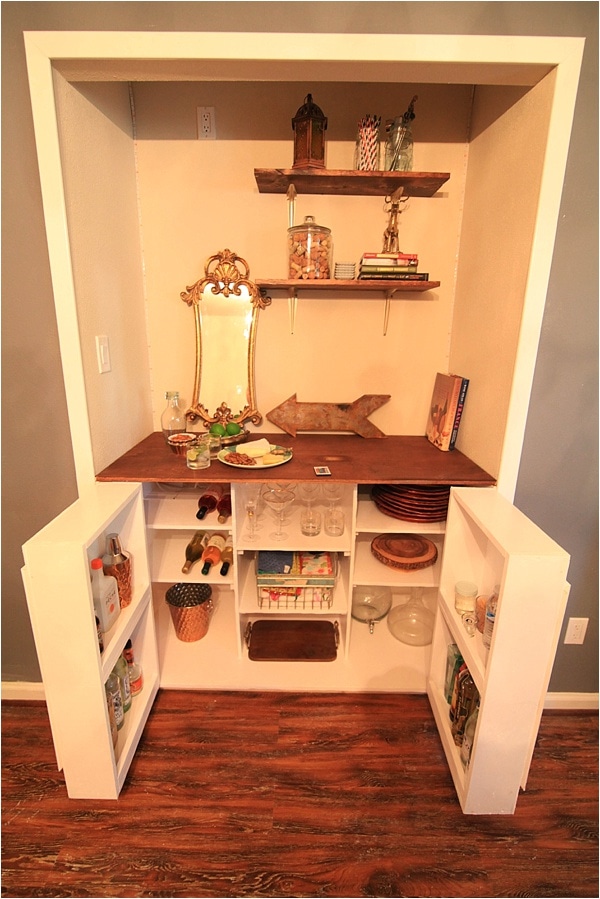
And here it is! No more walls except the one you see there we added- on the left side of that wall will be an extension of the kitchen and a walk in pantry. The right side of the wall will house a built in bookshelf with a wine bar and sliding barn door. For realz!
So this is a very short recap of the last 3 weeks or so at Gray Gables. Next up is electricity and drywalling. Then we get to make our cabinets and countertops. And paint. And put flooring in. etc etc etc…..

Tania Griffis is an accomplished writer, blogger, and interior designer with a Journalism degree from the University of Oklahoma. She started her popular blog, Run to Radiance, in 2011, demonstrating her design expertise through the personal remodeling of six houses to millions of readers across the globe.
Tania also owns The Creative Wheelhouse, a respected ghostwriting agency for bloggers, further showcasing her talent for creating engaging and informative content.
Wood paneling is the worst! Our entire living room is wood panel and I REALLY wish we would have painted it before moving in!