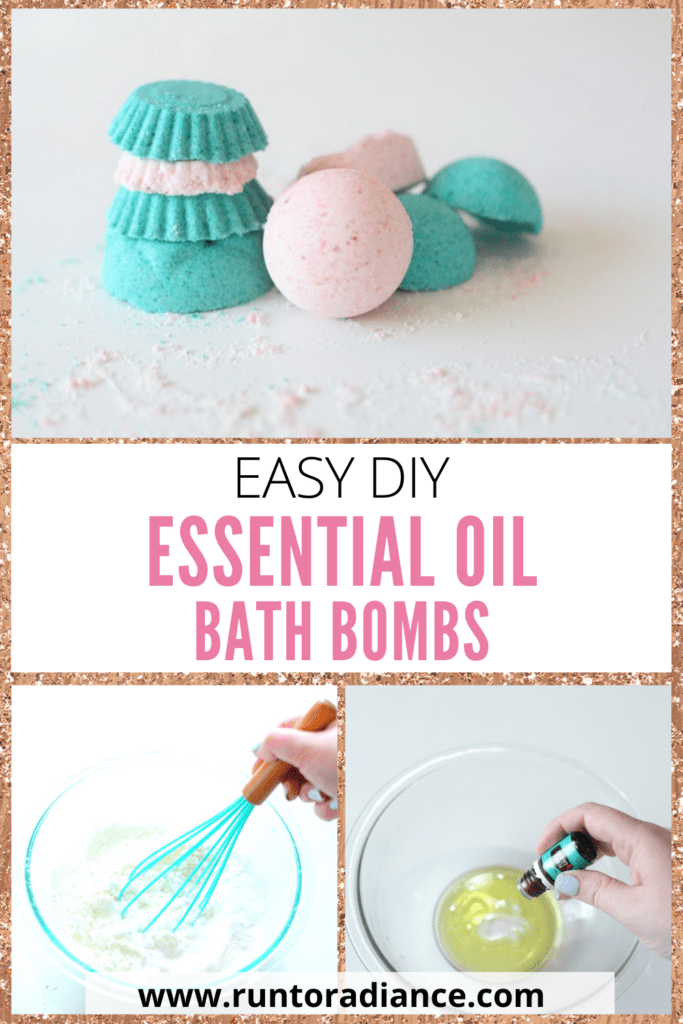
Easy DIY Bath Bombs (Copycat Lush Recipe!)
Some links in this post are affiliate links, which means I receive a commission if you make a purchase (at no additional cost to you). Thank you for your support!
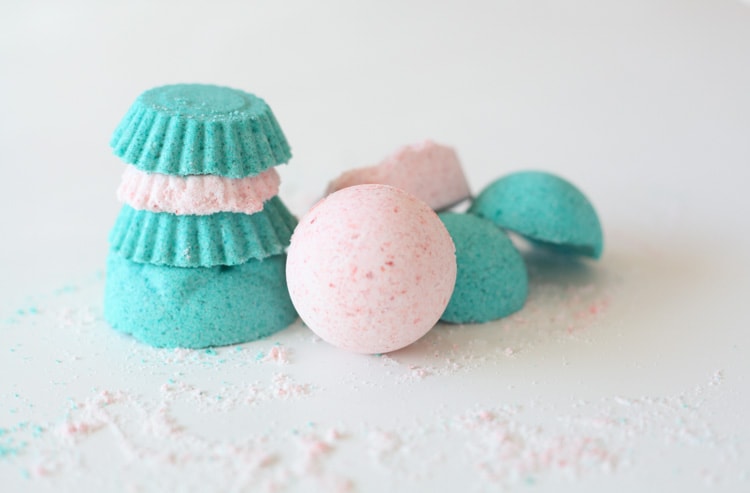
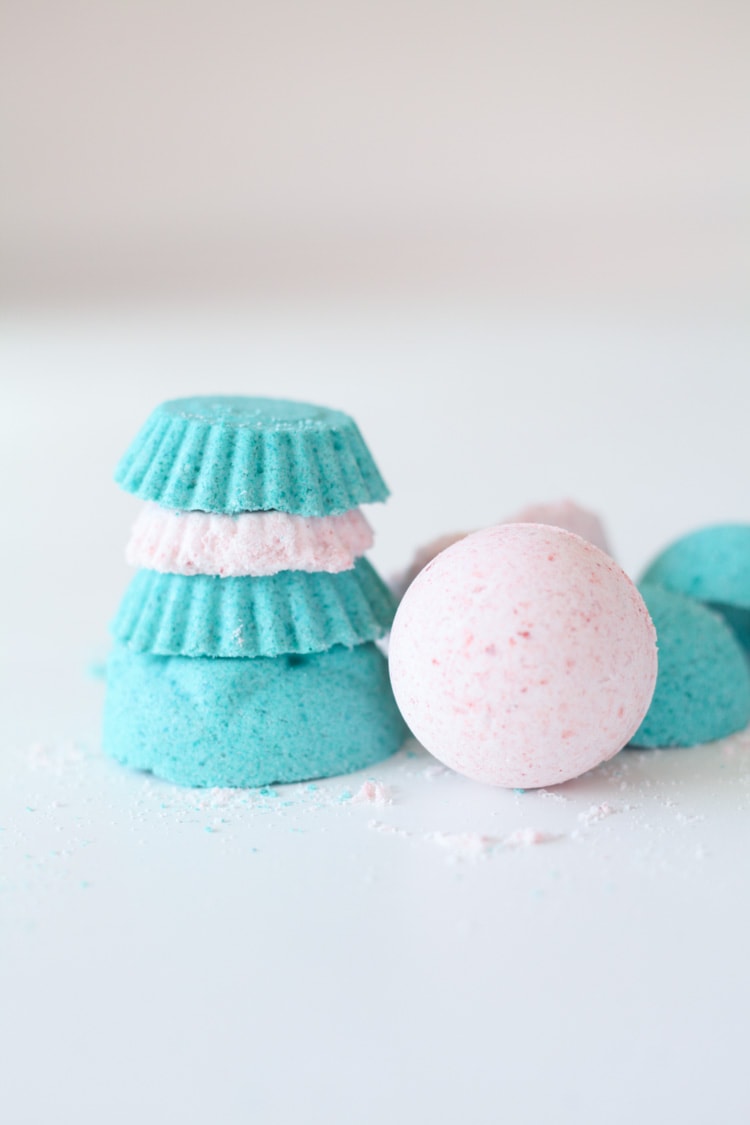
Save money without compromising your self-care by learning how to make bath bombs yourself! All you need are a few natural ingredients (like essential oils) to achieve bath bomb bliss. Try this DIY bath bombs recipe and see for yourself how amazing (and easy) they are.
Do you know how people say adults don’t take baths? I have NO clue where they get that. I challenge any toddler to love bath time as much as I do!
The bath is my happy place, and I’ve been known to spend an hour or two in a relaxing bath with a good book + a good glass of…something. 😉
Bathing (like pretty much anything else) is much more enjoyable when it smells nice!
I was spending a small fortune buying Lush bath bombs until I finally decided to try to make them myself. You guys, this DIY version had me kicking myself for not doing this sooner!
These easy homemade bath bombs are so fun to make! Plus, they’re perfect DIY gifts.
Looking for more DIY gift inspiration? My list of the best DIY Christmas gifts has tons of ideas – even for non-holiday gifting!
Easy DIY Bath Bomb Recipe
I’m spilling all the beans on how to make your own DIY bath bombs using only natural ingredients. I just love how luxurious DIY beauty products like bath bombs can be!
I added food dye for coloring and essential oils for aroma, but you could do without one or the other if you prefer.
With just a few simple ingredients and minimal prep time, you can make this DIY bath bomb recipe and transform your time in the tub from good to amazing, too. 🙂
NOTE: As I was researching recipes for making bath bombs, I saw that several people had recommended this recipe from Instructables. I decided to use it but tweaked it slightly when I made mine, and it worked perfectly.
Bath Bomb Ingredients Needed
The original recipe strongly suggests weighing out the ingredients using a kitchen scale for accuracy, but I didn’t have mine on hand (and was too lazy to find it!). So I measured mine with measuring cups and spoons.
I didn’t have any issues, but using a kitchen scale is probably better than what I did. Just know that if you don’t have one, you don’t necessarily need to run out and buy one!
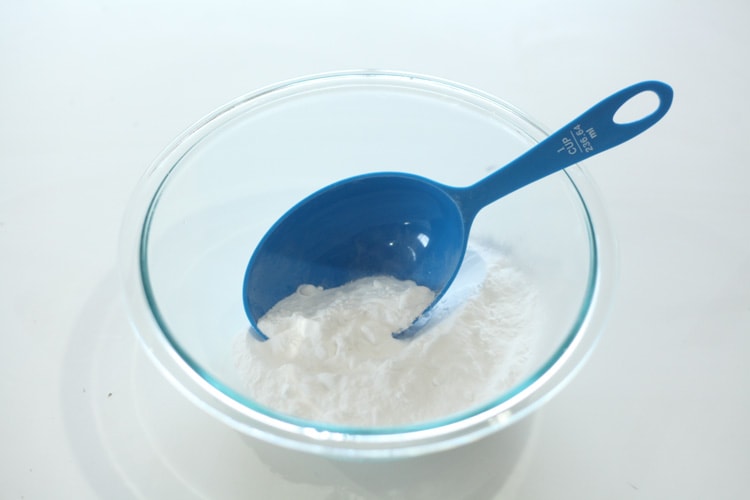
Dry Ingredients
- 8 oz baking soda
- 4 oz citric acid (or cream of tartar)
- 4 ox cornstarch
- 4 oz Epsom salt
Wet Ingredients
- 3/4 tbsp water
- 20 drops of food-grade essential oil (I personally use Young Living and love it, but you can also find some essential oils on Amazon like this set)
- 1-2 drops food coloring
Additional Supplies
- Large and small mixing bowls (I prefer using a set of glass mixing bowls)
- Bath bomb molds
Homemade Bath Bombs Instructions
You are going to be SO surprised by how easy bath bombs are to make! Just follow this process.
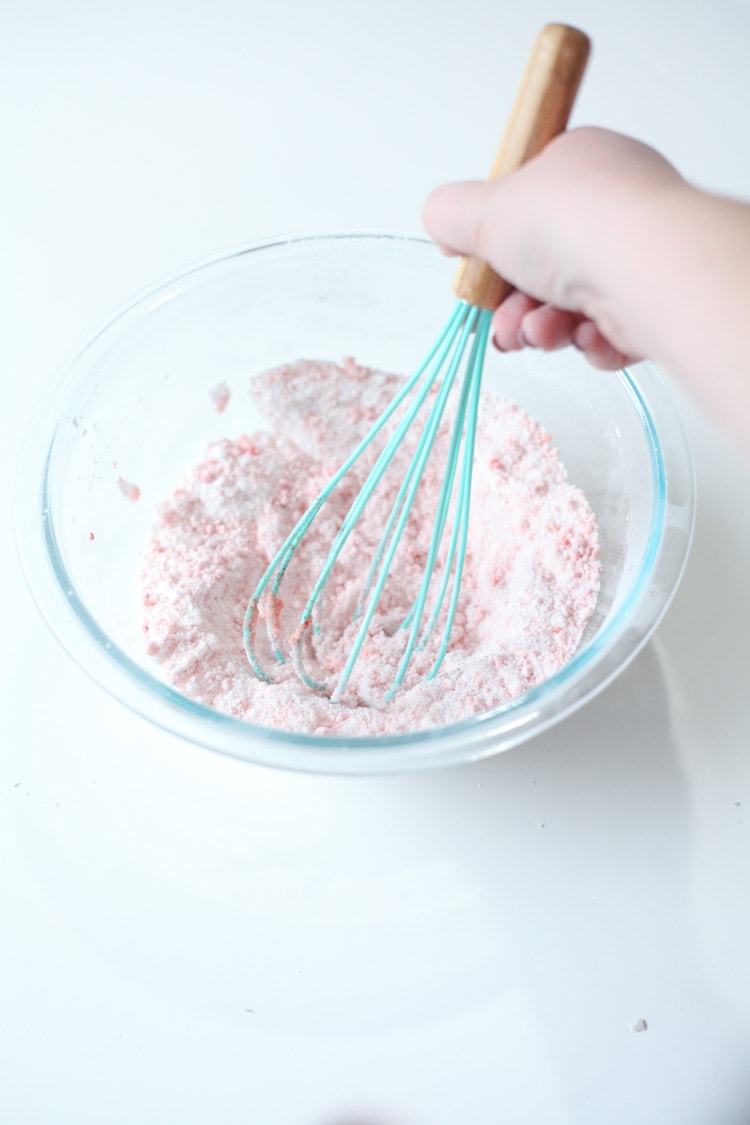
Step 1
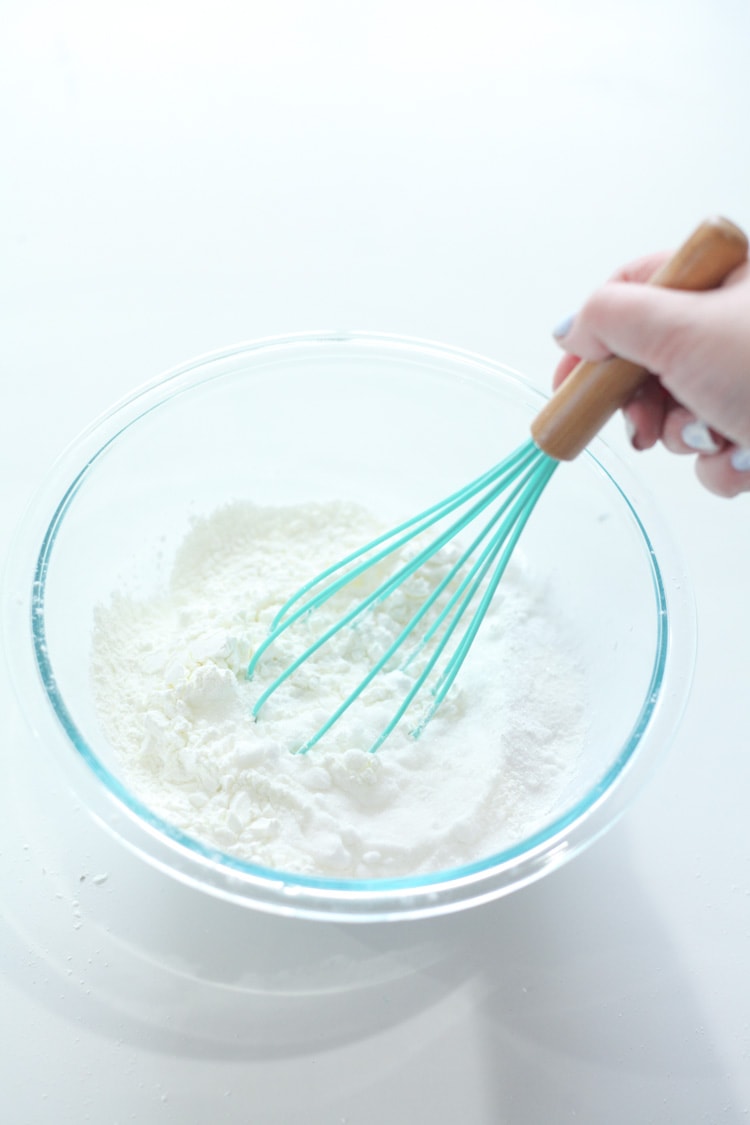
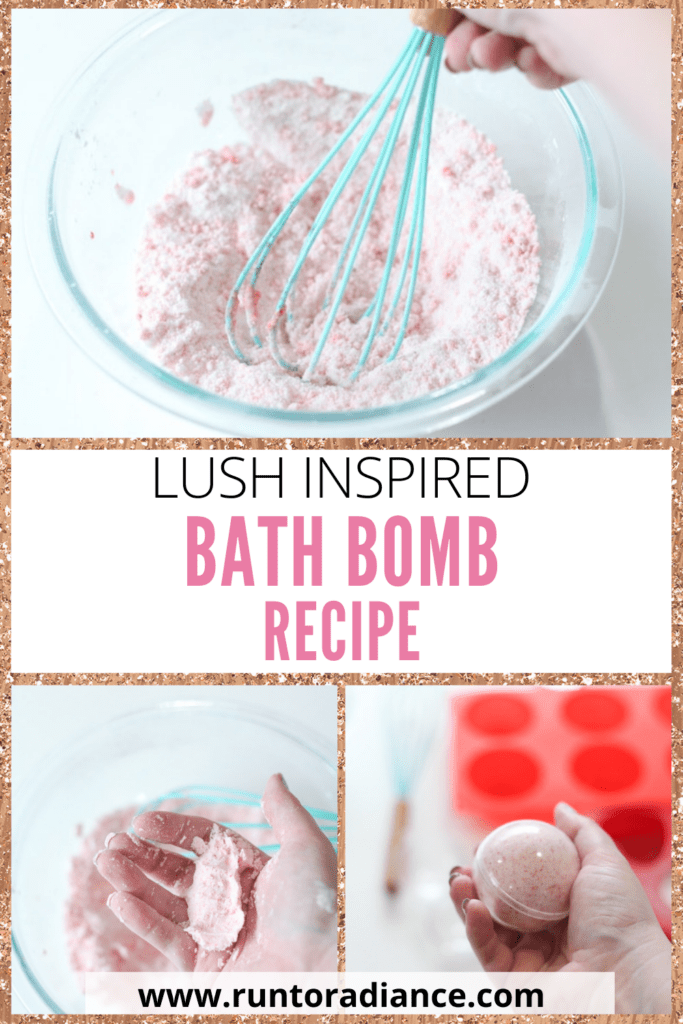
When you go to make bath bombs, start by mixing the baking soda, citric acid, cornstarch, and Epsom salts in a glass bowl with a whisk. I recommend using a large bowl here because you’ll add the other ingredients into this bowl when you combine everything.
It’s important to make sure you get all the lumps out!
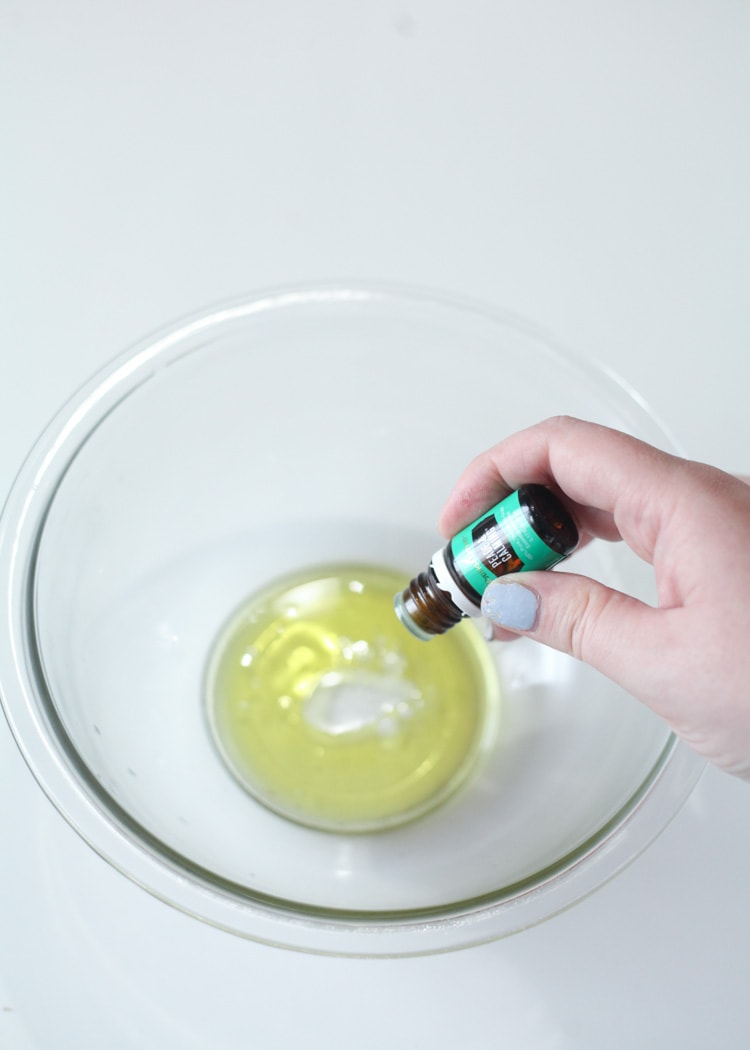
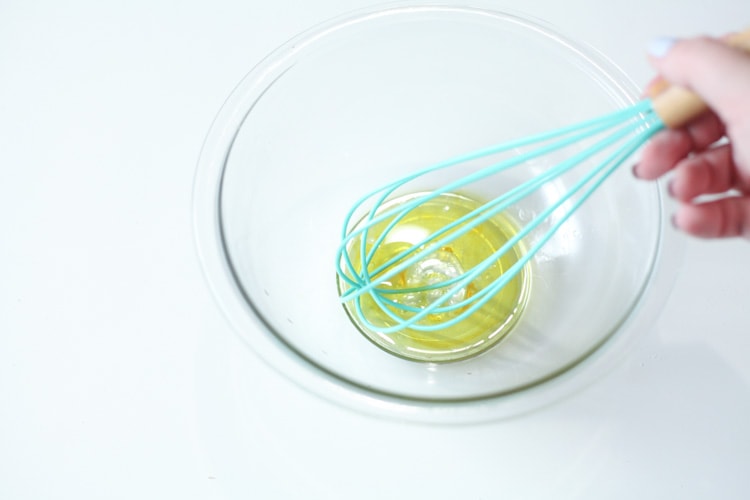
Step 2
Next, mix all the wet ingredients (water, food coloring, and essential oil of your choice) for your copycat Lush bath bombs together in a separate small bowl to create a liquid mixture.
Step 3
Slowly pour the wet ingredients into the dry mixture bowl and mix. If you notice your mixture fizz as you slowly add in the wet ingredients, stop!
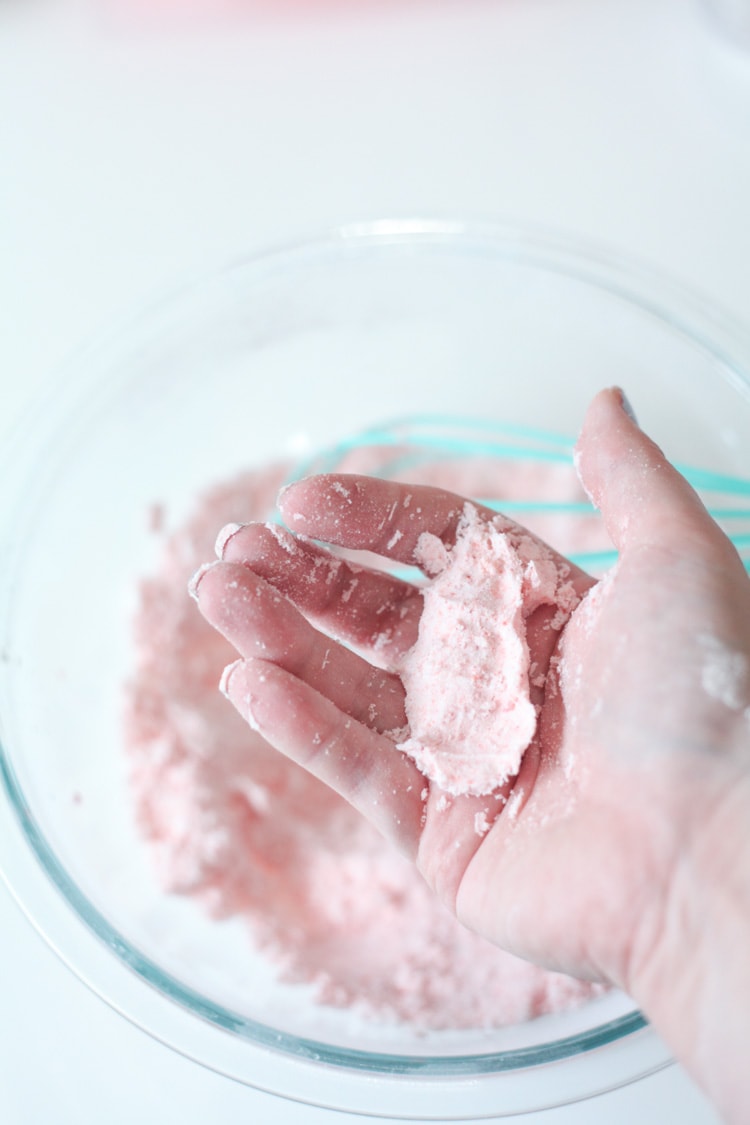
Step 4
Once the wet ingredients are mixed in, test the consistency by pinching some together. You want it to resemble wet sand and hold the shape.
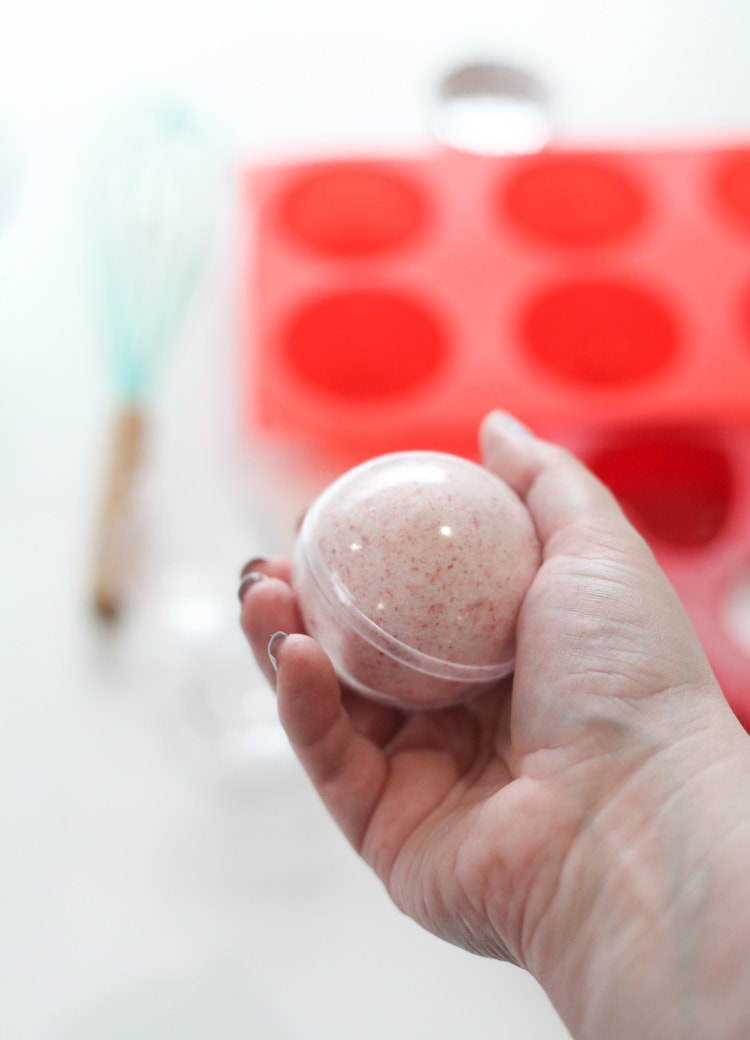
Step 5
Now it’s time to put the mixture into your bath bomb molds! You want to make sure to firmly press the mixture so your molds are packed TIGHT!
Once they are in the mold, let them sit overnight to dry. Your room will smell SO GOOD as they dry!
The last part of the molding process is gently removing your bath bombs from the molds. Then add them to your tub while you take a warm bath and enjoy! 😁
This is such a fun project that anyone can do and save money on a great self-care item at the same time!
How To Use Bath Bombs
After you’ve made a set of copycat Lush bath bombs, it’s time to use them! I’m happy to say that using them couldn’t be easier.
All you do is run a warm bath. Then, add your bath bomb to the water in the tub. Delight in how the bath bomb dissolves, leaving you with a luxurious, relaxing bath to soak away all the stresses of the day.
Bath Bomb FAQs
If you have questions about making homemade bath bombs, this is the place to find your answers! Do you have a question but don’t see it answered below? Leave it in the comments. 🙂
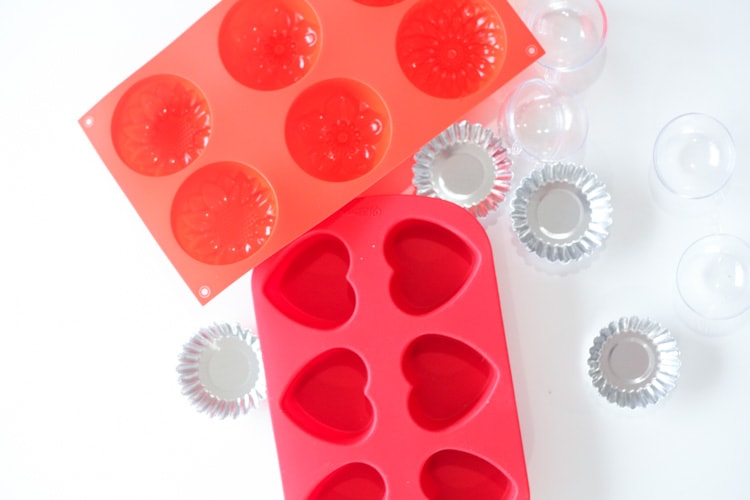
Here’s part of the fun part. This is a great project because there’s a lot of freedom in the types of molds you can use when you make bath bombs.
Try using:
Sphere Molds (the classic ball shape mold with two halves)
Silicone Molds (I like to use the kind with fun shapes)
Mini Tart Molds
Ice Cube Trays
And more!
Here are the exact molds I have used:
Acrylic Ball Bold
Heart Silicone Mold
Flower Silicone Mold
Mini Tart Molds
How many bombs this recipe makes varies, depending on what size (and type) of mold you use. If you use only round ball mold pieces, you’ll get three bath bombs from this recipe.
On the other hand, if you use silicone molds or ice cube trays, you will make at least double that number of bath bombs.
If you want to make more homemade bath bombs at one time, you can easily double the recipe!
If your bath bombs won’t hold a shape when you pinch the mixture, the mixture needs a little more moisture.
You’ll just want to add a tiny bit more water to add the needed moisture. I recommend filling a spray bottle with water and spraying your mixture one time. If that’s still not enough moisture, repeat the process one more time.
Take care not to get your mixture too wet. It should have the texture of wet sand rather than wet snow.
Yes! I didn’t use them in this recipe, but I’ve used dried lavender when I made bath salts. You could add a variety of natural ingredients, such as dried flower buds or leaves to your homemade bath bombs.
Note: I don’t recommend adding large items. In addition, you might need to add more moisture to your mixture to account for the extra ingredients.
My favorite essential oil to use in this recipe is lavender essential oil. However, you can use any essential oils that you want in this recipe! Use all one kind or play around with mixing and matching different scents.
Sweet orange or another citrus oil would bring happy, rejuvenating notes to your bath, while peppermint or eucalyptus would be refreshing and invigorating.
Citric acid doesn’t work for everyone, but you can easily substitute cream of tartar for the citric acid in this recipe! Just use the same amount of cream of tartar that the recipe specifies for citric acid.
Yes! If you’re searching for some great gift ideas for Mother’s Day, a friend’s birthday, or even as a ‘just because’ gift, a DIY bath bomb might be the perfect choice.

At $8+ per bomb in the Lush store, buying bath bombs can become a budget-buster faster than you may realize. However, you can easily make your own bath bombs that are of the same quality for a tiny fraction of the cost.
I hope you love this DIY project! It’s super quick and easy to make, which makes me feel productive and (nearly) instantly gratified. Enjoy!
More DIY Project Ideas
- Easy DIY Essential Oil Candles
- DIY Mason Jar Vase To Display Flowers
- Easy DIY Sugar Scrub
- DIY Personalized Mug Gift Idea
Supplies
- 8 oz baking soda
- 4 oz citric acid or cream of tartar
- 4 oz cornstarch
- 4 oz Epsom salt
Wet Ingredients
- 3/4 tbsp water
- 20 drops essential oils
- 1-2 drops food coloring
Additional Supplies
Instructions
- Mix the dry ingredients together in a glass bowl with a whisk. Make sure to eliminate the lumps.
- Next, mix together the wet ingredients in a separate bowl.
- Slowly add the wet ingredients to the dry ingredients and mix to combine. If your mixture starts fizzing, stop.
- Test the consistency of the mixture by pinching some together to see if it holds its shape.
- Firmly pack your mixture into your bath bomb molds. Allow them to dry overnight before carefully removing your bath bombs from the molds.

Tania Griffis is an accomplished writer, blogger, and interior designer with a Journalism degree from the University of Oklahoma. She started her popular blog, Run to Radiance, in 2011, demonstrating her design expertise through the personal remodeling of six houses to millions of readers across the globe.
Tania also owns The Creative Wheelhouse, a respected ghostwriting agency for bloggers, further showcasing her talent for creating engaging and informative content.
Love this idea. Thanks for sharing.
Hi Karen! Thanks so much – hope you get a chance to make some and treat yourself! <3
Oh I love this idea! They would be great gift ideas!
Yay! Thanks for sharing! An easy tutorial that I hope to follow someday!
What i do not realize is actually how you’re not really much more well-liked than you may be right now. You are very intelligent. You realize thus considerably relating to this subject, made me personally consider it from numerous varied angles. Its like men and women aren’t fascinated unless it’s one thing to accomplish with Lady gaga! Your own stuffs excellent. Always maintain it up!
used injection moulding machines http://www.transitus-used-machines.com/en/offers-plastic-injection-machines-used
Do you have an estimate on how many this made? I realize it depends on the size of your mold, but approximate cupcake size would even help. Thanks!
I made them! Question, what would you do if when you’re packing into the mold, they seem too dry?
Very easy to follow directions though! So fun to make! Thank you!!
Tried these this week. Absolutely perfect! Thank you for sharing.
I’ve now made more for Xmas gifts.
Tips..
Definitely leave overnight, I got impatient and checked one early and it crumbled… whoops. The ones I left overnight were perfect and had hardened.
I used a couple of extra spoons of water until I thought it was the right consistency.
They really do need to be packed in tight. Keep pressing down guys.
I also add more coloring and water
I also add more coloring and water.
This technique is incredibly safe for the skin and saves money while also protecting the environment. I’ll prepare it to share with my family and friends.