DIY Concrete Countertops & A Kitchen Update (page 2)
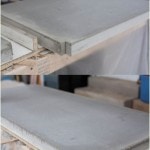
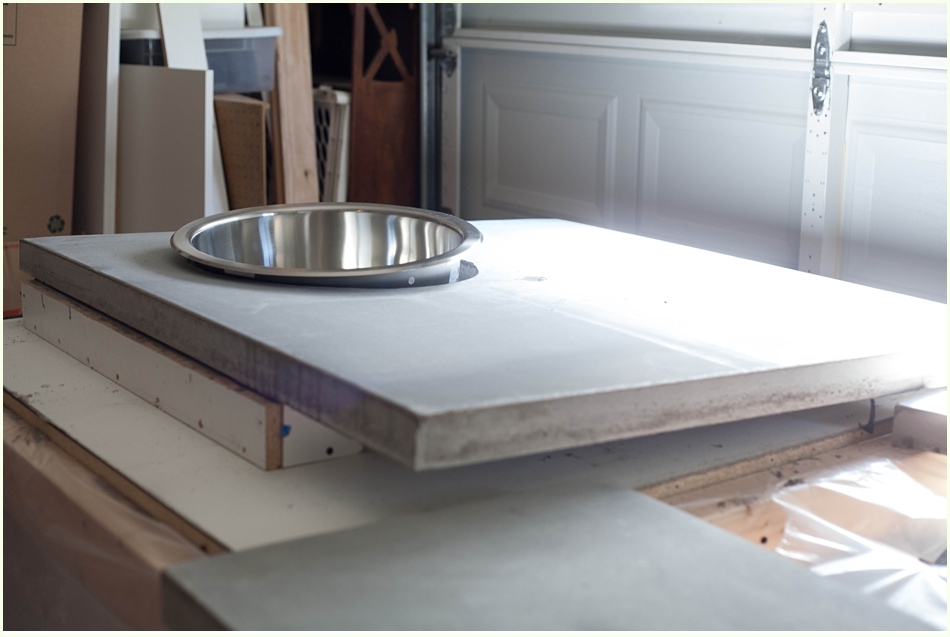
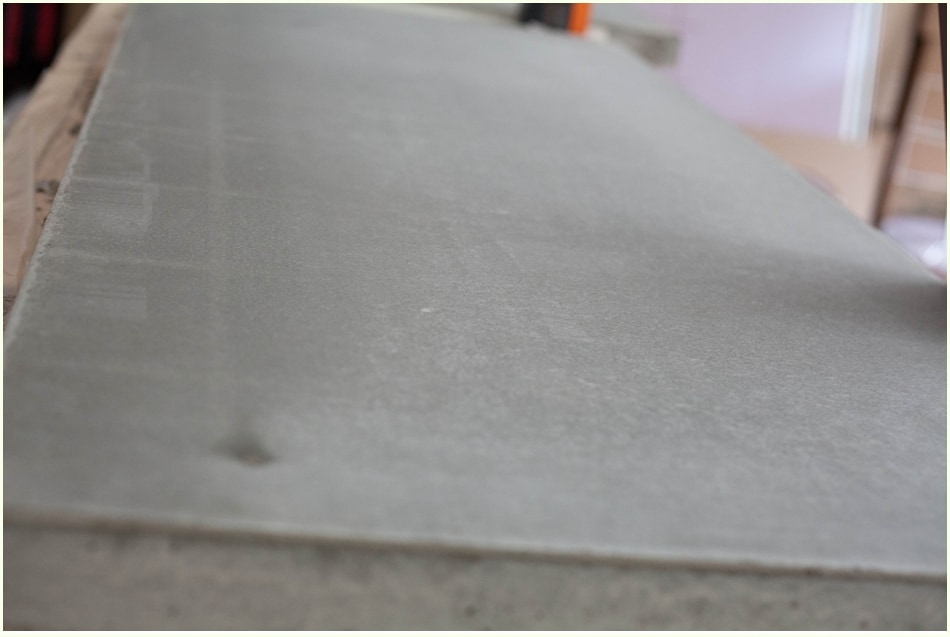
We waited about a week to de-mold, flip them and check them out. I’m in luuurveee!!!! They are a perfect shade of gray (we opted not to dye or add anything), perfectly smooth and there is only one small imperfection due to a small crack in the melamine that I actually love!
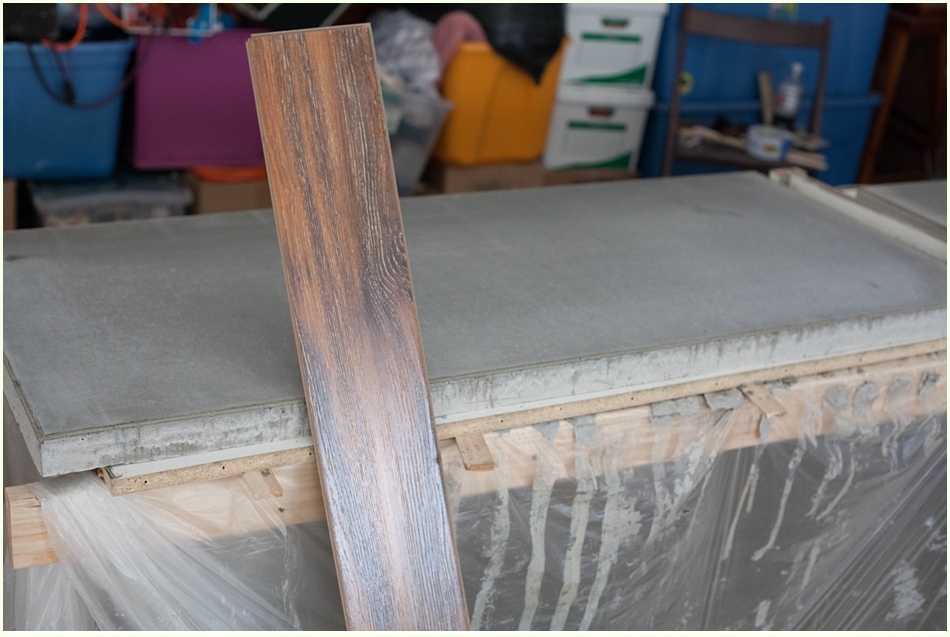
Our plan is to continue allowing them to cure and once our cabinets are in place, we’ll place them on top and then do the sealing/waxing process. Until then, I visit my concrete friends nightly to pet and speak lovingly to them. Or to hold up paint samples or our wood floor or backsplash to them. For real.
My Top Tips For Concrete Countertops:
- Lay plastic underneath all of your molds to make sure you don’t get dried concrete all over your garage (or wherever) floor.
- I would recommend doing this project in a garage or sunroom; something outside of your house. It got super dusty and dirty.
- Spend as much time as you can hammering or shaking the molds to ensure all the bubbles are out.
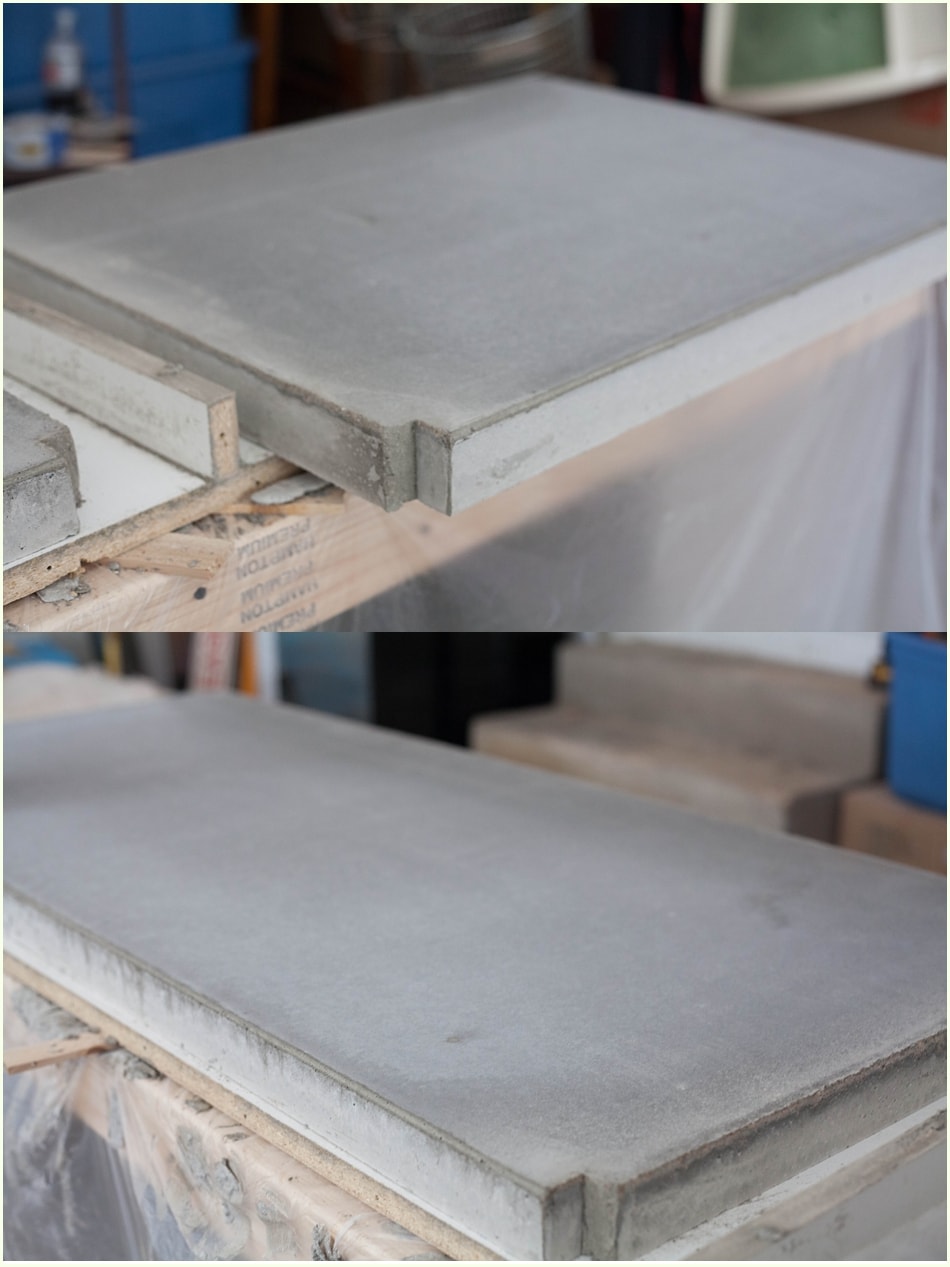
- If you have a small imperfection when you de-mold, don’t stress; it adds to the Patina!
- Make sure your molds are on a perfectly level surface and continually check the surface during the process. It would be sad to have an unlevel countertop!
- Have fun!!! 🙂
