Akurum Cabinets in the Butler’s Pantry
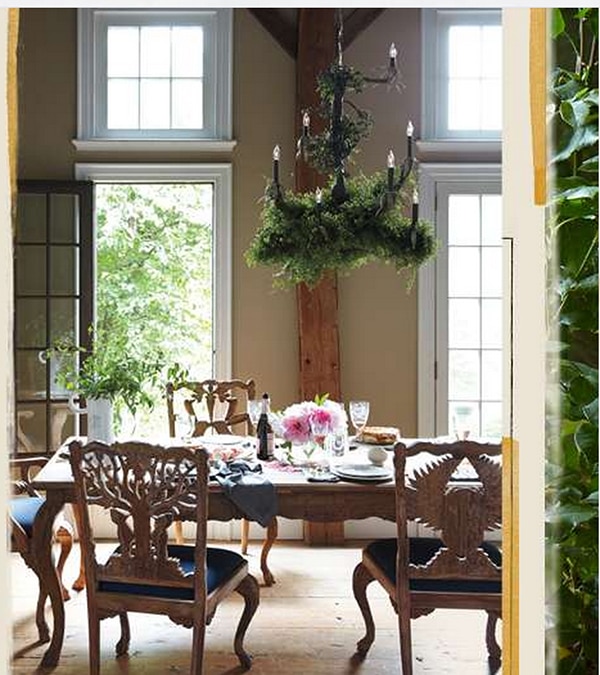
After finally deciding to tackle the butler’s pantry and starting over with a clean slate, we had a plan for what we wanted but as we have learned in our remodeling career—you have to be flexible. So after looking at my butler pantry inspiration pictures (shared here), I had a rough idea of what I wanted, but was open. We did what all good remodeling couples do—took measurements, sketched a floor plan, went to brunch then headed off to Ikea. 🙂
I had a gut feeling—I just knew we were going to find something awesome for our pantry in the “as-is” section downstairs, so we headed there first. And guess what you guys? I was actually right—after searching in the front section with no luck we were about to leave when I saw a tall, flat shelf-looking thing leaned up against the back wall behind some rugs. After investigating further we thought we found a white countertop, but when we flipped it over to look at the price we realized it was actually a really pretty gray color with stainless steel-looking edging. Then we saw it was marked down from $99 to $35 due to a teeny, tiny little dent on the back. (It is the Numerar countertop in case you are wondering). It also happened to be 96″ long which is almost exactly what we were looking for. Done. 🙂
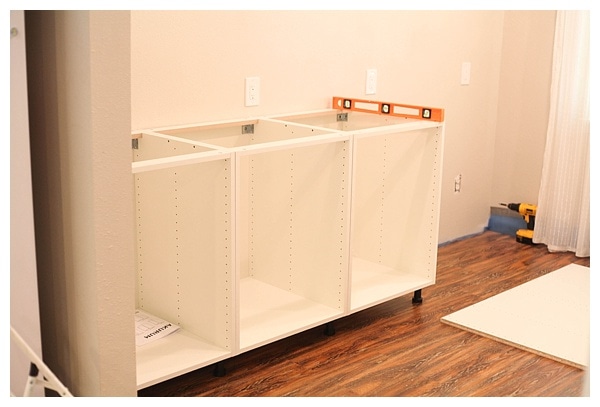
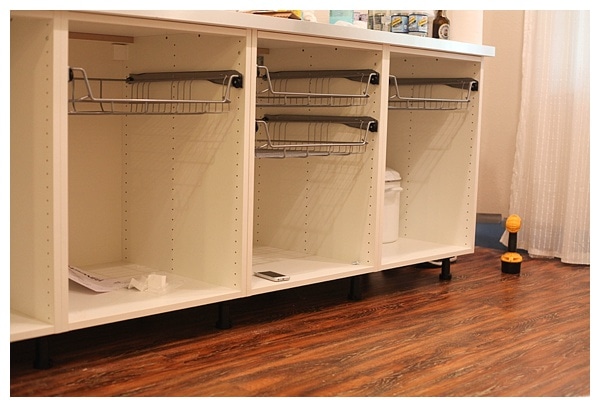
From there we headed up to the kitchen department and picked our cabinets. We decided to keep it super simple and go with open cabinetry—no doors!—for now. I am really digging how accessible everything is, but if we want to add doors in the future we can. We went with four 24″ Akurum cabinets and a combination of metal pull out drawers and shelves. We also picked up a few other fun things I’ll share with you all soon! We crammed it all in my SUV, see? (Fun story—we somehow cracked the windshield by having too much stuff pushed up against my window. Sad day! But worth it!).

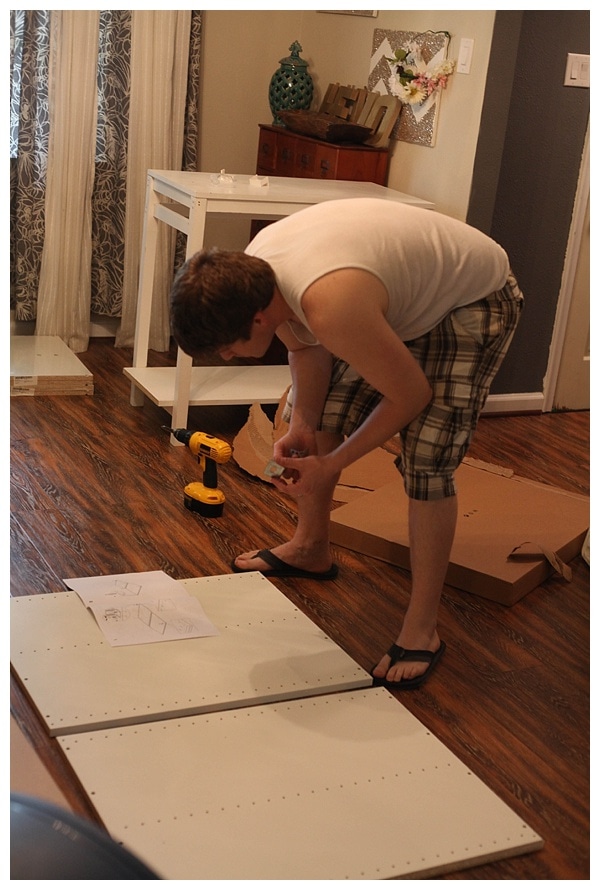
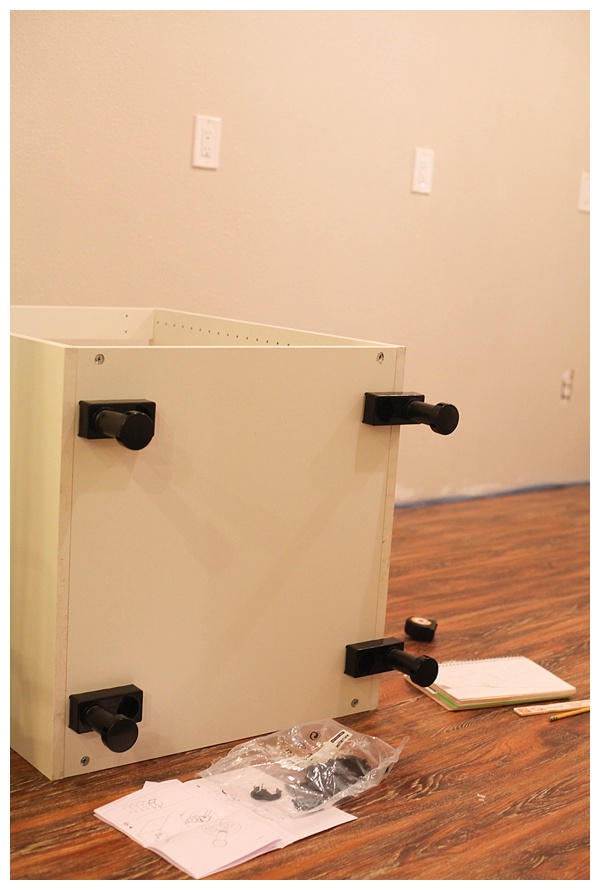
Once we got home we got to work and started assembling the cabinets. We have had practice with putting them together for our kitchen before, so it wasn’t too horrible. 🙂
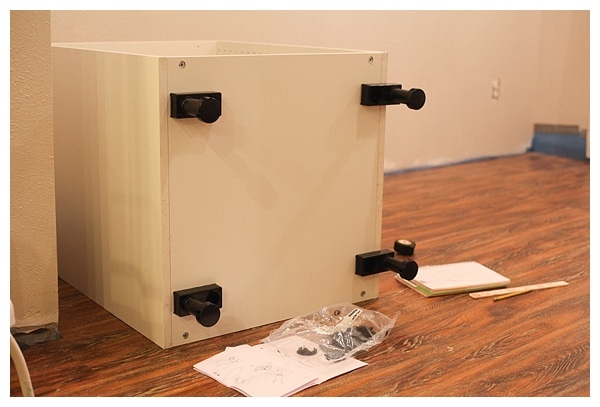
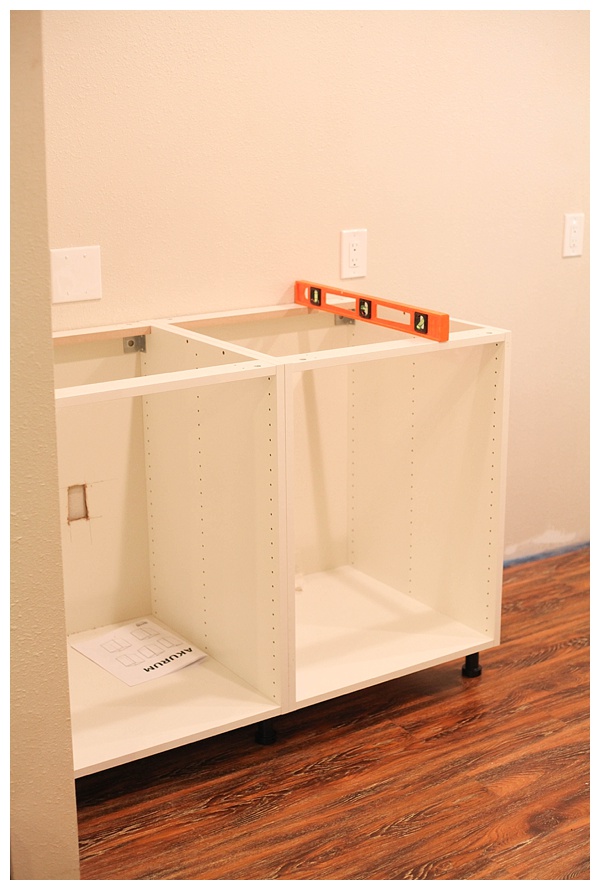
We wanted to make sure everything was secure to the wall and safe, so every cabinet got drilled to the wall—and each other for added stability. We also used the Ikea Akurum legs to hold the cabinets up a bit higher since we prefer a taller countertop. Of course we had to make sure it was all level along the way… 🙂
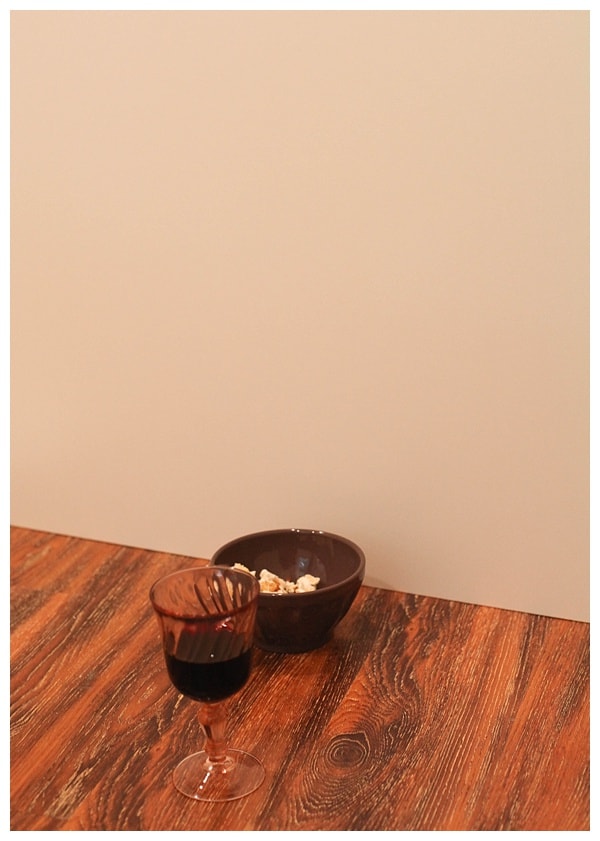
Of course we had to enjoy a customary snack of red wine and kettle corn as we worked. 😉
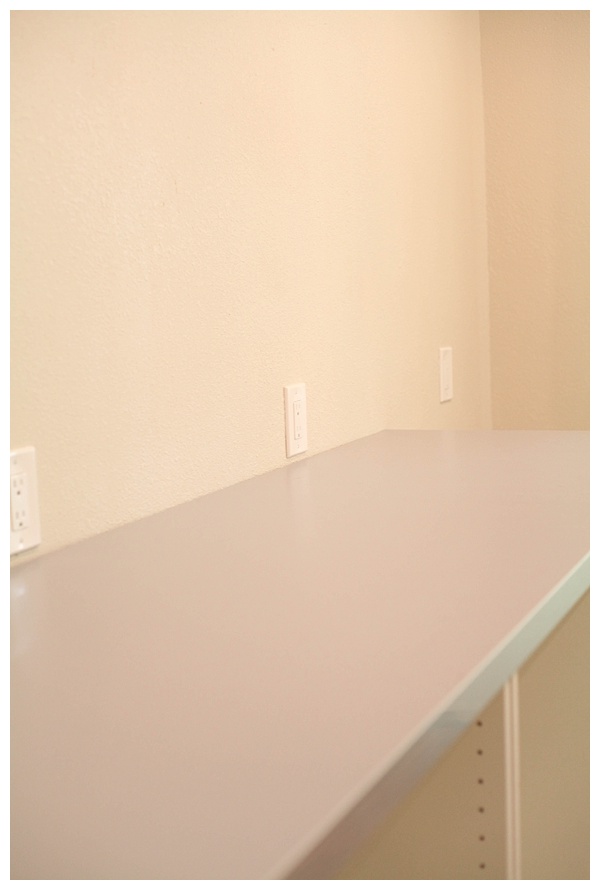
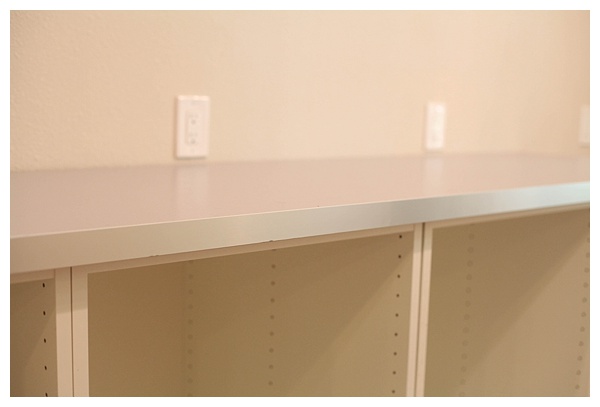
Then it was finally time to add the countertop that started it all! Yay!
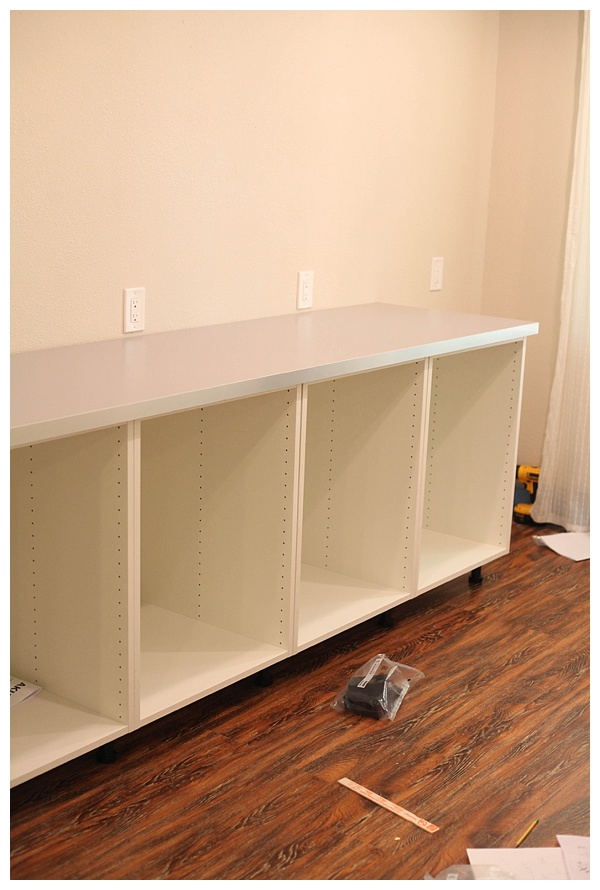
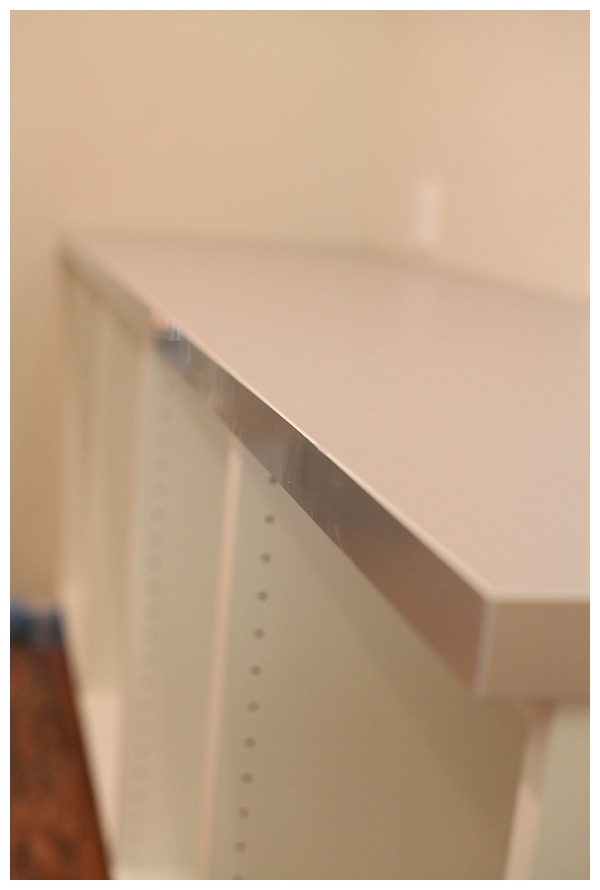
And while we are here, can we take a closer look at this countertop? I adore it. I love the shiny edges and the muted gray and how perfectly it ties into our concrete countertops in the kitchen while being a lot more low-maintenance.
Scott then made sure all the cabinets were secure to each other underneath the countertop. 😉 Safety first!


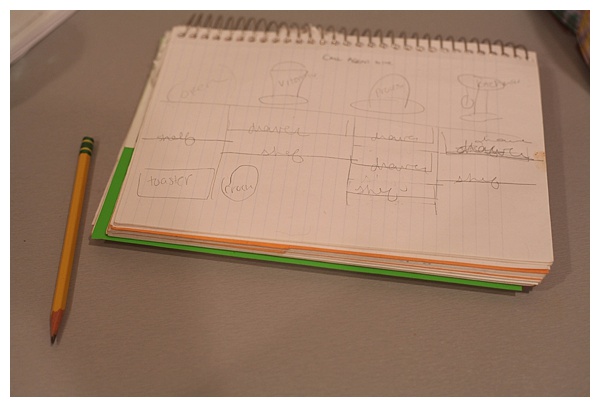
The next morning Scott was gone all day and I had a free morning until my friend Volta came over to watercolor with me. I decided to sketch out a plan for where the drawers and shelves should go, keeping in mind which appliances would go where.
I really wanted to keep going with our cabinets and add the drawers and shelves, but was a little hesitant about “messing up” the cabinets somehow by screwing drawers into the wrong place. And the directions looked a bit intimidating.

But then I thought, “why not?!” and went for it—power drill and all.
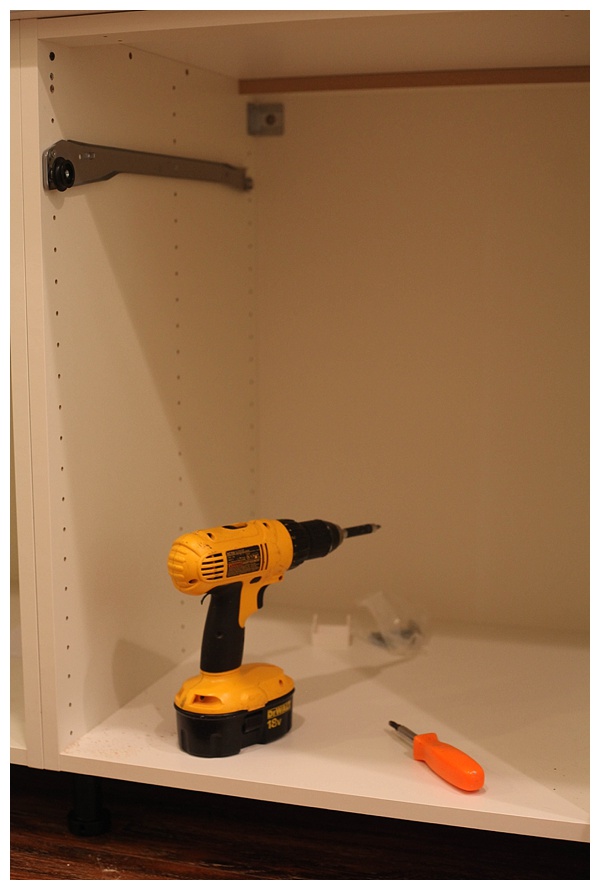

BOOM. GIRL POWER!!
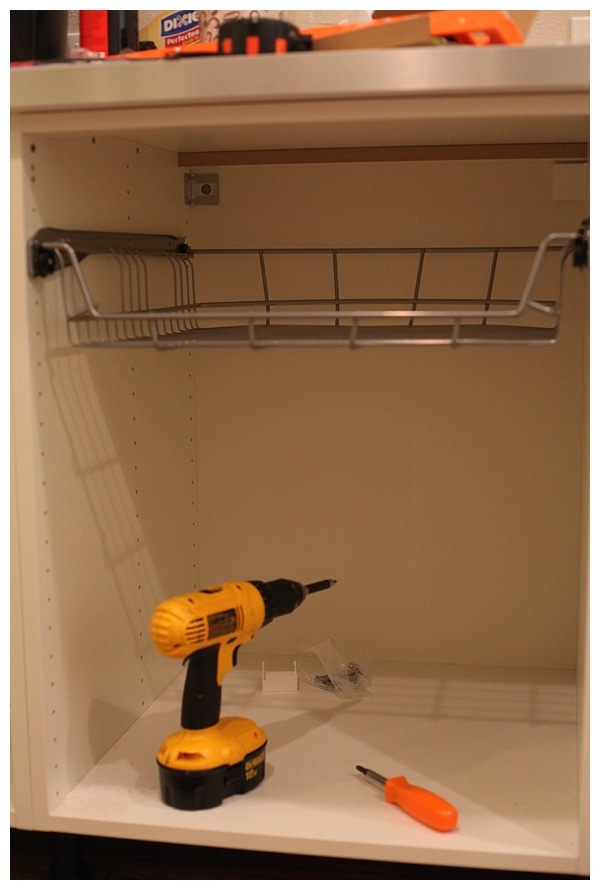
Look at those drawers! Look at the shelves. All by myself everyone! 😛 I was so impressed—and so was Scott when he got home! 🙂


I am so excited with how everything is coming together. I can’t wait to share it all! I feel like I am dreaming about shelves and dried grains in pretty glass jars…is that weird? 🙂

Tania Griffis is an accomplished writer, blogger, and interior designer with a Journalism degree from the University of Oklahoma. She started her popular blog, Run to Radiance, in 2011, demonstrating her design expertise through the personal remodeling of six houses to millions of readers across the globe.
Tania also owns The Creative Wheelhouse, a respected ghostwriting agency for bloggers, further showcasing her talent for creating engaging and informative content.

That countertop is gorgeous! I can hardly wait to see the finished pantry.
Thanks Barcy! I am so thrilled with our find! 🙂
You go girl! And what a score on the countertop!!
I can’t wait to see how it all turns out 🙂
Samantha- me too! 😀 hehe.
oh gosh, this looks incredibly useful and gorgeous at the same time (my love for all things to be in the right place is pretty excited about those shelves) — cannot wait to see the final results 🙂
Jennifer we share that same love! 🙂 There’s just something satisfying about it all!
I adore your countertop too! And way to go with the girl power. That is some serious progress you made
Thanks Char! Yes, girl power for sure!
Les chakras sont des vortex en forme d’entonnoir.
This is really fascinating, You’re a very professional blogger.
I have joined your rss feed and look ahead to looking
for more of your great post. Additionally, I’ve shared your
websxite in myy social networks