3 Easy Ways to Decorate a Cone Tree for Christmas
Believe it or not, I’m a frequent shopper at the craft store. I know, shocker right? So back in September (seriously) when Christmas decor started showing up in the aisle, I tossed few of the cardboard cone trees into my cart. I had seen them before and always thought it would be fun to put my own spin on decorating them—so I made three different versions. Check them out!
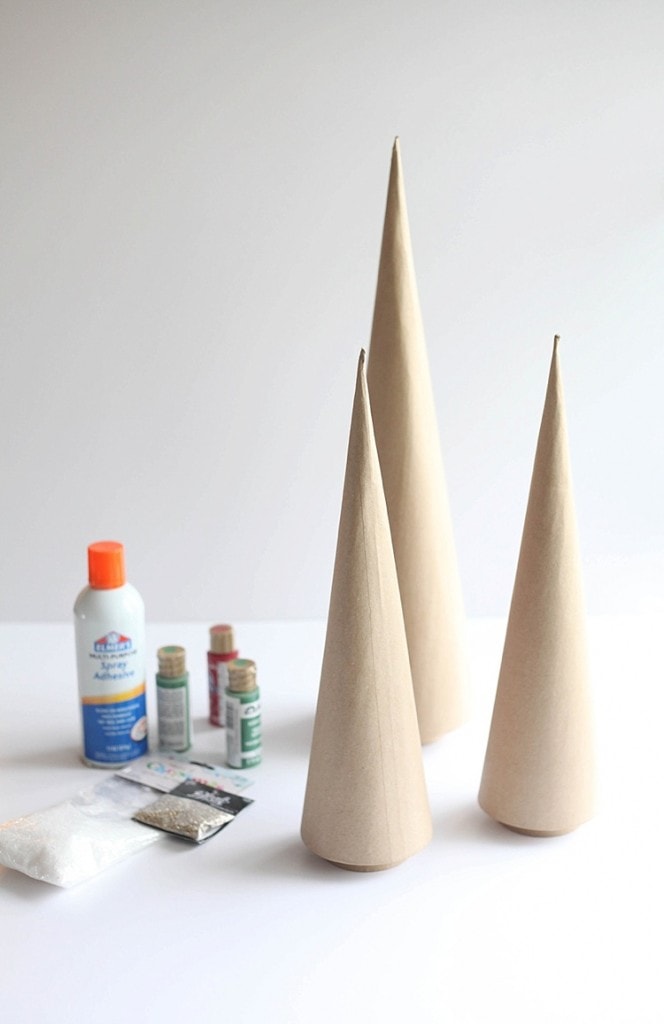
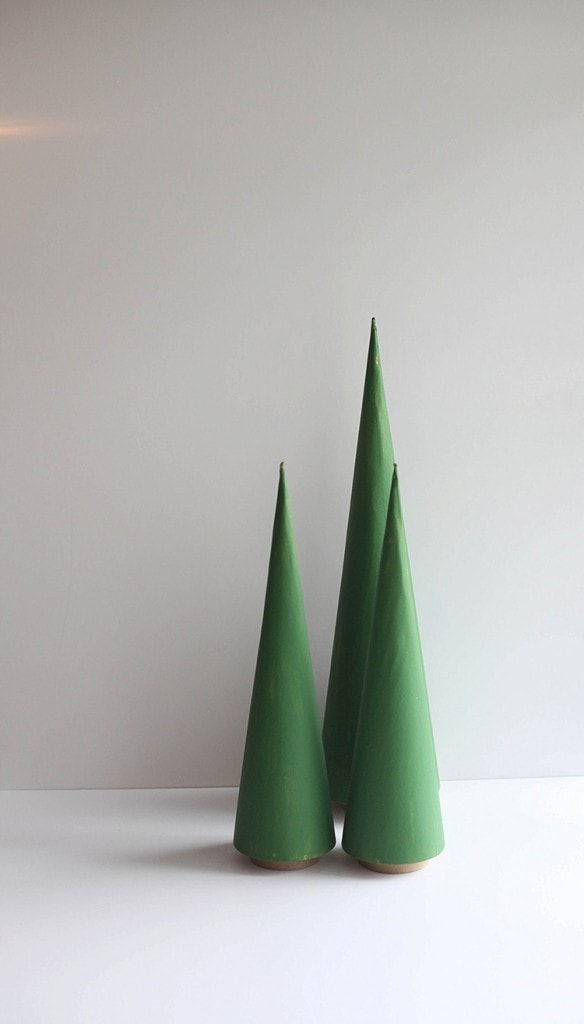
In case you don’t know what I mean by cone trees, here they are. I got two smaller and one larger one. They are made out of cardboard and are the perfect blank slate for tons of projects.

I gathered a bunch of supplies including spray adhesive, craft paint, glitter (lots and lots of glitter) and more.
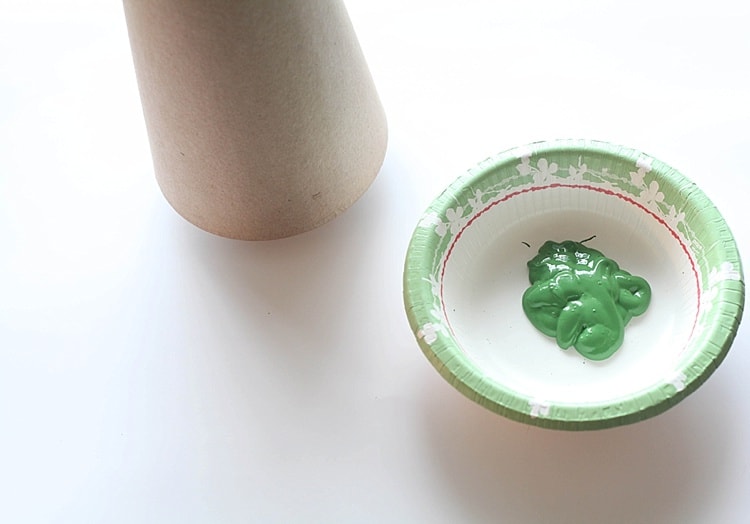
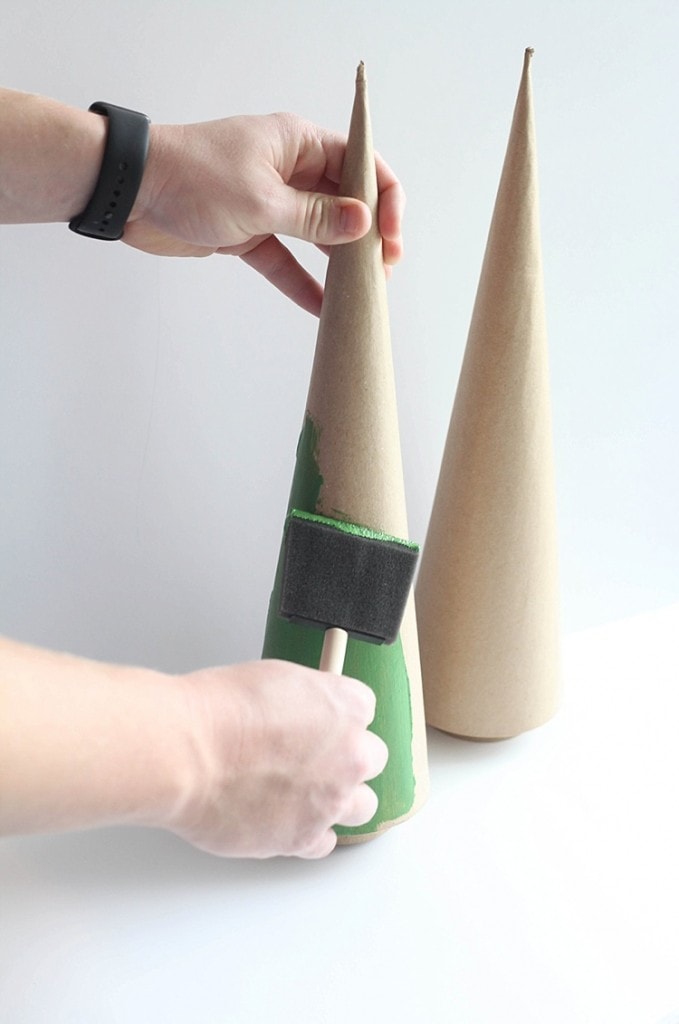
I started by painting every single tree green. You know, for a natural look. 😛 I enlisted my favorite assistant, Scott, to help and it took him about 5 minutes using a foam brush. We just did one thick coat which dried after about 15 minutes. If you are impatient, like me, you can use a hair dryer to hurry it up!
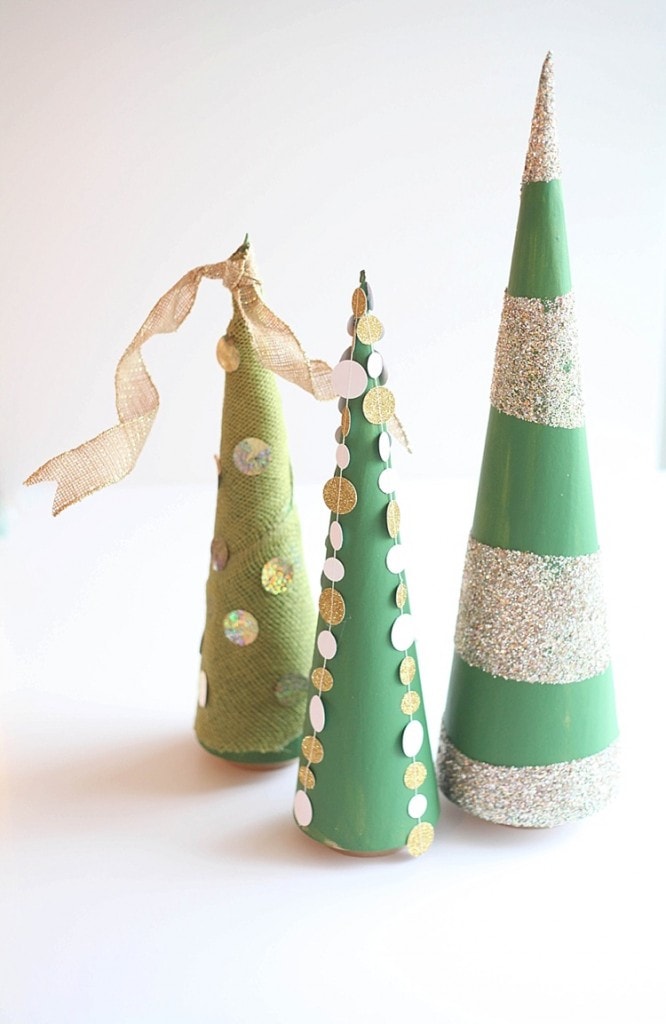
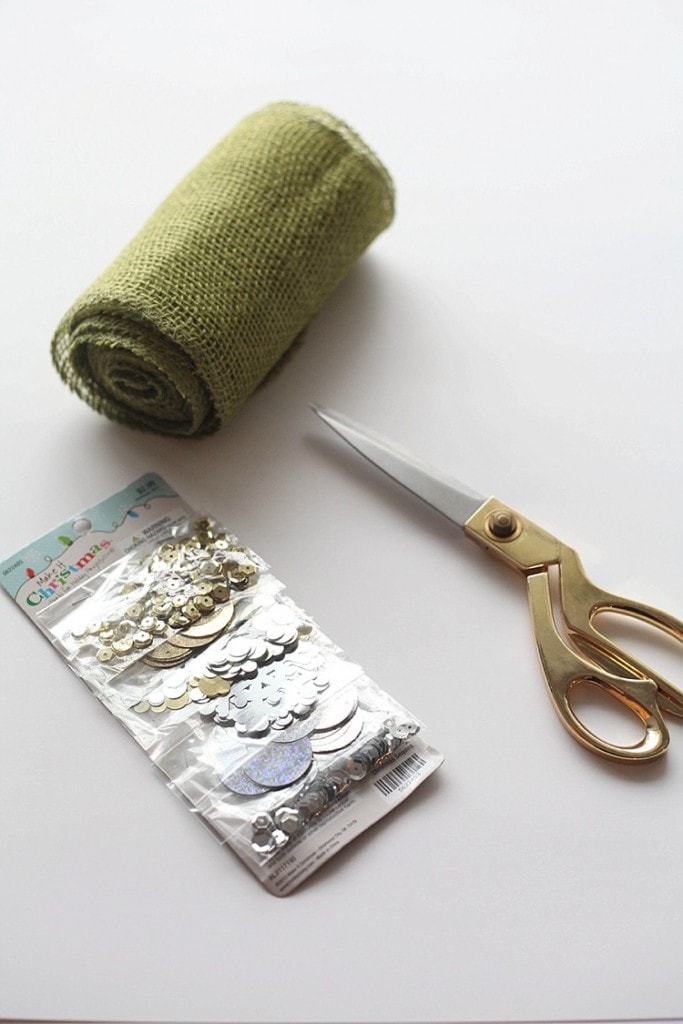
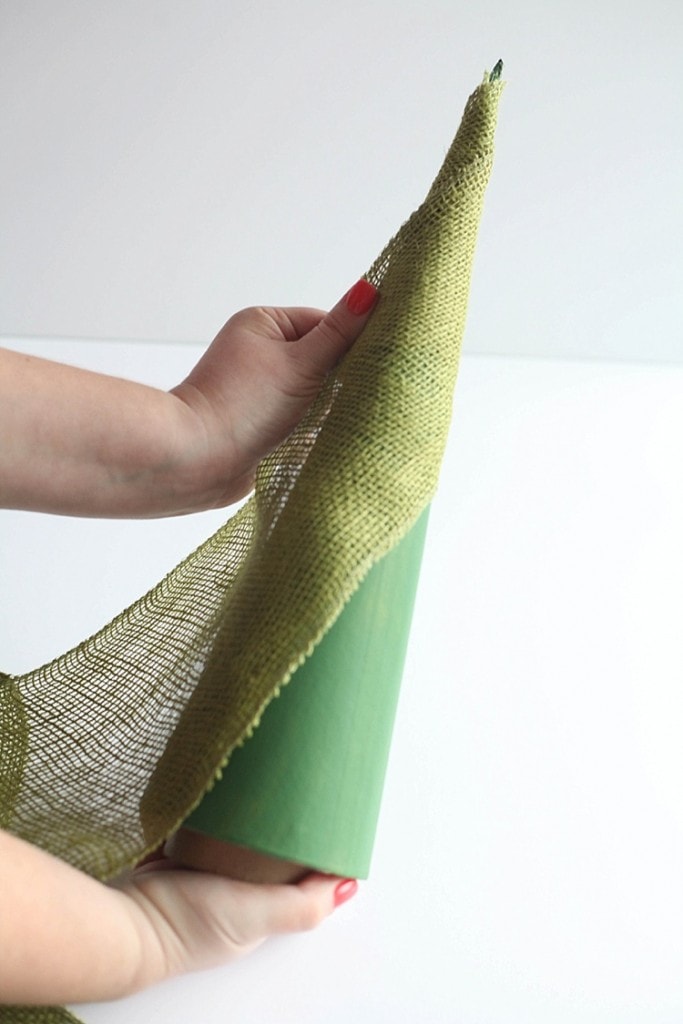
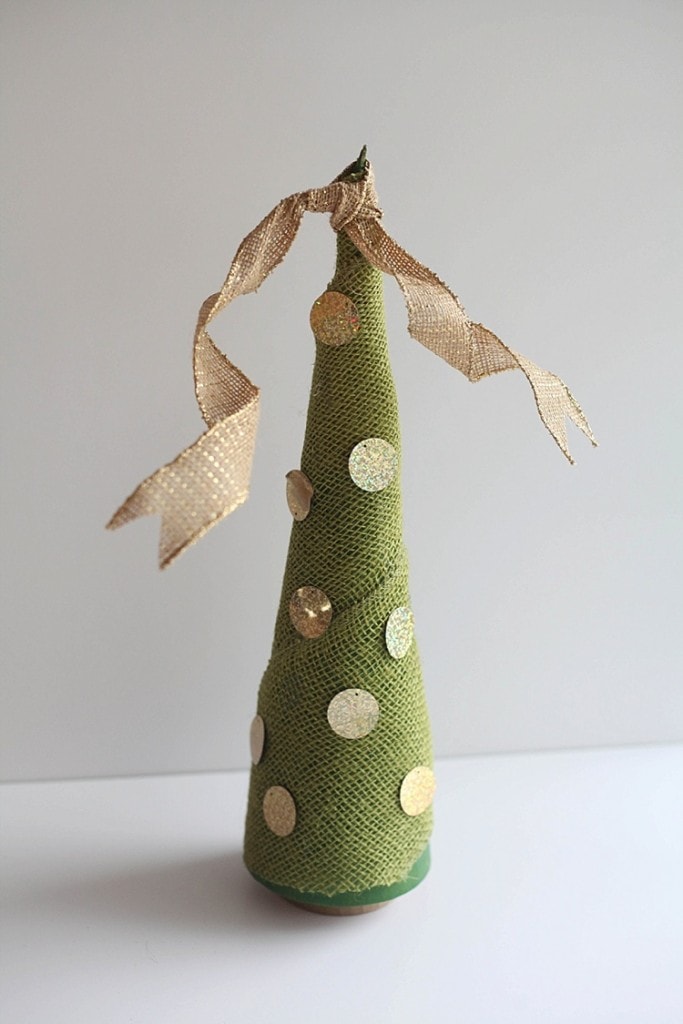
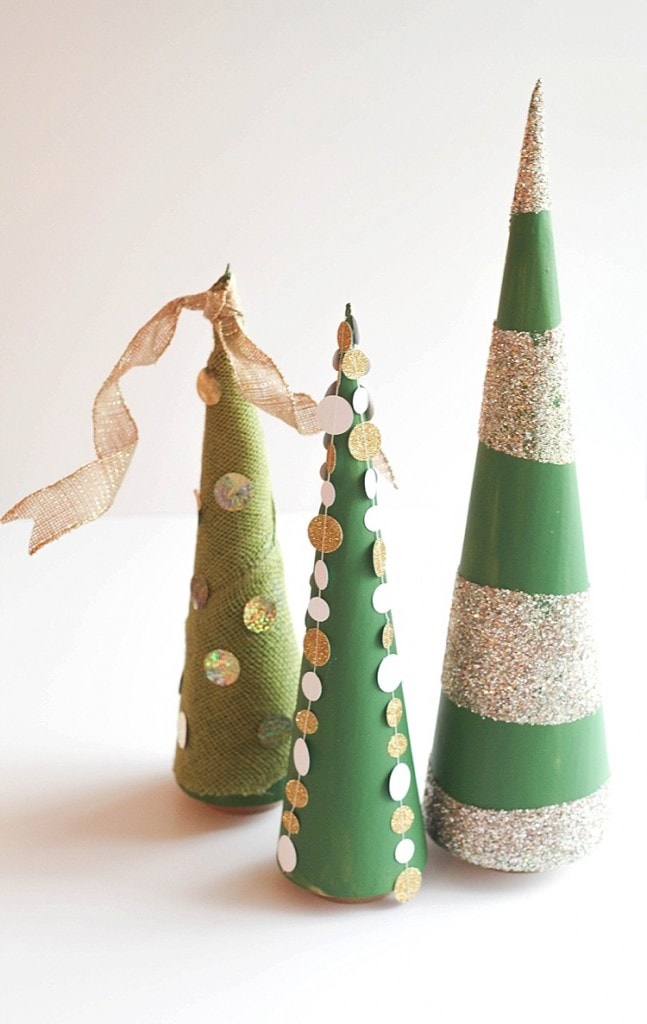
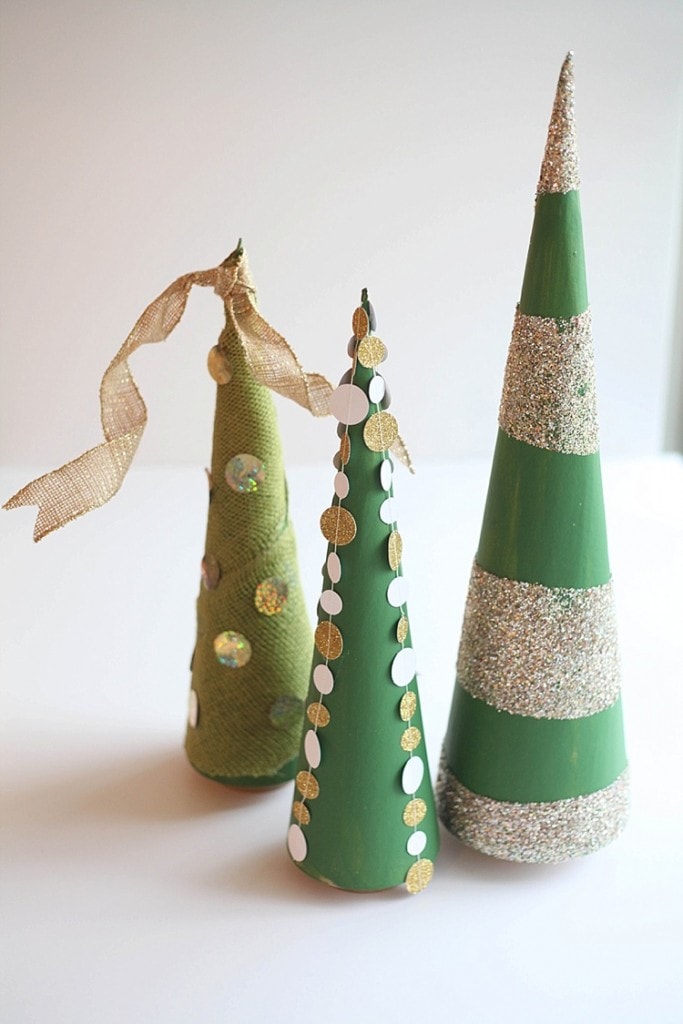
For my first cone tree makeover, I decided to use a roll of green burlap and some sequined dots.
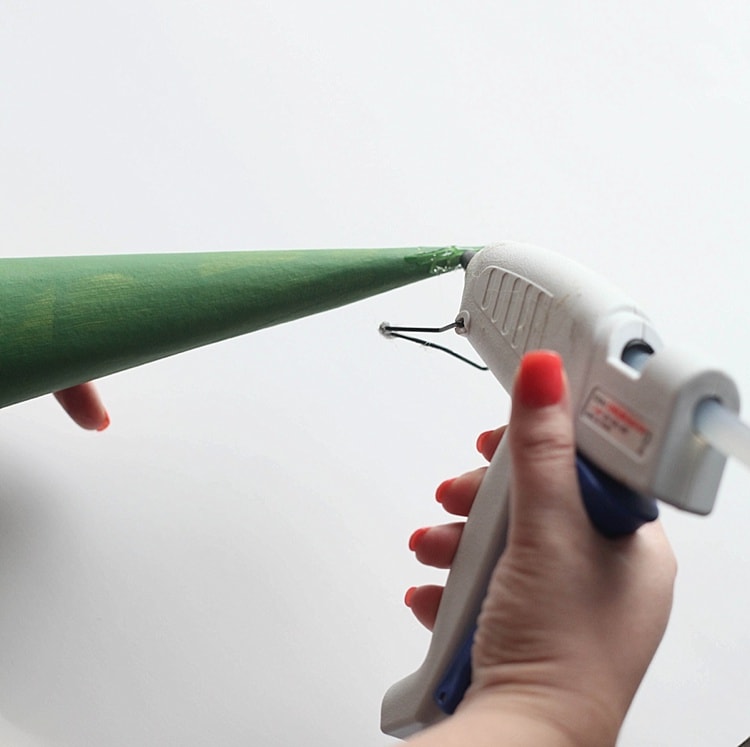
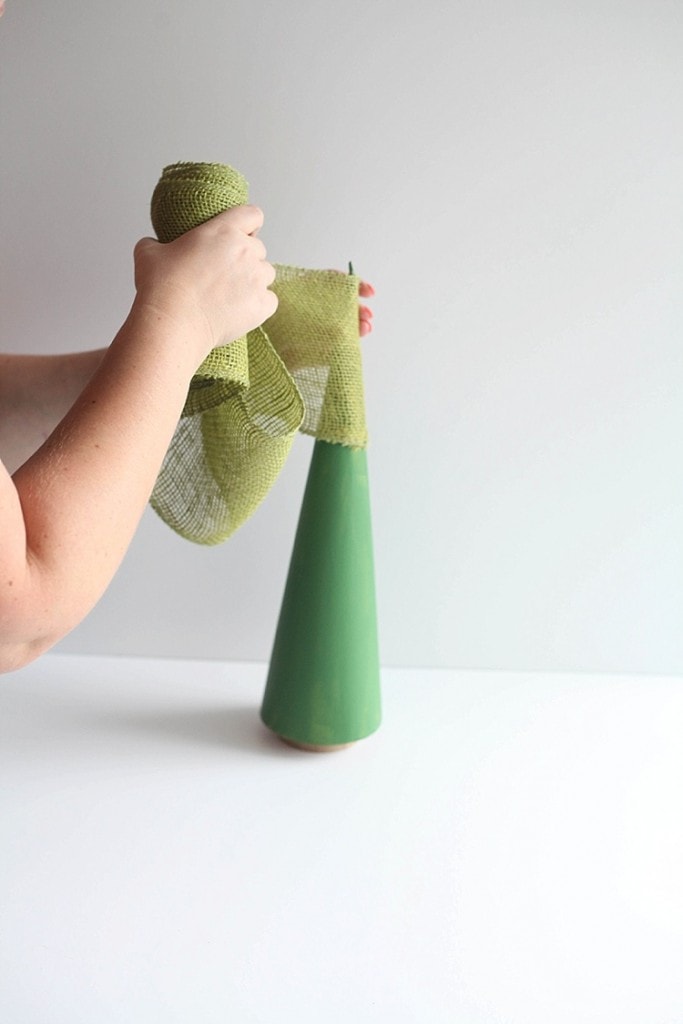
Using a glue gun, I adhered the burlap to the tree, winding it downwards. Make sure you pull it tight, and make sure you don’t burn yourself! I say that every time only because 1) glue gun burns HURT and 2) I ALWAYS burn myself when using one. This time was no exception sadly.
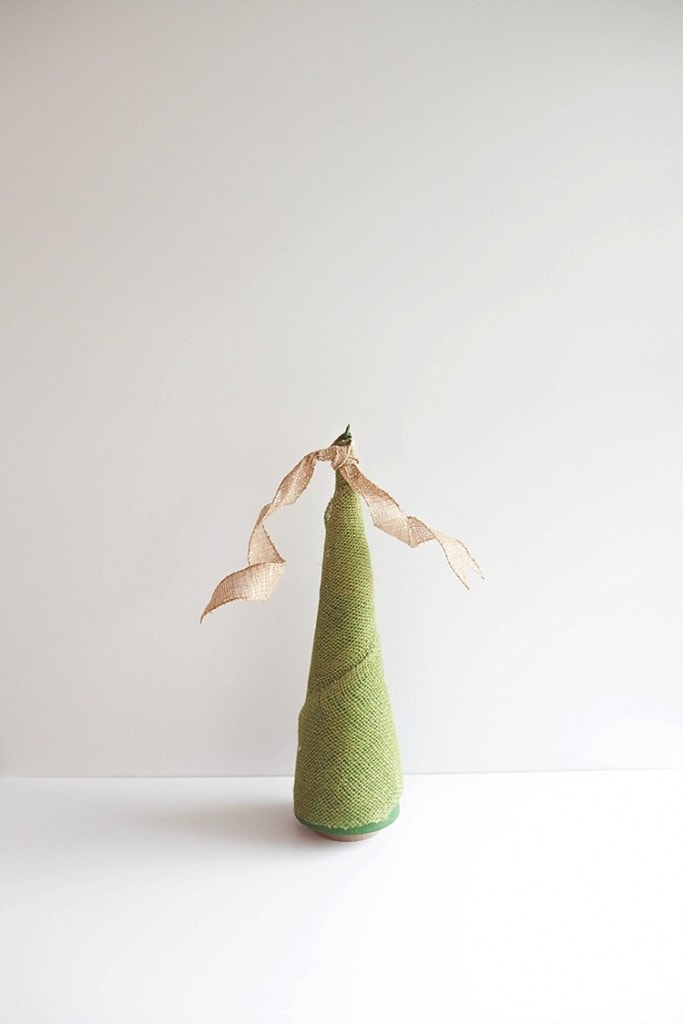
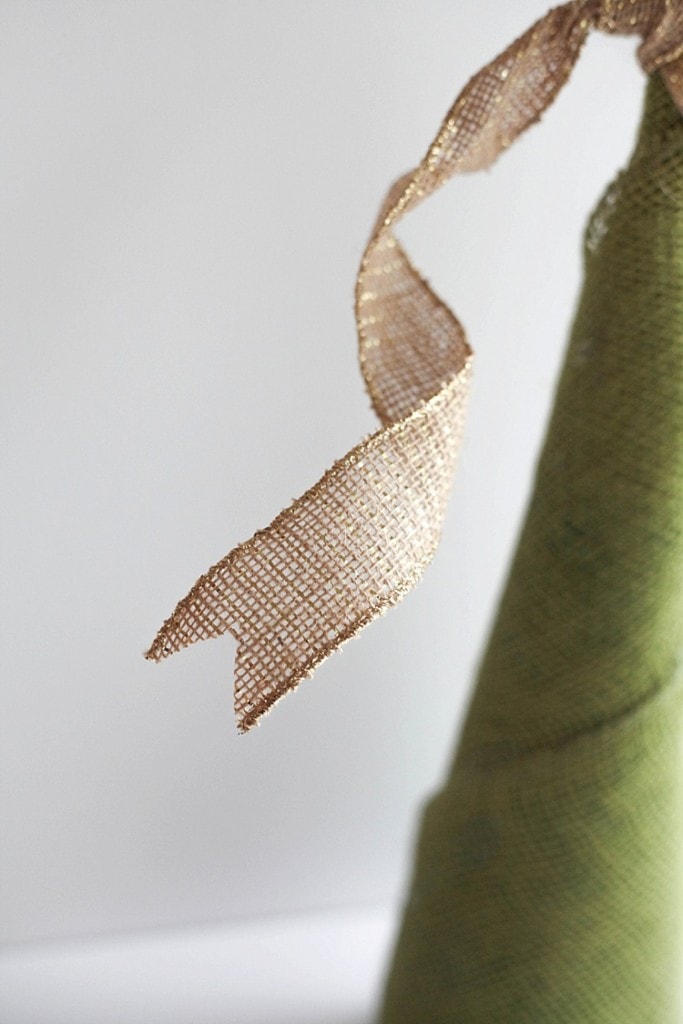
I topped it off with a whimsical ribbon that I tied on and then hot glued on the shiny dots (is there a more technical name for this!?).
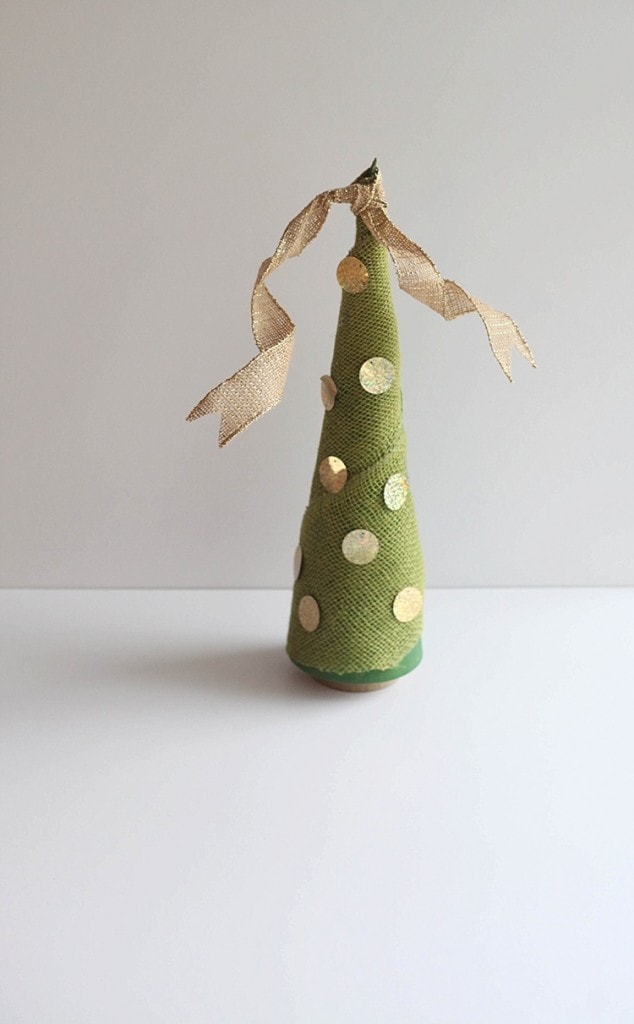
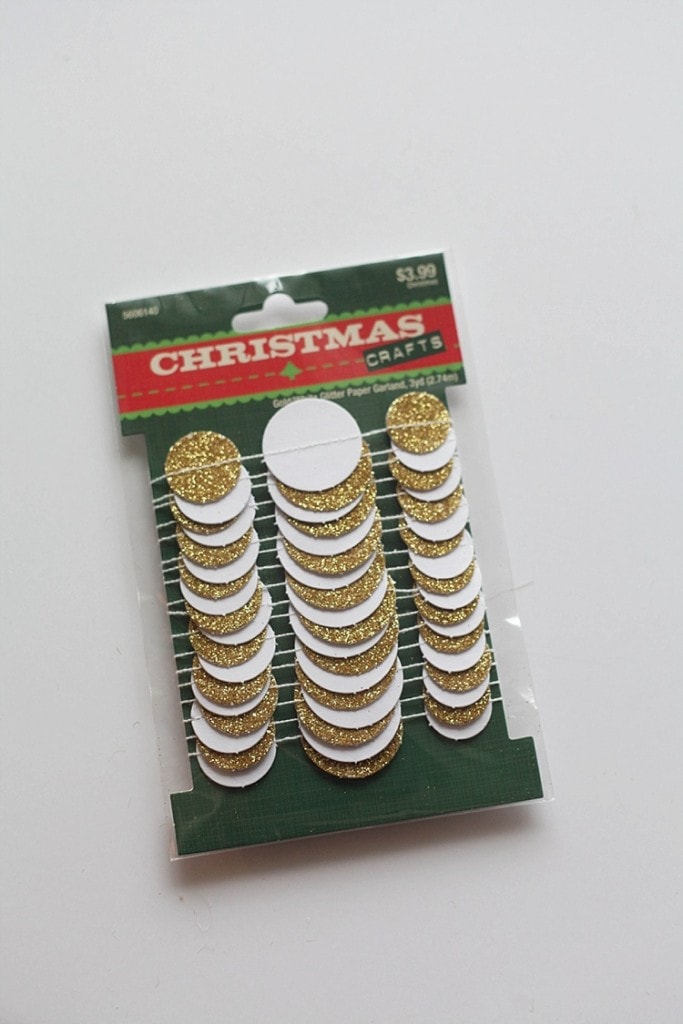
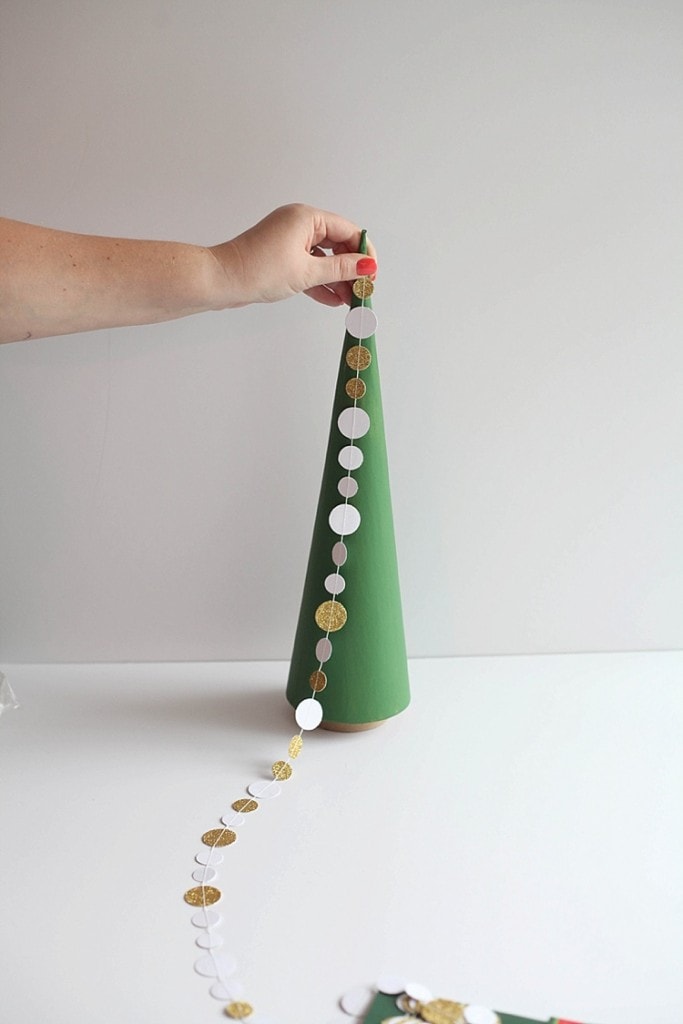
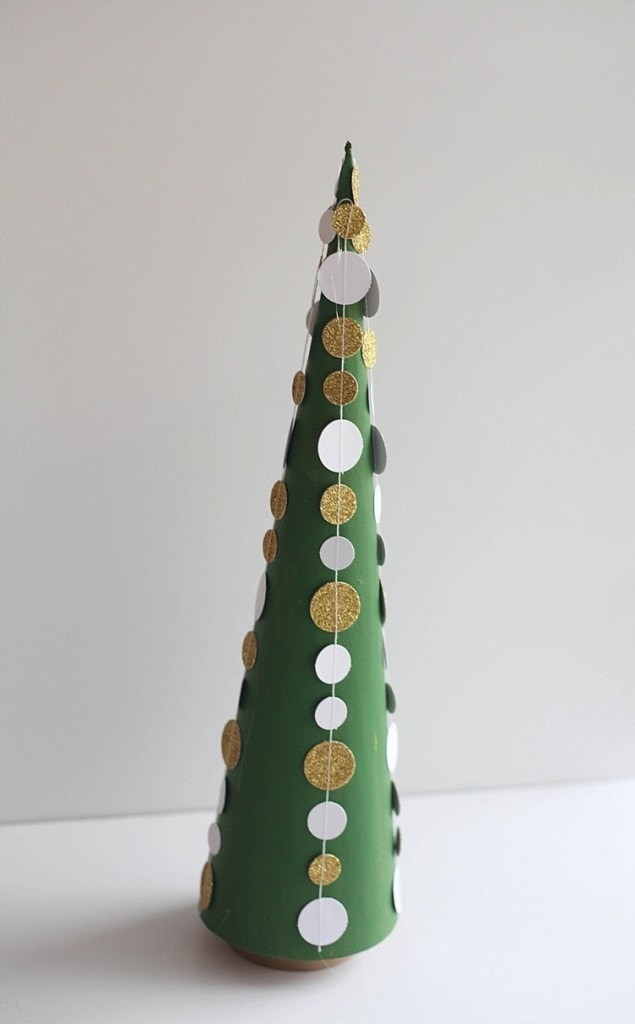
I picked this gold glittery dot banner at Michaels and knew exactly how I wanted to use it. I simply used a dab of hot glue to attach a dot to the top of the tree, and glued every 5 dots down or so to hold it in place. I rotated the tree and did this a total of four times. It was super easy and super cute!
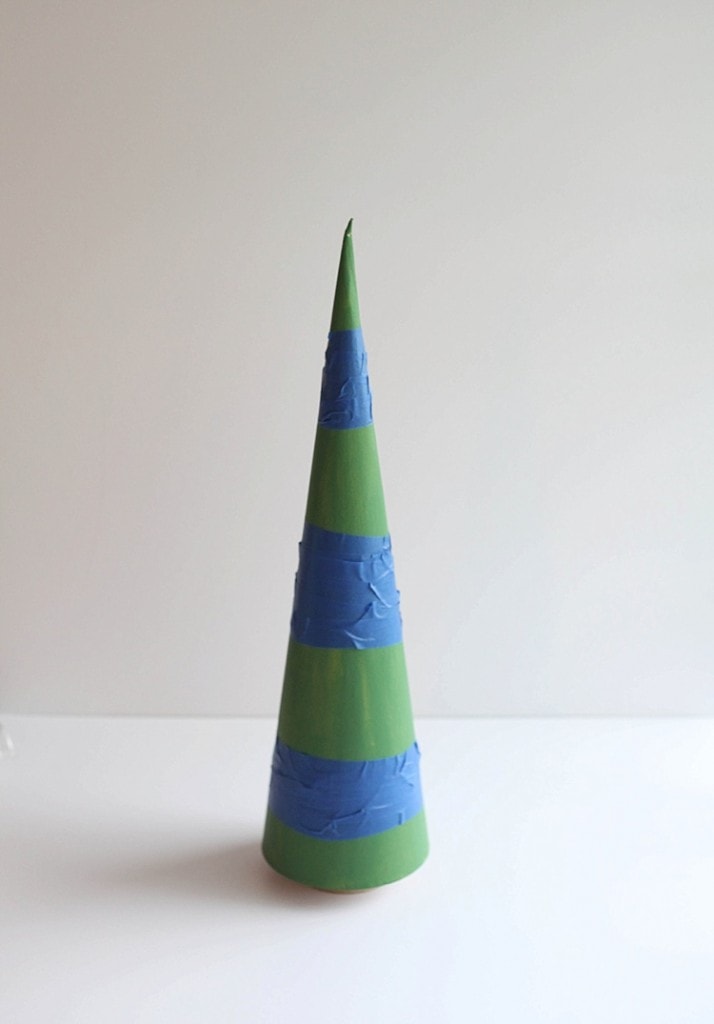
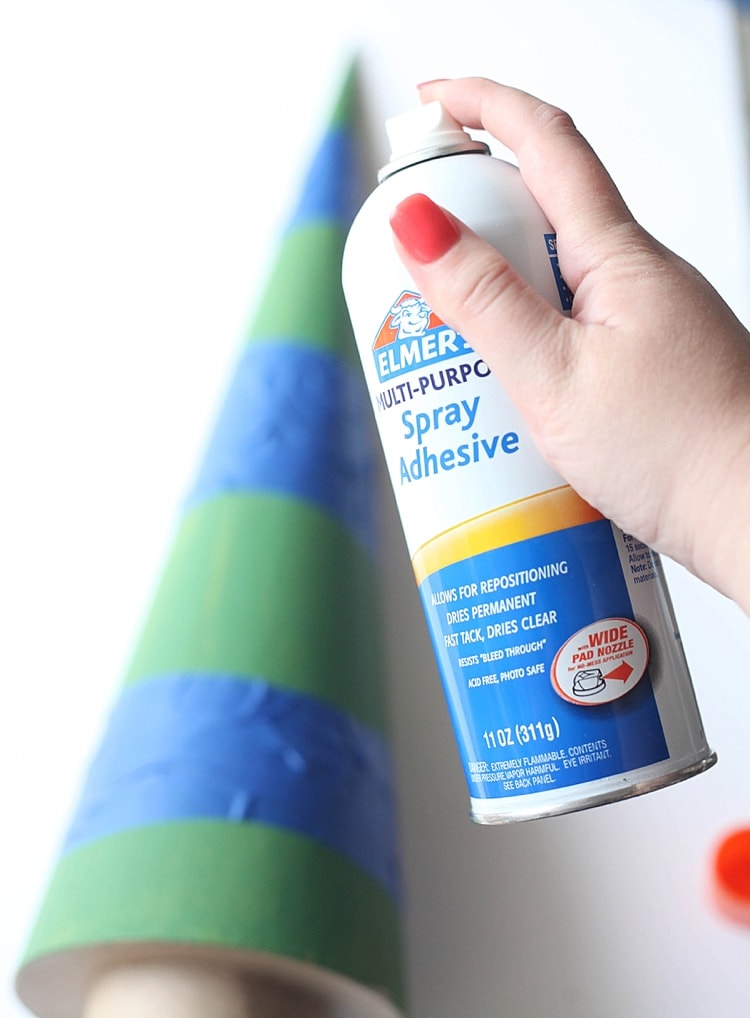
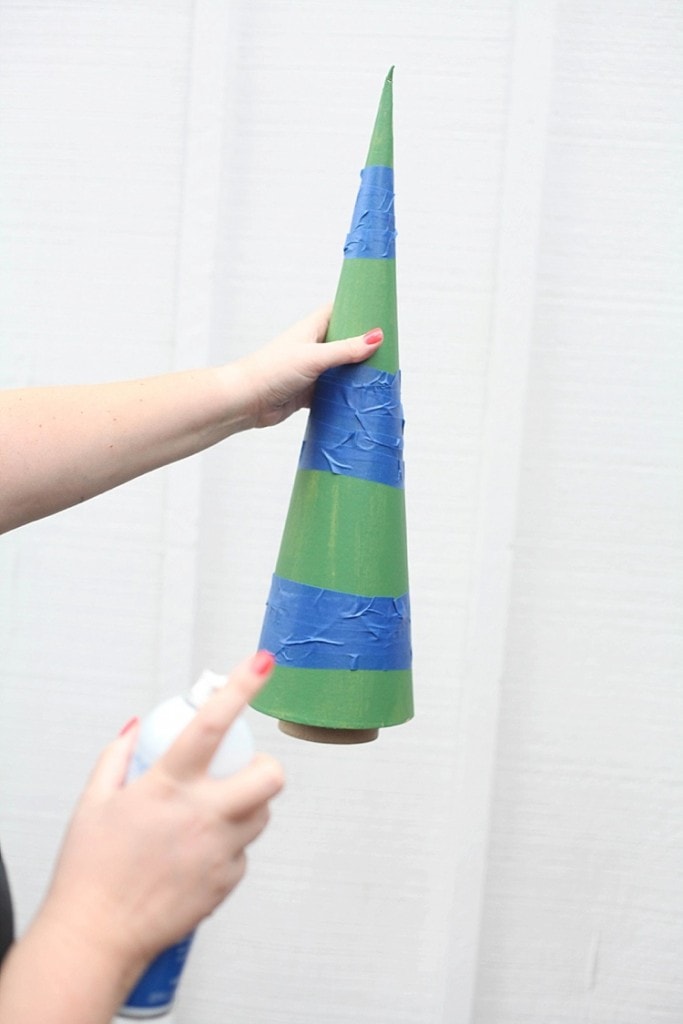
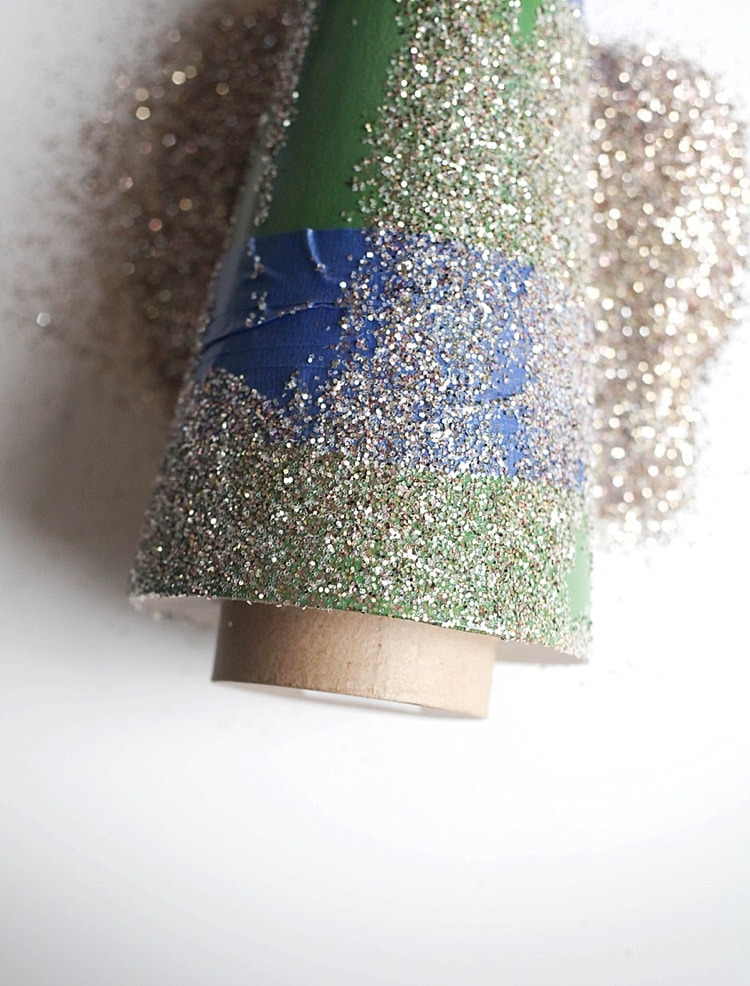
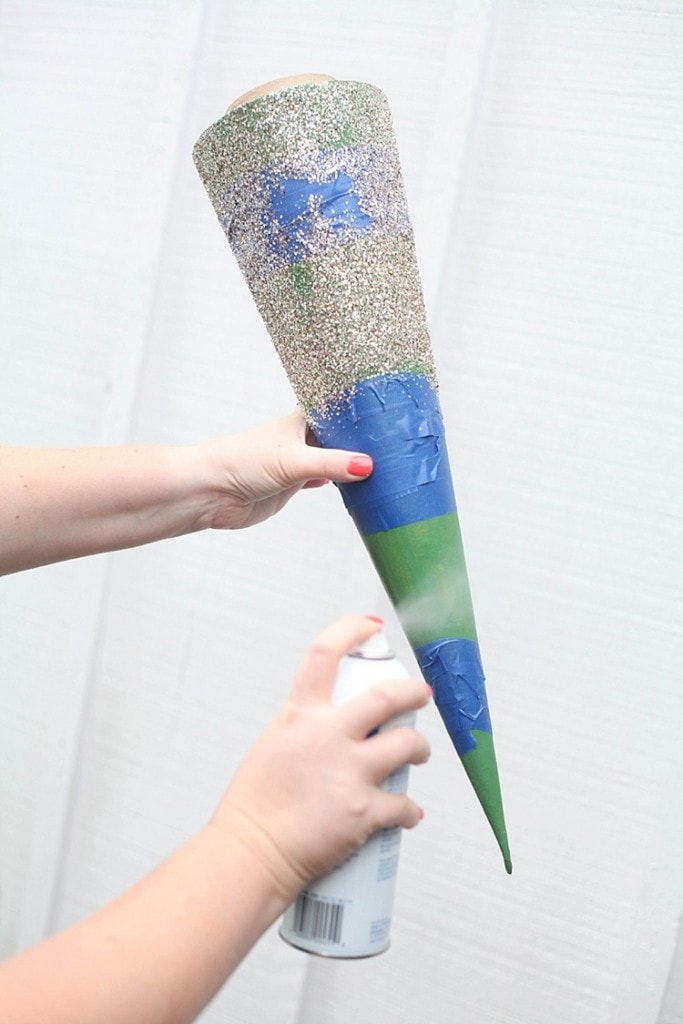
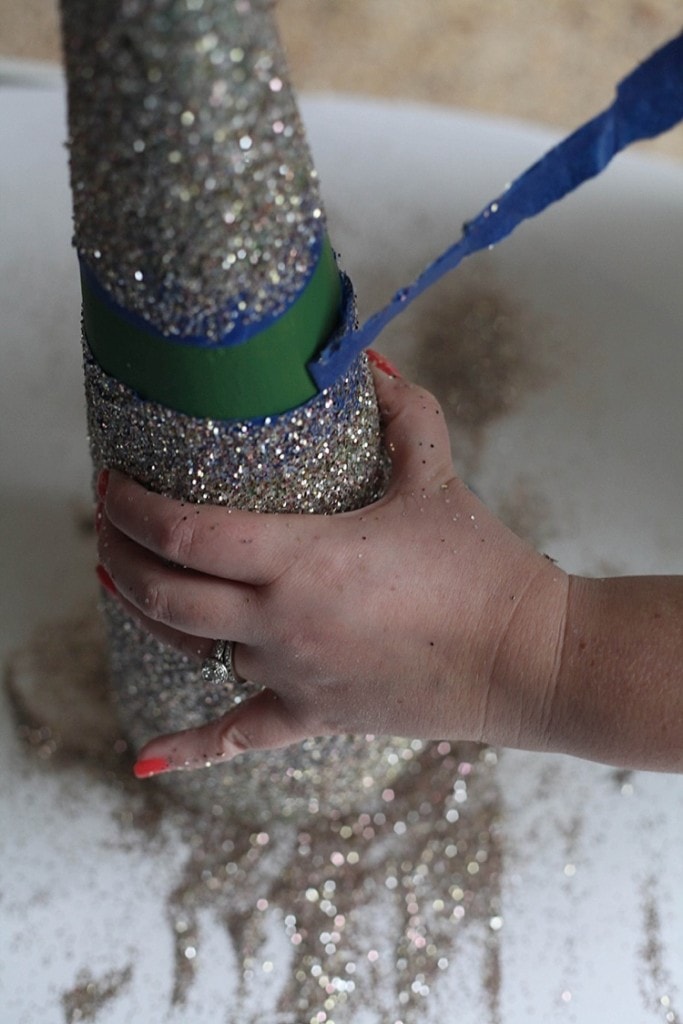
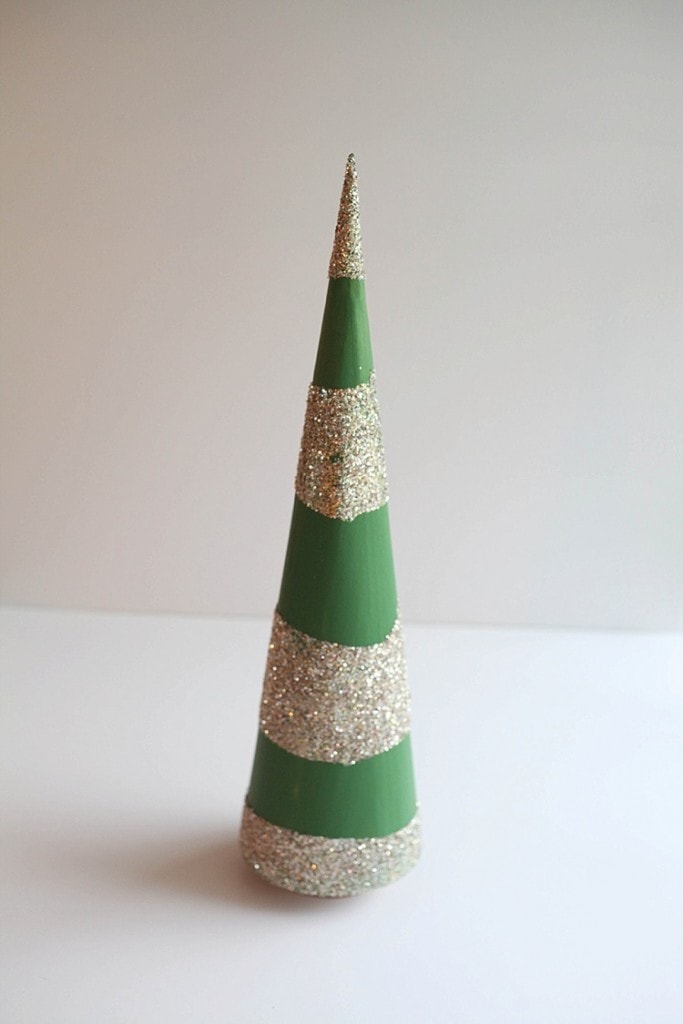
For the last tree…something extra special. First off, I taped off sections of it. Then, I headed outside and gave it a good spray with the adhesive.
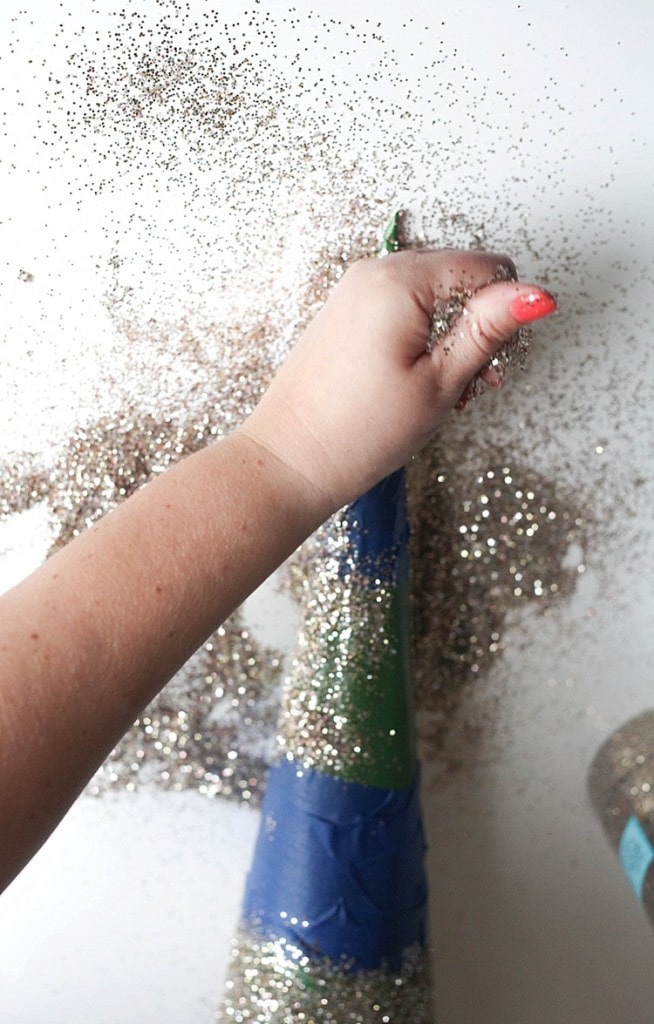
And then? GLITTER. Lots and lots of glitter. If you aren’t a glitter fan…look away. It gets very glittery. There may have been handfuls of it involved. Literally.
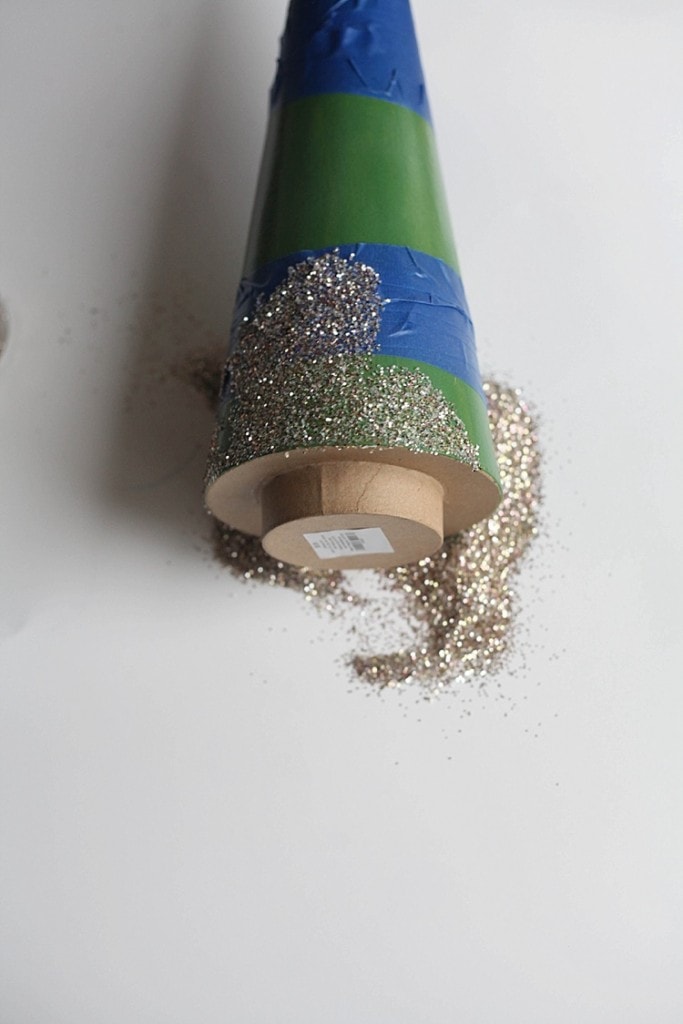
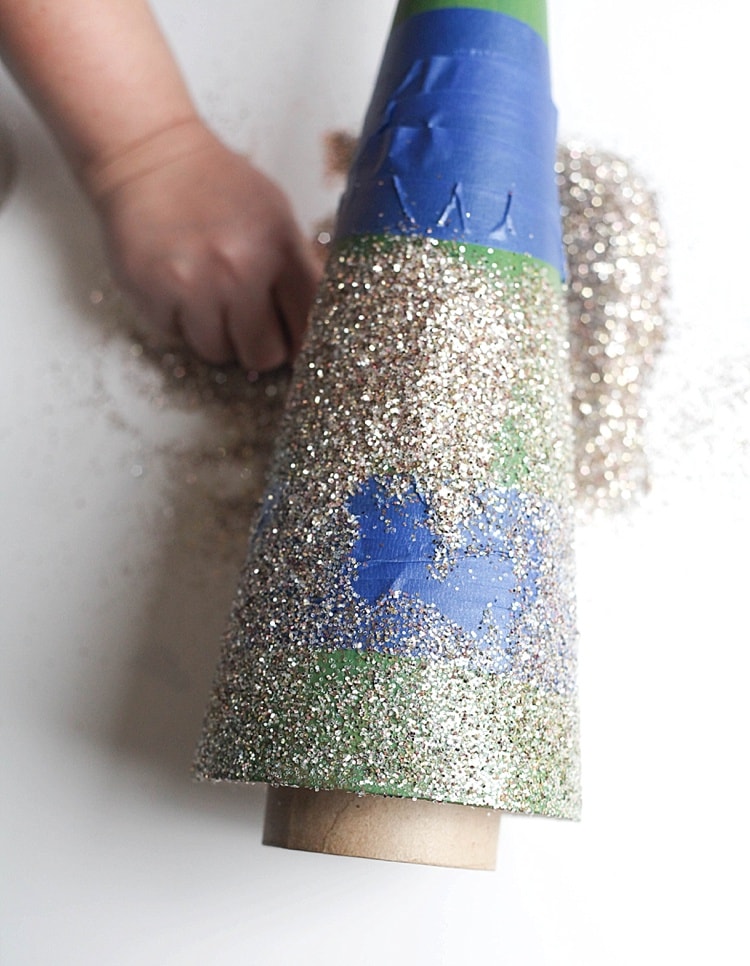
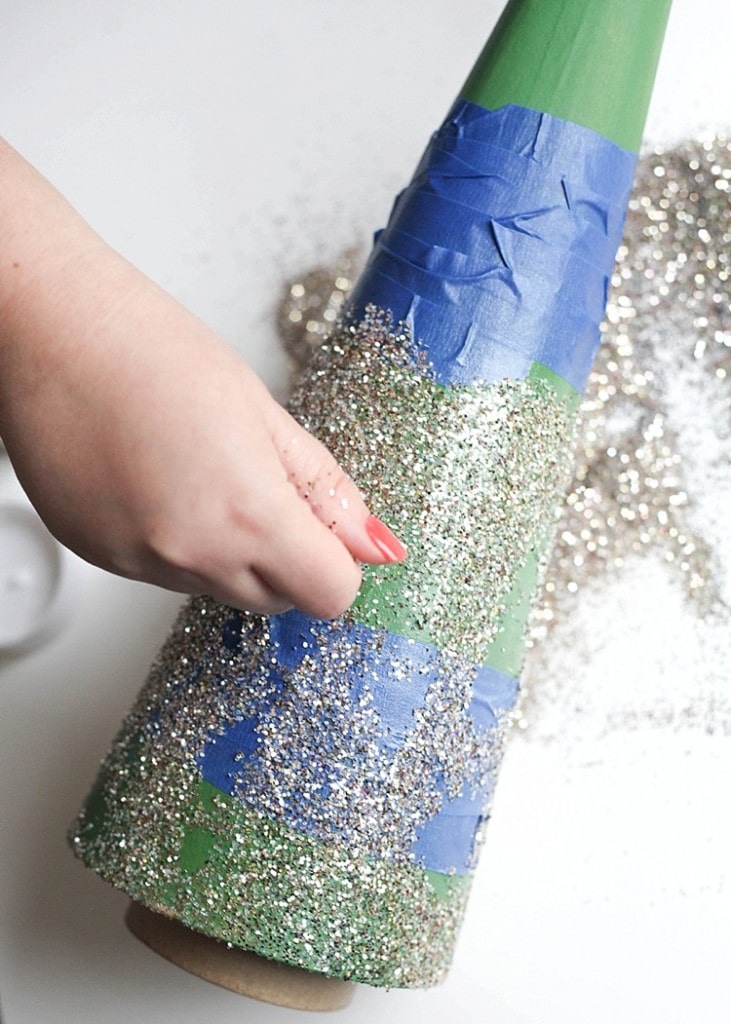
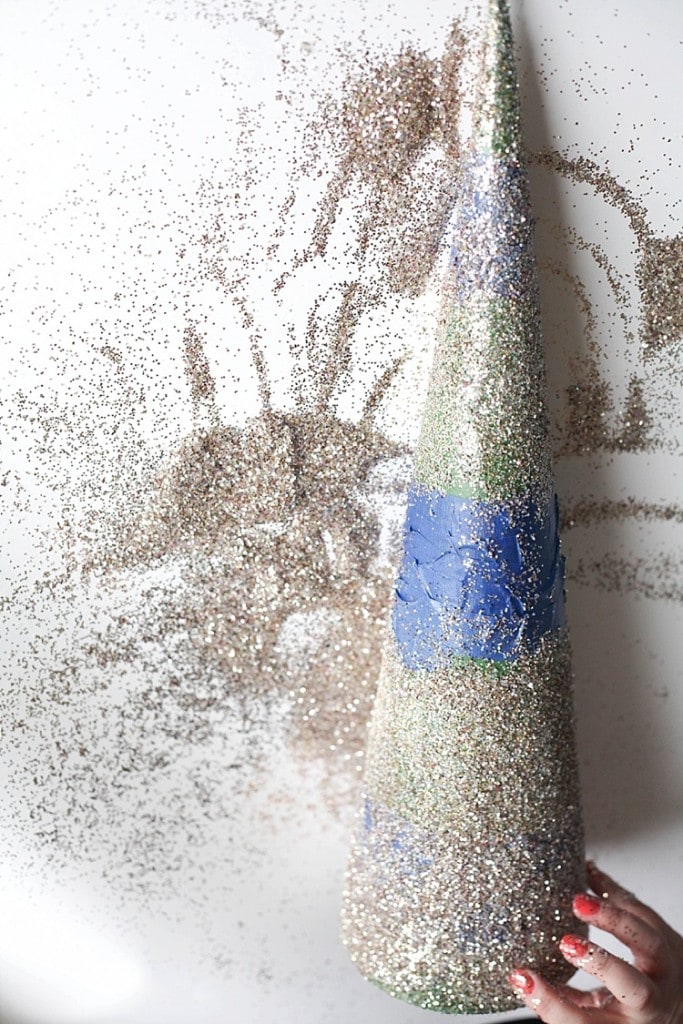
Wheeeee! Isn’t it so fun? Once I had the bottom portion nice and glittery I sprayed the top part and again rolled the tree and used my hands to heap on the glitter.
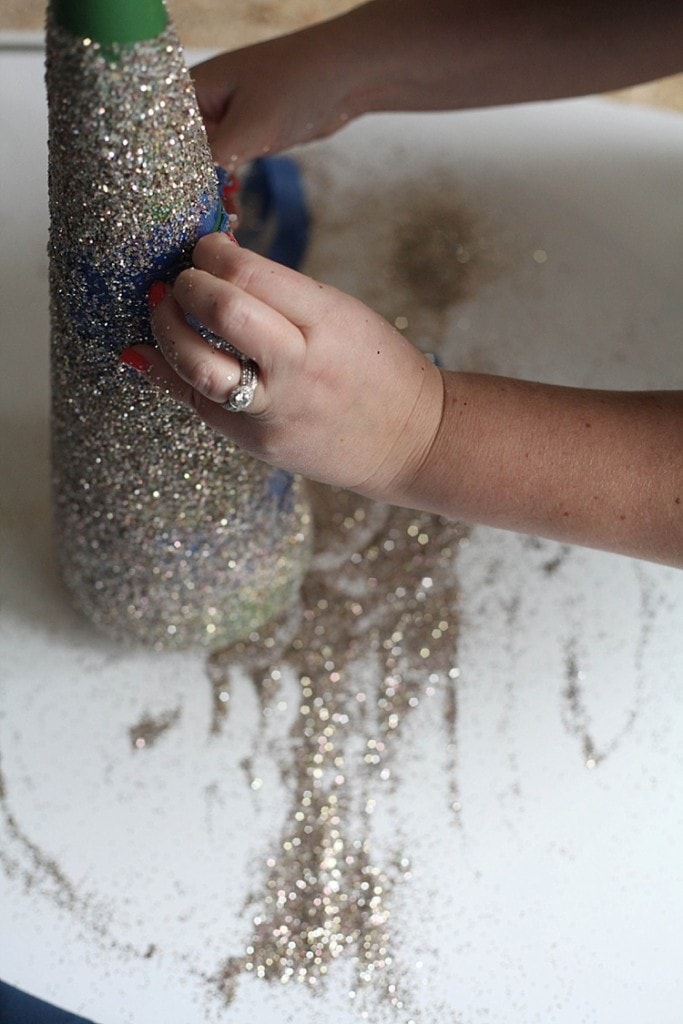
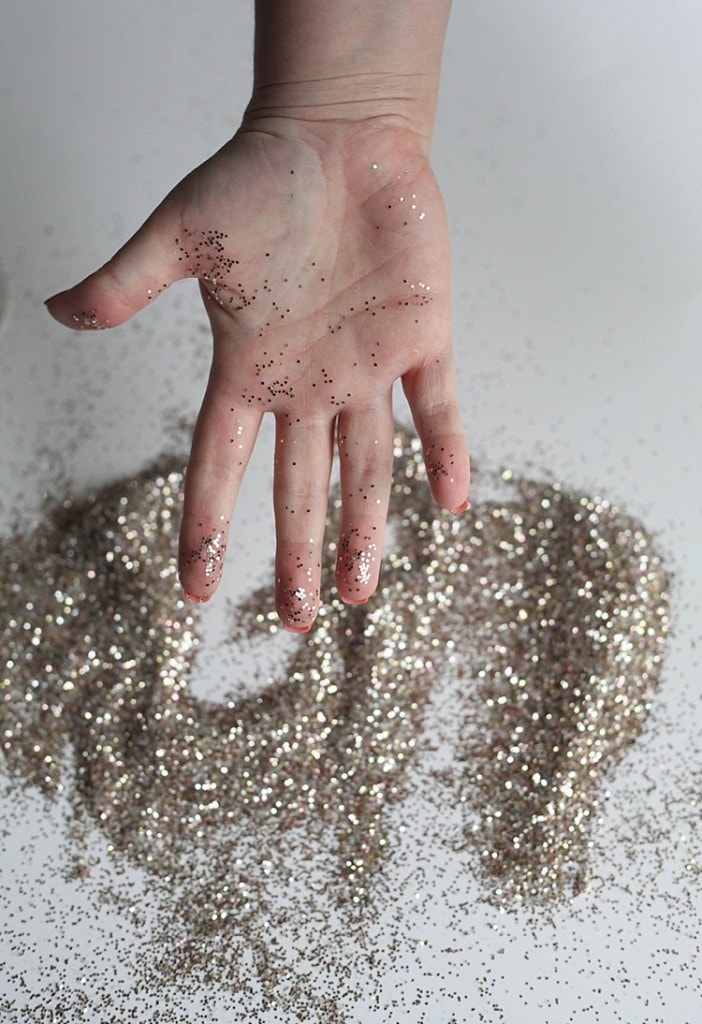
Then I simply pulled the tape off. Yes, I had glitter glued to my hands. No, I didn’t mind. At all! 😛
So here are my three green and gold cone trees! 🙂
What do you guys think? Which is your favorite? Would you ever use handfuls of glitter with glue around? Totally worth it IMHO. 😀

Tania Griffis is an accomplished writer, blogger, and interior designer with a Journalism degree from the University of Oklahoma. She started her popular blog, Run to Radiance, in 2011, demonstrating her design expertise through the personal remodeling of six houses to millions of readers across the globe.
Tania also owns The Creative Wheelhouse, a respected ghostwriting agency for bloggers, further showcasing her talent for creating engaging and informative content.

You always have the cutest ideas!
I totally love the burlap tree.
… ALL THE GLITTER!!!!… oh my gosh – I bet you just have random glitter on you all the time. I’d love that 🙂 haha
Hah! Yes, you nailed it—random glitter all the time!!!
So much attention to detail and SUCH GREAT RESULTS!
Tania, if I ever attempt something similar, it is likely to drive me nuts before I even get it halfway done.
I seriously admire your efforts! Moreover, it is such a good way to decorate a festive tree without breaking the bank for needlessly expensive Christmas decors.
I enjoy your work, please keep it up 🙂
Have heartwarming and blissful holidays,
Christabel
Thank you Christabel! 🙂 And I agree, always great to decorate without spending your whole budget!
My goodness, these are all absolutely adorable and so easy to make. But you have such imagination! And the glitter looks like so much fun to use. I’ll definitely have to give these a try! Happy Holidays.
Thank you so much! 🙂 The glitter is definitely fun, I felt so sparkly for days! 🙂
These trees are so adorable! Thanks for sharing your project on the Monday Funday Party!
I love your creative ways of DIY decor projects. These look like so much fun to make and then to enjoy as center pieces or something. 🙂
What a lovely idea!
Cheers,
Emese
Turned out lovely!
Love your cones and thanks for showing how you made them. Pinned. Best wishes, Linda @Crafts a la mode